


Detailed analysis of the PC case
SFF PCs are gaining popularity, so manufacturers are naturally expanding the range of cases in this category. But what if you want a small PC, that’s packed with powerful hardware and with a liquid cooling loop as well? MasterBox NR200P, quite interesting case from Cooler Master, recently appeared on the market. It appears to be well suited for this scenario. But is it really good idea to combine small case and a custom liquid cooling?
Key features
With a volume of eighteen and a half liters, the MasterBox NR200P can be safely classified as SFF case. However, its total length of 376 mm is not completely negligible. But the smaller dimensions of the case could already limit the selection of graphics cards, which have recently become literally giant. This case uses a traditional component layout, so it is not a highly compact sandwich configuration, where the motherboard and graphics card are placed back to back, such as the Louqe Ghost S1 or DAN A4.
The classic configuration therefore increases the overall dimensions, but on the other hand most CPU coolers can be used. Even the very powerful Noctua NH-U12A will fit into the NR200P, on the dot. The ends of the heatpipes are touching the dust filter, but do not push on the side panel. However, the tempered glass side panel takes a few millimeters from the maximum supported height, which must be taken into account when choosing a cooler.
| Cooler Master MasterBox NR200P | |
| Supported motherboard formats | Mini-ITX, Mini-DTX |
| Supported PSU formats | SFX, SFX-L (with lenght up to 130 mm), ATX |
| Dimensions [H/D/W] | 292 × 185 × 376 mm |
| Volume | 18.5 l |
| Weight | 5.1 kg |
| Supported fans | 2× 120 mm top panel, 2× 120 mm bottom panel, 2× 120/140 mm side panel, 1× 92 mm back panel |
| Supported liquid radiators | 120/240 mm bottom panel, 120/140/240/280 mm side panel, 92 mm back panel |
| Graphics cards | 330 × 156 × 60 (3-slot) mm |
| CPU cooler | 76 mm (with vertical GPU), 153 mm (with tempered glass side panel), 155 mm (with perforated side panel) |
| MSRP | 99 euros |
Detailed analysis of the PC case
Recent small case favorites include without a doubt Louqe Ghost S1, Streacom DA2, DAN A4-SFX or NCASE M1. However, the small number of pieces produced and the high purchase price of these cases can be discouraging for many people. But, the MasterBox NR200P is an interesting SFF case that won’t make a big hole in your wallet.
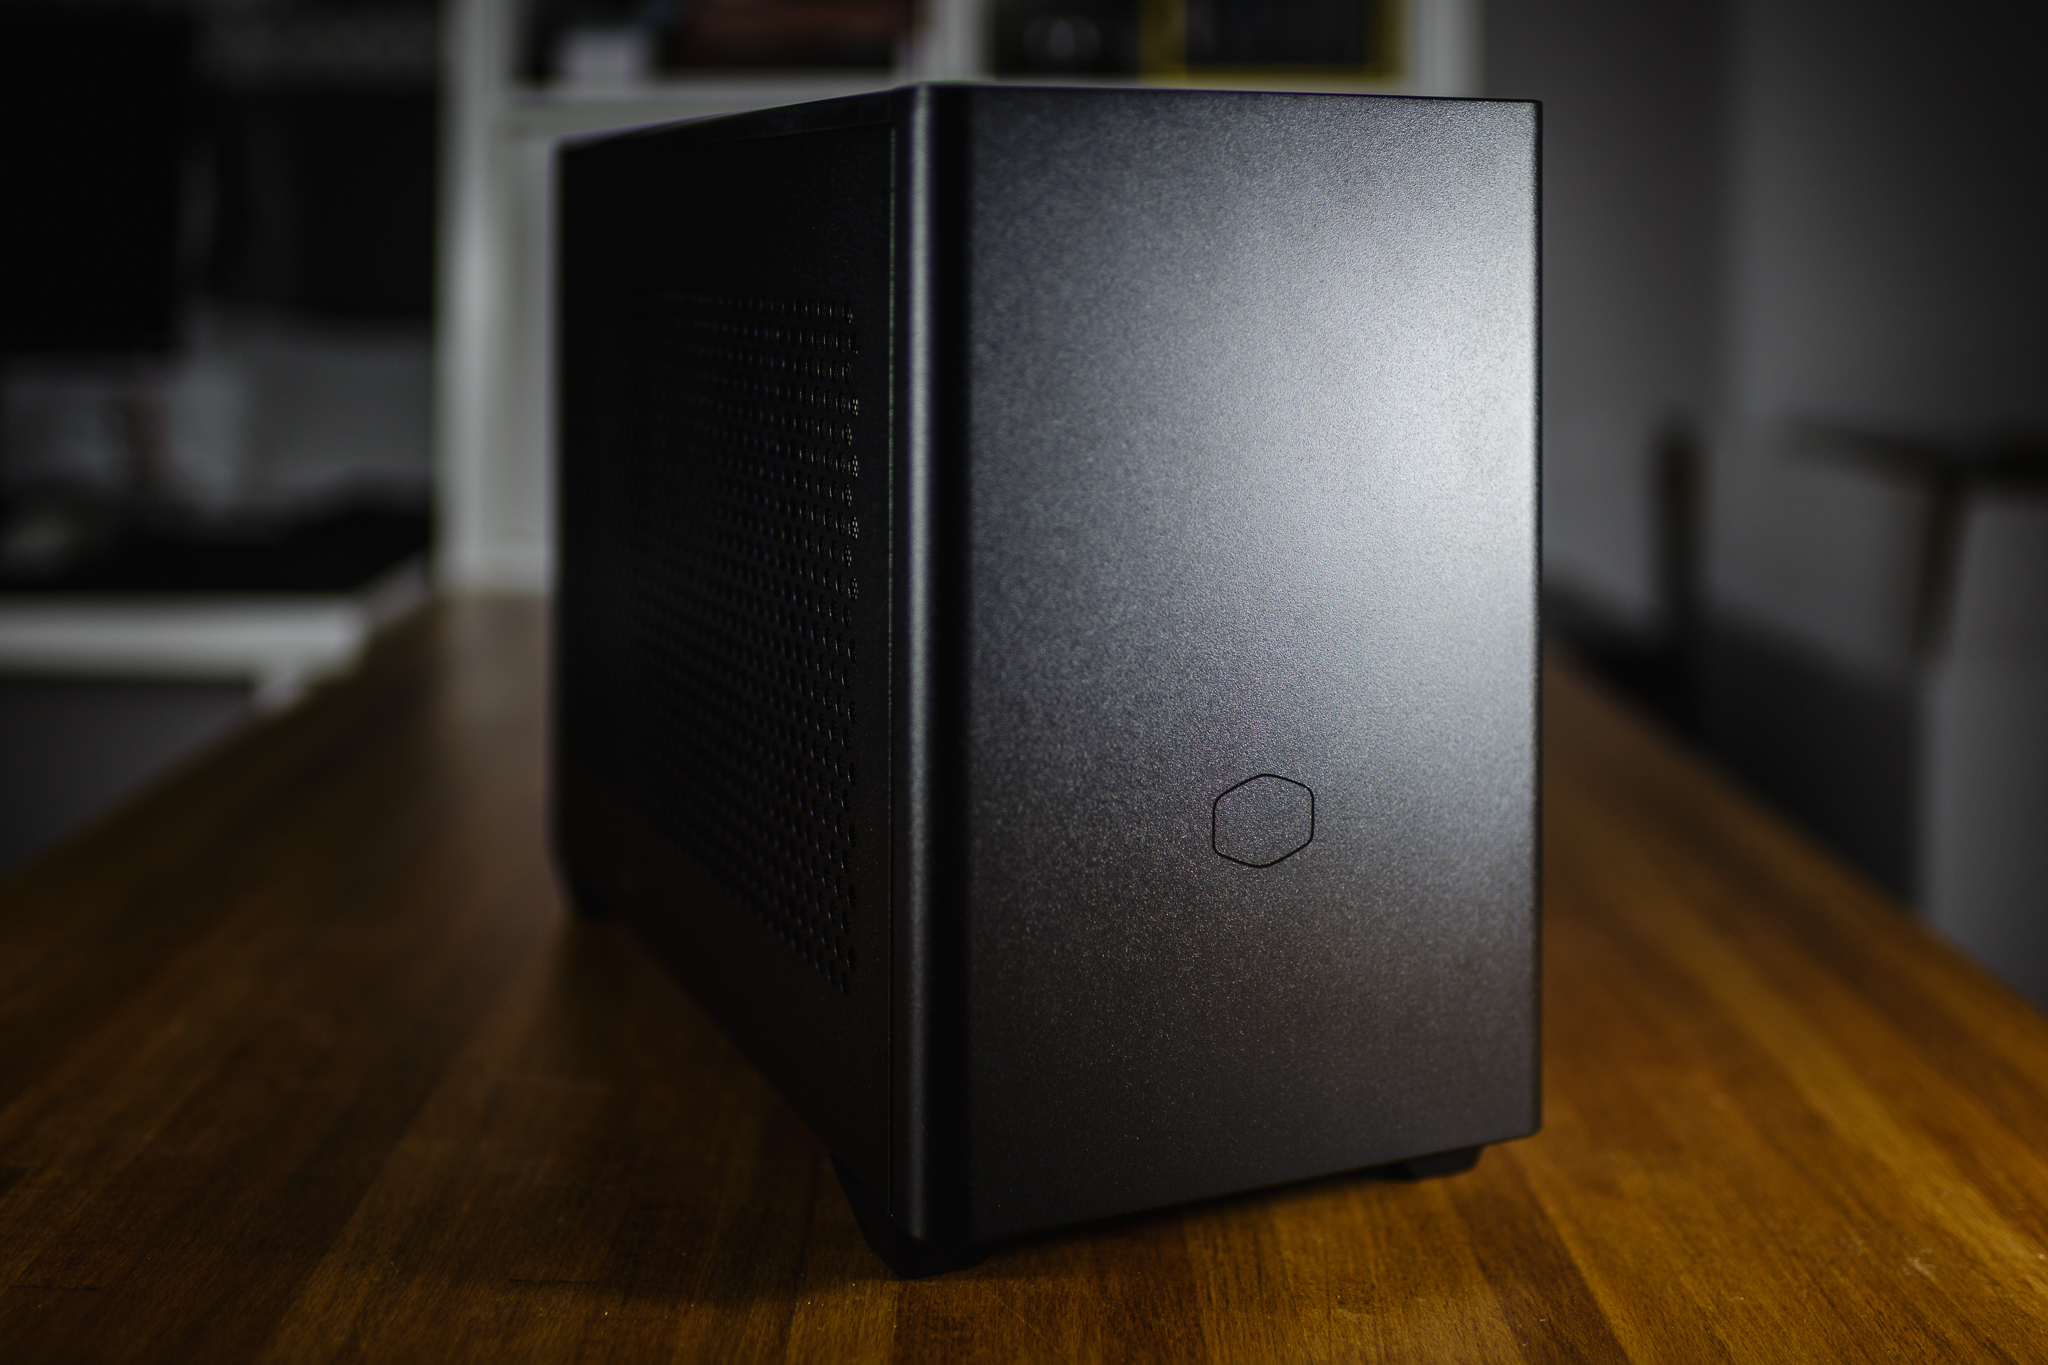

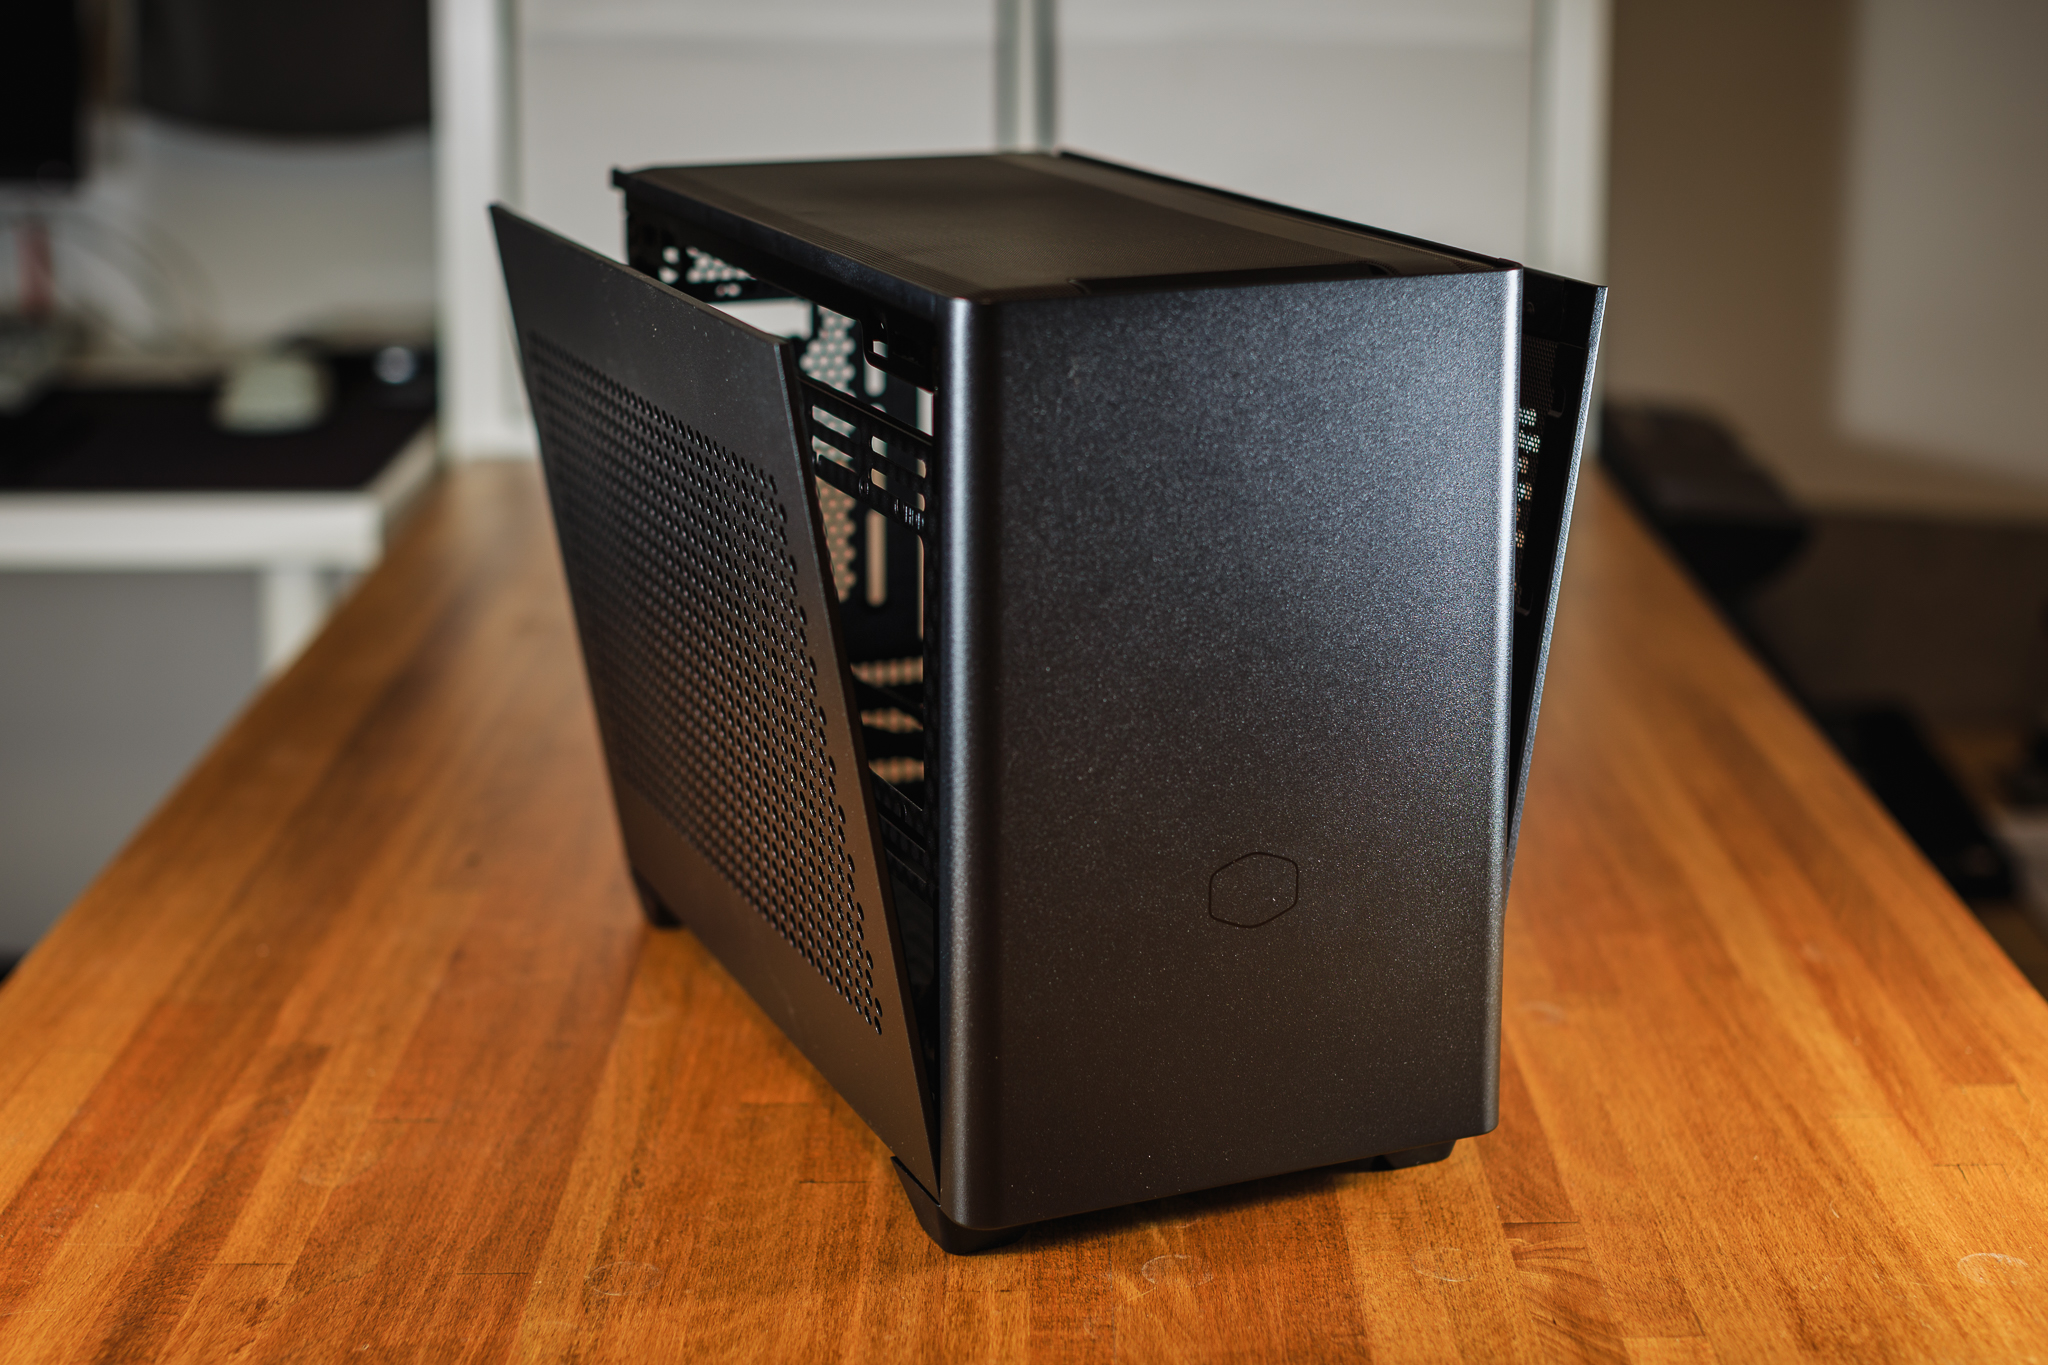
The NR200P has the shape of a compact cuboid and is most similar in layout to the M1 v6 case from NCASE. Unlike the M1 v6, however, it costs barely half. I’d rather not talk about the purchase price of Ghost S1 or Streacom DA2 at all. But a lower price usually means some trade-offs. Fortunately, for the NR200P these are just little things that most users shouldn’t mind. Extruded aluminum has been replaced by a high-quality steel structure and only the upper panel is made of plastic. Due to its compact dimensions, the NR200P is surprisingly heavy, which hopefully testifies to the fact that the manufacturer did not save material unnecessarily here. In addition to the classic black color, the NR200P can also be purchased in non-traditional white, but at the time of writing the white variant was absolutely nowhere to be found. In the end, I’m glad that Cooler Master provided me with at least a black version.

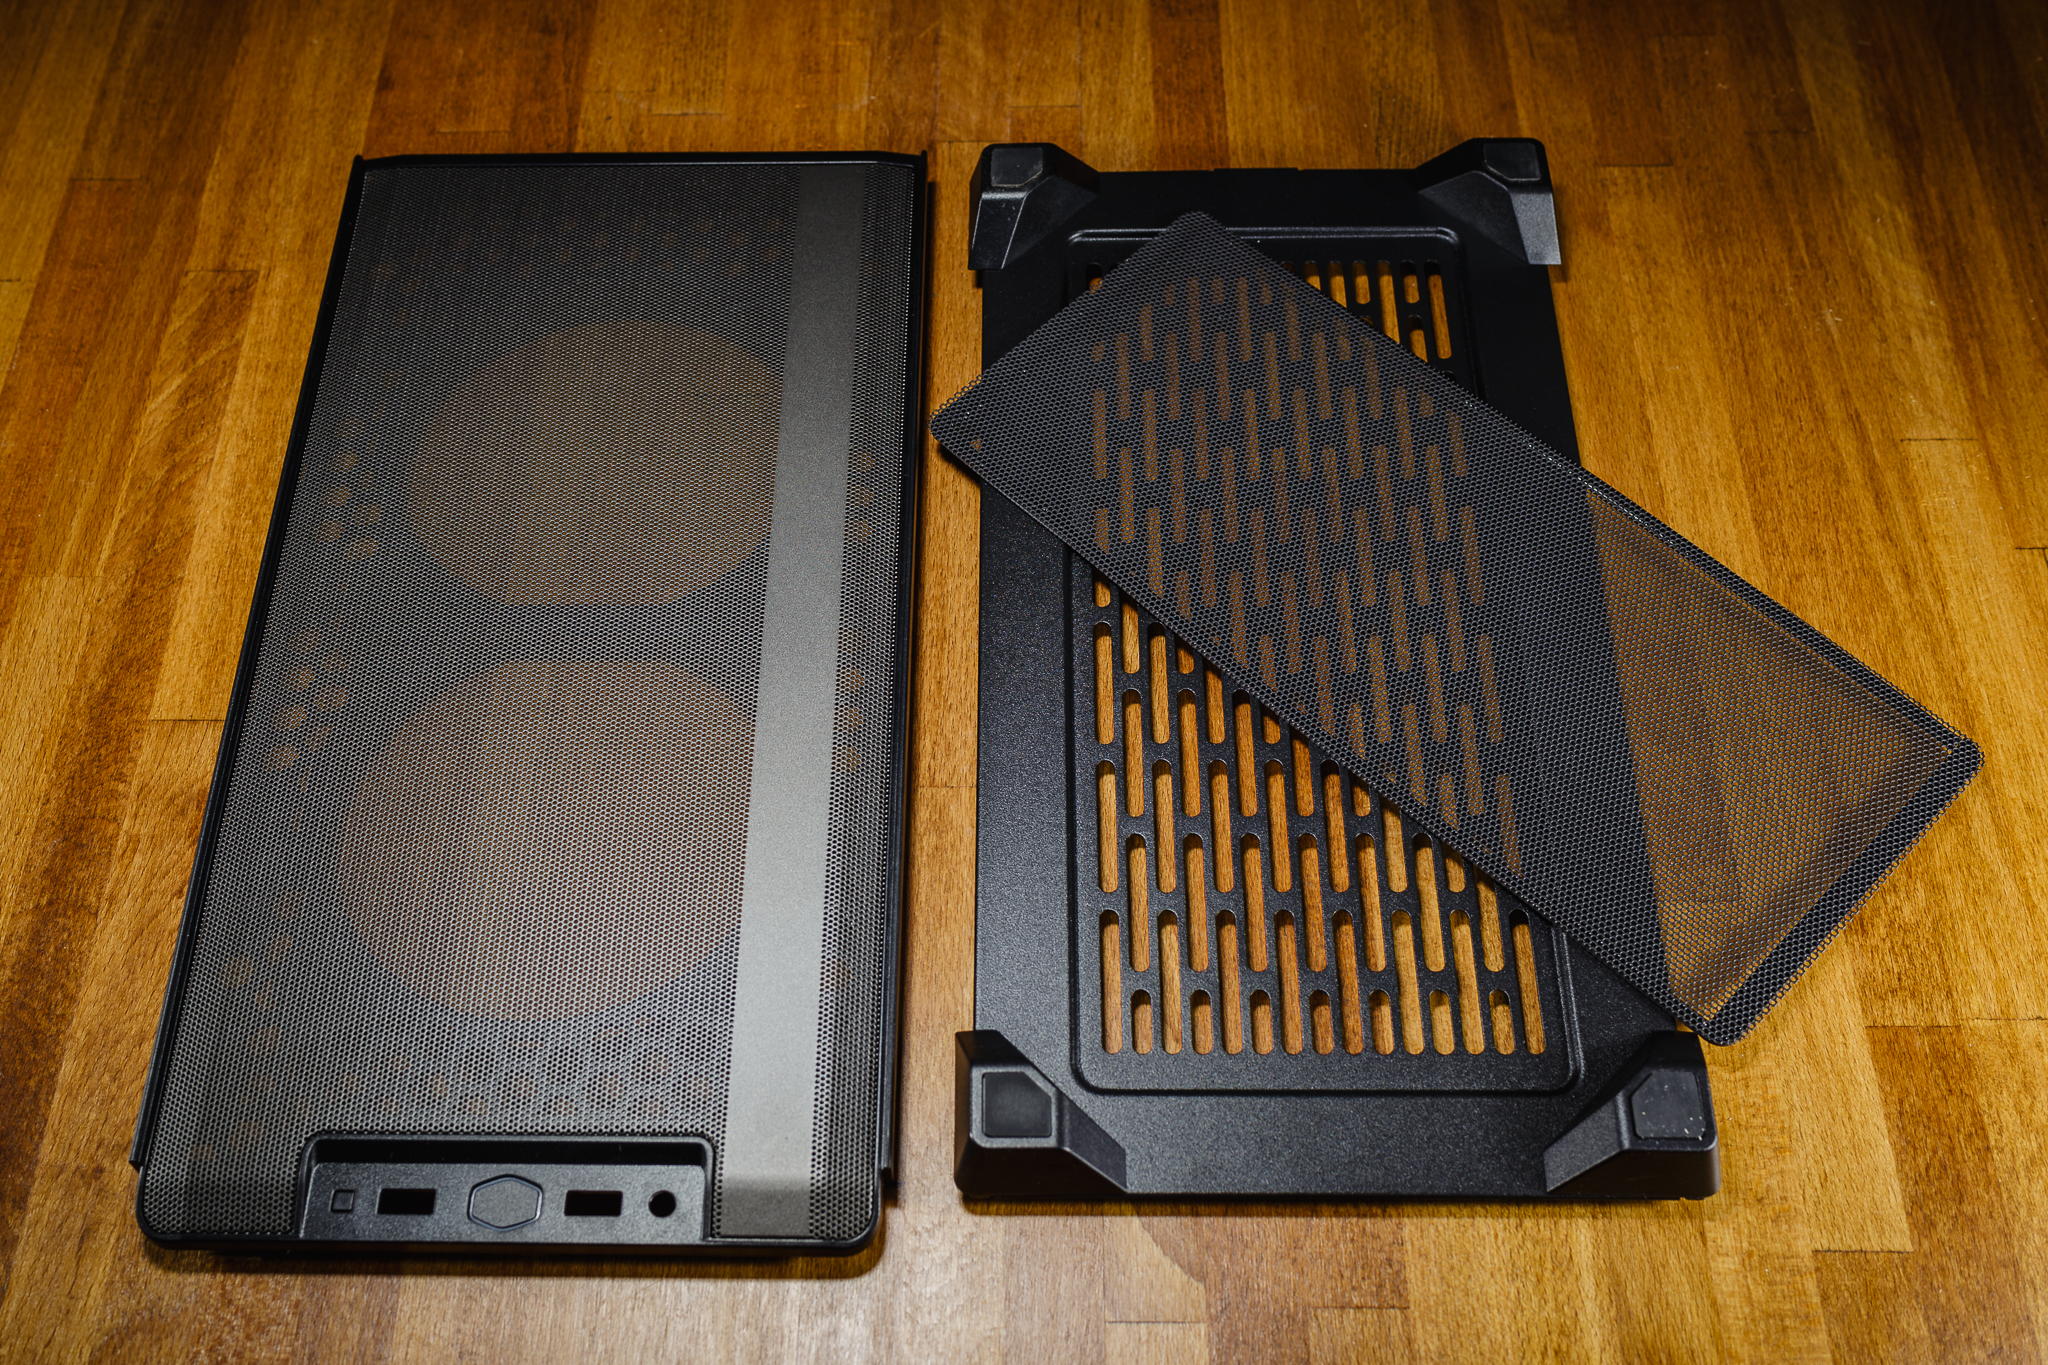
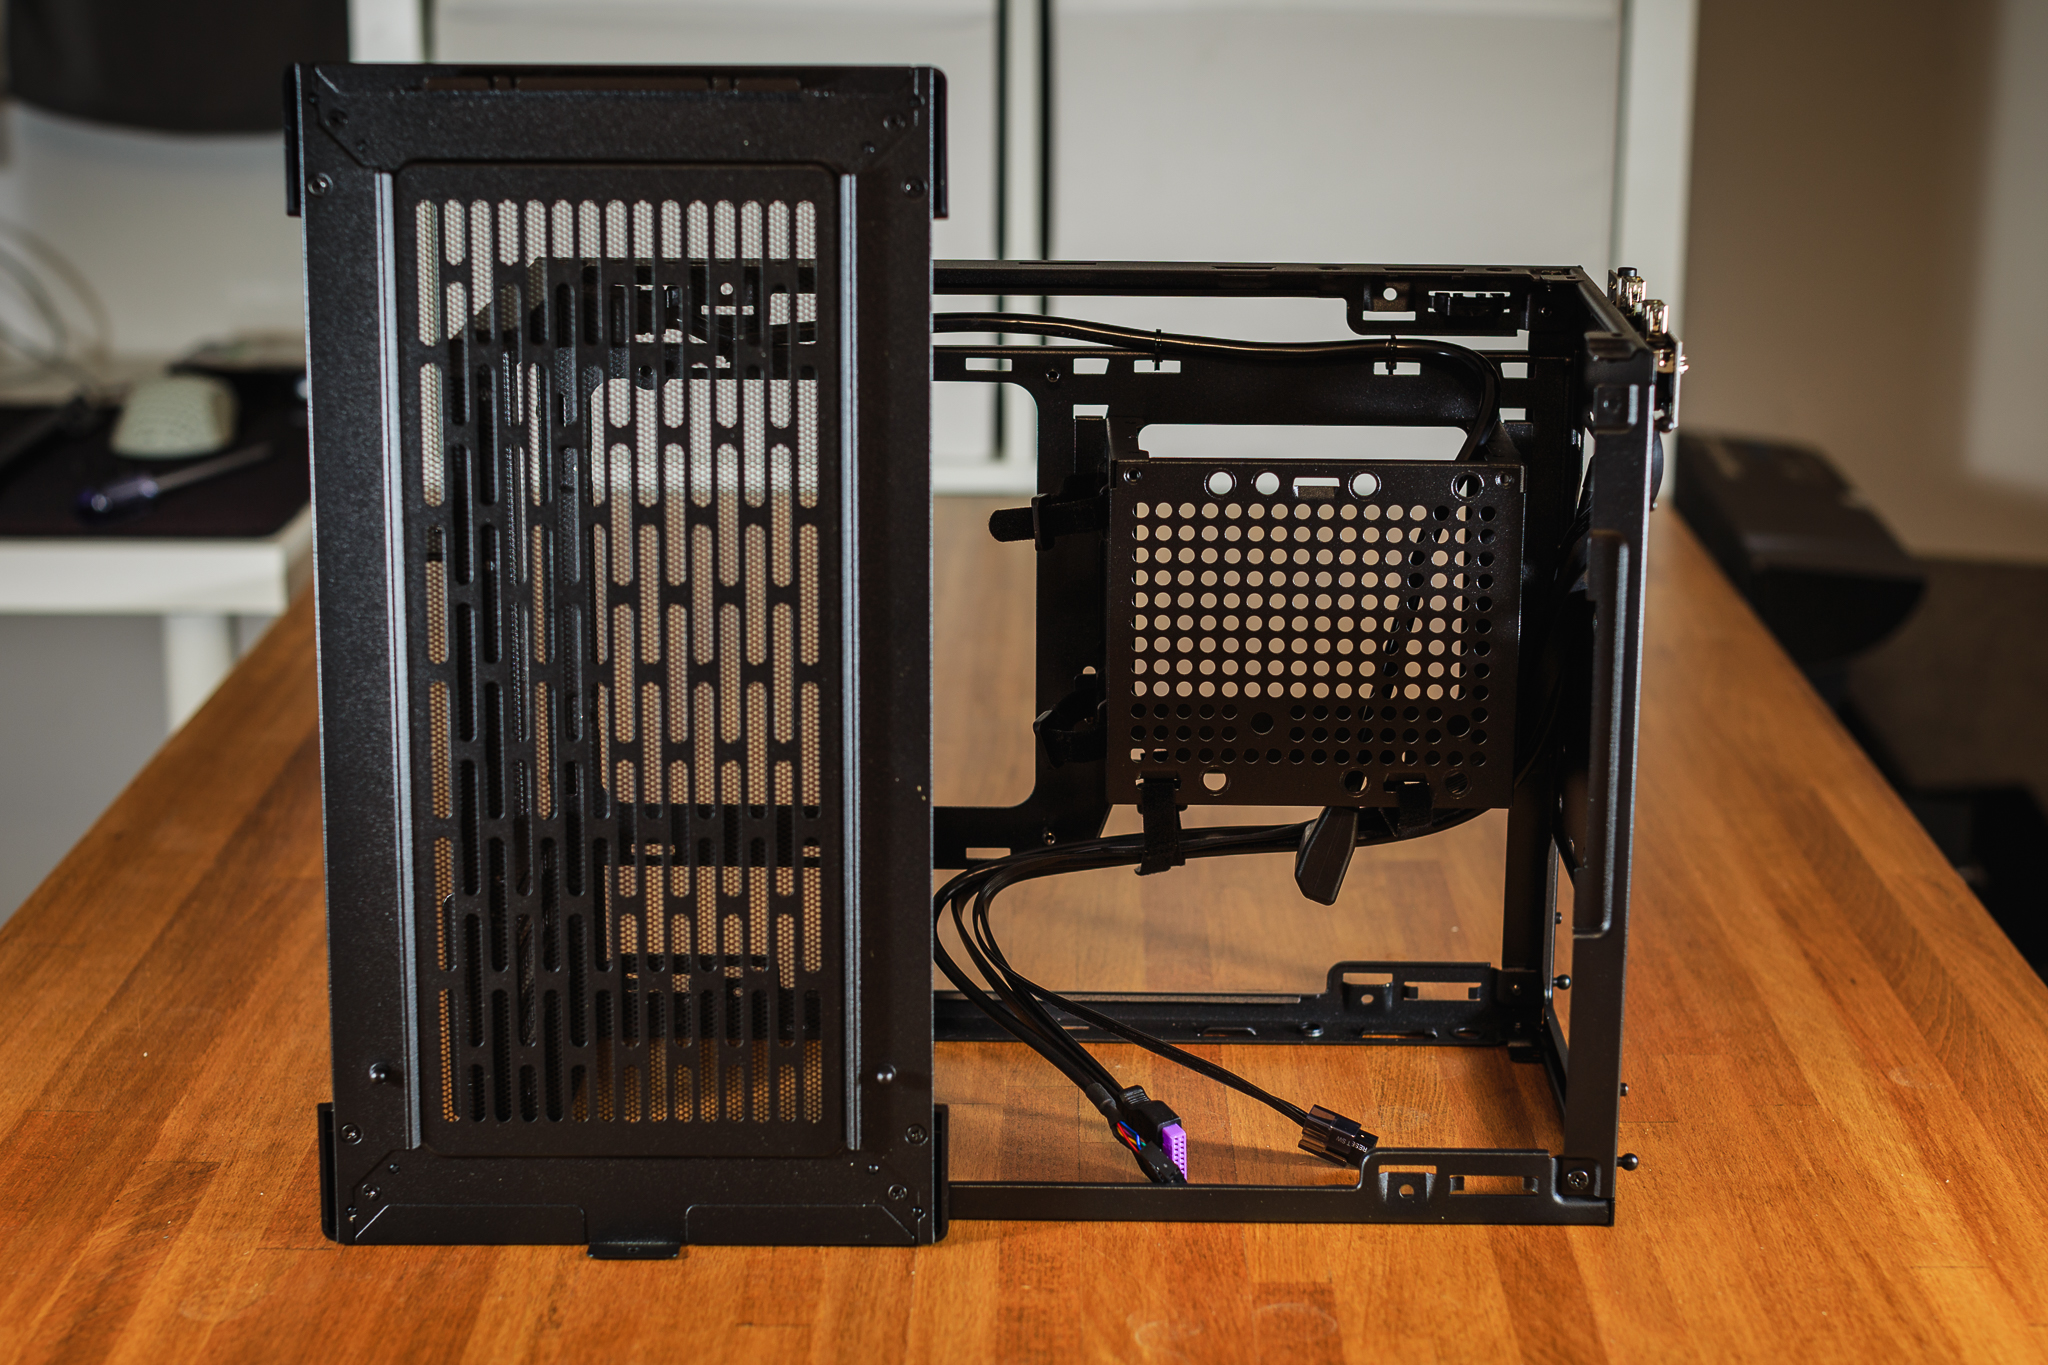
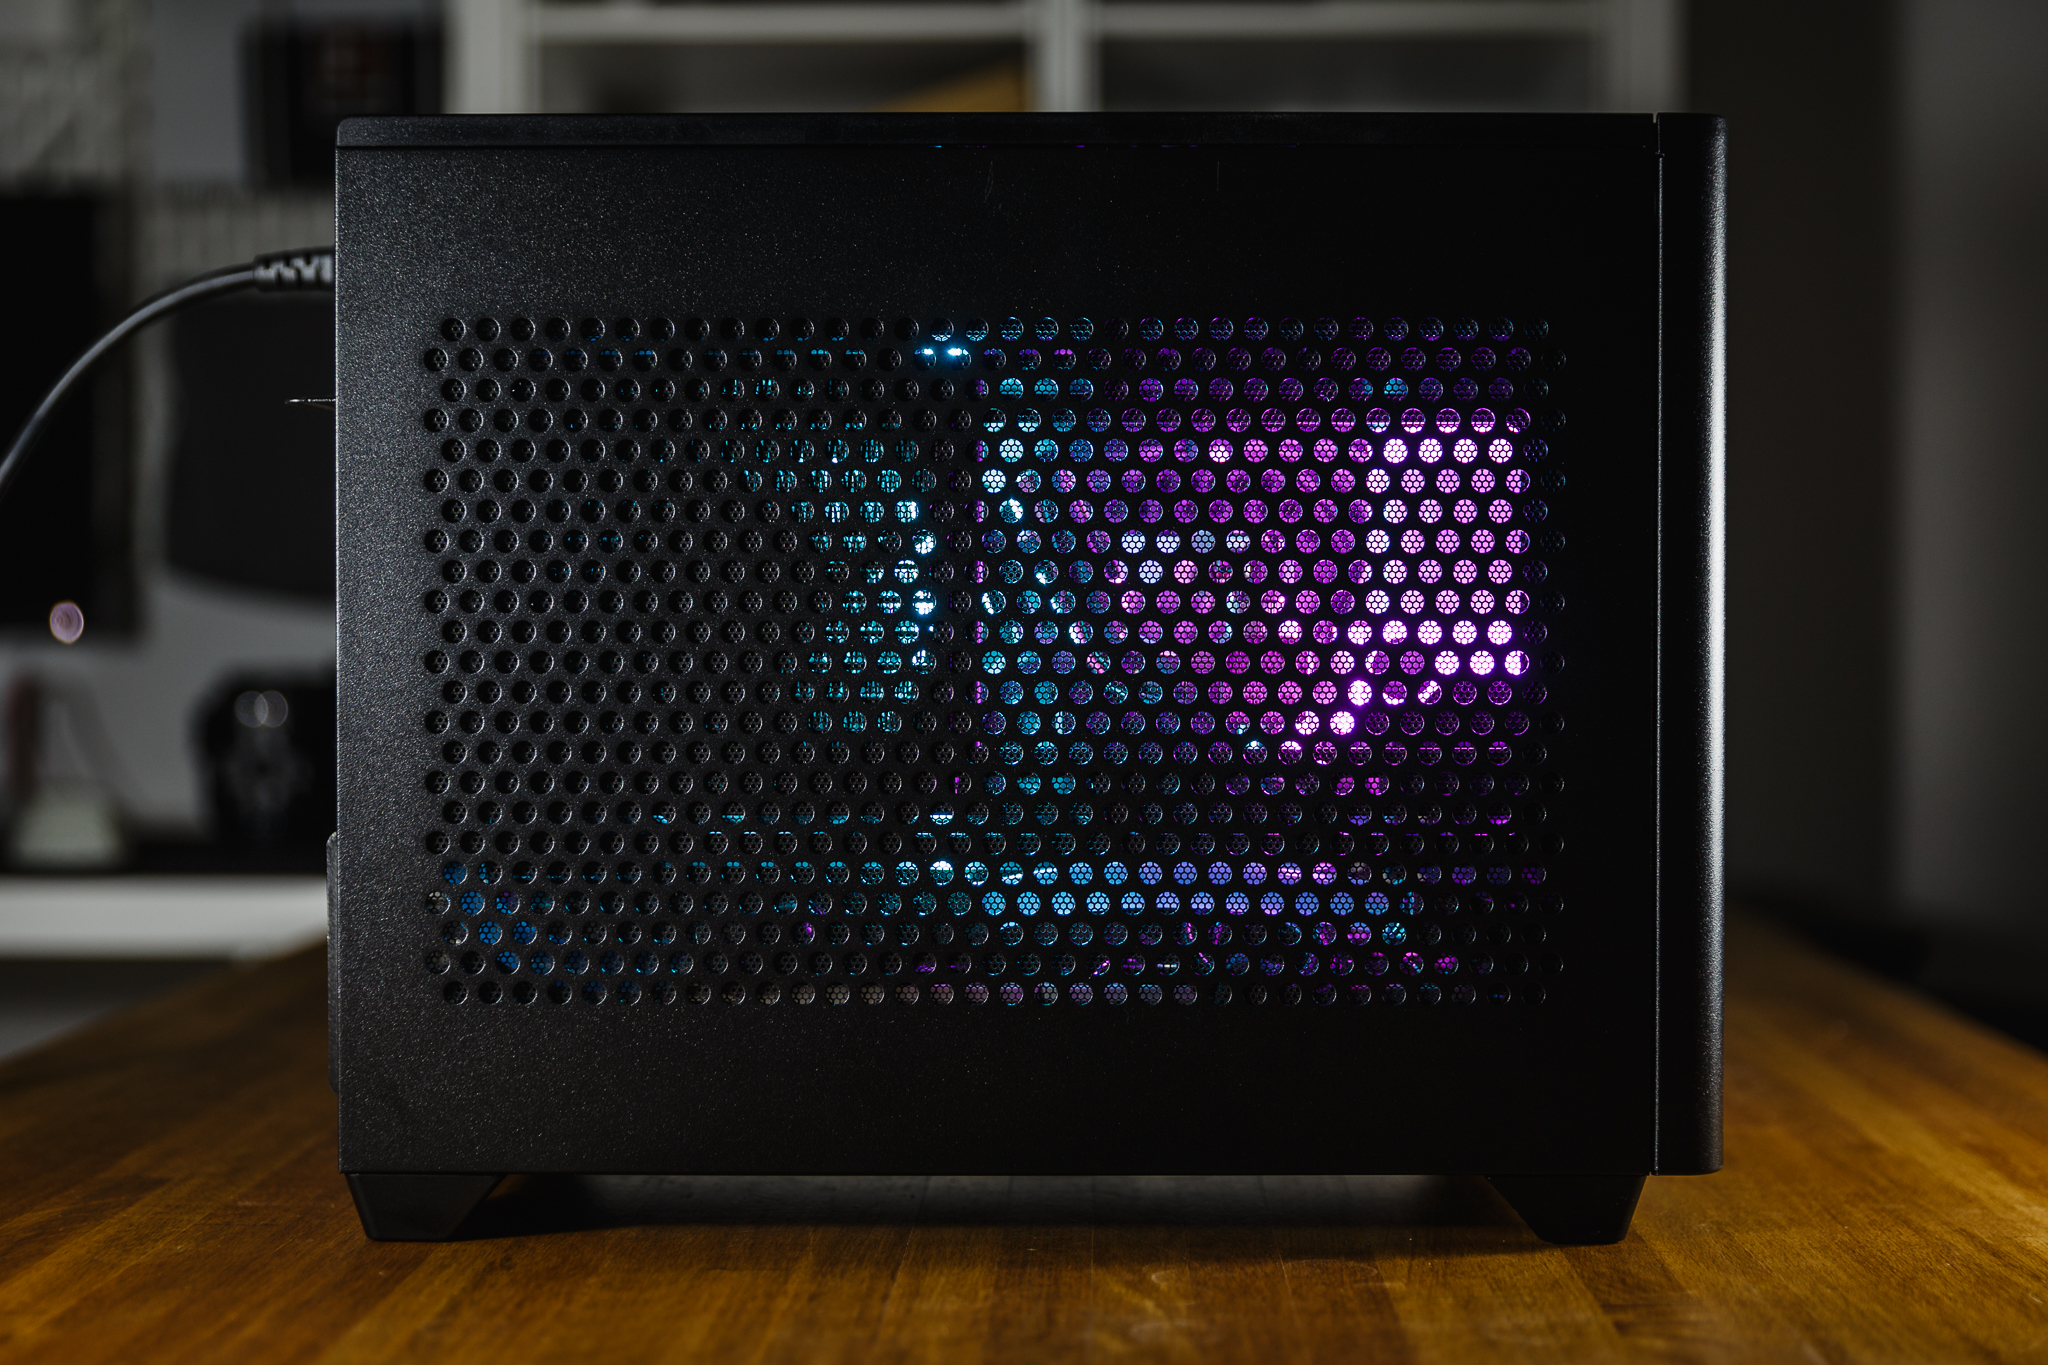
The whole case gives the impression that airflow was one of the main priorities in its design. Both side panels, the top and bottom of the case are greatly perforated and equipped with dust filters. The bottom and side filters are attached magnetically, so it is not a problem to simply remove and clean them. However, the upper filter is firmly attached to the upper panel. This should not be too annoying though, the top panel is primarily used to remove air from the case. Therefore, the dust should settle mainly on the outside, which can be easily vacuumed or wiped off. The front panel is without perforation and its matte black is disturbed only by the inconspicuous logo of the manufacturer in the lower third.
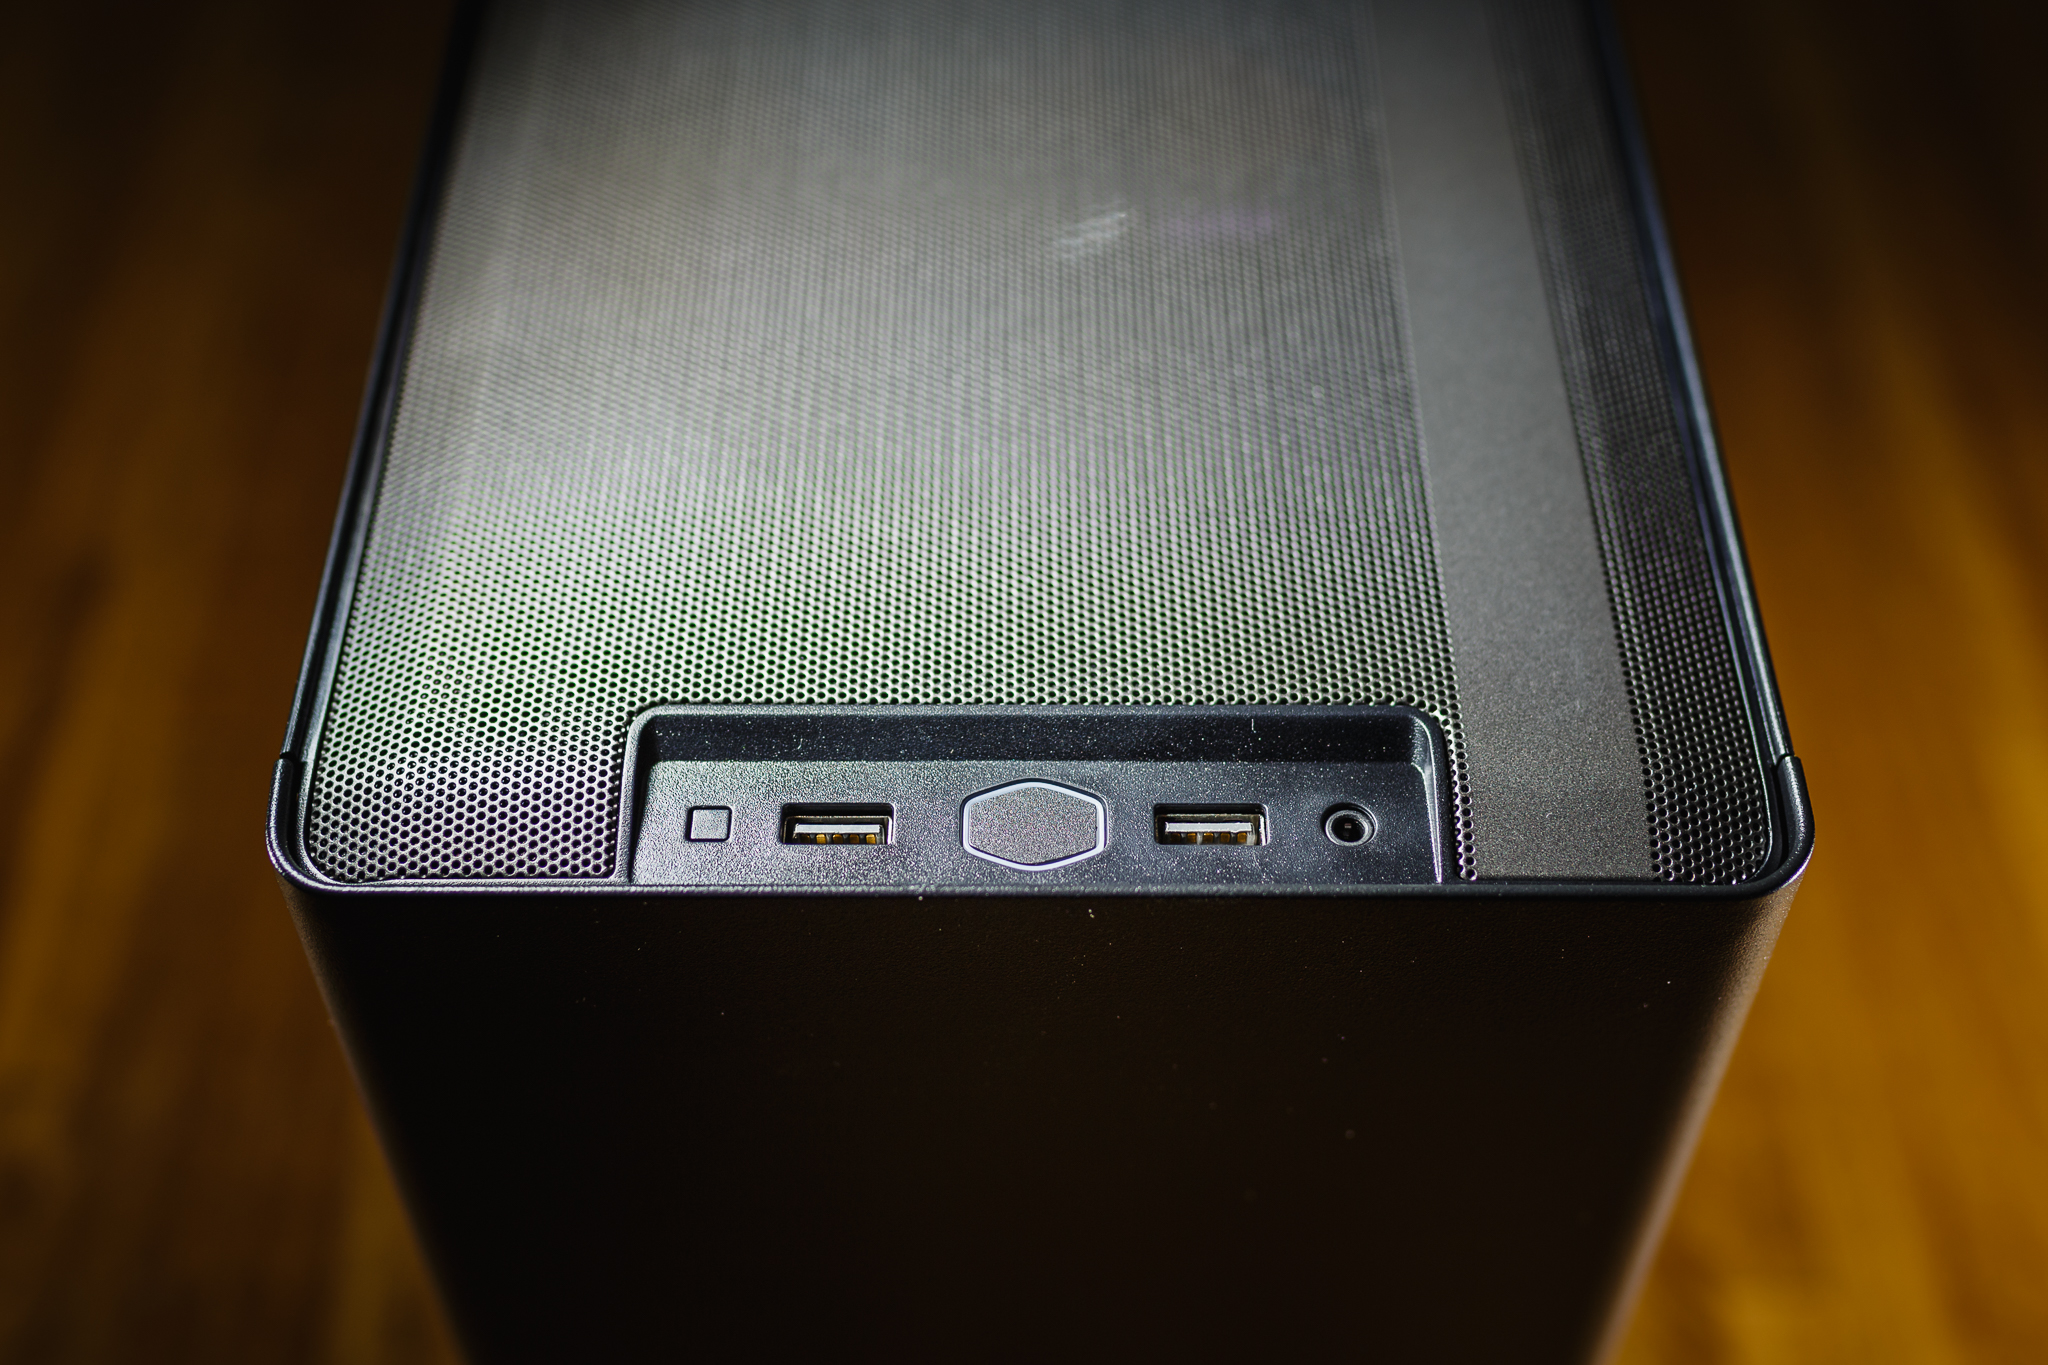
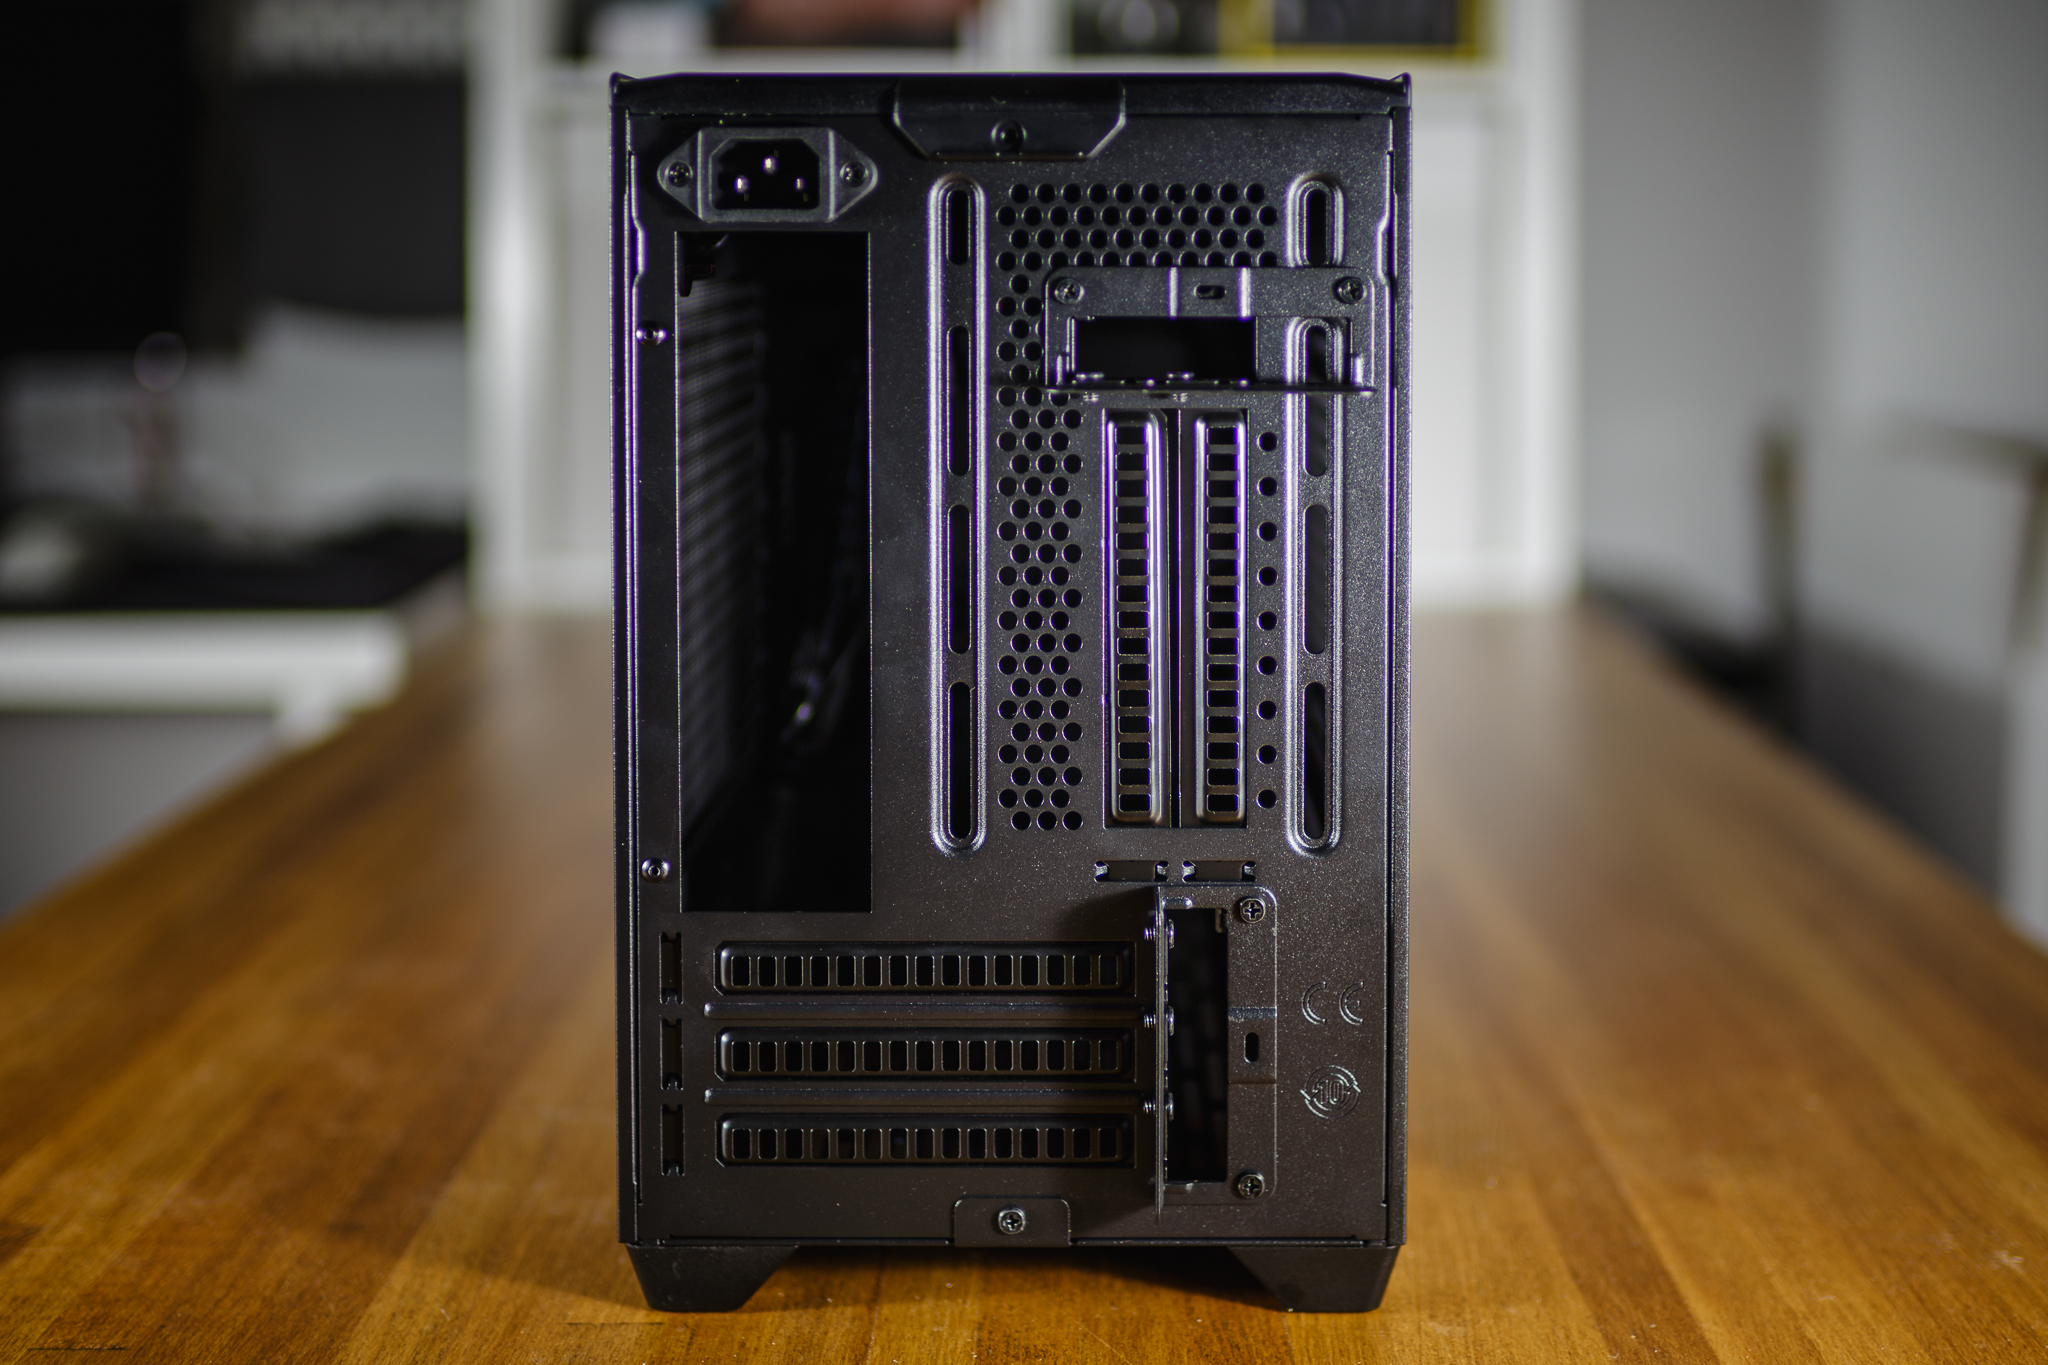
The front of the top panel contains an I/O interface. In the middle is the main switch, shaped into the Cooler Master logo. On its sides you can find a pair of USB 3.2 Gen1 type A ports. It’s a pity that there is no USB 3.2 Gen2 type C yet. Unfortunately, this feature was probably excluded as part of reducing production costs. On the edges of the I/O panel we find a recessed reset button and a combined 3.5 mm TRRS connector. A look at the back panel then reveals the possibility of fitting large graphics cards with a three-slot frame in the classic position or a two-slot card in a vertical position. PCI riser is included in the package for using the vertical position. Alternatively, this part of the case can be used for a 92 mm fan. The power connector is located quite smartly above the I/O interface of the motherboard, so that inside the case, the power cable can be run to the power supply alongside all components.
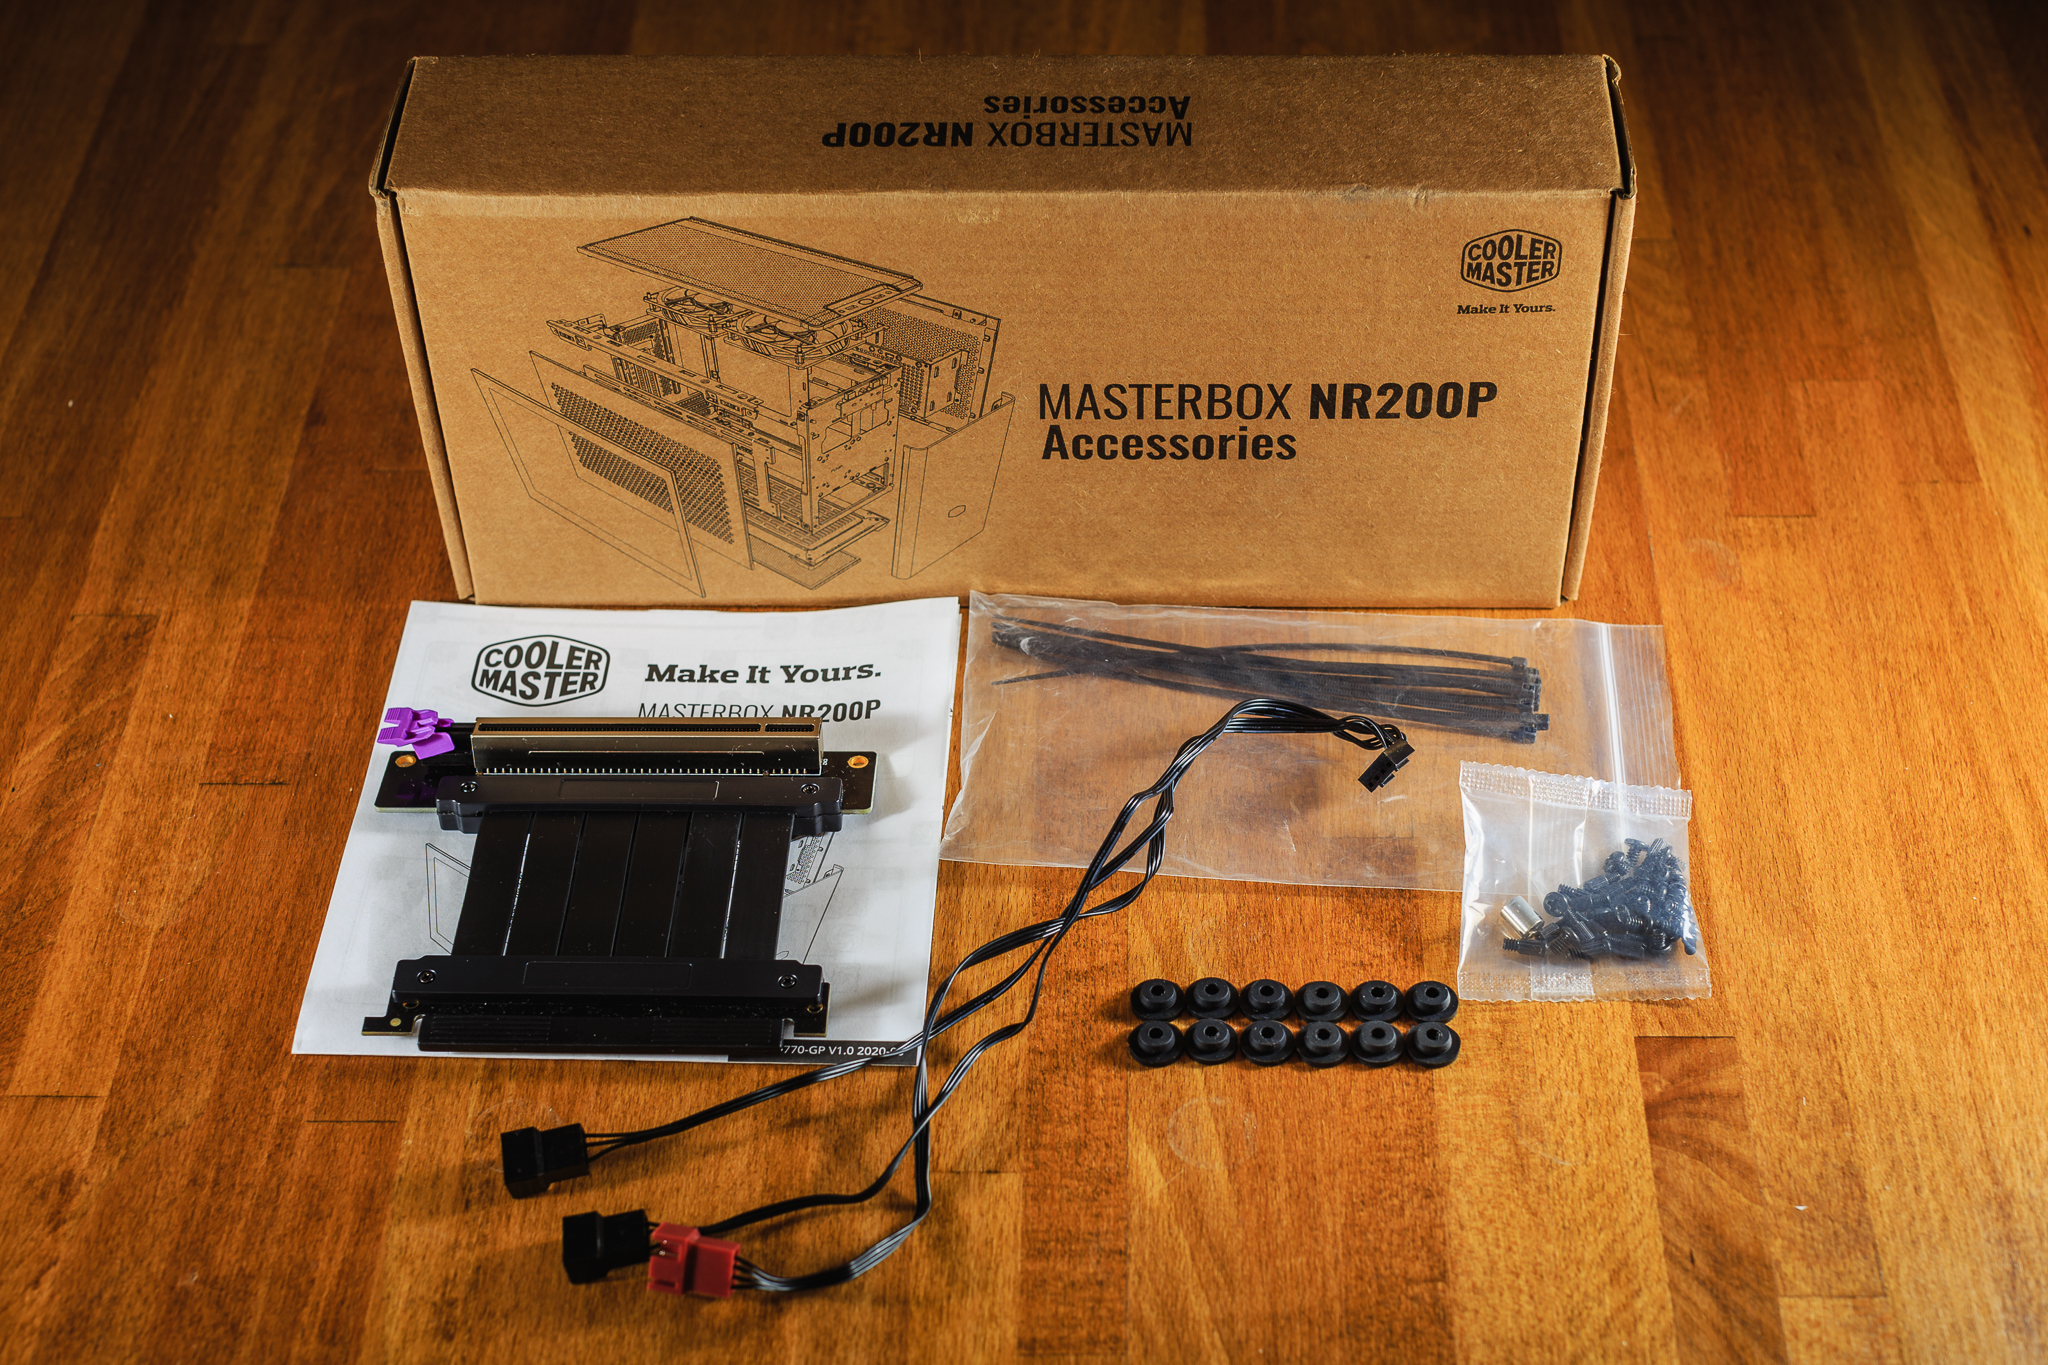
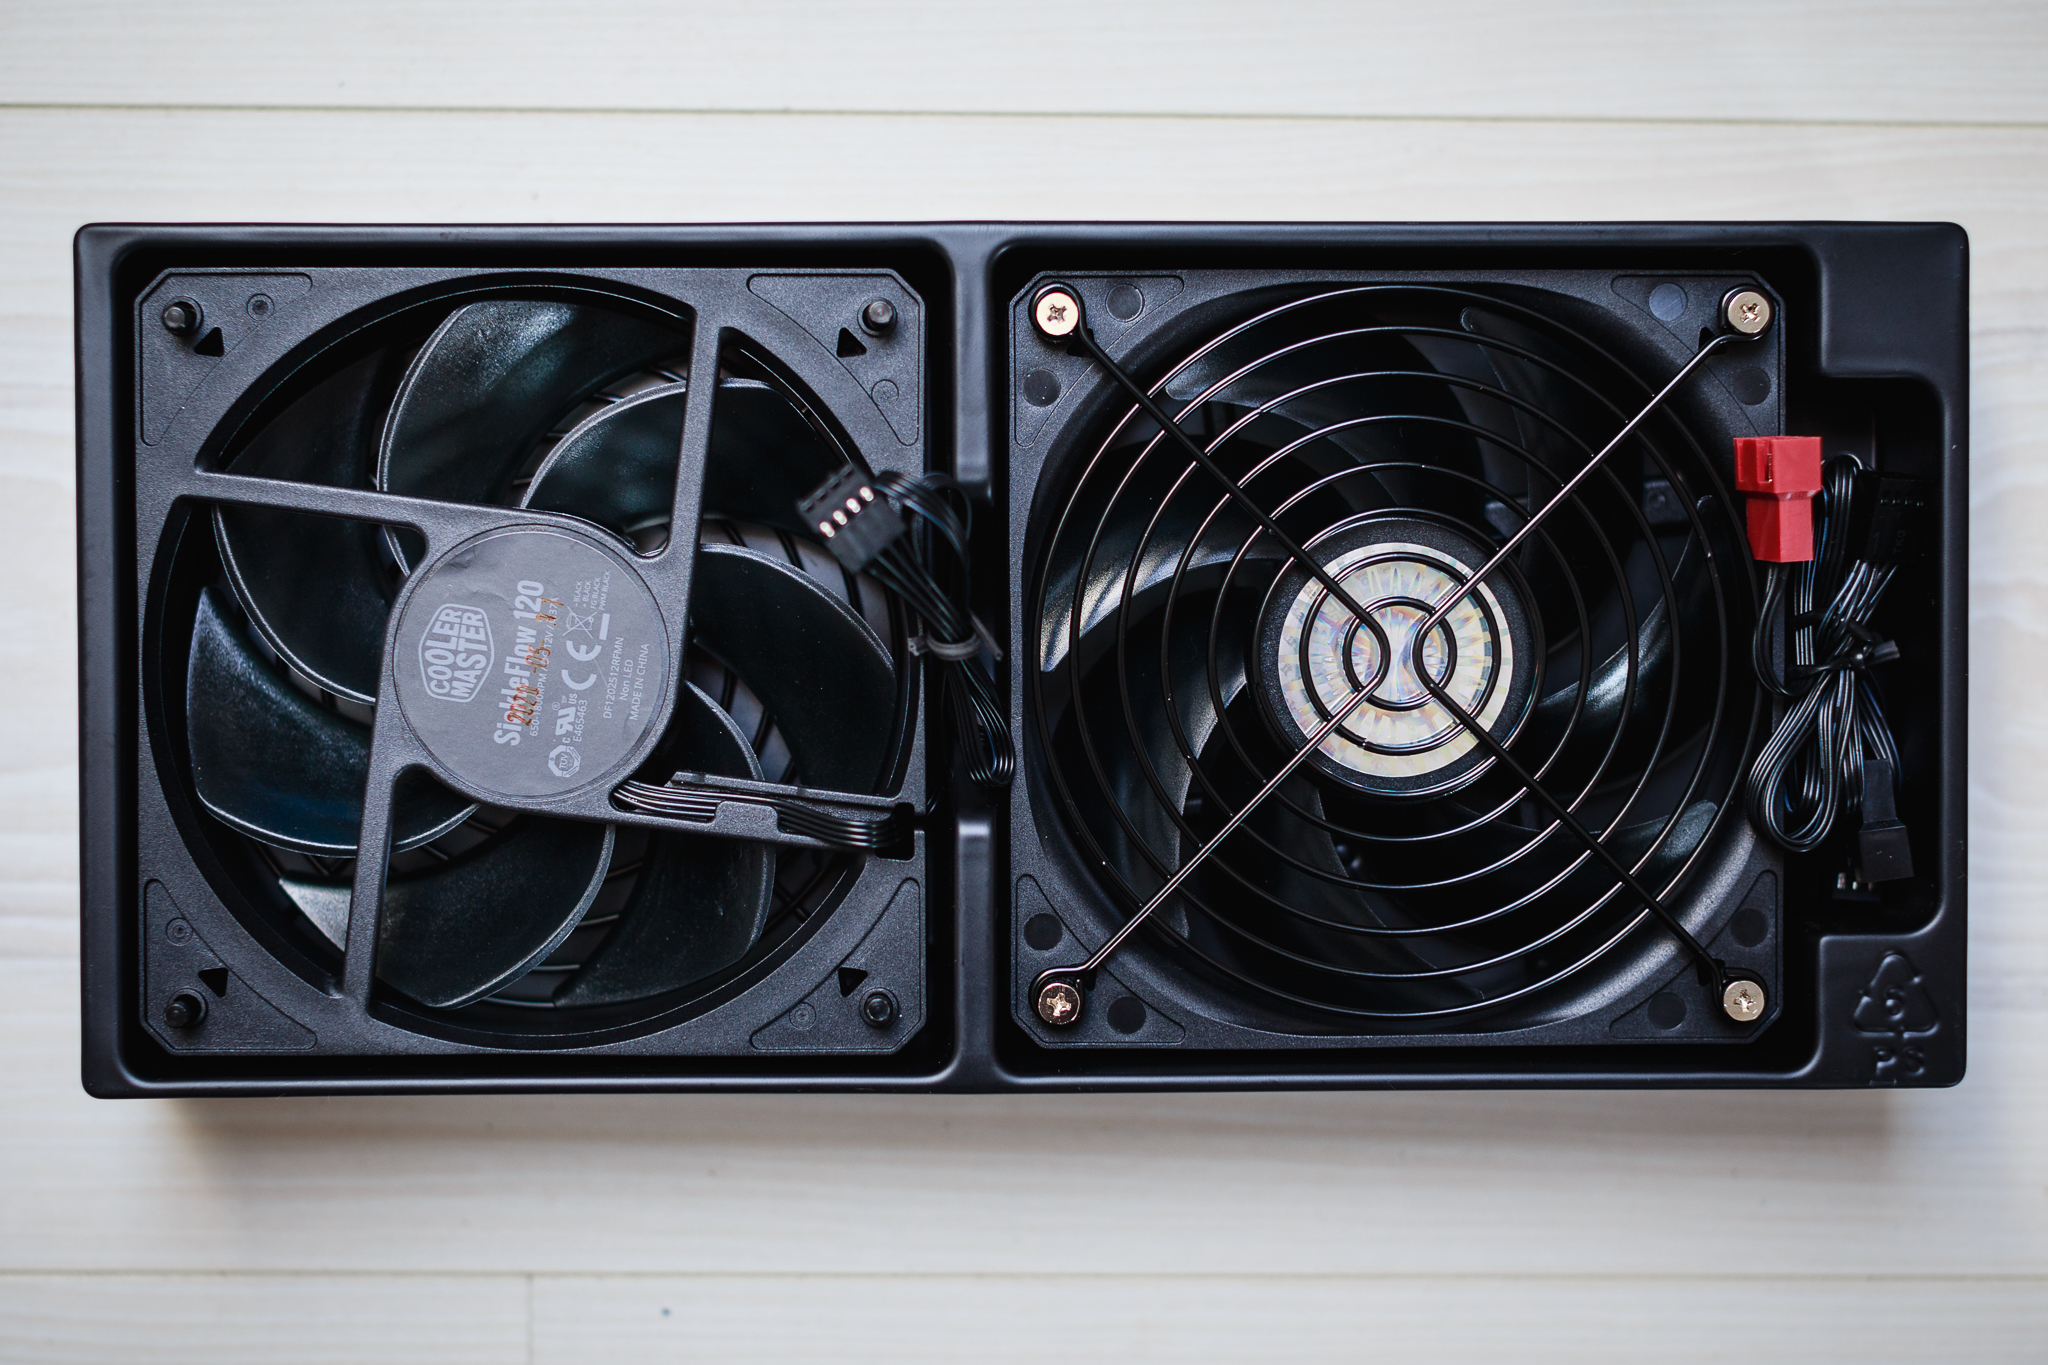
The accessories include the aforementioned PCI riser cable, as well as the necessary screws to install everything you need, rubber grommets to minimize the transmission of vibrations from hard drives and several cable ties to organize the cabling. The user manual is a bit blunt but clear. The accessories are complemented by a pair of SickleFlow 120 fans with PWM control with a speed range of 650–1800 RPM. These fans are equipped with a protective grille against collisions with cabling. The grille is then connected to the plugs, which are used to install fans on the top panel. Classic screws cannot be used. There is also a hub for three fans, whose red connector indicates a fan with a preserved RPM signal.
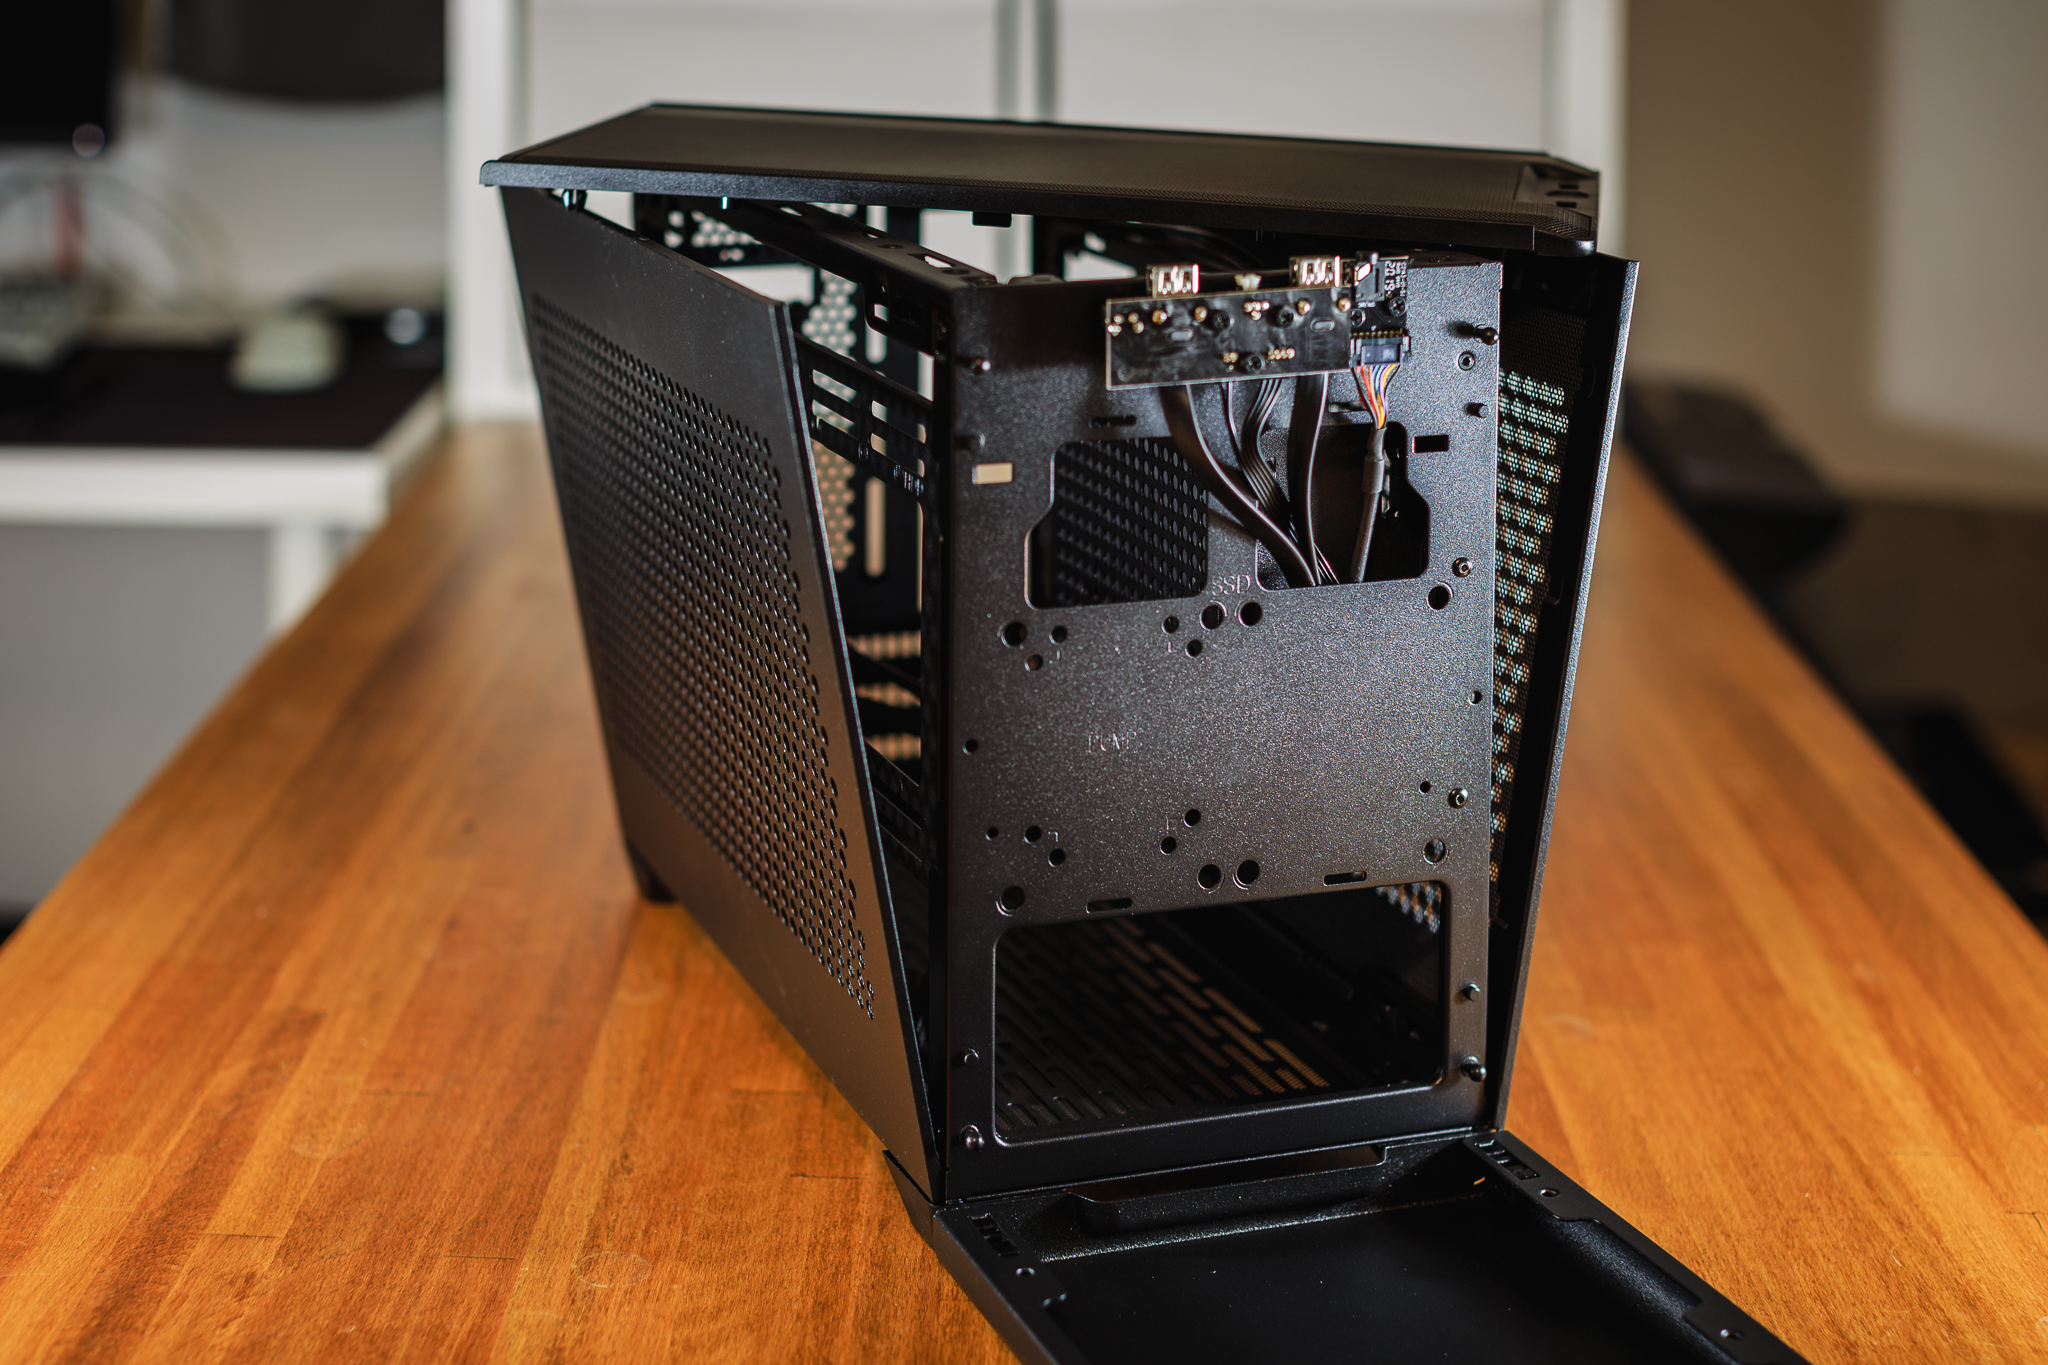
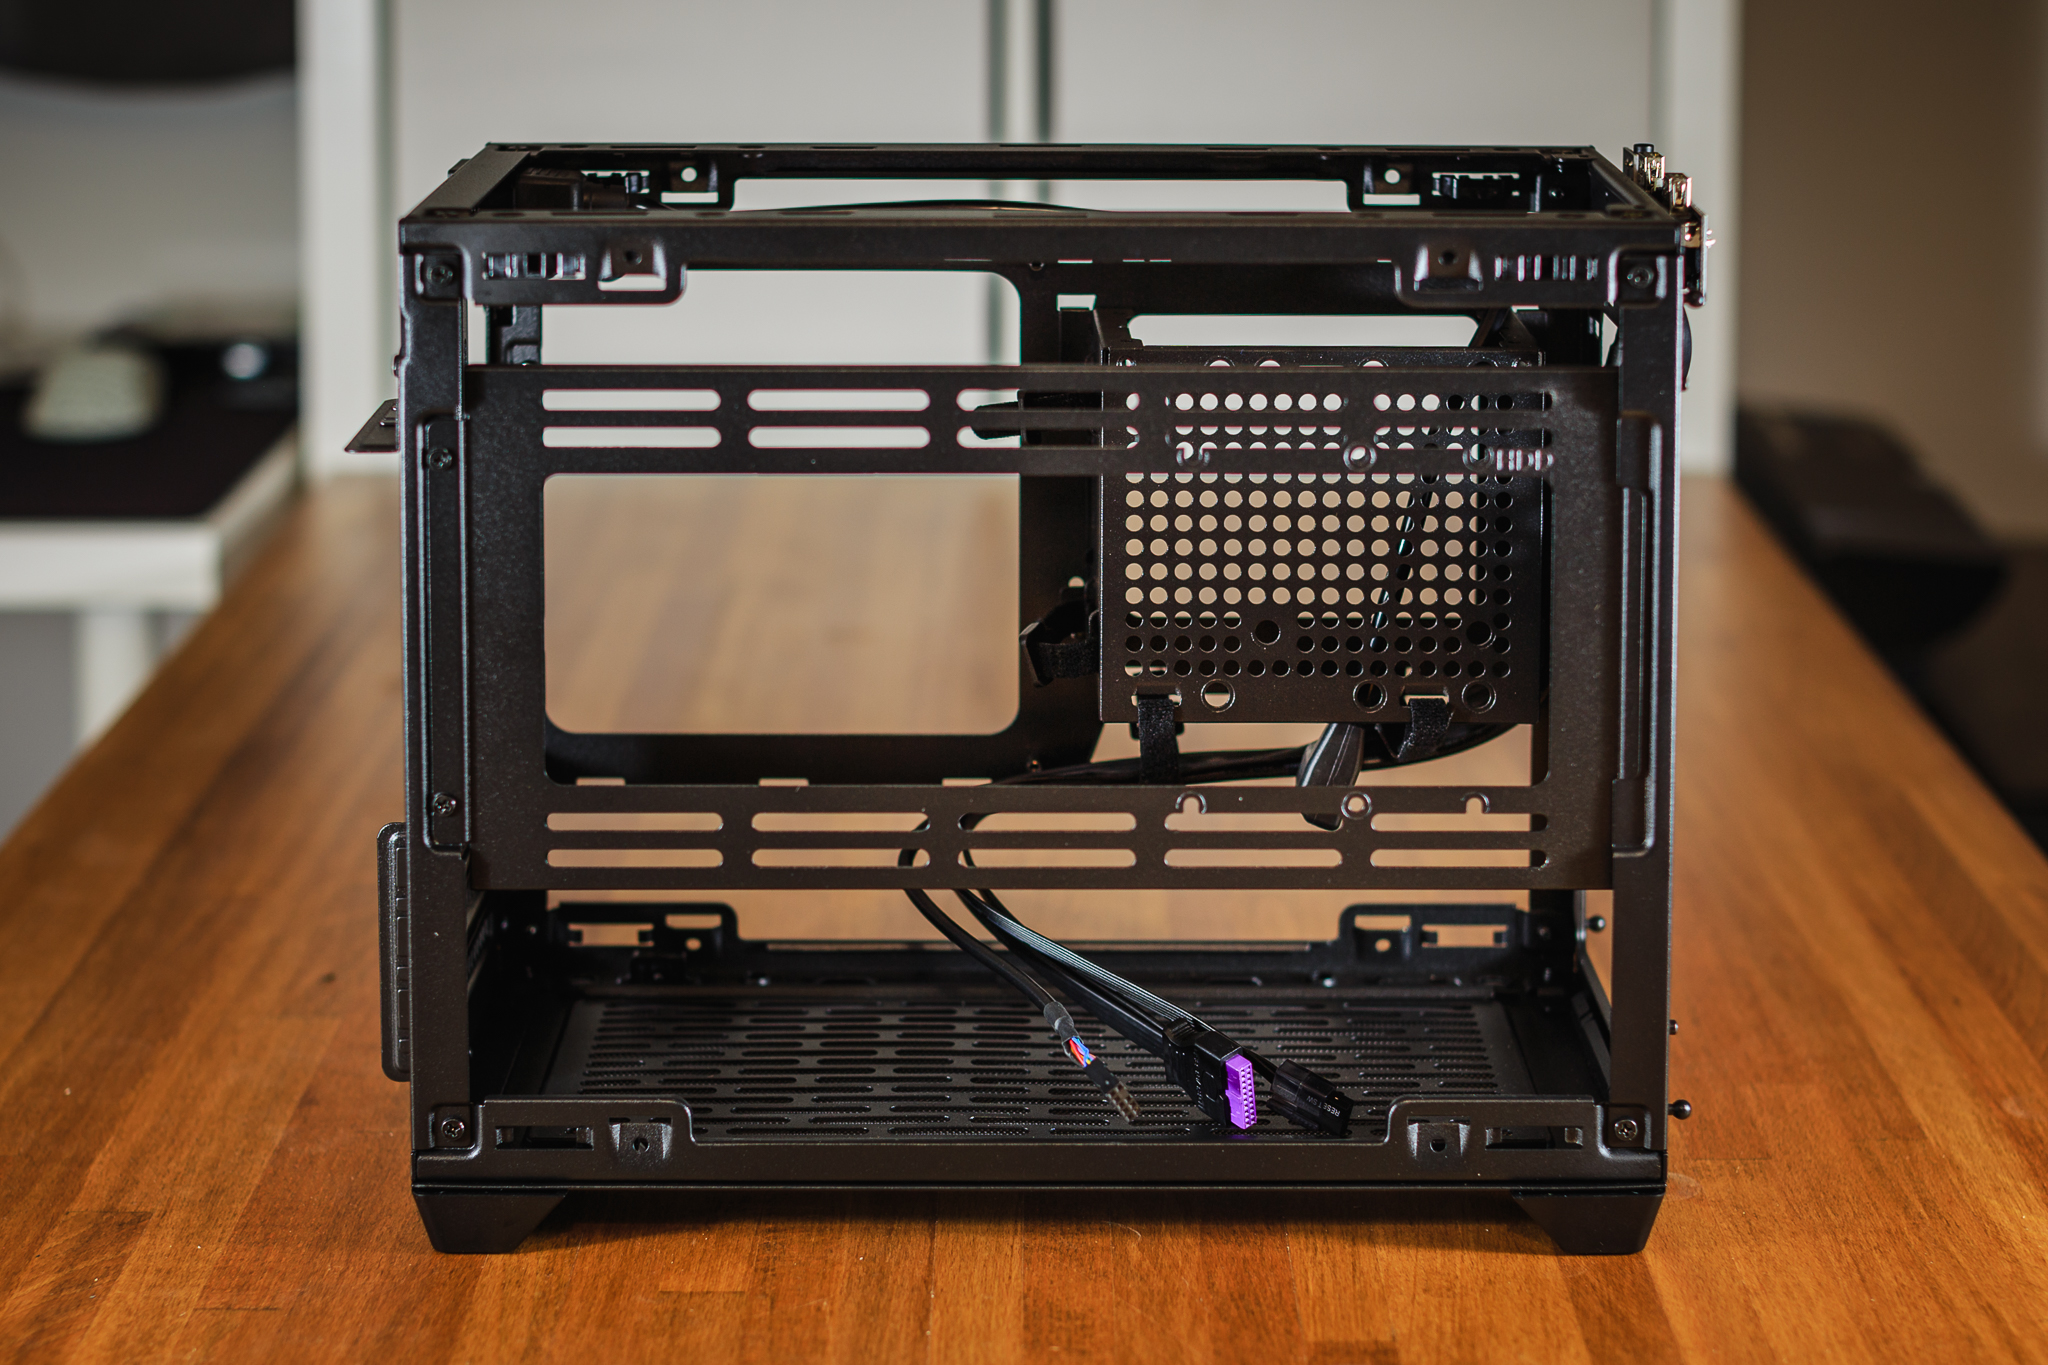
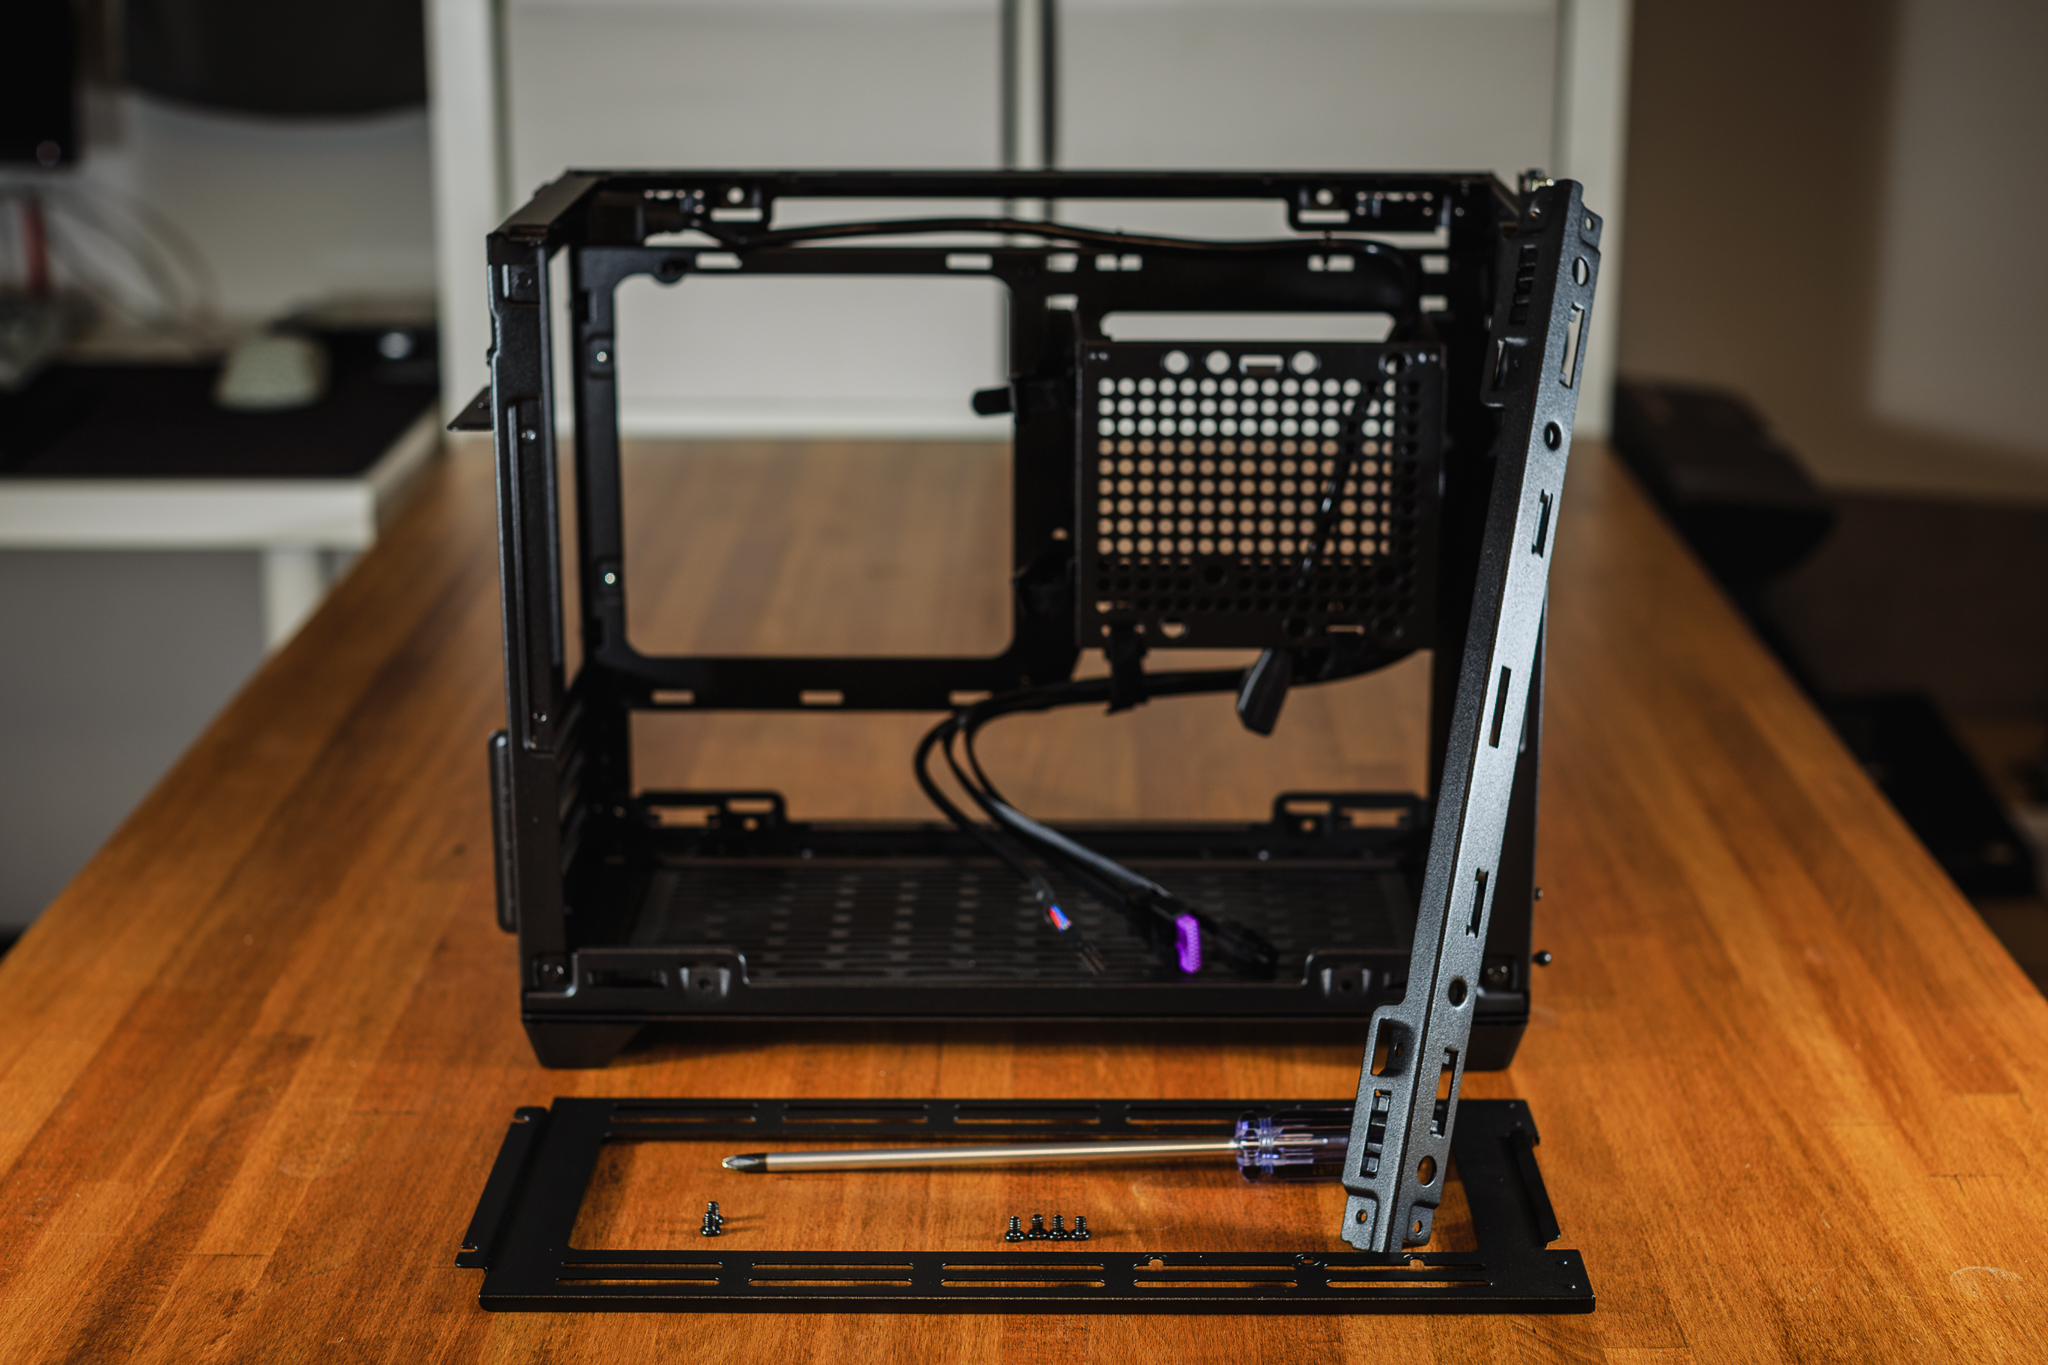
The front, top and both side panels can be easily removed without the use of tools. The bottom panel is secured with a single screw and all panels use a snap-fit mechanism. After removing them, we are offered a view inside the case. However, to gain maximum access to the inside, the side frame for the fans and the support rod to the top panel still need to be unscrewed. Then you get unlimited access to build the rig.
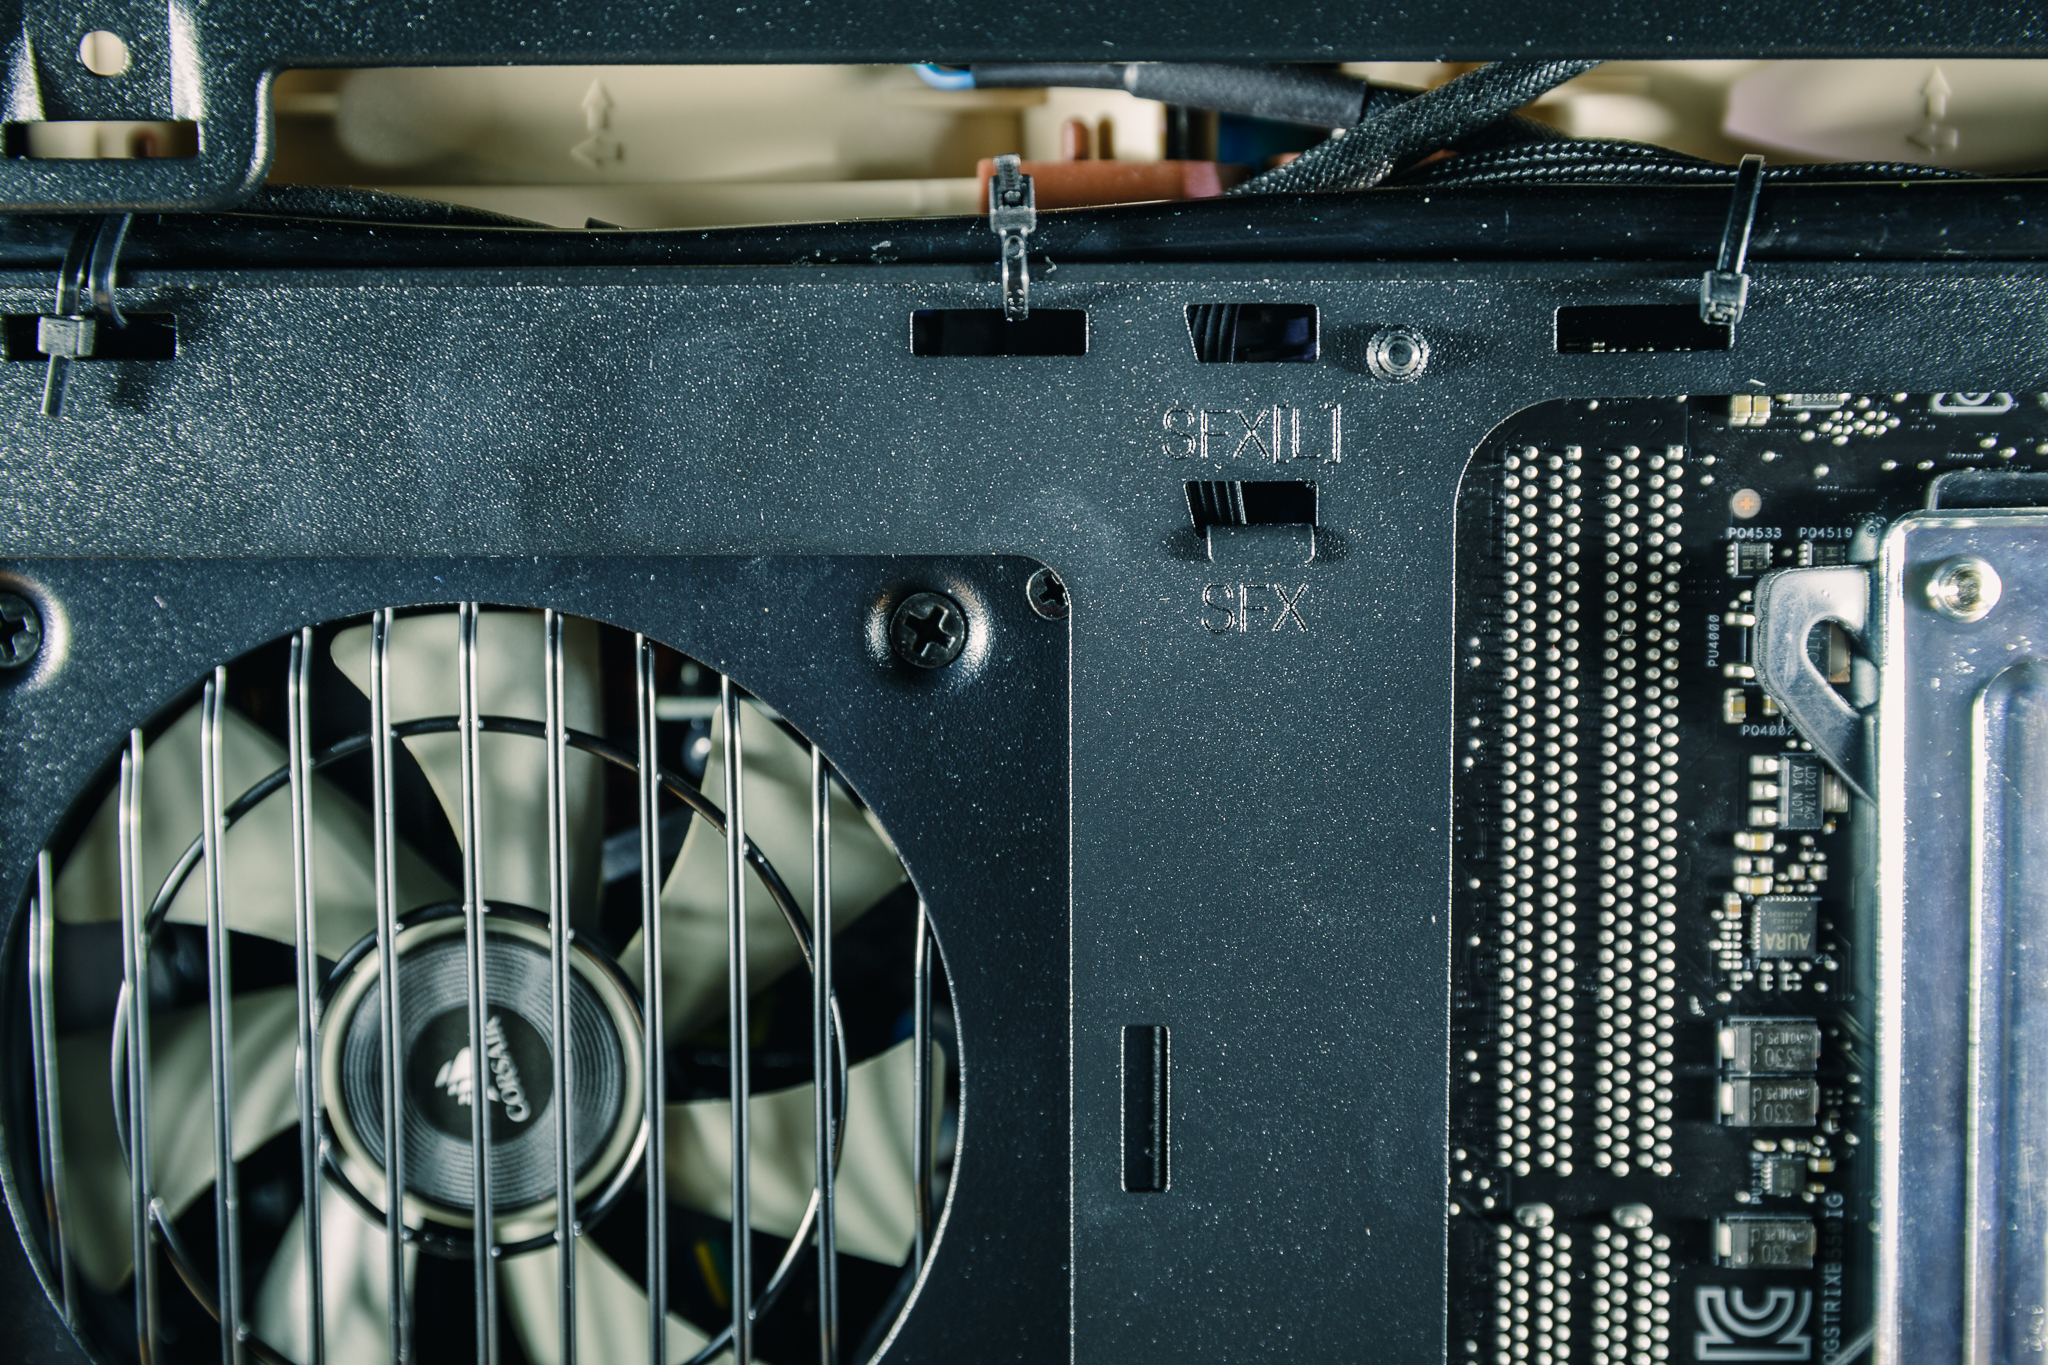
The power supply holder can be moved slightly higher if you want to use the SFX-L format. However, you will lose the opportunity to use the front fan on the top panel. Alternatively, you can move the power supply to the front wall of the case to gain more space between the power supply and the motherboard. Cooler Master also offers materials for 3D printing of the frame for the ATX power supply on the web. However, such a large power supply will limit the fan on the top panel or the maximum length of the graphics card.
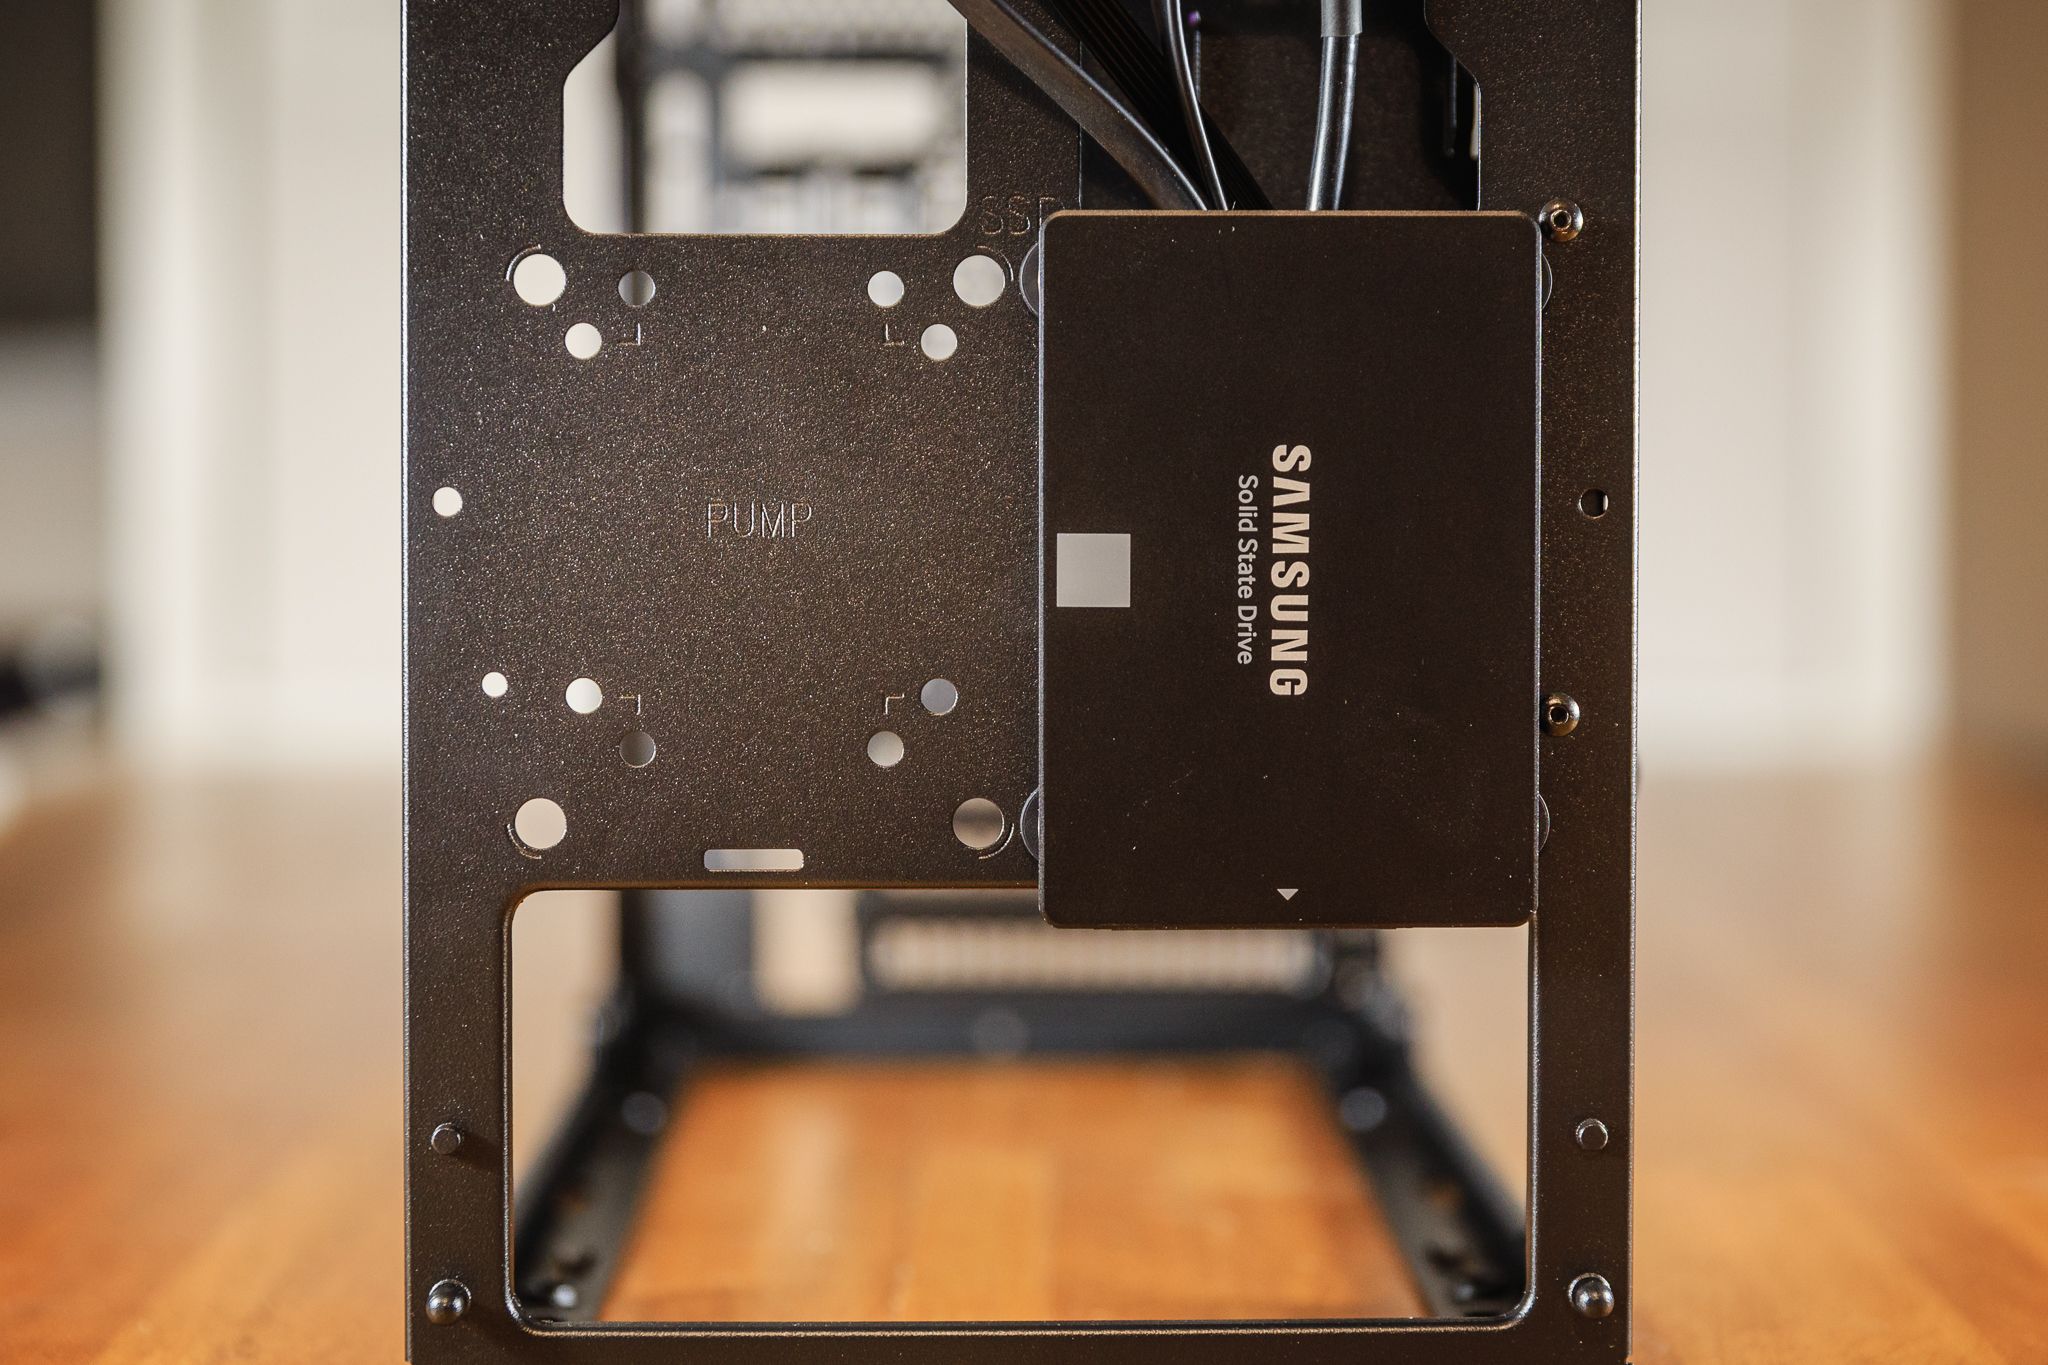
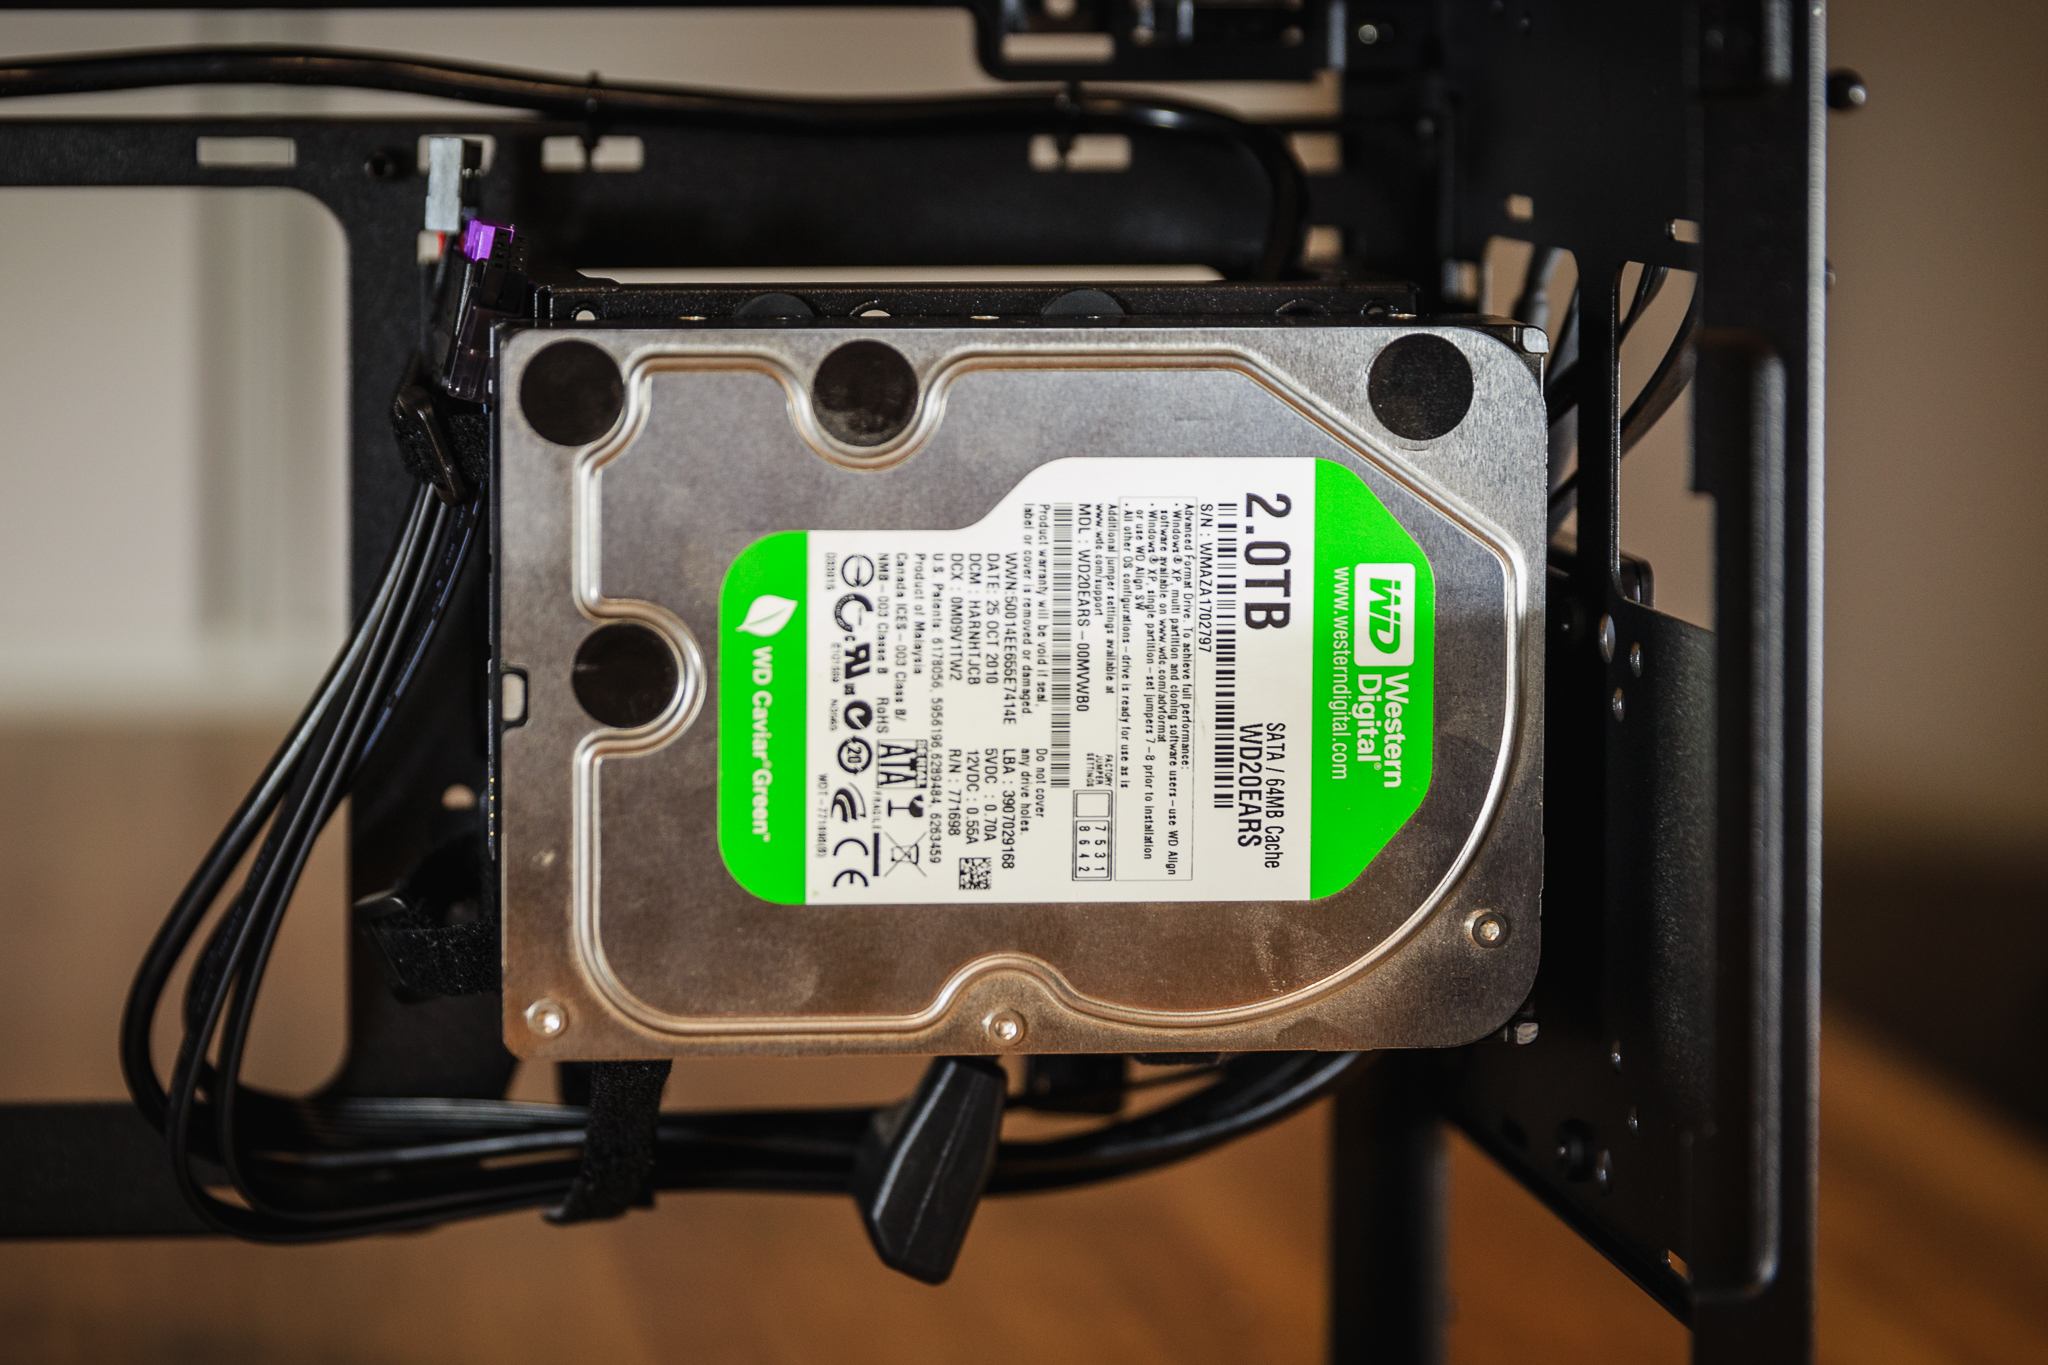
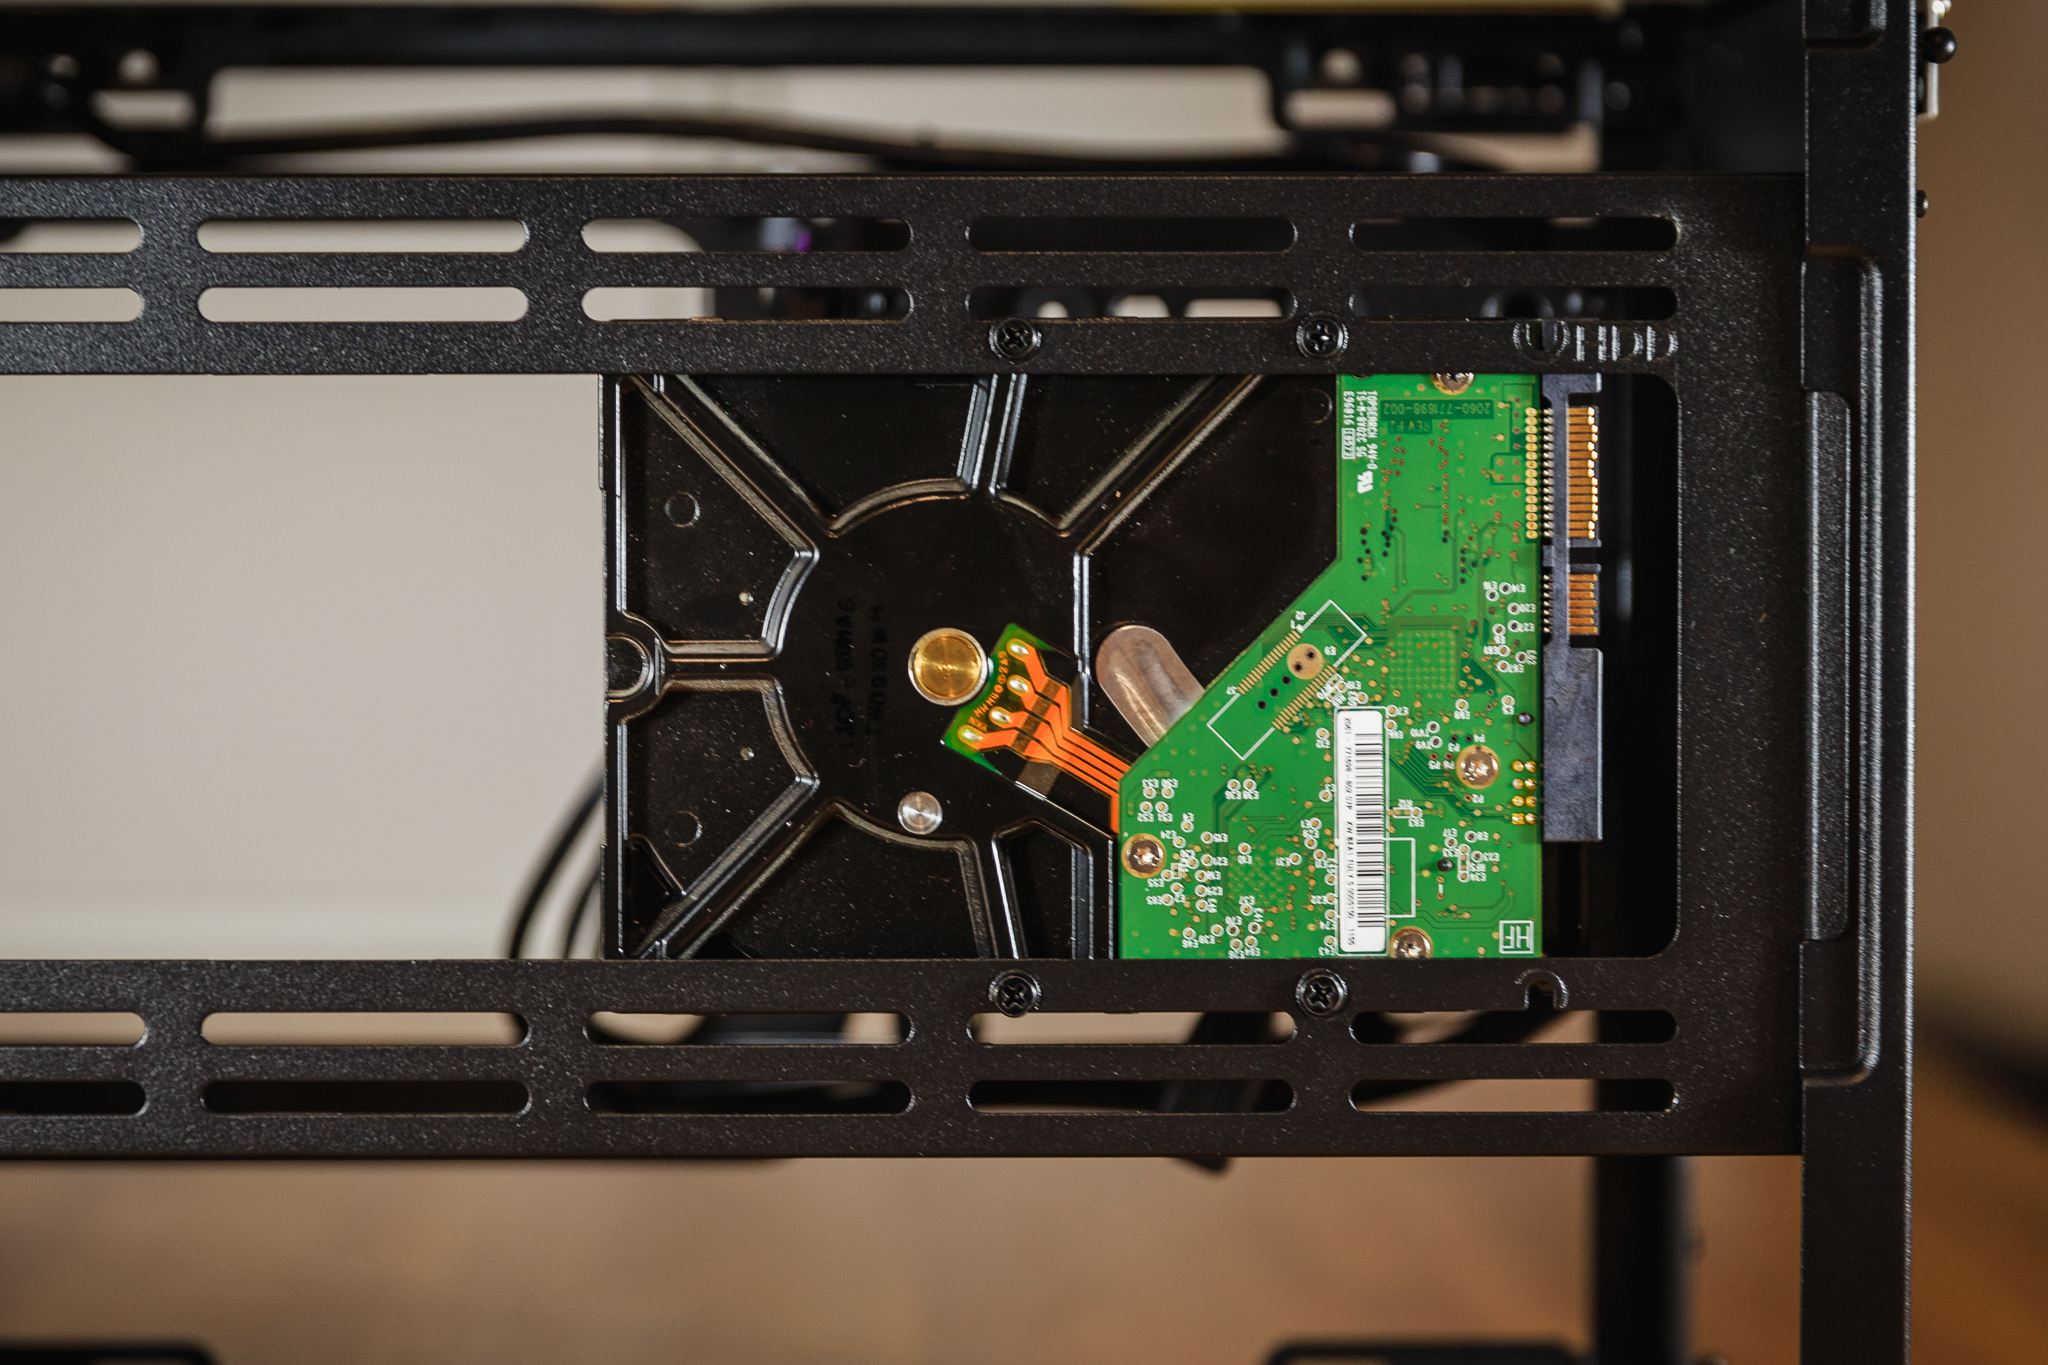
Overall, the NR200P is a pleasantly modular case, it’s up to you how you take use of it. Here you will find support for up to three SSDs in 2.5″ format, two can be placed behind the front panel and one on the power supply holder. For classic 3.5″ discs there are two positions, one is again on the power supply holder and the other position then uses the side frame for fans. The native support for mounting the water loop pump behind the front panel or on the power supply holder will pleasantly surprise you. The large hole in the bottom then serves to make it easier to install the graphics card, however, personally it seems easier to remove the bottom panel, which gives you much more space.

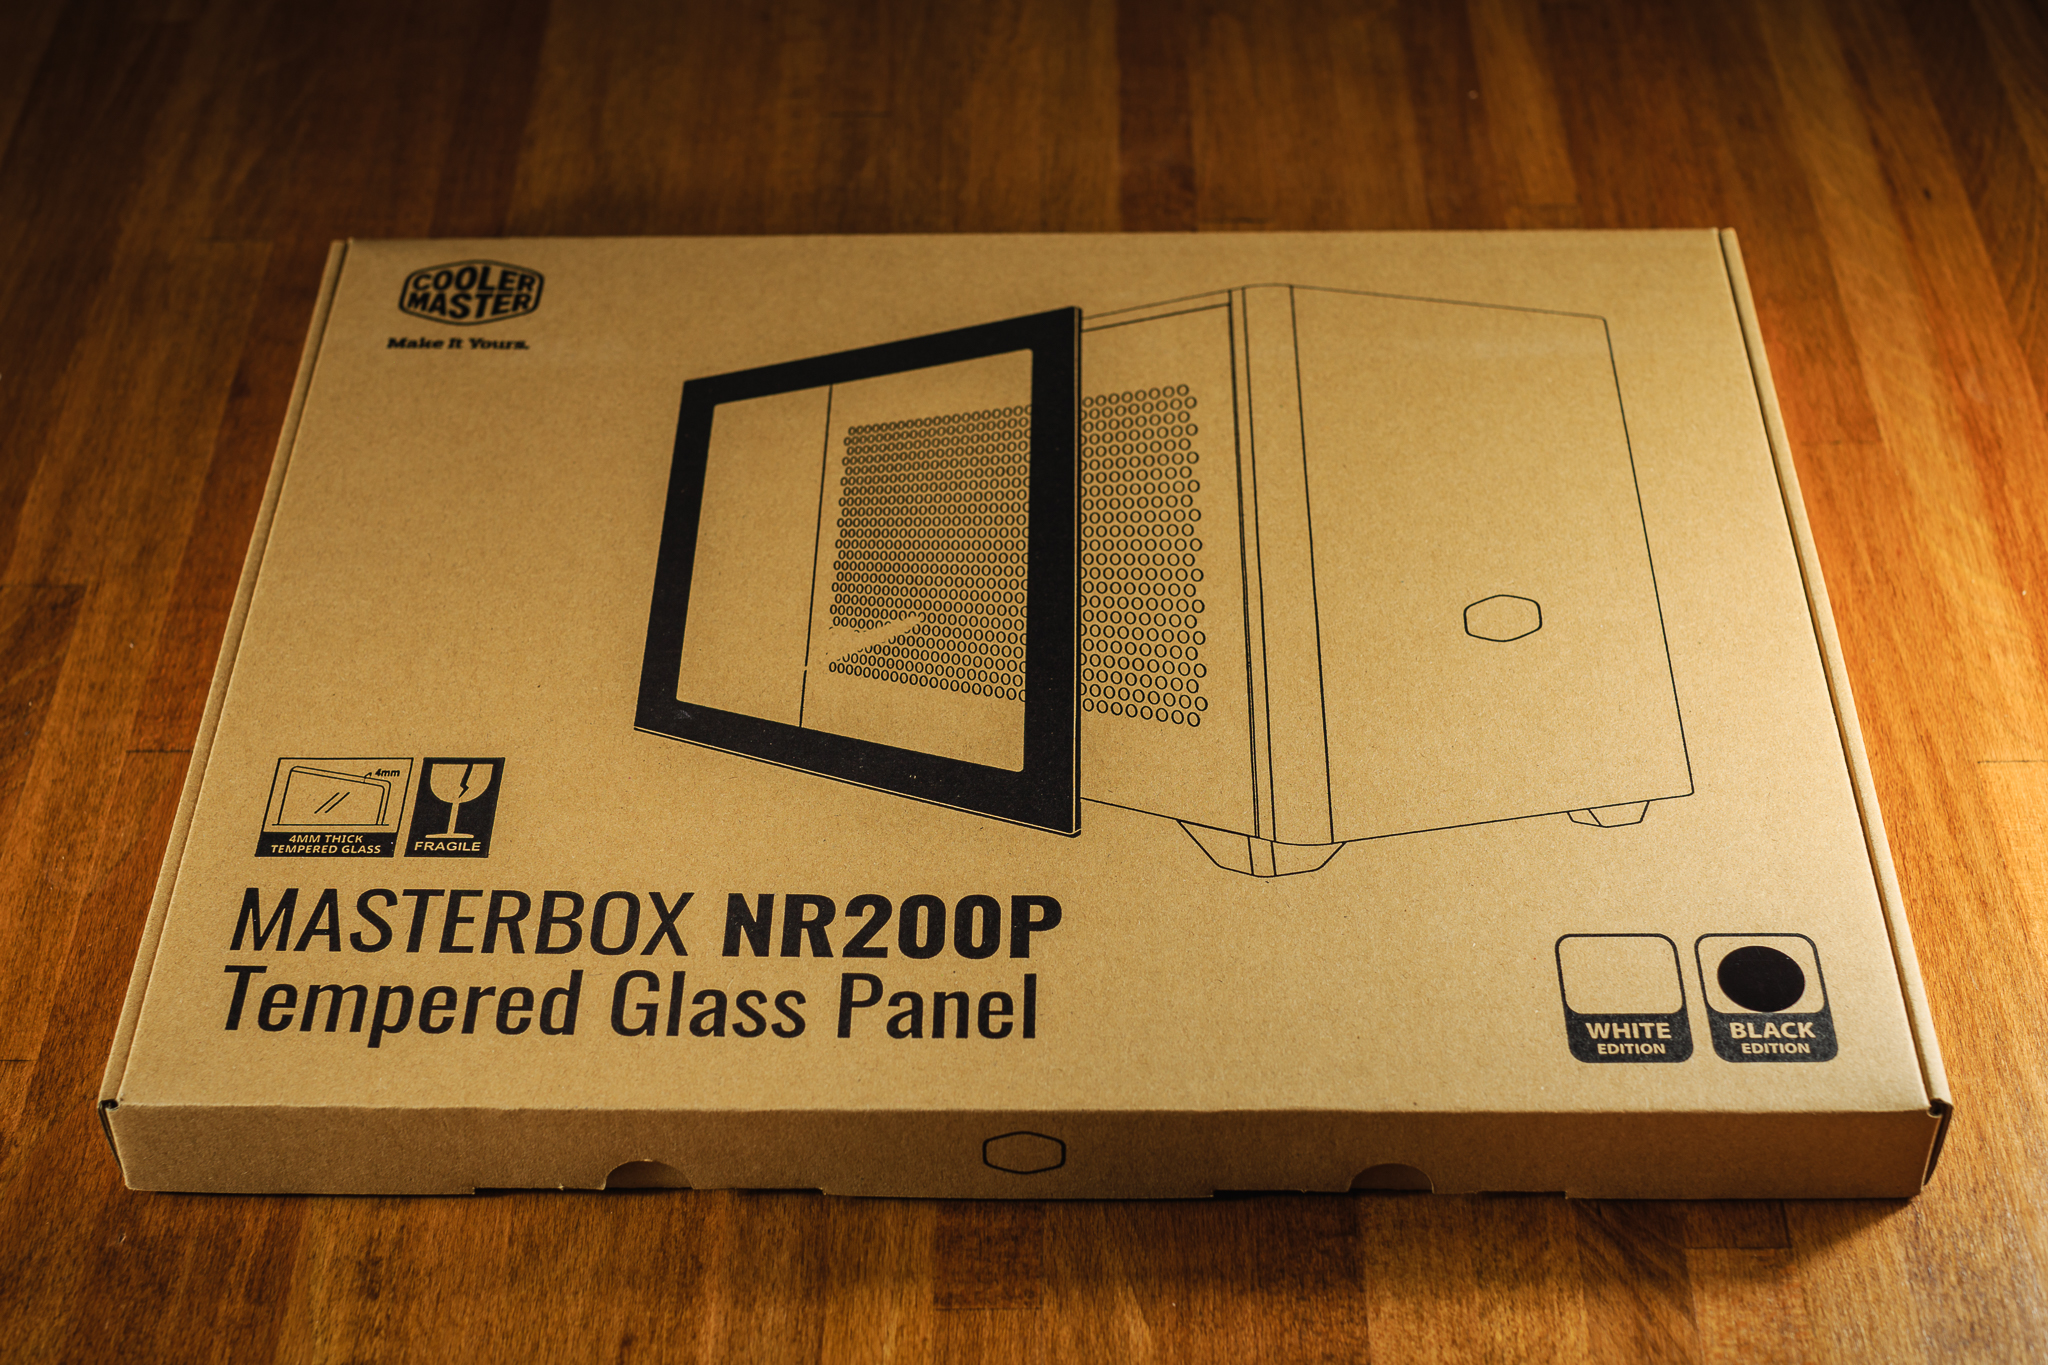
As a cosmetic feature, the NR200P accessories also includes a tempered glass panel. It is carefully packed in a separate box. However, I will not use it for the intended build, because I also need to use the side frame for fans and the perforated side panel. I do not avoid an attractive appearance, but it must not limit the cooling efficiency of the whole build. It is nice that you will find both the TG panel and the ventilated side panel in the case packaging. Everyone can easily choose what suits them better and it is not necessary to buy anything extra.

SFF PCs are gaining popularity, so manufacturers are naturally expanding the range of cases in this category. But what if you want a small PC, that’s packed with powerful hardware and with a liquid cooling loop as well? MasterBox NR200P, quite interesting case from Cooler Master, recently appeared on the market. It appears to be well suited for this scenario. But is it really good idea to combine small case and a custom liquid cooling?
Building a large water loop in a small case
SFF builds have fascinated me for some time now. Two years ago, I gave in to temptation and bought a Streacom DA2, whose appearance absolutely enchanted me. But in the end, I was quite disappointed with the noise and operating temperatures of the whole set. So I humbly returned to the classic build with an ATX motherboard in a compact Define C case from Fractal Design, where, after a minor modification, I fitted a loop with two radiators, which cooled the Intel Core i7-9700K and GeForce RTX 2080 Ti. I was generally satisfied with the rig. But now Cooler Master has come up with the MasterBox NR200P, which promises good airflow and support for water loops in a compact size. I simply could not resist this opportunity. I also planned to upgrade the build as soon as new AMD processors came out.
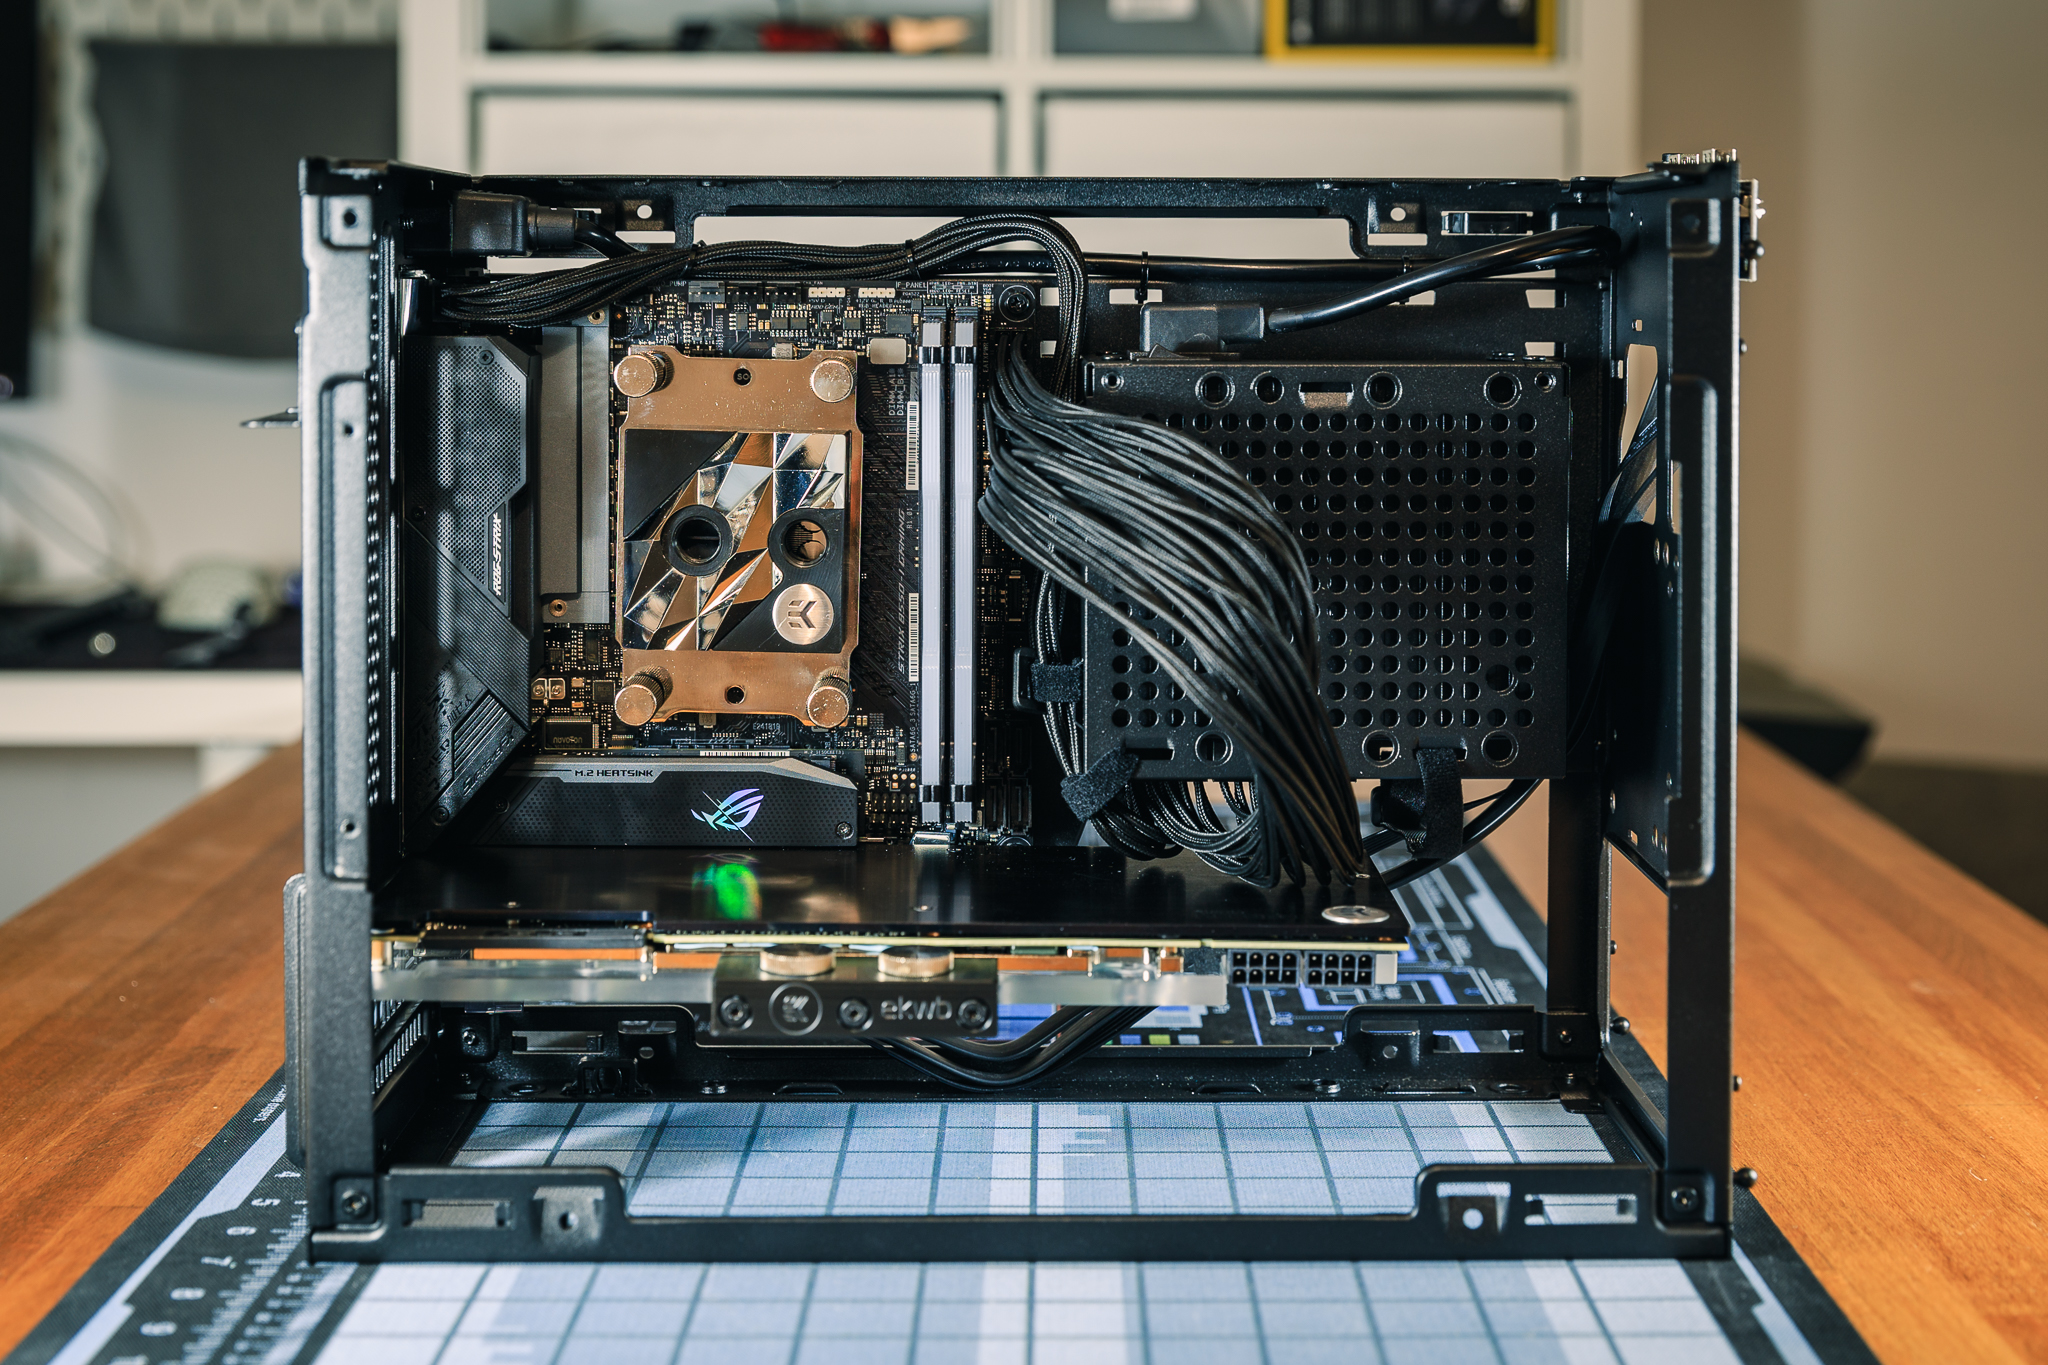
So I started the assembly by emptying the case to a bare base without panels. Mounting the motherboard, power supply and graphics card could not be easier. As a motherboard I chose the Asus ROG Strix B550-I Gaming, in which I installed the AMD Ryzen 3 3100 processor as a temporary solution before the Ryzen 9 5900X arrives on the market. I supplemented the motherboard with Corsair Vengeance RGB PRO RAM in a 2 x 16 GB configuration. The entire build is powered by the Corsair SF750. This power supply belongs to the top among SFX power supplies, offers quiet operation and, most importantly, has high-quality and flexible cables, which is very practical in any SFF rig. The graphics card is Asus GeForce DUAL RTX 2080 Ti O11G. I also had this card in the original build, but the upgrade is not on the agenda yet. I chose a pair of M.2 NVMe SSDs as storage so I wouldn’t have to worry about cables and space. These are Samsung 980 Pro 1 TB and Samsung 970 Evo Plus 1 TB.
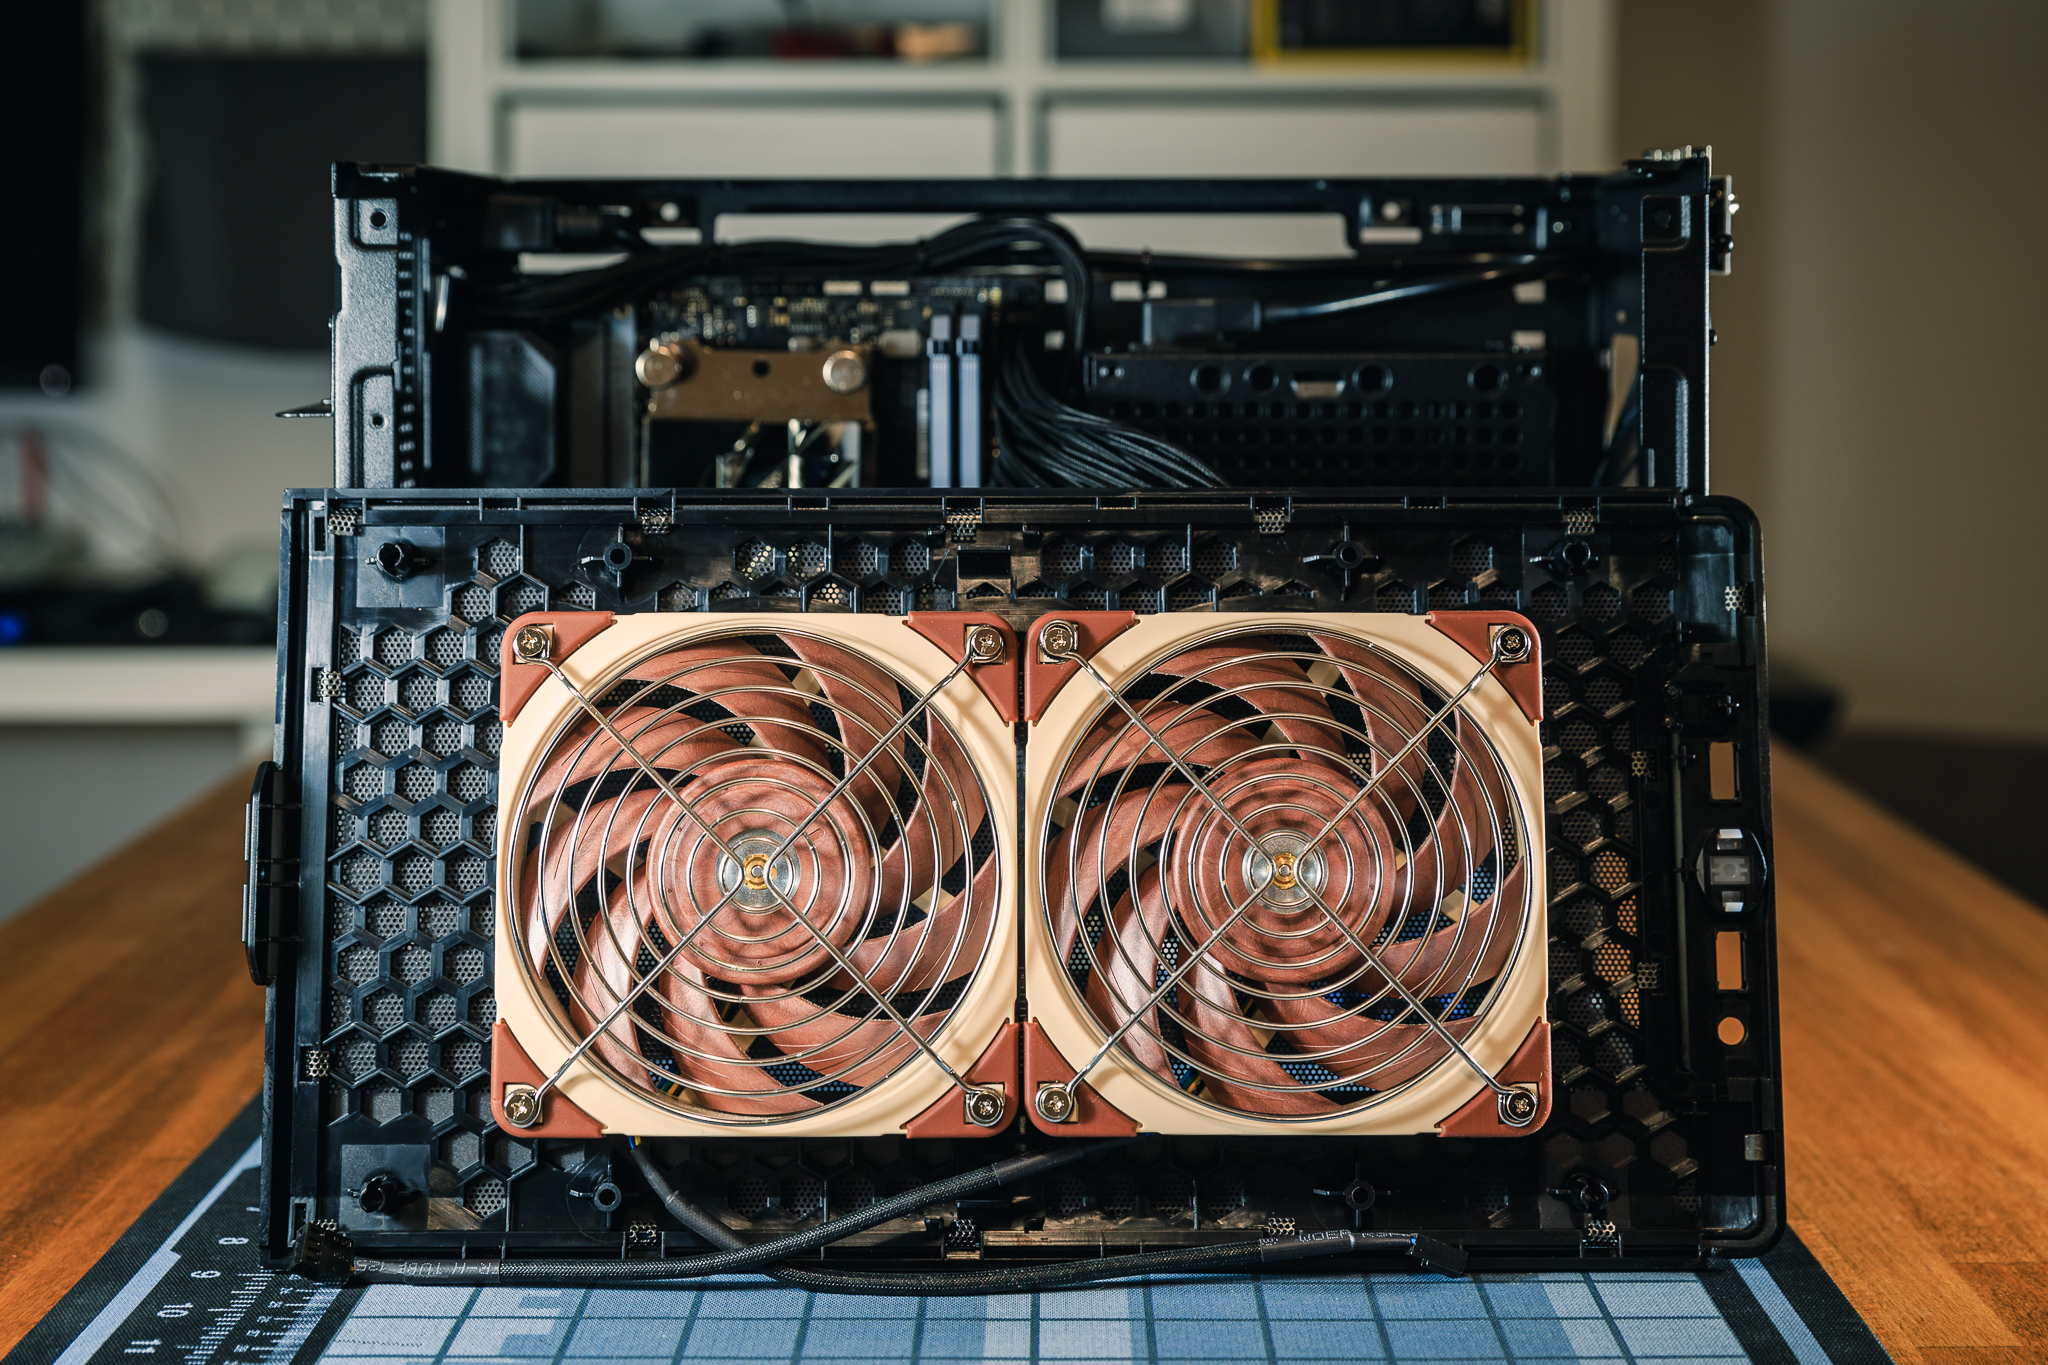
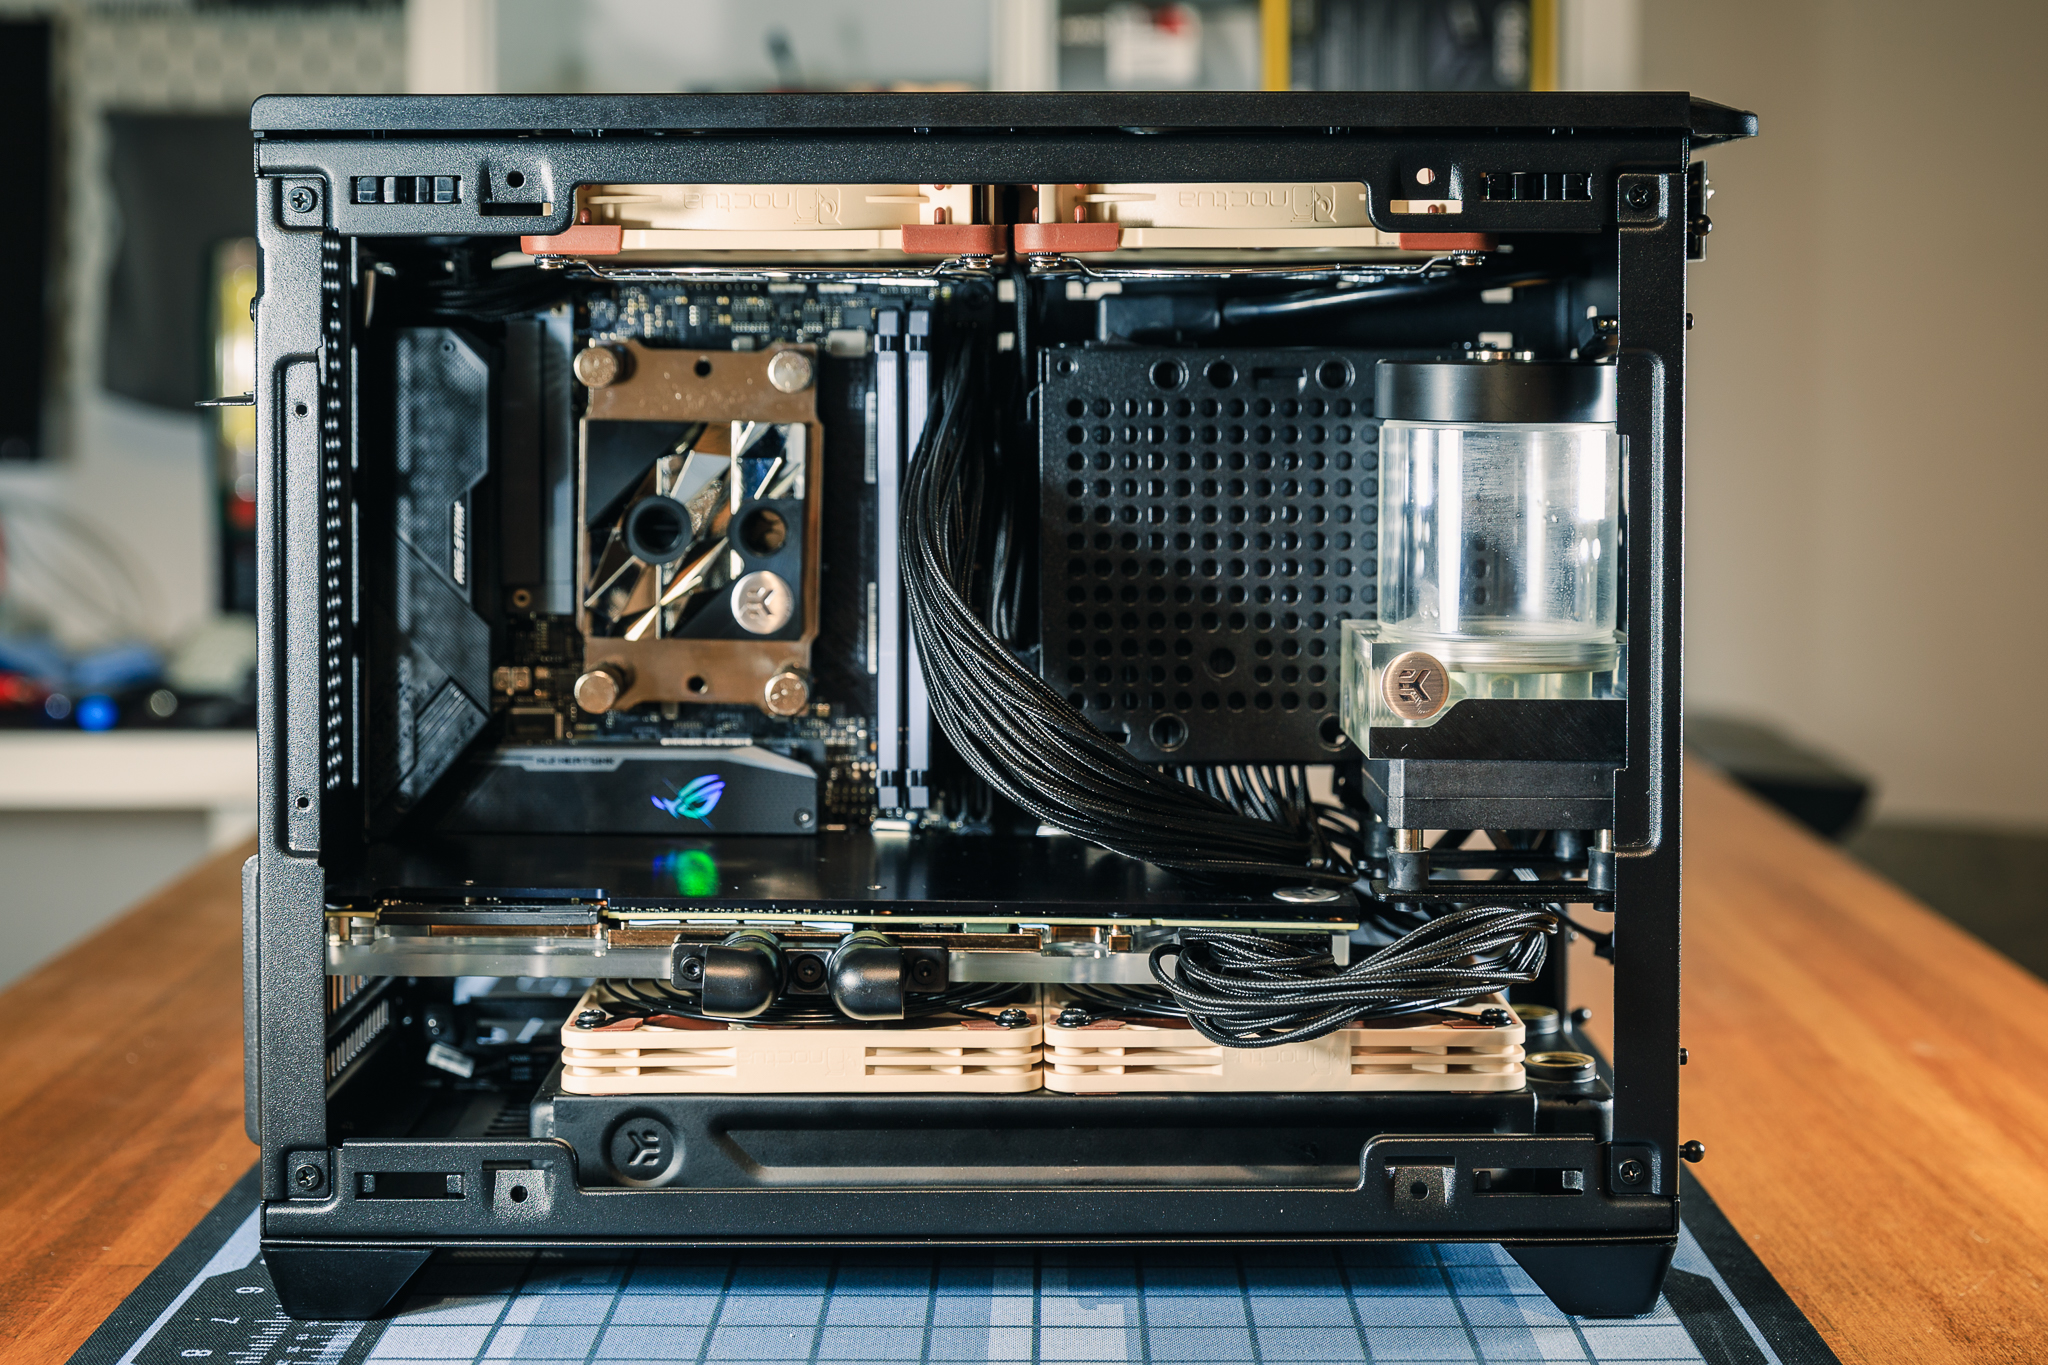
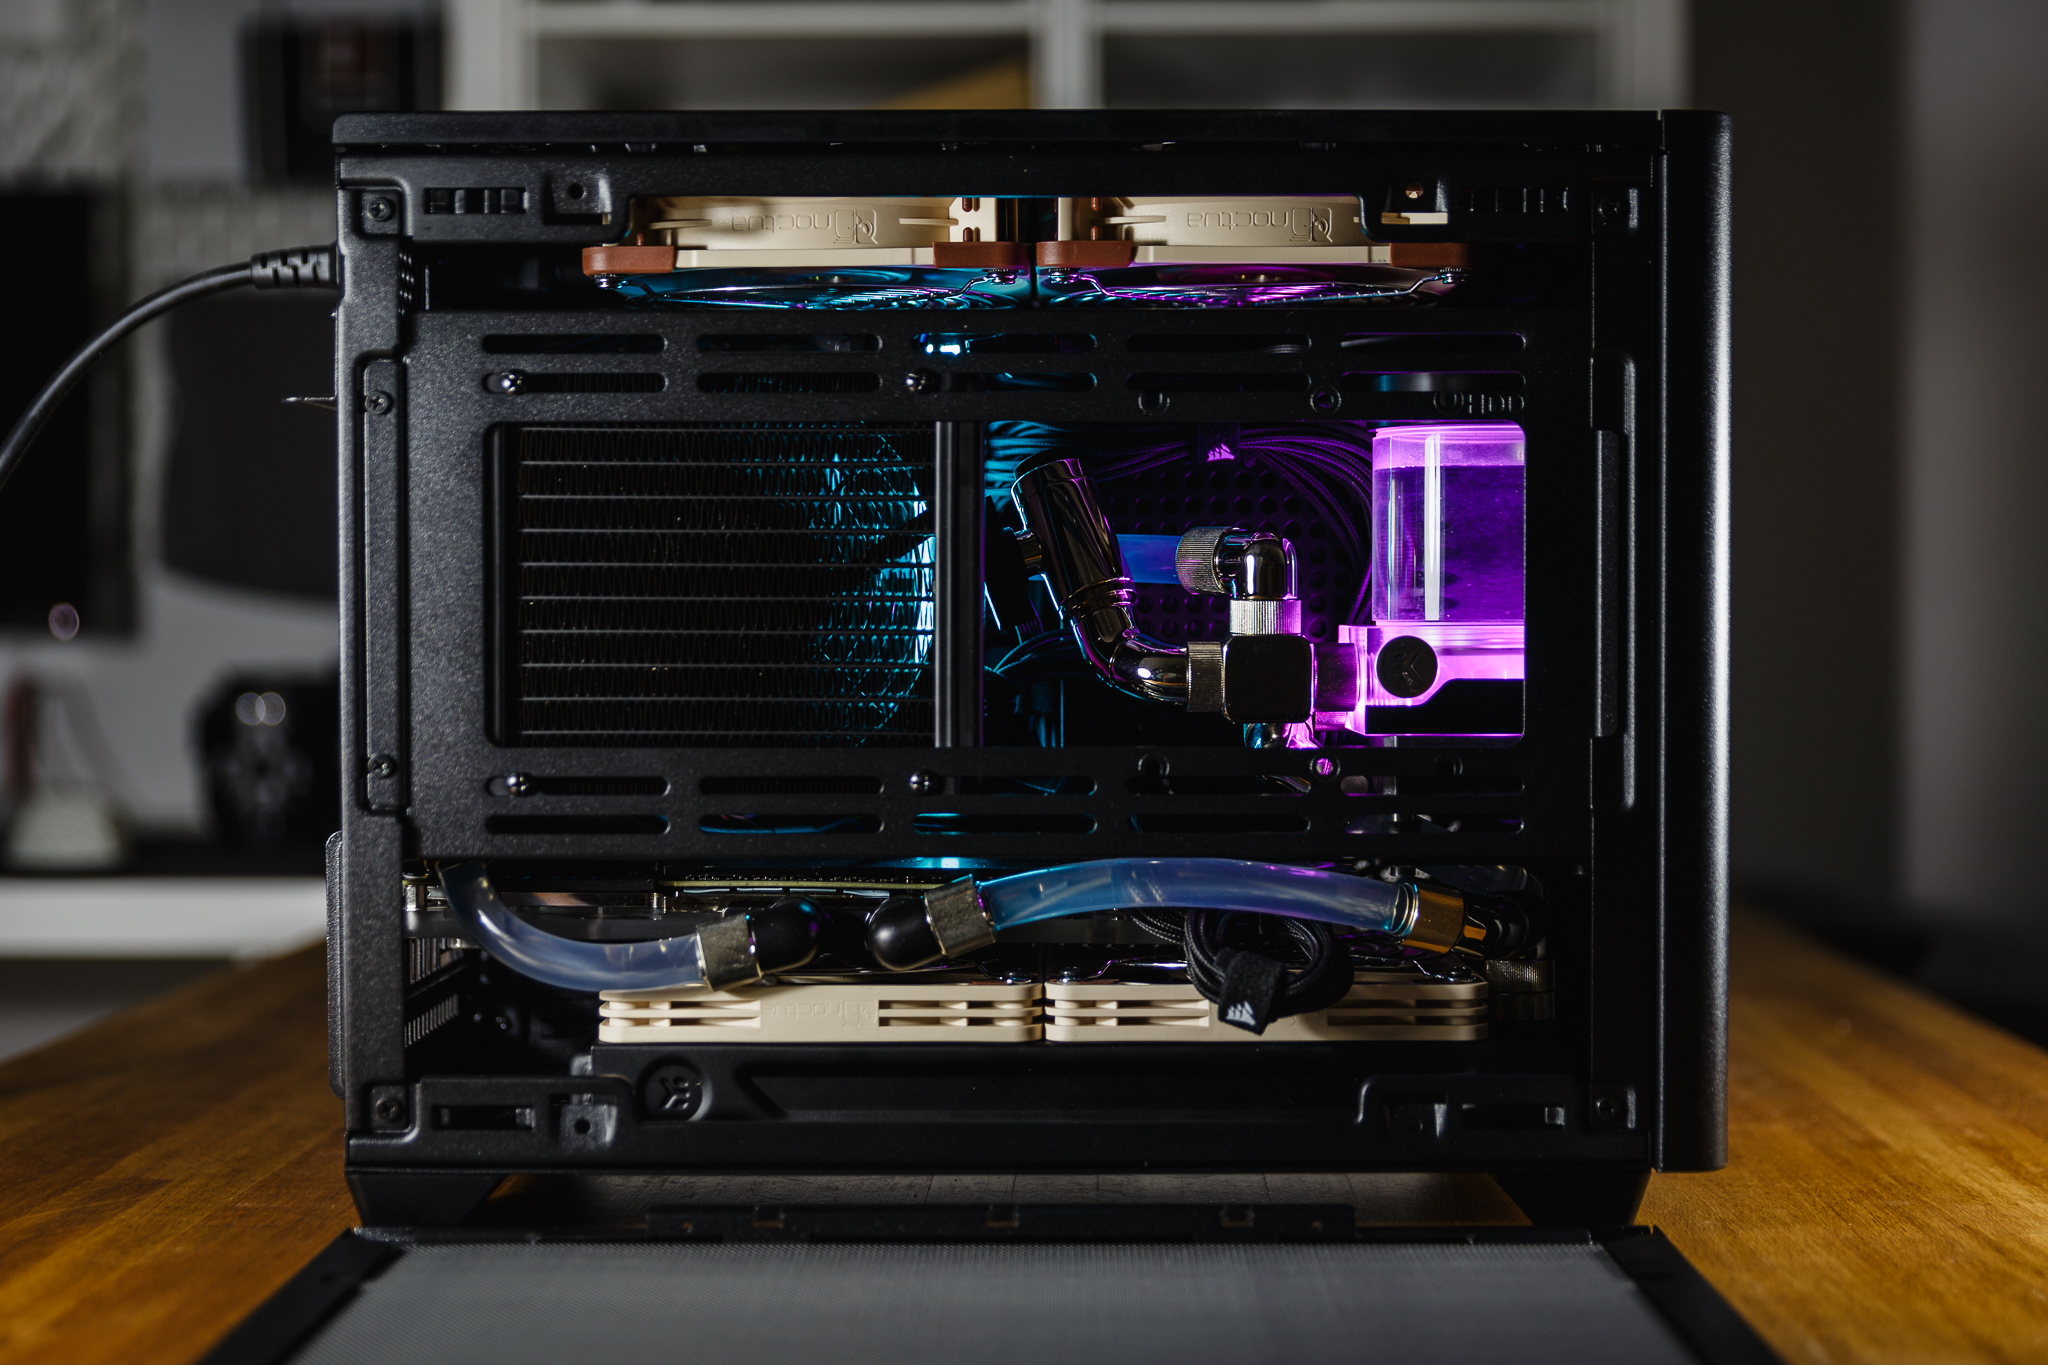
I replaced the original fans for the top panel with a pair of Noctua NF-A12x25 PWM. Personally, I consider them to be the absolute top among 120 mm fans. The typical Noctua look didn’t bother me, none of the fans are very visible from the outside. The cooling block on the processor is a limited edition EK Supremacy Edge and the graphics card is equipped with a full-cover block and a backplate from the EK Classic series. The pump is EK-SPC so that I do not have to deal with external power supply and is complemented by a 110 mm high cylindrical tank. I hung the pump on the case using a pair of EK-UNI Holder 50/70 adapters. In the lower part of the case I placed the radiator EK-CoolStream Classic SE 240, which is equipped with a pair of low fans Noctua NF-A12x15 PWM. And I also came across the first obstacle. The original terminal for the graphics card block was too large, so I had to replace it with a terminal with integrated rotable adapters. Similar obstacles are quite common in SFF builds, even if you plan and measure everything in advance.
So it’s time to connect the cooling loop components with hoses. I chose EK-DuraClear 9.5/12.7 for their flexibility. I’m just sorry that EKWB no longer offers the 9.5/12.7 variant of ZMT hoses, which would fit better into the rig due to their matte black appearance. The fittings used are EK-STC Classic 10/13.

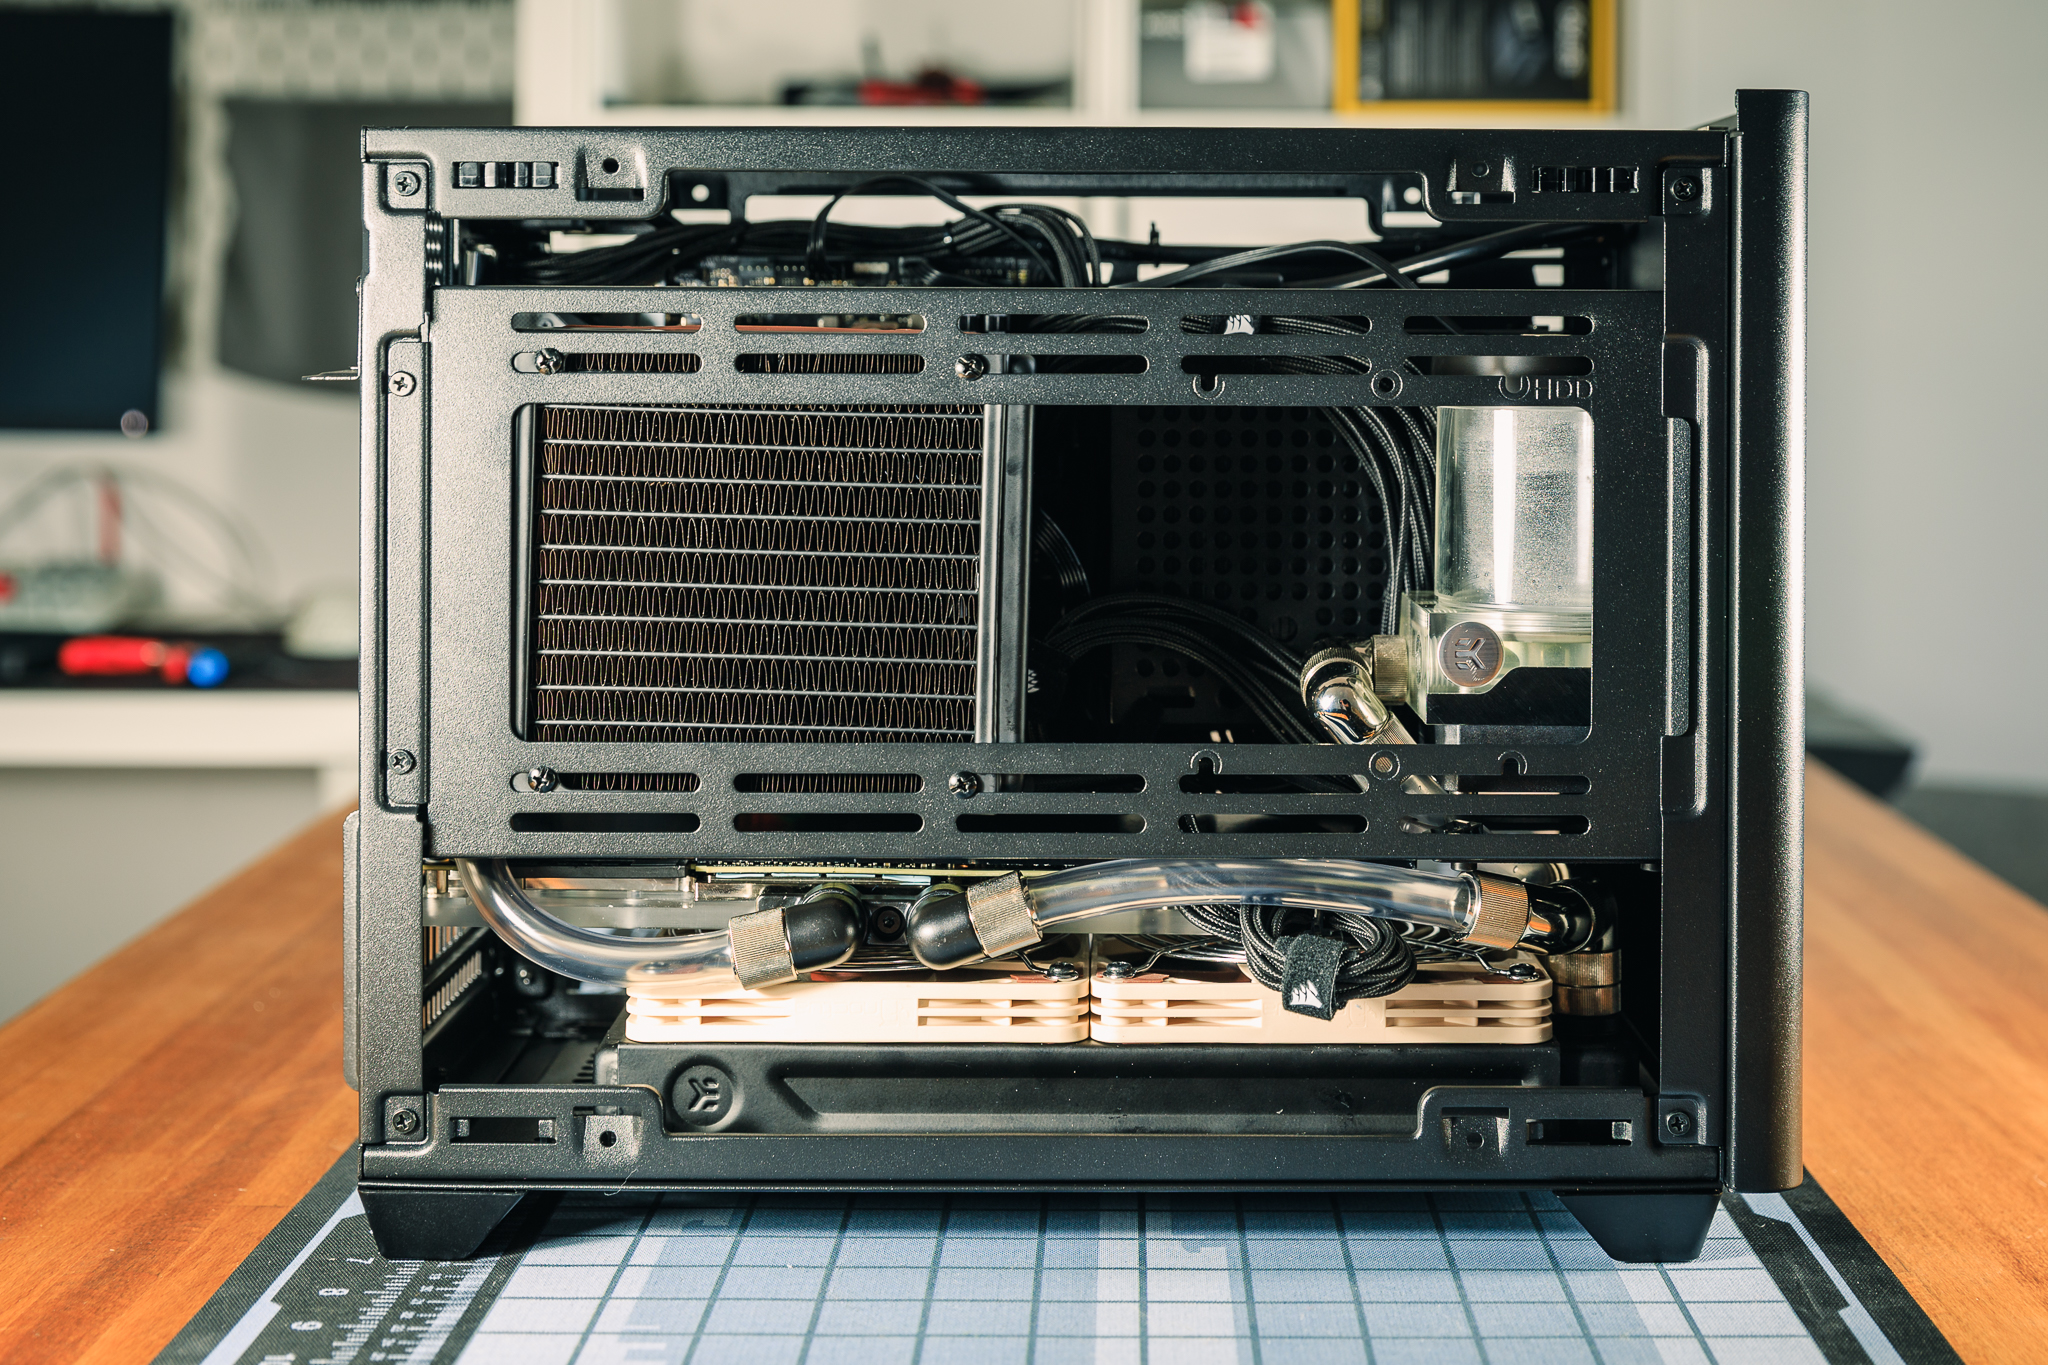
And the very first connection of the pump and the lower radiator gave me a hard time. After several hopeless attempts, I finally used a pair of 90° adapters on the pump and a 2×45° adapter on the radiator, which gave me enough freedom for the hose without bending it. It was also necessary to connect the lower radiator and the graphics card block, which went smoothly. However, for the intended components, a single 240 mm radiator is only marginally sufficient, so I added one EK-CoolStream Classic SE 120 radiator to the side and fitted it with a Noctua NF-A12x15 PWM fan. Looking at the photo below, may trigger an OCD attack. However, the radiator was not fixed, I needed it to be able to slide easily in the frame so that I could then more easily connect it to the graphics card block. And that’s why it’s not perfectly straight in the photo.
Next step was the connection between the side radiator and the processor. Due to the length of the connection, it was not as easy as I expected, but with a little patience, I eventually succeeded.
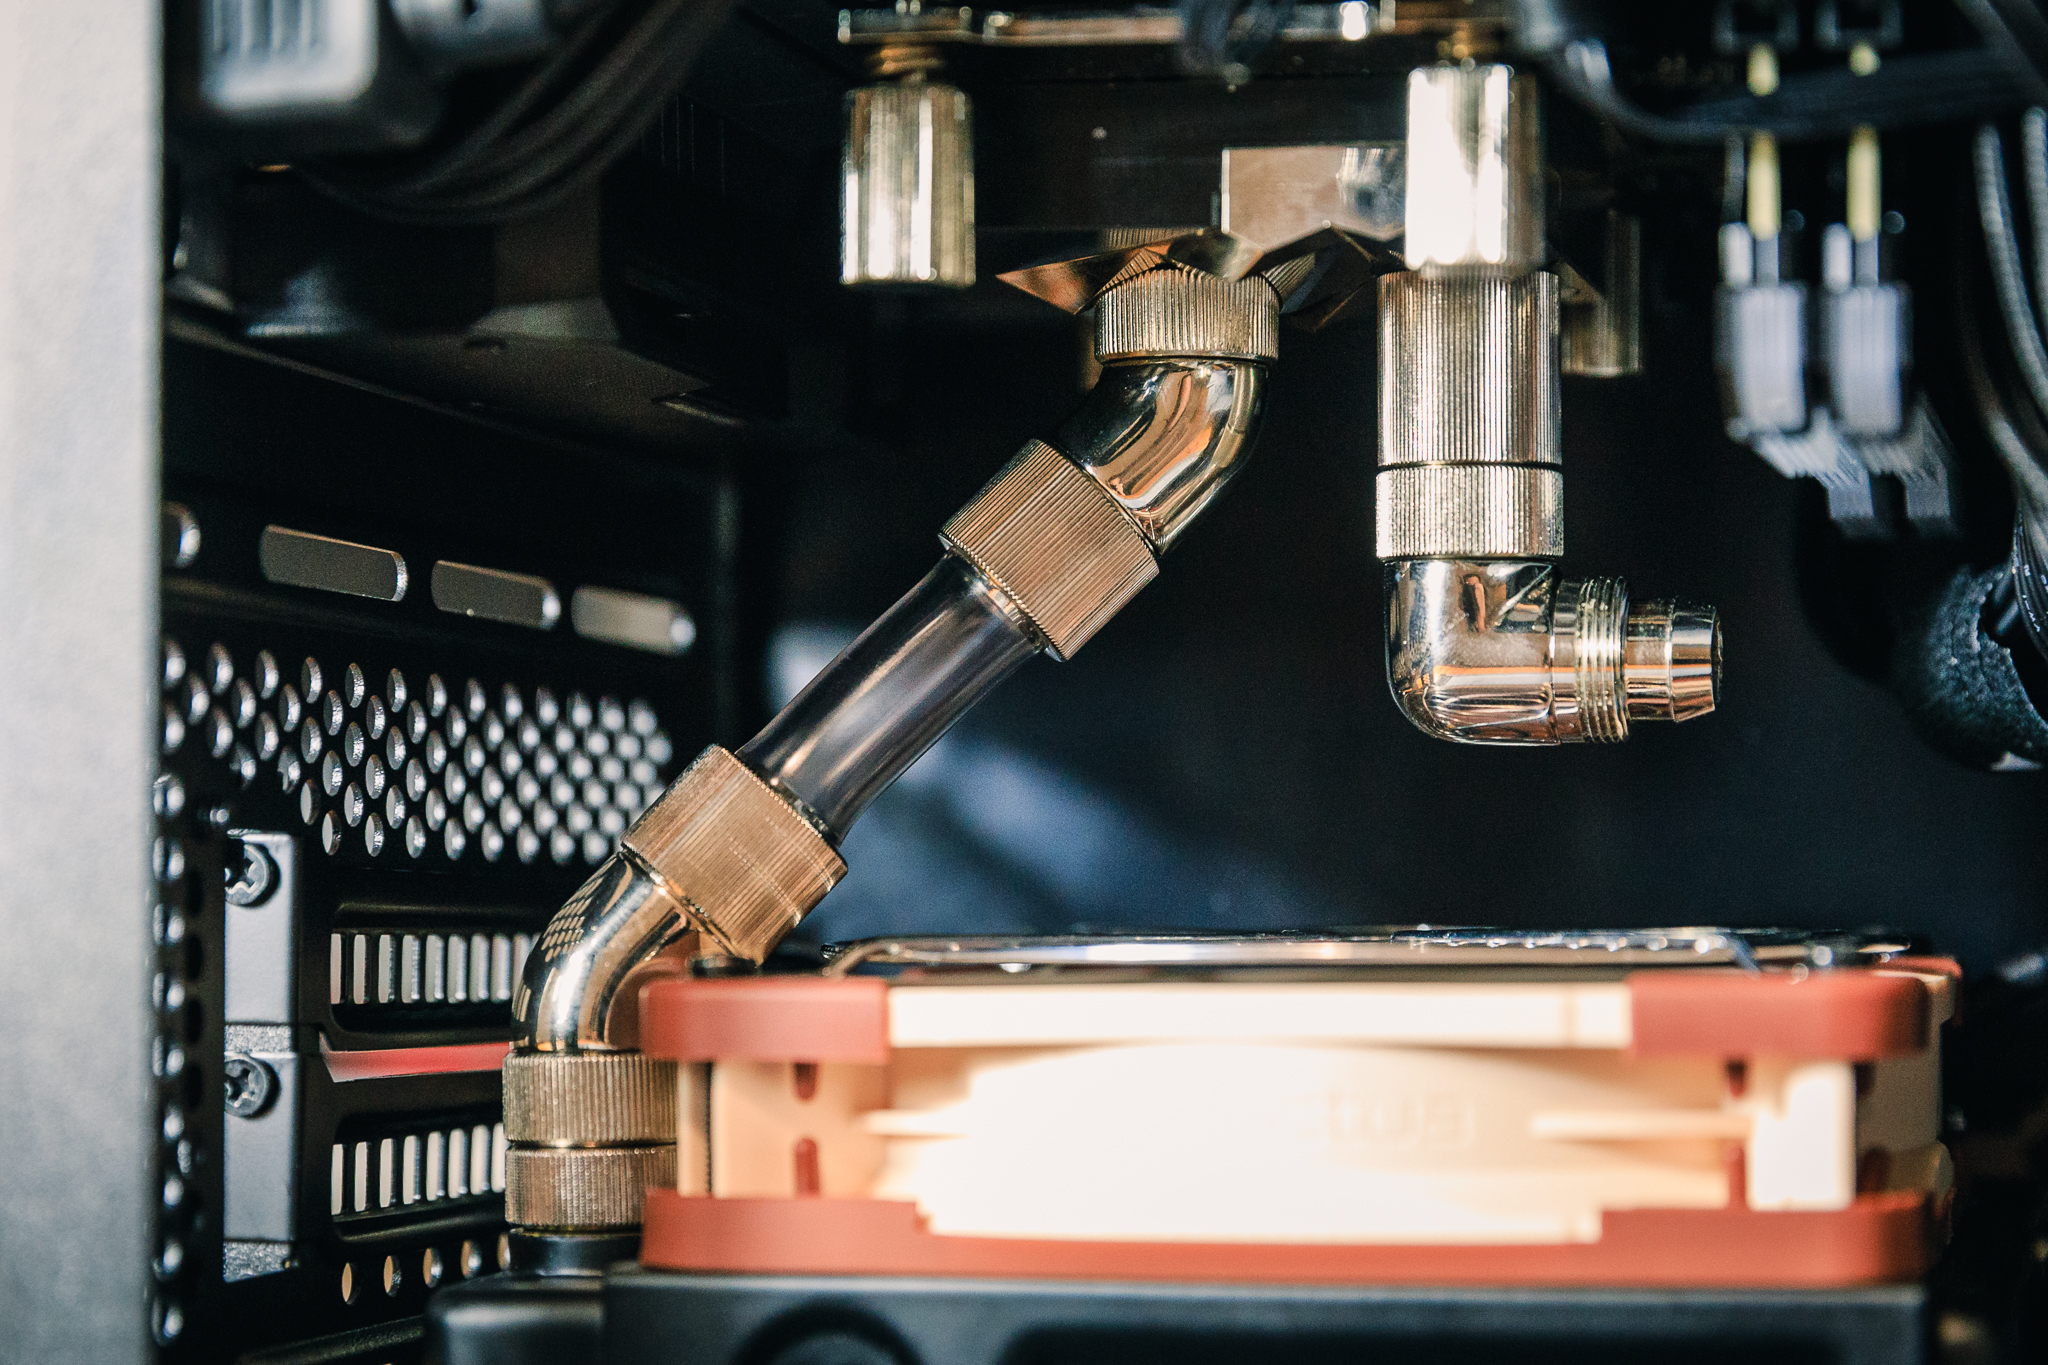
All that remained was to connect the processor block and the pump. Here I inserted a T-splitter with a valve into the connection for easier draining of the loop during regular maintenance.

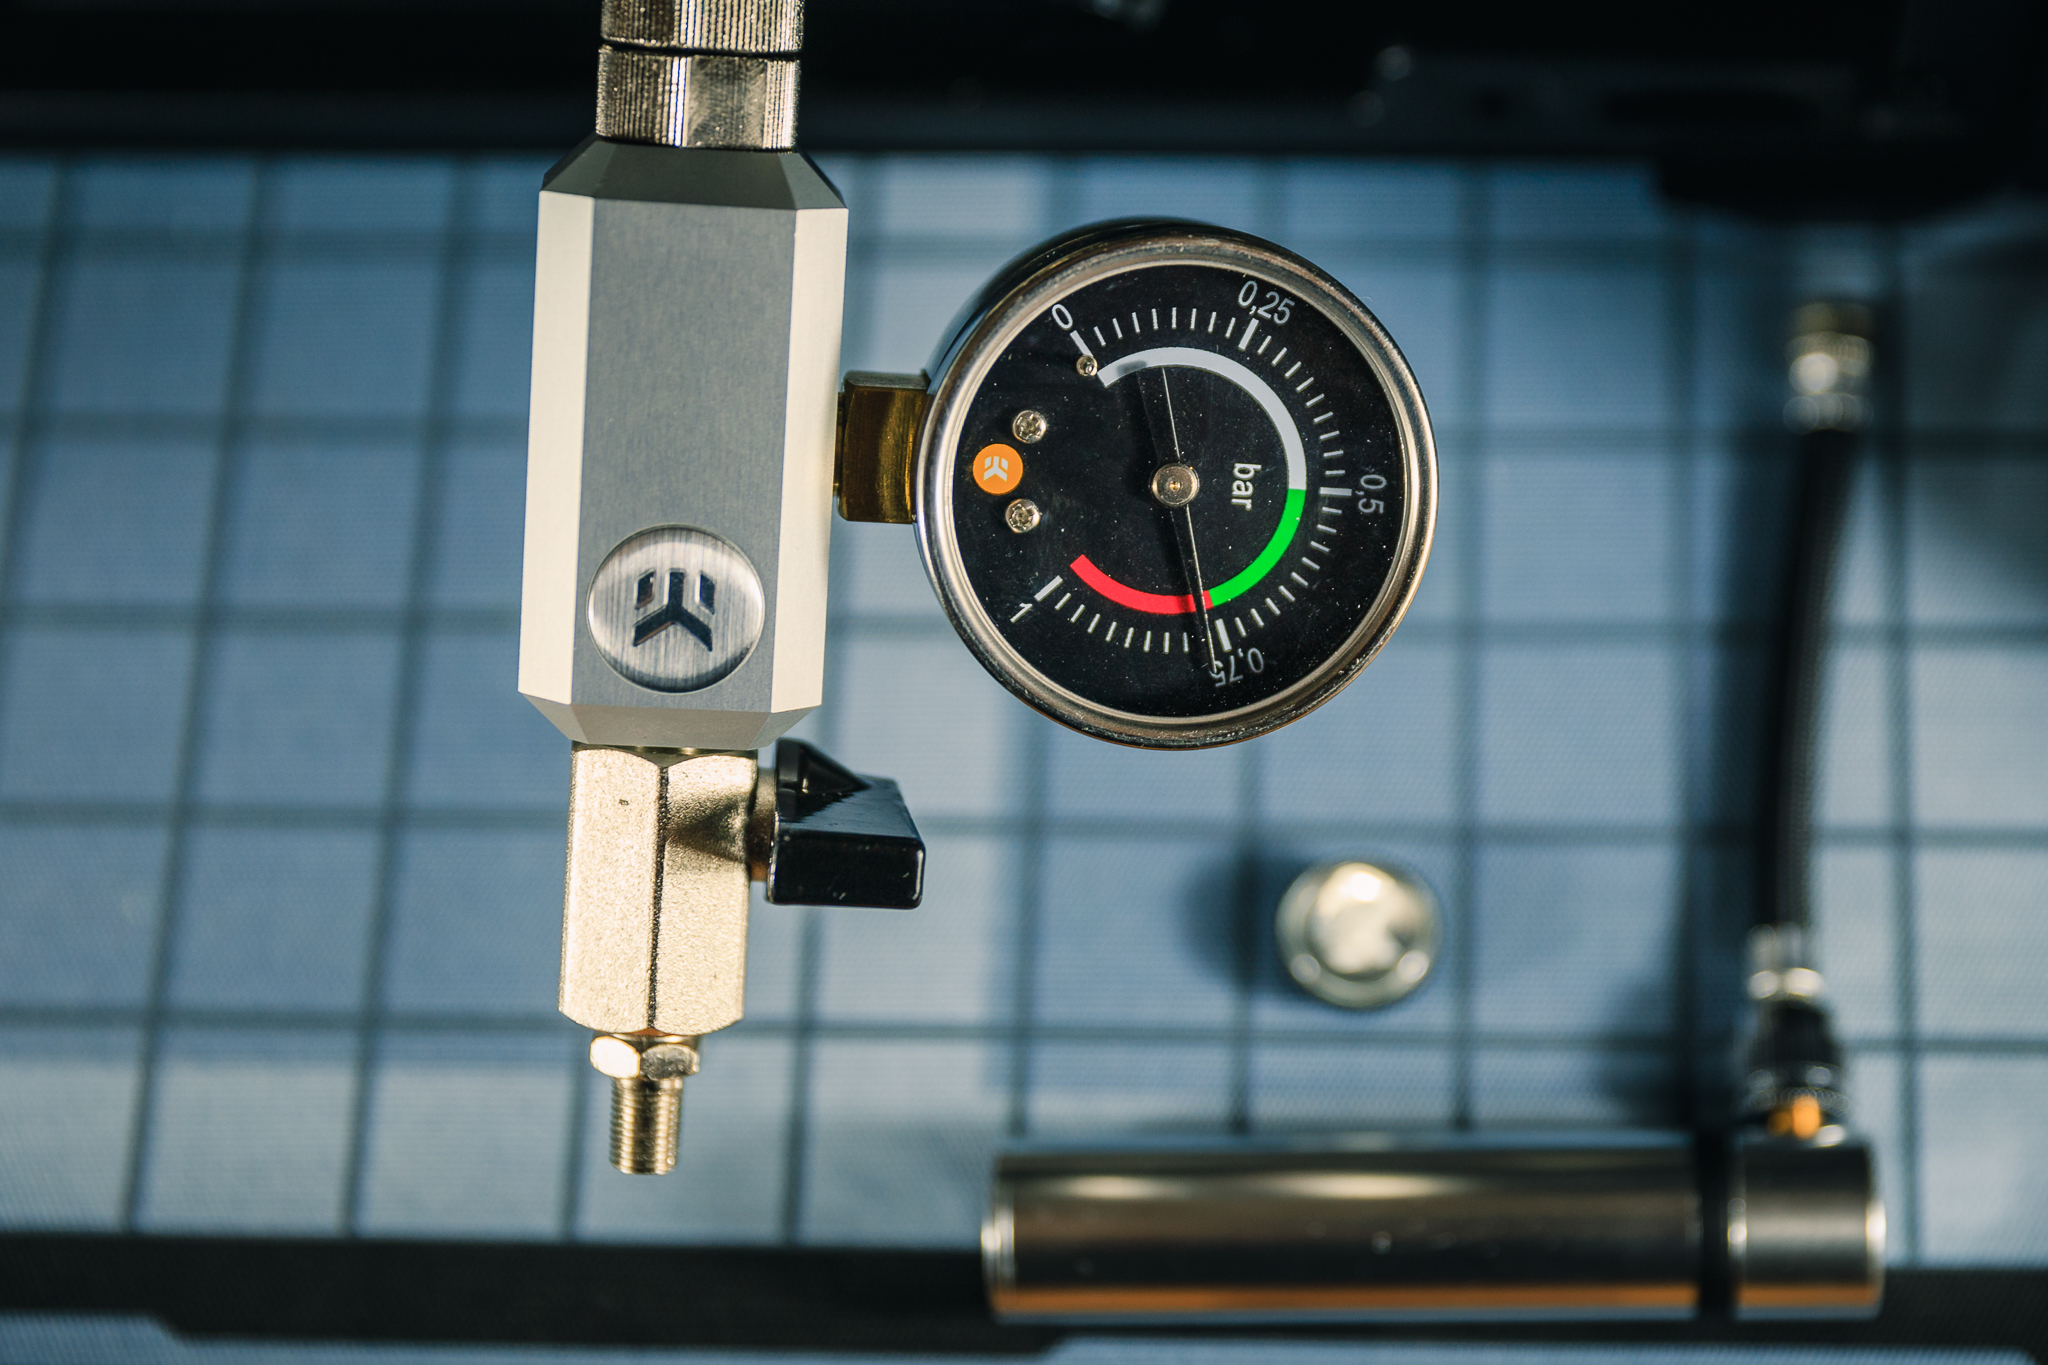
I was nearing the end, all that remained was to test the loop for possible leaks and untightnesses. A huge helper in this regard is the EK-Leak Tester, without which I can no longer imagine testing loops. So I pressurized the loop with air and after an hour checked that the hand on the pressure gauge did not move a bit, which confirmed the perfect tightness of the whole loop. So it remained to fill the circuit with liquid and remove the air. After several previous experiments with colored liquids, however, I humbly returned to the clear colorless liquid EK-CryoFuel Clear with this set. Unfortunately, over time, colored liquids tend to clog the blocks with dye sediment. Therefore, I can only recommend them to experienced users who thoroughly clean their circuits at least twice a year.
Finally, I’m attaching the gallery of the final build, where I used my favorite color combination of turquoise and purple. I am very satisfied with the overall result, the build is quiet and the temperatures are acceptably low. And I hope the SFF bug in my ear leaves me alone. The MasterBox NR200P therefore fulfilled its intended purpose. It is truly a case suitable for custom water cooling.


SFF PCs are gaining popularity, so manufacturers are naturally expanding the range of cases in this category. But what if you want a small PC, that’s packed with powerful hardware and with a liquid cooling loop as well? MasterBox NR200P, quite interesting case from Cooler Master, recently appeared on the market. It appears to be well suited for this scenario. But is it really good idea to combine small case and a custom liquid cooling?
Conclusion and rating
The previous text is not intended to serve as an exact review, I do not want to step into the field of my colleague Bednár. Rather, take it as a practical experience and impressions when fitting a build into an interesting case. And that’s what the MasterBox NR200P is without a doubt. Here the Cooler Master hit the bullseye. The quality of the used materials and the overall build quality is at a high level. The case is pleasantly modular, you just need to take into account what hardware you want to prioritize.
For an SFF case, the NR200P is quite large and heavy, but on the other hand you get a much wider selection of compatible graphics cards or coolers. And compared to classic mATX or ATX cases, it is still pleasantly compact. In addition, you can easily build a completely custom liquid cooling loop into this case, as I’ve just showed you. All this at a surprisingly low price, especially compared to similar cases such as NCASE M1 or DAN A4-SFX. Except for the absolute details, I have nothing to complain about this case. MasterBox NR200P is simply a very successful product and has my full recommendation.
English translation and edit by Lukáš Terényi
| Cooler Master MasterBox NR200P |
| + Overall build quality |
| + Custom water loop cooling support |
| + Modular configuration |
| + Favorable price |
| - Absence of USB-C connector |
| - Relatively large dimensions (for SFF) |