


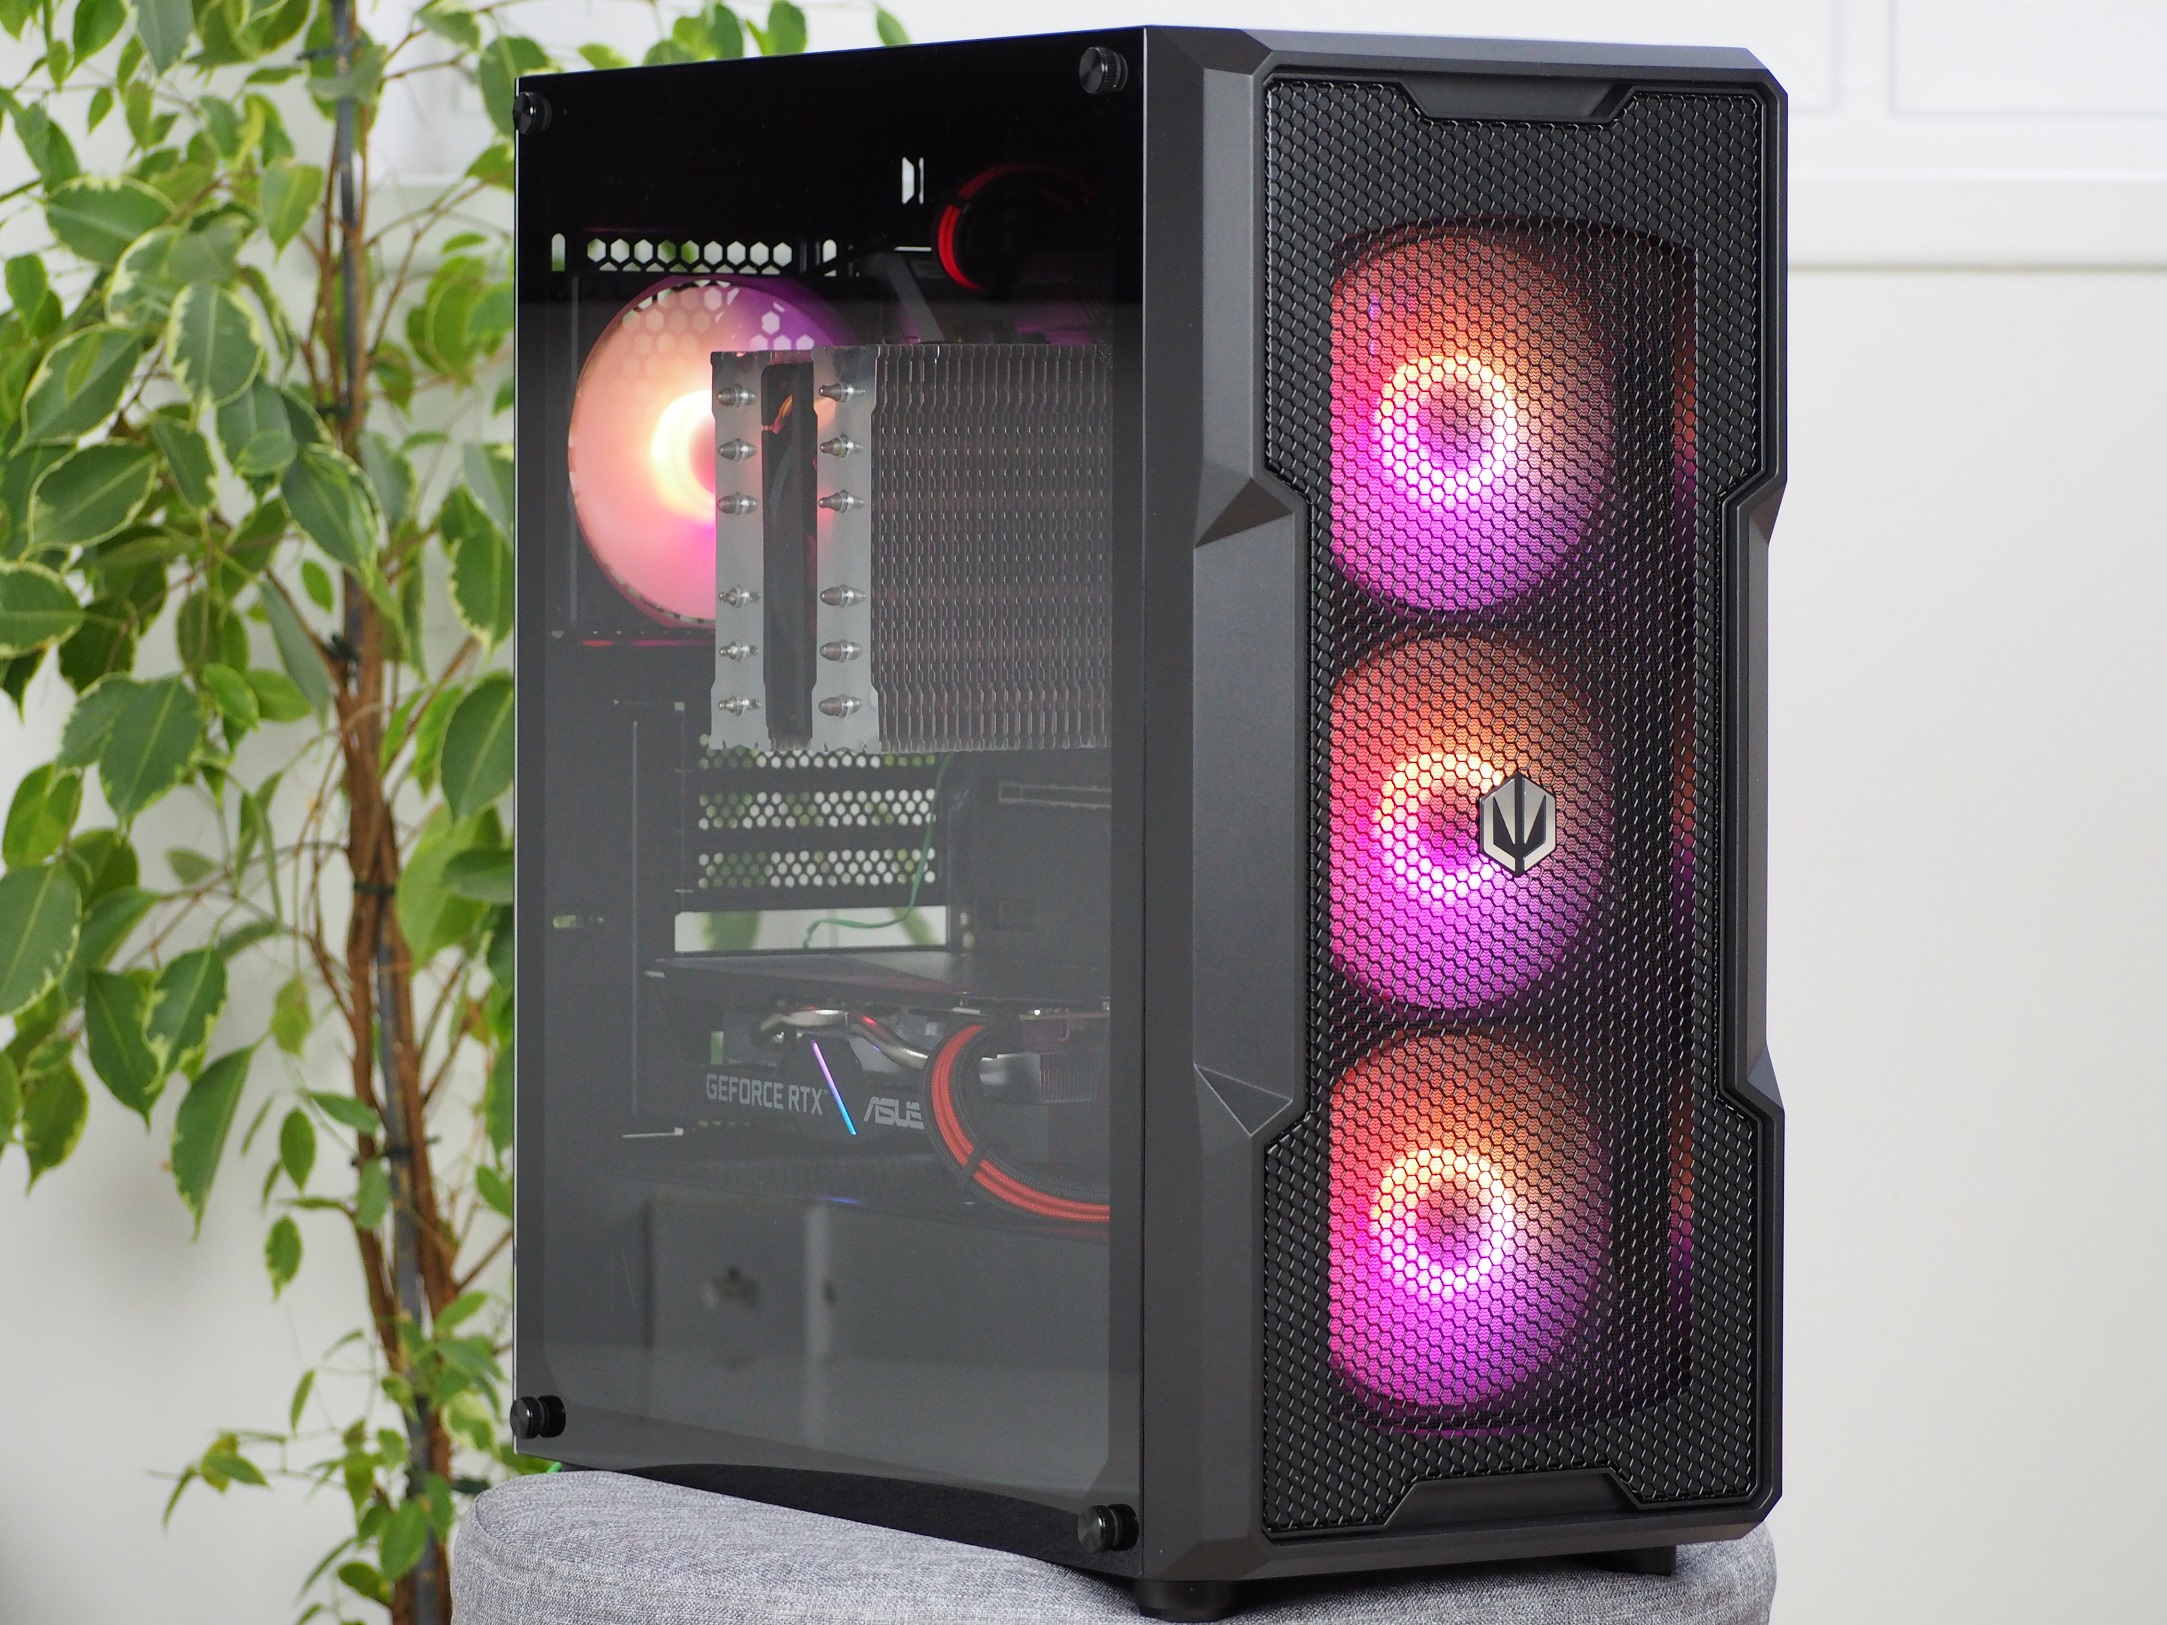
Exterior
Through gradual evolution and refinement, Endorfy (formerly SilentiumPC) Regnum cases have progressed from the low end to the other side of the spectrum, to the peak. The “400” model with RGB lighting already costs over a hundred euros, but you don’t just pay for attractive visuals. There are up to four fans, three of which are behind a well ventilated mask. But we also came across things that can still be improved.
A little retrospective intro: the Regnum cases used to belong to the low-end, but gradually over the generations they have moved out of it and this place was first taken by the newer Signum and later Ventum series. At the same time, the Polish company dropped the Gladius series (categorically above the Regnum) and the position was completely reversed. At the top of Endorfy’s case offer is now the tested Regnum 400 ARGB.
Basic parameters
| Parameters | Endorfy |
| Regnum 400 ARGB | |
| Supported motherboard formats | Mini-ITX, mATX, ATX |
| Supported PSU format | ATX |
| CPU cooler | up to 162 mm |
| Graphics cards | up to 370 mm |
| Fan | 8× 120 mm (4× pre-installed)/4× 140 mm |
| Supported liquid radiators | 1× do 360 mm + 1× do 280mm |
| 2,5" positions | 2 + 2 shared |
| 3,5" positions | 2 shared |
| 5,25" positions | 0 |
| Dimensions [H/D/W] (and volume) | 472 × 442 × 220 mm (46 l) |
| Weight | 6.3 kg |
| Materials | steel + plastic + tempered glass |
| Connectivity | 2× USB 3.2 gen. 1 type A + 2× 3,5mm jack |
| Approximate price | 95 EUR |
Exterior
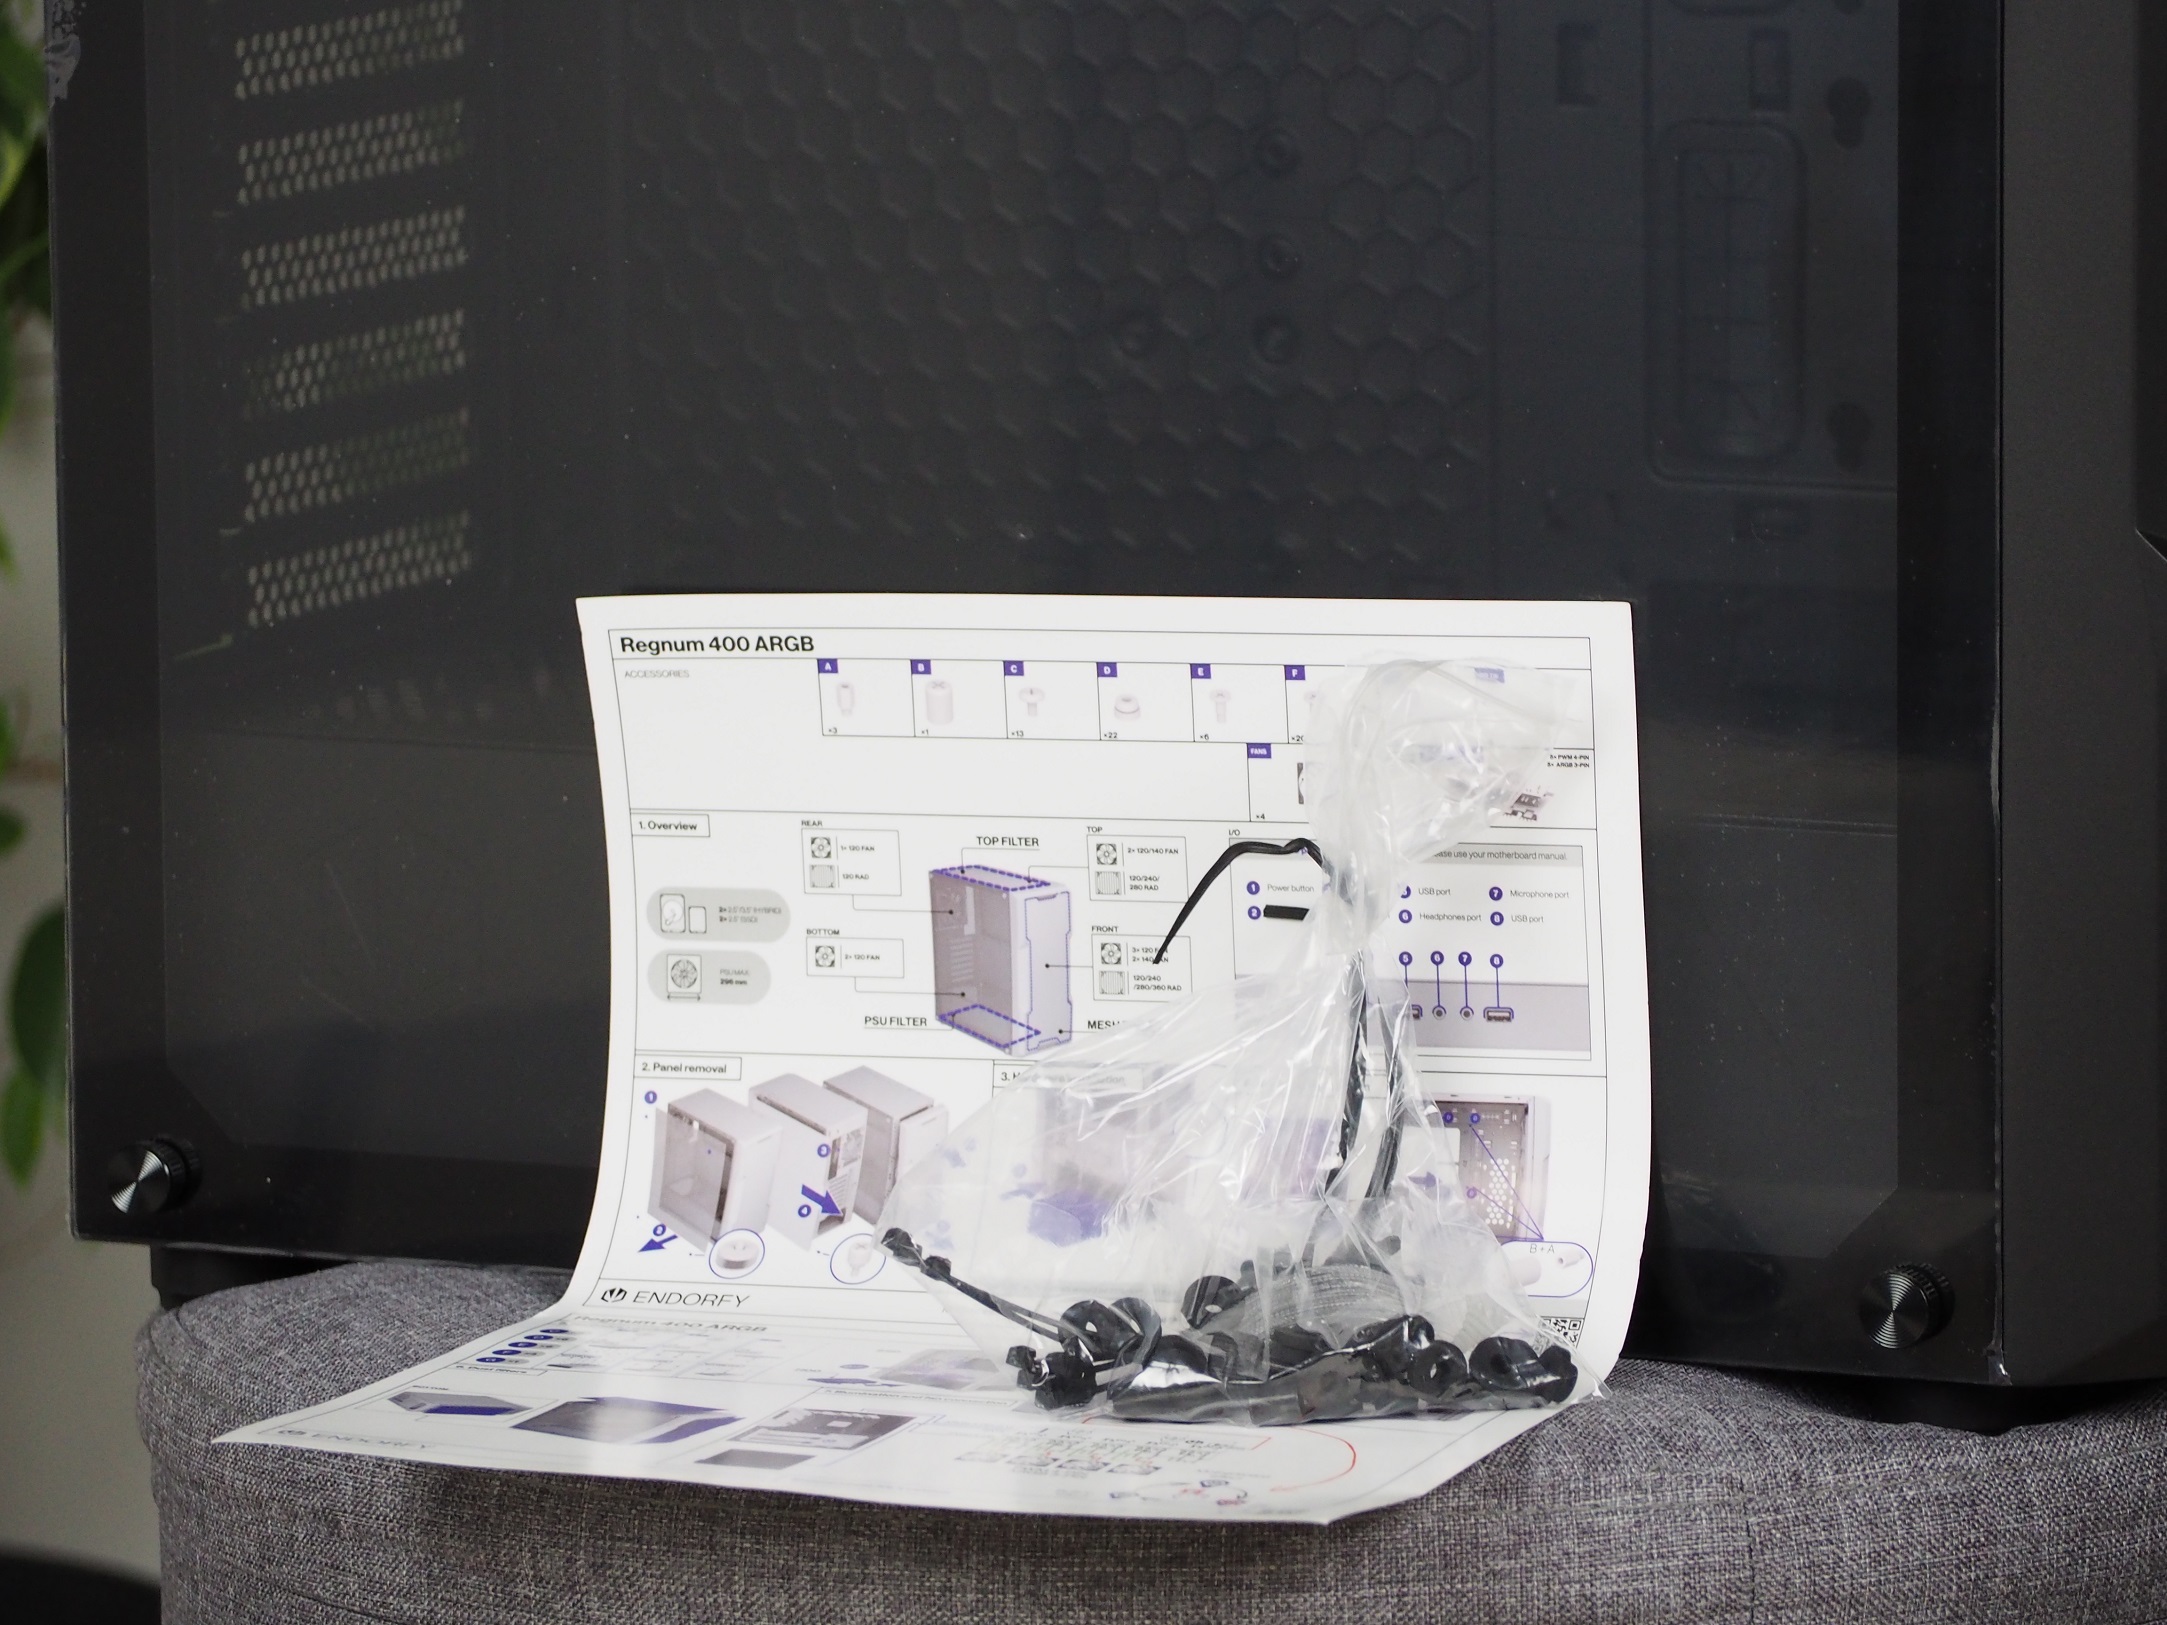
The box is securely fitted in a cardboard box with polystyrene, which crumbles a little as with most other boxes where foam has not been used for the lining. The accessories include only the bare essentials for fitting the hardware. Screws and single-use zip ties along with illustrated instructions.
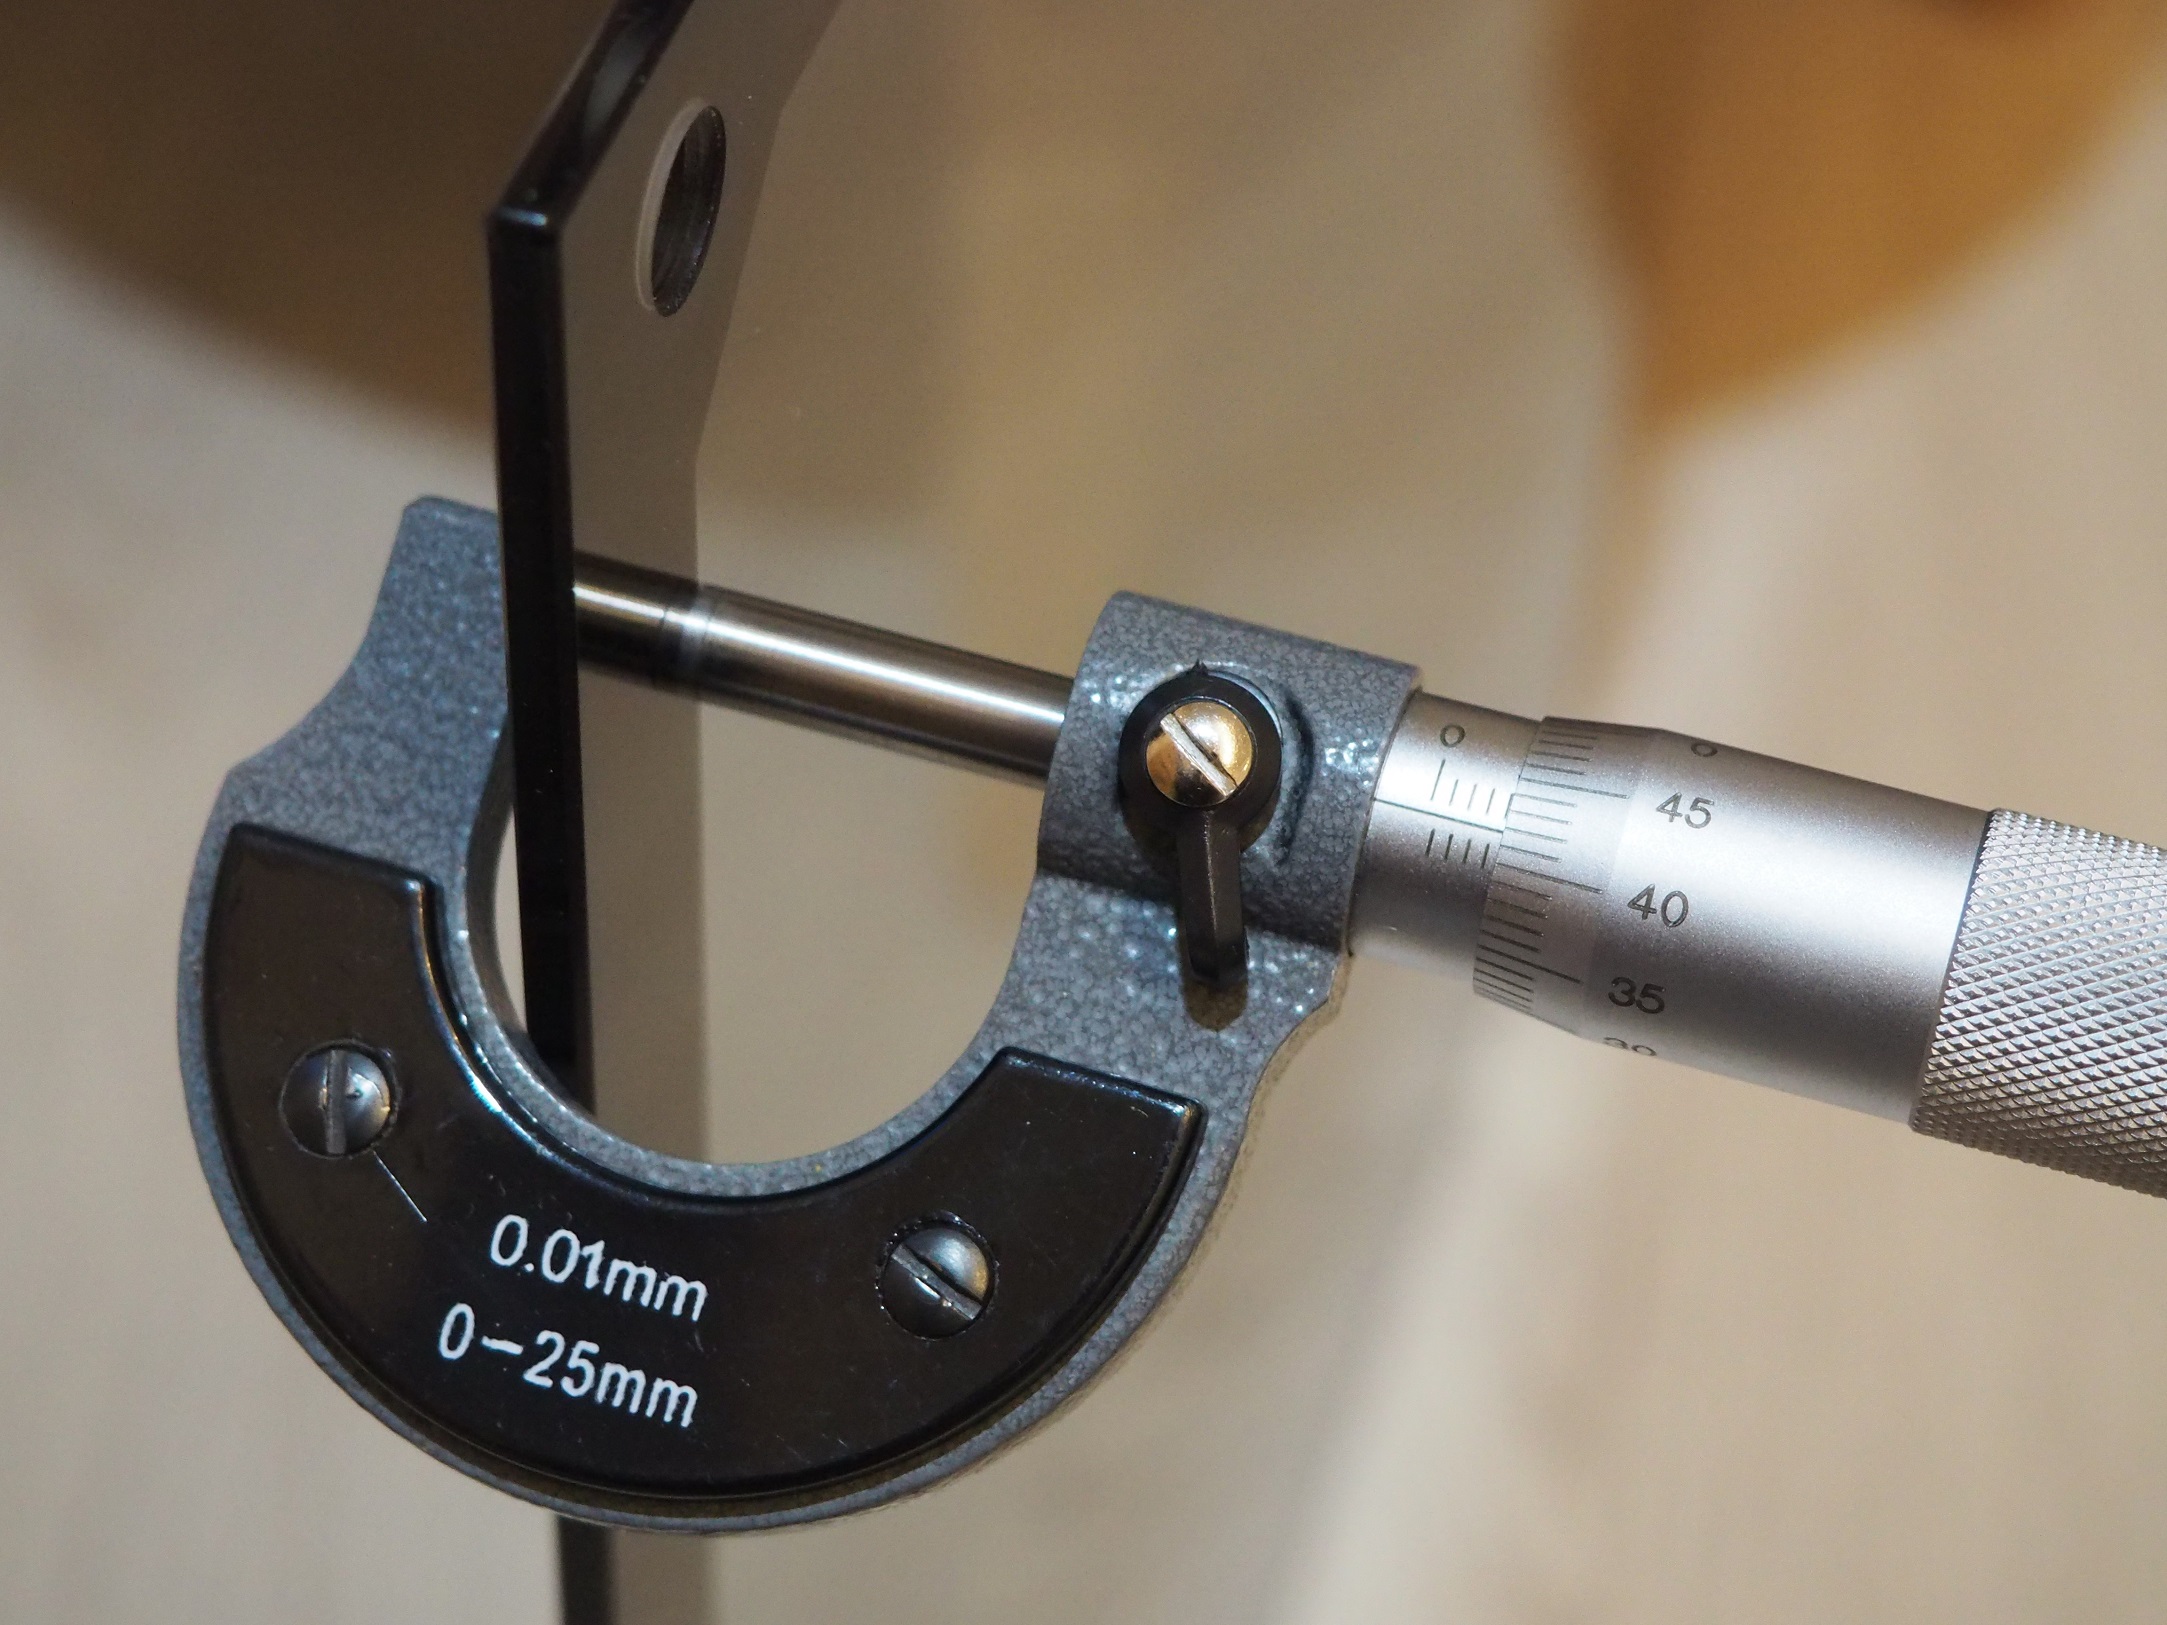
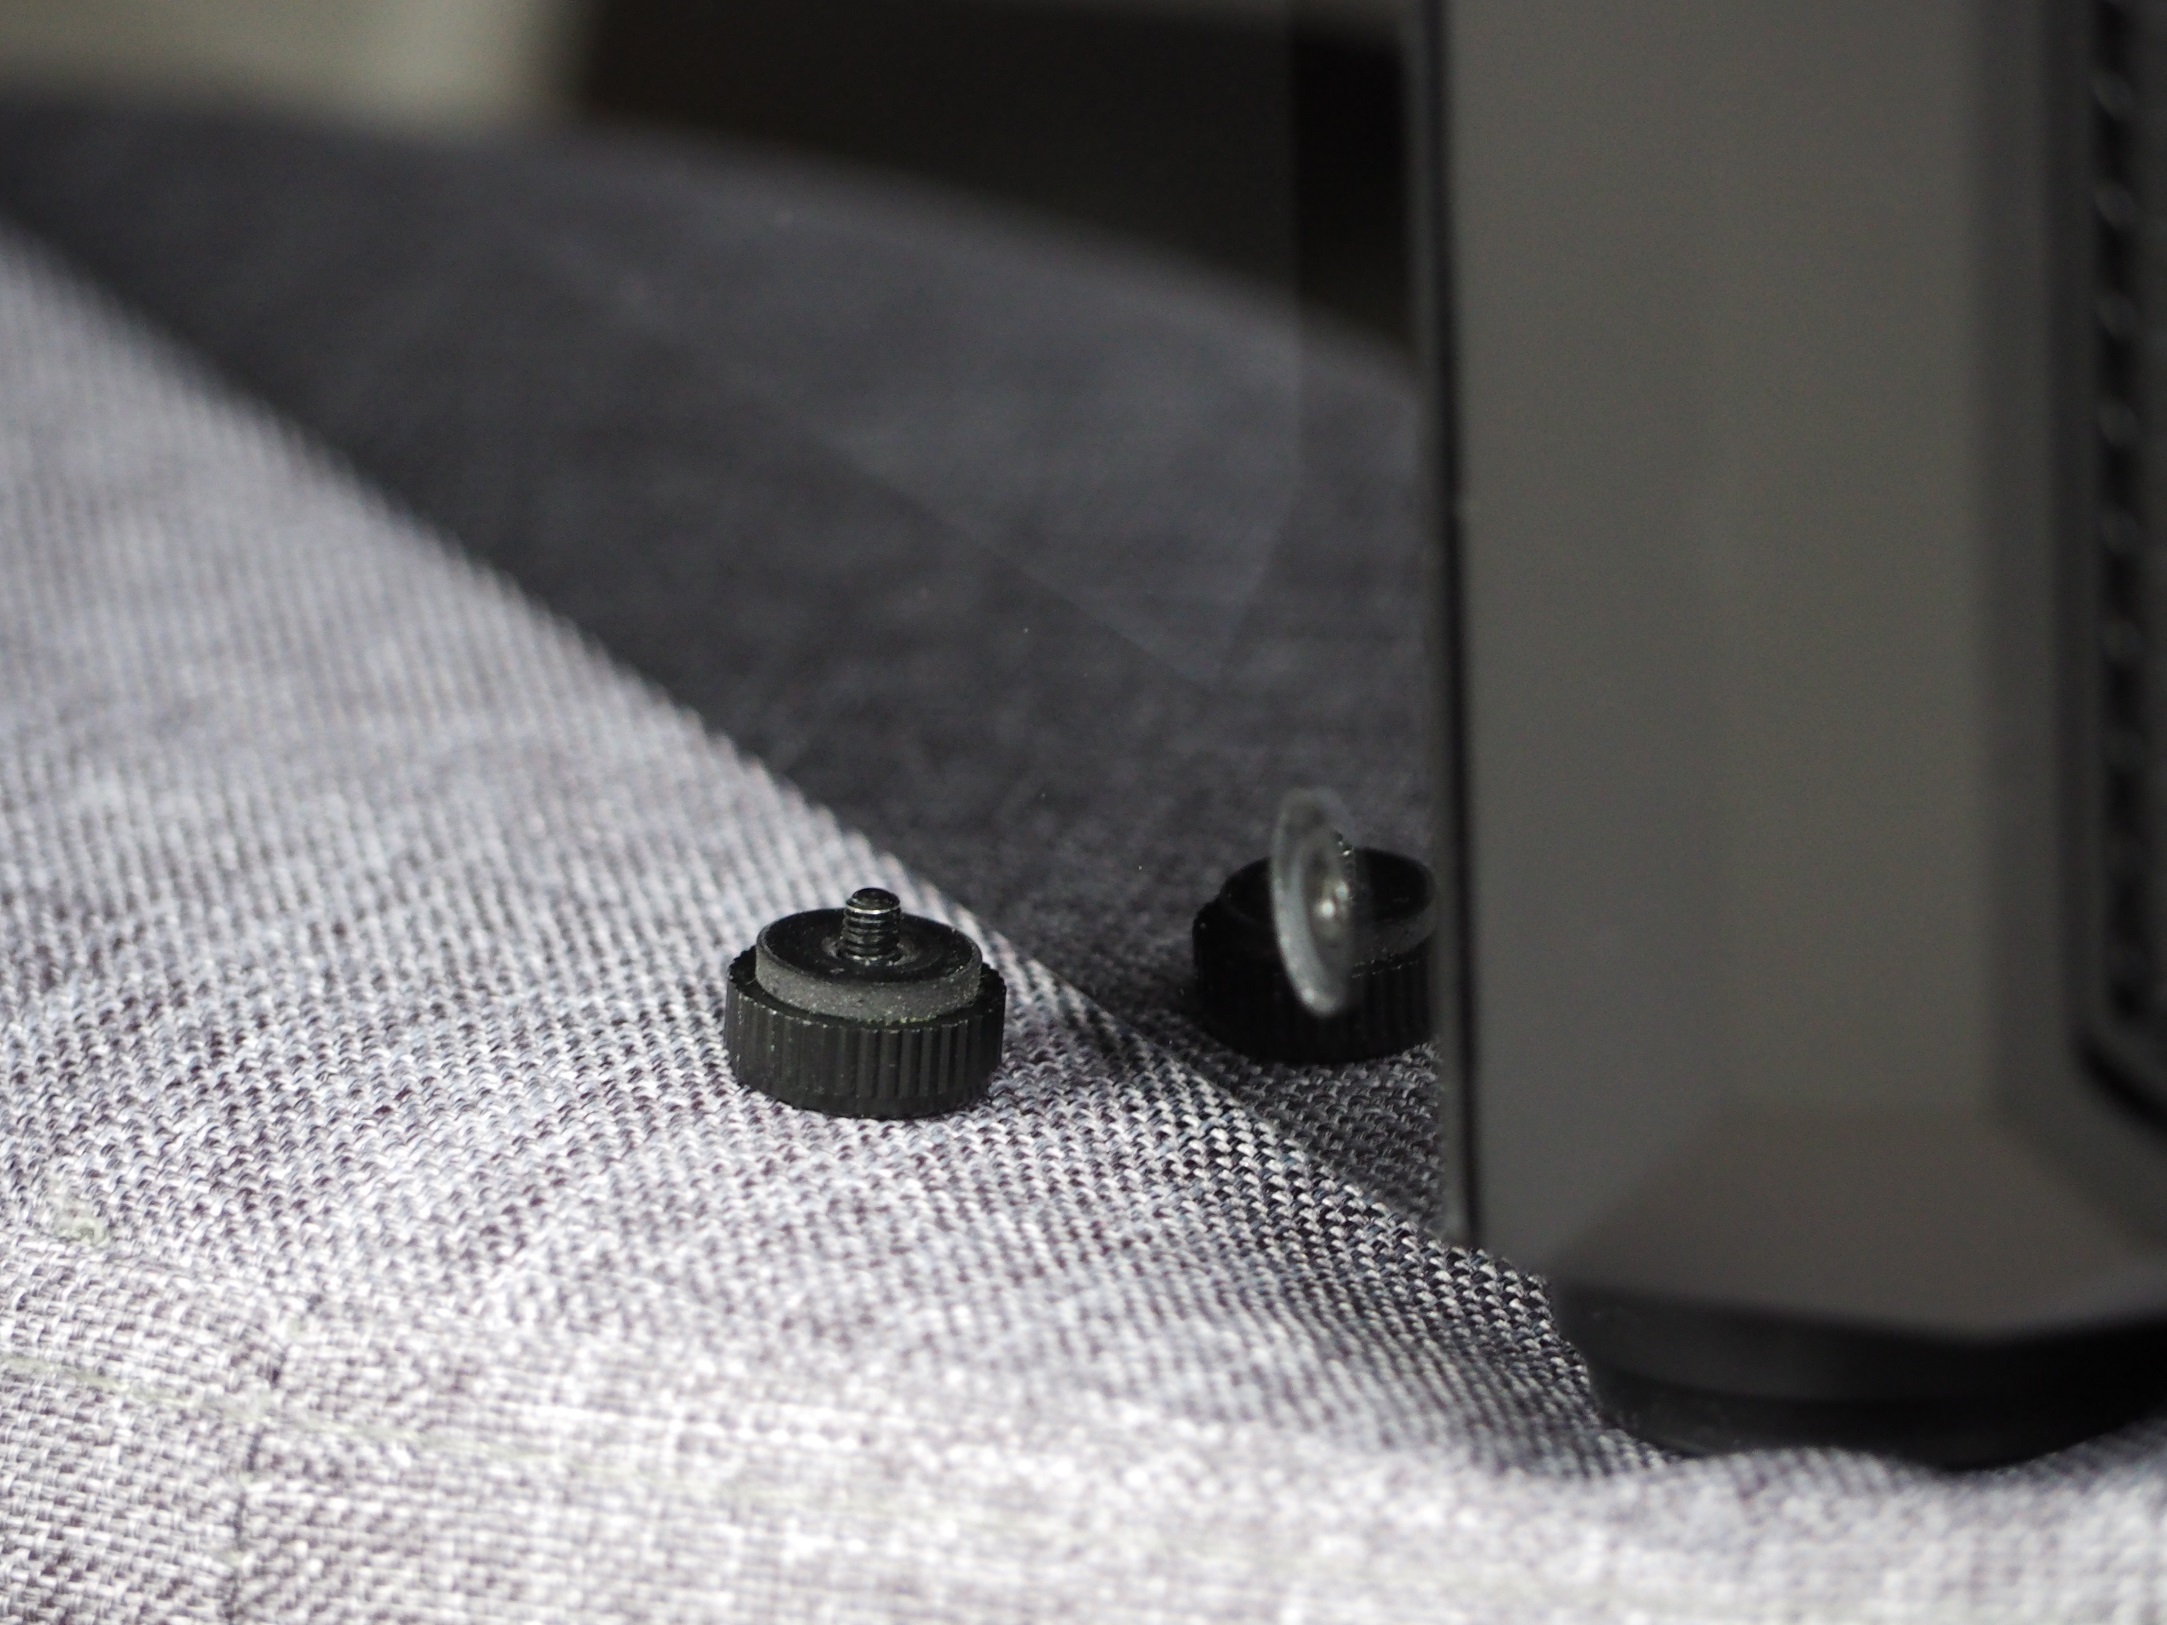
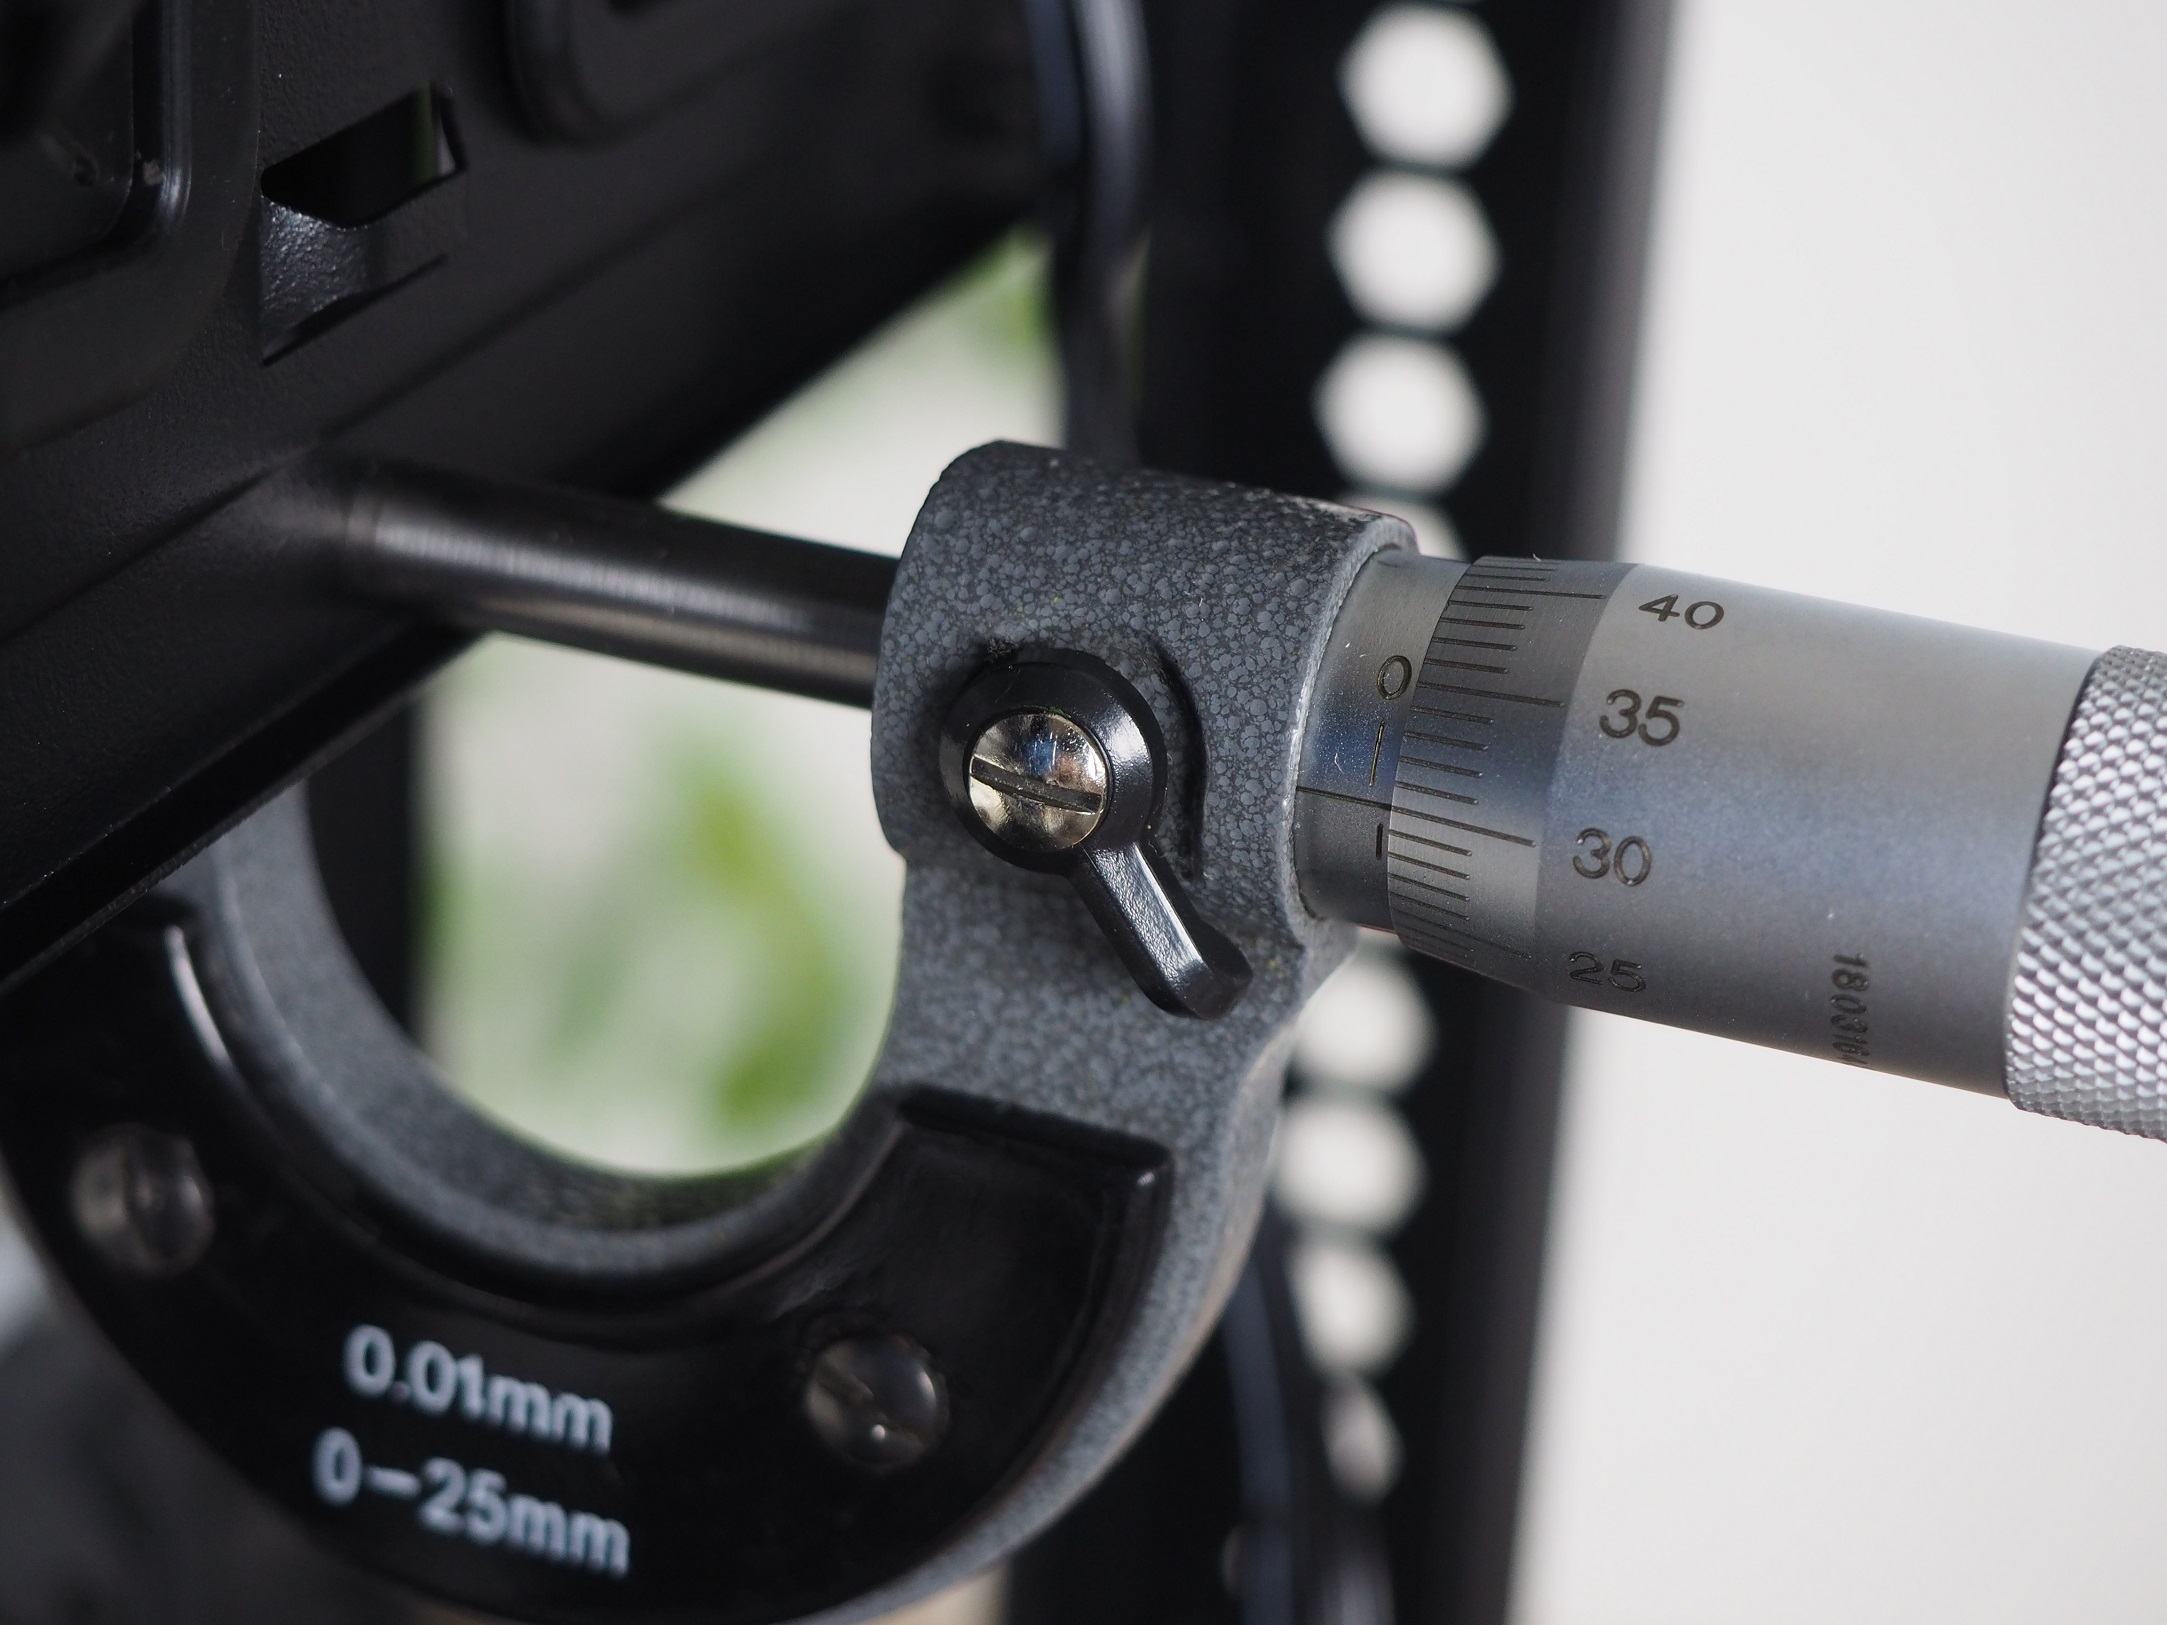
The tempered glass in the left side panel position is held in place at all corners by screws. Personally, I don’t like this style of glass mounting. I always get the feeling that it will slip and fall out before the first screw is put in. The screw is fitted with a soft washer on the area where it touches the glass so as not to damage it. The build of the screws is of a good quality. No glue spills from the pad and they don’t fall apart. The glass has an atypical thickness of just over 3.9 millimetres.
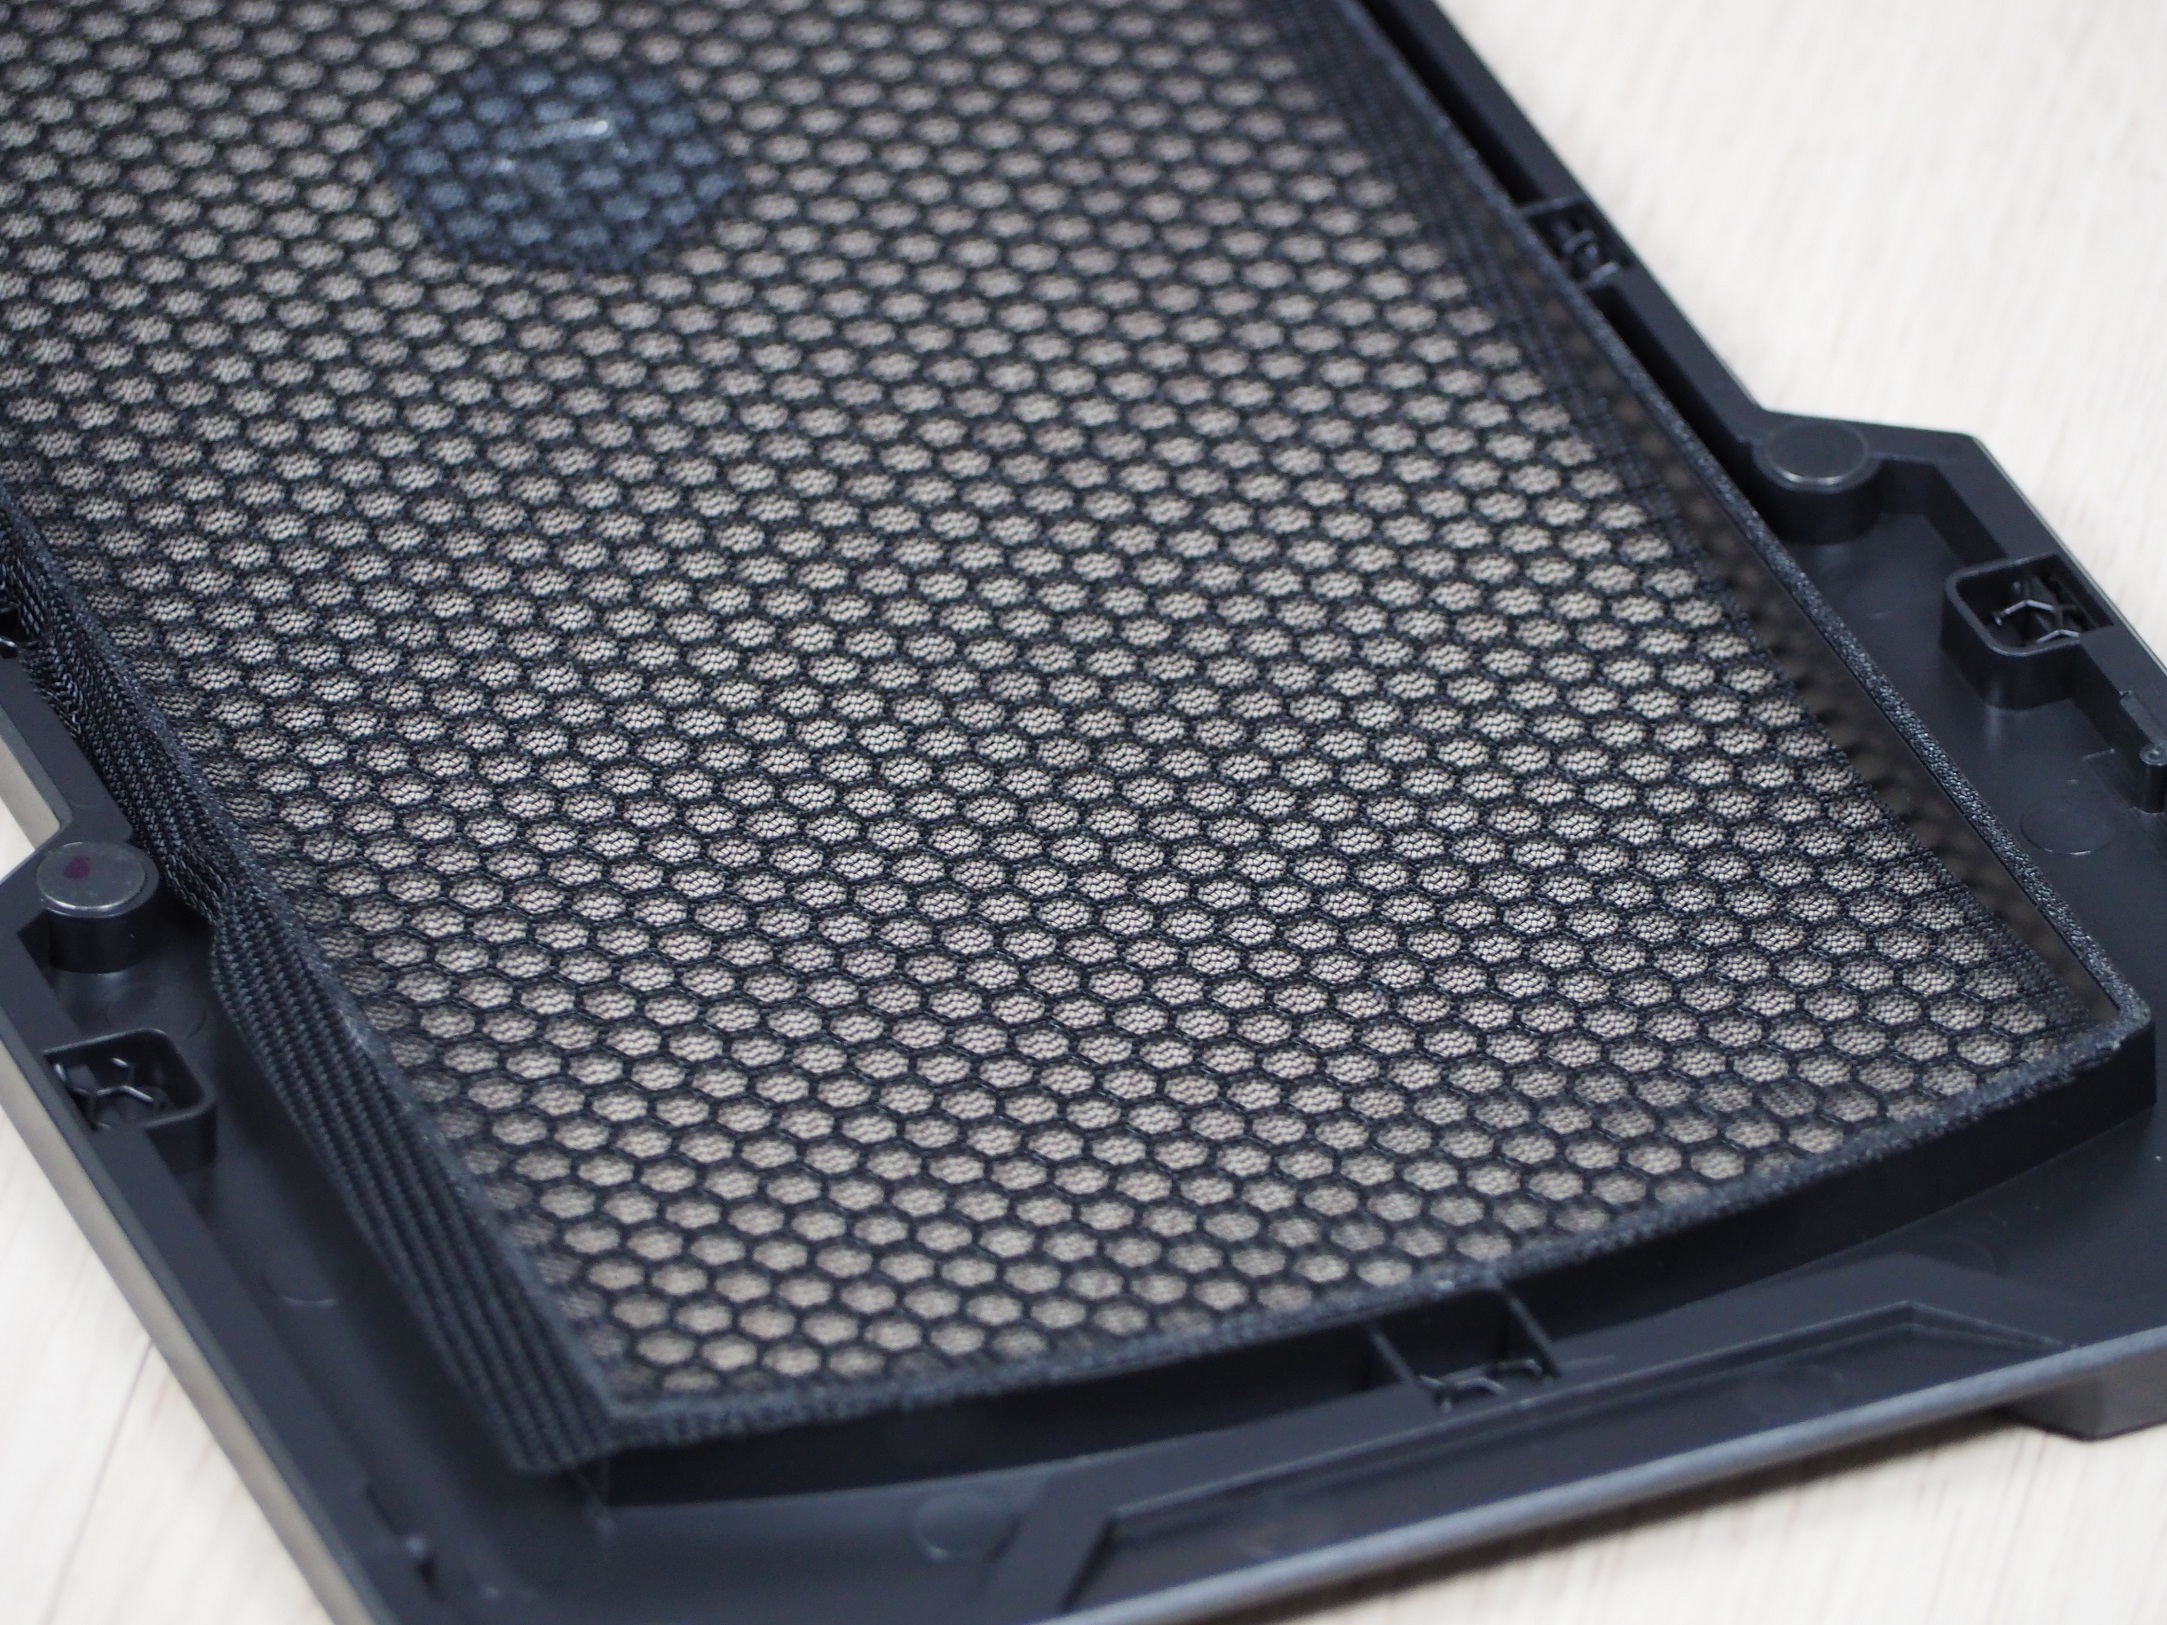
The front panel is composed of two parts. The first is a large dust filter with a fine perforation that catches even finer dirt. Removing it is quick and easy thanks to the handle and magnets on its sides. You don’t have to disassemble anything for cleaning. The second part is the frame, which separates the filter from the fans while keeping them on top of each other.

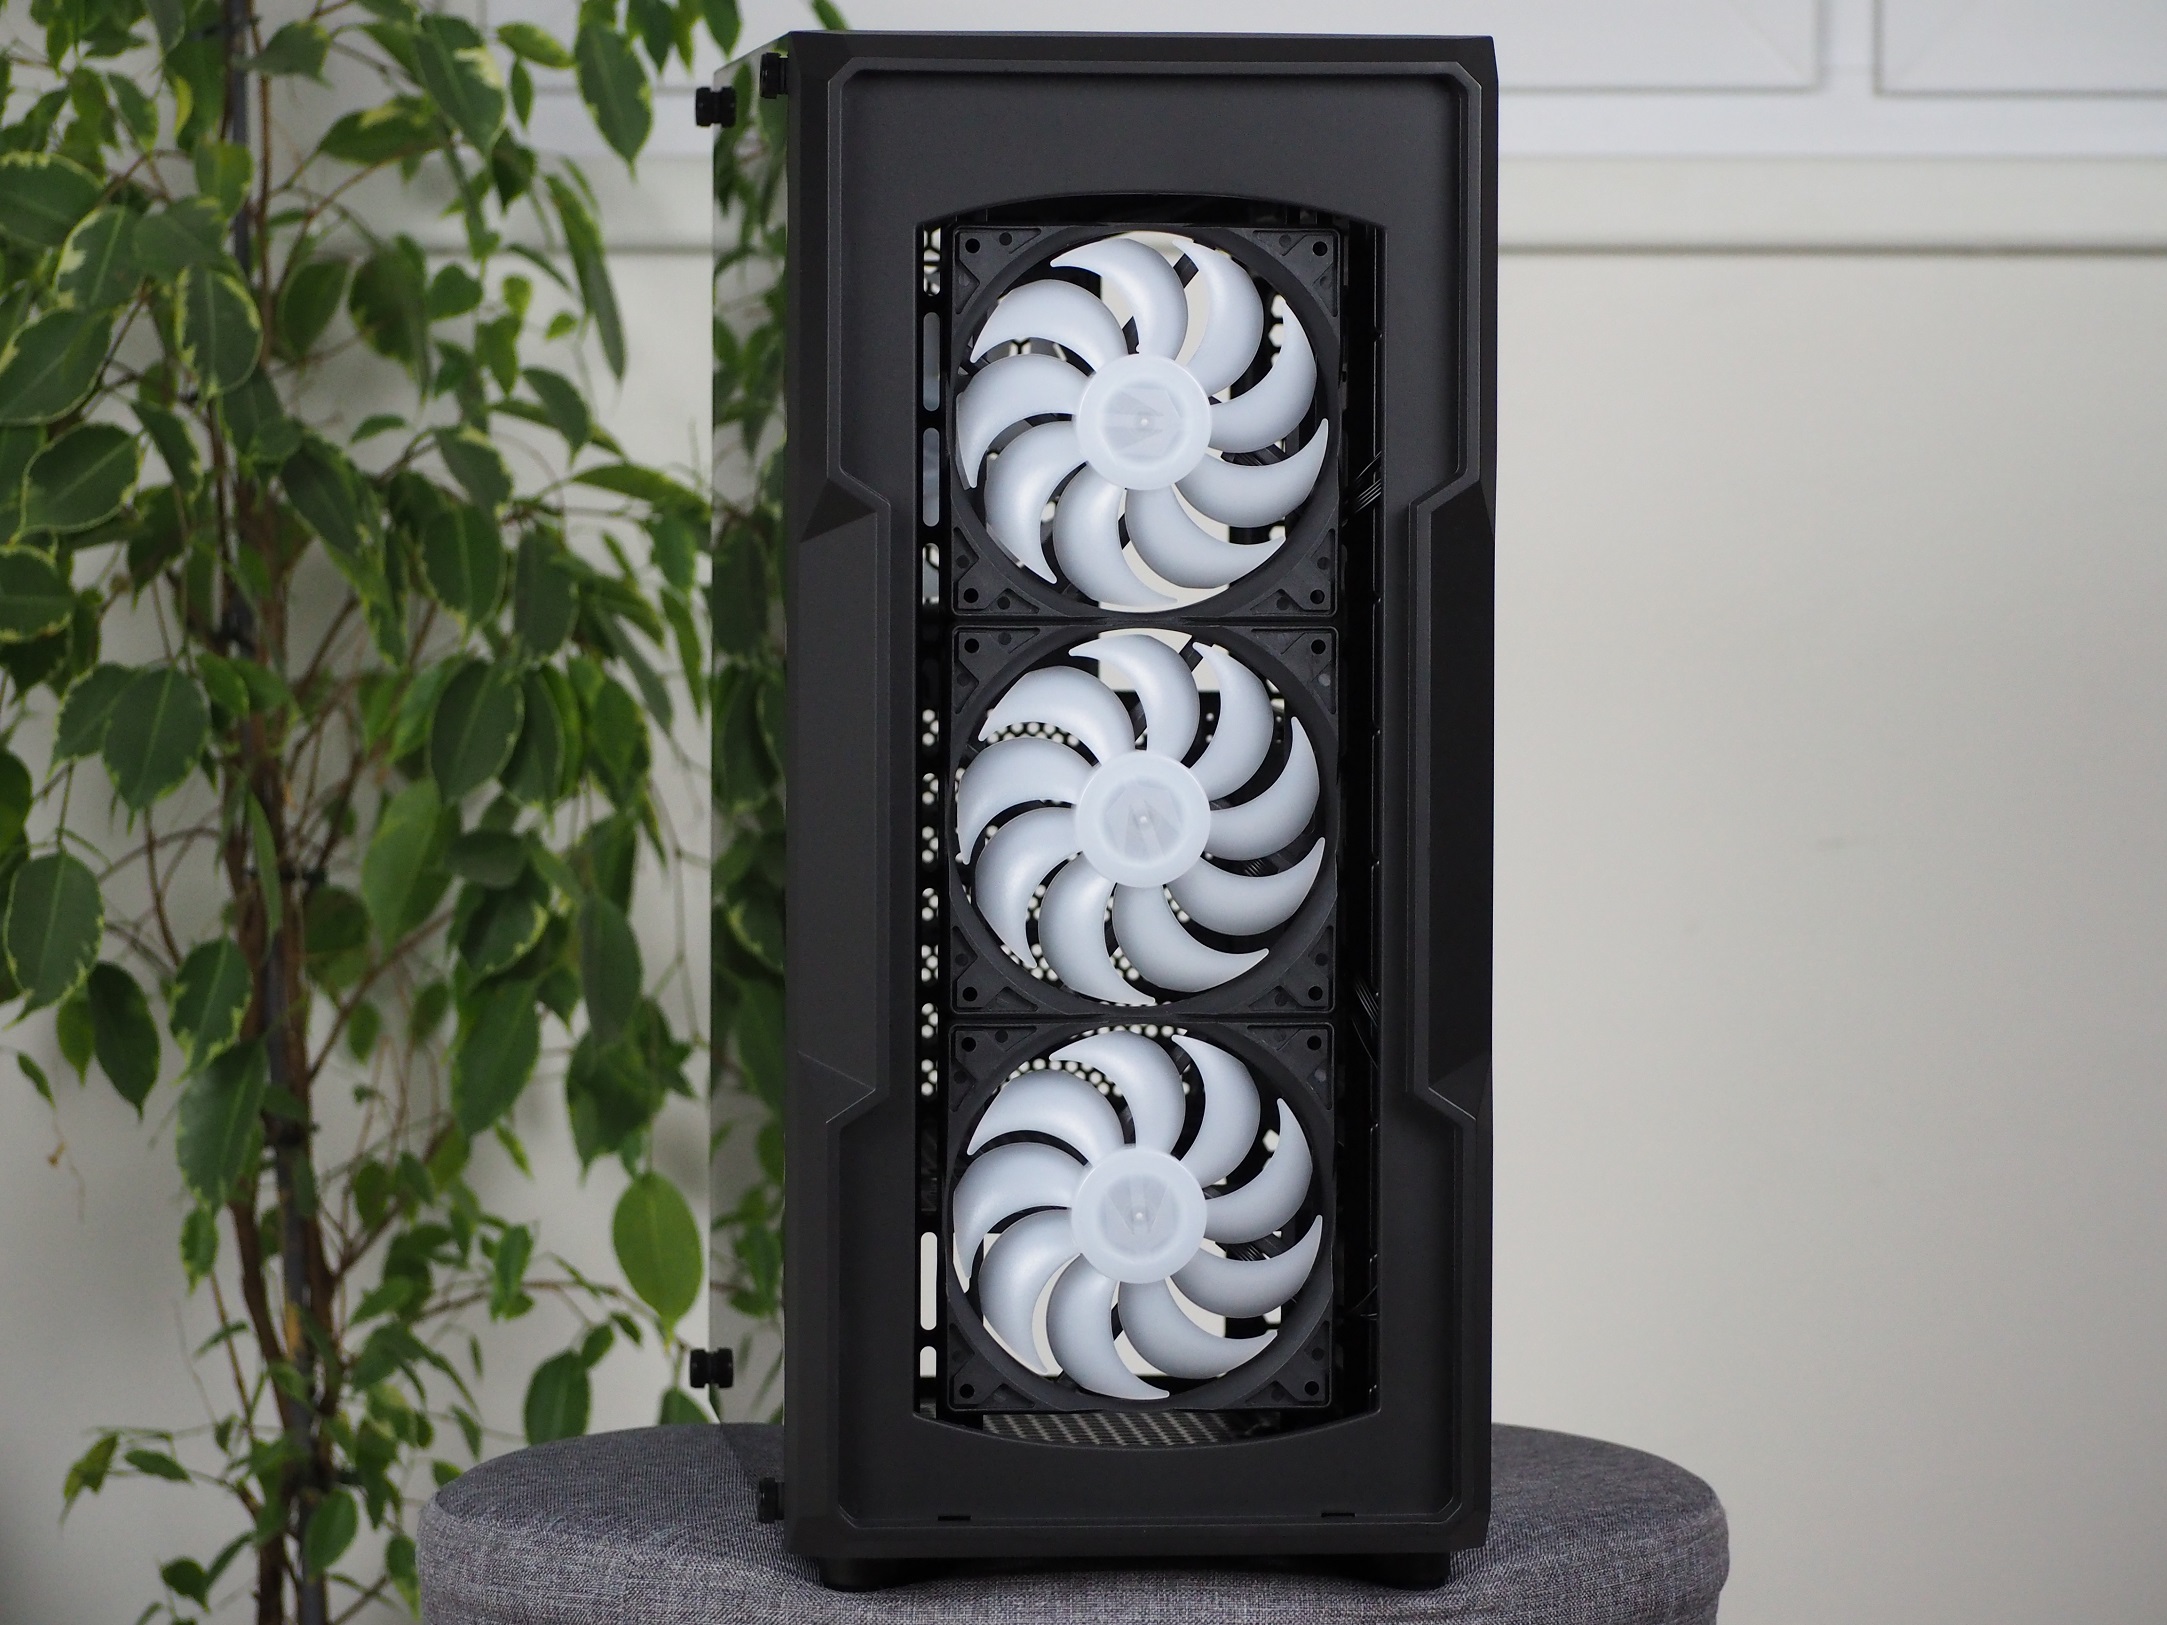
The fasteners from the second part are already holding firmly on the structure. The front is removed by pulling the handle from underneath the case. After removing it, you can get to the fans. There are three of these, and they are the 120mm Stratus 120 PWM ARGB models. They are similar in shape to the Fluctus, which we have already tested, but they don’t have teeth on the blades and with 1400 rpm they are slower. If you would like to swap them out, there is also the option of installing 140mm ones. But you can only fit two of those. A liquid cooler radiator can be installed in the front up to 360mm format (i.e. including 280mm).

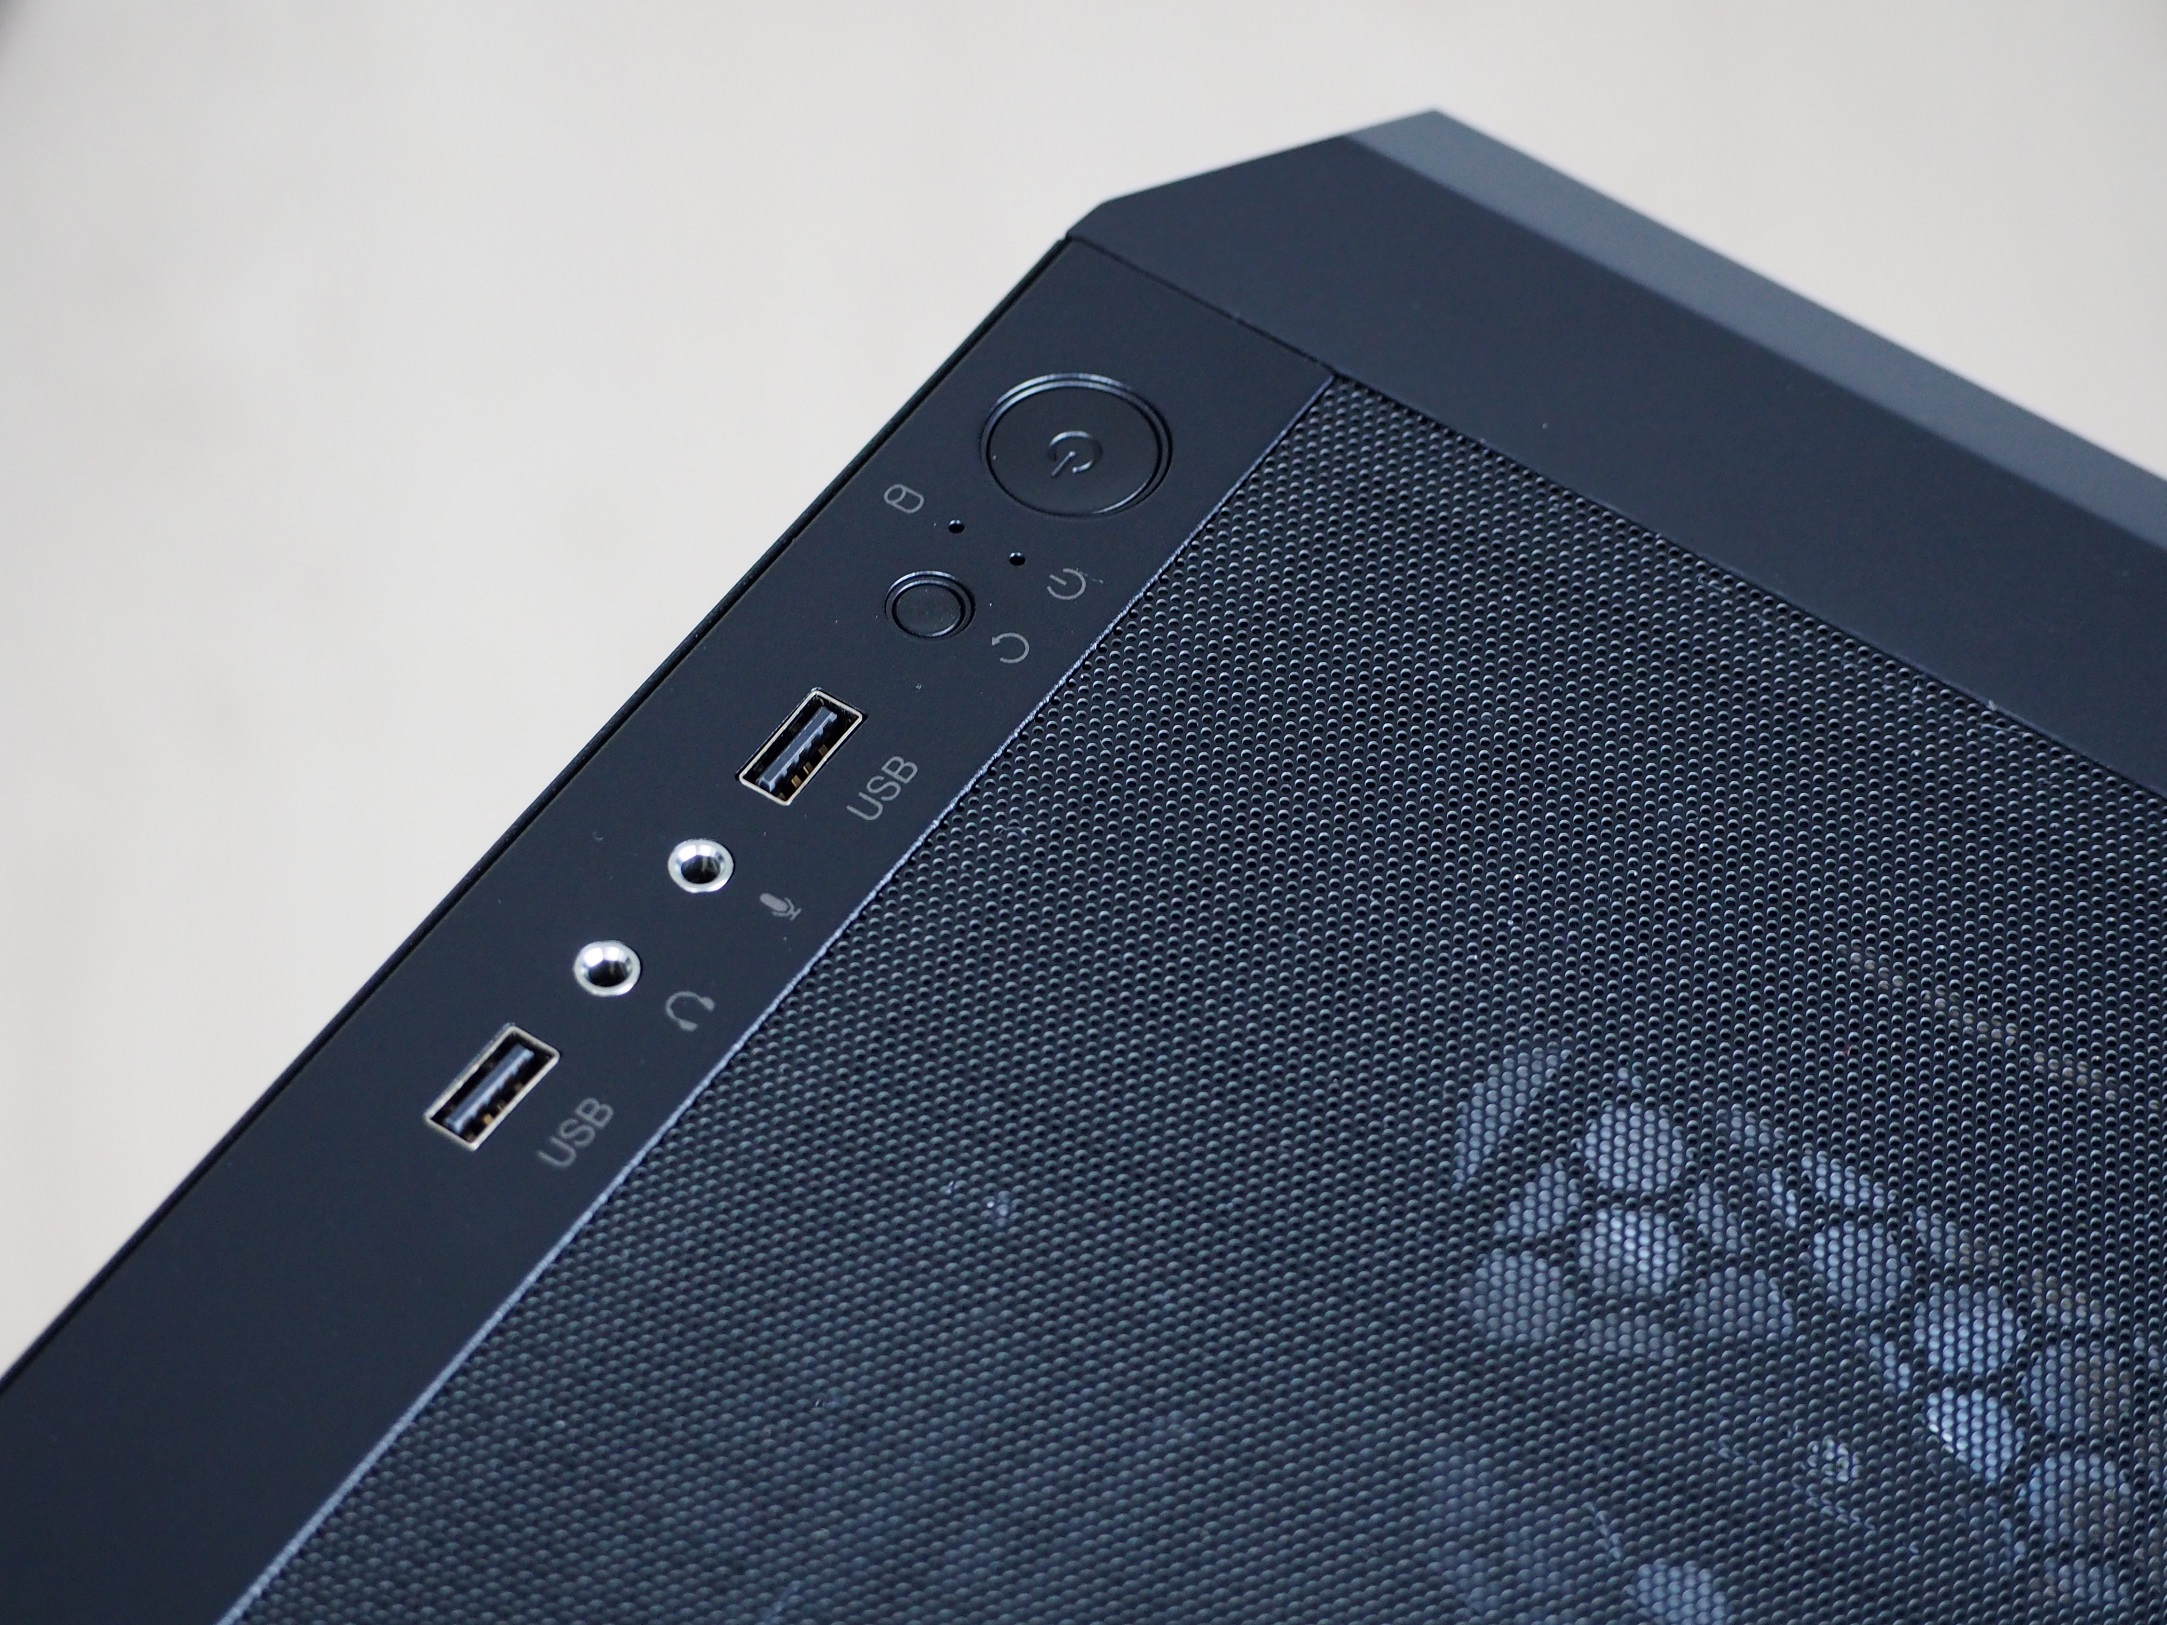
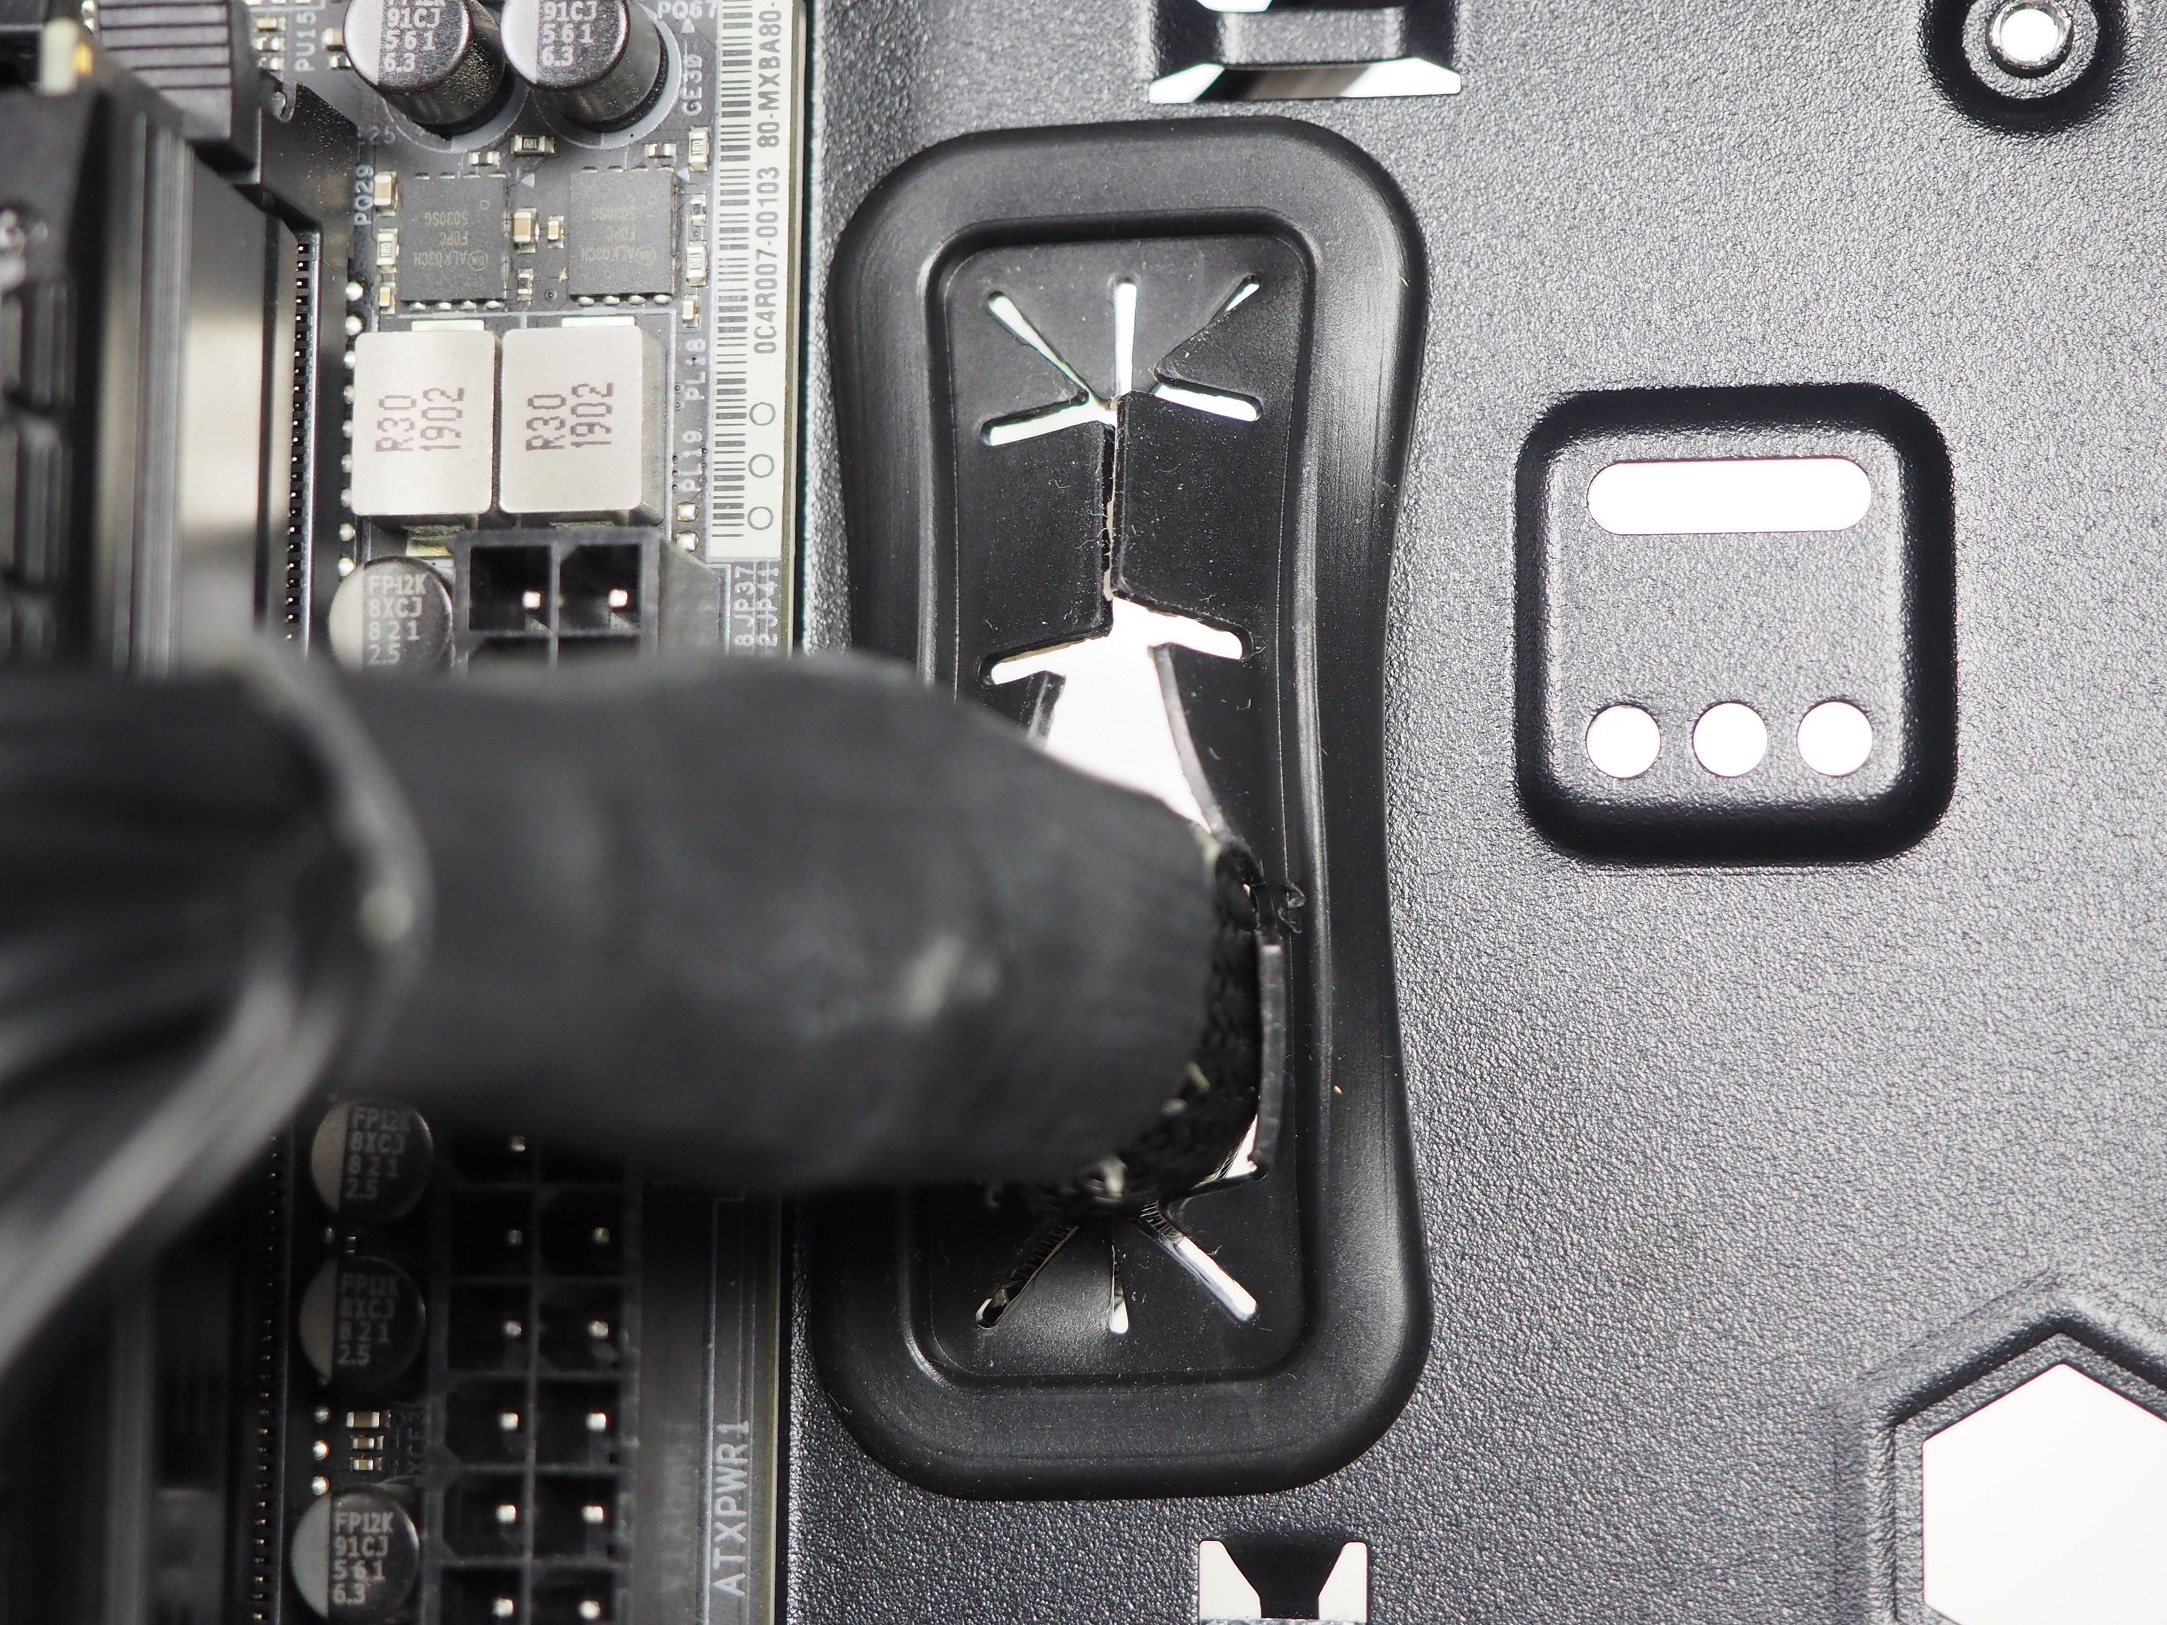
The I/O panel on the top of the case is oriented along the right side. If you keep the case under the desk, you may have more difficulty accessing distant connectors because of its orientation. There are two USB ports and an equal number of 3.5mm jacks between them (separate for headphones, separate for microphone). At the price range, however, I do miss a USB-C connector here, which is becoming more and more widely used. The button to change the fan lighting mode or to reboot (depending on the wiring) is slightly recessed into the structure. Since its diameter is small and needs to be pressed deeper, pressing it is not comfortable at all. Especially if you are changing the backlight mode and need to switch between inconvenient ones. Then there are two LEDs, one for disk activity and the other to indicate the power on status. I have no complaints about the large power button. Even the tactile response is very perceptible.
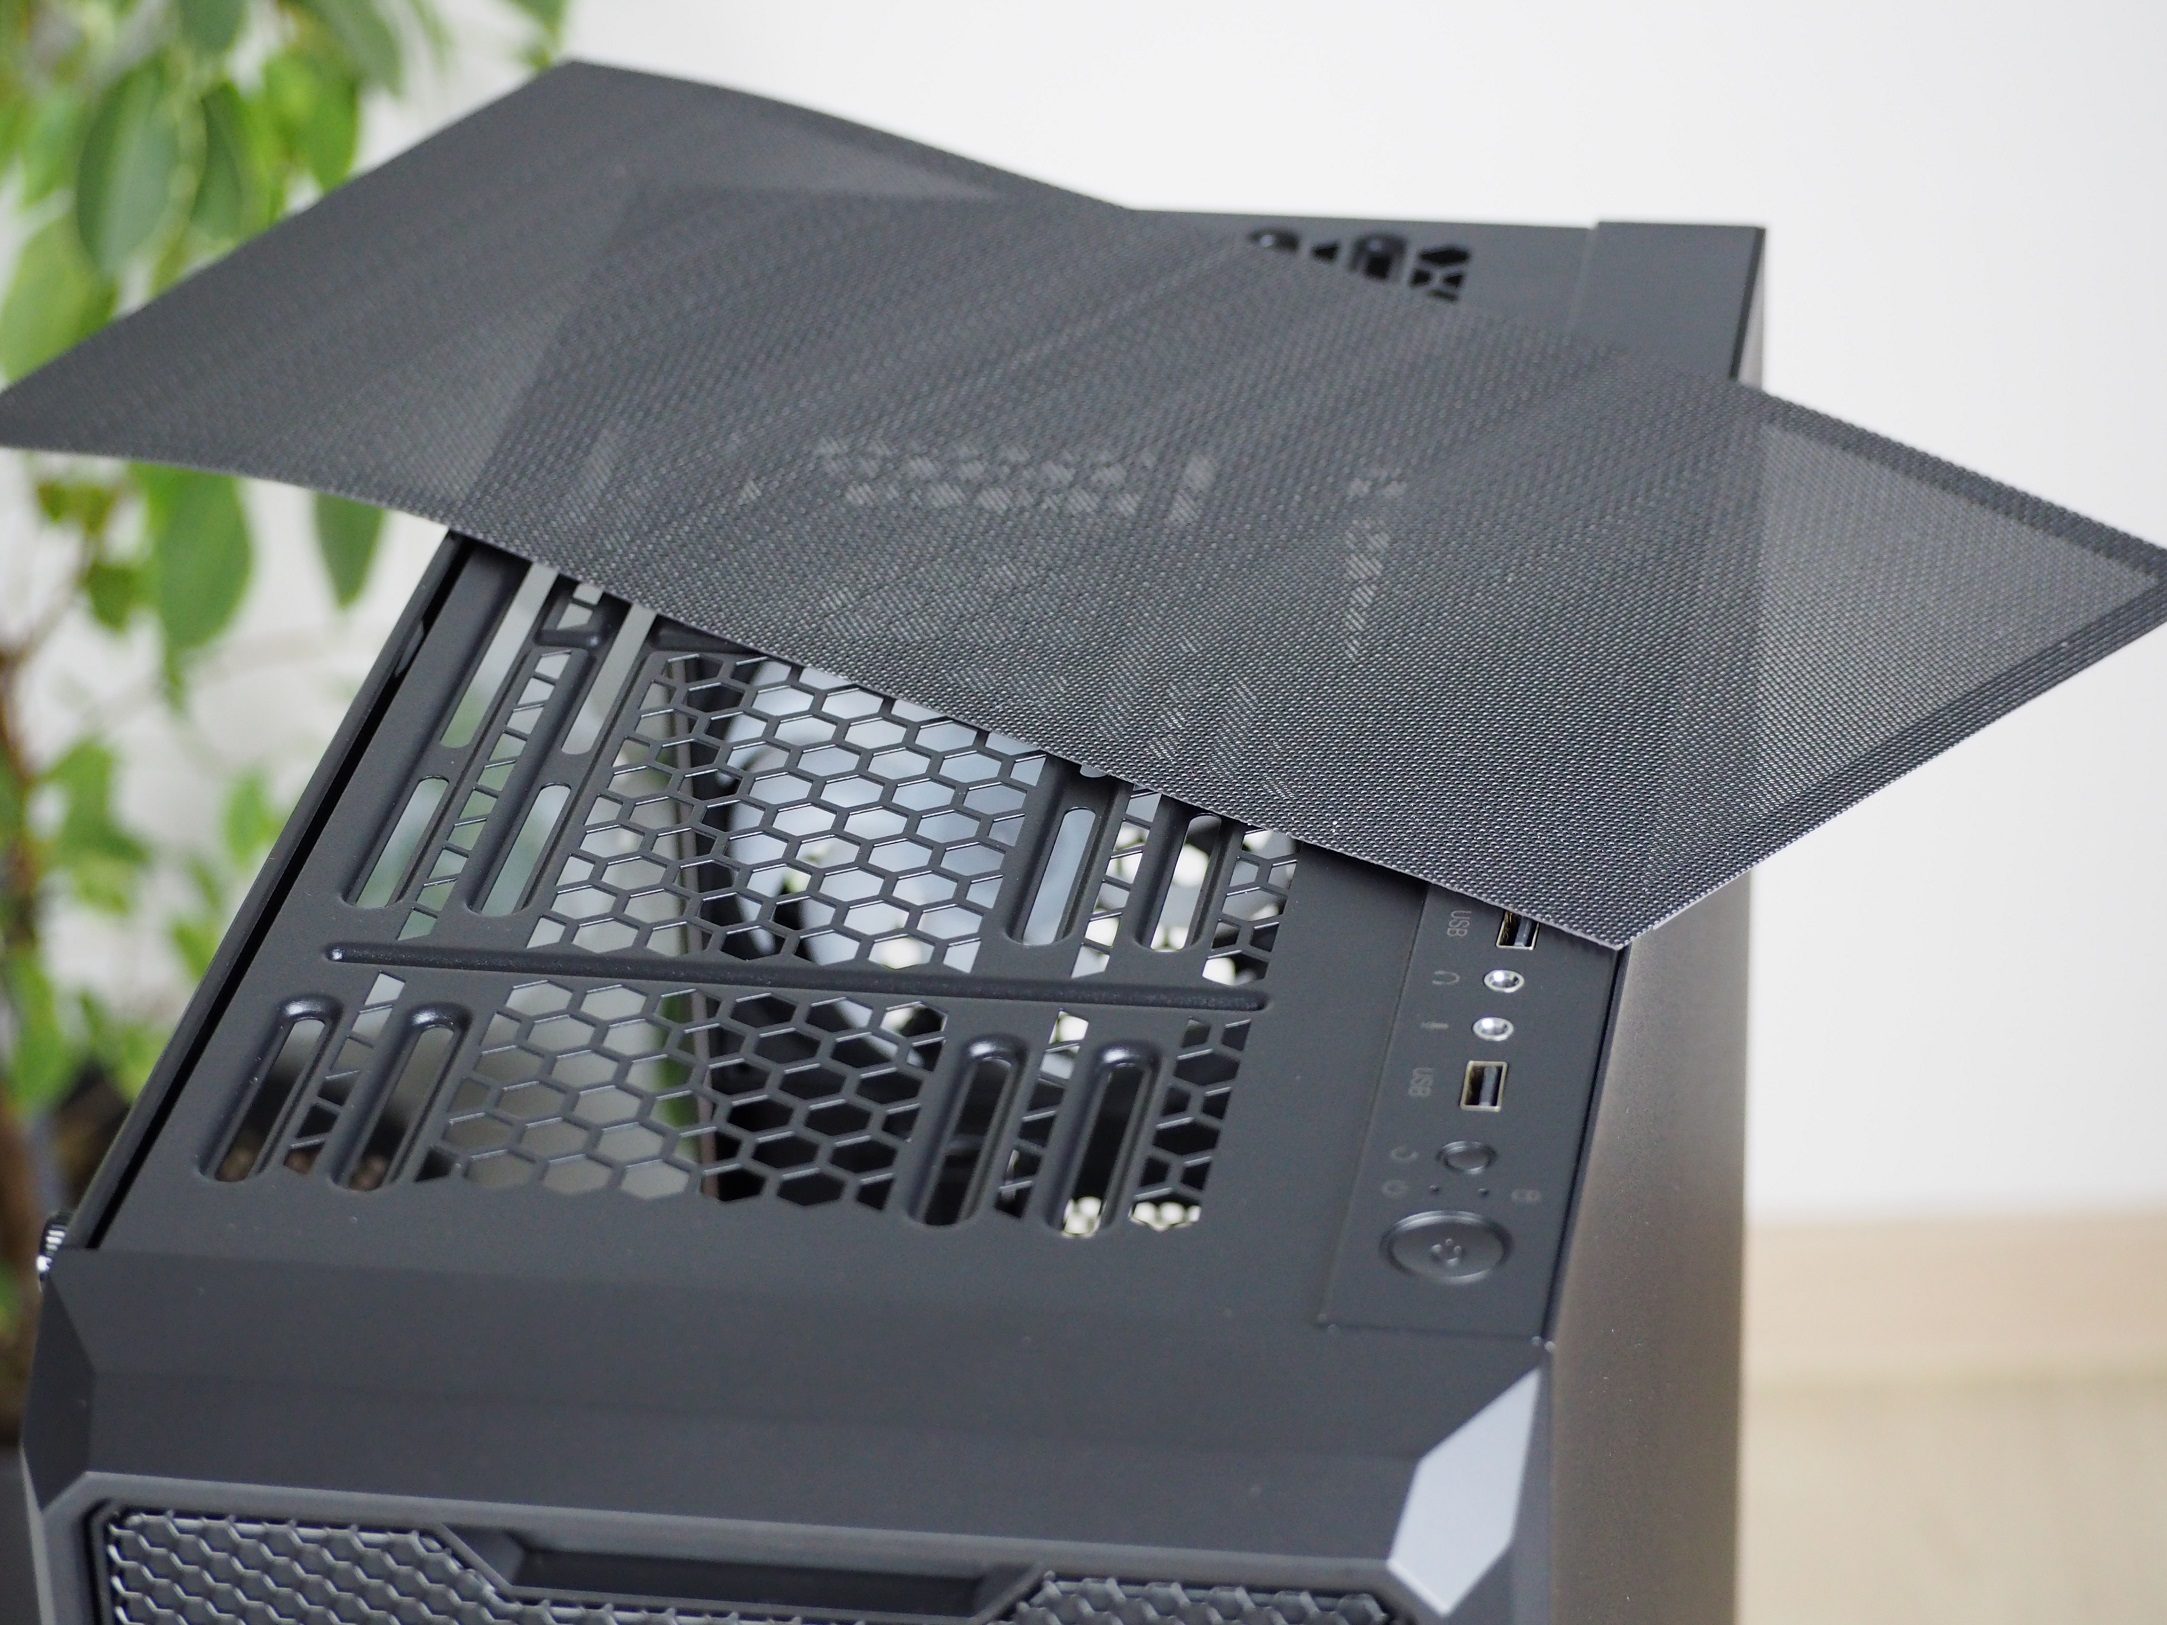
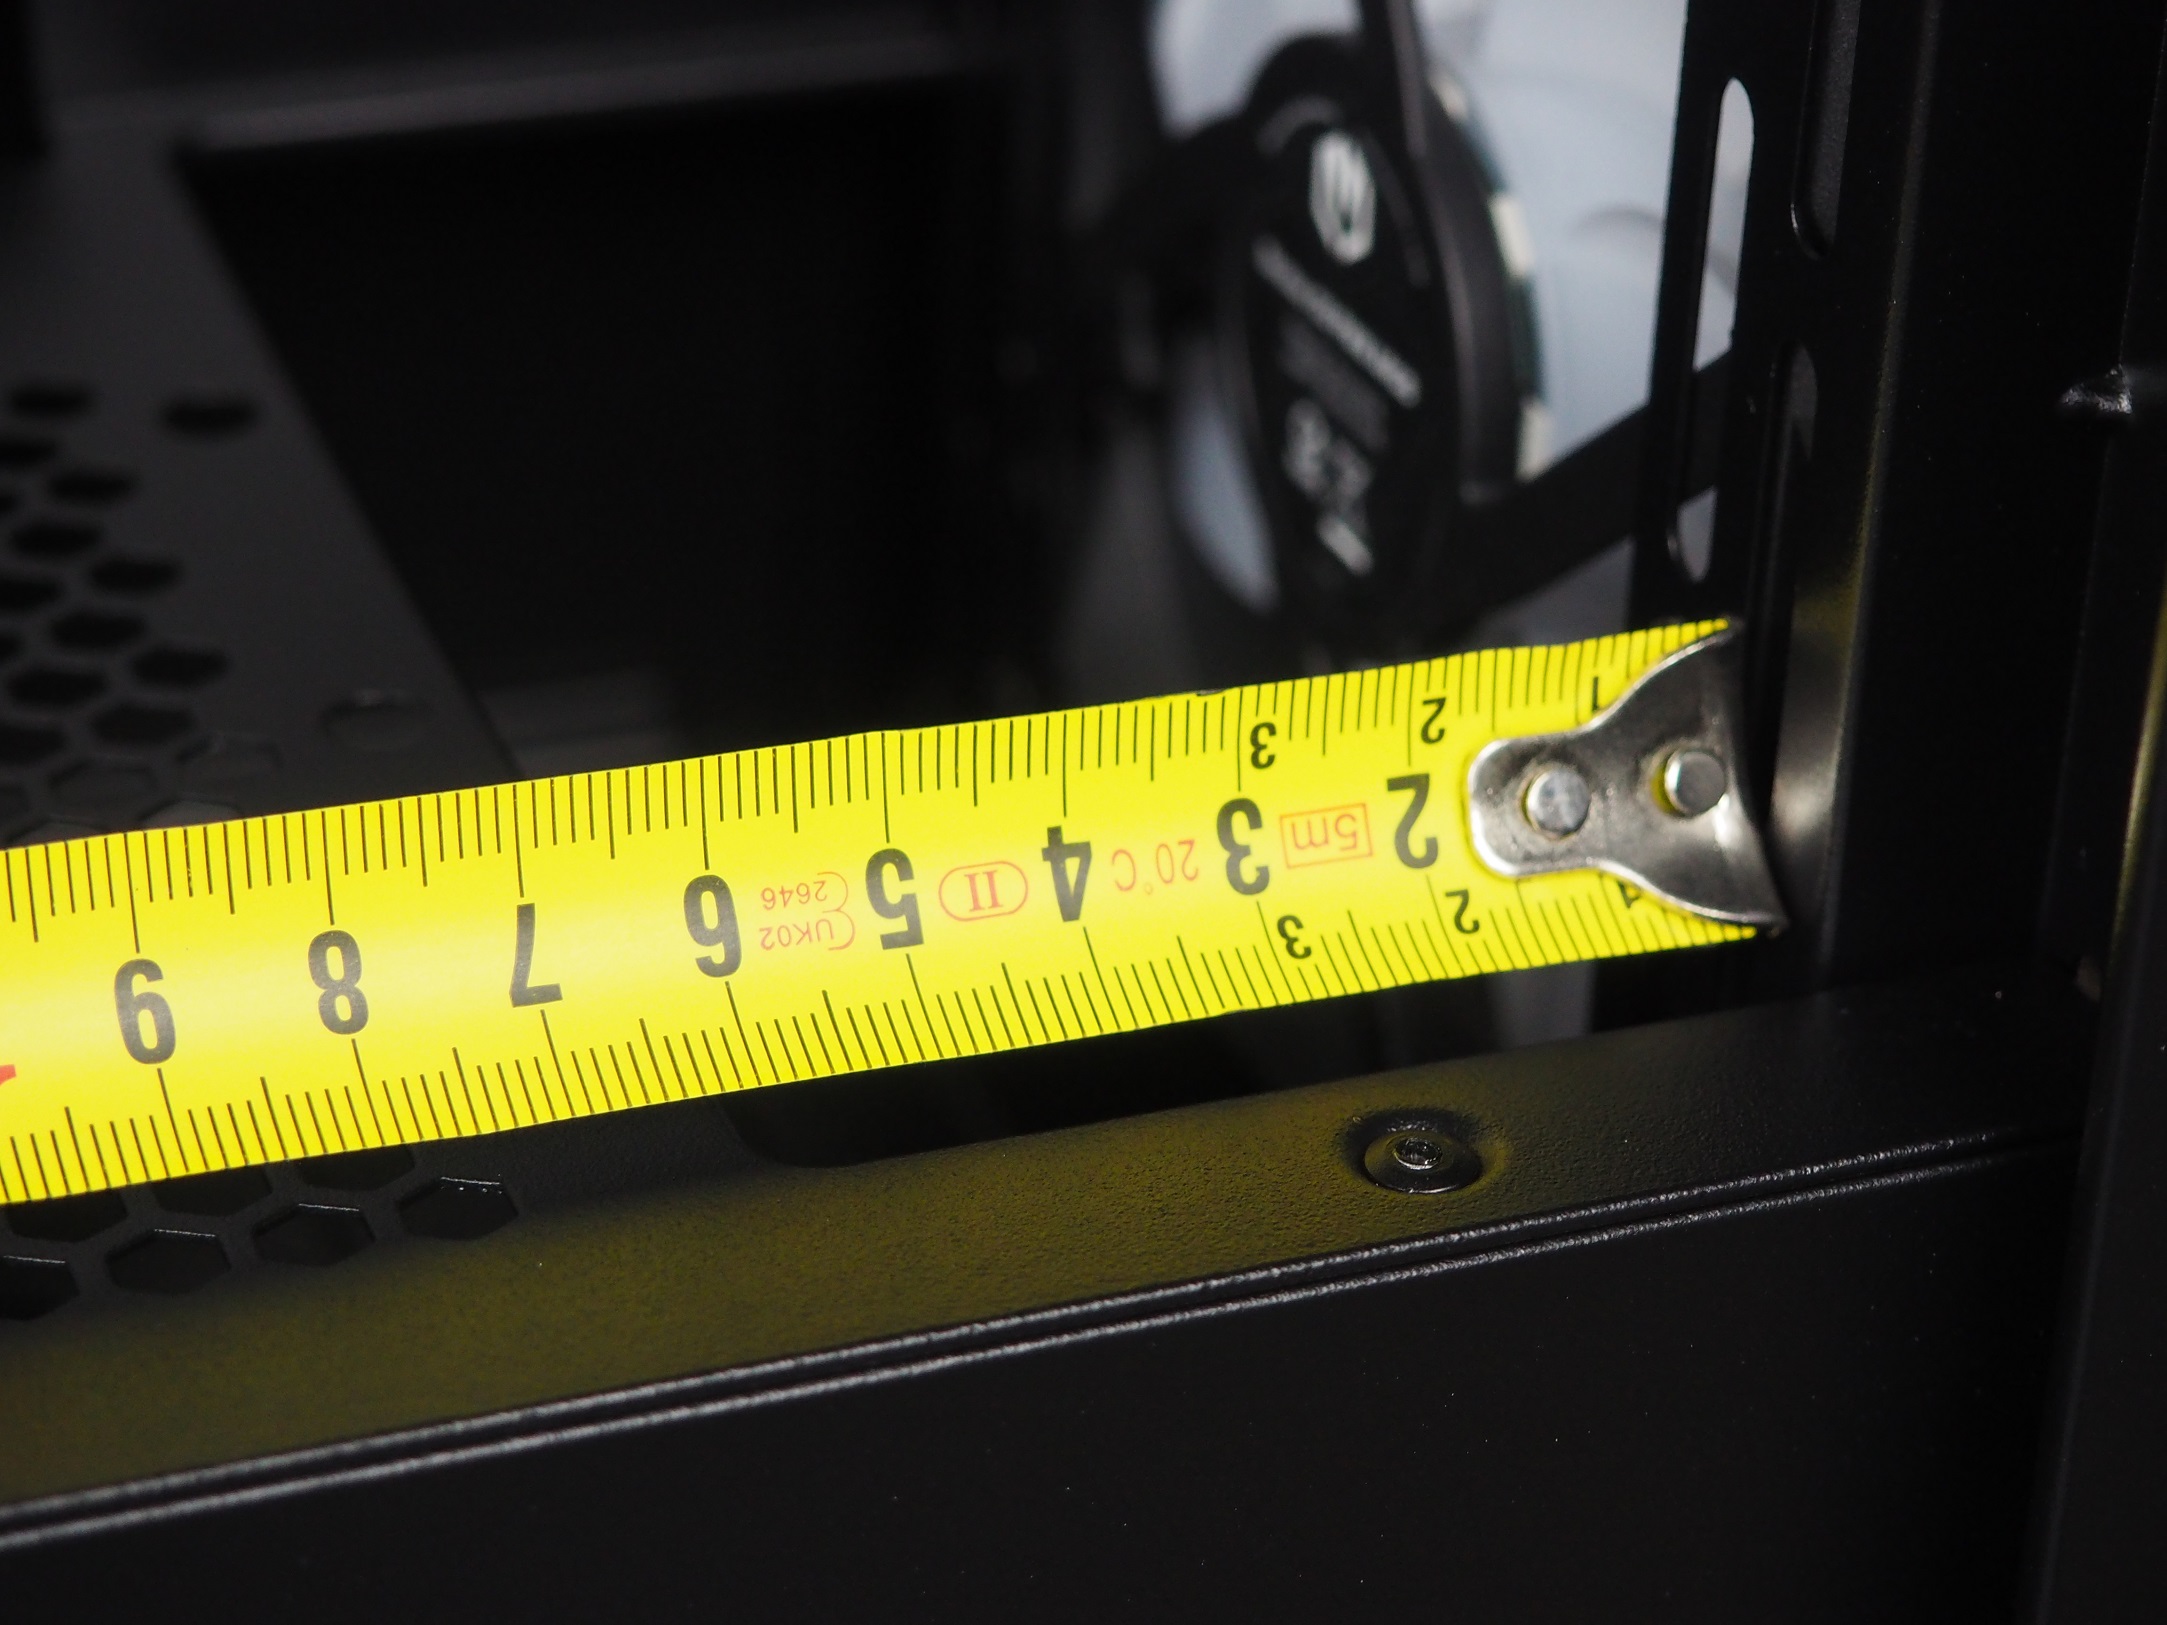
The rest of the top is covered with a fine dust filter. Its left side starts directly from the tempered glass. Together with the recessed level design this part looks good. The holes in the perforation are larger, roughly one millimeter. Since the positions here are primarily for sucking air out of the case, I don’t consider this a shortcoming. You can fit a 240/280mm liquid cooler radiator or two 120/140mm fans here to take care of the heated air more easily.

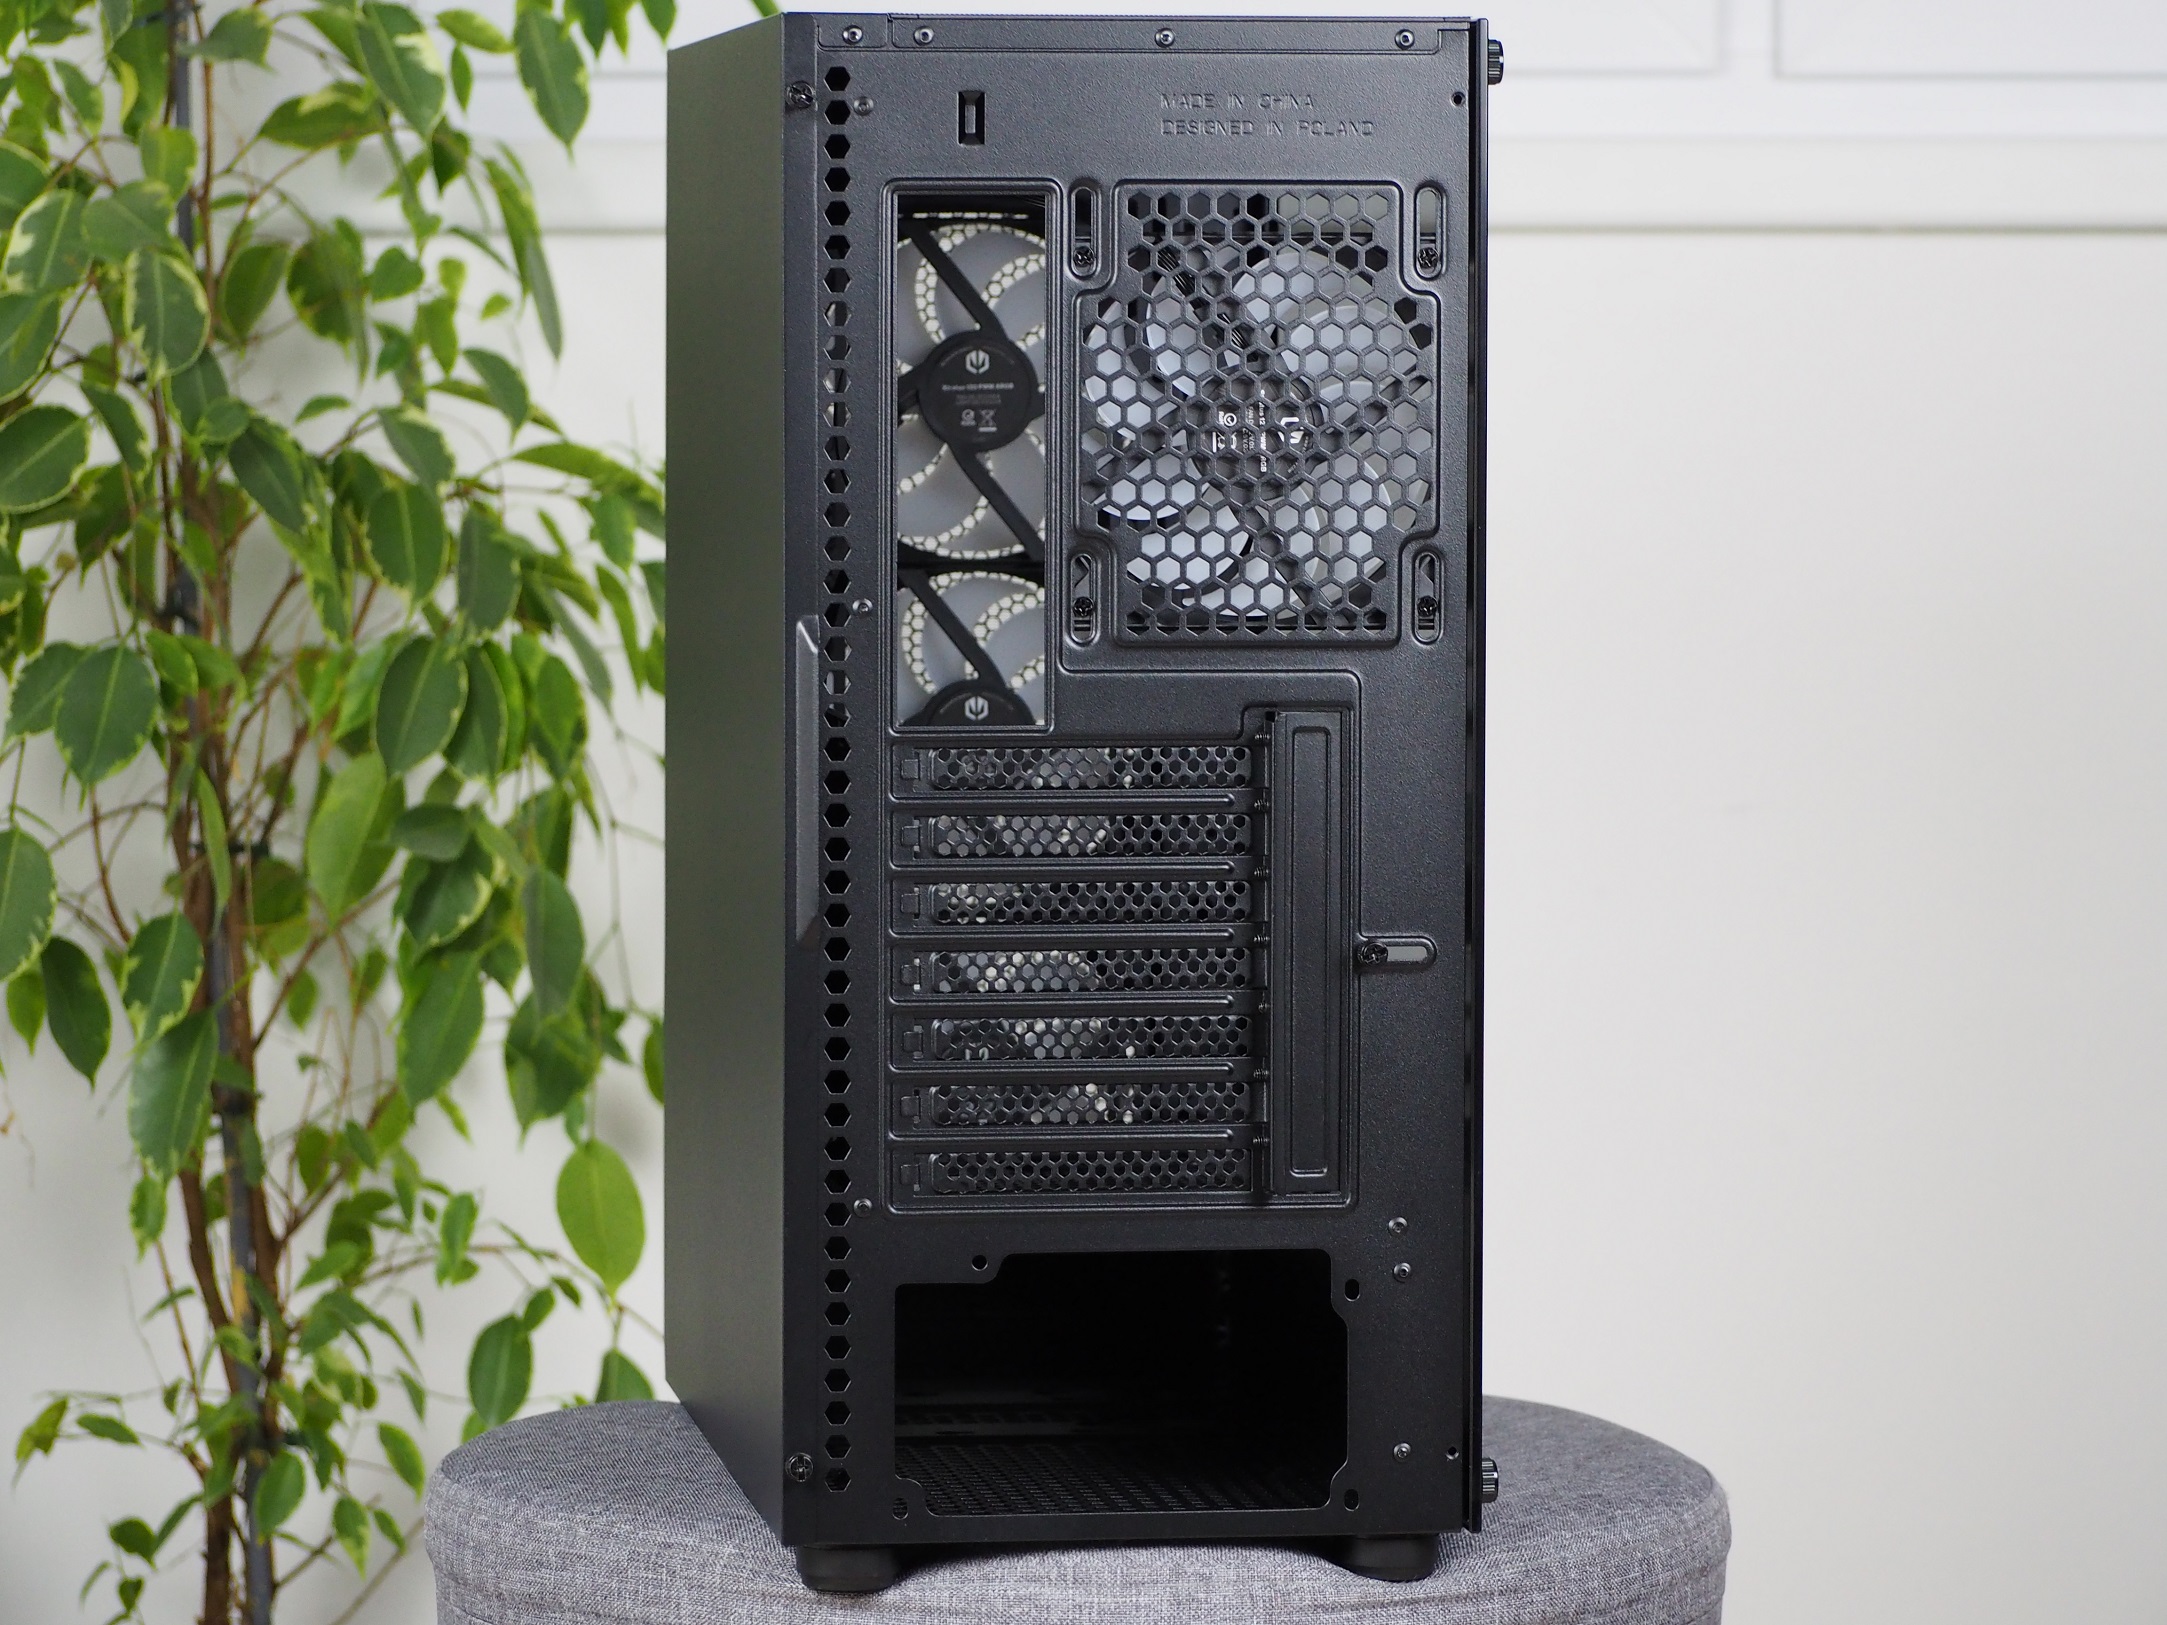
The rear side comes standard with a slot for the motherboard I/O panel and a 120mm fan vent next to it. The latter is also fitted with the same Stratus as are also on the front. The size of the case won’t let up and a larger one won’t fit. For PCI Express expansion cards there are seven positions, which have a simple screw cap for a nicer look in this part of the case as well. There is no lack of a hole at the bottom for the ATX power supply.
Personally, I’m disappointed in the screws that hold the right side panel on. For a nearly hundred euro case, I can imagine using a double threaded screw. These don’t need to be pulled out of the side panel when opening it, so there is less chance of them getting lost.
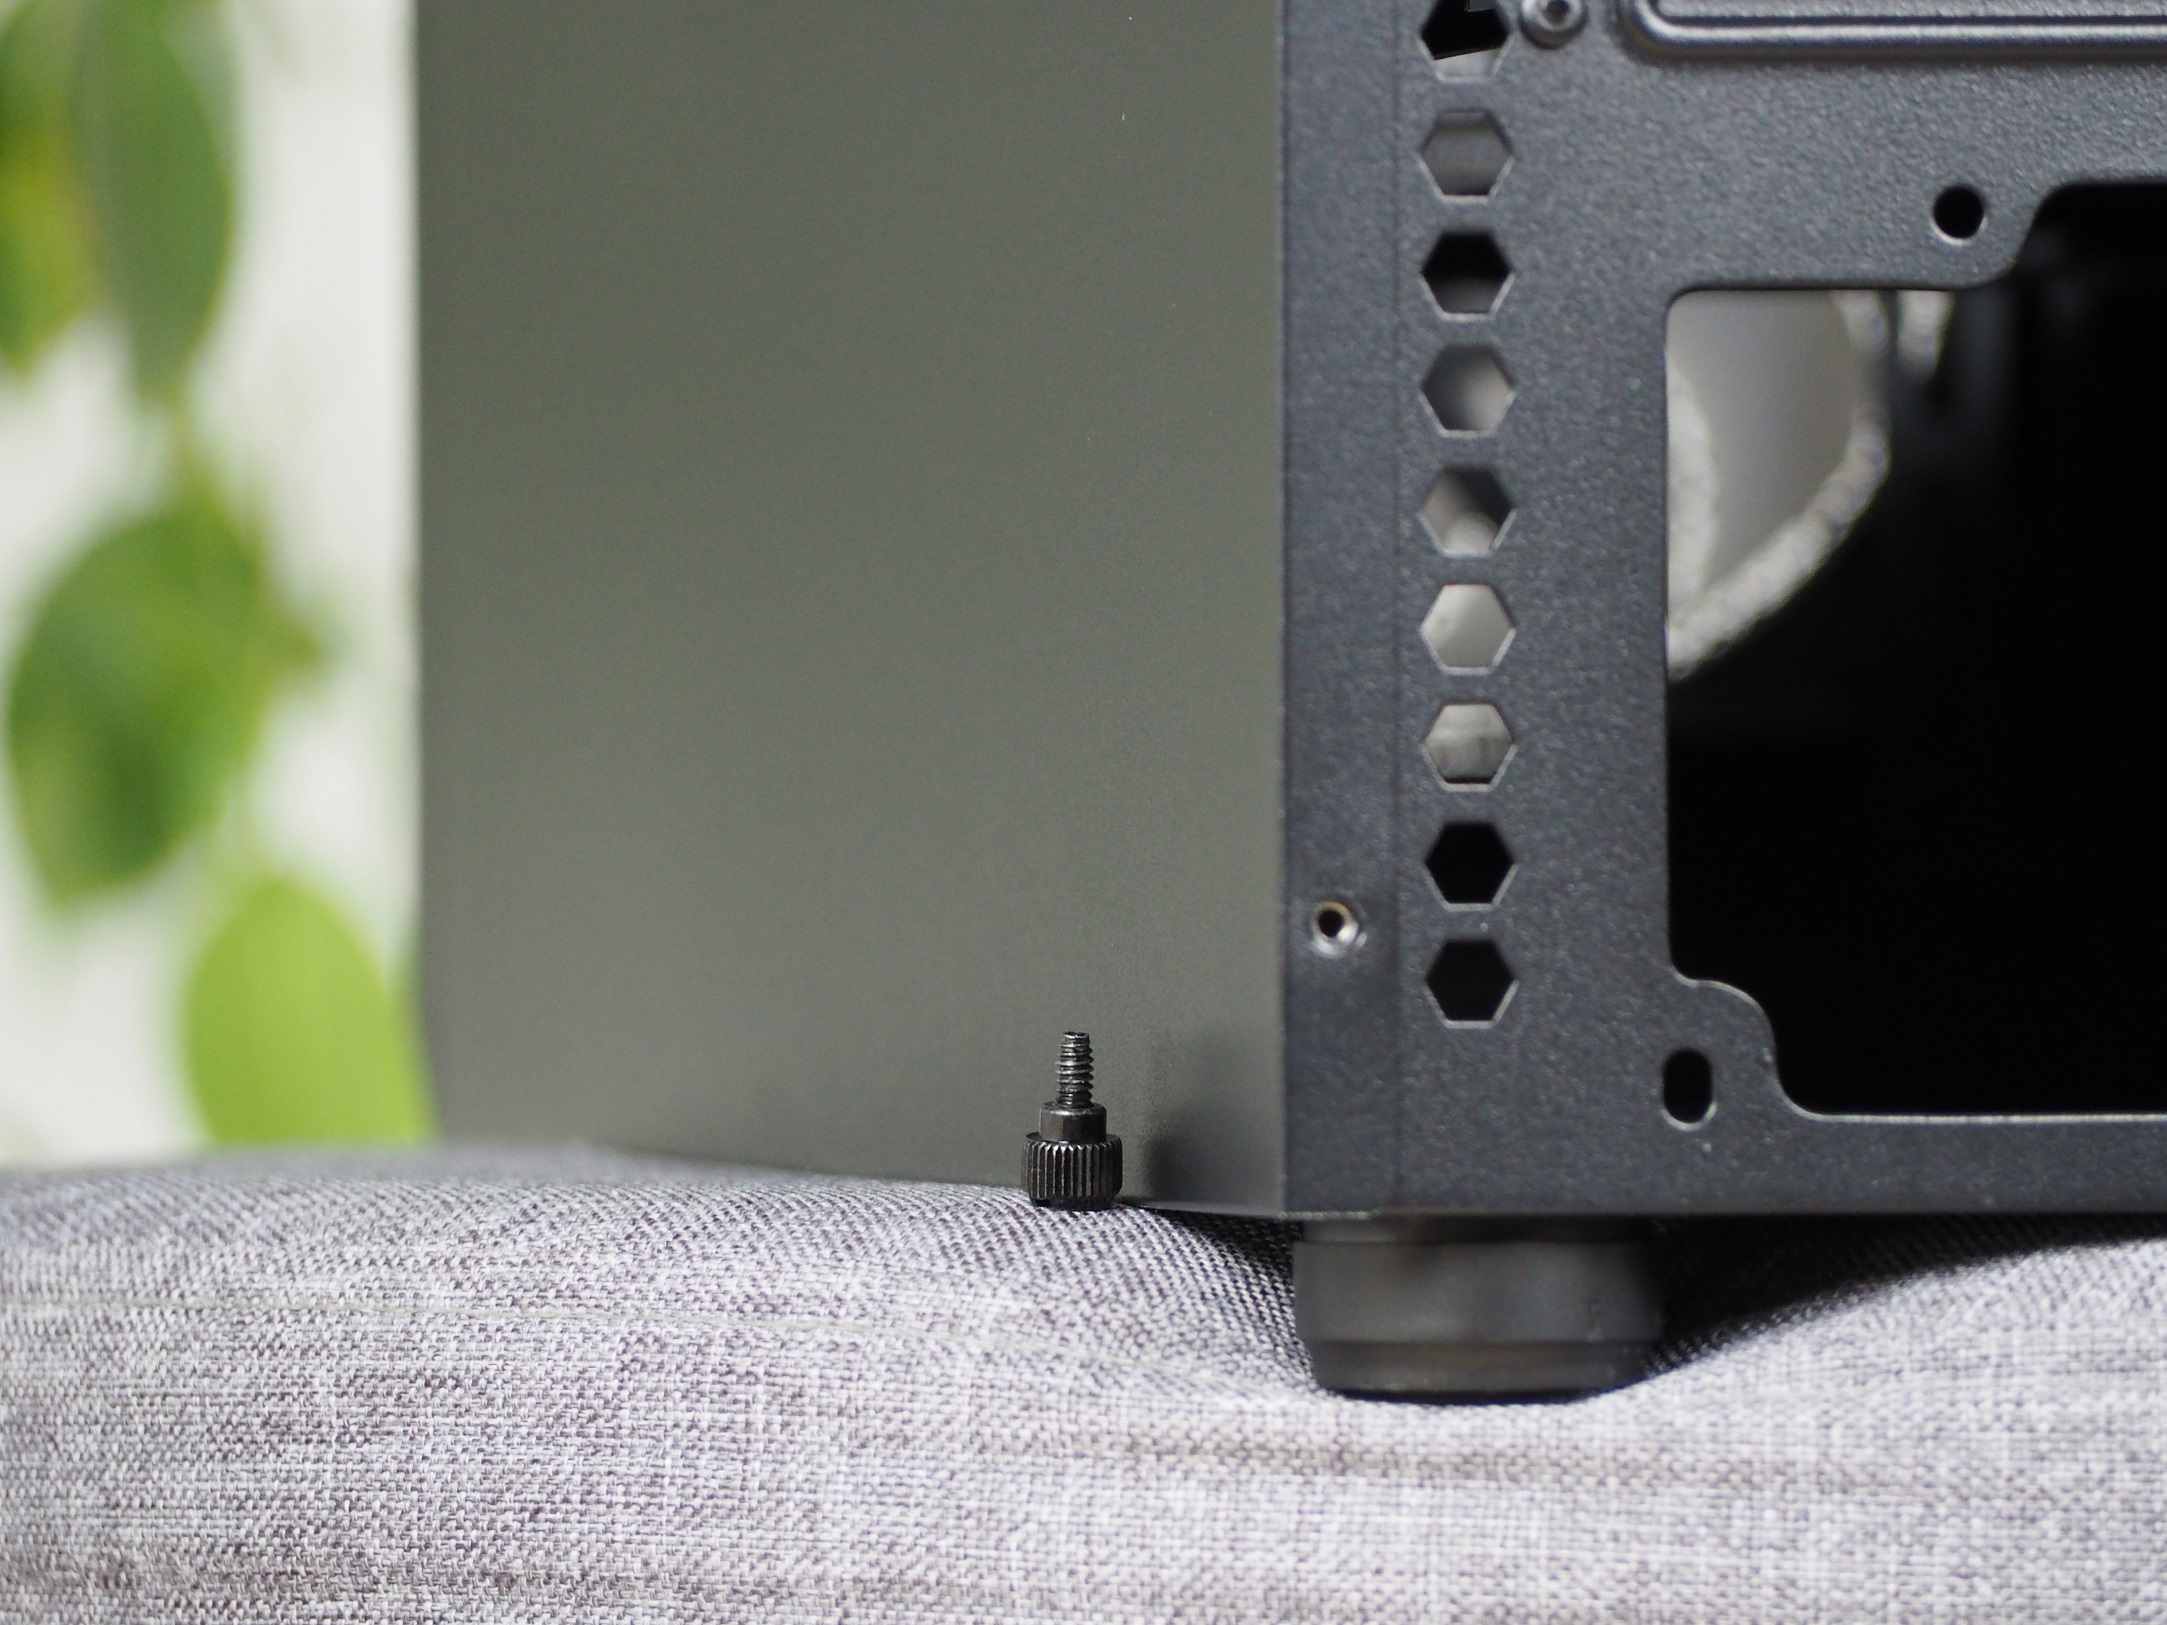
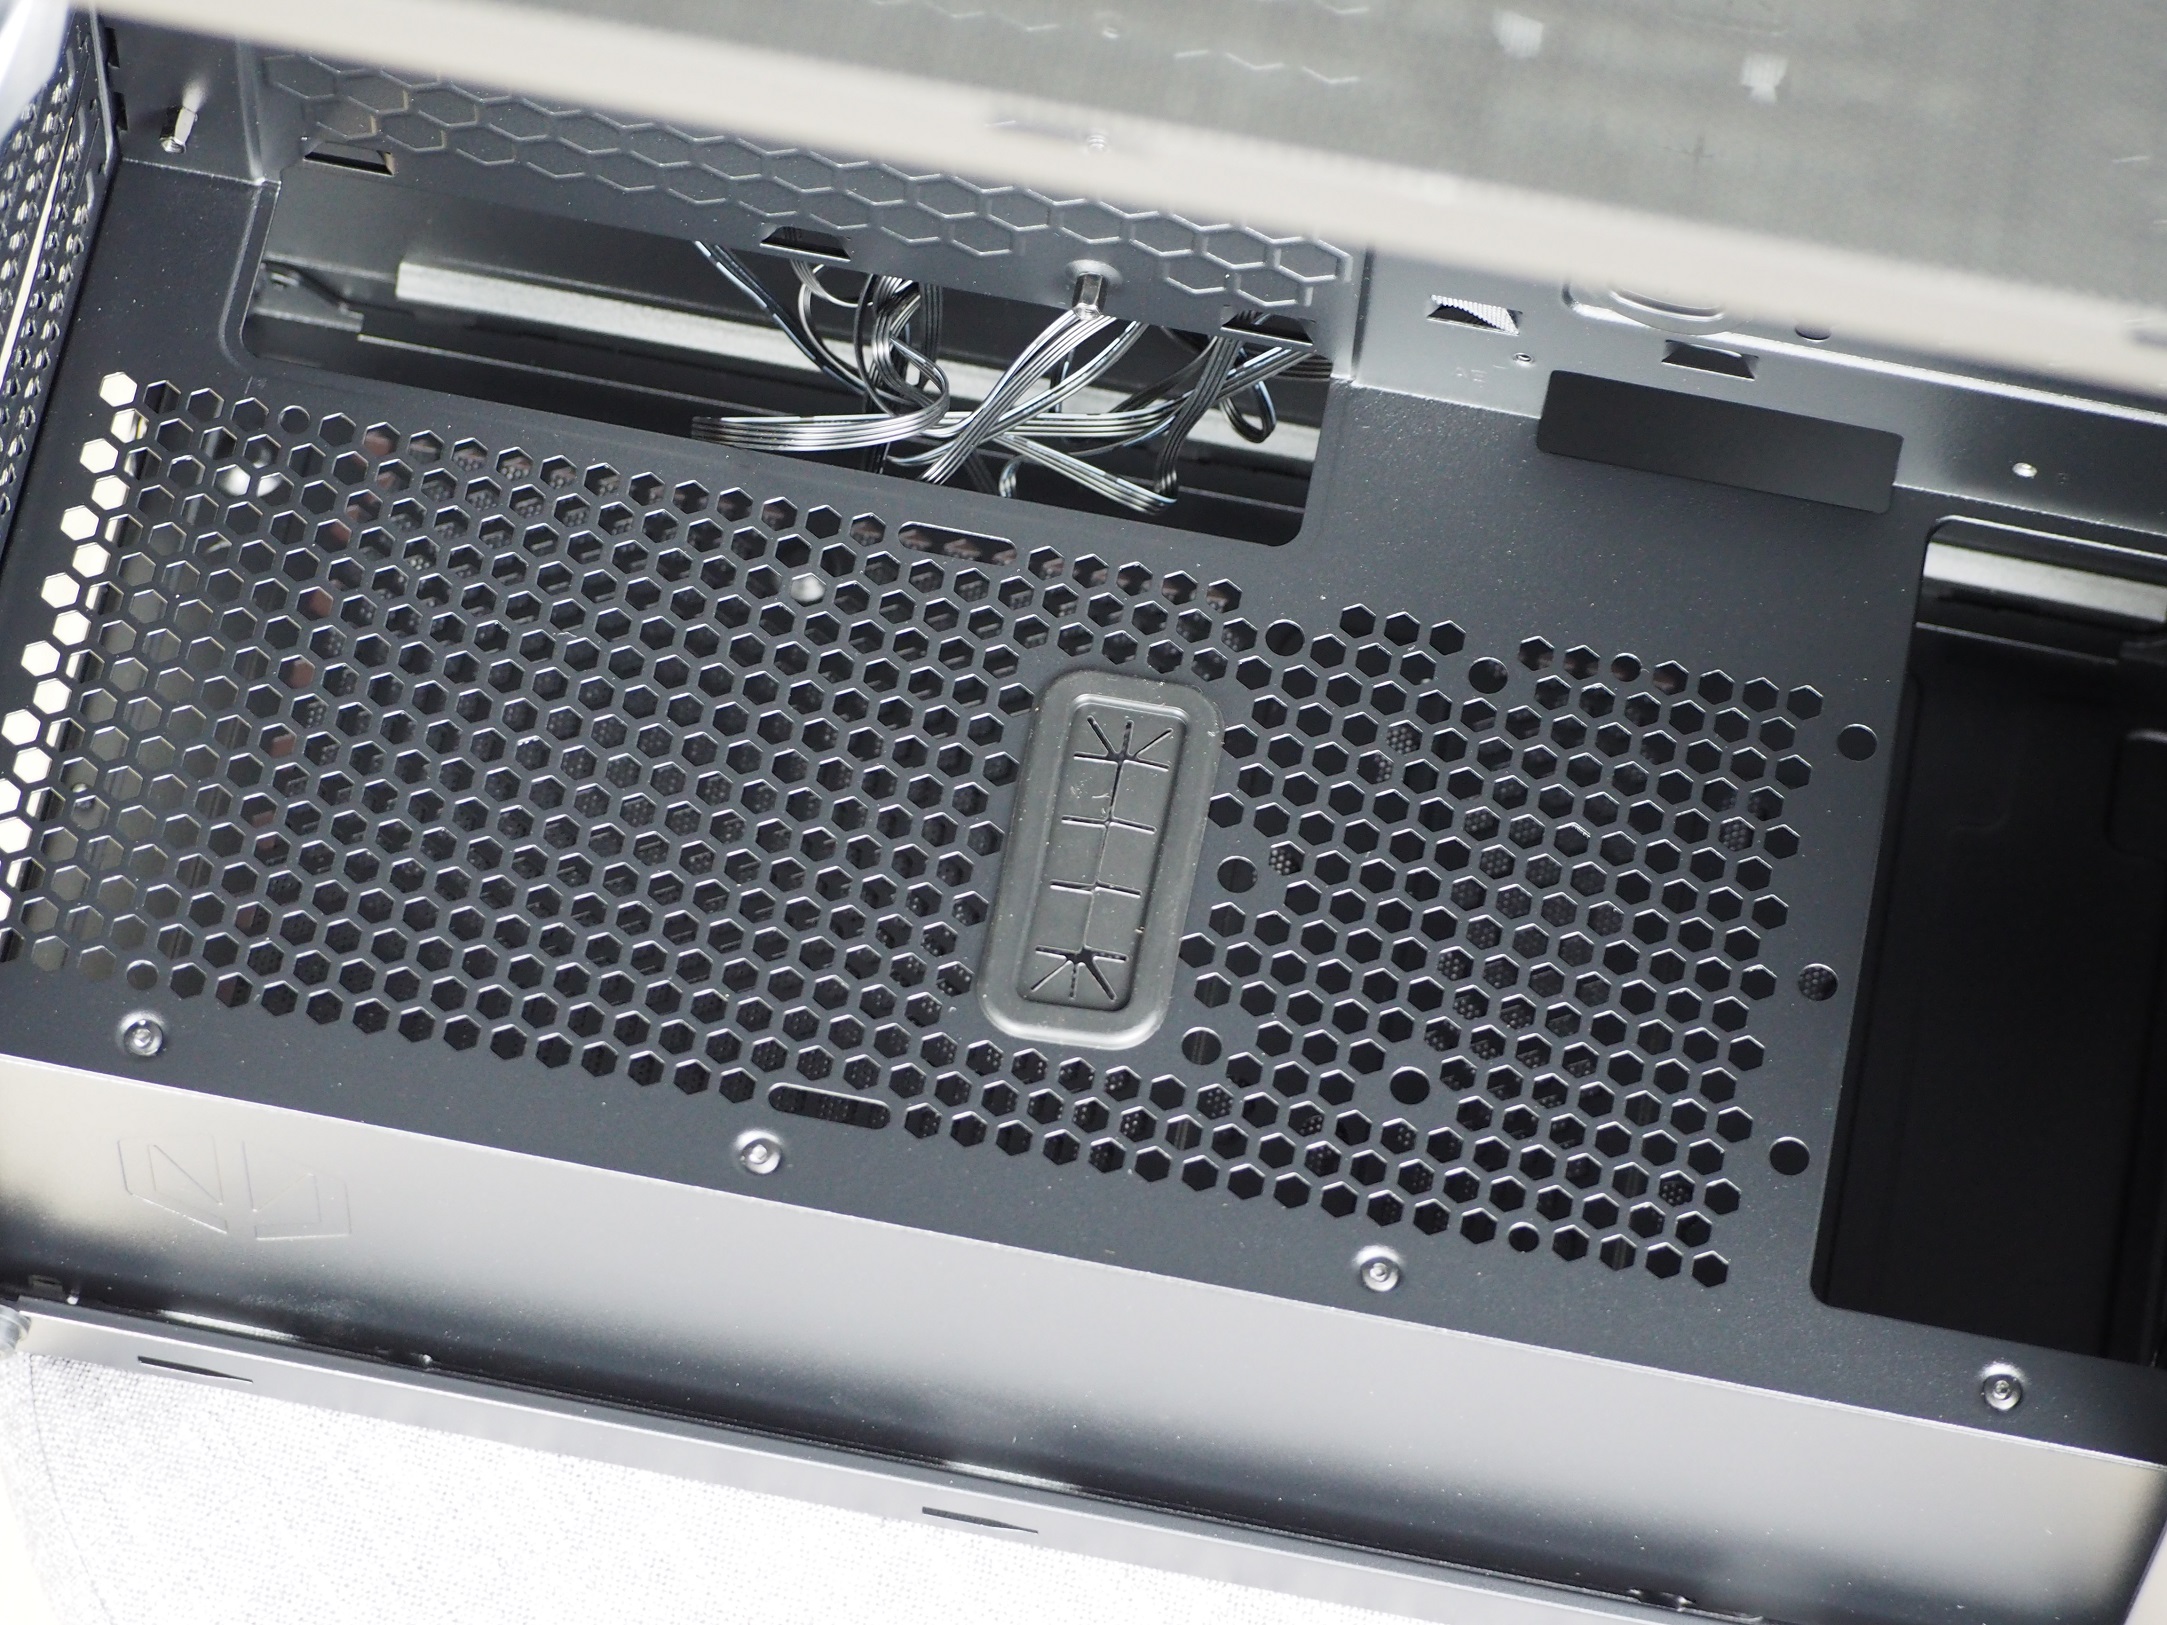
The bottom part is one big filter on magnets. This has the same holes as the top filter, which is a rather unfortunate solution. Thus, in dustier environments or when stored on the ground, the power supply can pull smaller dirt particles directly into itself or further into the case. In order to have somewhere to pull the cool air, however, the feet hold the case less than 20 mm off the ground. Their grip is not high and you can move the case with less force.

Through gradual evolution and refinement, Endorfy (formerly SilentiumPC) Regnum cases have progressed from the low end to the other side of the spectrum, to the peak. The “400” model with RGB lighting already costs over a hundred euros, but you don’t just pay for attractive visuals. There are up to four fans, three of which are behind a well ventilated mask. But we also came across things that can still be improved.
Interior
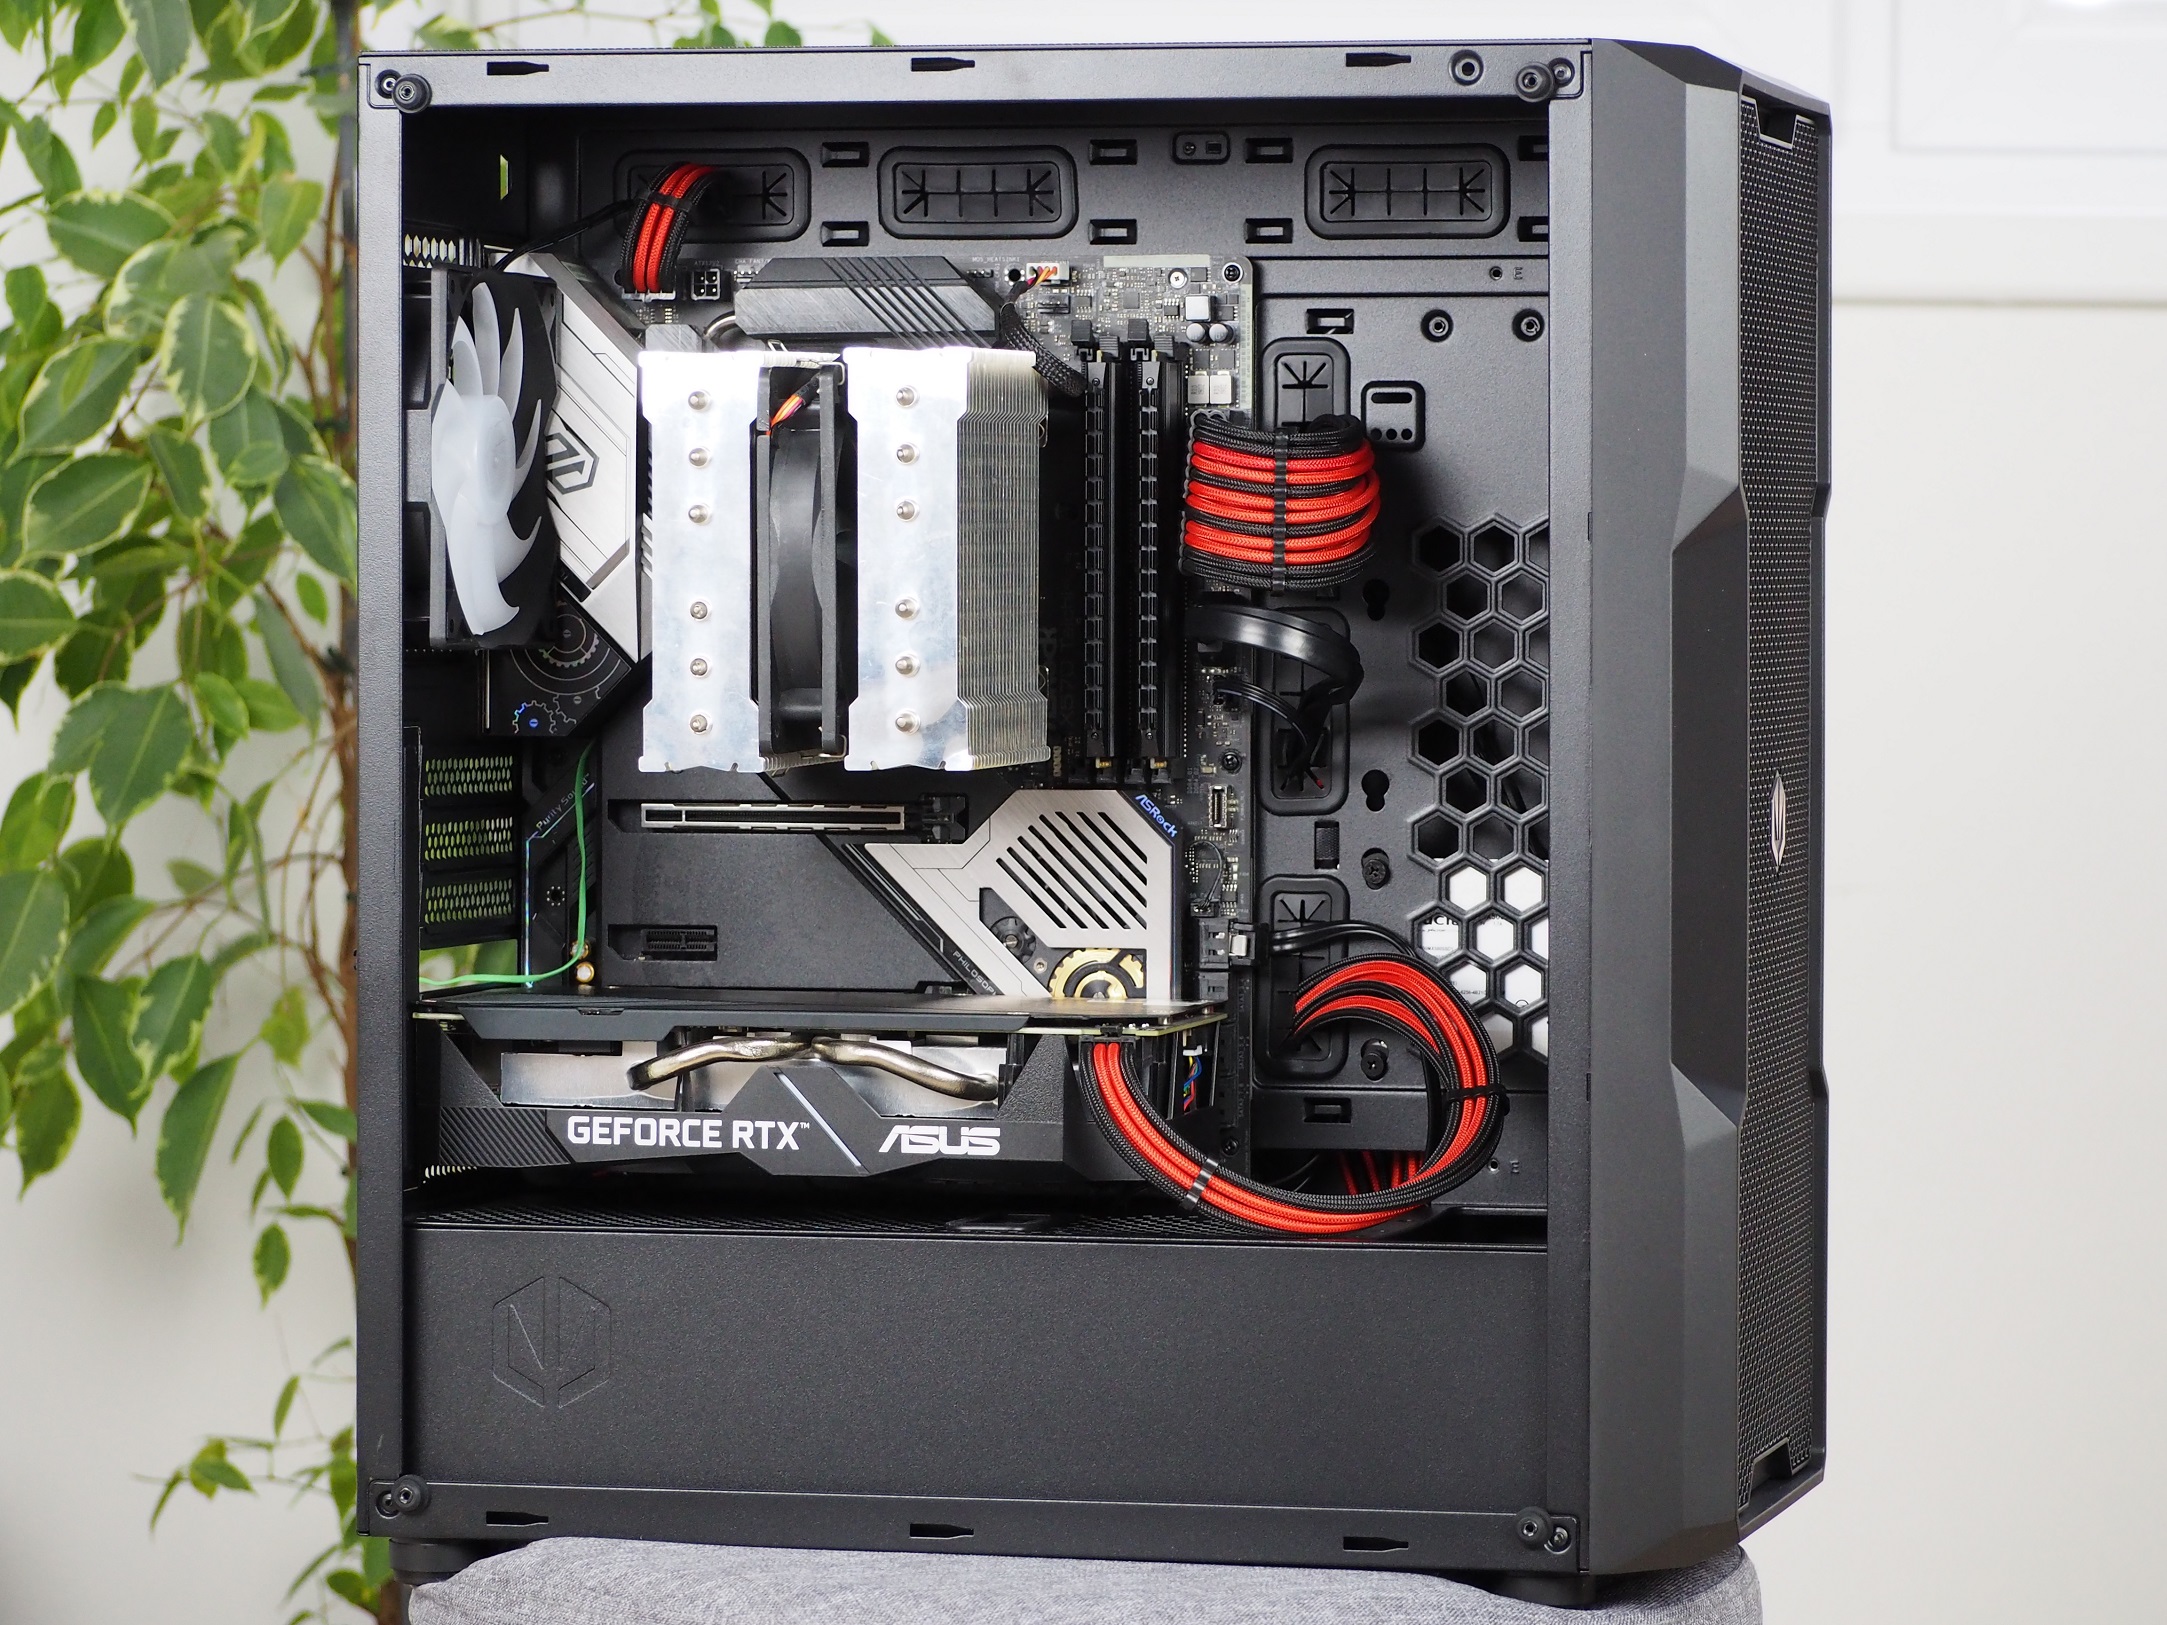
The interior is roomy enough for most current components. The motherboard is supported in Mini-ITX, mATX and ATX formats. A tower-shaped CPU cooler fits into the case in a maximum size of 162 mm. You can forget about the biggest “behemoths” like the NH-D15. But there’s still plenty of room to pick one even relatively large. For graphics cards you have space up to the front panel 370 mm. When fitting a liquid cooler radiator, you’ll have to subtract its thickness with fans as well.

At the front, 60 mm is cut out of the tunnel ceiling for the liquid cooler radiator. On the rest of the ceiling you can fit two 120 mm fans and I have to commend that. Thanks to the large perforations they can positively contribute to better cooling of the graphics card. Many times the tunnel ceiling remains unused or there are additional positions for storage. Regnum has it exactly the opposite. There are no positions for storage.
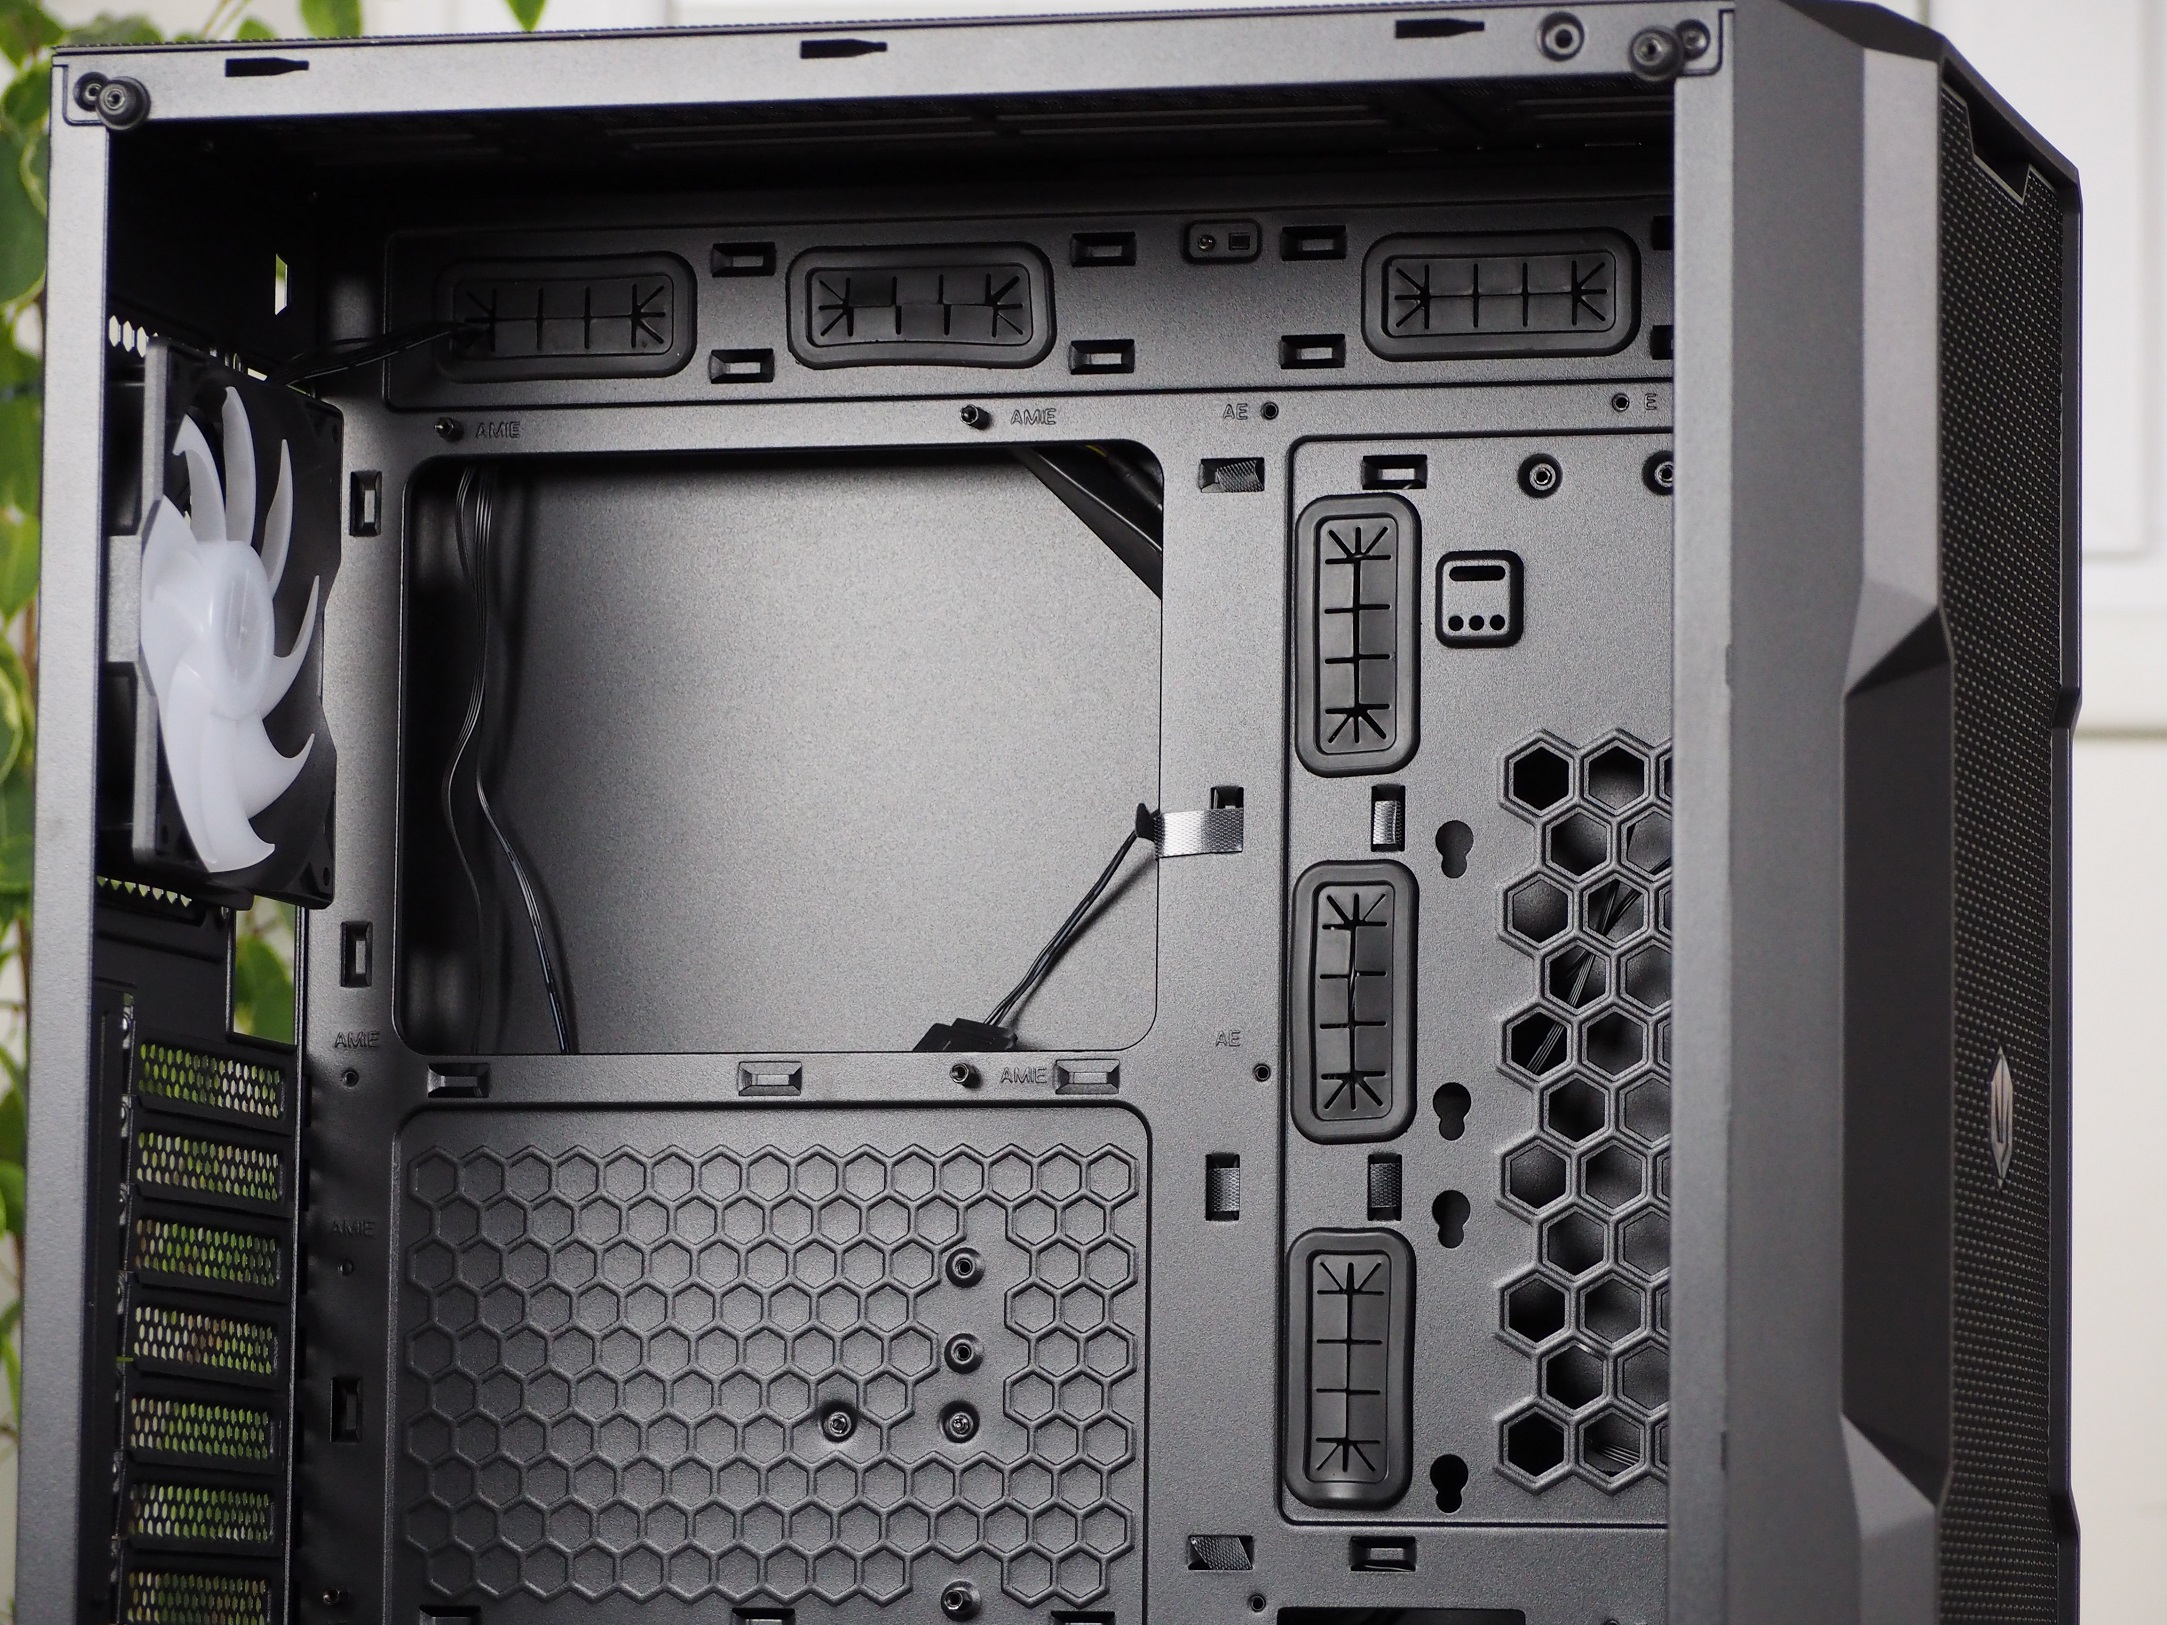
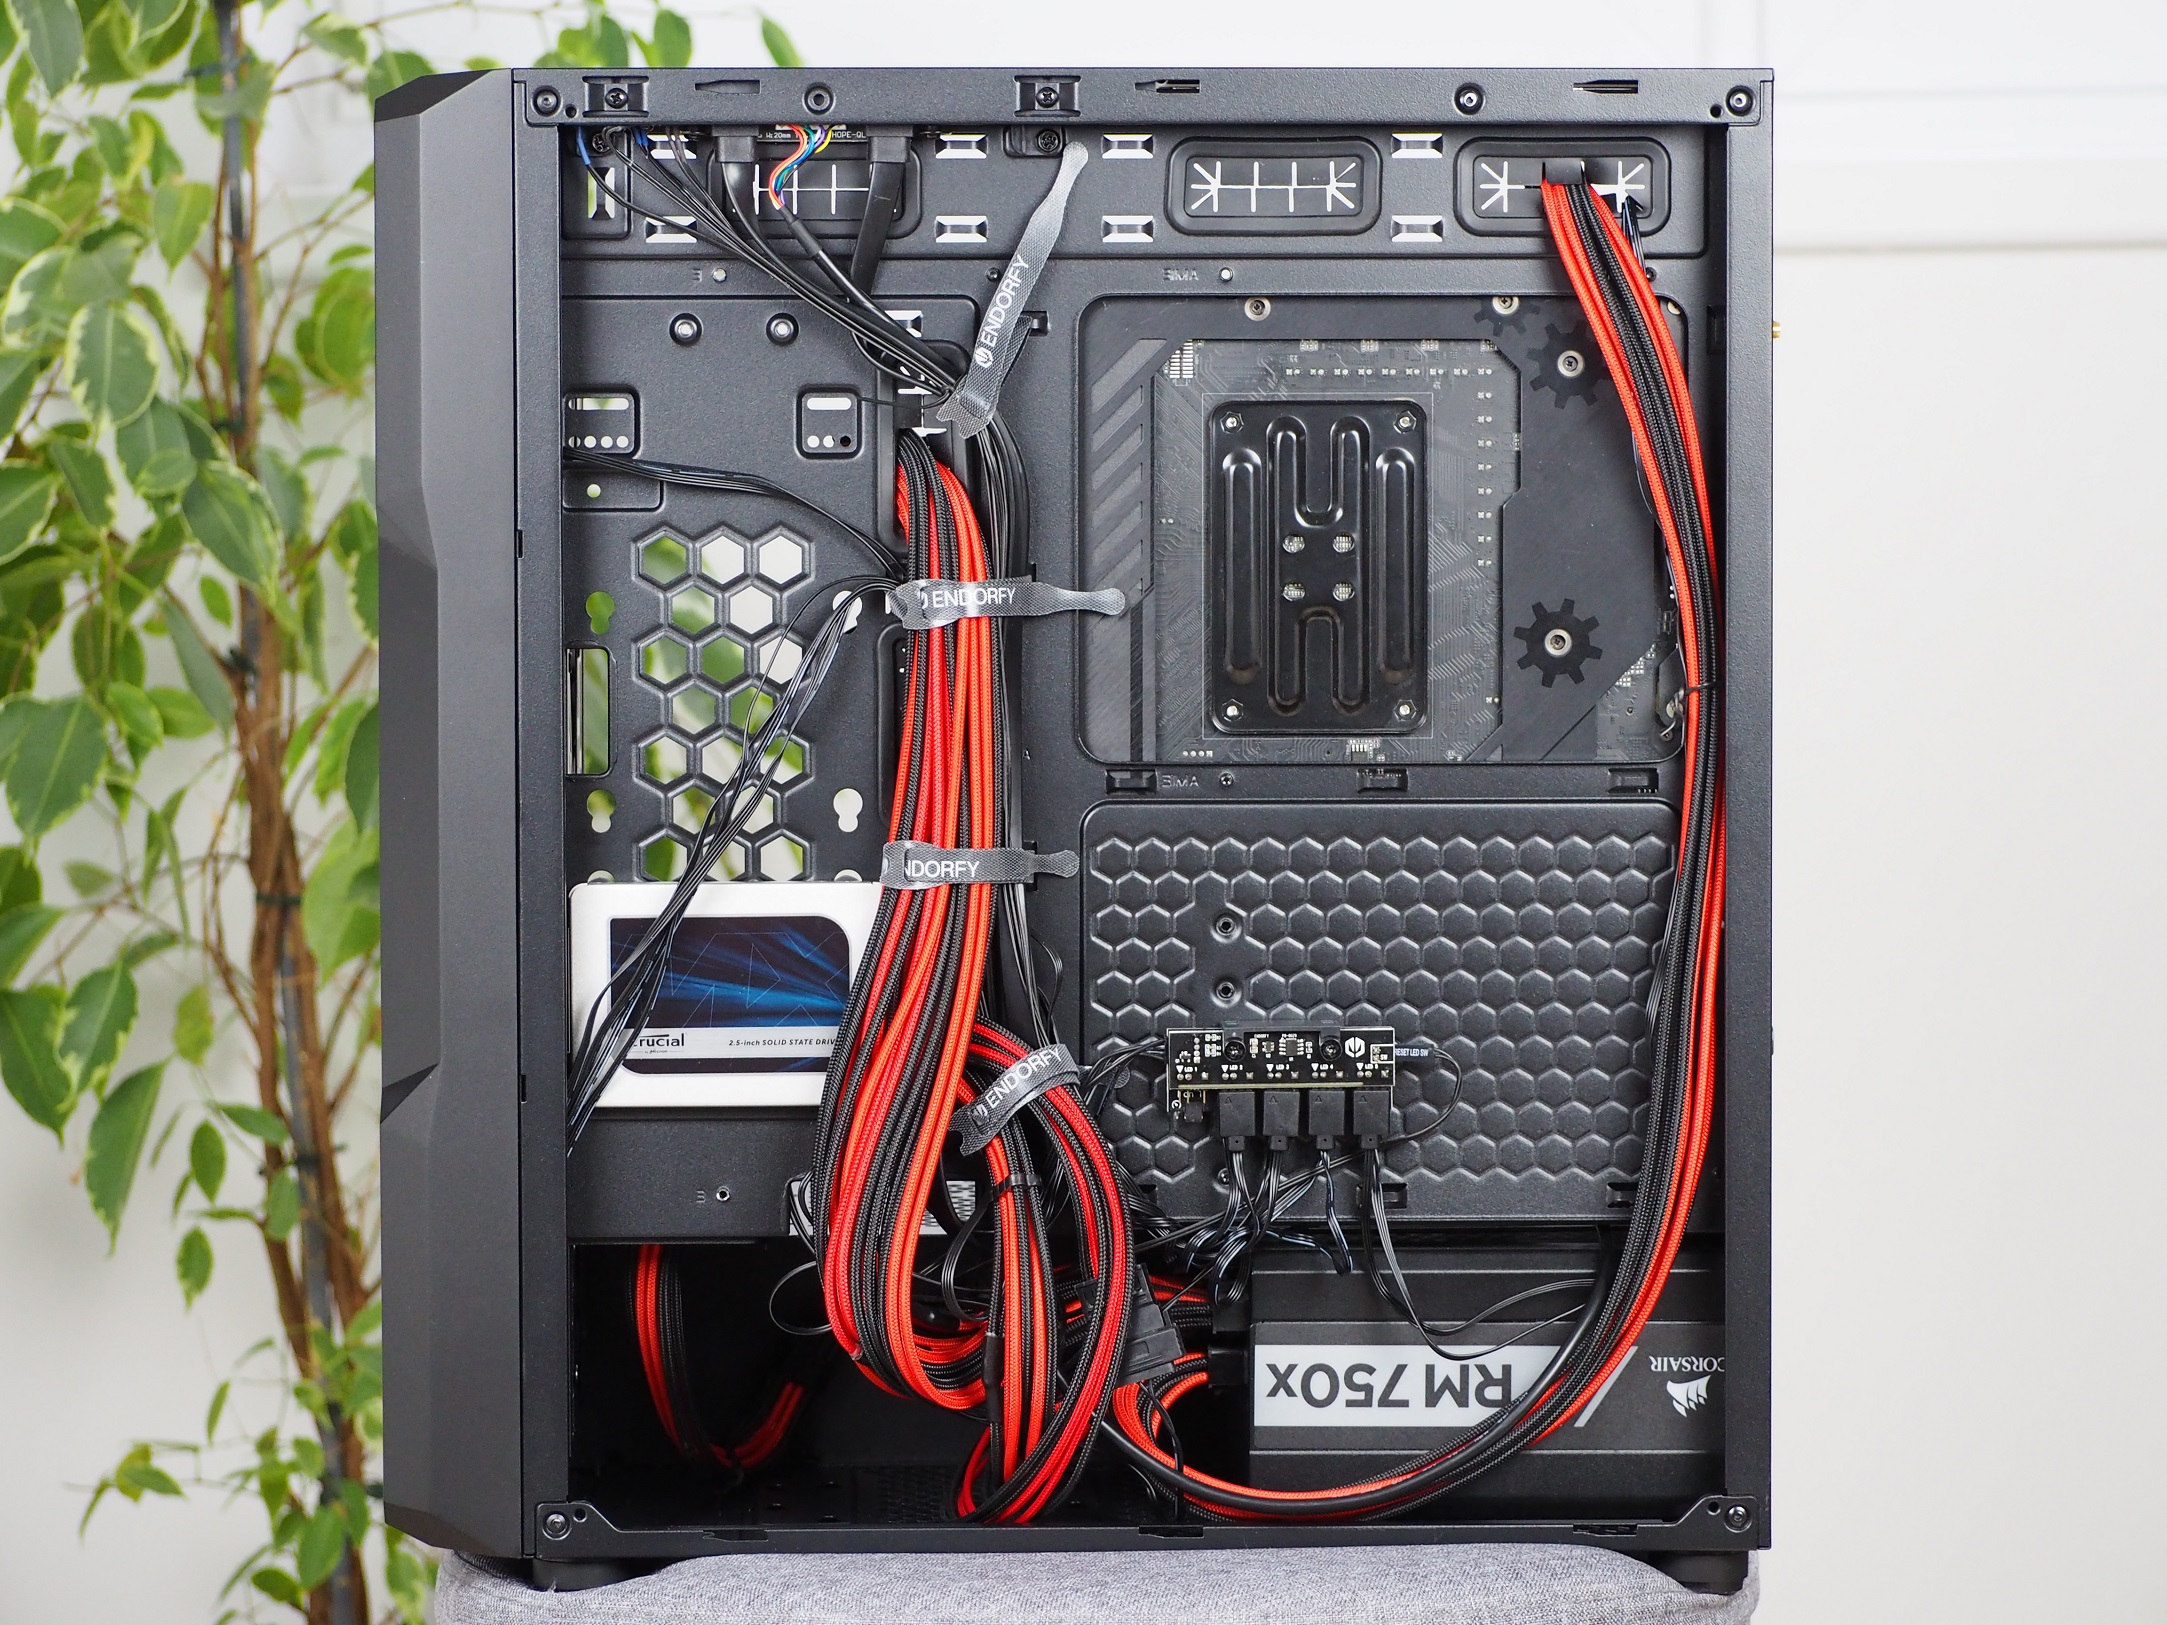
There is also a rather large cutout for connecting cables to the bottom of the board. I often find that I have to bend the cables unnaturally when plugging in audio for the top I/O panel or case controls. This cutout neatly solved that annoyance.
The holes located higher on the tray are fitted with rubber grommets for a more complete look. Although there is less than 20mm of space for cables and you can slip even thicker ones through there, the grommet is easy to pull out from its position. It is anchored weakly and has come out more than once during installation. However, fitting it back is pretty quick and it’s not a disaster, just extra work.

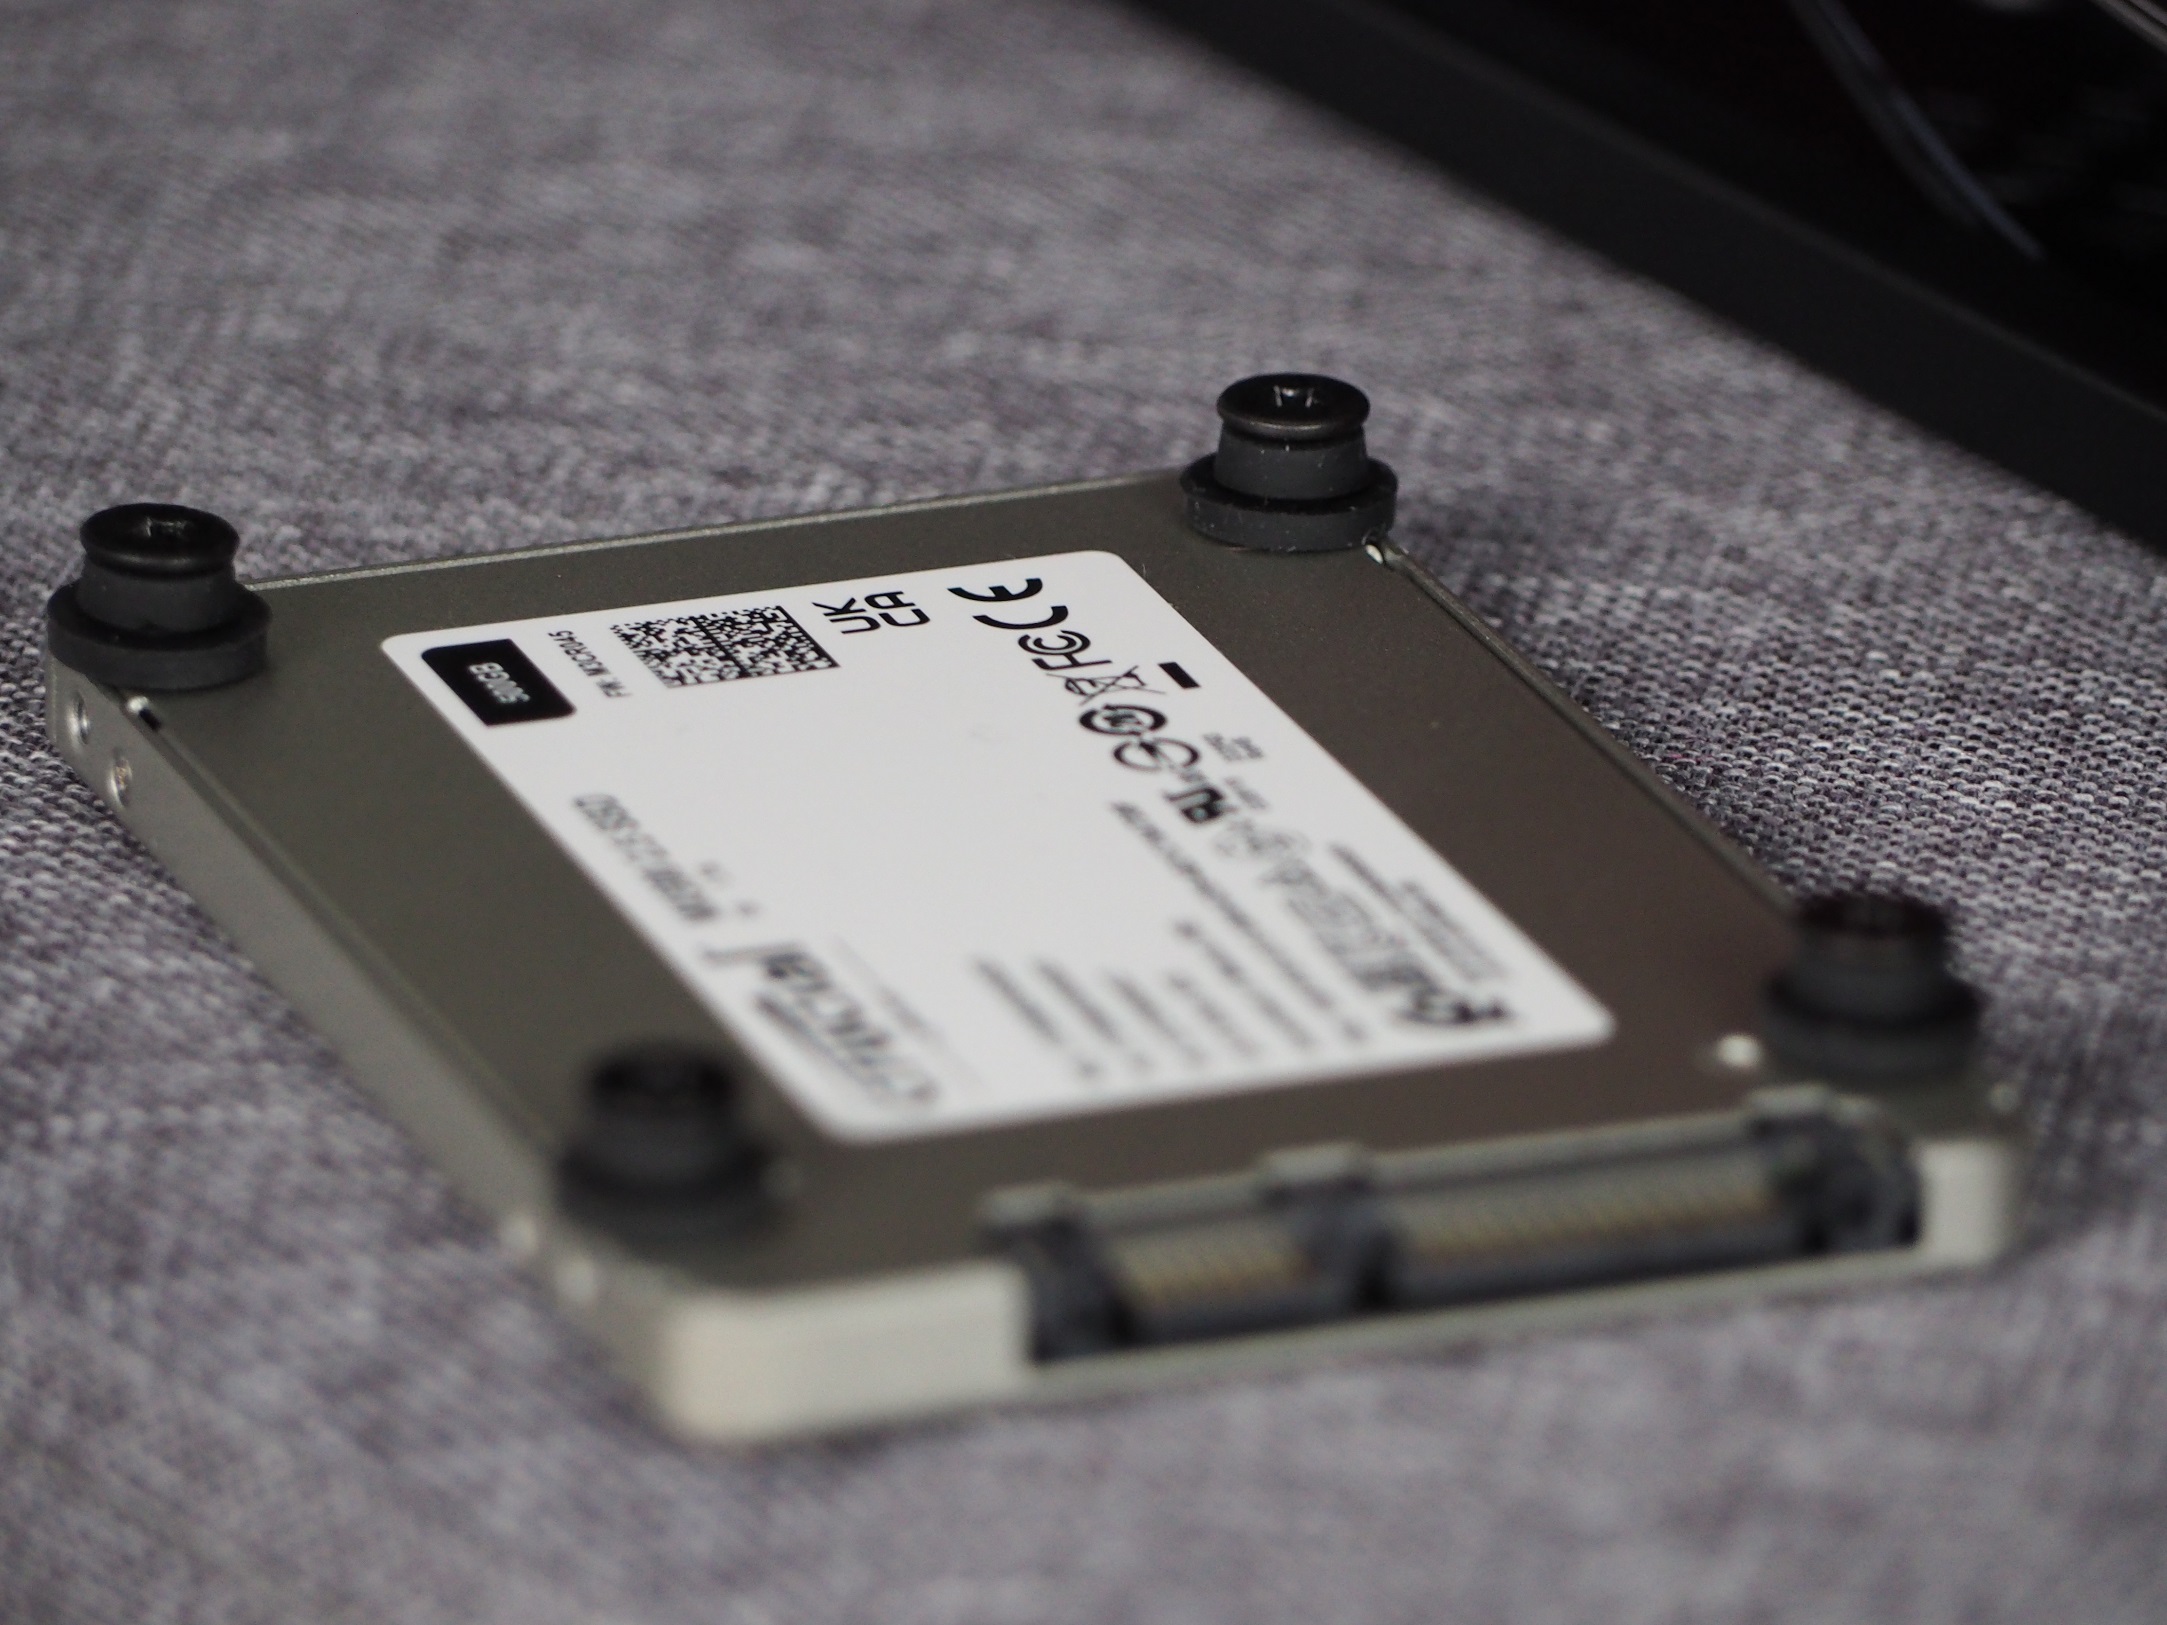
On the right side of the tray there are holes for attaching two 2.5″ storage devices. You install the four screws and washers on the hardware and simply slide it onto the structure. The only downside to these positions is that the direction of the connectors for the storage is tight to the fans or grommets. That’s also where most of the cables are located, so they interfere with each other.
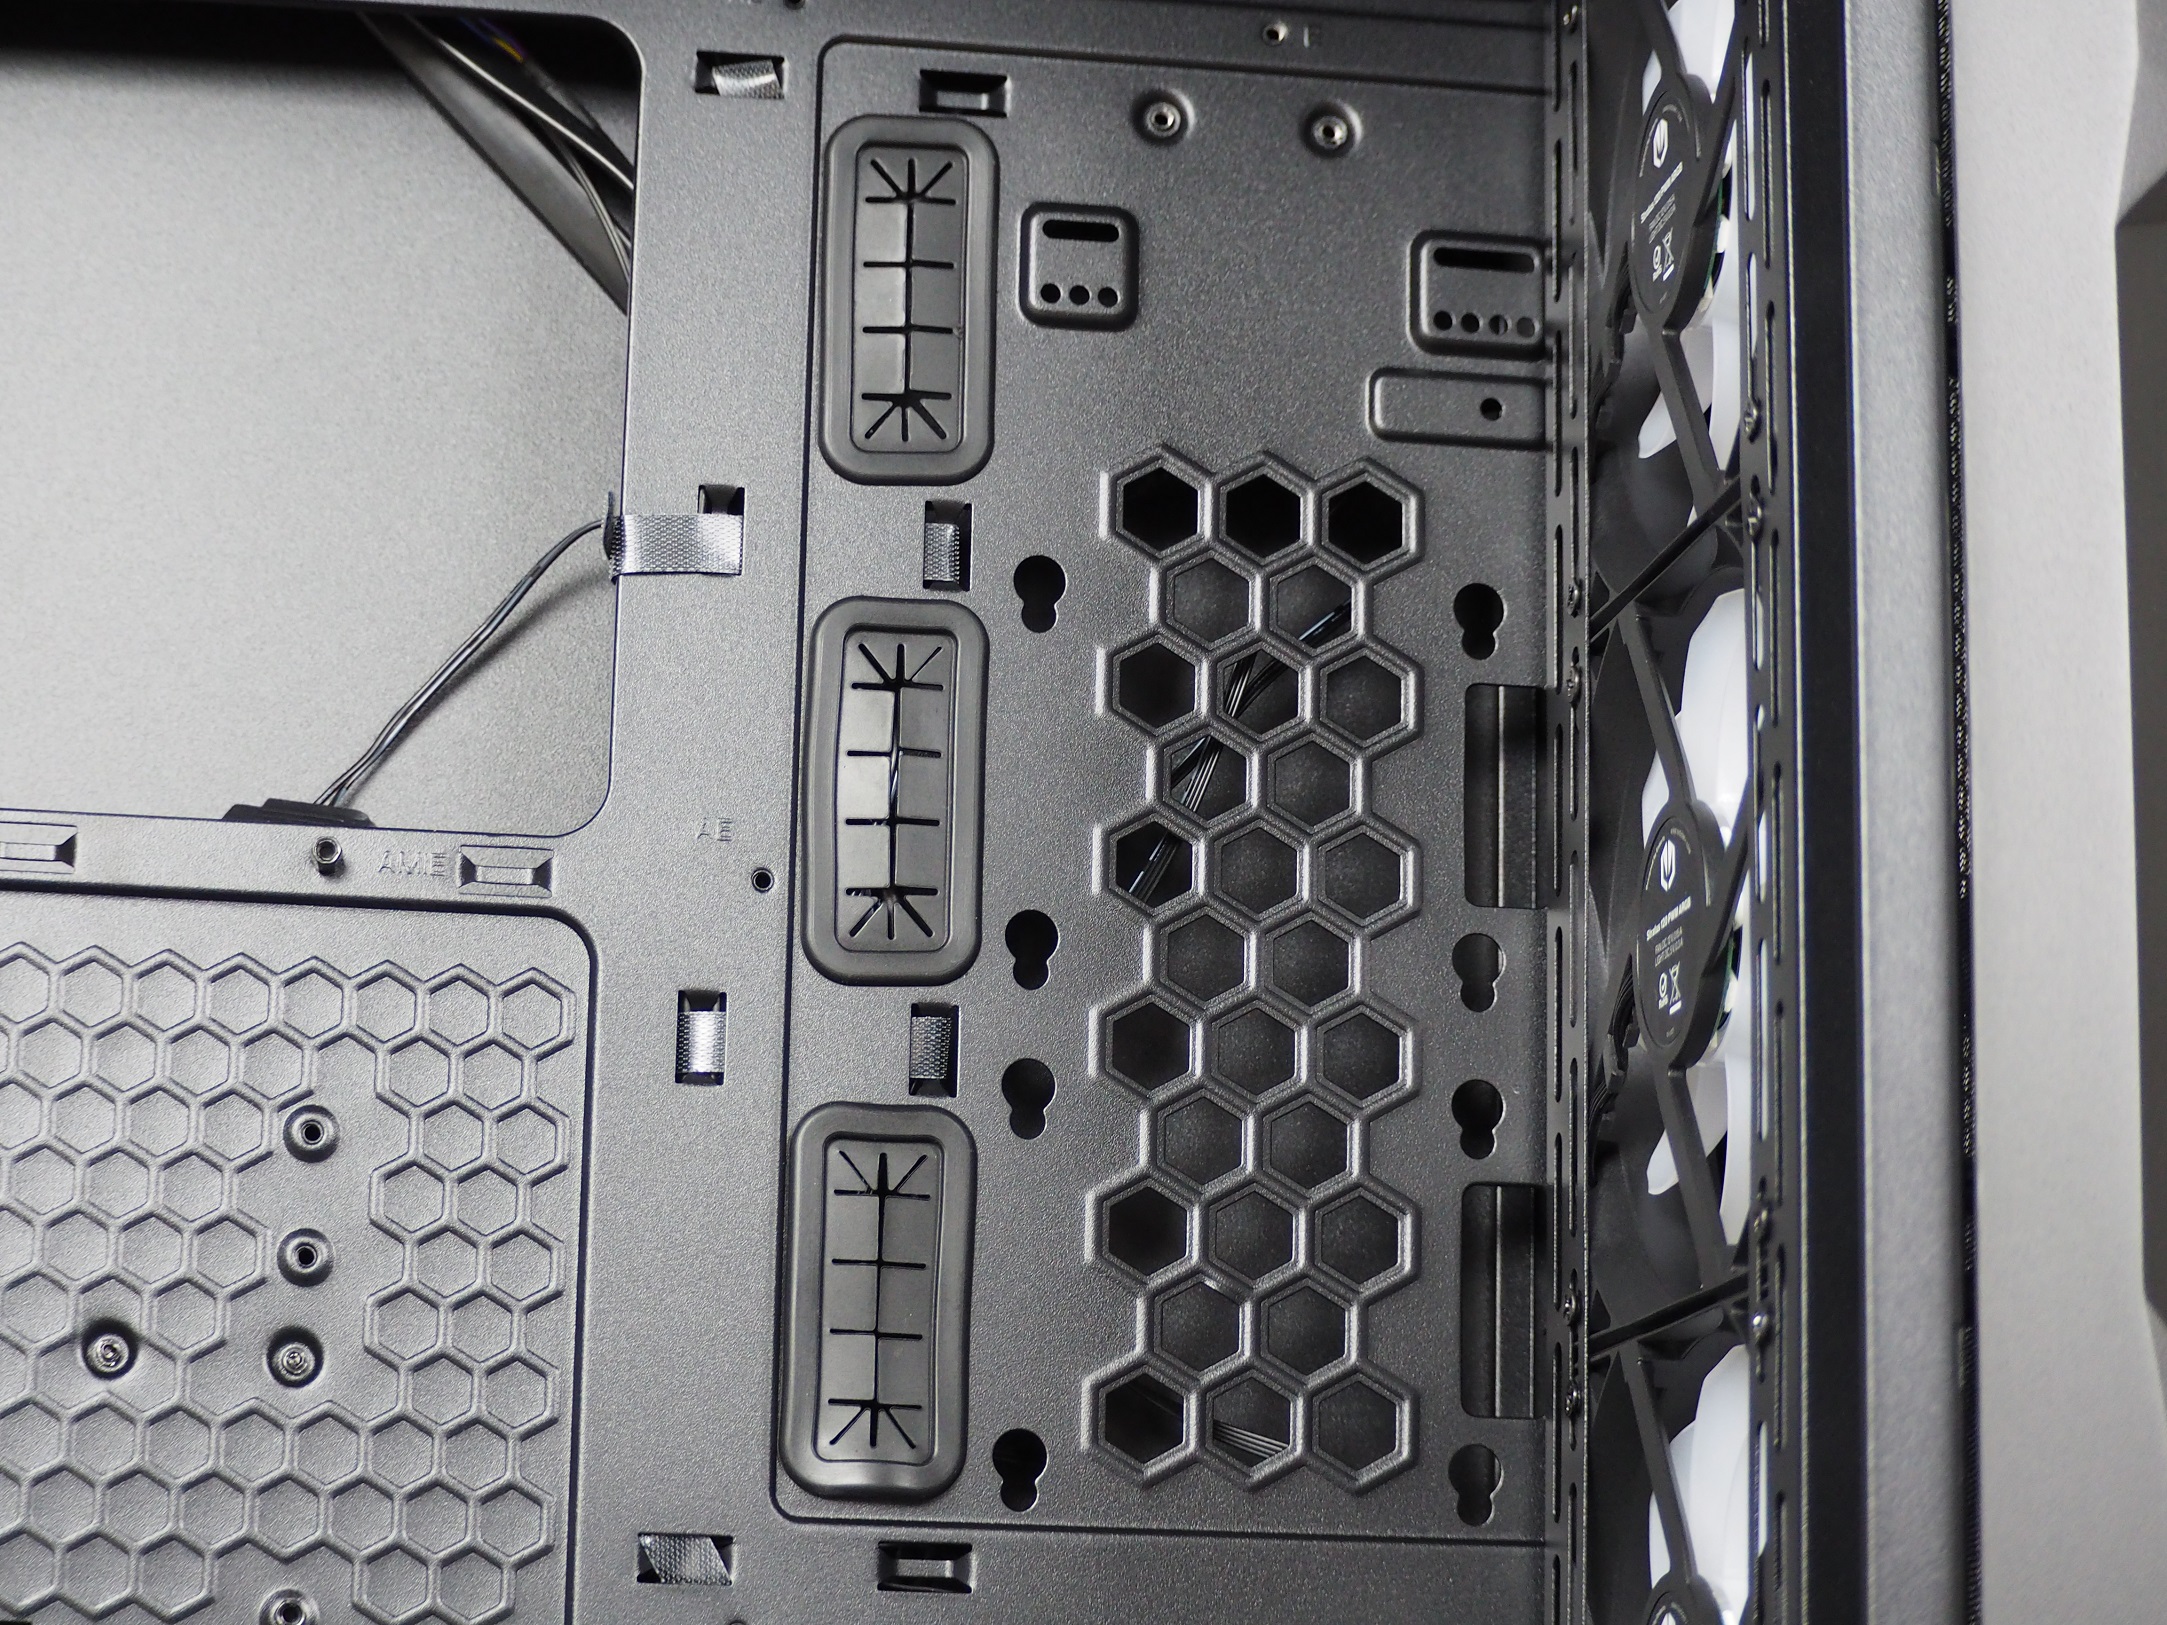
From the back, it’s not as slick a look as the front. This is mainly due to the larger amount of cables from the fans. For cable management, there are four Velcro pull-tabs, disposable zip ties from the accessories and as many as 21 positions to place them in. Including the cabling from the power supply, you’ll need to fit this into a space that’s 28mm wide.
All the hardware you put in the case is held firmly by solid 0.8 mm thick sheet metal. The metal side panel bends slightly, which is to be expected due to the size. The rest of the construction is solid and it takes more force to bend the tray.
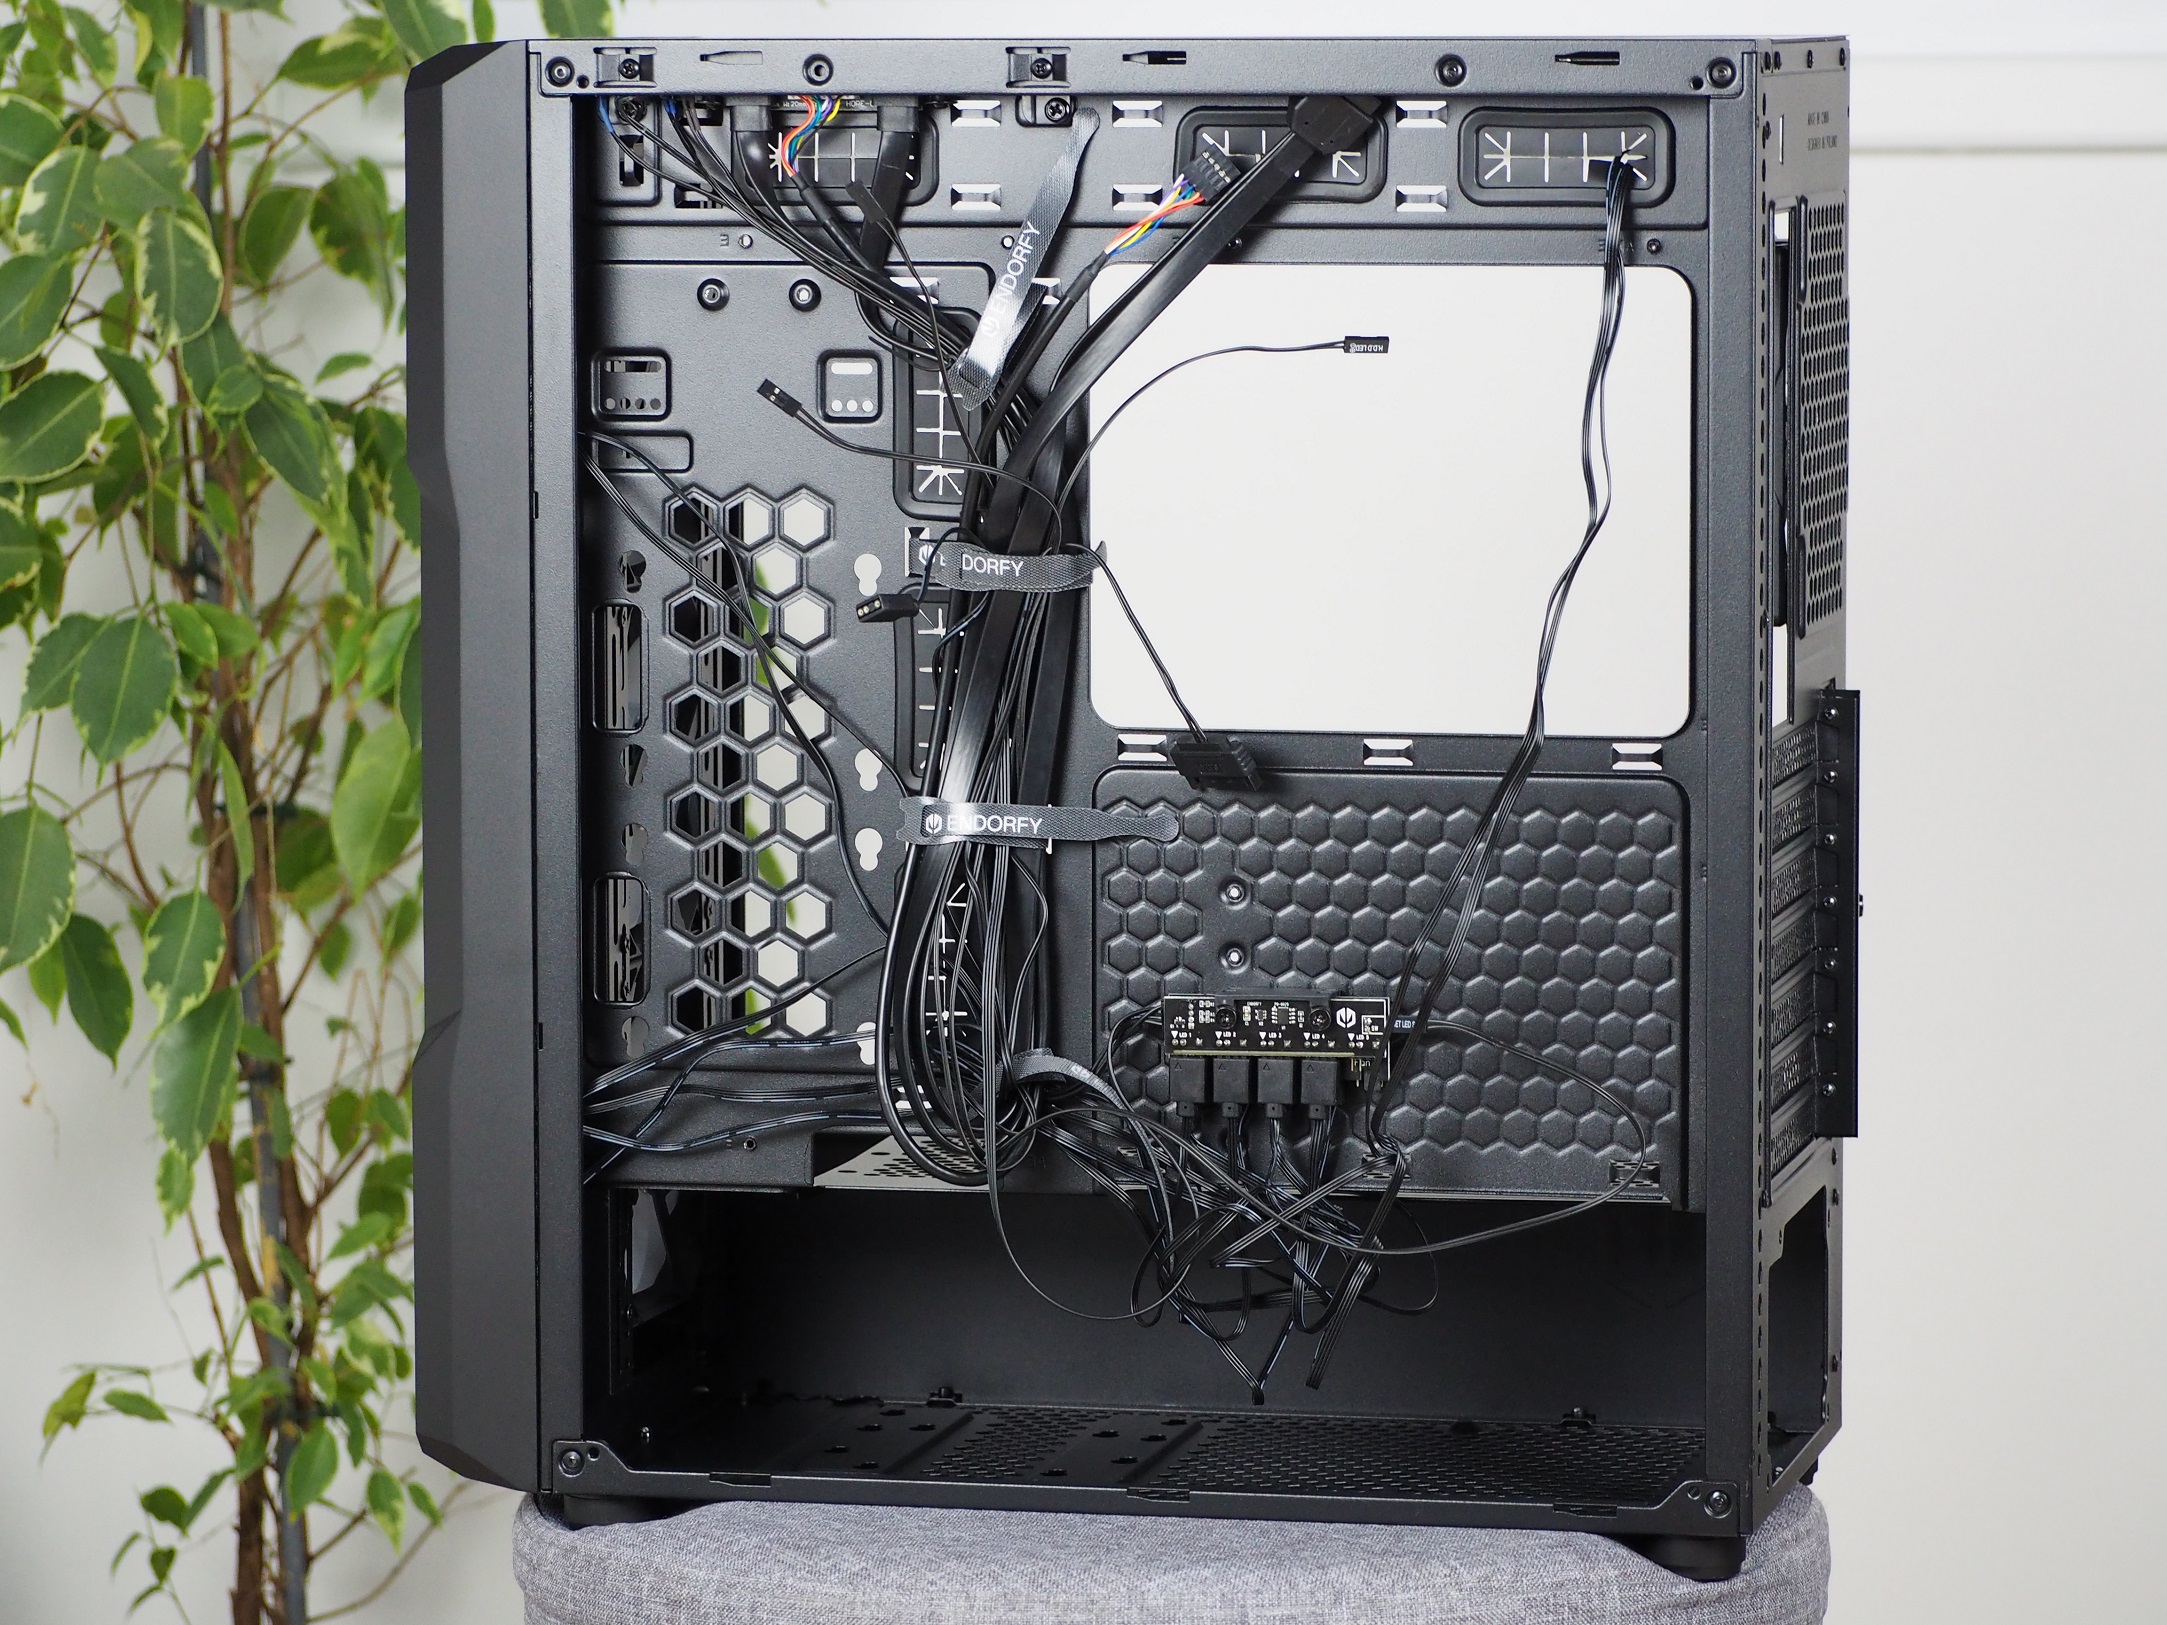

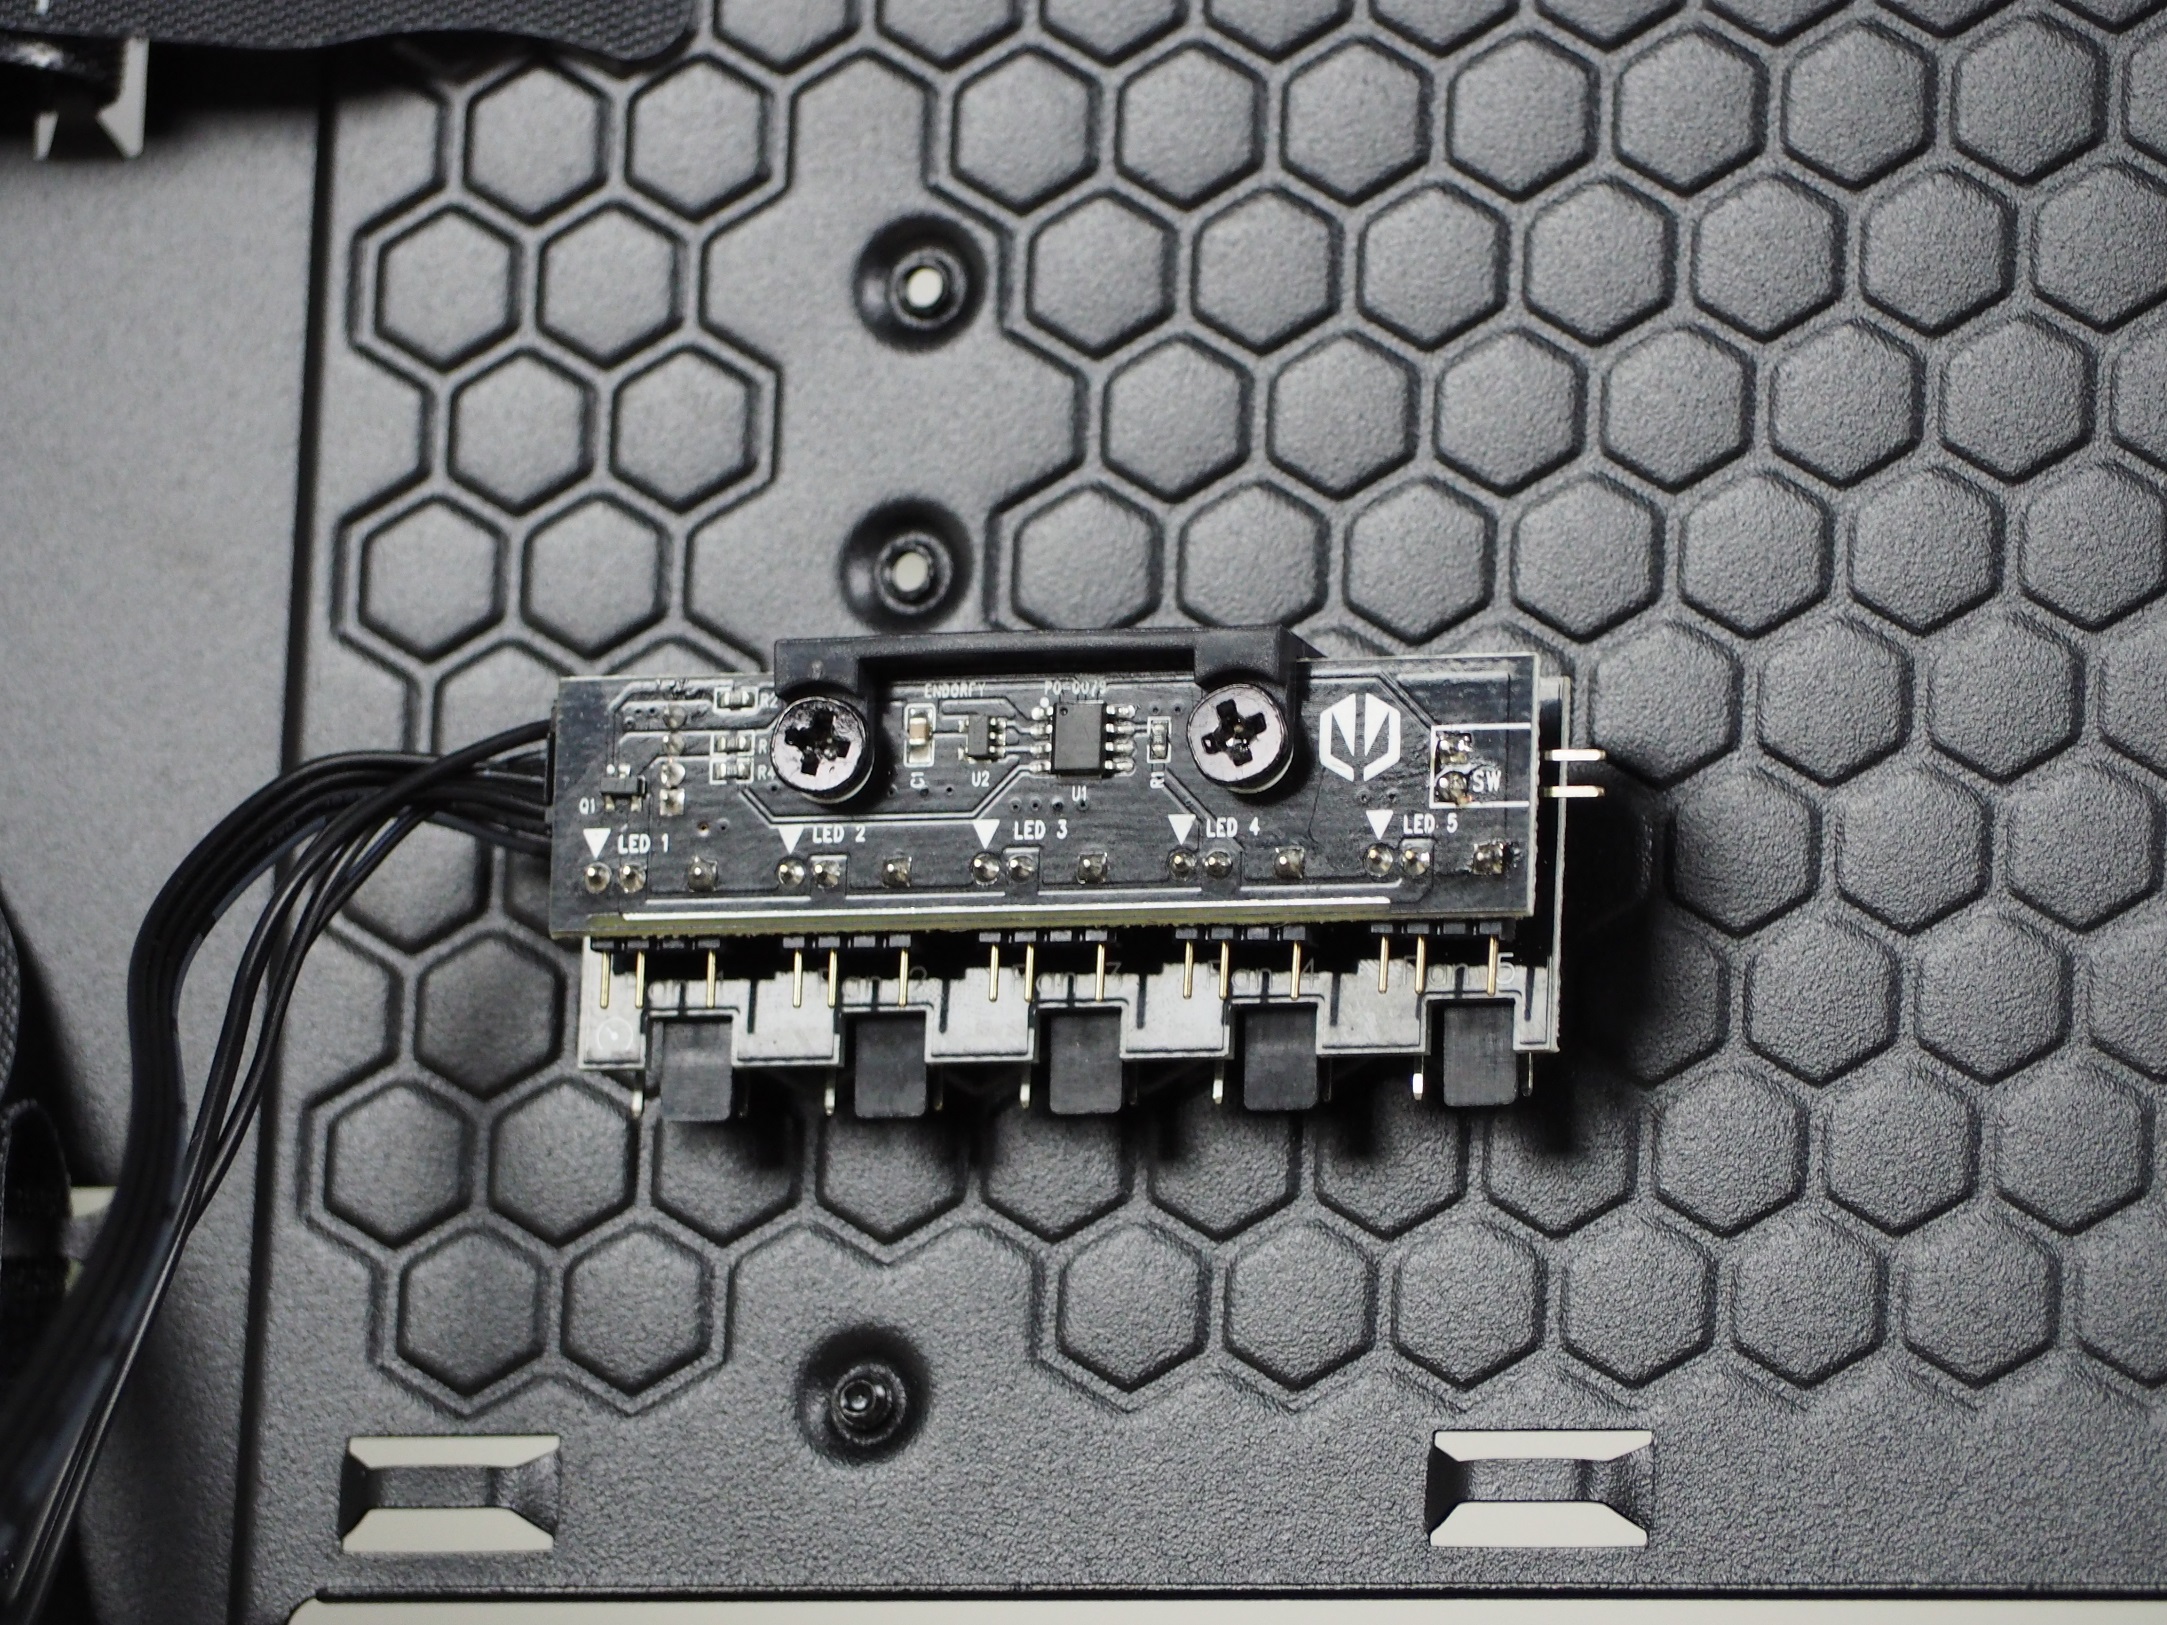
Where there is usually a place for 2.5″ storage (directly behind the motherboard), there is a hub. This is used to power the fans and their backlight, but it can also control them. Therefore, in order for it to work, it needs to be powered with a SATA cable directly from the power supply. It’s a shame that there’s only room for five fans, whereas you can fit as many as eight (in 120mm format) inside the case.
Nothing in the tunnel will get in the way of your power supply and cabling, such as the frequently used storage compartment. This gives you nearly 390 mm of space. The storage units are attached directly to the bottom of the tunnel, to the tunnel ceiling. Both options are shared, so you can fit a 3.5″ or 2.5″ HDD/SSD here.


The cable management in this case was a bit more chaotic than I expected. For a “cleaner” look, I tried placing the 2.5″ storage on the opposite side of the tray from the manufacturer’s recommendation. I didn’t get much help by doing this. But it can be mounted the other way around. The worst part, though, was the ball of fan cables directly under the hub, which I couldn’t clean up anymore. But in the end, even such a mess was forgiven by the case and I put the side panel in place without any problems.
Through gradual evolution and refinement, Endorfy (formerly SilentiumPC) Regnum cases have progressed from the low end to the other side of the spectrum, to the peak. The “400” model with RGB lighting already costs over a hundred euros, but you don’t just pay for attractive visuals. There are up to four fans, three of which are behind a well ventilated mask. But we also came across things that can still be improved.
Test methodology
The case will come with four Stratus 120 PWM ARGB fans. Three are in the front to suck cool air into the case and one in the back to exhaust the warm air. That’s the default setup, the results of which have “(3+1 fan)” in the description, meaning three intake to one exhaust fan. In the second test configuration “(2+2 fan)”, one fan is moved from the front (bottom) to the ceiling of the case.
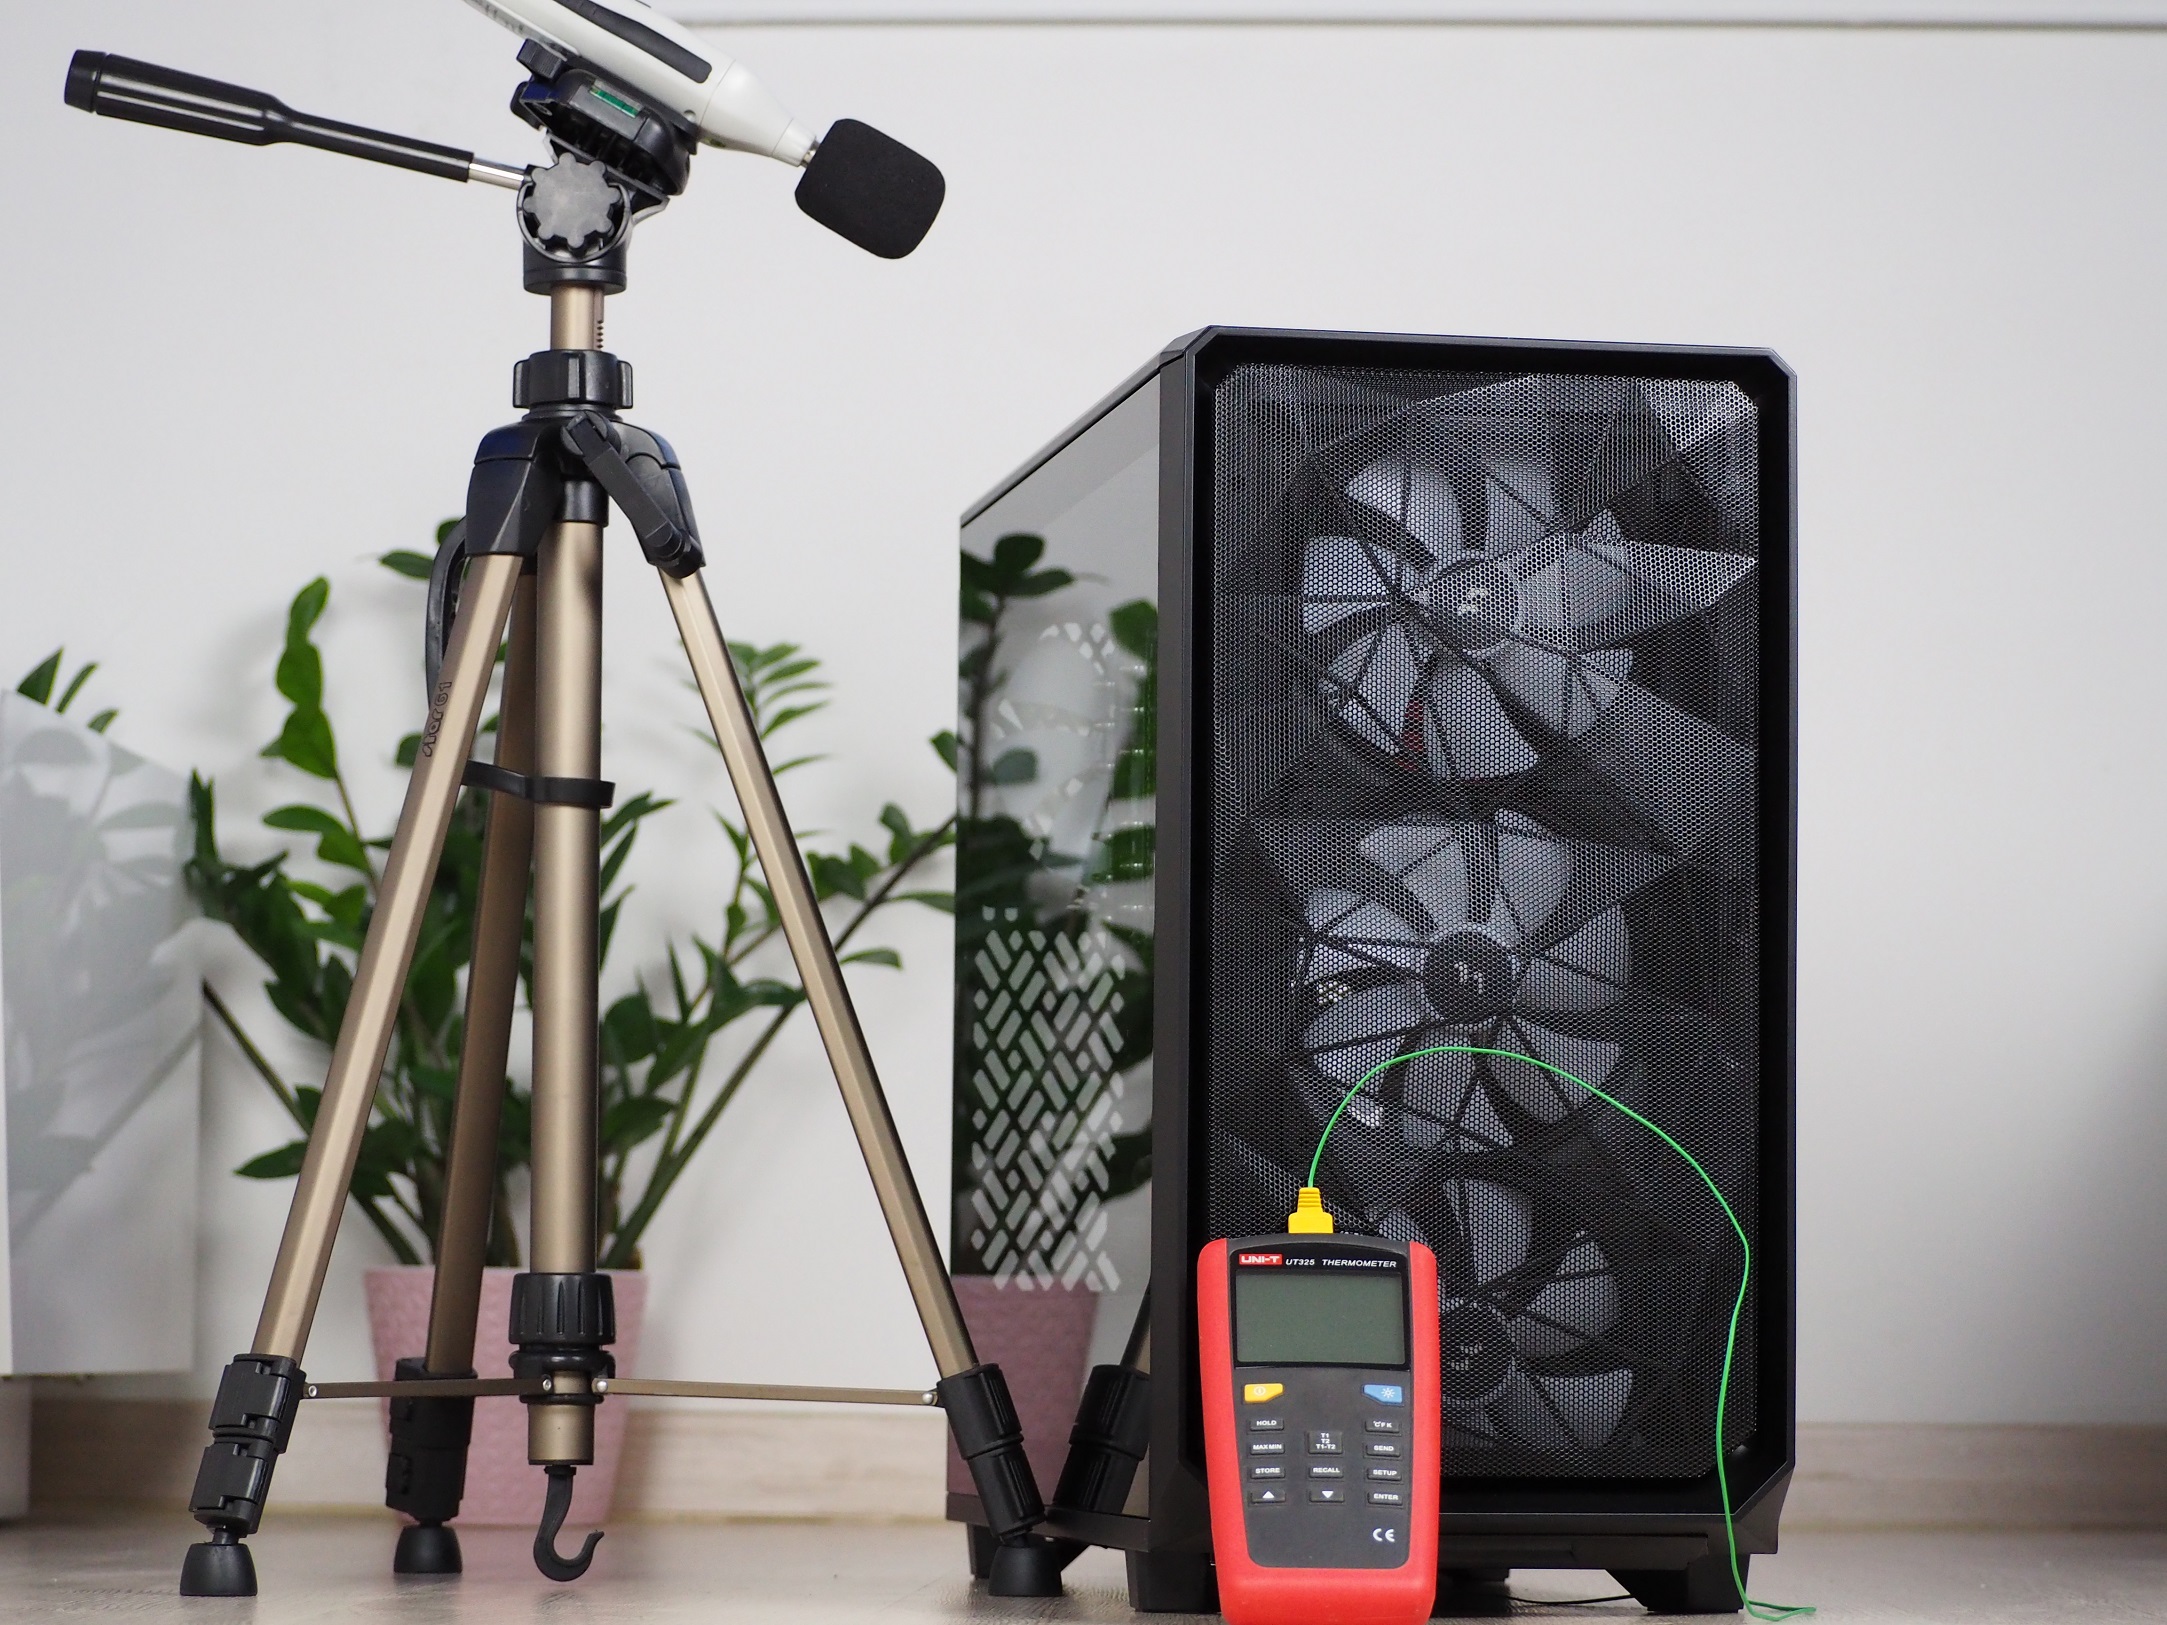
Testing is done in a home environment where I strive for the most accurate results possible. In the room during testing, the air temperature in front of the case is 23 degrees Celsius and the minimum noise level I can measure with the Voltcraft SL-100 noise meter is 32.4 dBA. The sensor of the noise meter is aligned to the center of the top of the case at a distance of 10 cm, for the best measurement of the speed difference of the fans, which I change using the motherboard. For easy comparison to other cases, they are always regulated to fixed noise levels.
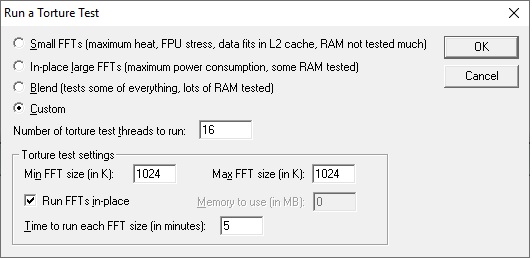
Individual components are heated for 10 minutes in FurMark synthetic stress tests and with Prime95 (custom settings) at the same time. This time is long enough to allow all components to warm up sufficiently. There are then 15-minute cooling breaks between tests, during which the component temperatures (and the case air temperature as well) are brought back to default.
Noise mode levels:
- 36 dBA
- 38 dBA
- 39 dBA
| Test setup | |
| Processor | AMD Ryzen 7 3700X |
| Motherboard | ASRock X570 Taichi |
| CPU cooler | Scythe Fuma rev. 2 (single fan) |
| Thermal compound | Noctua NT-H2 |
| Graphics card | Asus RTX 2060 Super Dual |
| RAM | Patriot, 2× 8GB, 3600 MHz/CL17 |
| SSD | Western Digital Blue 500GB (2280) |
| Power supply | Corsair RM750X |
Through gradual evolution and refinement, Endorfy (formerly SilentiumPC) Regnum cases have progressed from the low end to the other side of the spectrum, to the peak. The “400” model with RGB lighting already costs over a hundred euros, but you don’t just pay for attractive visuals. There are up to four fans, three of which are behind a well ventilated mask. But we also came across things that can still be improved.
CPU and GPU cooling tests


Through gradual evolution and refinement, Endorfy (formerly SilentiumPC) Regnum cases have progressed from the low end to the other side of the spectrum, to the peak. The “400” model with RGB lighting already costs over a hundred euros, but you don’t just pay for attractive visuals. There are up to four fans, three of which are behind a well ventilated mask. But we also came across things that can still be improved.
Motherboard cooling tests
Through gradual evolution and refinement, Endorfy (formerly SilentiumPC) Regnum cases have progressed from the low end to the other side of the spectrum, to the peak. The “400” model with RGB lighting already costs over a hundred euros, but you don’t just pay for attractive visuals. There are up to four fans, three of which are behind a well ventilated mask. But we also came across things that can still be improved.
SSD cooling tests

Temperature under the ceiling
Through gradual evolution and refinement, Endorfy (formerly SilentiumPC) Regnum cases have progressed from the low end to the other side of the spectrum, to the peak. The “400” model with RGB lighting already costs over a hundred euros, but you don’t just pay for attractive visuals. There are up to four fans, three of which are behind a well ventilated mask. But we also came across things that can still be improved.
Conclusion
With four 120mm Stratus fans combined with an open front panel, the case performed as expected. With cooling performance, it’s on par with cases like the Meshify 2 Compact or Pure Base 500DX. By moving the bottom fan from the front and placing it under the ceiling, you can lower the CPU temperatures a little more, but it may be at the expense of other components.
The design of the case as a whole is well thought out, albeit with some minor flaws. For example, the absence of a USB-C connector, which is being used more and more. Also, a 100-euro case could have used double-threaded screws for the metal side panel. They only come with one and so you have to pull them out, put them down somewhere and they can still get lost somewhere. I also miss the fine nylon filter under the power supply. Especially when you can put two fans on the tunnel, which can suck up fine dust from the ground. But I have to commend them for remembering to offer these positions for the fans on the tunnel. This allows you to fit up to eight 120mm fans in the case. The solid sheet metal used and the free space in the tunnel are also a big advantage – it’s free of storage compartments. These are mounted directly on the structure and thus save space in the tunnel.

The only difficulty in installing the components was managing the cabling. The vertical cable pathway, where most of the cables are routed, is right at the grommets. This doesn’t make organizing them much easier. Additionally, with thicker cables, the rubber caps can come loose and you’ll have to put them back on. Even when I had a larger ball of cables together, I could close the side panel with no problem and the cables didn’t press against it even with worse management.
The Regnum 400 ARGB has its pros and cons. Structurally, it’s designed great, except for the cable management and the missing USB-C connector. If these relatively minor things don’t bother you, the case will reward you with great cooling. For that, he takes home the “Approved” editorial award.
English translation and edit by Jozef Dudáš
| Endorfy Regnum 400 ARGB |
| + High cooling performance |
| + Four pre-installed fans... |
| + ... and four additional fan positions for optional expansion |
| + Plenty of space in the tunnel for cabling |
| + High build quality of the case |
| - Fine dust filter is missing from the bottom |
| - Absence of USB-C connector |
| - Worse cable management |