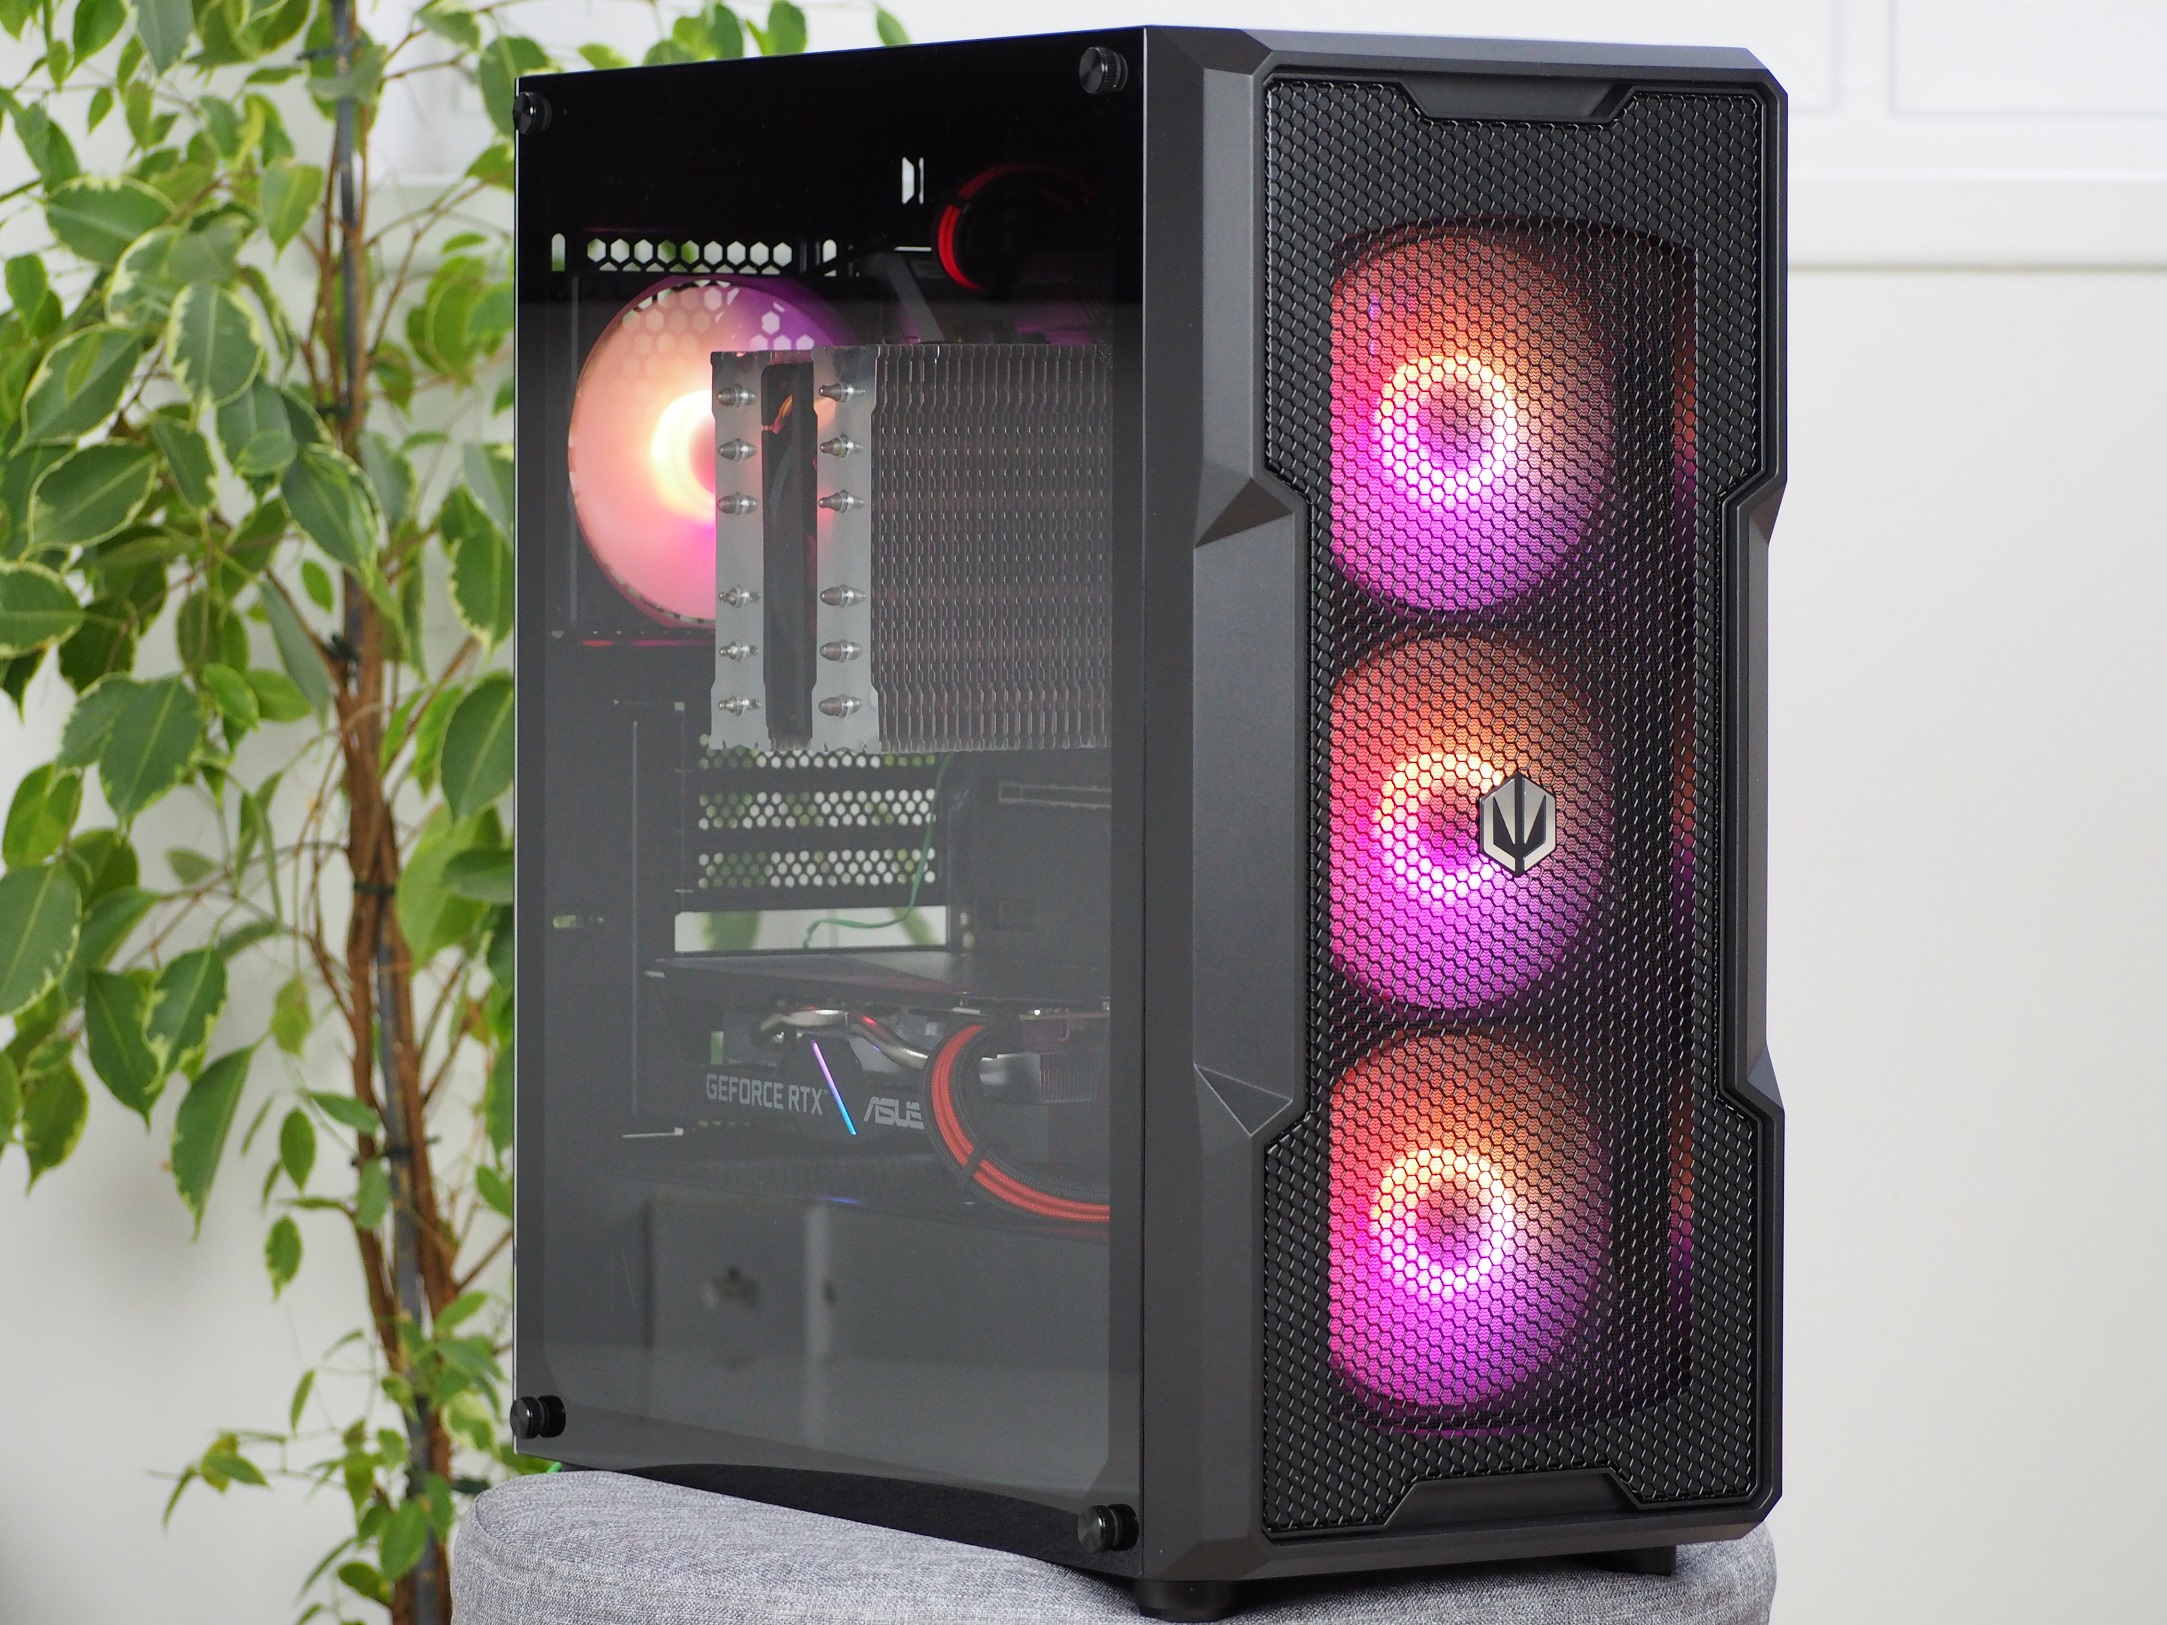
Through gradual evolution and refinement, Endorfy (formerly SilentiumPC) Regnum cases have progressed from the low end to the other side of the spectrum, to the peak. The “400” model with RGB lighting already costs over a hundred euros, but you don’t just pay for attractive visuals. There are up to four fans, three of which are behind a well ventilated mask. But we also came across things that can still be improved.
Interior
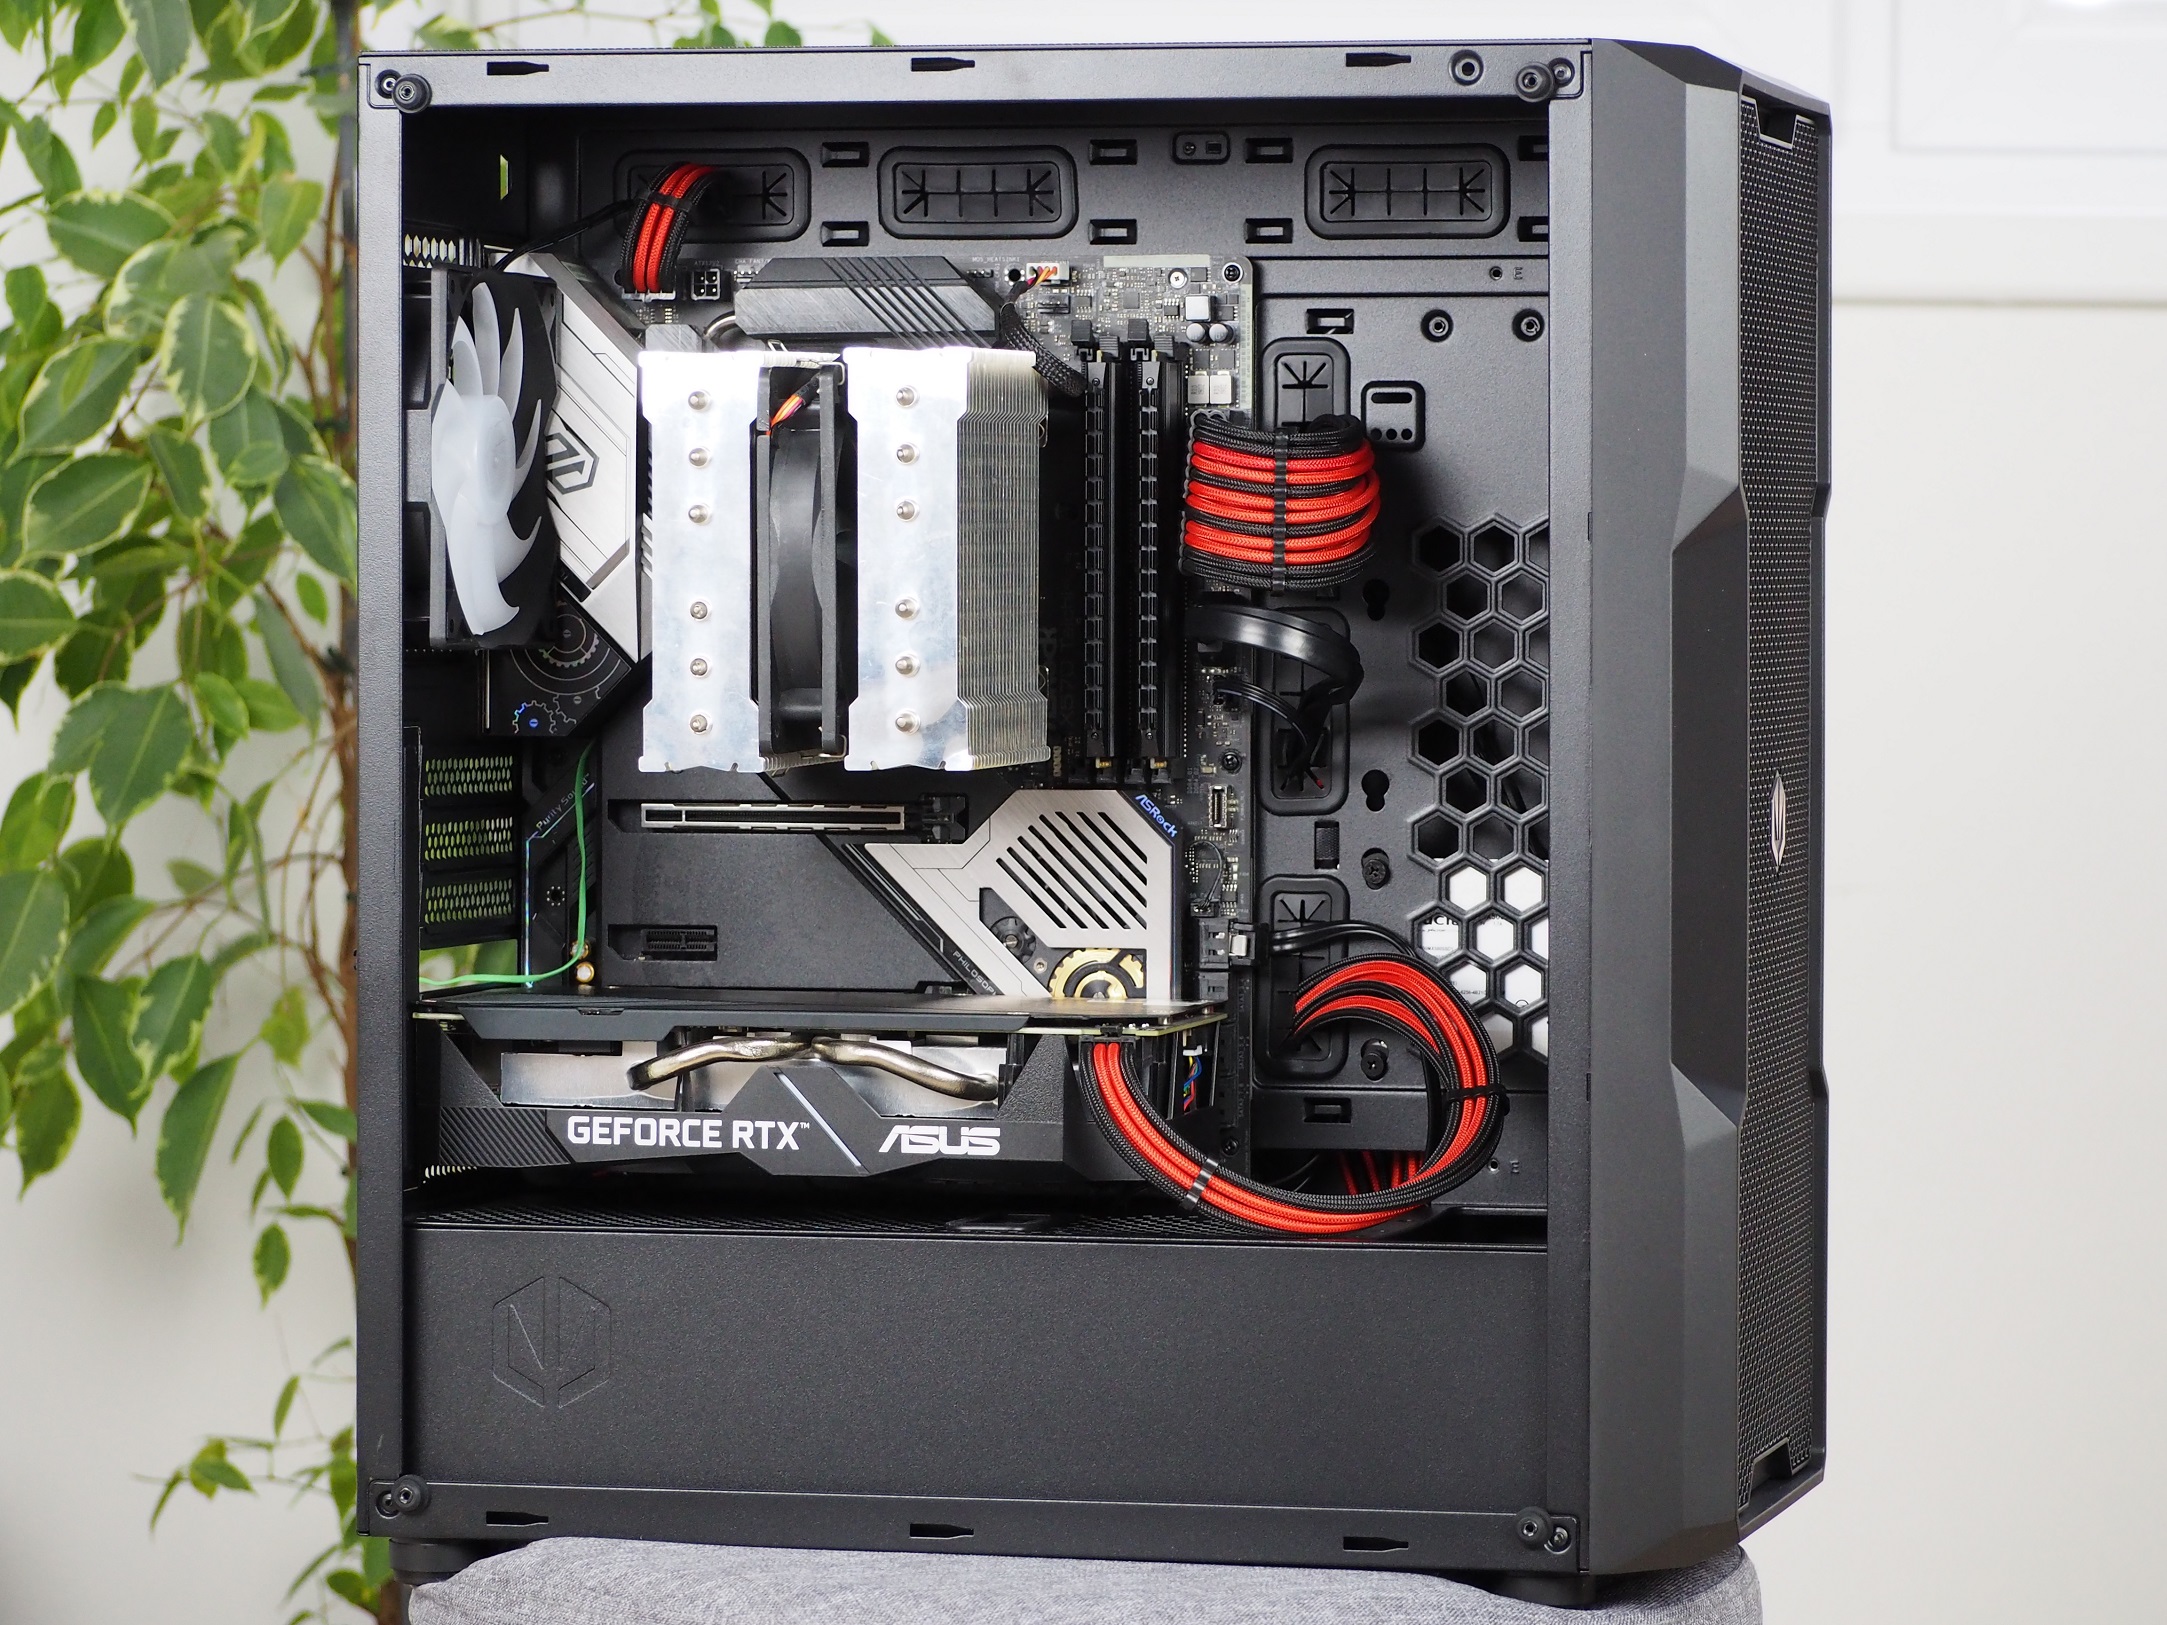
The interior is roomy enough for most current components. The motherboard is supported in Mini-ITX, mATX and ATX formats. A tower-shaped CPU cooler fits into the case in a maximum size of 162 mm. You can forget about the biggest “behemoths” like the NH-D15. But there’s still plenty of room to pick one even relatively large. For graphics cards you have space up to the front panel 370 mm. When fitting a liquid cooler radiator, you’ll have to subtract its thickness with fans as well.

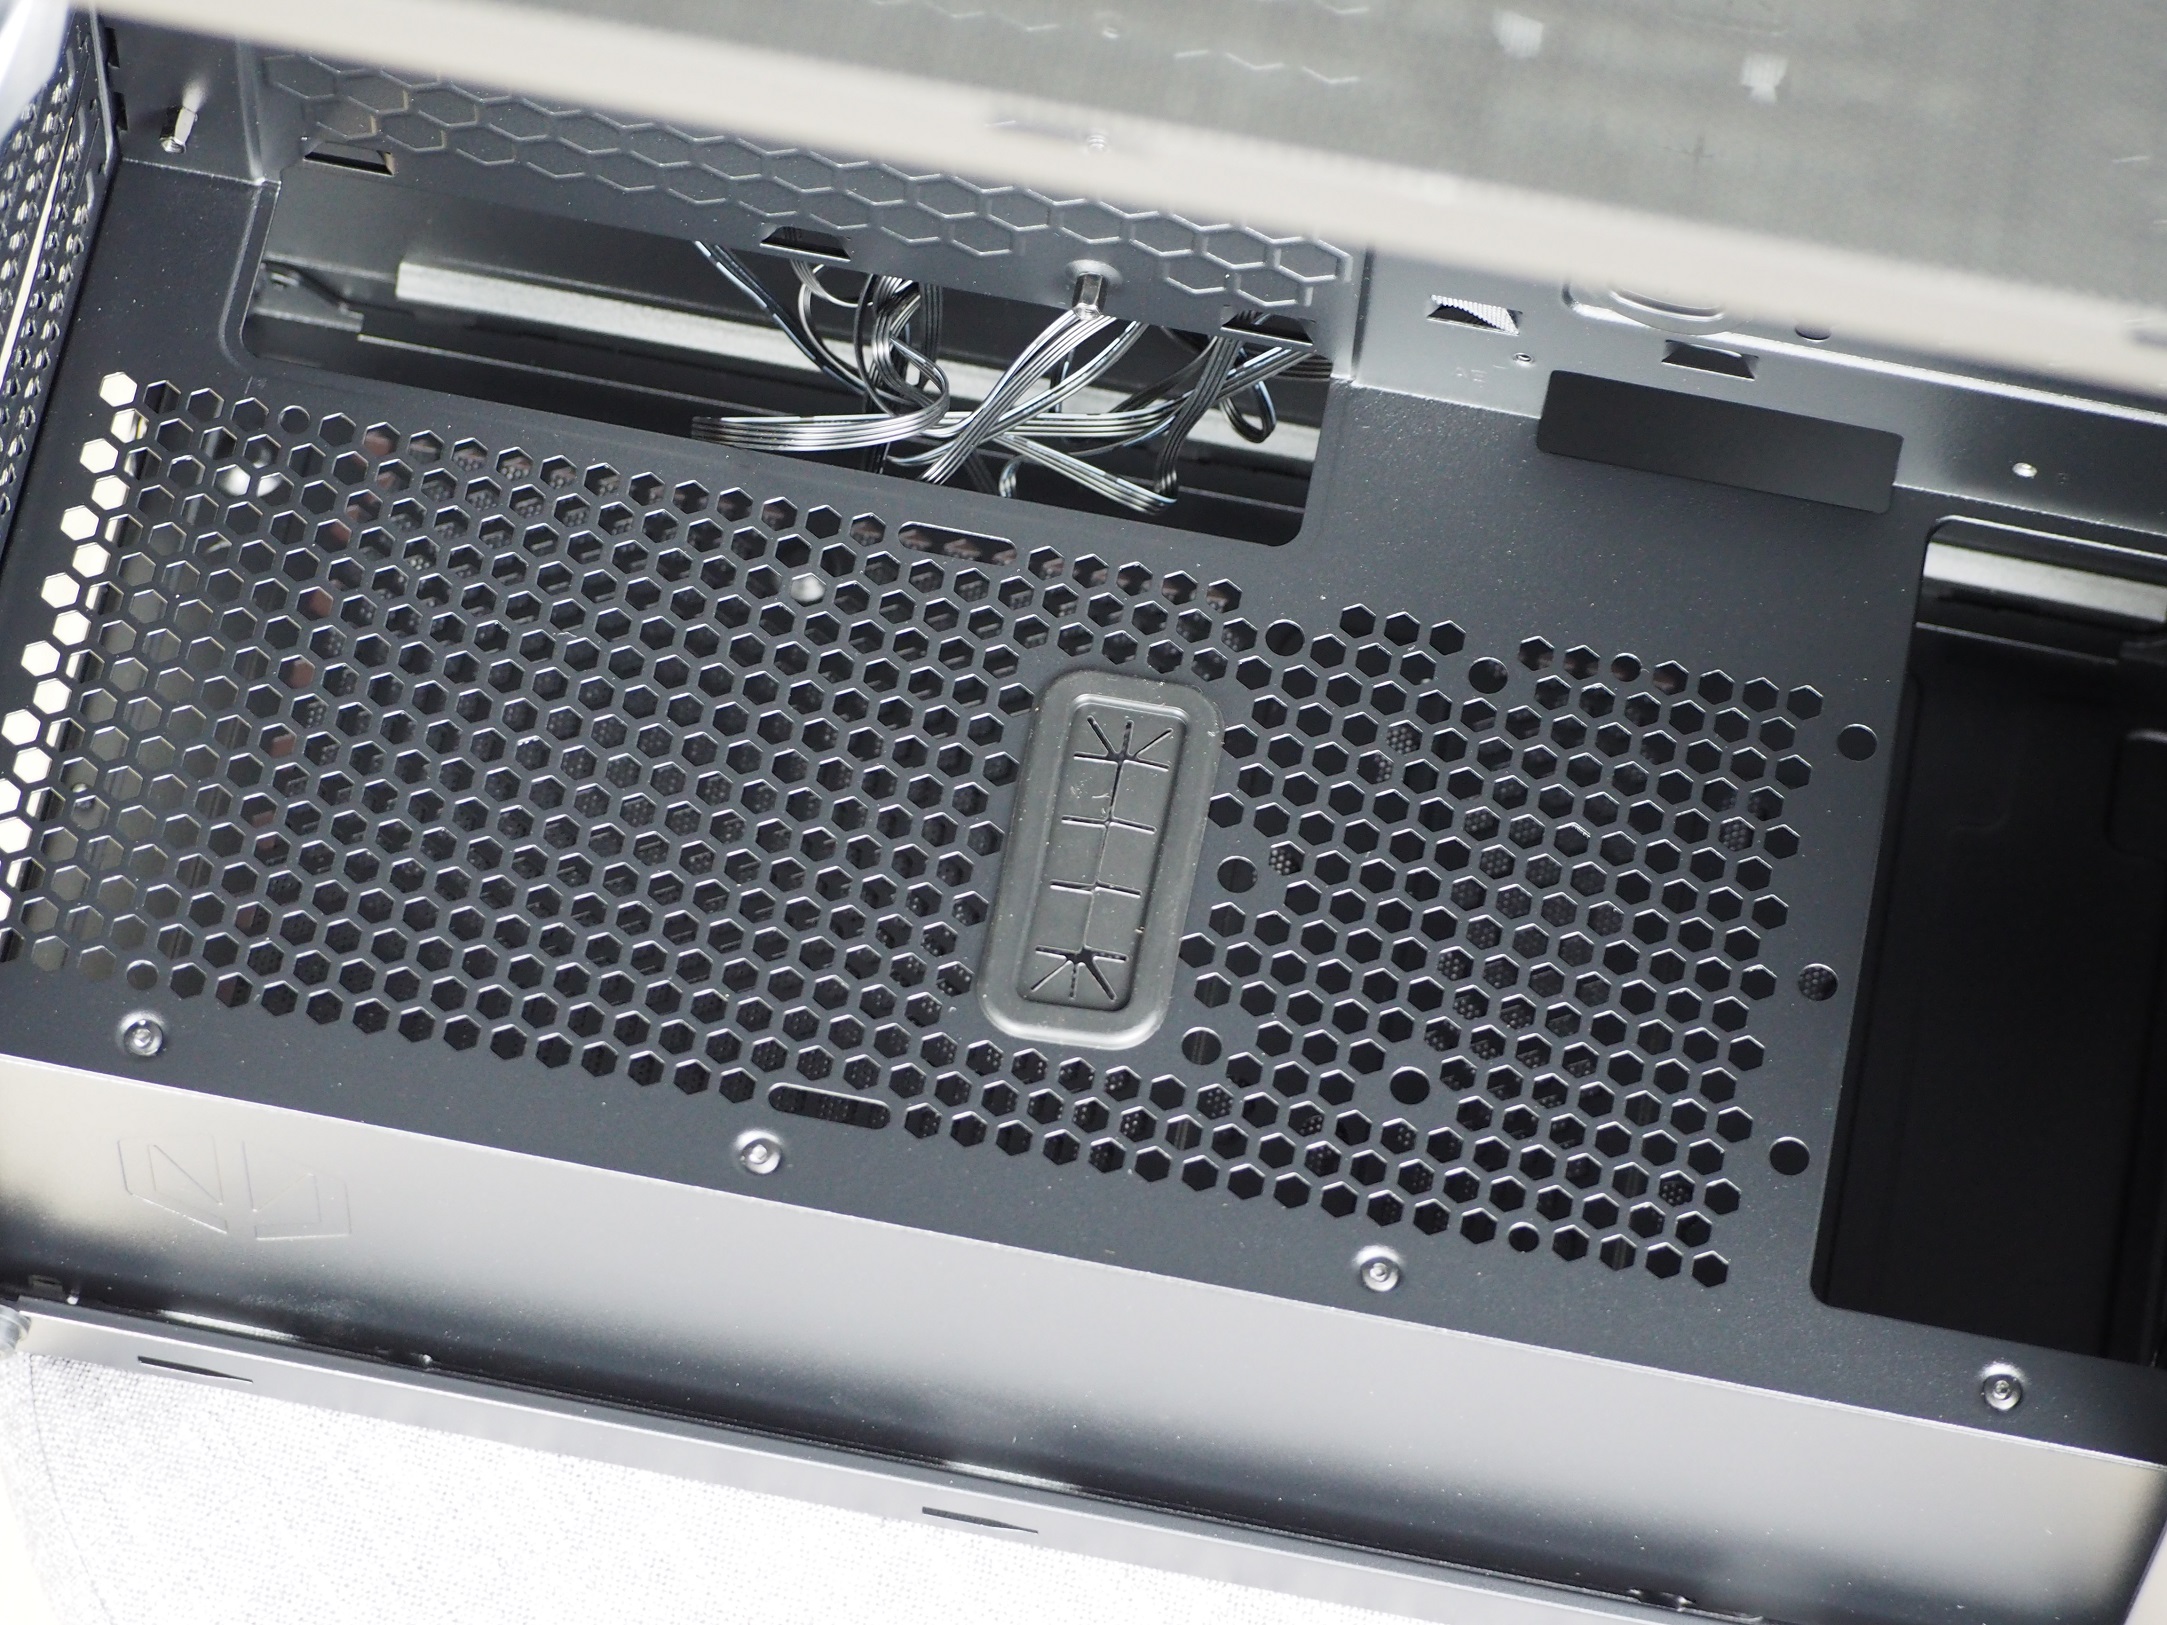
At the front, 60 mm is cut out of the tunnel ceiling for the liquid cooler radiator. On the rest of the ceiling you can fit two 120 mm fans and I have to commend that. Thanks to the large perforations they can positively contribute to better cooling of the graphics card. Many times the tunnel ceiling remains unused or there are additional positions for storage. Regnum has it exactly the opposite. There are no positions for storage.
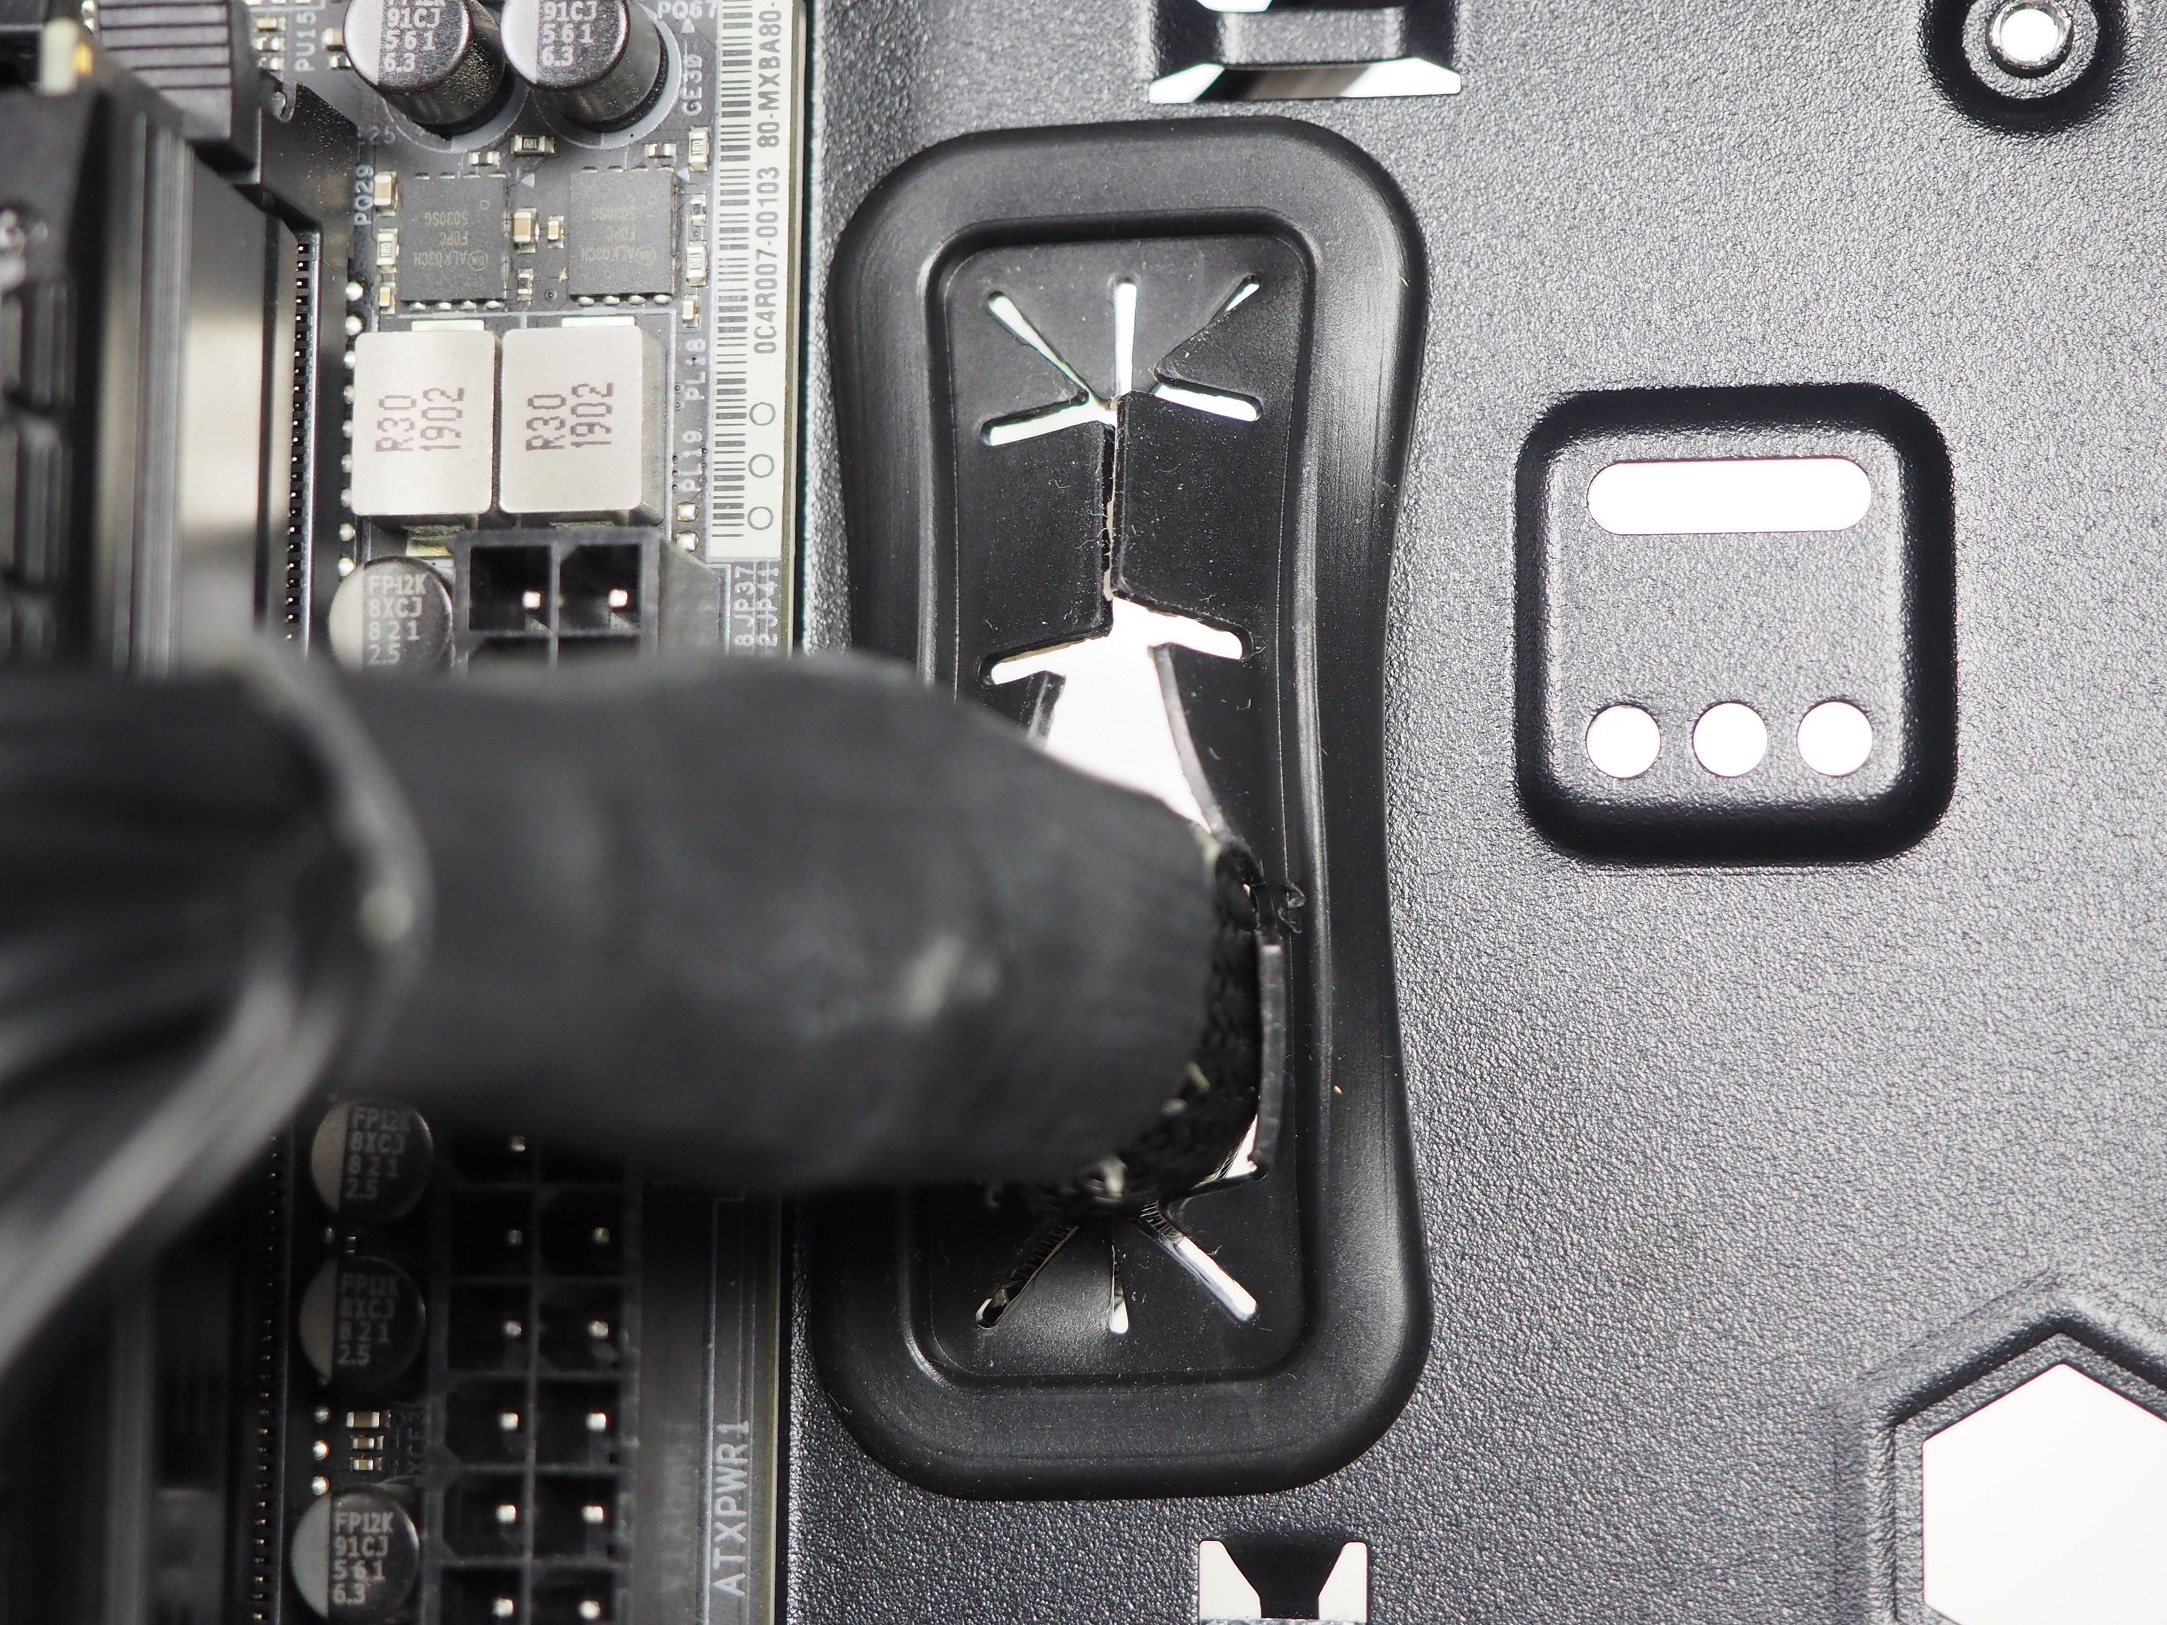
There is also a rather large cutout for connecting cables to the bottom of the board. I often find that I have to bend the cables unnaturally when plugging in audio for the top I/O panel or case controls. This cutout neatly solved that annoyance.
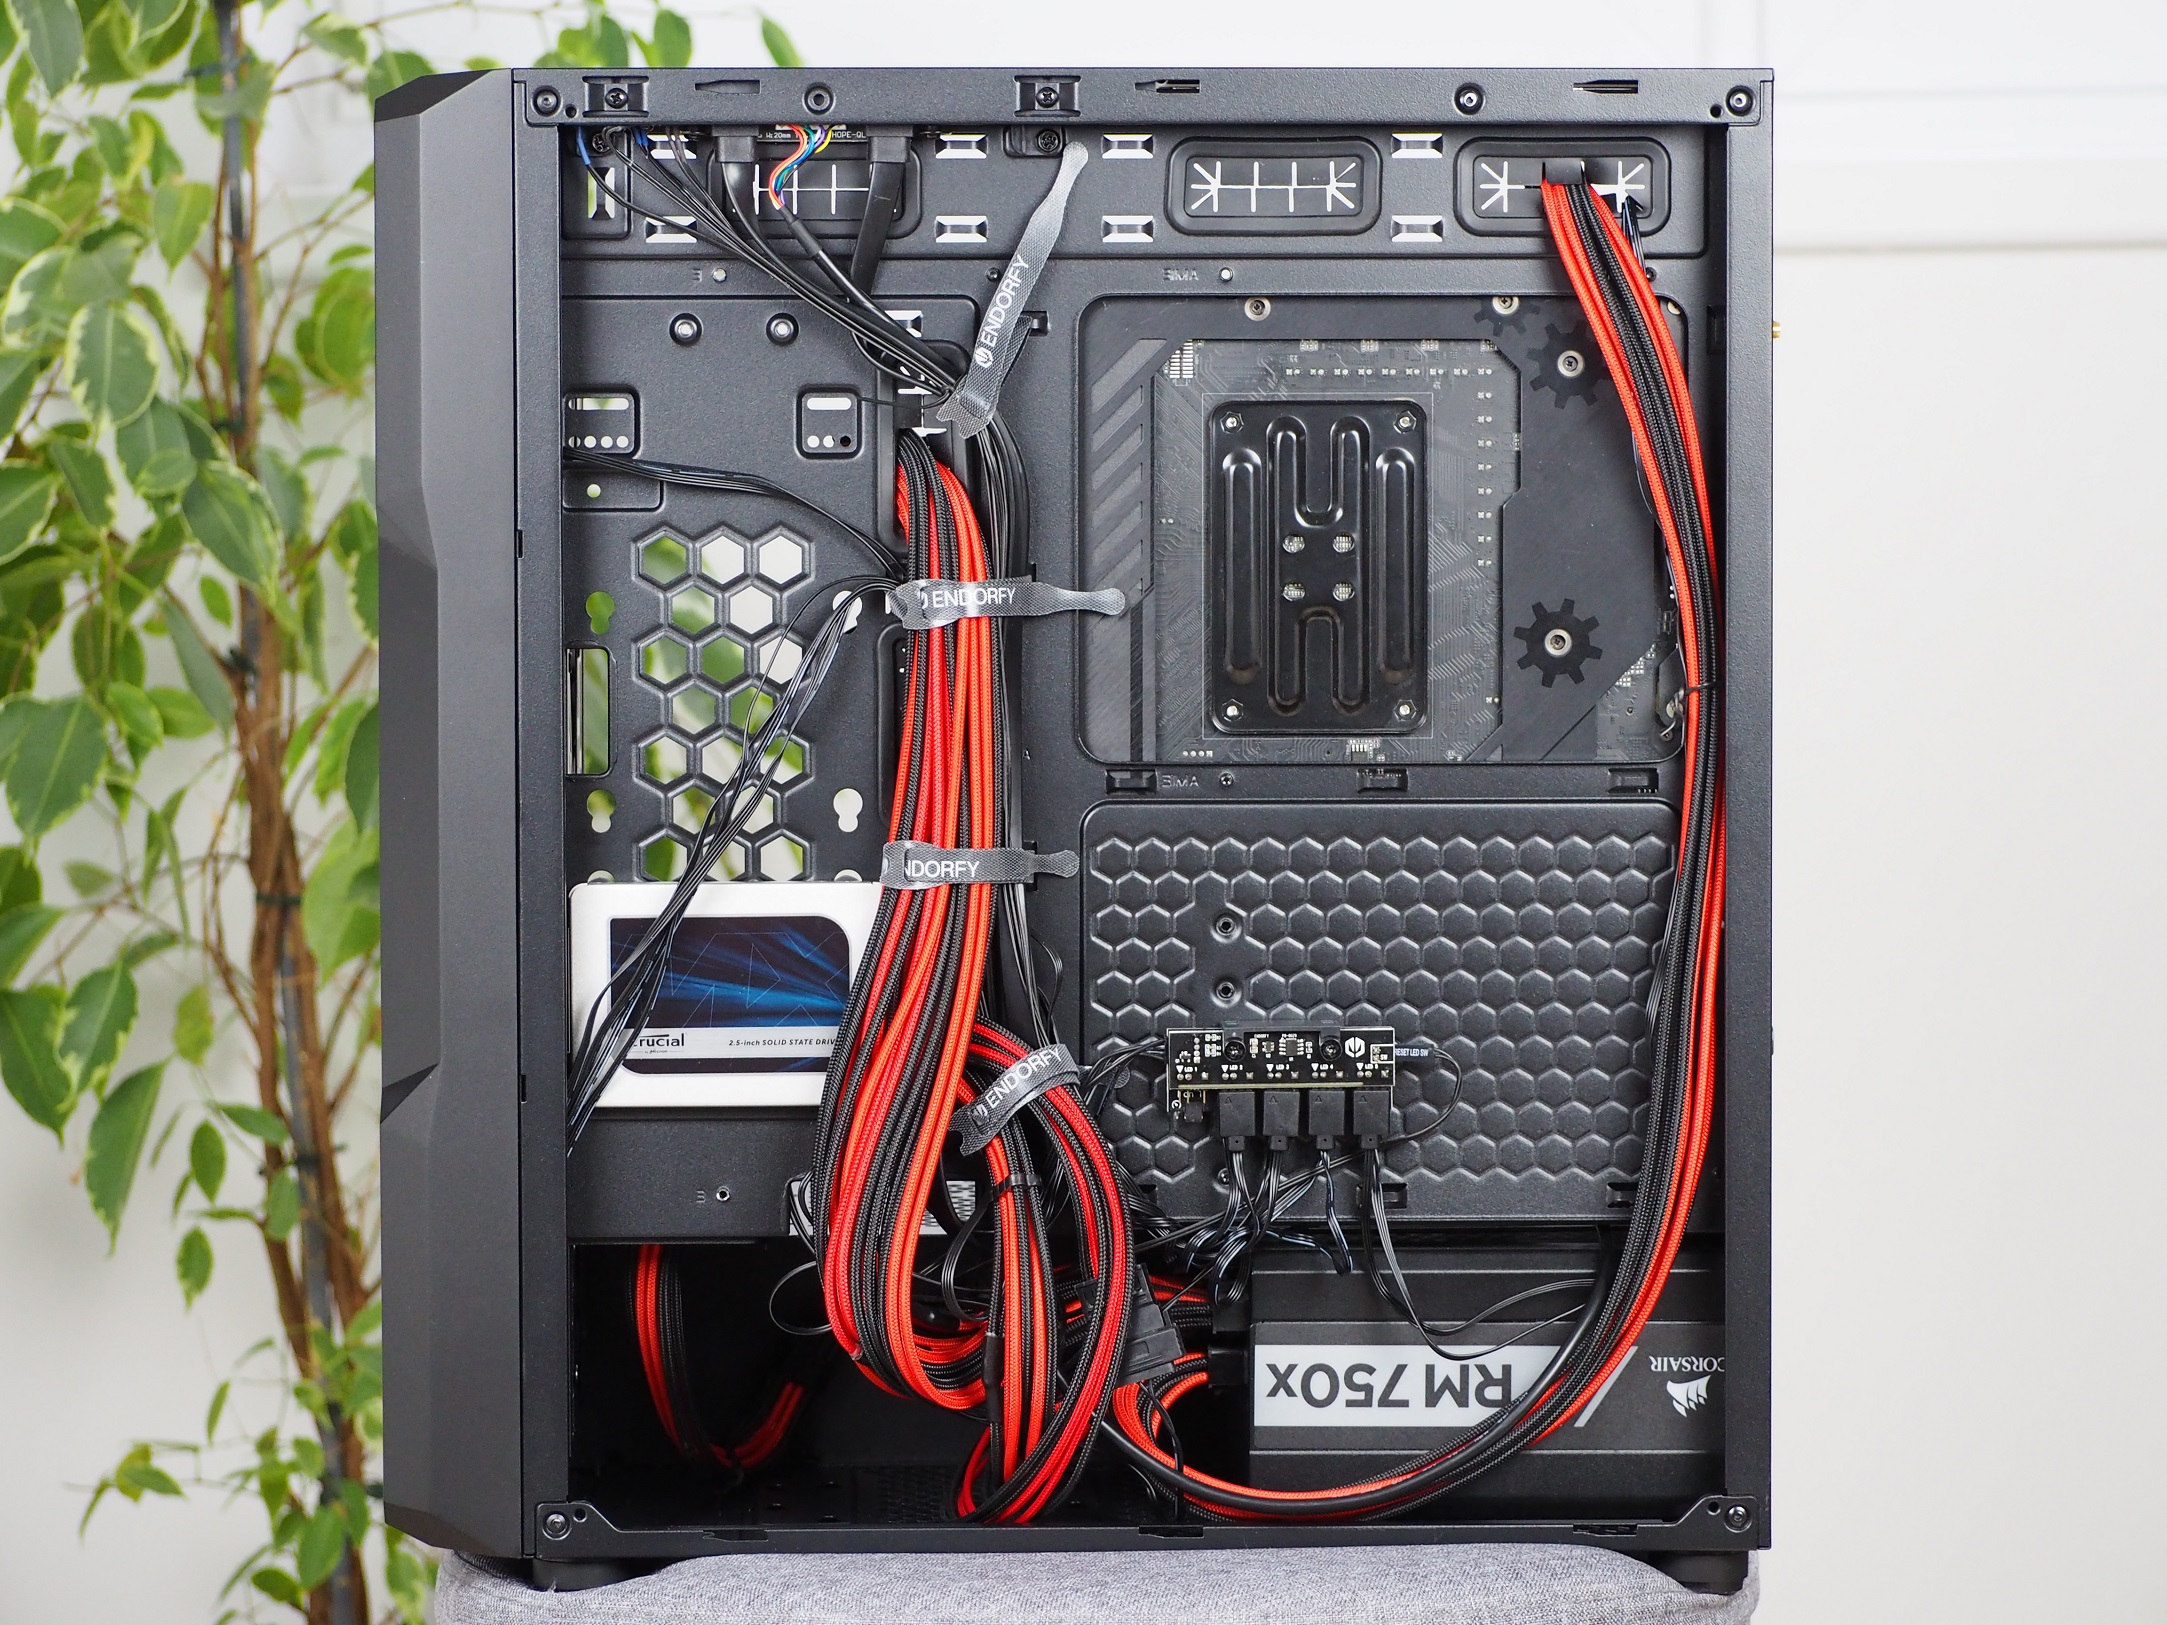
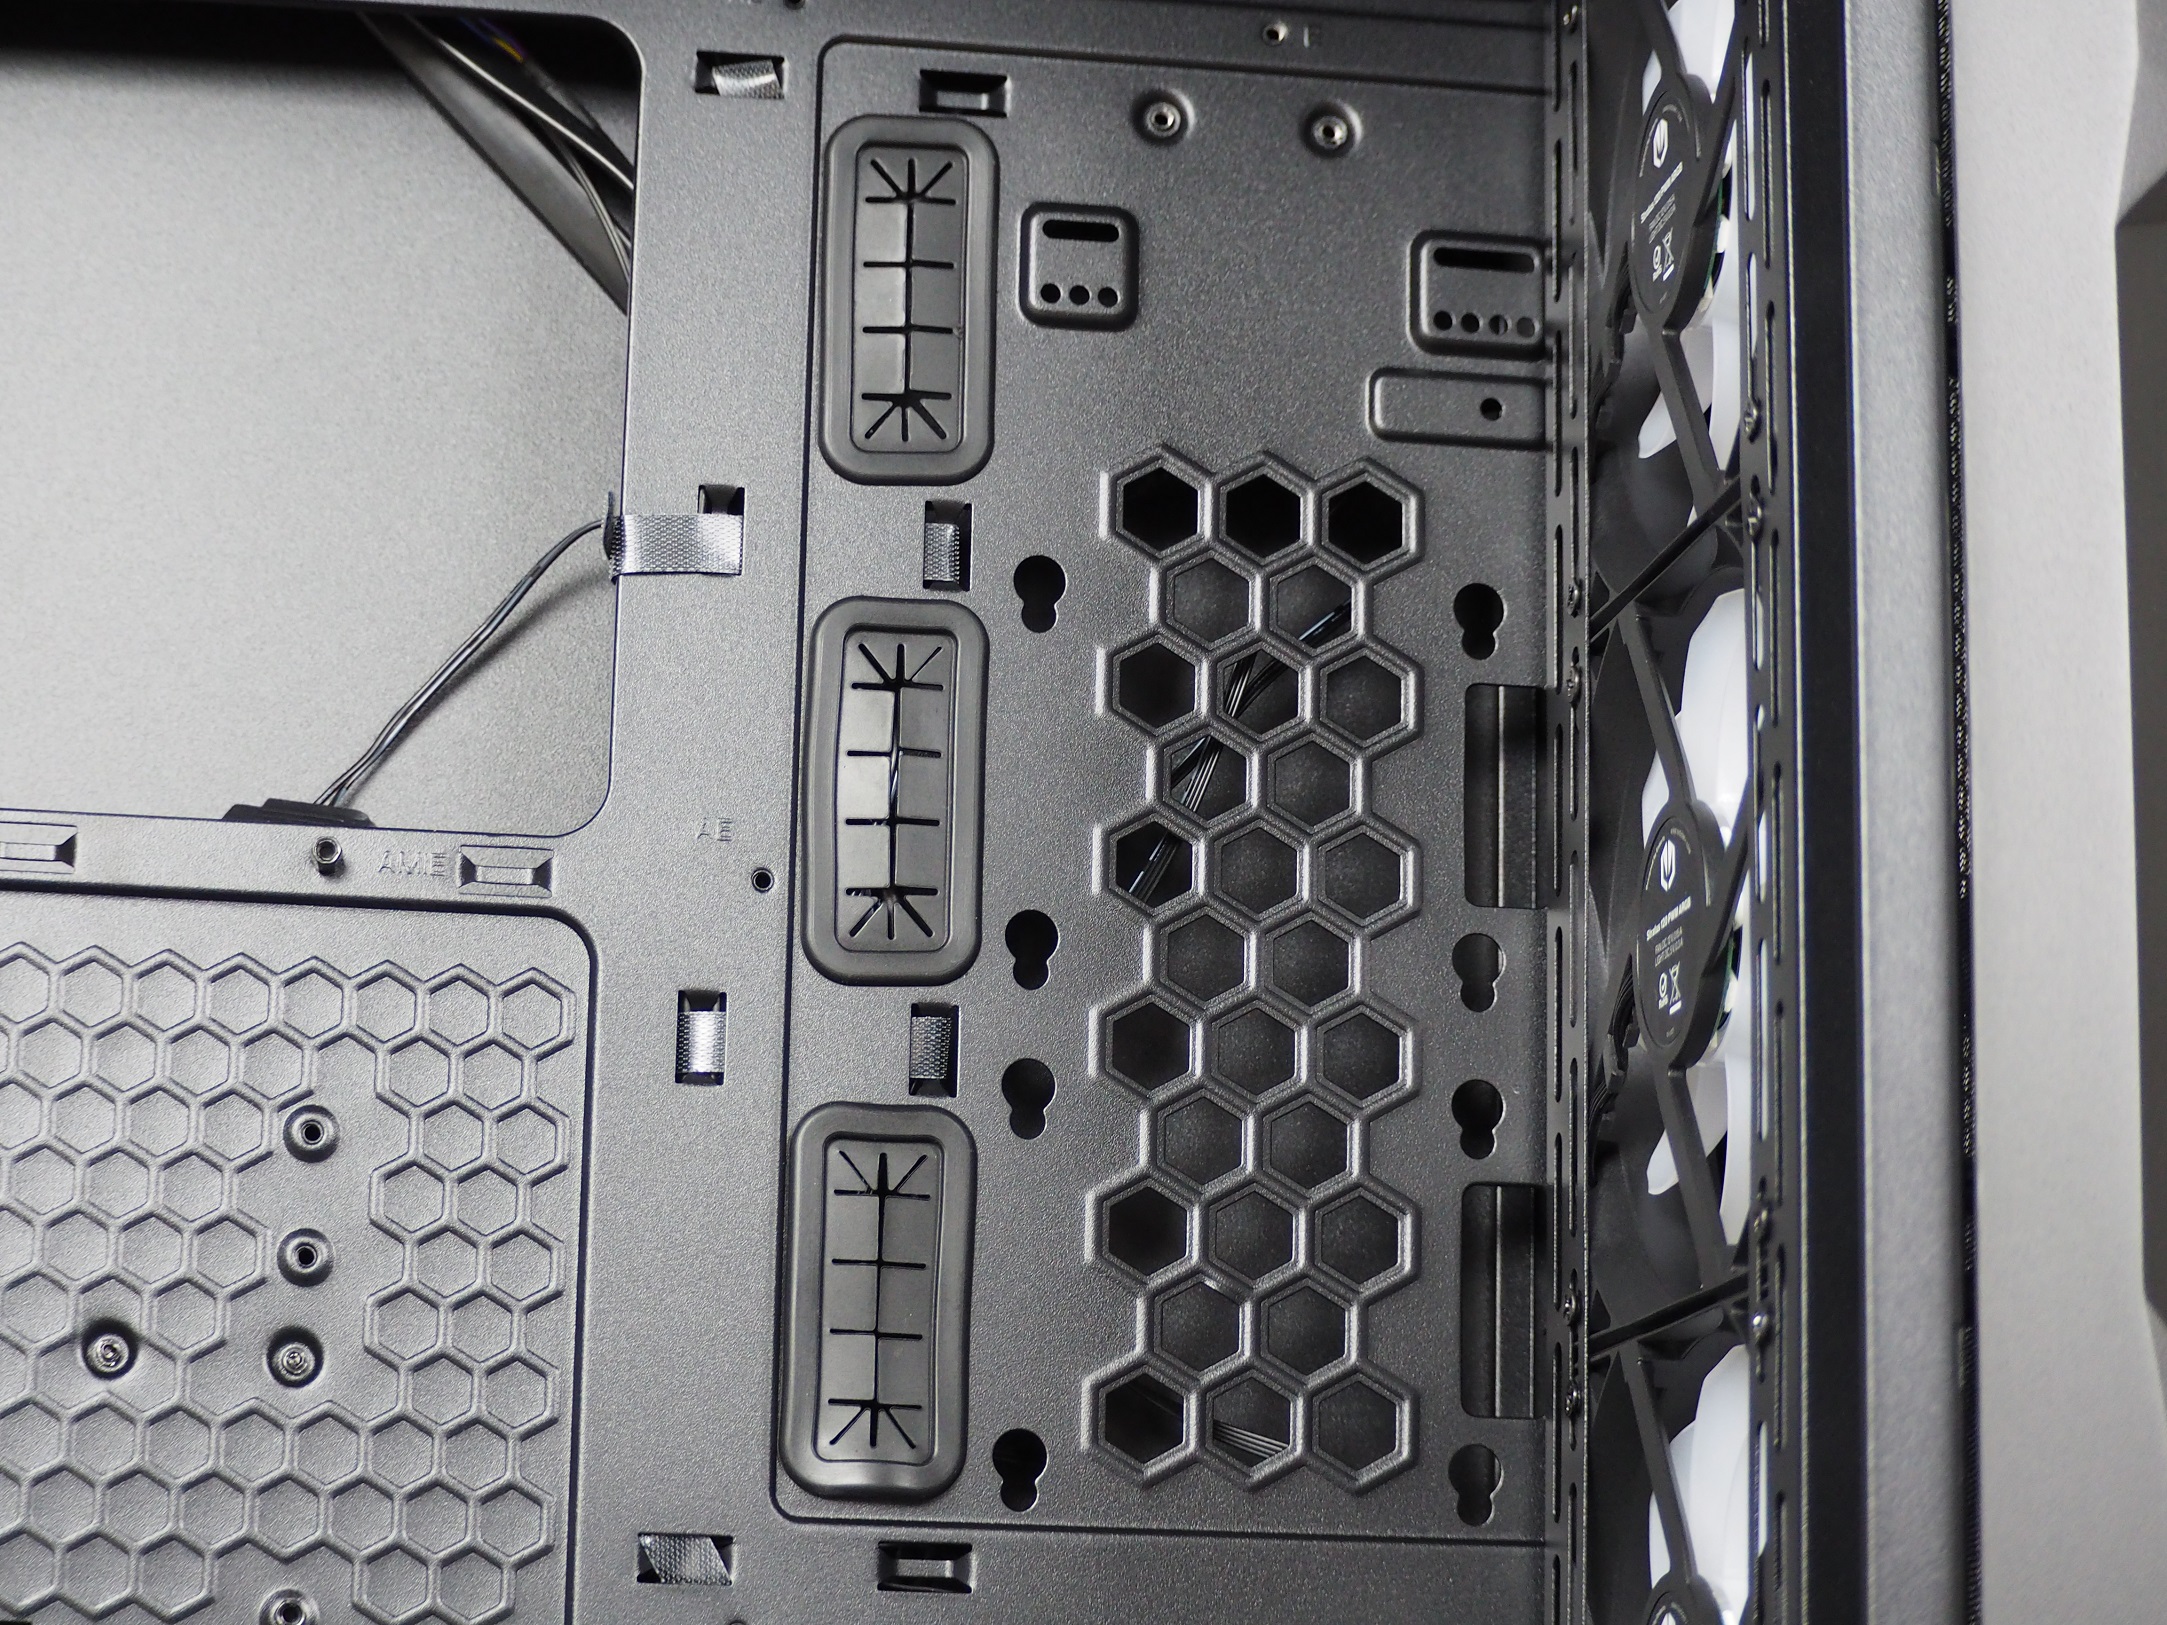
The holes located higher on the tray are fitted with rubber grommets for a more complete look. Although there is less than 20mm of space for cables and you can slip even thicker ones through there, the grommet is easy to pull out from its position. It is anchored weakly and has come out more than once during installation. However, fitting it back is pretty quick and it’s not a disaster, just extra work.
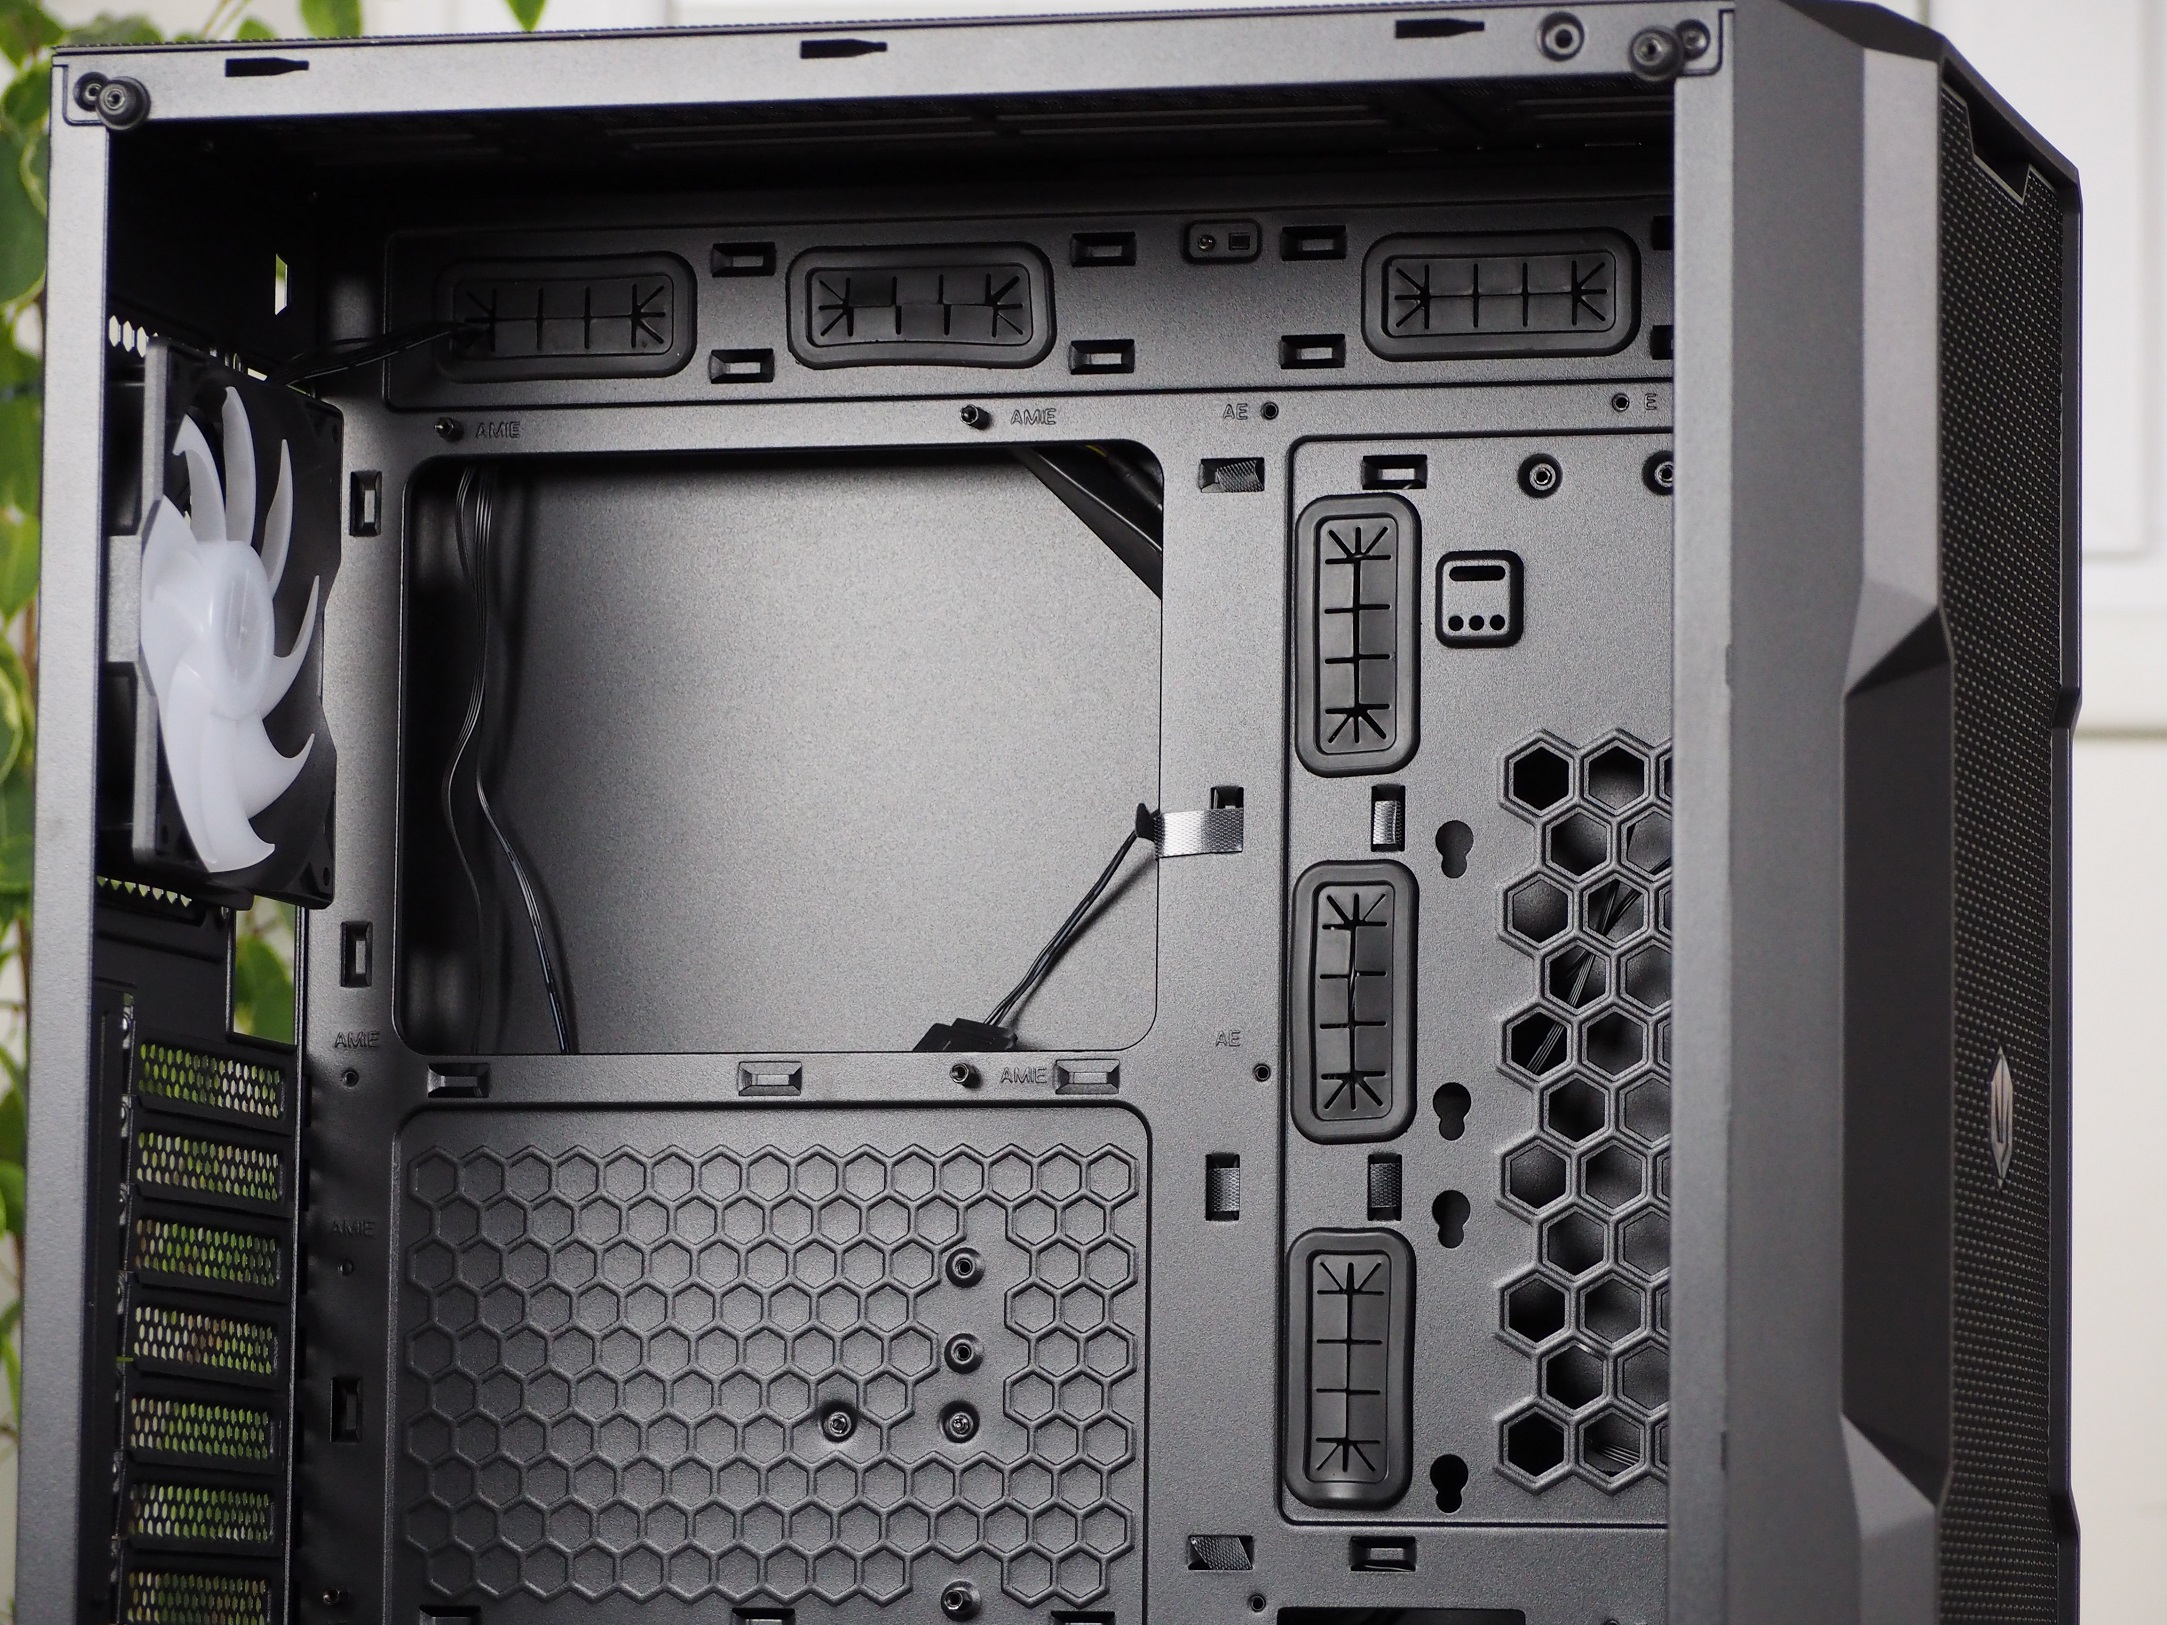

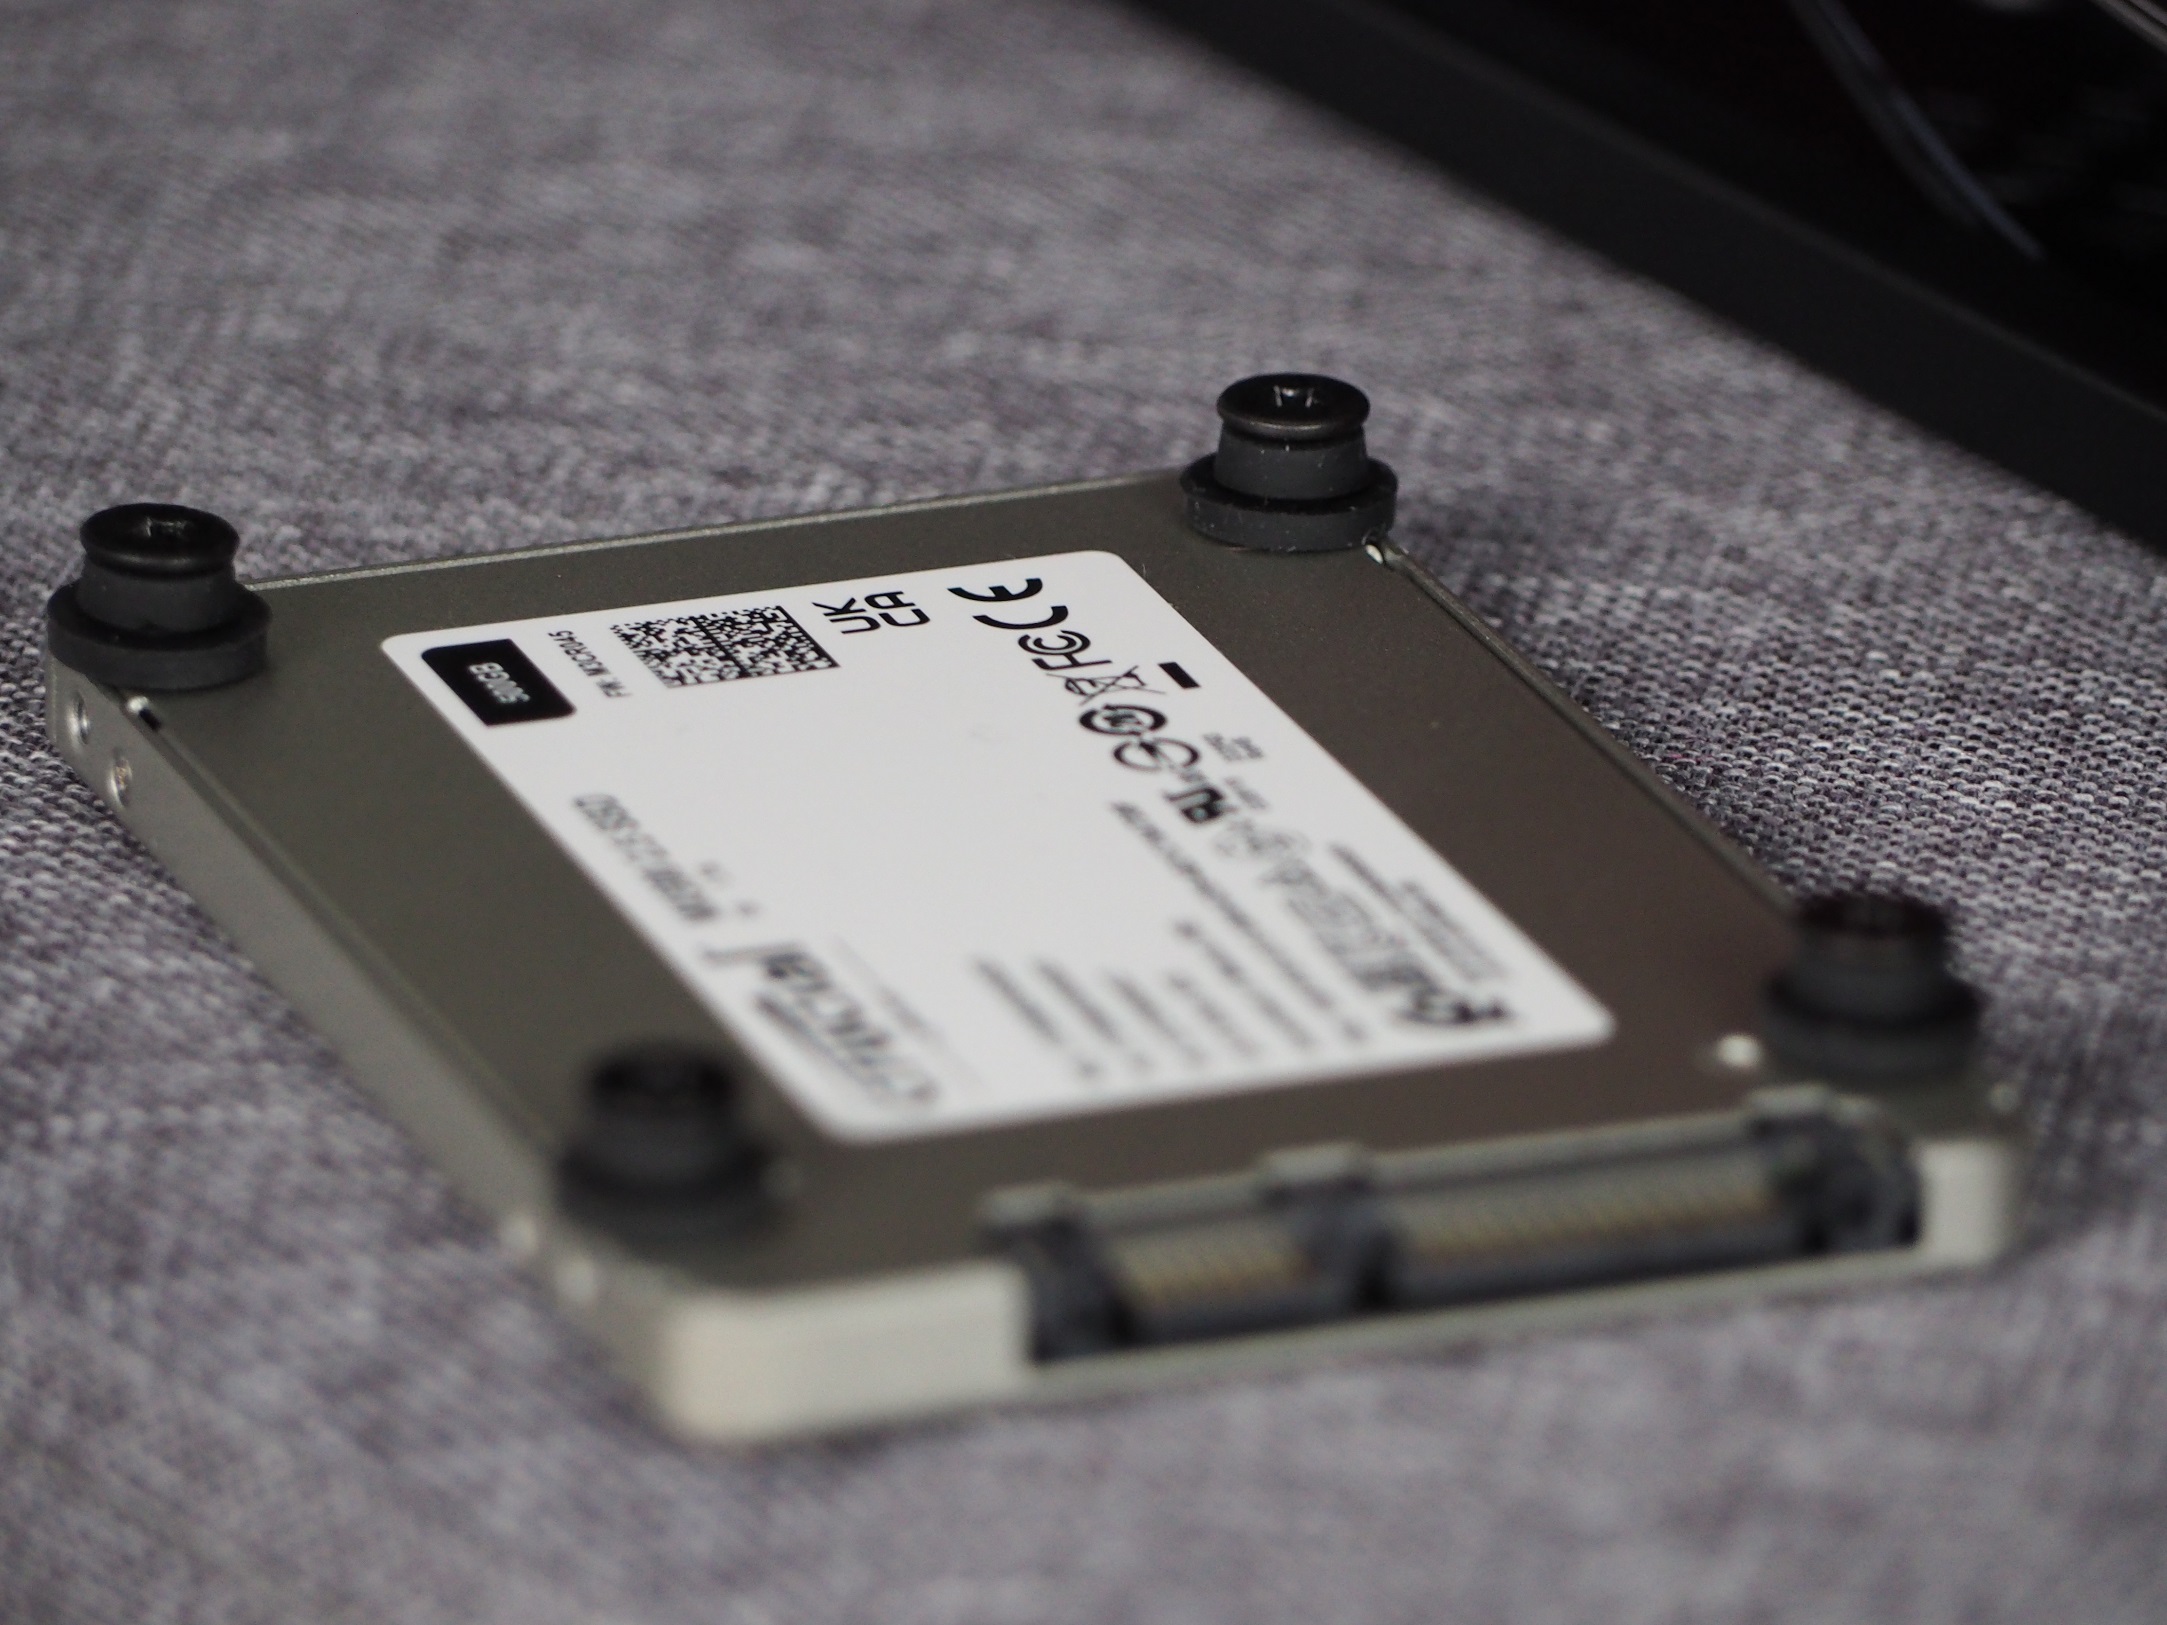
On the right side of the tray there are holes for attaching two 2.5″ storage devices. You install the four screws and washers on the hardware and simply slide it onto the structure. The only downside to these positions is that the direction of the connectors for the storage is tight to the fans or grommets. That’s also where most of the cables are located, so they interfere with each other.
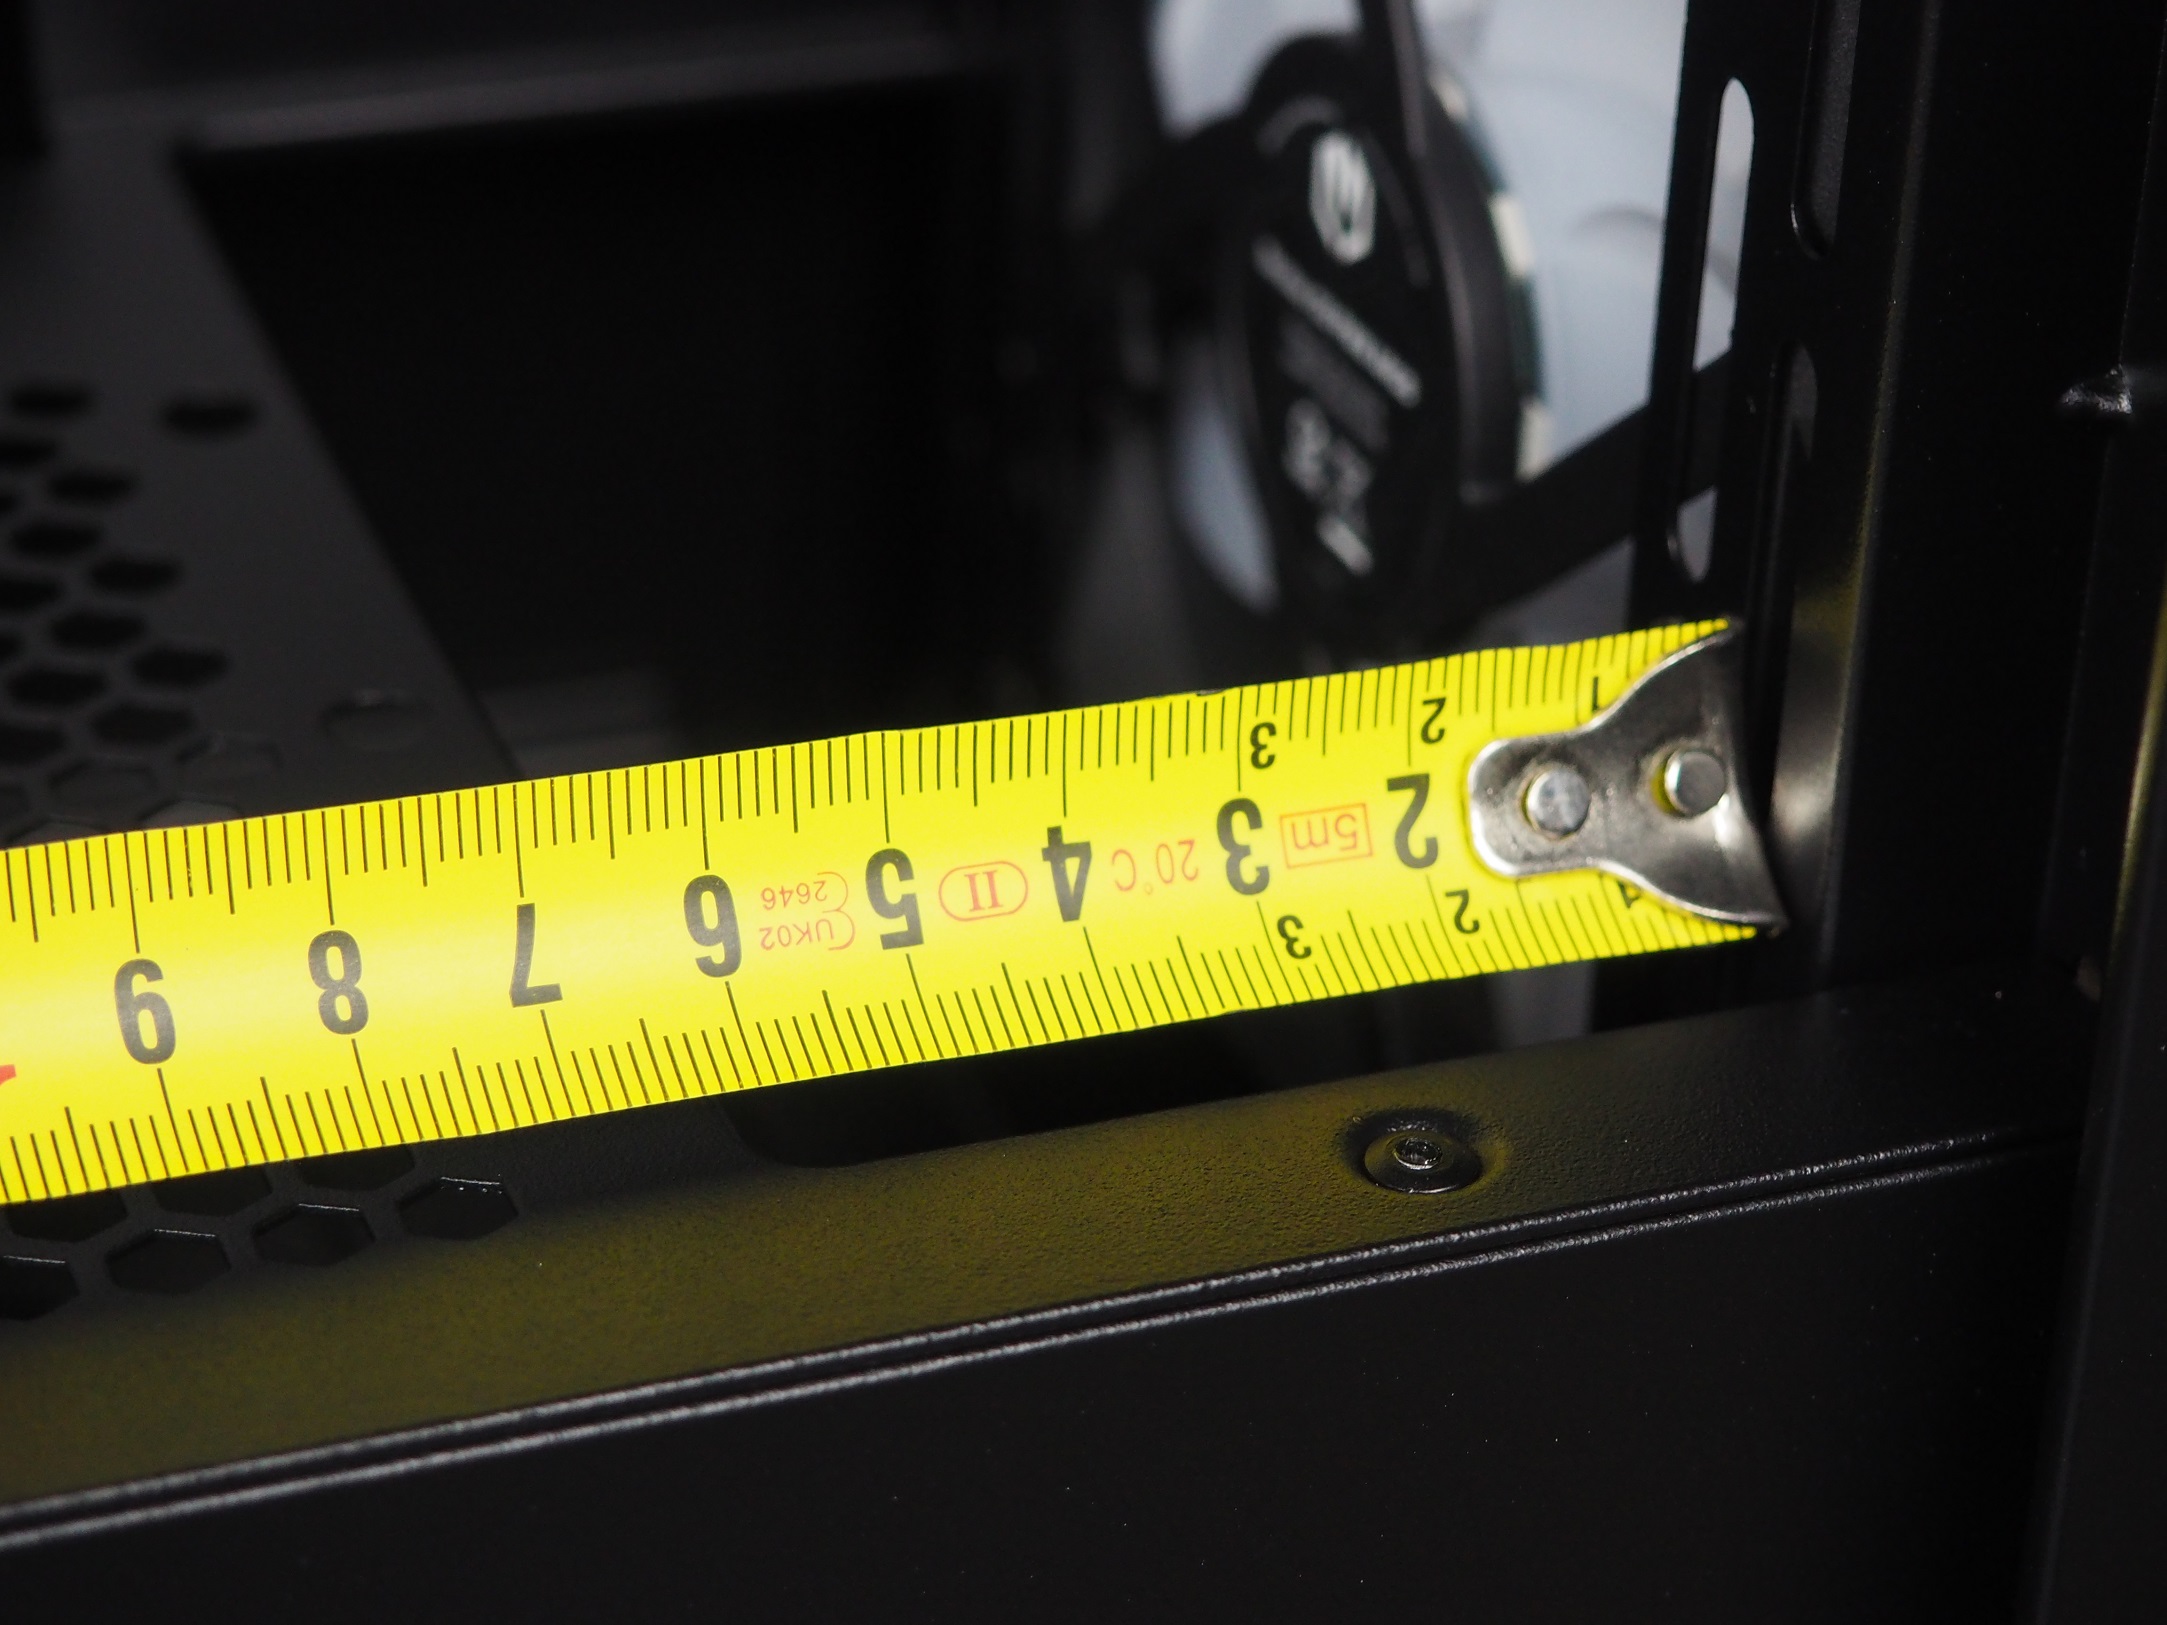
From the back, it’s not as slick a look as the front. This is mainly due to the larger amount of cables from the fans. For cable management, there are four Velcro pull-tabs, disposable zip ties from the accessories and as many as 21 positions to place them in. Including the cabling from the power supply, you’ll need to fit this into a space that’s 28mm wide.
All the hardware you put in the case is held firmly by solid 0.8 mm thick sheet metal. The metal side panel bends slightly, which is to be expected due to the size. The rest of the construction is solid and it takes more force to bend the tray.
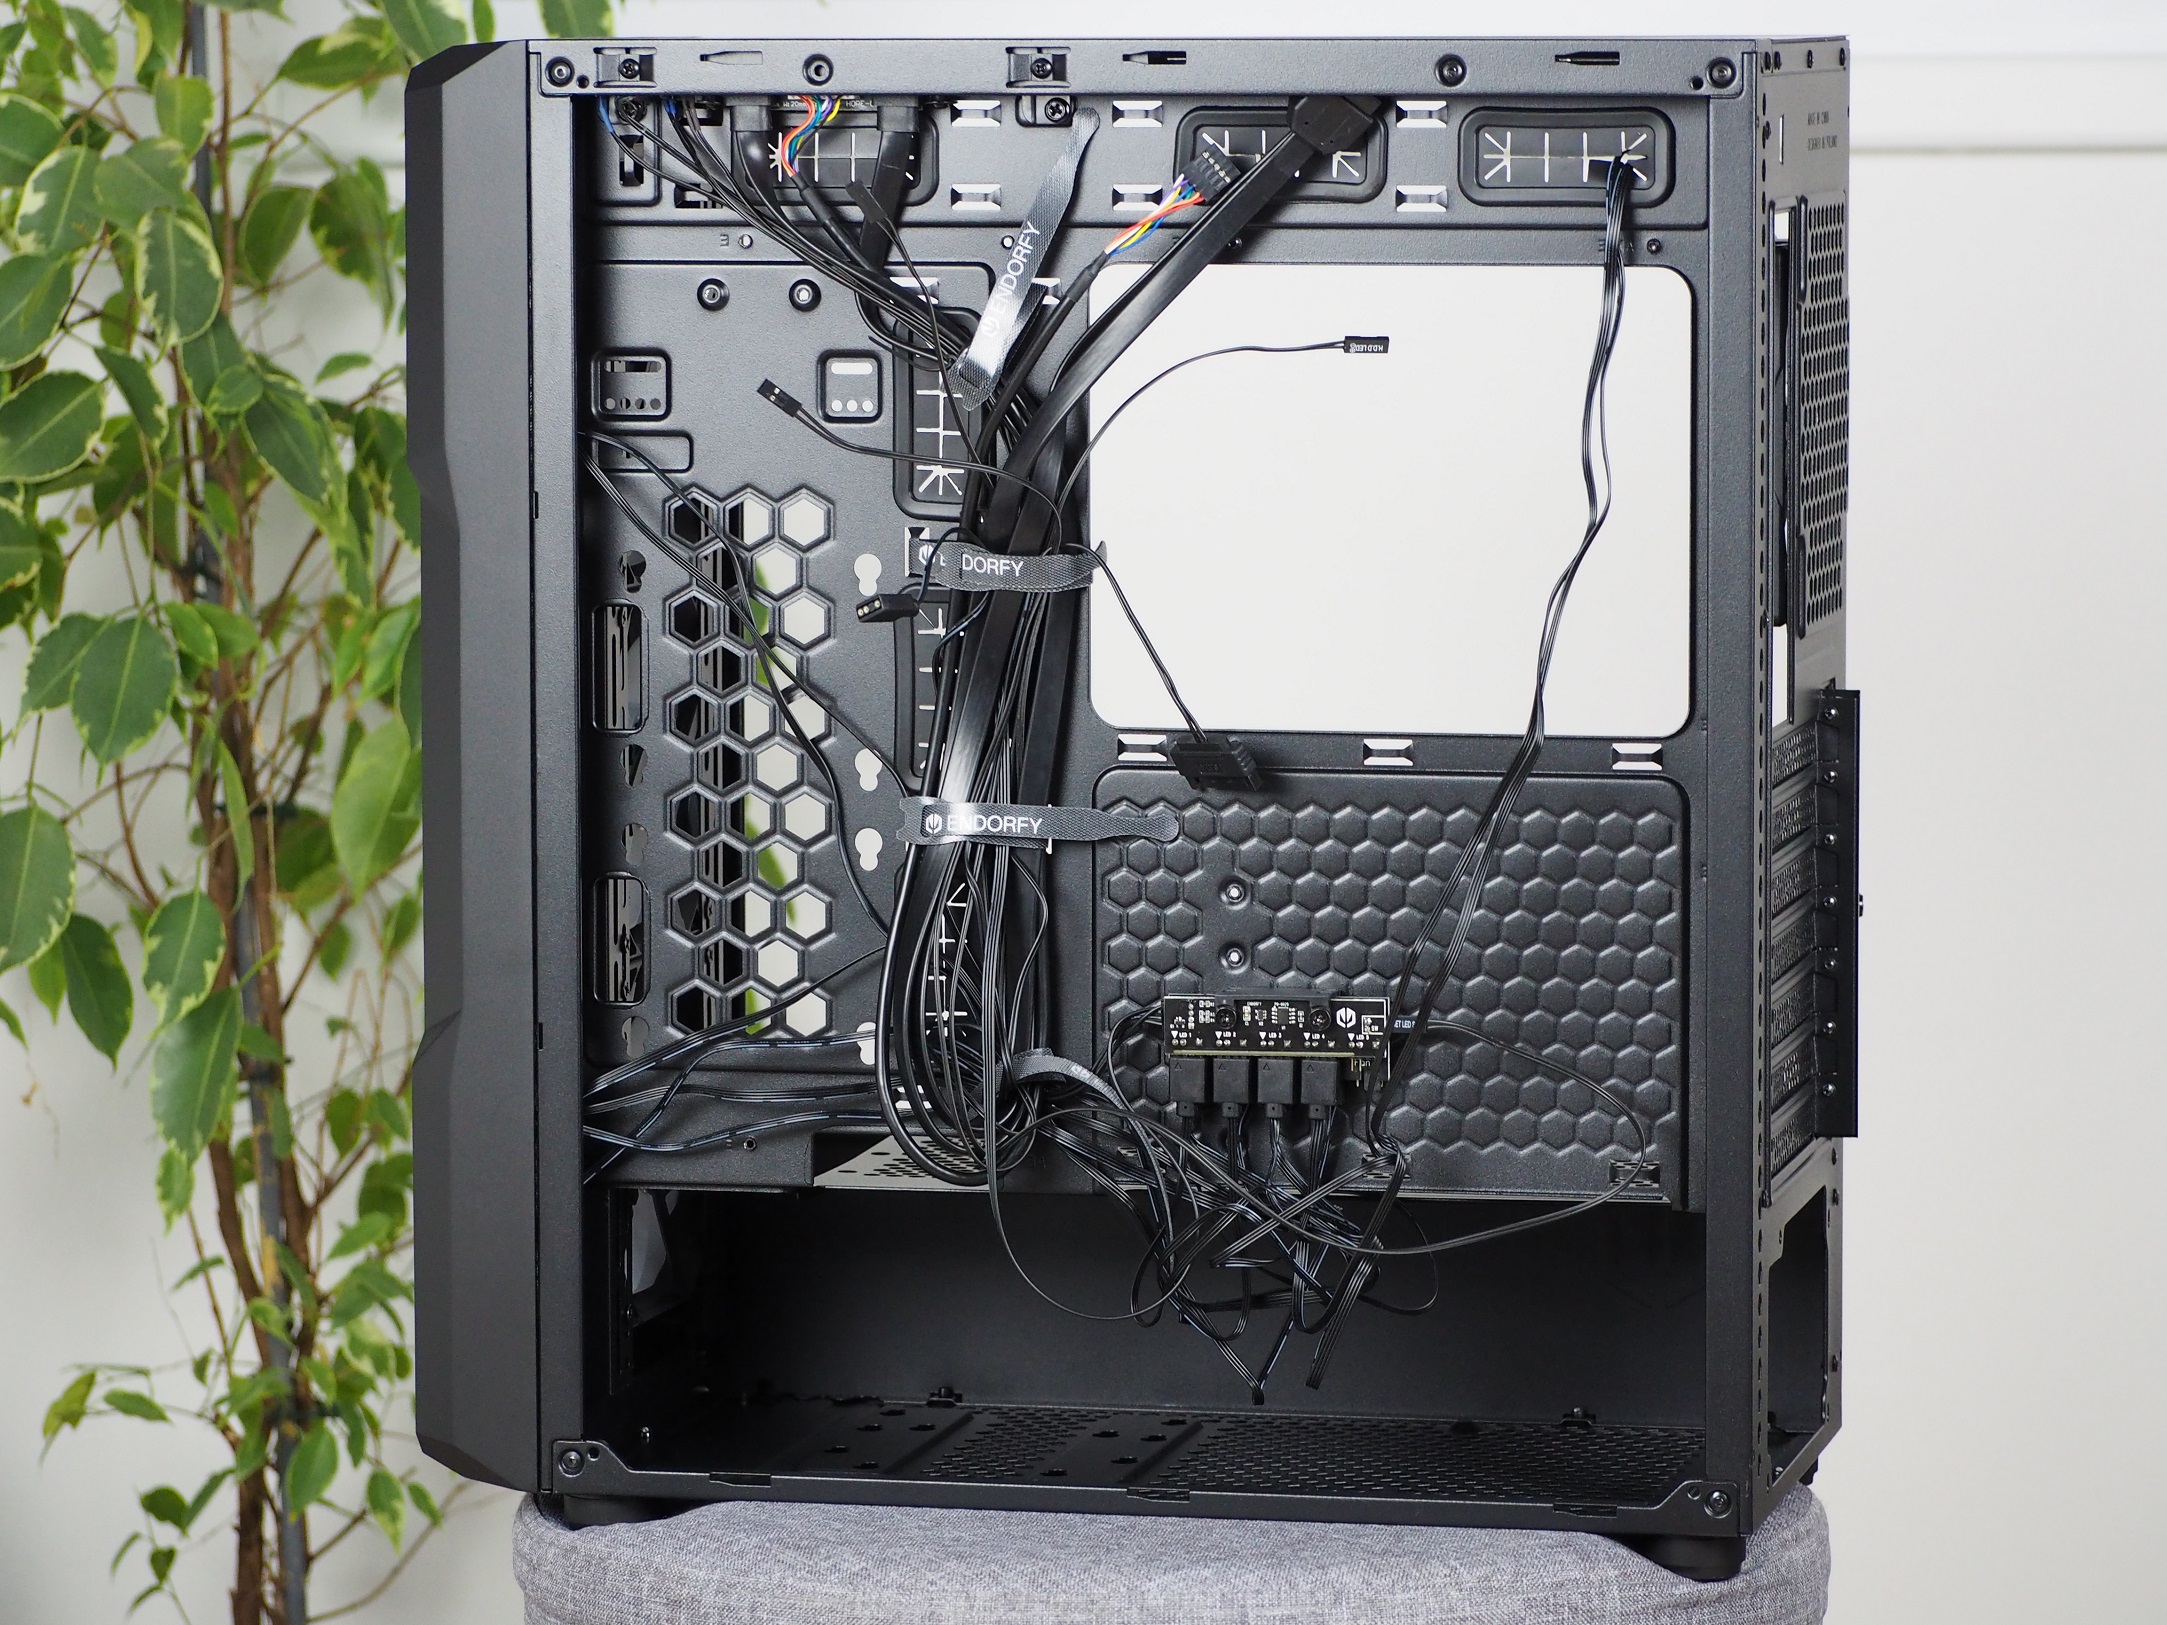


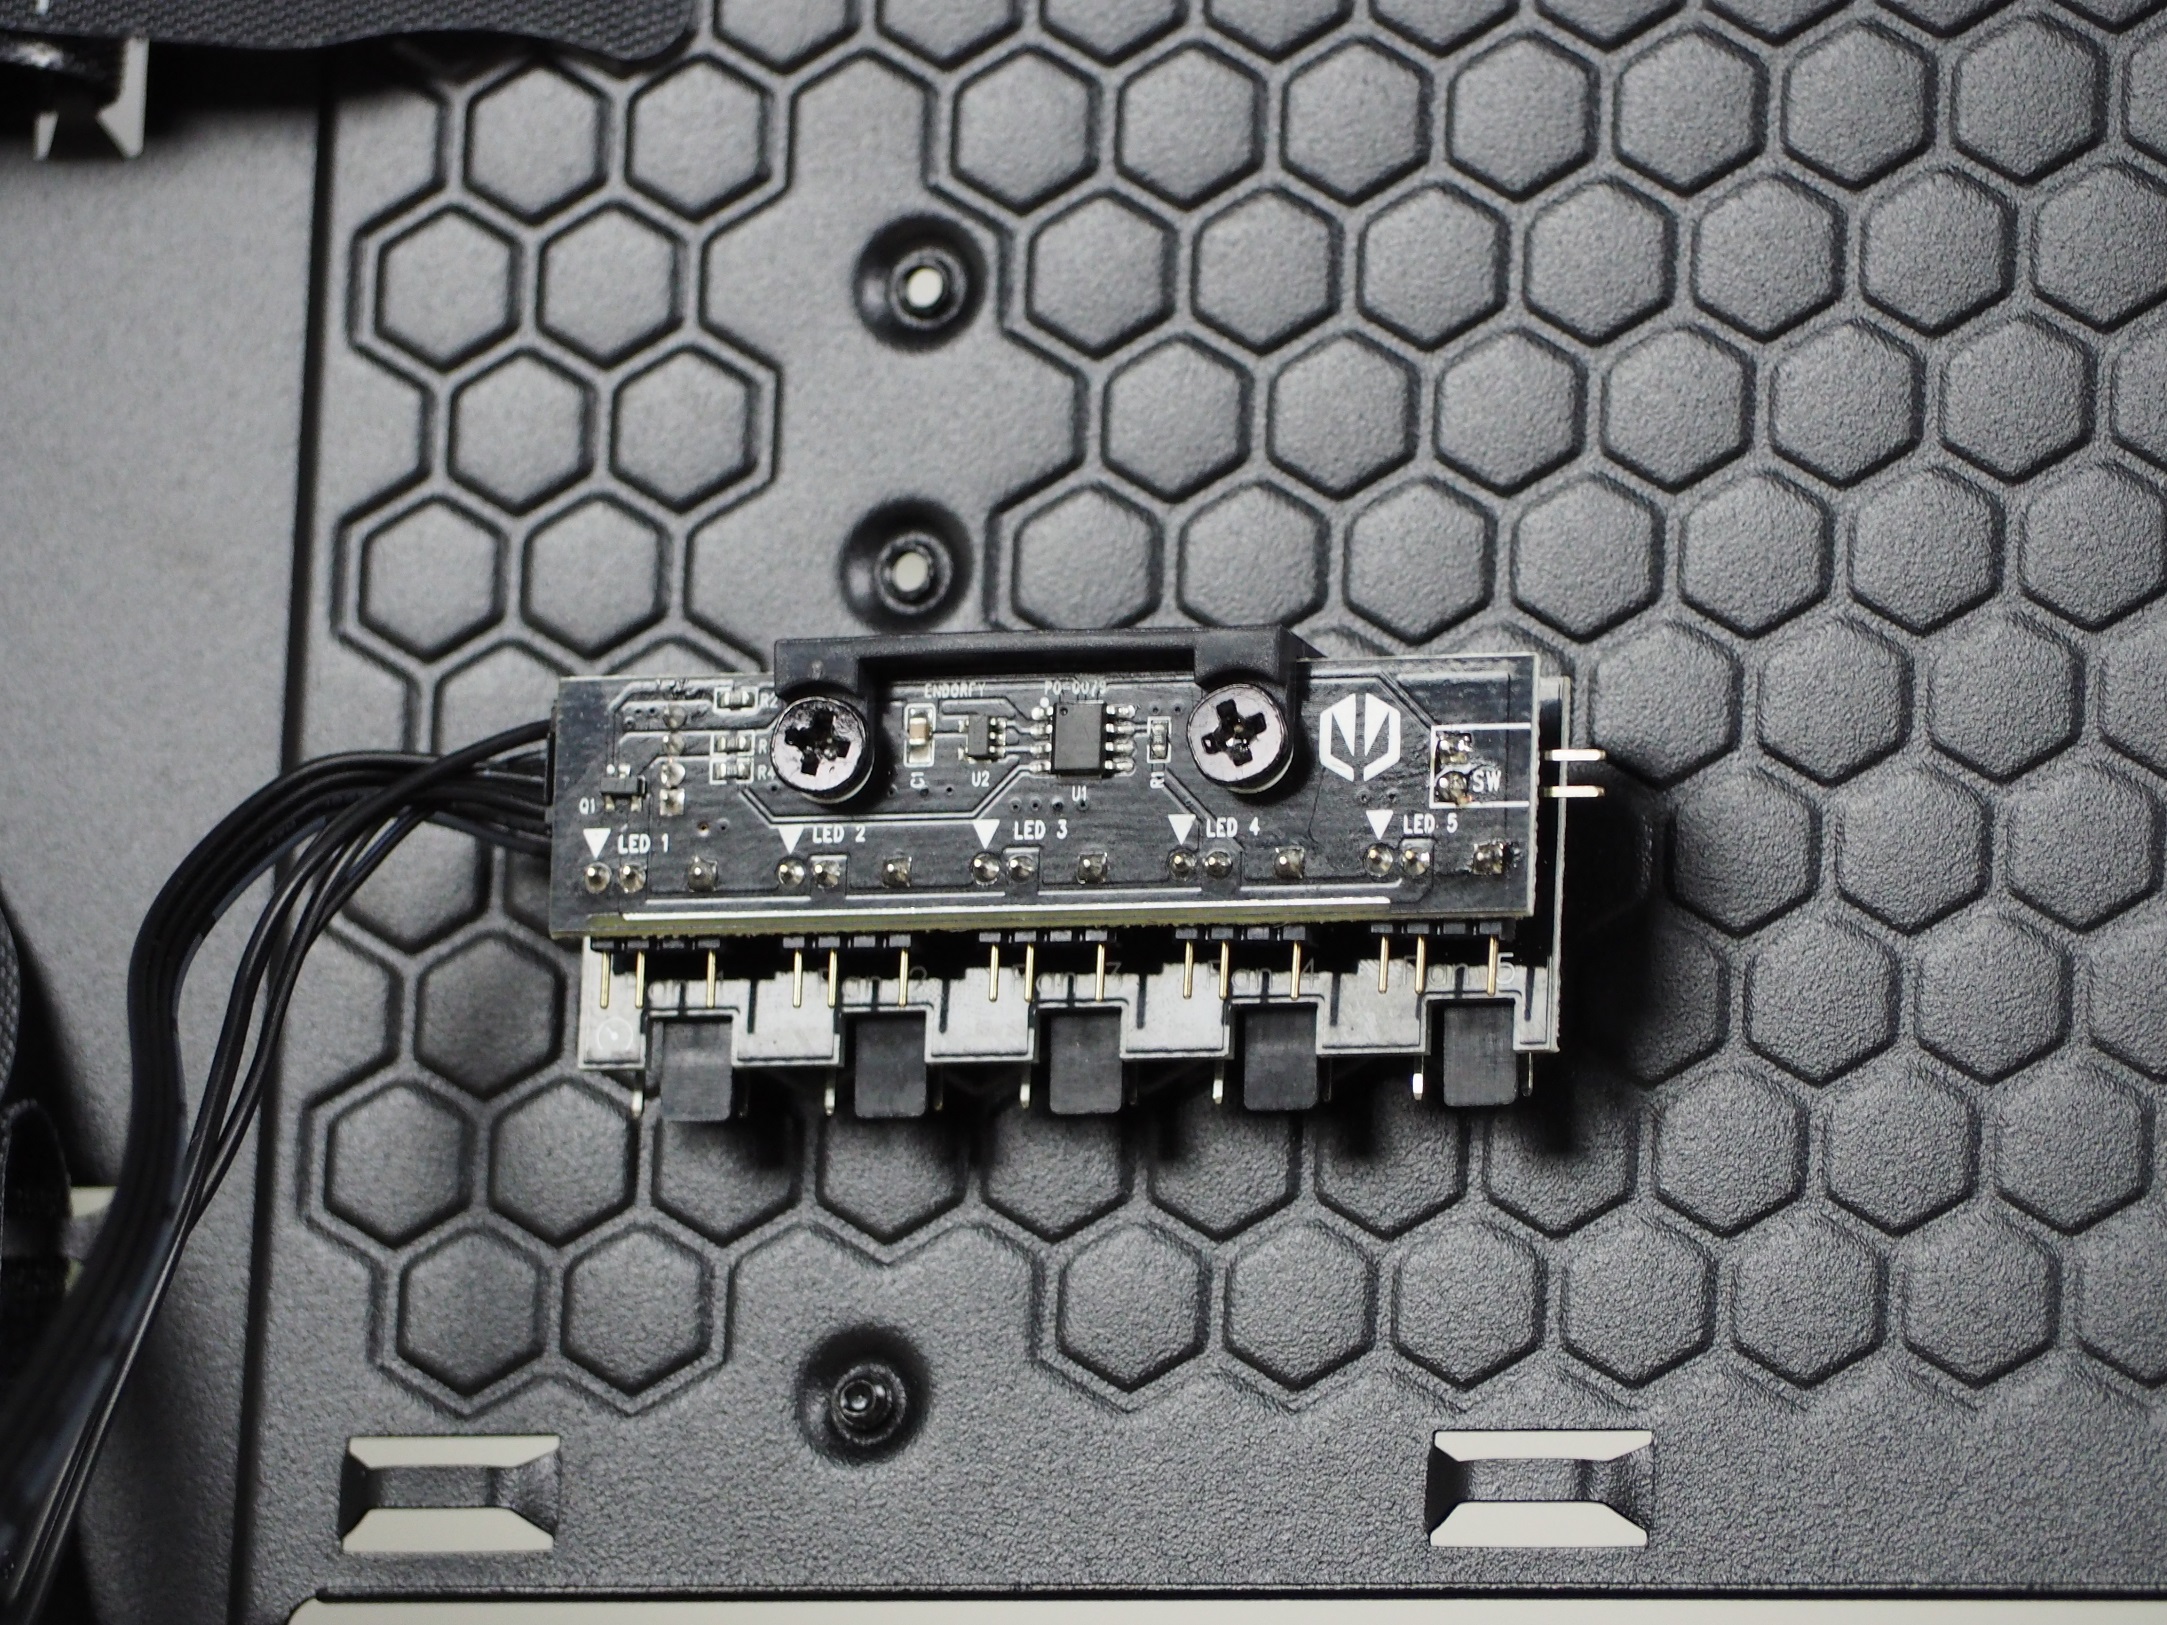
Where there is usually a place for 2.5″ storage (directly behind the motherboard), there is a hub. This is used to power the fans and their backlight, but it can also control them. Therefore, in order for it to work, it needs to be powered with a SATA cable directly from the power supply. It’s a shame that there’s only room for five fans, whereas you can fit as many as eight (in 120mm format) inside the case.
Nothing in the tunnel will get in the way of your power supply and cabling, such as the frequently used storage compartment. This gives you nearly 390 mm of space. The storage units are attached directly to the bottom of the tunnel, to the tunnel ceiling. Both options are shared, so you can fit a 3.5″ or 2.5″ HDD/SSD here.


The cable management in this case was a bit more chaotic than I expected. For a “cleaner” look, I tried placing the 2.5″ storage on the opposite side of the tray from the manufacturer’s recommendation. I didn’t get much help by doing this. But it can be mounted the other way around. The worst part, though, was the ball of fan cables directly under the hub, which I couldn’t clean up anymore. But in the end, even such a mess was forgiven by the case and I put the side panel in place without any problems.