


Exterior
You’ve already seen the new “CH” case model as part of a build where we played around a bit with cooling optimizations and keeping things as quiet as possible. Now here is the standard review with a more detailed analysis. Compared to the CH510 Digital series, the CH560 (WH) is a bit more expensive, but comes with more features. And significantly so. Its biggest selling point is its four efficient ARGB fans.
Basic parameters
| Parameters | DeepCool |
| CH560 WH | |
| Supported motherboard formats | Mini-ITX, mATX, ATX, E-ATX |
| Supported PSU format | ATX |
| CPU cooler | up to 175 mm |
| Graphics cards | up to 380 mm |
| Fan | 9× 120 mm (1× pre-installed)/5× 140 mm (3× pre-installed) |
| Supported liquid radiators | 2× up to 280/360 mm/1× up to 140 |
| 2,5" positions | 2 + 1 shared |
| 3,5" positions | 1 + 1 shared |
| 5,25" positions | 0 |
| Dimensions [H/D/W] (and volume) | 471 × 458 × 230 mm (47,5 l without feet) |
| Weight | 7,7 kg |
| Materials | steel + plastic + tempered glass |
| Connectivity | 1× USB 3.2 gen. 1 type A + 1× USB 3.2 gen. 2 type C + 1× 3,5mm jack |
| Approx. retail price | 119.99 EUR |
Exterior
The case comes in a standard cardboard box with a sticker of the model designation and the visual of the case. The inside is lined with polystyrene inserts for safe transport of the case. The accessories include all necessary screws for hardware installation and single-use zip ties.
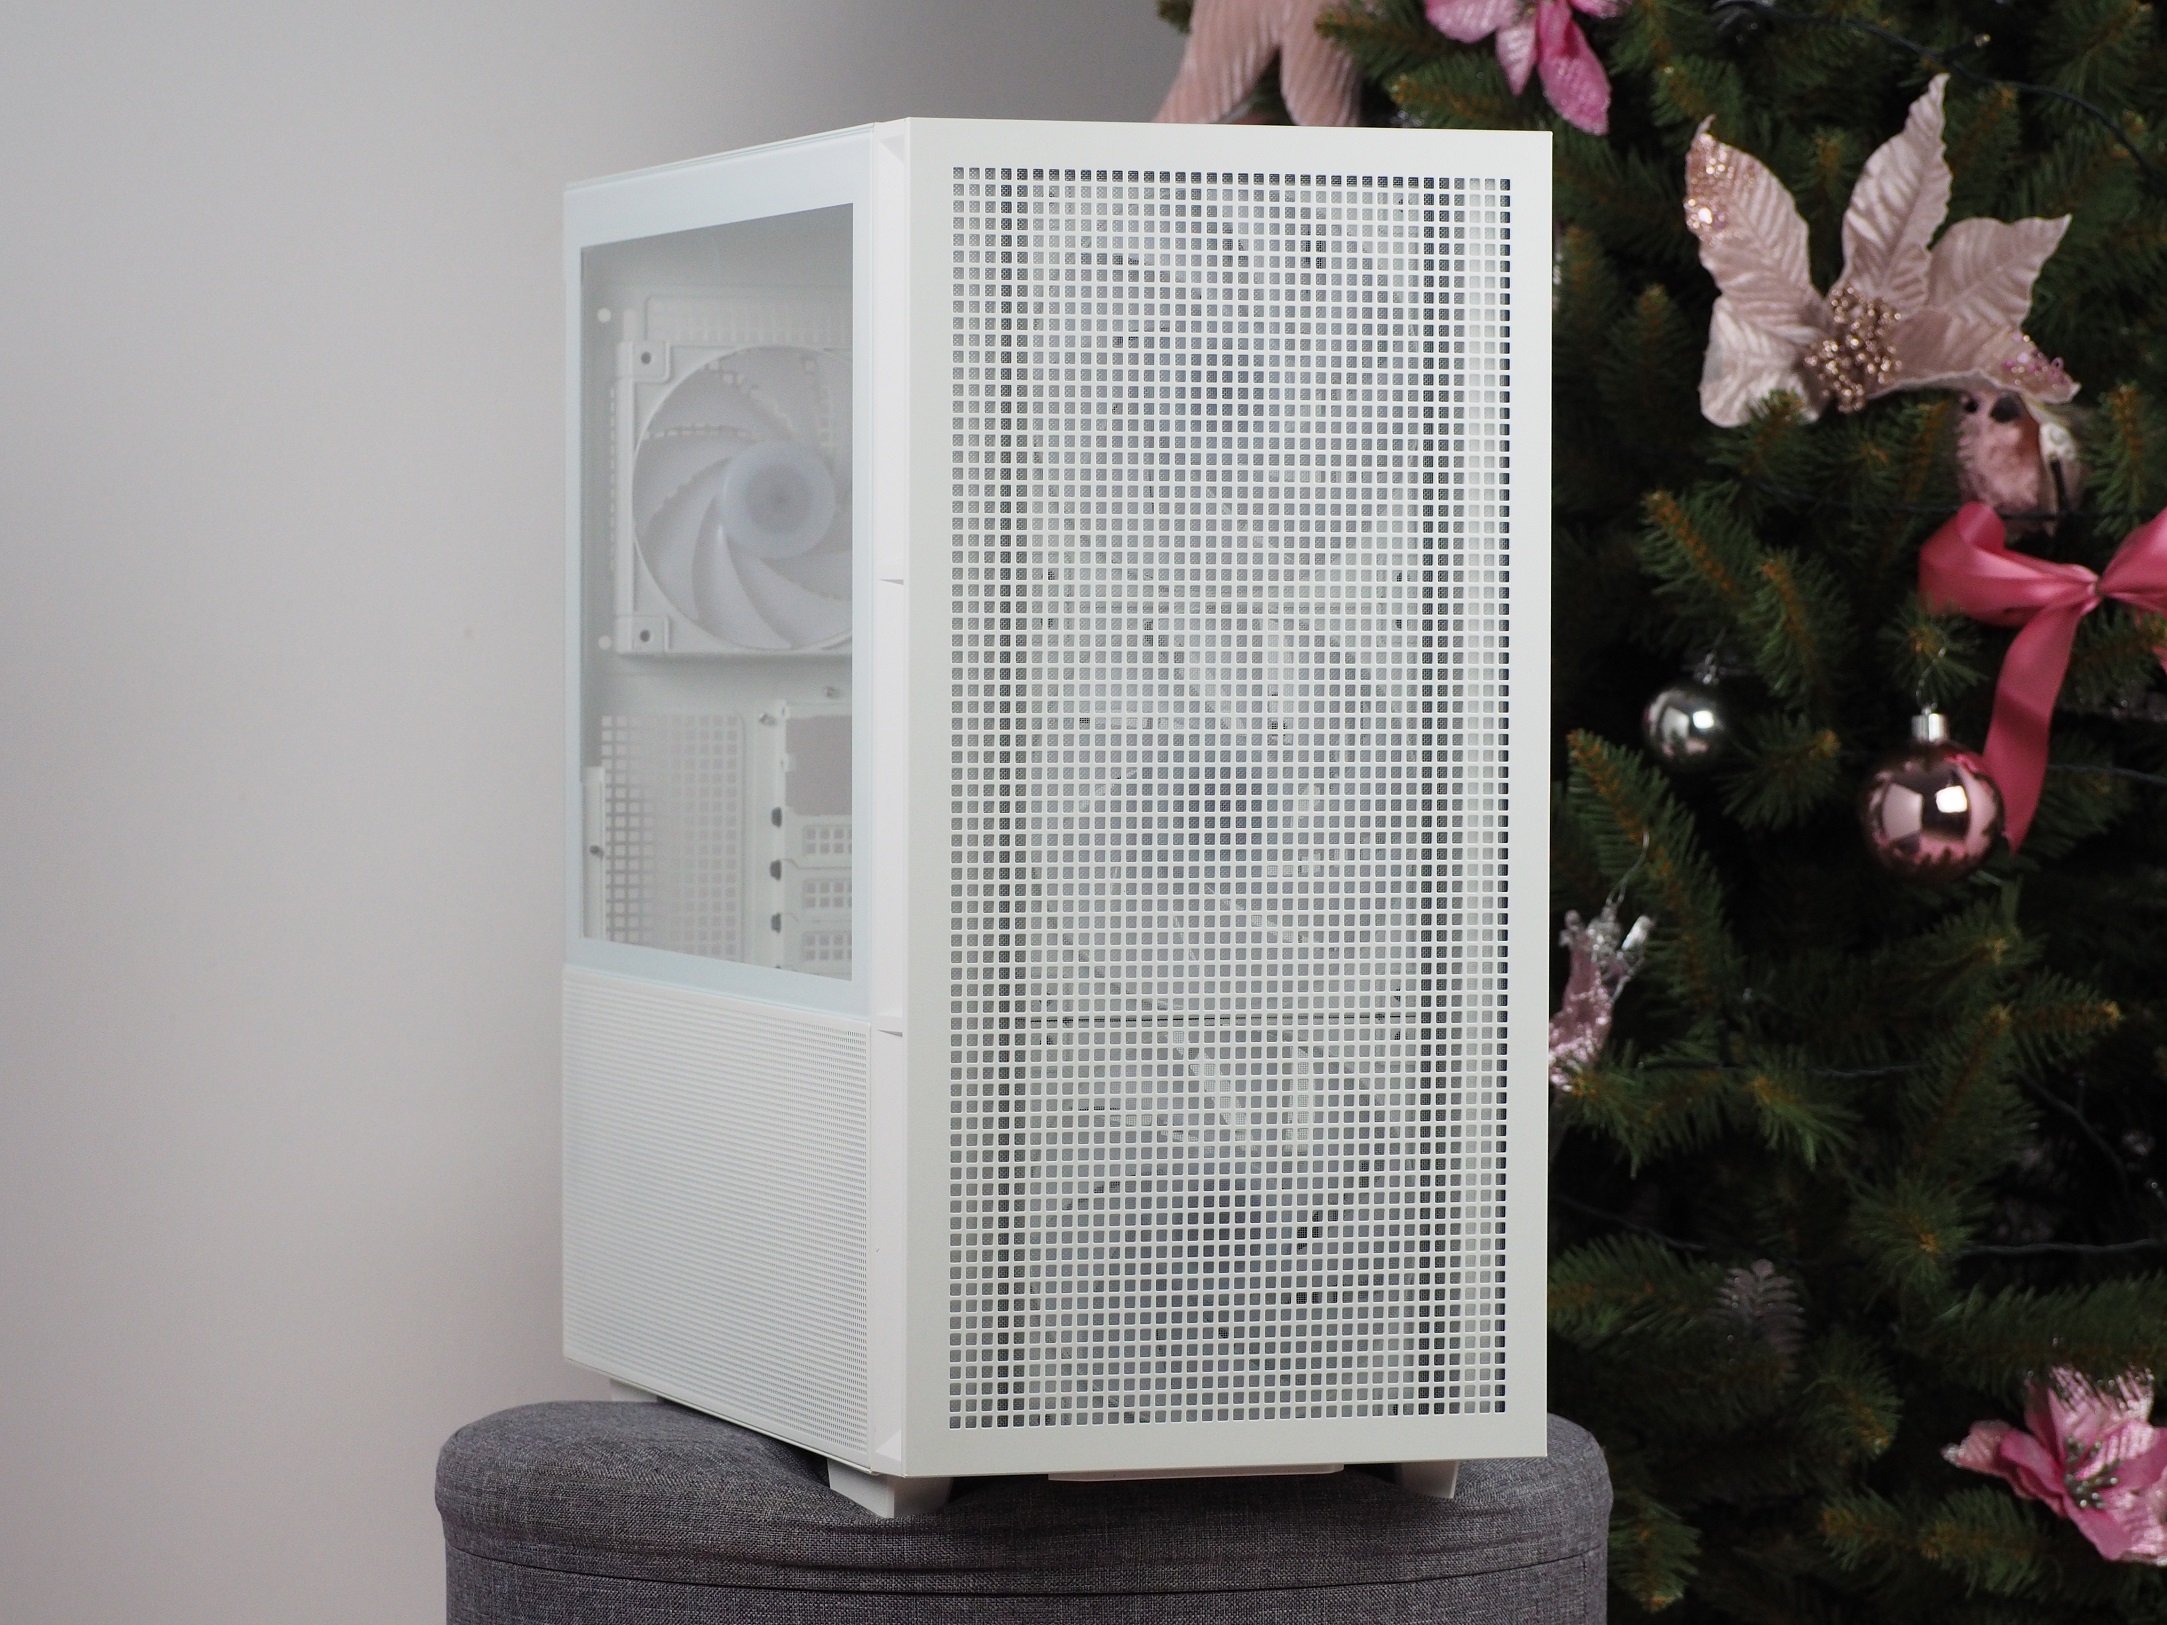
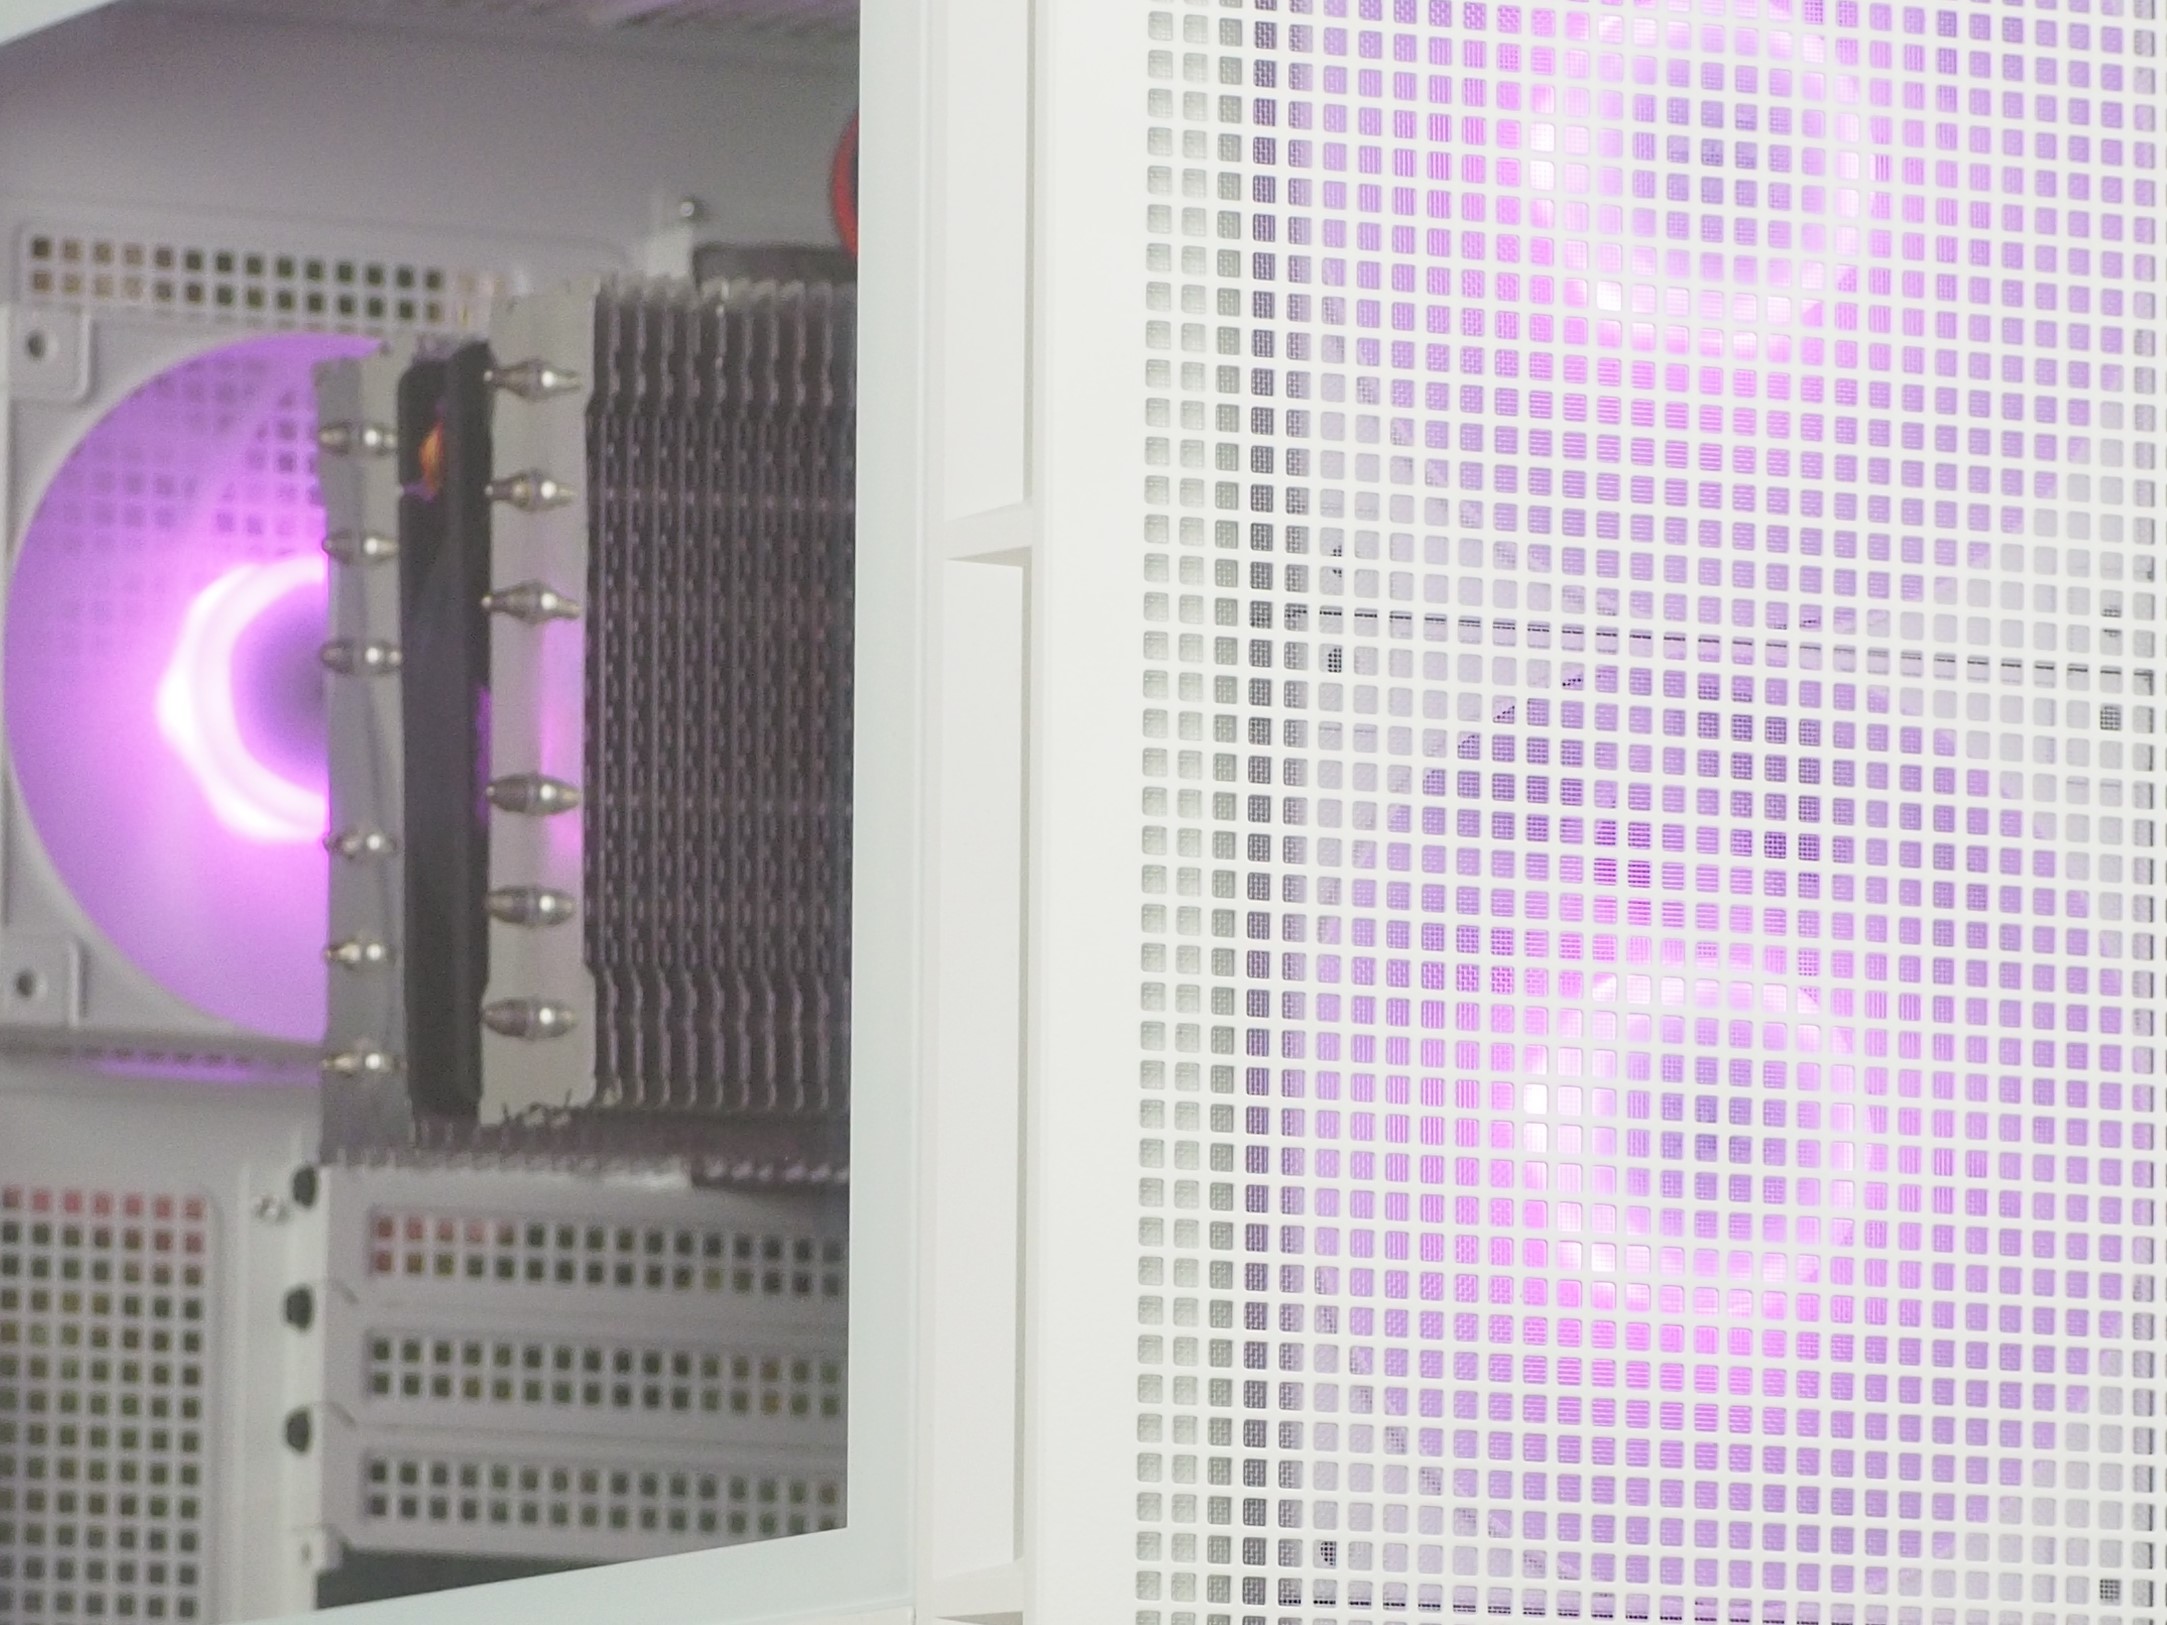
Out of the box, one of the first things that catches the eye is the left side panel. This is made of tempered glass four millimeters thick. However, it (the glass) covers only about two thirds of the side panel area. The rest of the side panel is perforated with large holes with a diameter of five millimetres. The span of this part is up to 45 millimeters above the lower tunnel (for the power supply and storage), which can have a positive effect on the cooling of the graphics card.
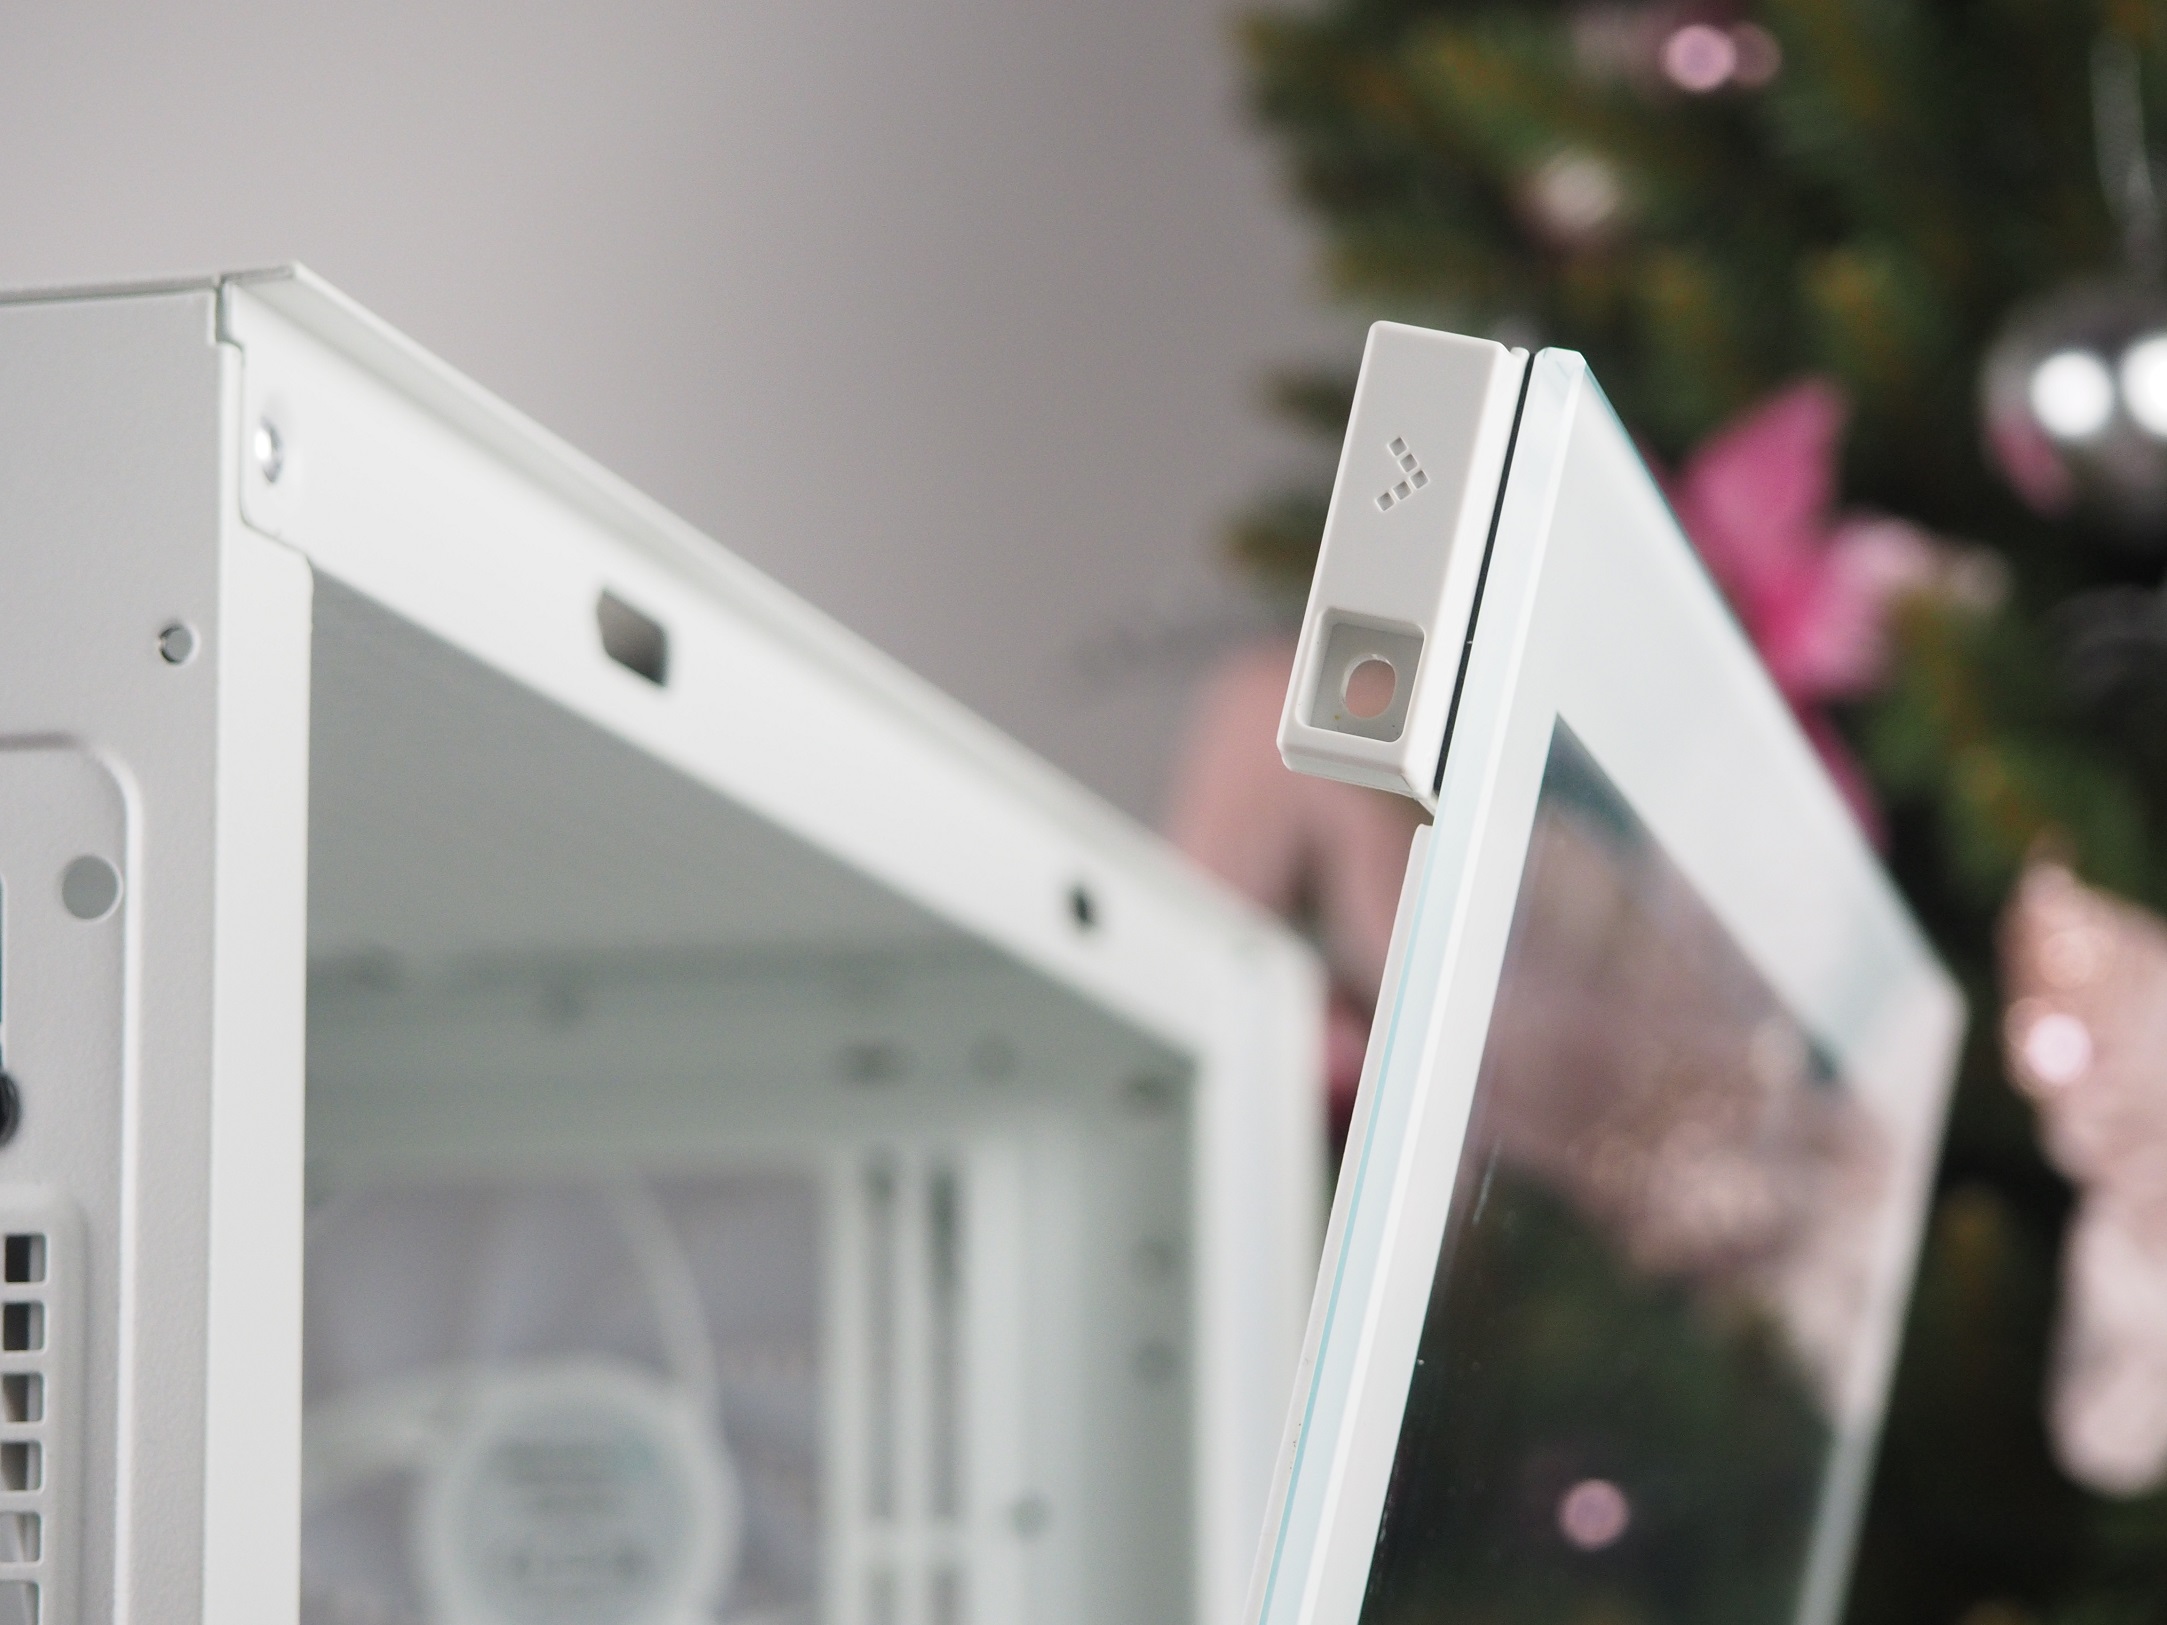
The same mechanism for mounting the side panel is used here as in the lower CH510 case model. The top of the side panel is held in place by two strong magnets on the case frame, while the underside is mounted in a rail. This allows the side panel to be removed by simply pulling the handle on the back of the case. You will also find a hole in the handle for securing the side panel directly to the case frame, which can be used, for example, when transporting the case.
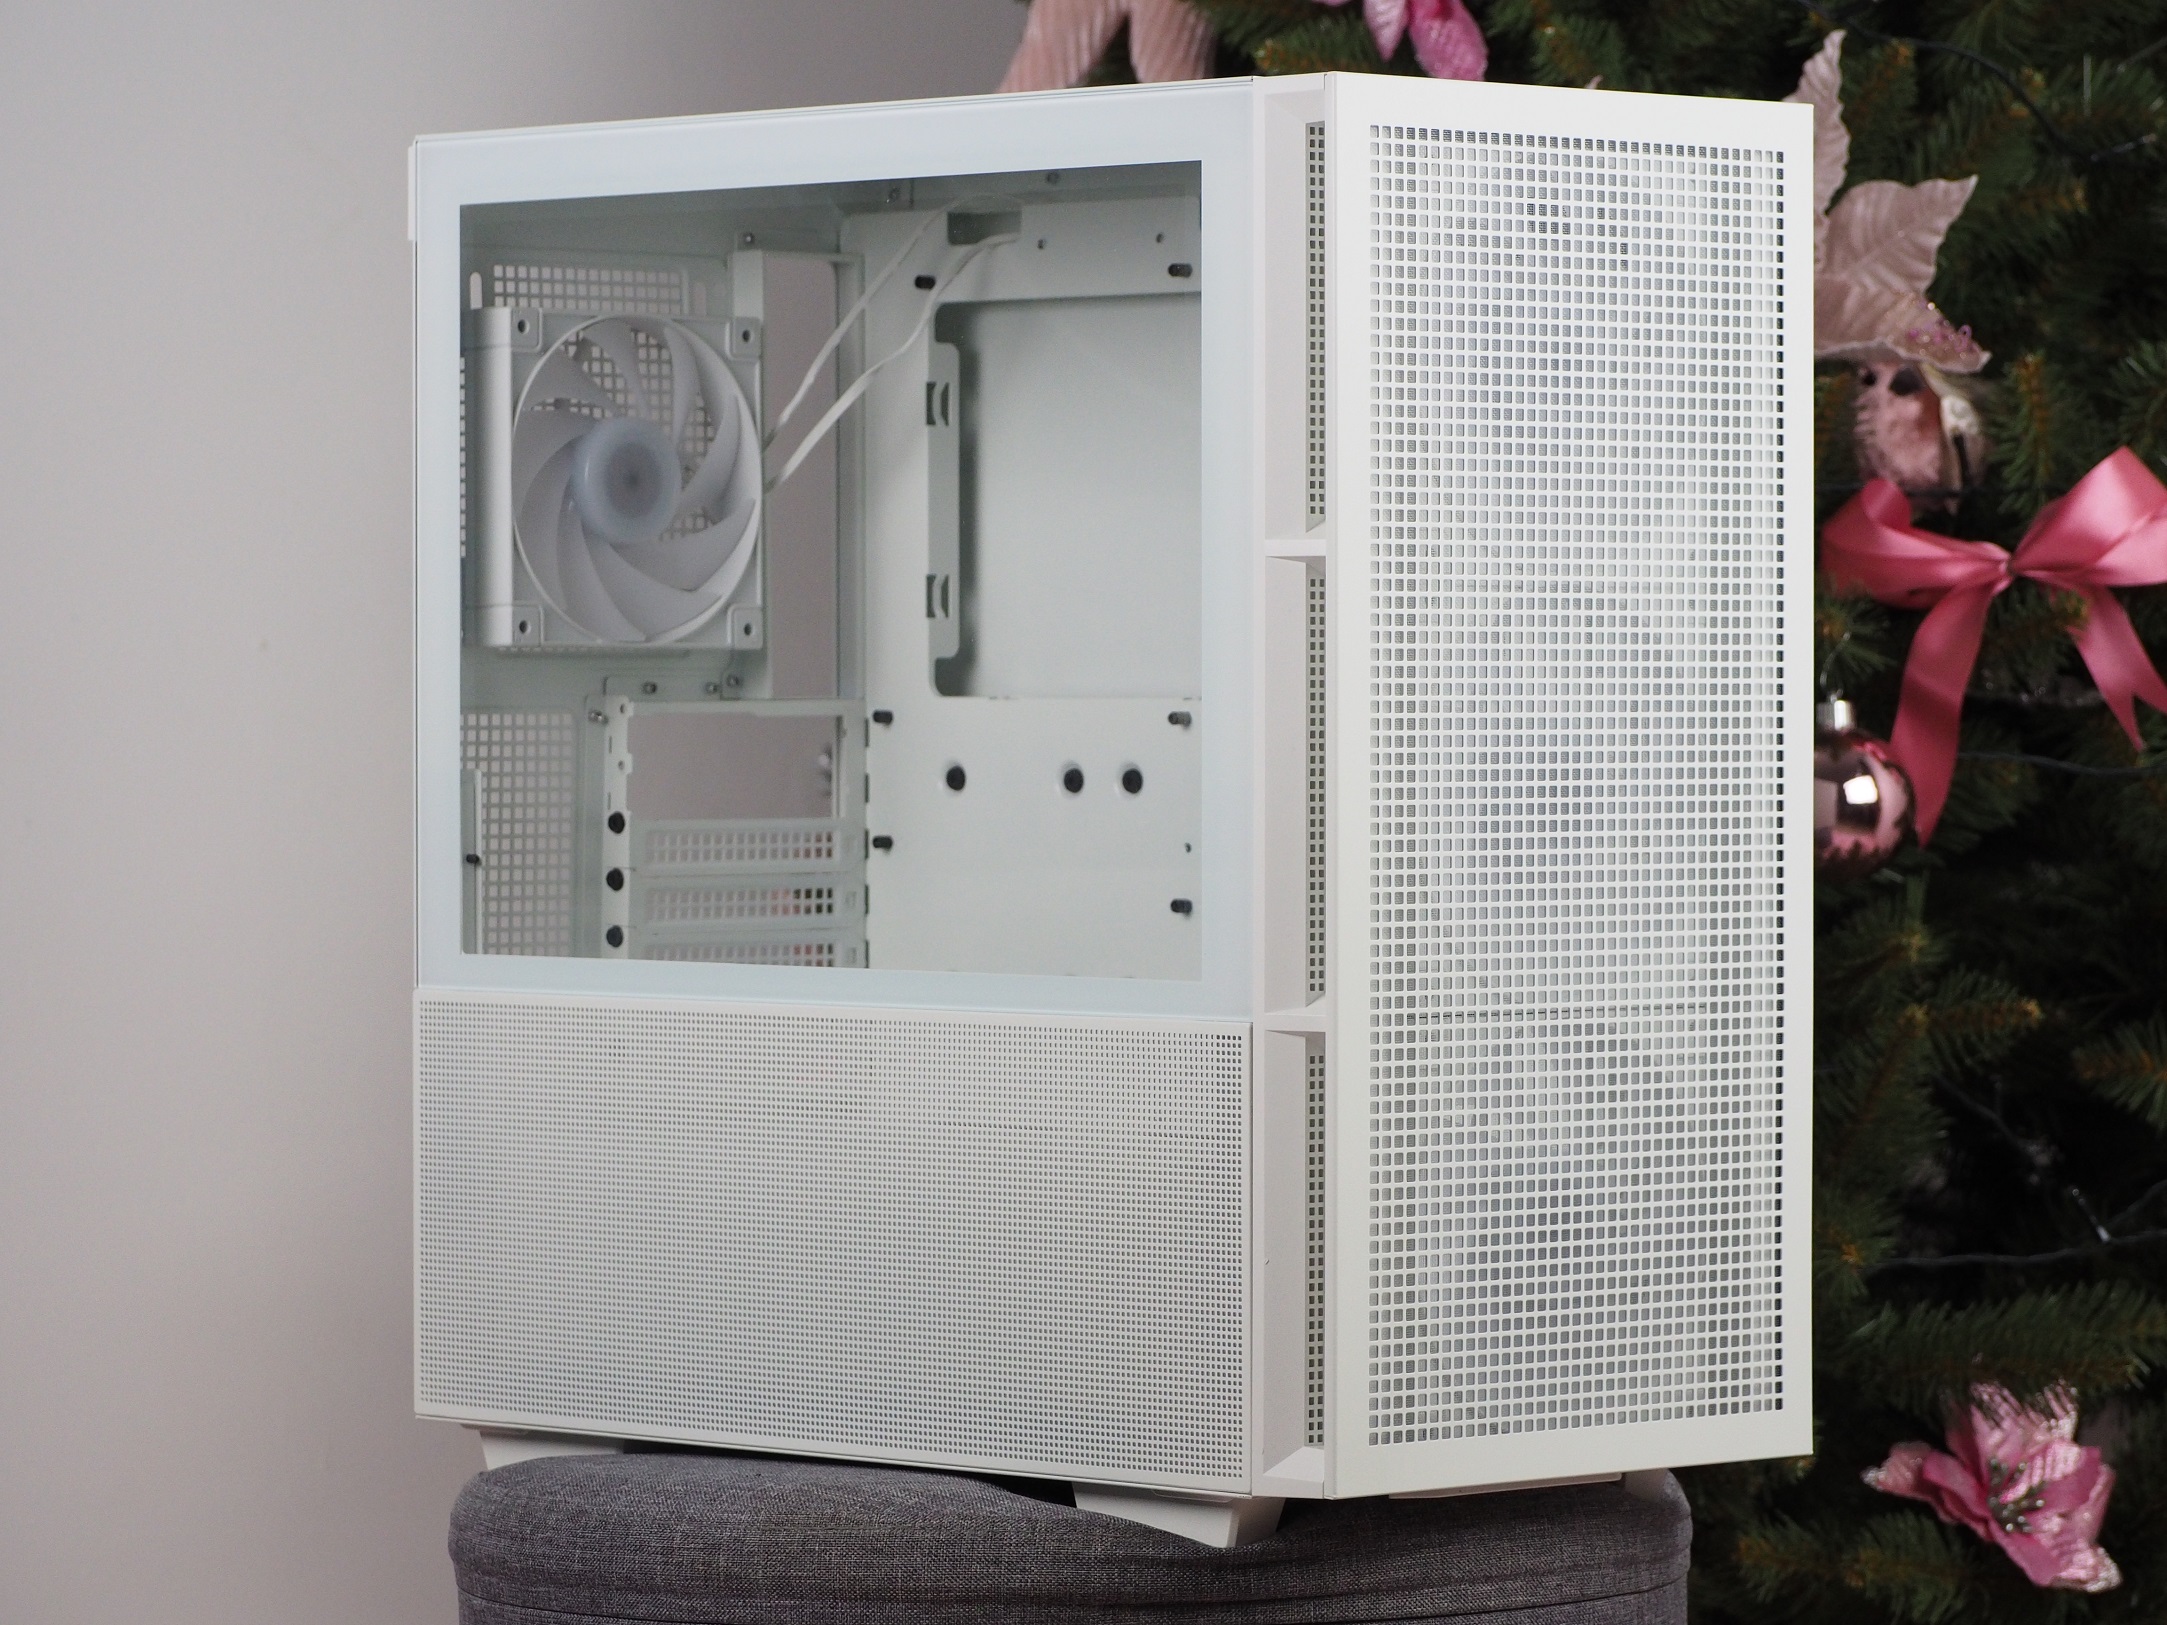
The opening of the right side panel is not as slick as that of the left one. The former is secured with two screws at the top and bottom, but I have to praise the fit of the screws themselves. They stay in the side panel even after you remove them from the case, so you won’t lose them. The thickness of the right side panel is a solid 0.85mm, while its stiffness is also maintained.
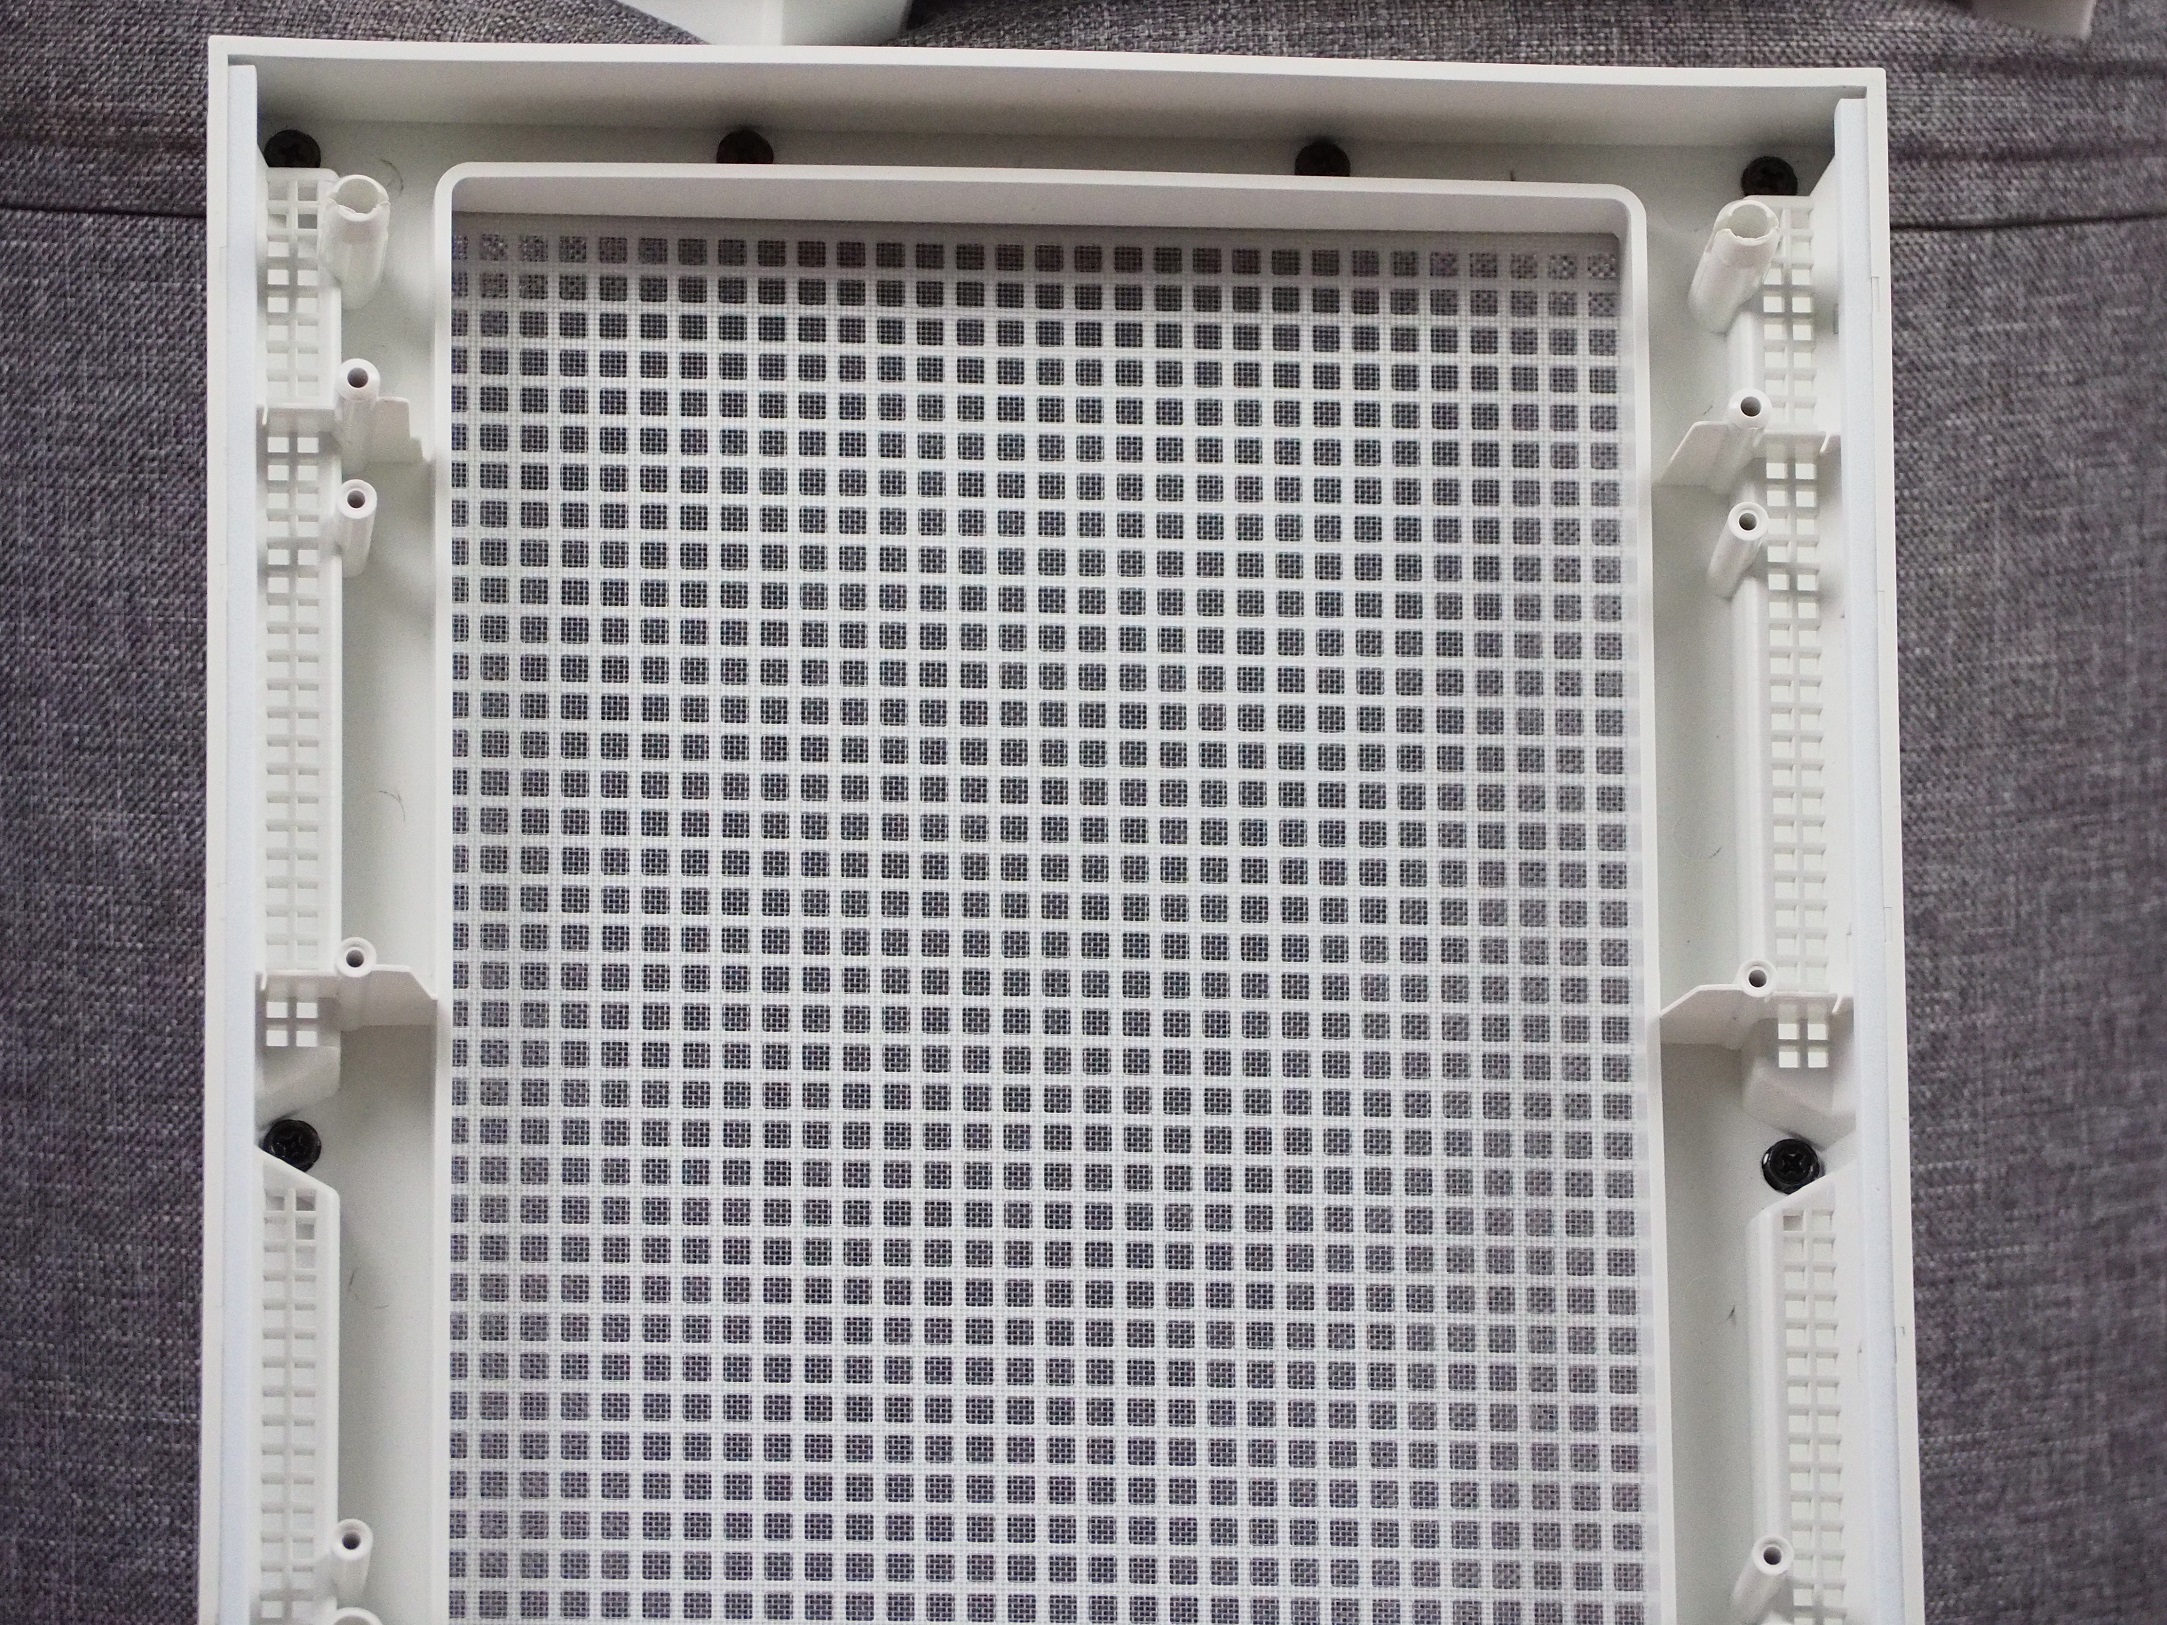
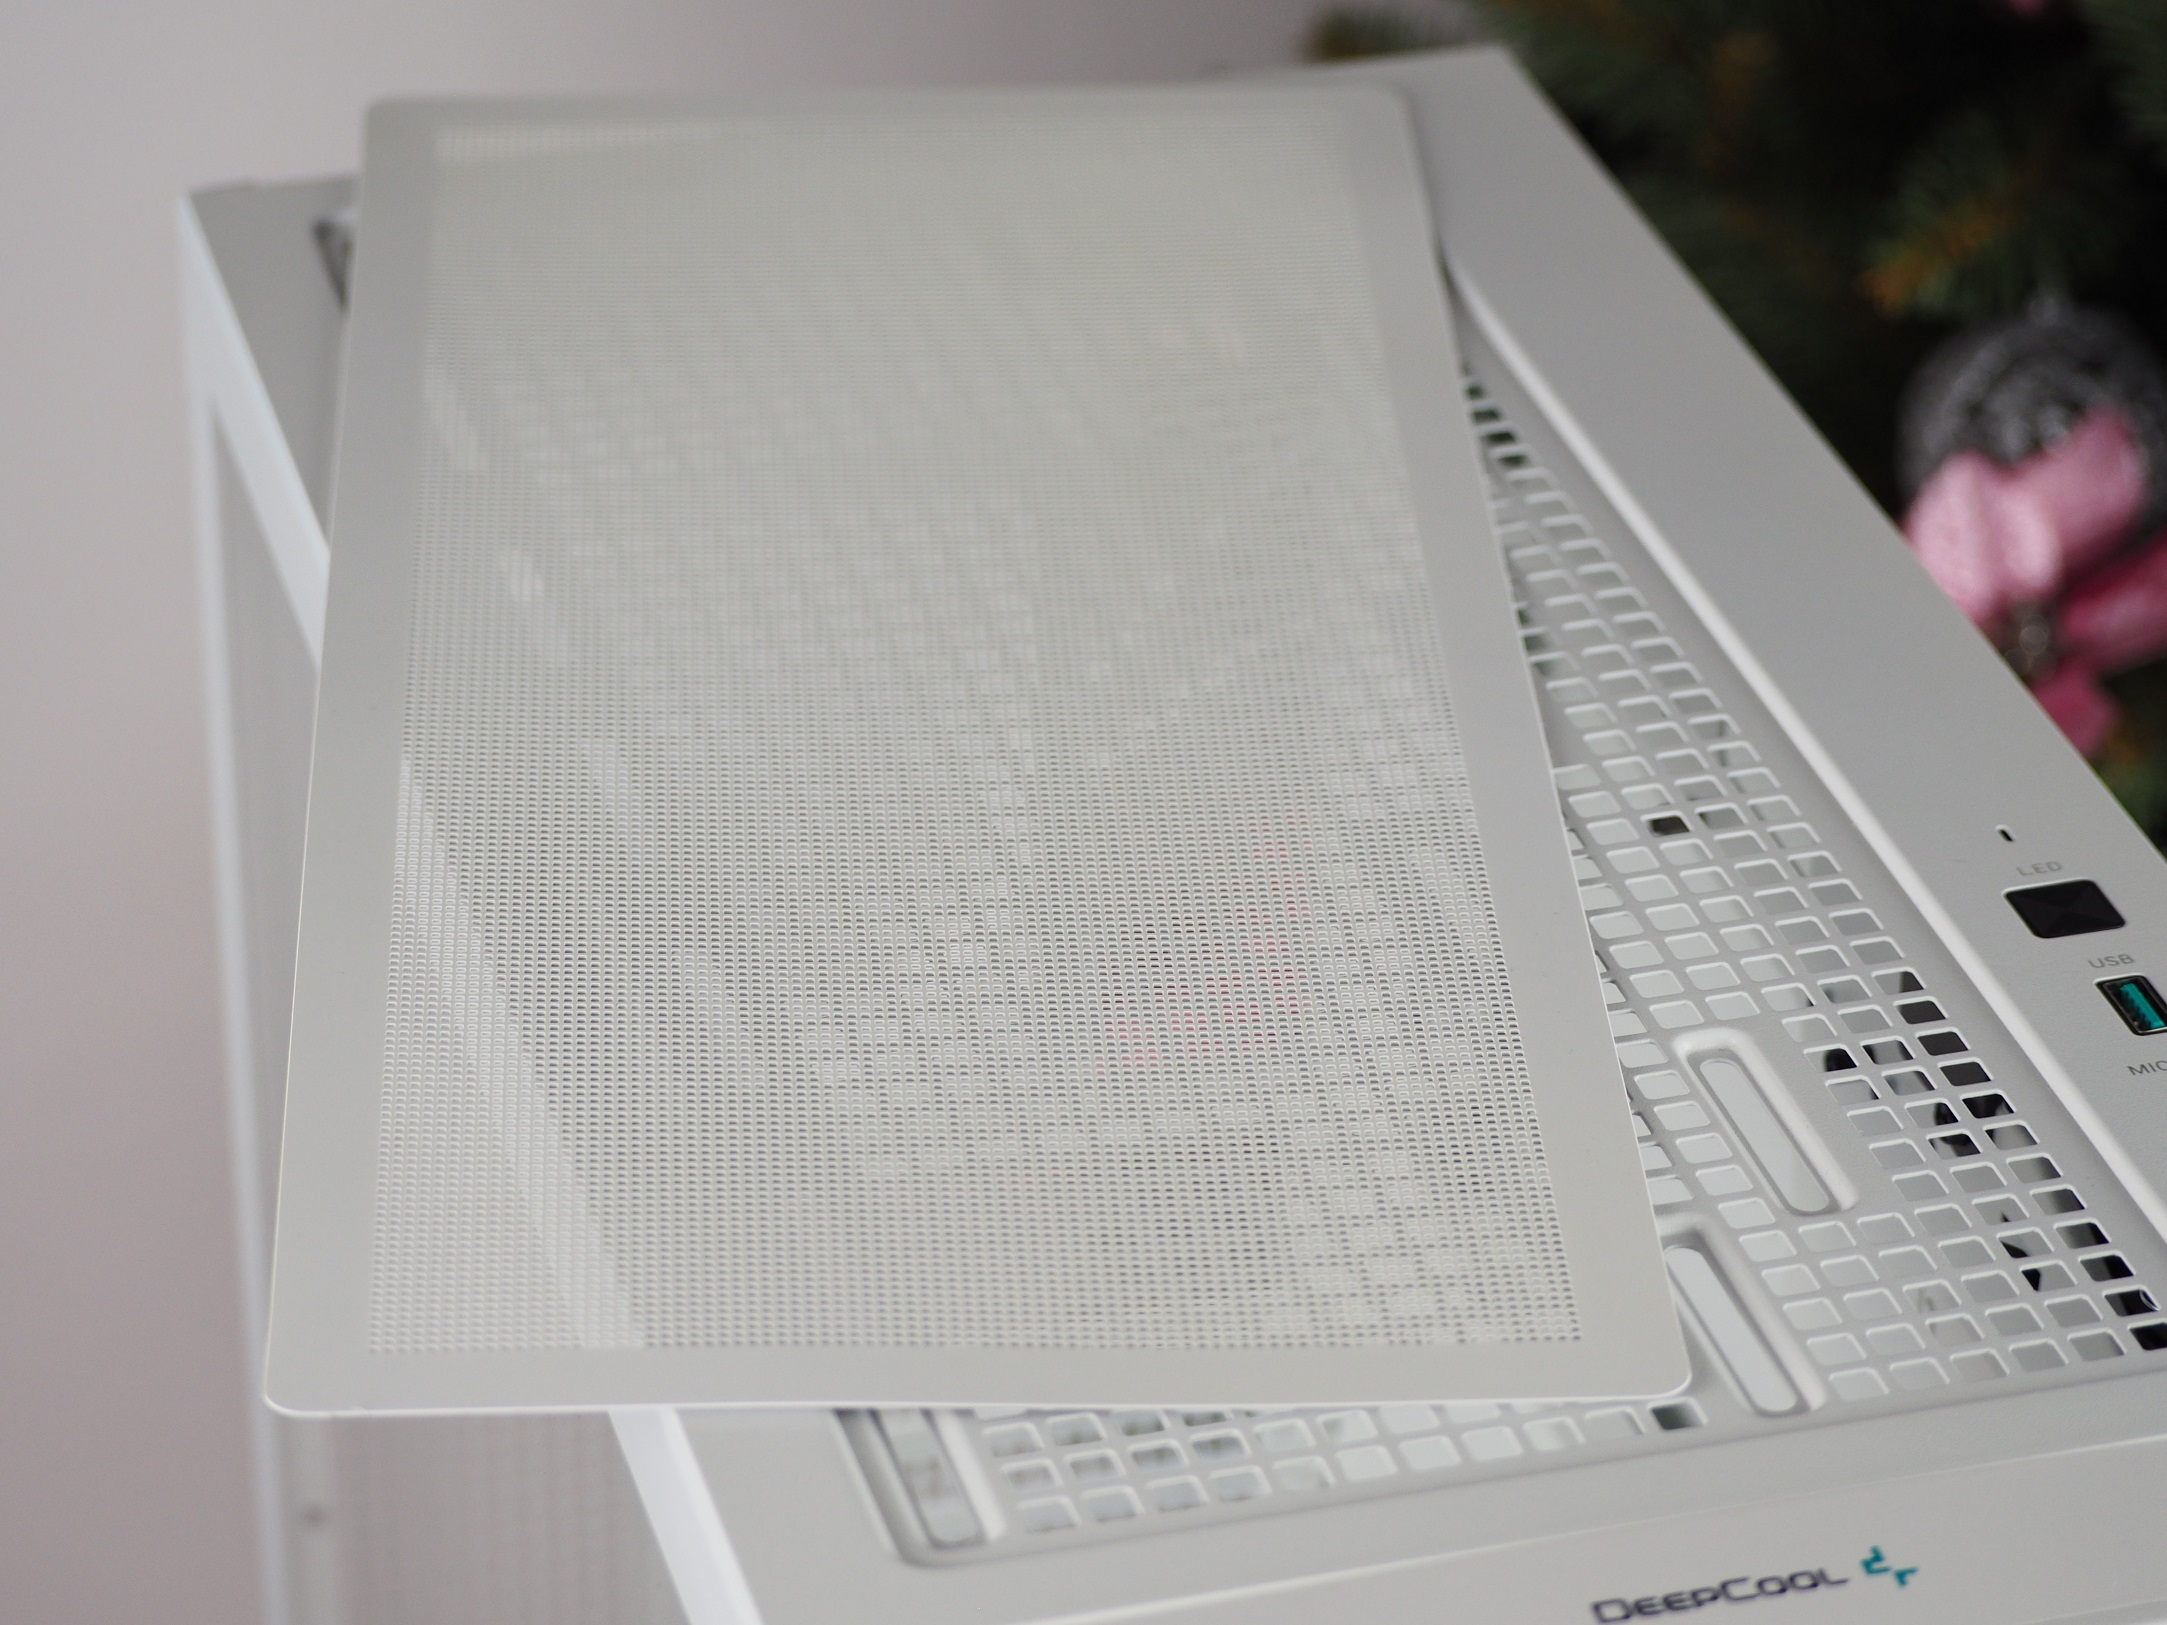
The perforation on the front panel is quite large compared to the one on the side. Because of the large holes, the front mask is flexible and would not necessarily survive a larger impact into the sheet metal perforation. Even though the holes are up to four millimeters wide, you don’t have to worry about the inside of the case getting dusty. In fact, there is a fine dust filter behind the perforation that prevents most small particles of dust from being sucked in. For easy cleaning and handling of the fans, the front panel can be easily removed. There is a handle on the underside of the panel, which needs to be pulled harder and it will stay in your hands.
Three 140 mm fans are installed directly behind the front panel. According to the model designation (DF01402512CL), DeepCool doesn’t have this fan separately in the product range, but it looks like it is a bigger brother of the FC120 fan in white. These fans are mounted on two vertical rails which make them easy to handle even in a fully populated case. The rails can only be used with 140 mm format fans. To install a 120 mm fan or liquid cooler radiator, the holes on the case just behind the rails must be used. A liquid cooler of up to 280/360 mm format will fit here.


Connectivity is weaker here, similar to the BeQuiet! Pure Base 500DX case. There is one USB Type-A, one Type-C and one 3.5mm jack for headphones with a microphone. For a case priced at over 100 euros, the connectivity is below average and it would have been enough to fit one more USB Type-A connector to reach some… let’s say average. Although the “Power” and “LED” buttons are visually identical, both their placement and behavior are different. The power button protrudes slightly from the sheet metal structure and puts up more resistance, while the other one for backlight control is the exact opposite. The button is recessed below the surface of the structure and it is enough to exert less force to press it. You get both a tactile and audible response when activating them. The last part of the case’s function panel is a small LED that indicates storage activity.
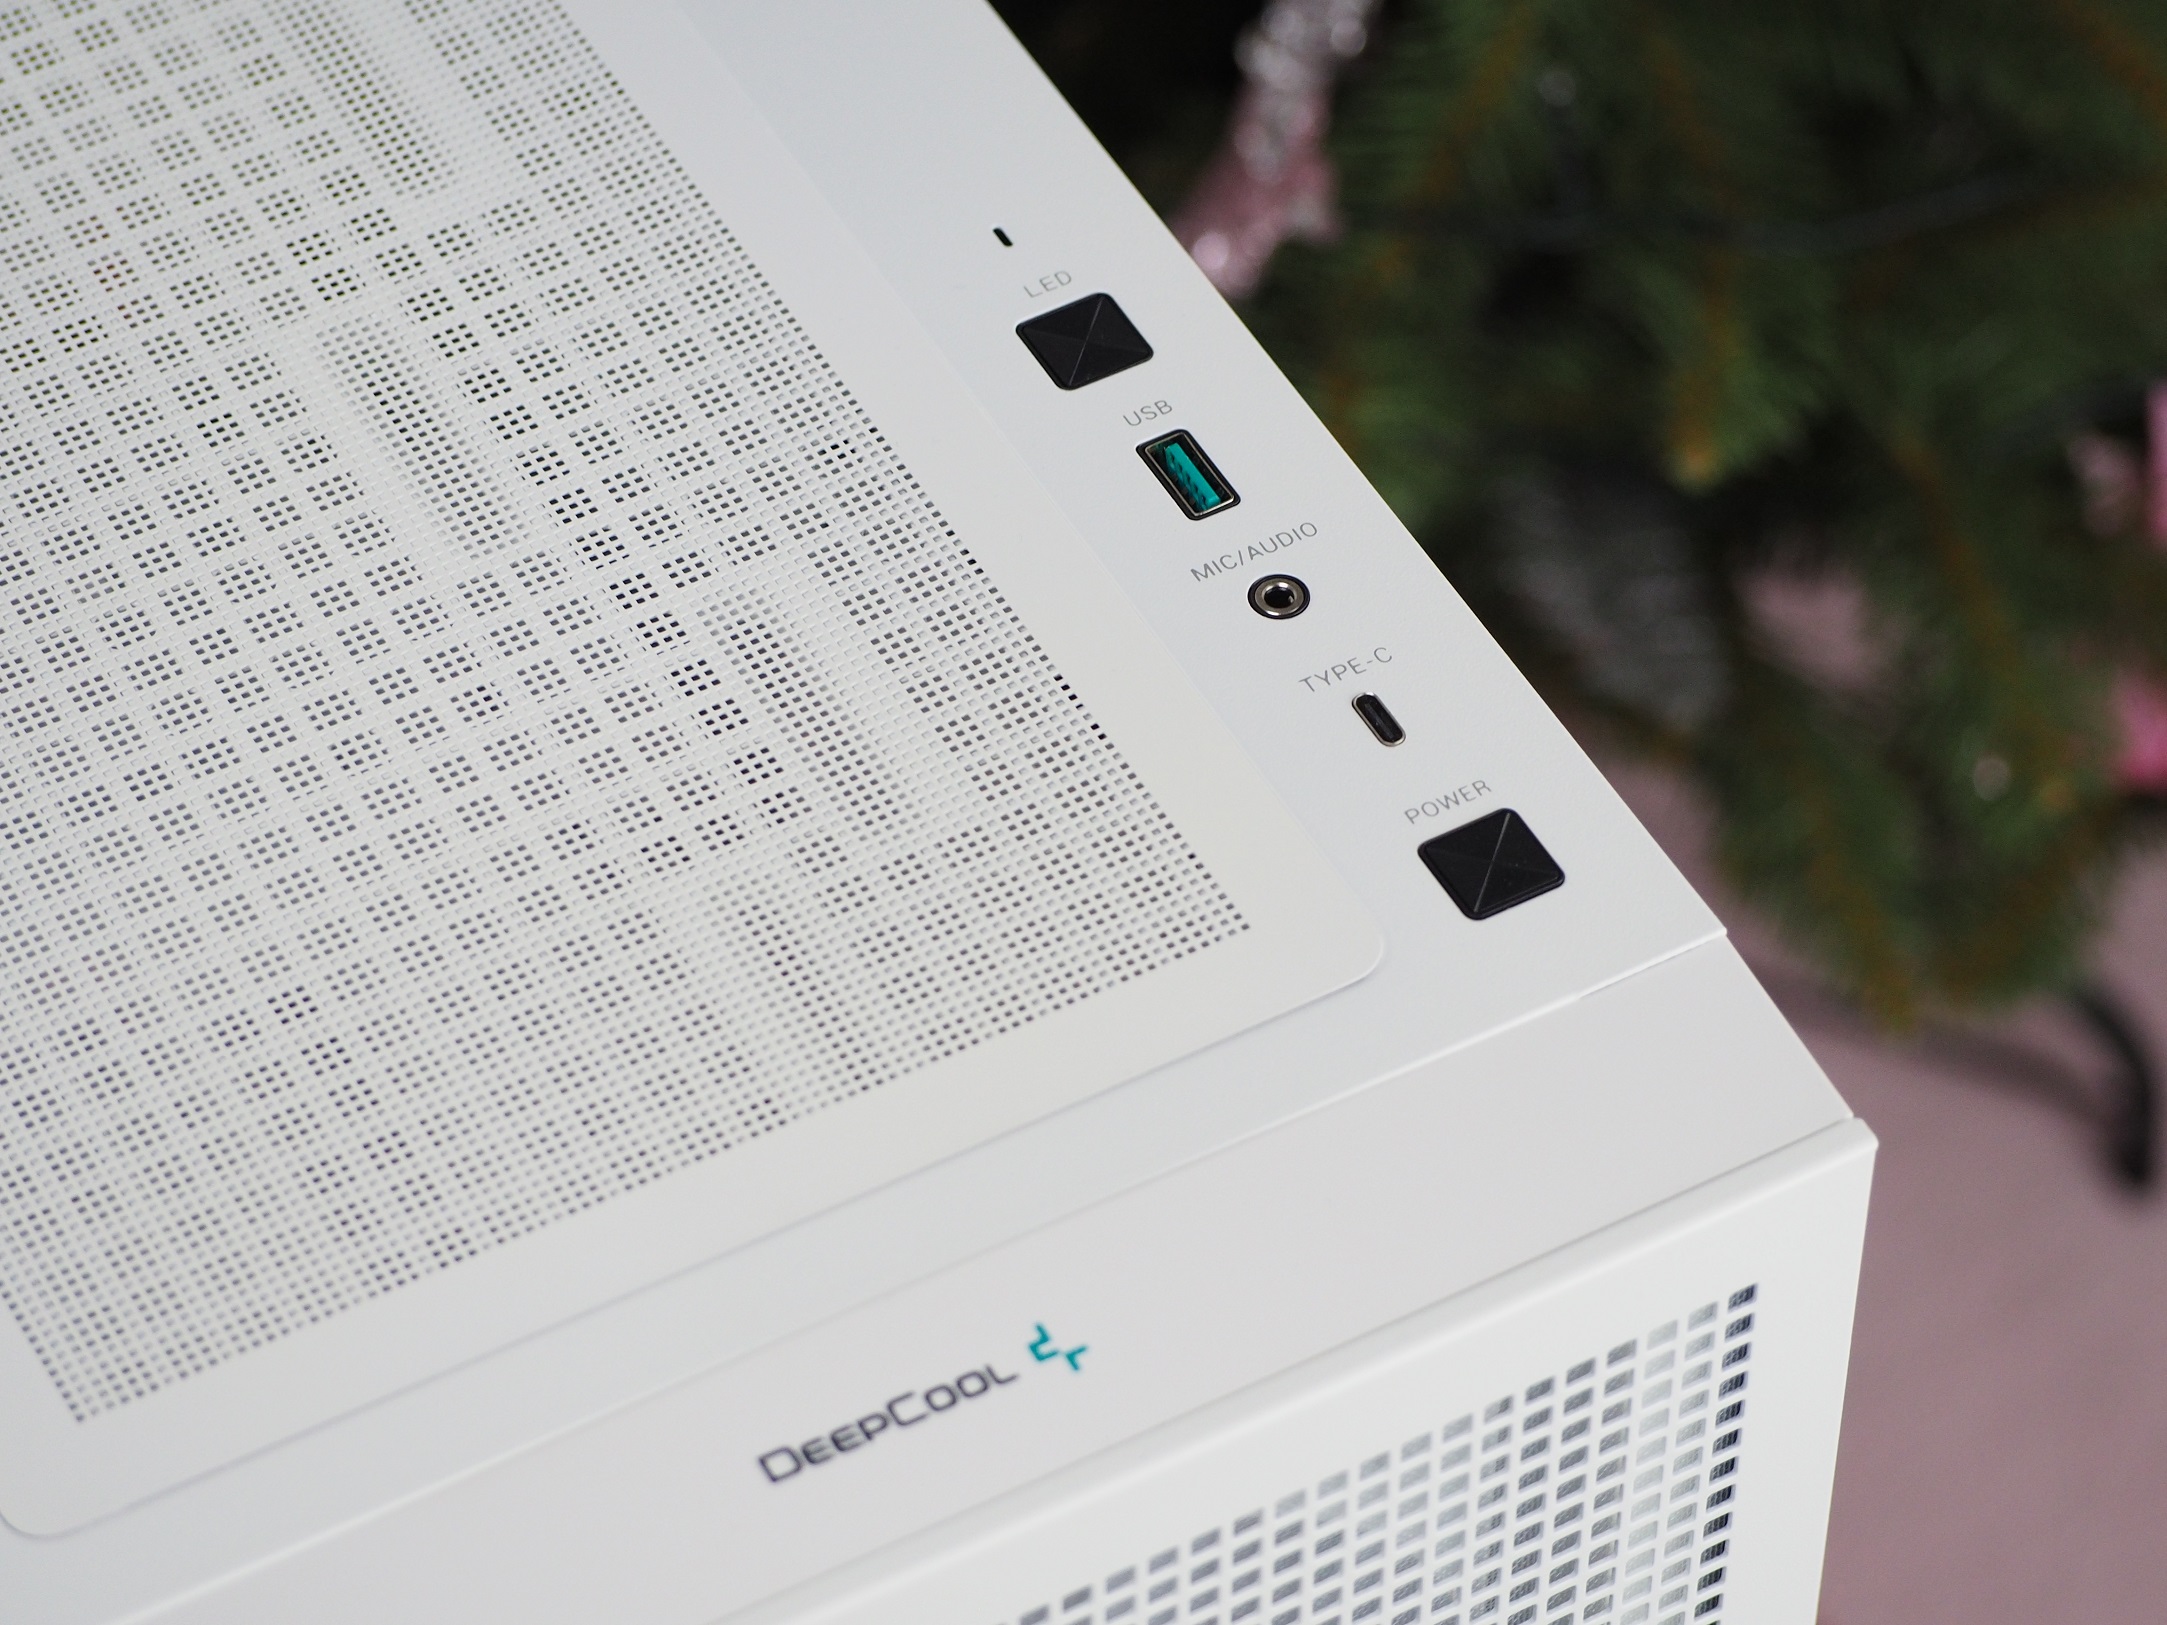
With the LED button, you can set up 18 fan lighting variations. In some cases you have to press the button several times in a row to turn off the backlight, in some cases you have to hold it for five seconds, but here the switching off is very convenient. Just hold the button for a second and the light is no longer on.
A large part of the ceiling is covered by a magnetic filter, which prevents larger particles of dust from entering the case. However, since the ceiling is used for exhausting air from the inside, I don’t consider the use of a filter to be a problem. Underneath, there are openings on the ceiling for three 120mm fans or two 140mm format fans. The same goes for the possibility of using a liquid cooler radiator up to 280/360 mm format.
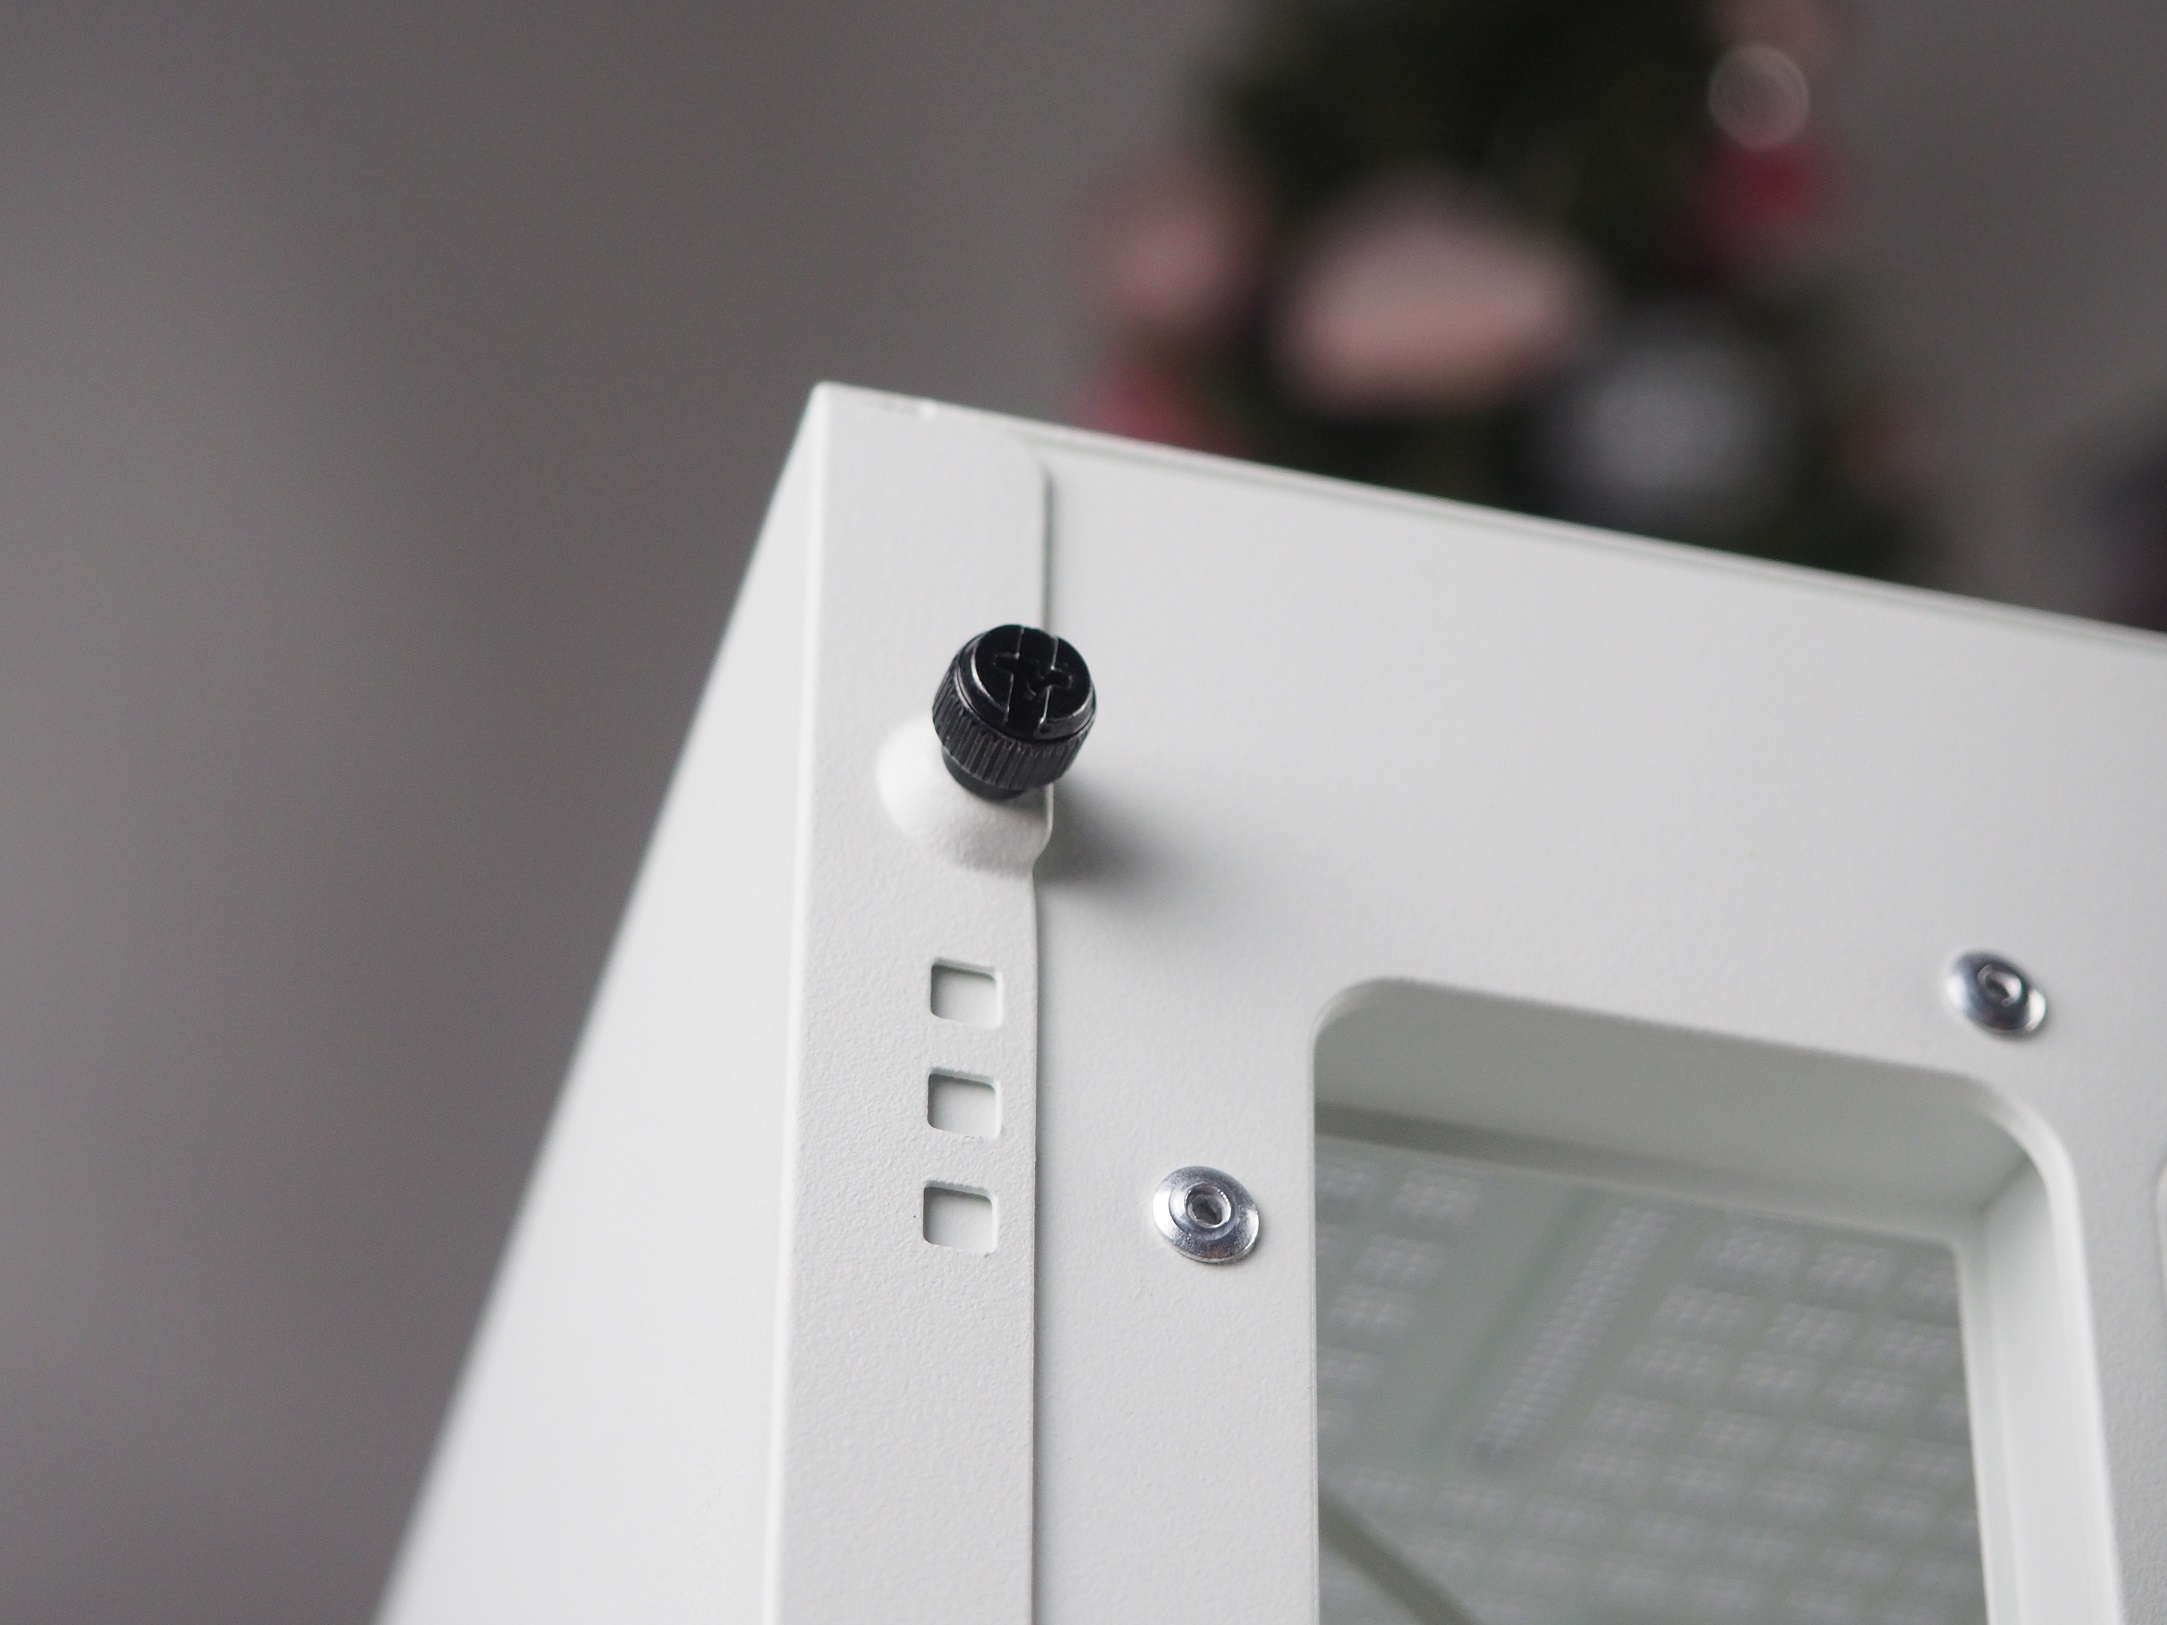
A minor flaw in the structure of the case did appear. Just behind the front panel, the sheet metal is slightly folded inwards, creating a slight gap at this joint. Fortunately, it is only visible when viewed from the rear.

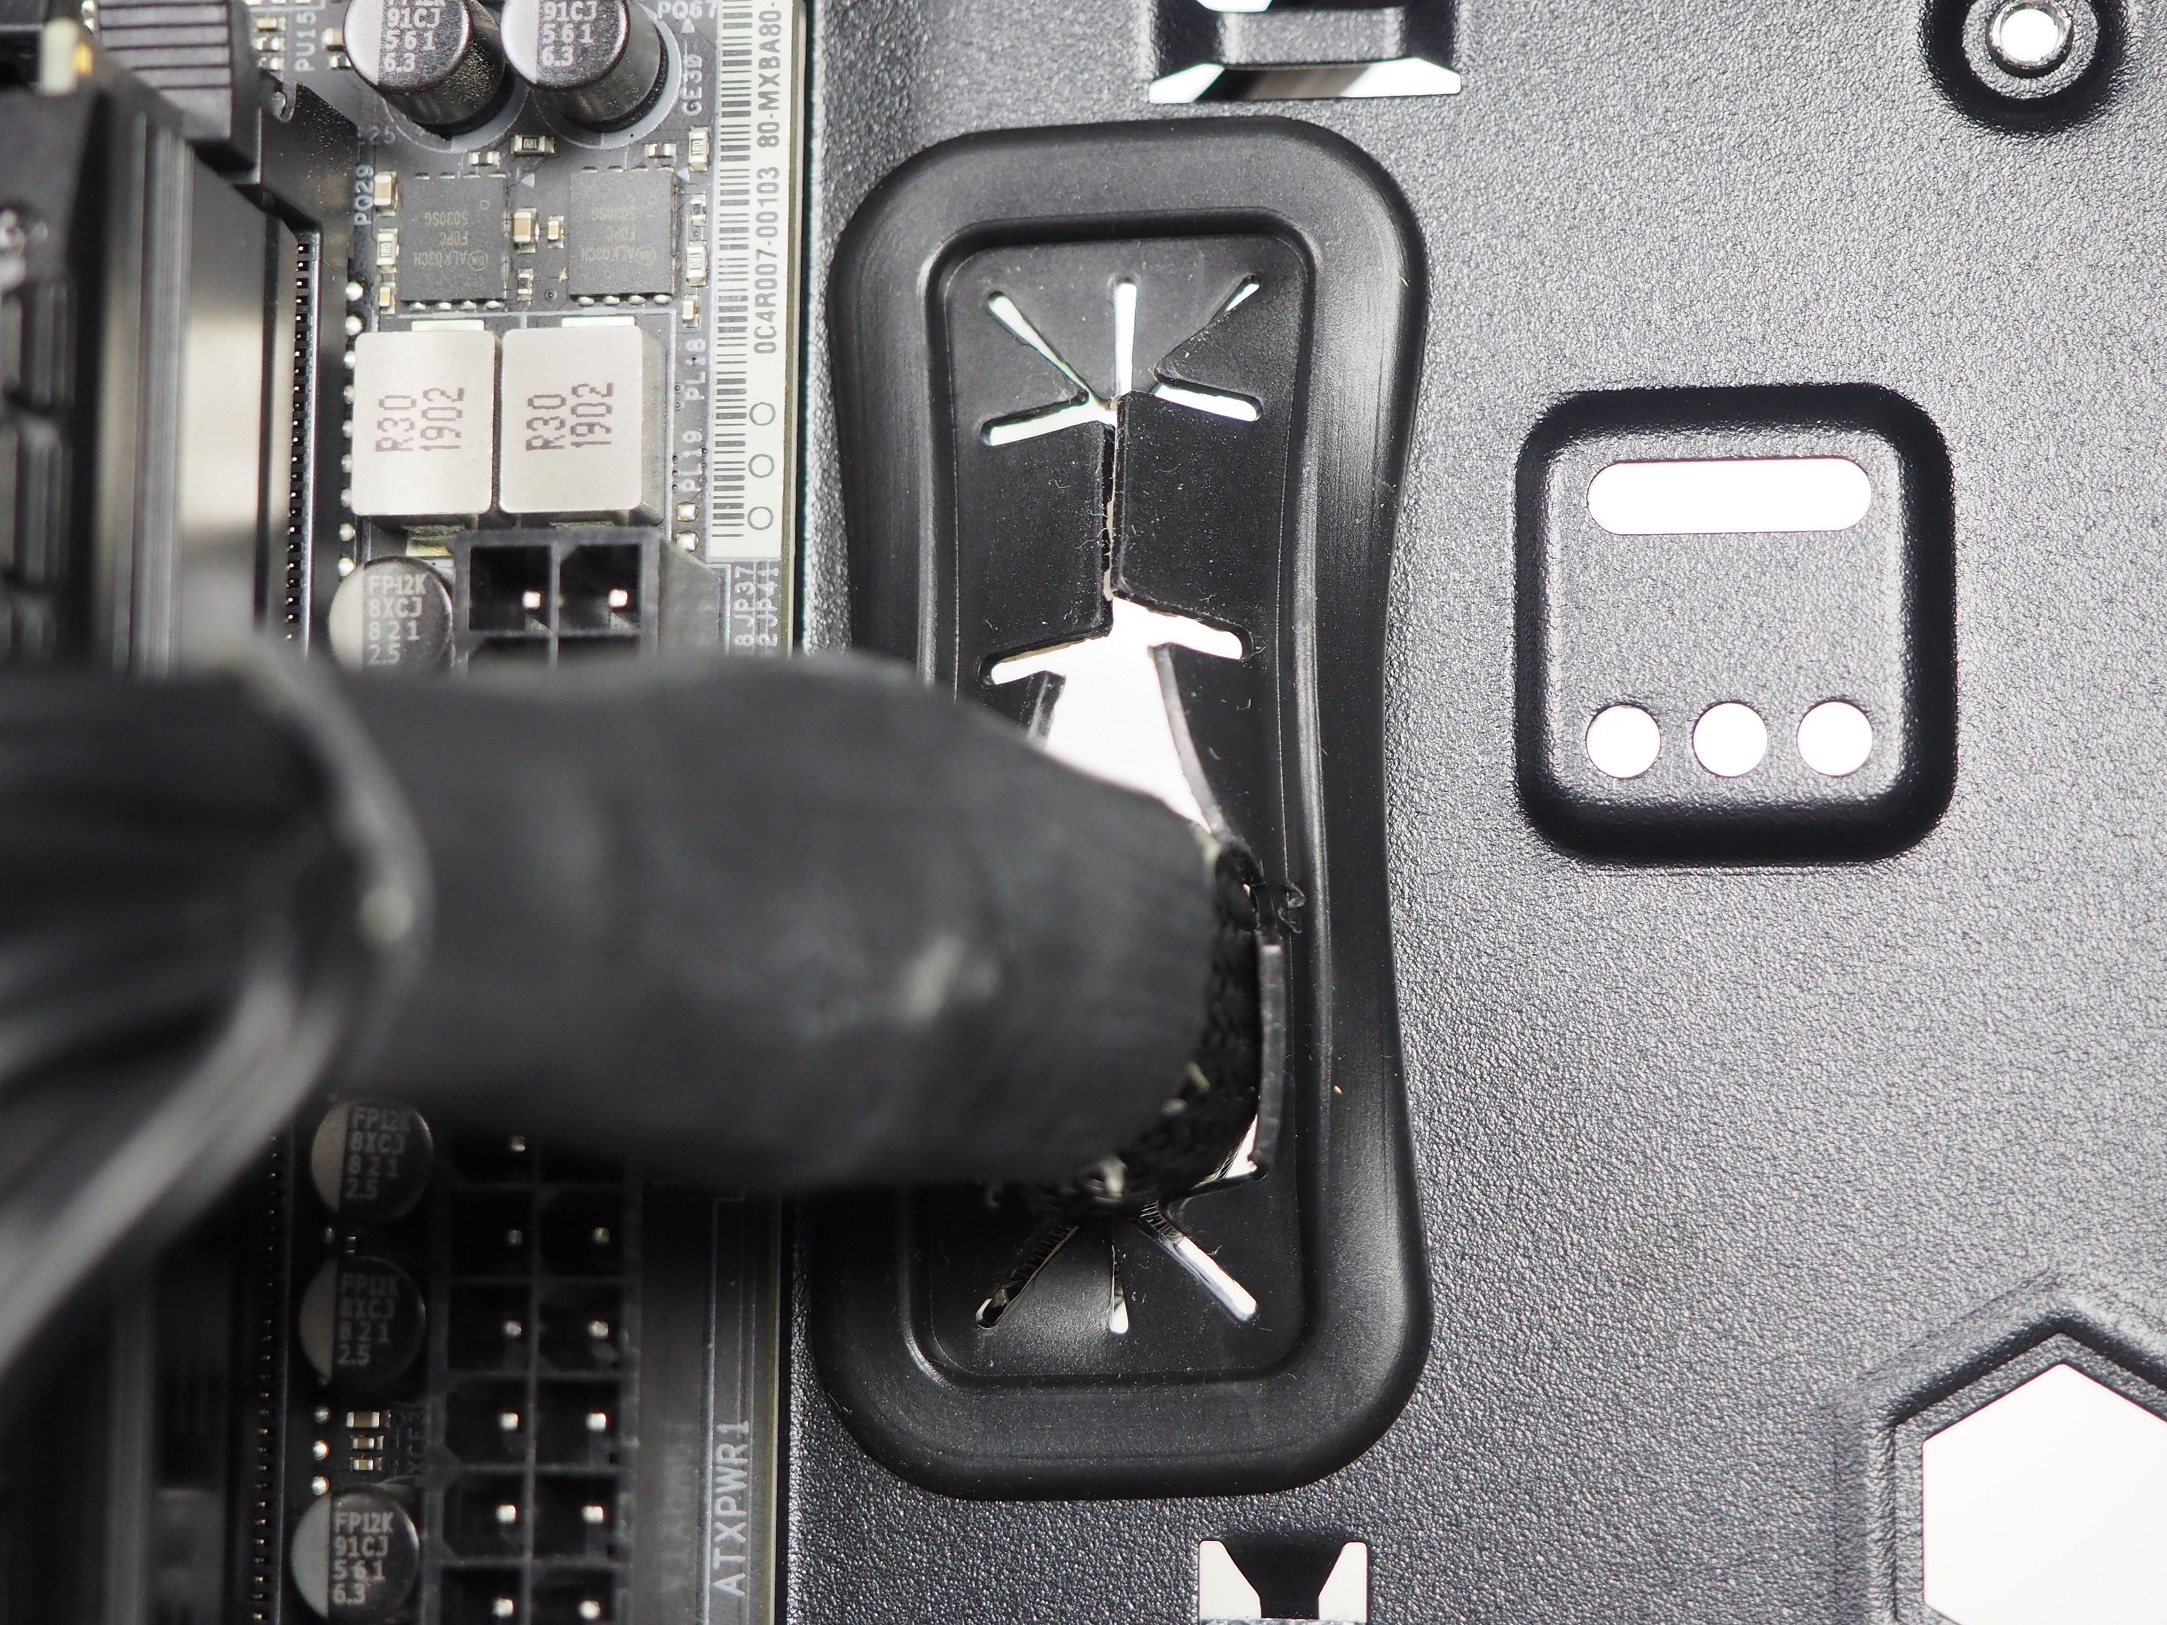
At the back there is a standard opening for the motherboard I/O panel, next to which there is a perforation for a 120/140 mm fan. It is factory fitted with only a 120 mm one, the FC120 model, which is also already tested in our fan database. Seven slot covers for PCI Express expansion cards can be found in the middle section. Their screws can only be accessed from inside the case, where handling the screwdriver is uncomfortable if it has a wider handle. The last hole at the back is for the power supply. Its dimensions clearly indicate that mounting the power supply will only work through the side of the case.
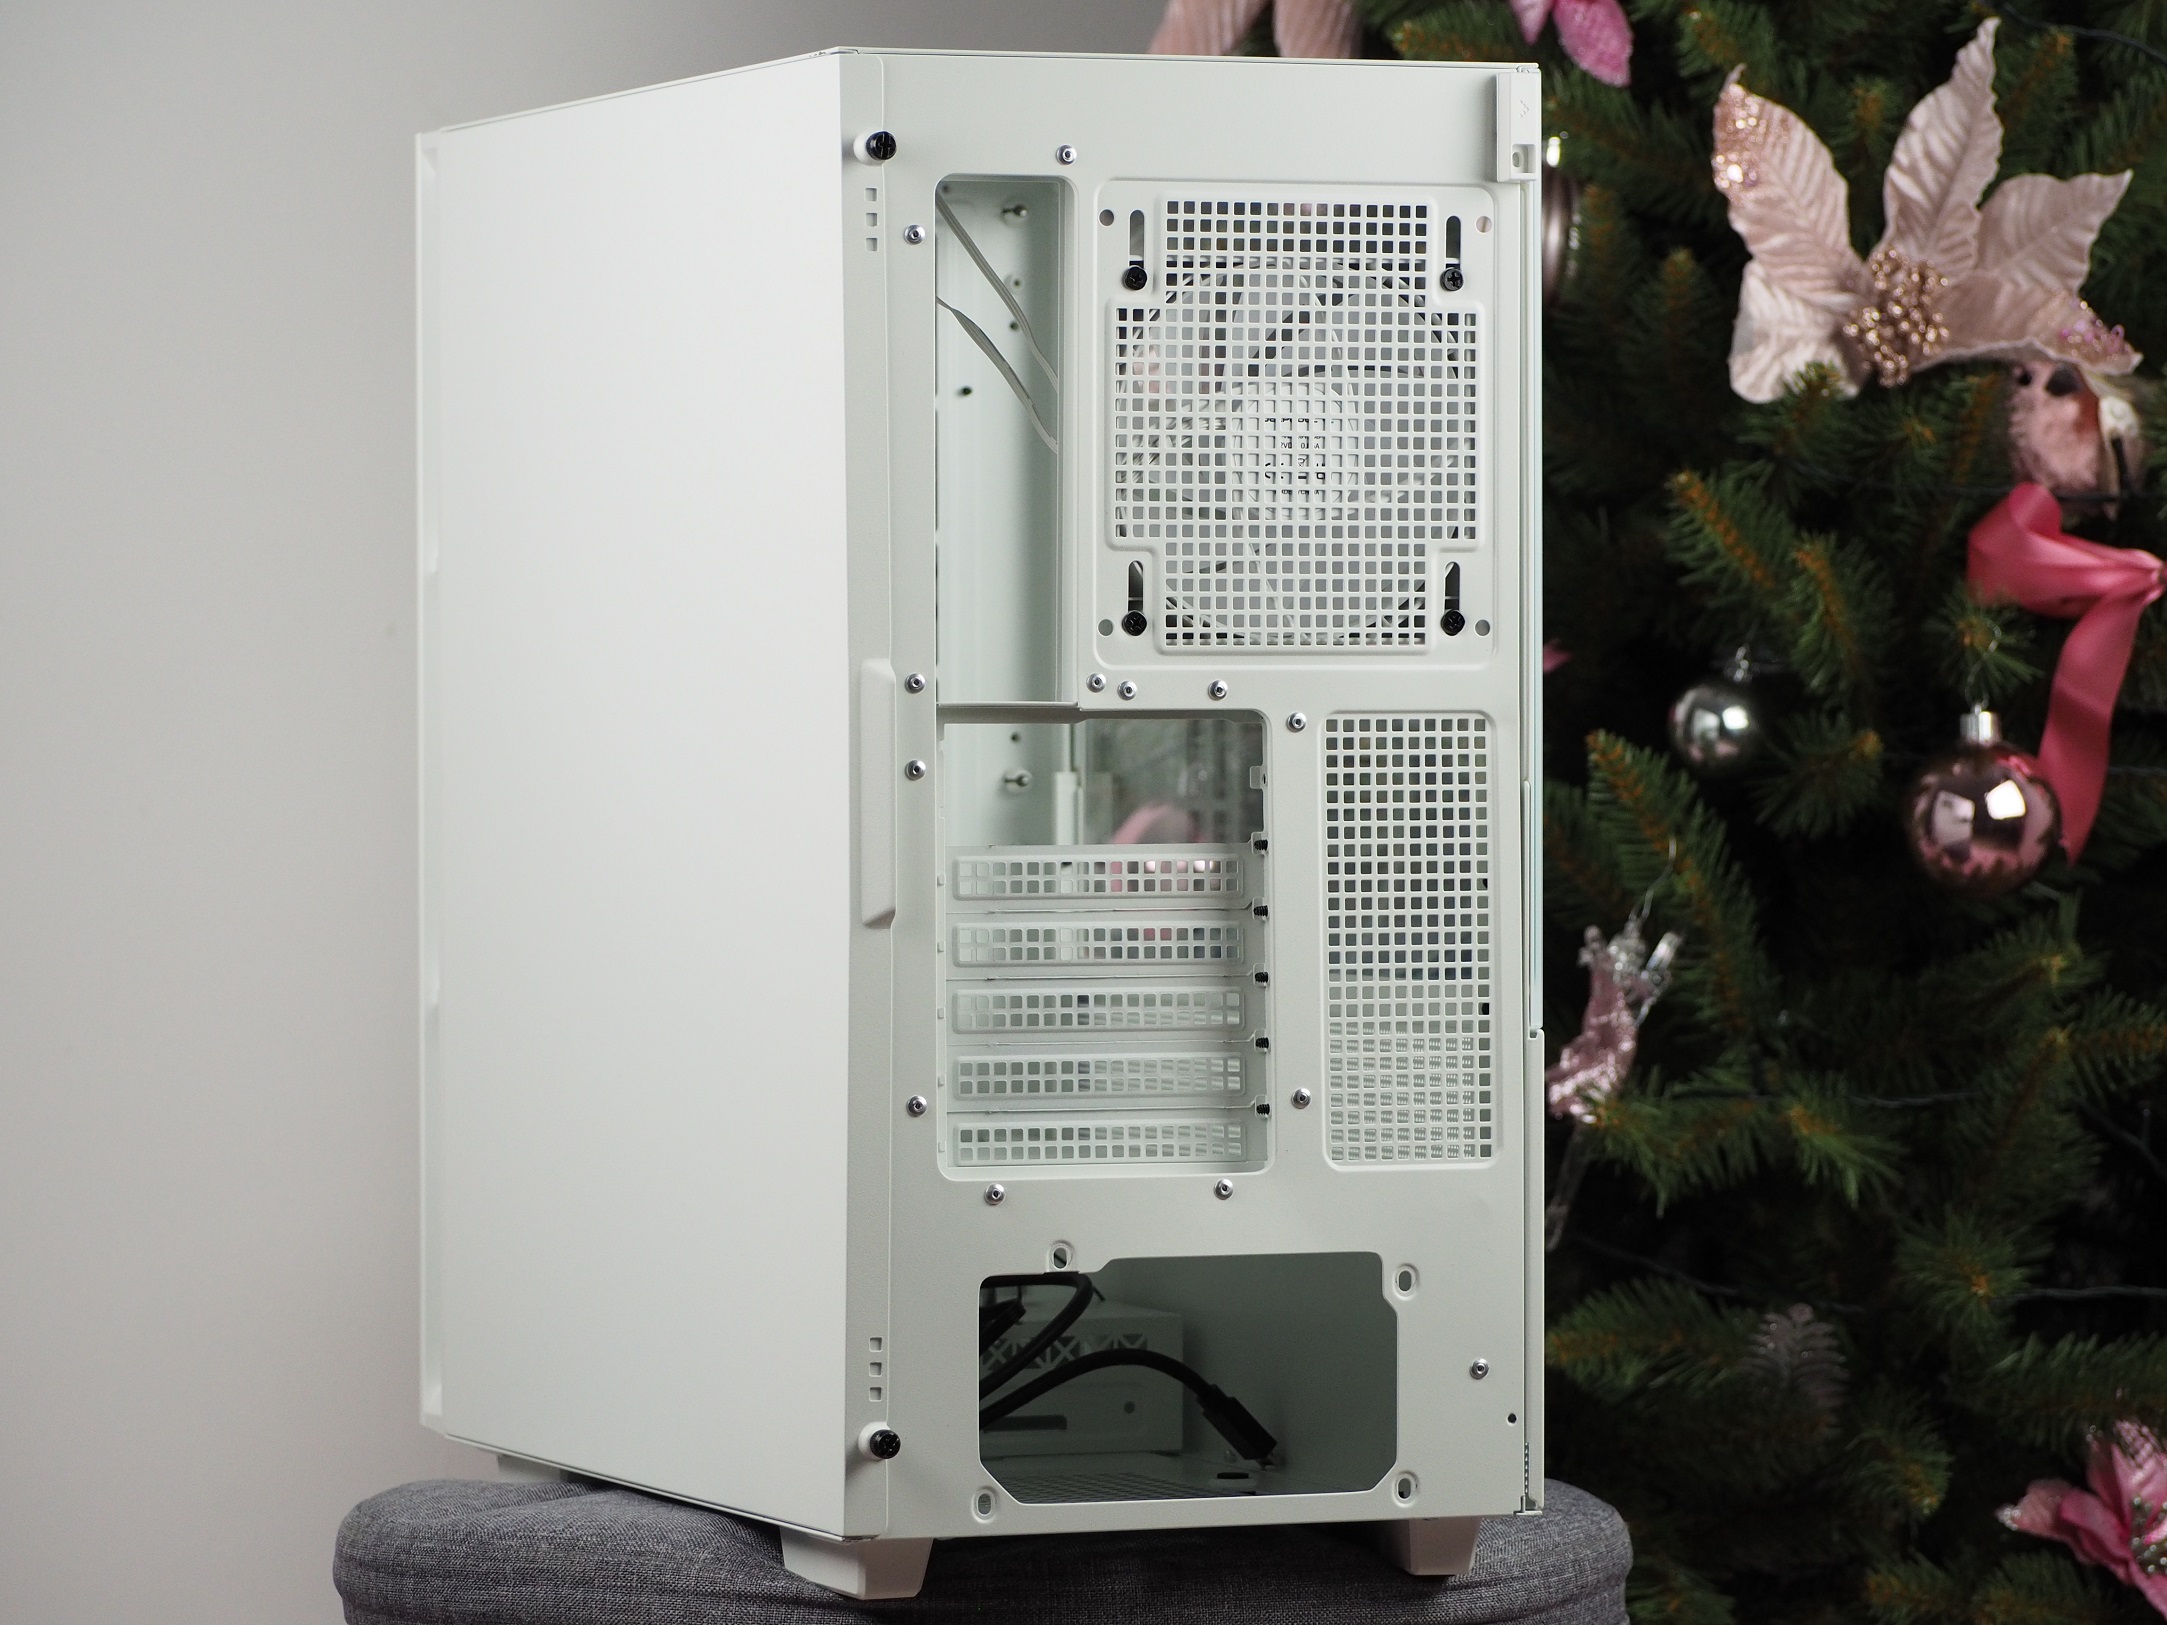
Directly below the position of the power supply there is a perforation, which seems to be protected from dust by a plastic grille. This looks very cheap and ineffective, while around it you can notice grooves for a frame with a fine dust filter. At the front, there are holes for two storage bracket positions spaced 30mm apart, so it will be possible to adjust the tunnel’s interior as needed.
The entire case is held up by four feet 20 mm from the ground. These have a softer foam glued on them, which puts minimal resistance when the case is moved horizontally.

You’ve already seen the new “CH” case model as part of a build where we played around a bit with cooling optimizations and keeping things as quiet as possible. Now here is the standard review with a more detailed analysis. Compared to the CH510 Digital series, the CH560 (WH) is a bit more expensive, but comes with more features. And significantly so. Its biggest selling point is its four efficient ARGB fans.
Interior
The inside of the tray is identical in compatibility tothe lower-end CH510 case. You can mount motherboards in Mini-ITX, mATX, ATX and E-ATX formats here. It should be noted, however, that with the largest motherboard format you will overlap the vertical grommets for cables. For a graphics cards, you have 380 mm of space, so you don’t have to limit yourself in your choice. You won’t be limited when choosing a tower-shaped CPU cooler either, as you have 175 mm of space available.
The vertical holes for cables are protected by a rubber grommet which is fitted directly into the tray. This prevents the rubber grommet from sliding out when threading cables, as is often the case with those simple grommets. You have 28 mm for threading, which is also sufficient for larger cable bundles.
Along the bottom grommet, there are holes on the right and left to mount a graphics card holder. This can be adjusted vertically and horizontally for precise positioning. Although its build is simple, it fulfills its function as it should.


The ceiling of the tunnel is perforated with holes of the same size as those on the front panel. This will also help the potential fans placed on it, as there is an option to fit two 120mm fans here. The absence of rubber grommets on the tunnel openings is not a problem, on the contrary. Thanks to this, the holes are not narrowed and so you have a nice 25 mm to thread the cabling through.
At the front of the tunnel is a cut-out for a liquid cooler radiator, for which up to 75 mm is available. With that much space, you can fit even the thickest radiators here.


For the larger amount of cables, of which there are quite a few due to the lighted fans, there are two vertical paths right next to each other. One path runs directly through the openings – for cables directly from the power supply and the other is for cables from the case. This way they don’t mix with each other and managing them should be relatively easy. On the second trough you will find three pull-tabs with Velcro, which is enough for securing the main cable bundle. Also, the opening behind the motherboard offers curved protrusions onto which cables can be attached. These holes are already smaller and more suited for single-use zip ties from accessories but you can also fit reusable ones there. For cable management you have 26 mm of space, in which the depth of the side panel is also included.


All four mounted fans can be daisy-chained together – including the power and backlight cables. This allows all fans to be connected to a small hub directly under the ceiling. If you also use it as a backlight control, it must be powered using a SATA cable directly from the power supply. When controlling the backlight via the motherboard, the hub must not be connected to the power supply.

The case has four positions for storage. Two “quick-release” ones are located on the tray for 2.5″ SSD/HDDs. The simplicity and speed of the attachment is in the special screws, which you fit onto the storage and then simply snap into the holes on the tray. Additional positions for storage are located in the tunnel. The top can accommodate 2.5″ or 3.5″ storage, while only 3.5-inch storage slides inside. This compartment can be moved forward 30 mm, giving you up to 270 mm of space for the power supply with cables. In its original position, it’s still a respectable 240mm.


Behind the tray, cable management was relatively easy to do and even when I tried putting the 24-pin motherboard power cable through a side path, not the way it’s supposed to go. Because of this, I found that closing the right side panel was not a problem for the case, even with a thicker bundle of cables. From the opposite side, the hardware installation and plugging it in went smoothly as well. Even the CPU power cable was easy to plug in under the ceiling. And that was already with the tower CPU cooler in place.


Everything is held on top of a 0.75 mm thick tray, which is 0.1 mm less than the right side panel. You can already feel the difference in stiffness there and the tray is a little more flexible.

You’ve already seen the new “CH” case model as part of a build where we played around a bit with cooling optimizations and keeping things as quiet as possible. Now here is the standard review with a more detailed analysis. Compared to the CH510 Digital series, the CH560 (WH) is a bit more expensive, but comes with more features. And significantly so. Its biggest selling point is its four efficient ARGB fans.
Testing methodology
The case is equipped with four fans directly from the factory. At the back, on the exhaust, there is a single 120mm FC120 fan, which, in terms of efficiency, is currently in the top third of 120mm fans in airflow through a hexagonal grille. With the same shape but a larger diameter, three 140mm DeepCool fans are fitted at the front, on the intake. Combined with the perforated lower part of the left side panel, it is assumed that the case will not be lacking anywhere in cooling.
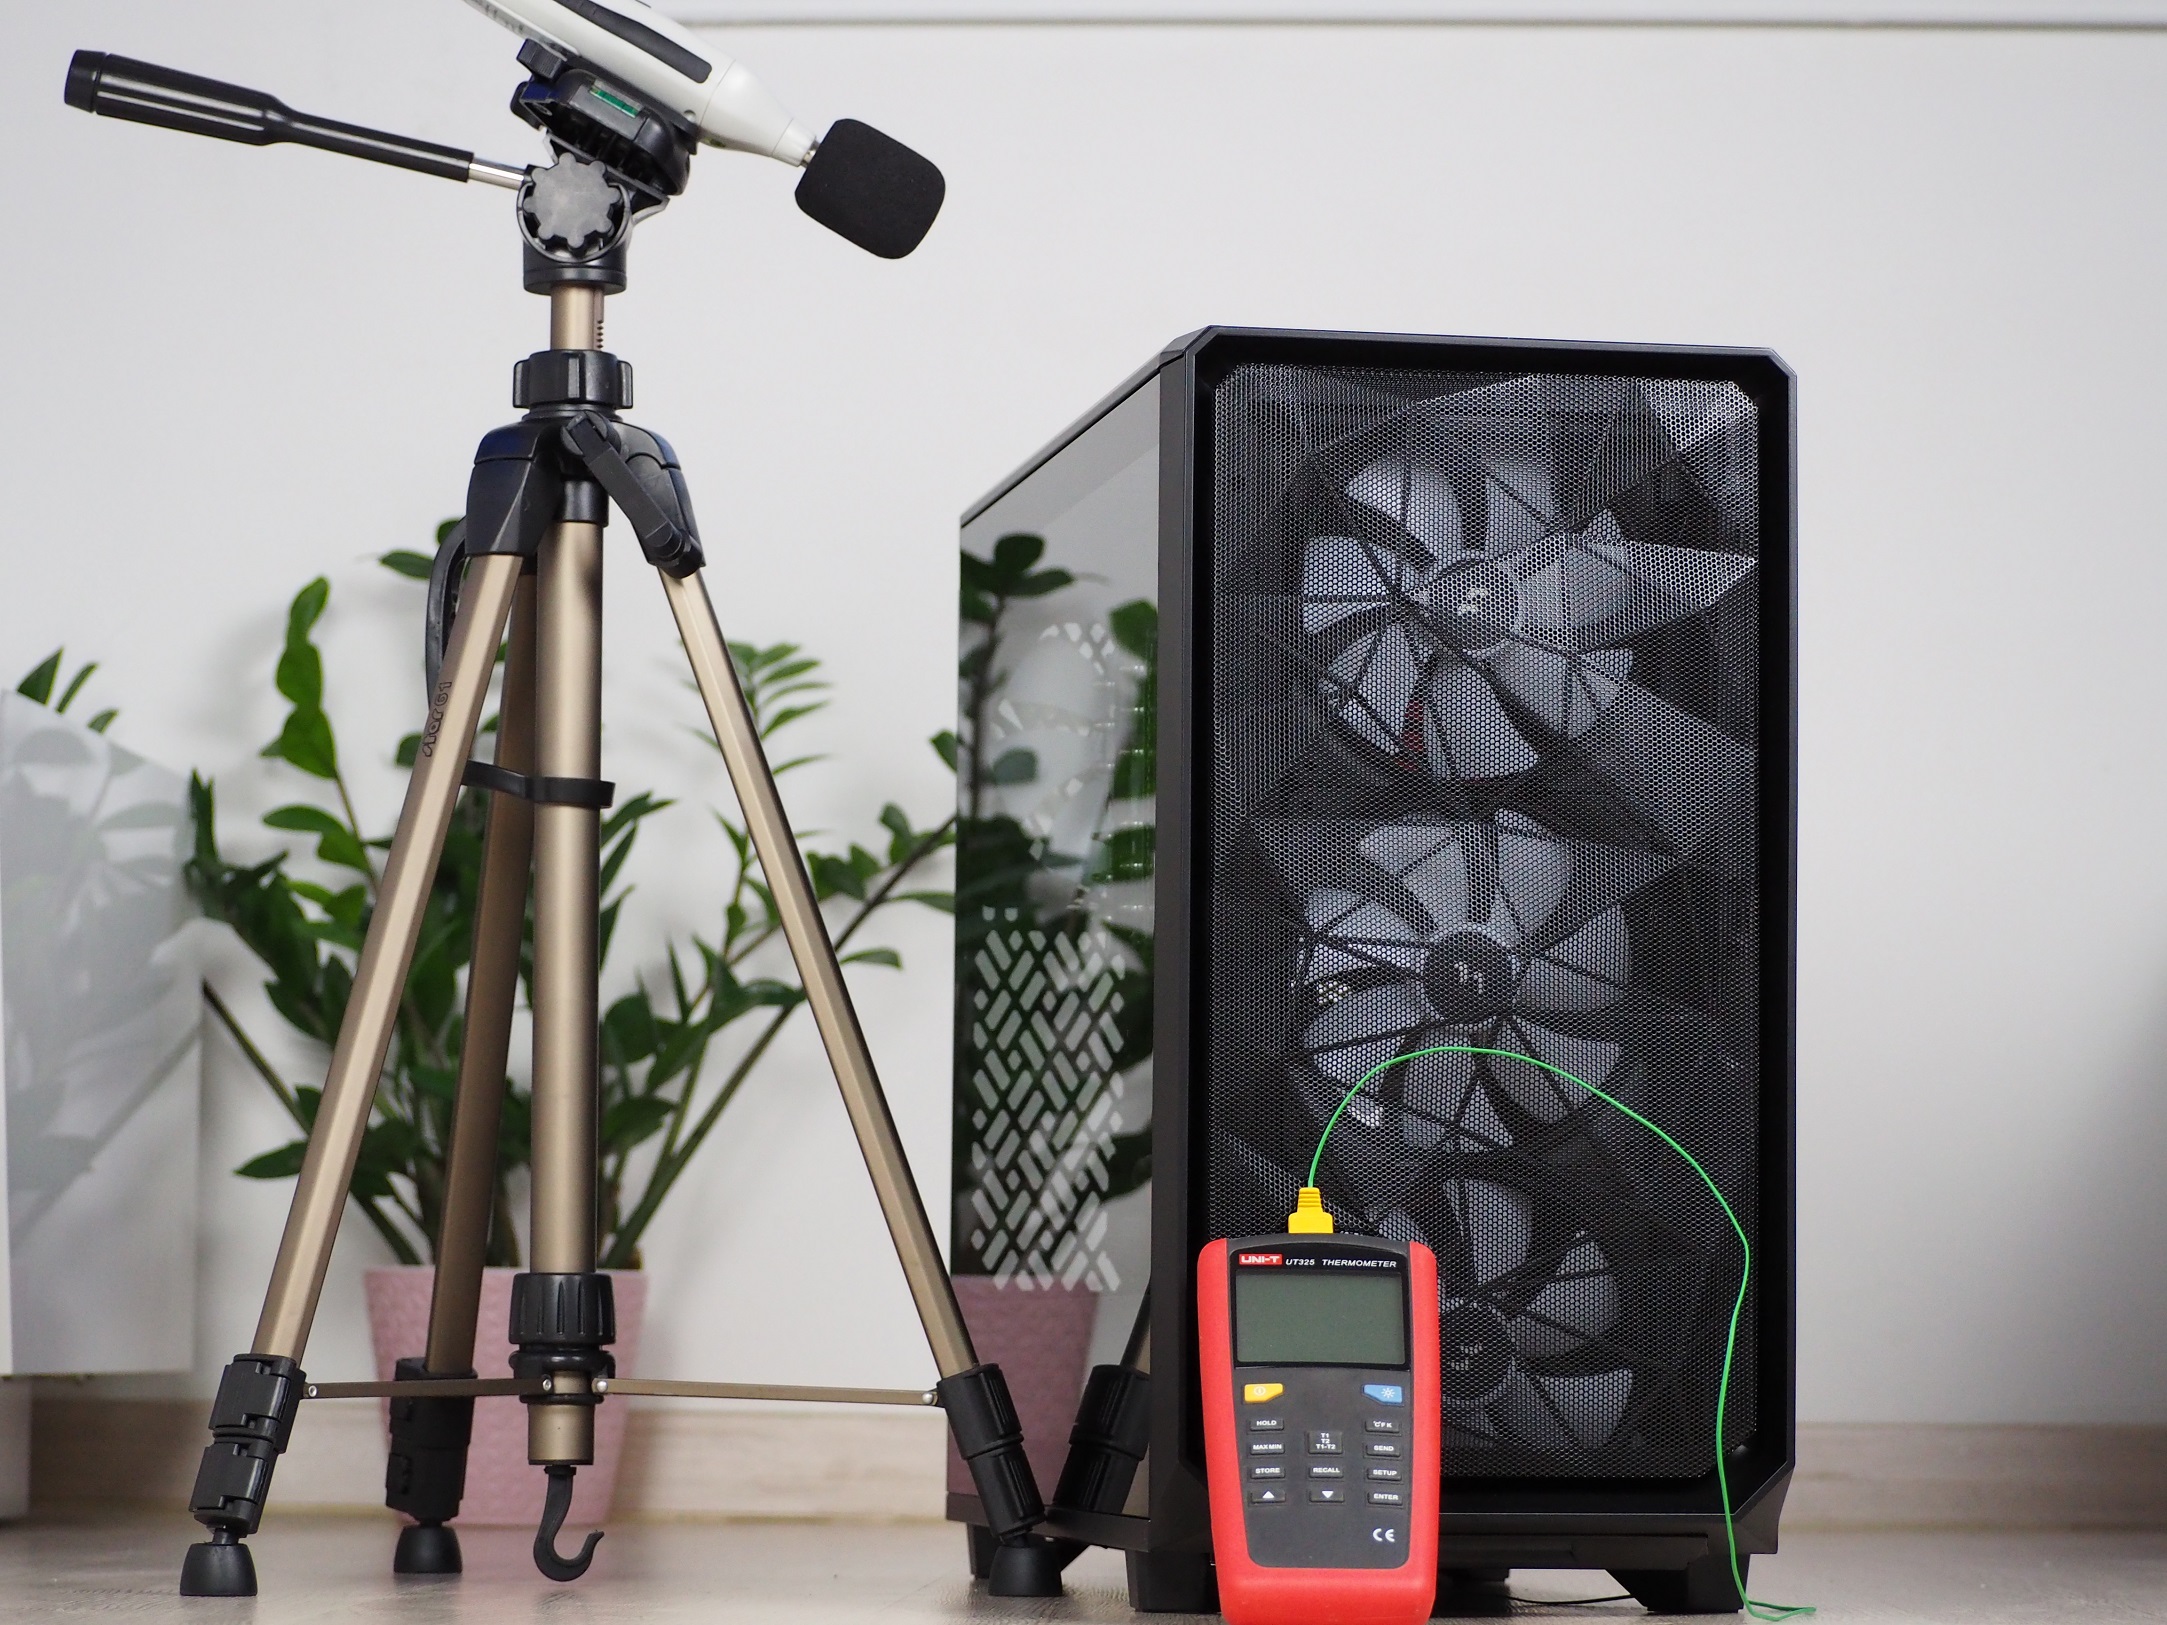
Testing is done in a home environment where I strive for the most accurate results possible. In the room during testing, the air temperature in front of the case is 23 degrees Celsius and the minimum noise level I can measure with the Voltcraft SL-100 noise meter is 32.4 dBA. The sensor of the noise meter is aligned to the center of the top of the case at a distance of 10 cm, for the best measurement of the speed difference of the fans, which I change using the motherboard. For easy comparison to other cases, they are always regulated to fixed noise levels.
Individual components are heated for 10 minutes in FurMark synthetic stress tests and with Prime95 (custom settings) at the same time. This time is long enough to allow all components to warm up sufficiently. There are then 15-minute cooling breaks between tests, during which the component temperatures (and the case air temperature as well) are brought back to default.
Noise mode levels:
- 36 dBA
- 38 dBA
- 39 dBA
| Test setup | |
| Processor | AMD Ryzen 7 3700X |
| Motherboard | ASRock X570 Taichi |
| CPU cooler | Scythe Fuma rev. 2 (single fan) |
| Thermal compound | Noctua NT-H2 |
| Graphics card | Asus RTX 2060 Super Dual |
| RAM | Patriot, 2× 8GB, 3600 MHz/CL17 |
| SSD | Western Digital Blue 500GB (2280) |
| Power supply | Corsair RM750X |
You’ve already seen the new “CH” case model as part of a build where we played around a bit with cooling optimizations and keeping things as quiet as possible. Now here is the standard review with a more detailed analysis. Compared to the CH510 Digital series, the CH560 (WH) is a bit more expensive, but comes with more features. And significantly so. Its biggest selling point is its four efficient ARGB fans.
CPU and GPU cooling tests


You’ve already seen the new “CH” case model as part of a build where we played around a bit with cooling optimizations and keeping things as quiet as possible. Now here is the standard review with a more detailed analysis. Compared to the CH510 Digital series, the CH560 (WH) is a bit more expensive, but comes with more features. And significantly so. Its biggest selling point is its four efficient ARGB fans.
Motherboard cooling tests
You’ve already seen the new “CH” case model as part of a build where we played around a bit with cooling optimizations and keeping things as quiet as possible. Now here is the standard review with a more detailed analysis. Compared to the CH510 Digital series, the CH560 (WH) is a bit more expensive, but comes with more features. And significantly so. Its biggest selling point is its four efficient ARGB fans.
SSD cooling tests

Temperature under the ceiling
You’ve already seen the new “CH” case model as part of a build where we played around a bit with cooling optimizations and keeping things as quiet as possible. Now here is the standard review with a more detailed analysis. Compared to the CH510 Digital series, the CH560 (WH) is a bit more expensive, but comes with more features. And significantly so. Its biggest selling point is its four efficient ARGB fans.
Conclusion
The case was able to cope well with CPU cooling in the tested configuration at all noise levels. It neither lags behind nor stands out. With the graphics card, it’s even a little bit better. There, it holds on to third place and only cases like the Dark Base Pro 901, Prospect 700R or Torrent are better. The graphics card was probably helped by the side perforations and the large perforation on the tunnel. In chipset and VRM cooling, it also didn’t let itself be embarrassed and stayed in the middle positions in the rankings. It lags behind only in cooling of the “motherboard“.
Dust protection is taken care of above standard, the case has a fine dust filter on the front panel. The left side panel does not have a dust filter, but its perforations help to keep the graphics card at a cooler temperature. Also helpful is the perforated tunnel ceiling, where you have the option to place two 120mm fans, which isn’t always a given. Removing and mounting the left side panel is devised in a simple but effective way. Thanks to strong magnets, it stays in place and pulling it out is tool-less.
There were also shortcomings, of which there are more than a few. The first is the flexibility of the tray, which could have been as stiff as the right side panel. The “slump” of the ceiling, which creates a gap at the joint with the front panel, is also not a good calling card of the build quality. Another shortcoming is the plastic filter located below the power supply position with large holes. Not everyone has the option of putting the case on a table instead of placing it on the ground. The connectivity of the case’s I/O panel could also be improved. Namely, it only offers one USB Type-A and one Type-C connector.

The installation of the hardware, its plugging in and also the cable management were carried out without any difficulties. The inside of the case offers quite a lot of space despite the overall dimensions of the case, so there is room to manipulate the hardware. For cable management, you have two vertical pathways, so you don’t have a large bundle of cables piling up in one trough.
The shortcomings of the CH560’s build are compensated by the performance of the system cooling, which is average to above average. In the white version tested, it looks classy, and thanks to the CH560’s features, both positive and negative, you’ll eventually be able to use it for both work and gaming. That is why we give it the “Approved” award.
English translation and edit by Jozef Dudáš
| DeepCool CH560 |
| + Efficient system cooling |
| + Intelligent side panel handle design |
| + Can accommodate as many as nine 120 mm fans |
| + Fine dust filter on the front panel |
| + Easy installation and cable management |
| - Weaker build quality |
| - No fine dust filter under the power supply |
| - Only one USB Type-A, one Type-C connector |