We’ve had cases with a display in our tests before, but MSI has taken its usability to a new level. The touchpad can still be used for control, but it also serves as an indicator for various useful things. Sure, the case sits pretty high at three hundred euros, but it’s not just about the extra cost of the display. The MEG Prospect 700R also justifies the price in other aspects. For example, the really precise build quality.
Basic parameters
| Parameters | MSI |
| MEG Prospect 700R | |
| Supported motherboard formats | Mini-ITX, mATX, ATX, E-ATX |
| Supported PSU format | ATX |
| CPU cooler | up to 185 mm |
| Graphics cards | up to 440 mm |
| Fan | 10× 120 mm/7× 140 mm (4× pre-installed) |
| Supported liquid radiators | 2× up to 280/3× up to 360 mm |
| 2,5" positions | 2 + 2 shared |
| 3,5" positions | 2 shared |
| 5,25" positions | 0 |
| Dimensions [H/D/W] (and volume) | 537 × 585 × 257 mm (75 l without feet) |
| Weight | 15,95 kg |
| Materials | steel + plastic + tempered glass |
| Connectivity | 2× USB 3.2 gen. 1 type A + 1× USB 3.2 gen. 2 type C + 2× 3,5mm jack |
| Approx. retail price | 300 EUR |
Exterior
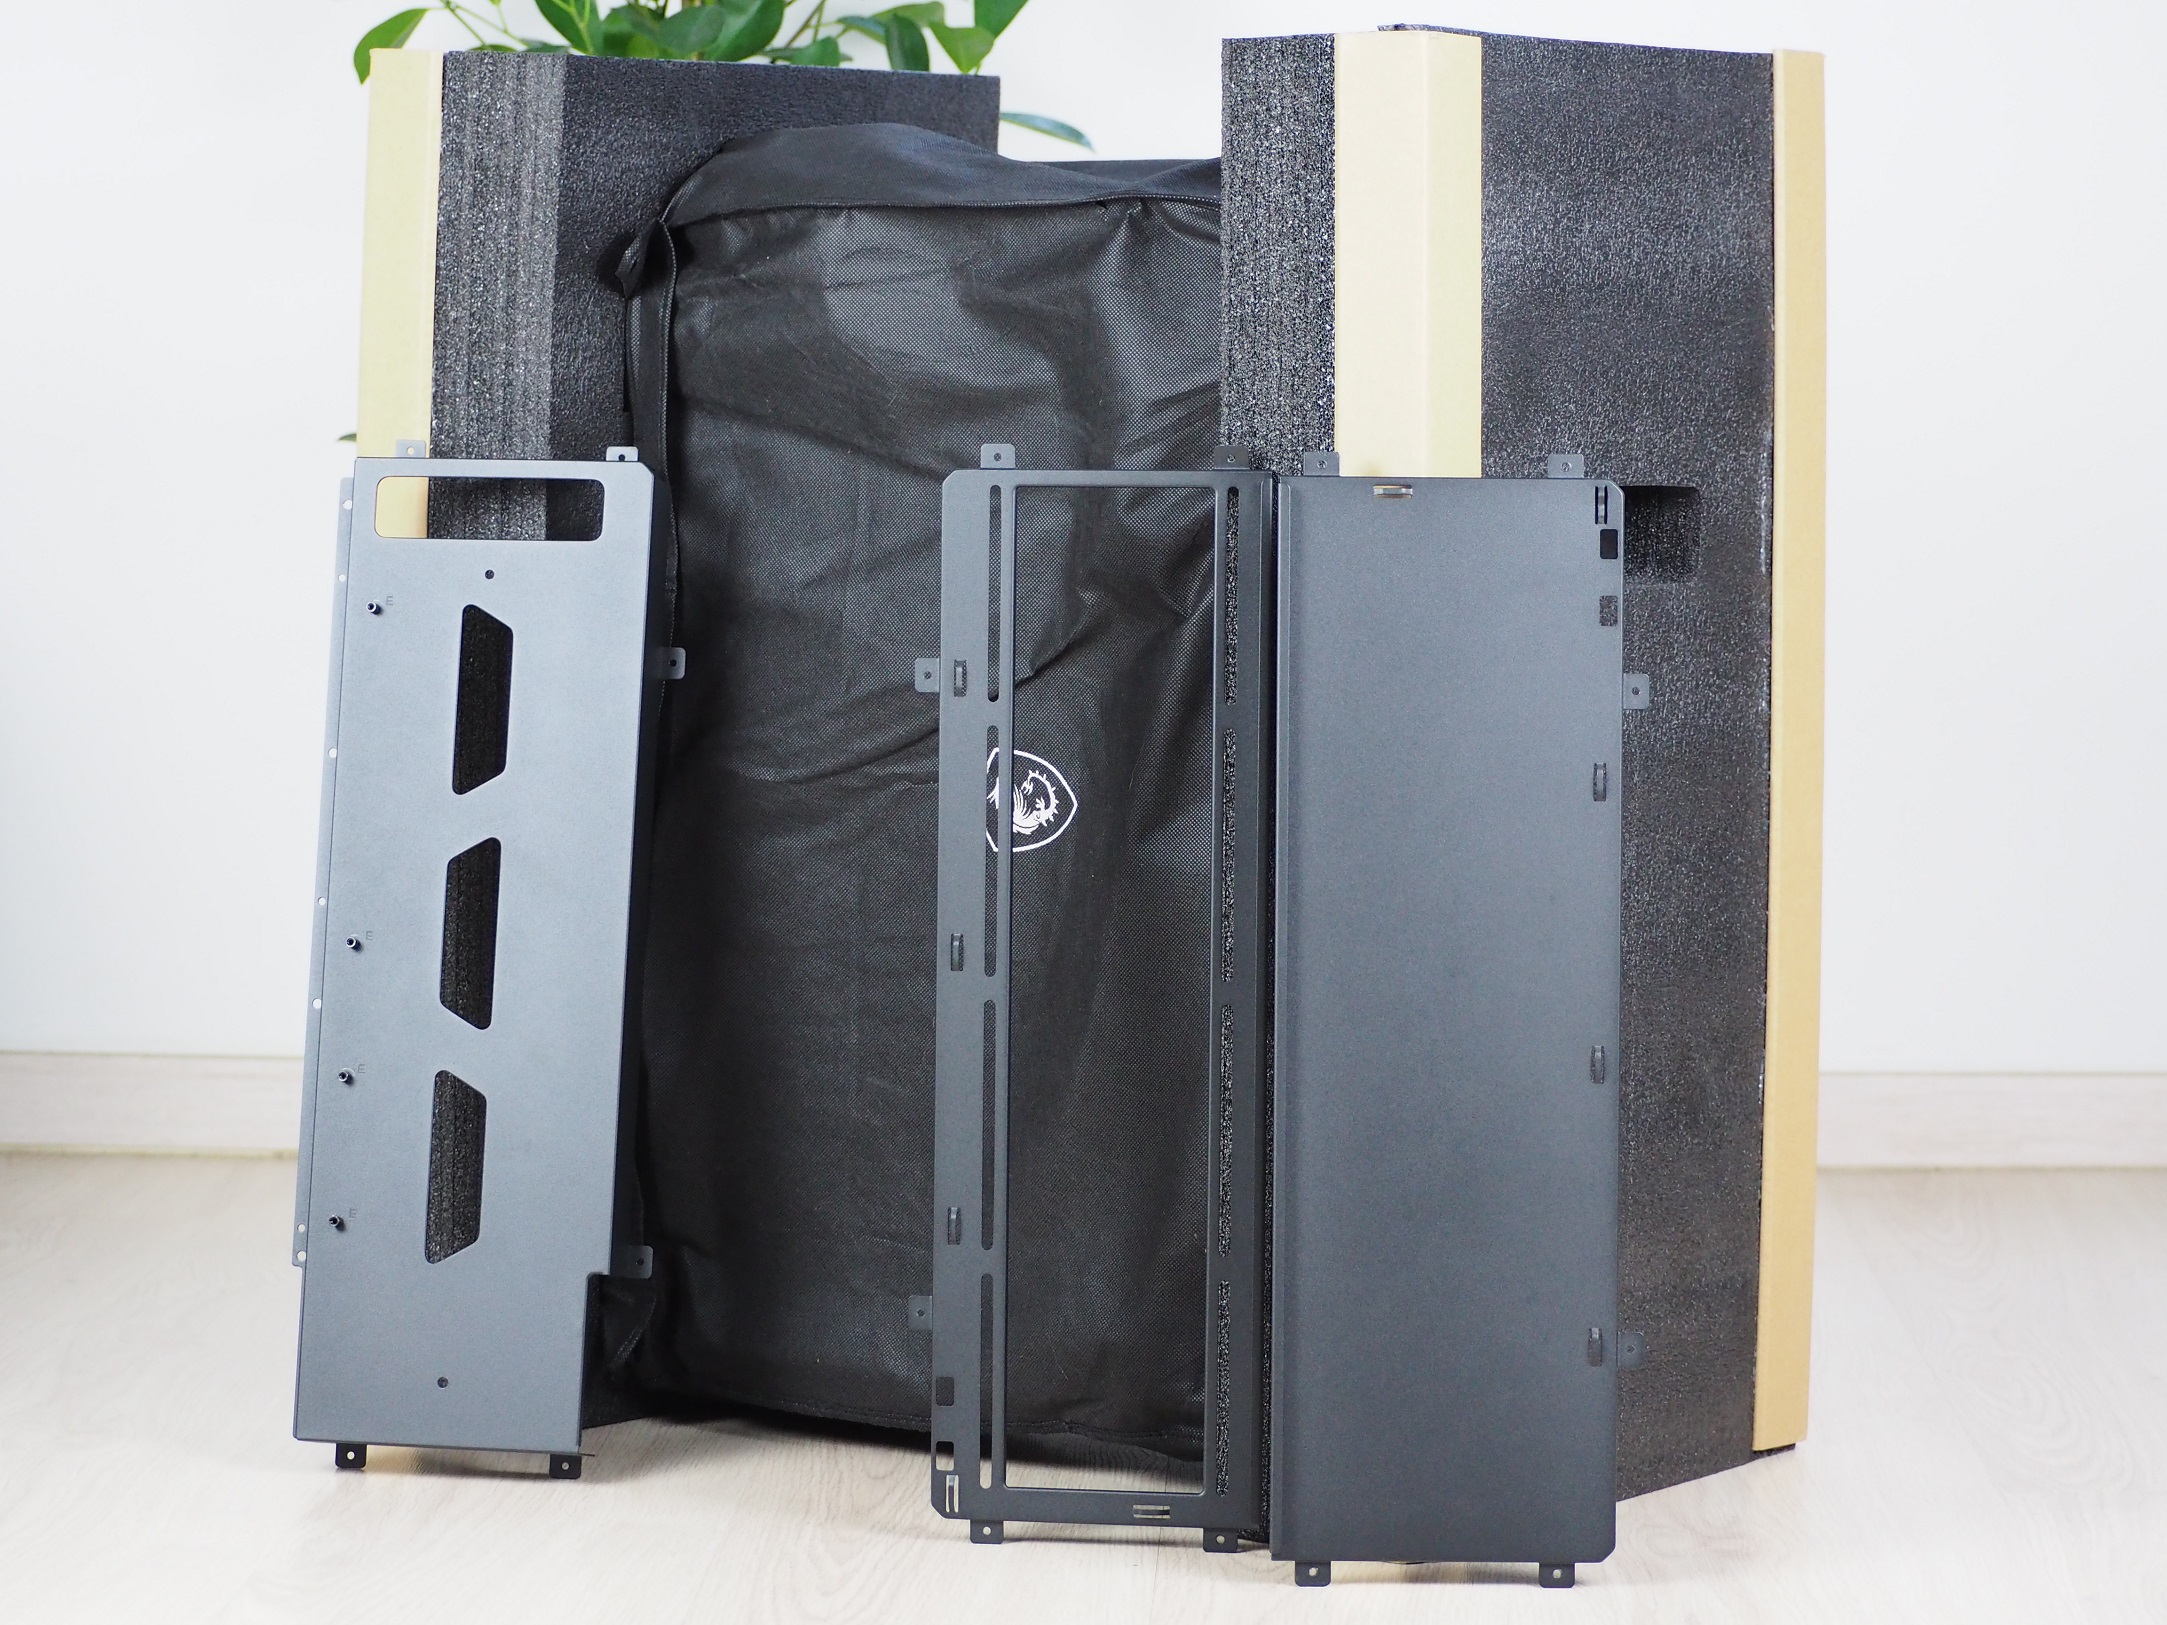
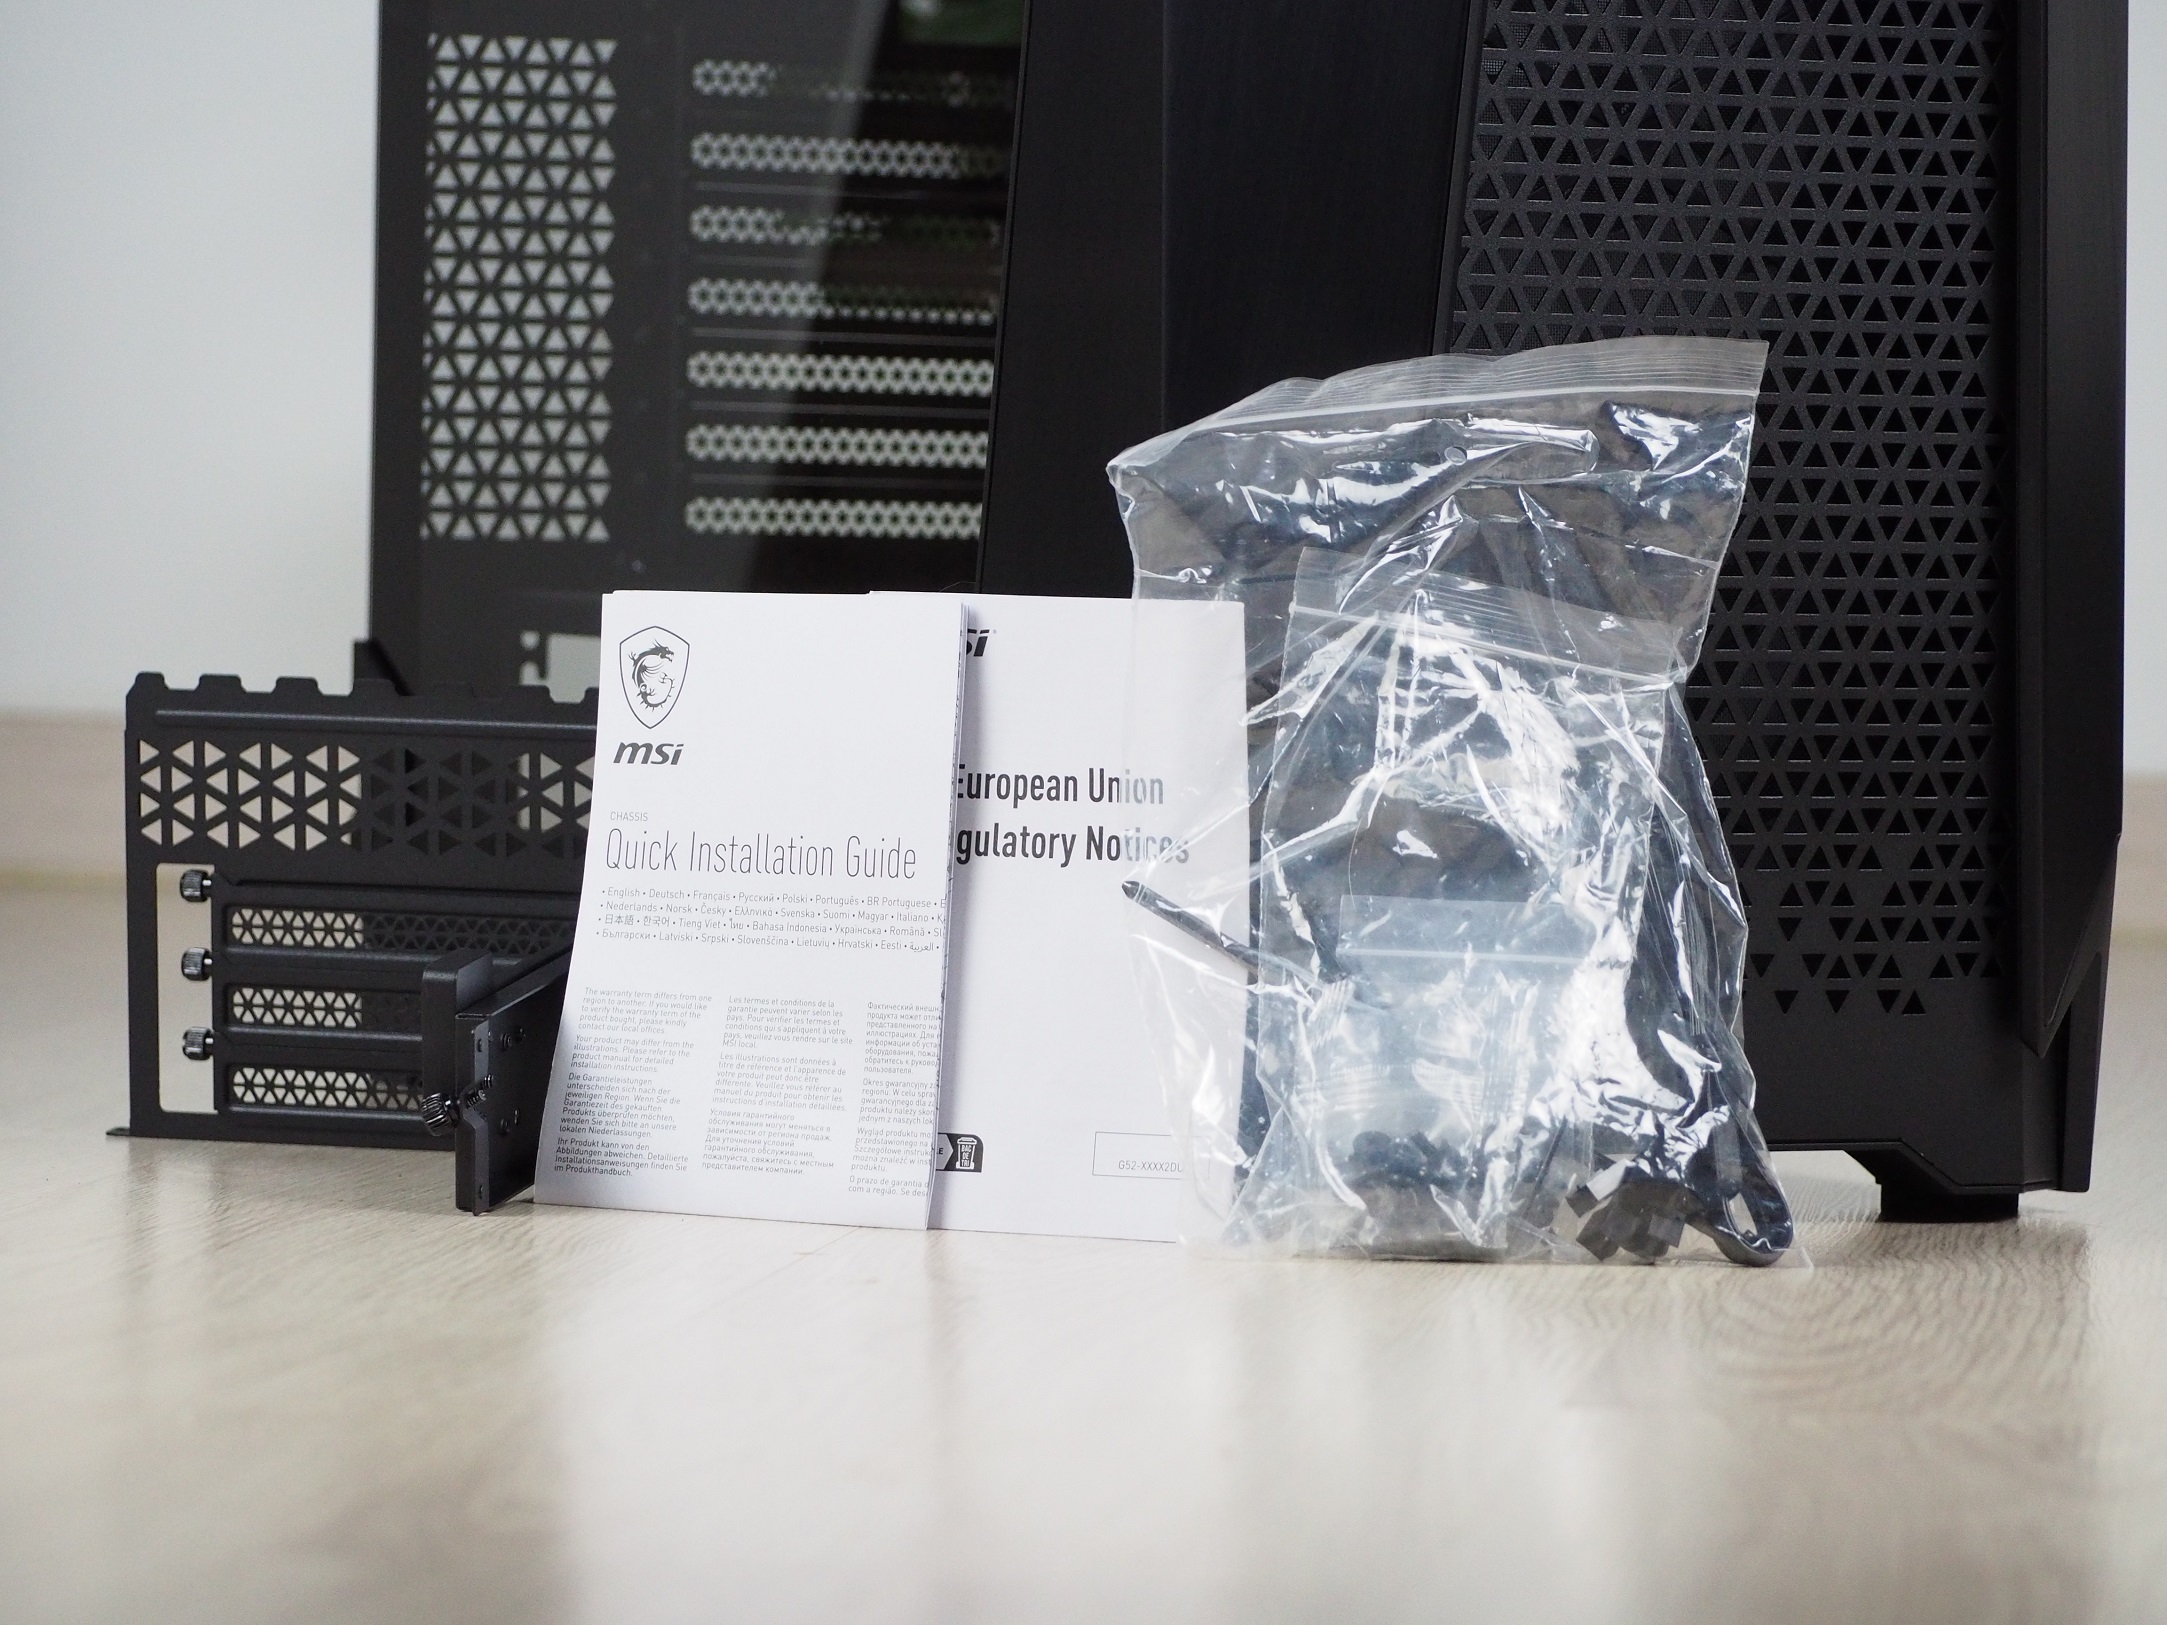
Upon pulling out the contents of the full-colour box, you can see that this is a luxury case. This is indicated by the tailor-made fabric wrapping instead of the usual plastic and the sturdy filling in the box, which is made of foam. So it won’t leave a mess behind when you take it out, as with polystyrene. The accessories of the case are also quite plentiful. You’ve got the standard supplied screws, single-use zip ties, and simple installation instructions. You can get to the detailed one on MSI’s website in electronic form. Less commonly found in case accessories are a Phillips screwdriver, a three-fan splitter cable, and a vertical graphics card bracket, but you’ll find all of that here too. In the next accessory box, there are three rectangular plates for various customizations of the case.
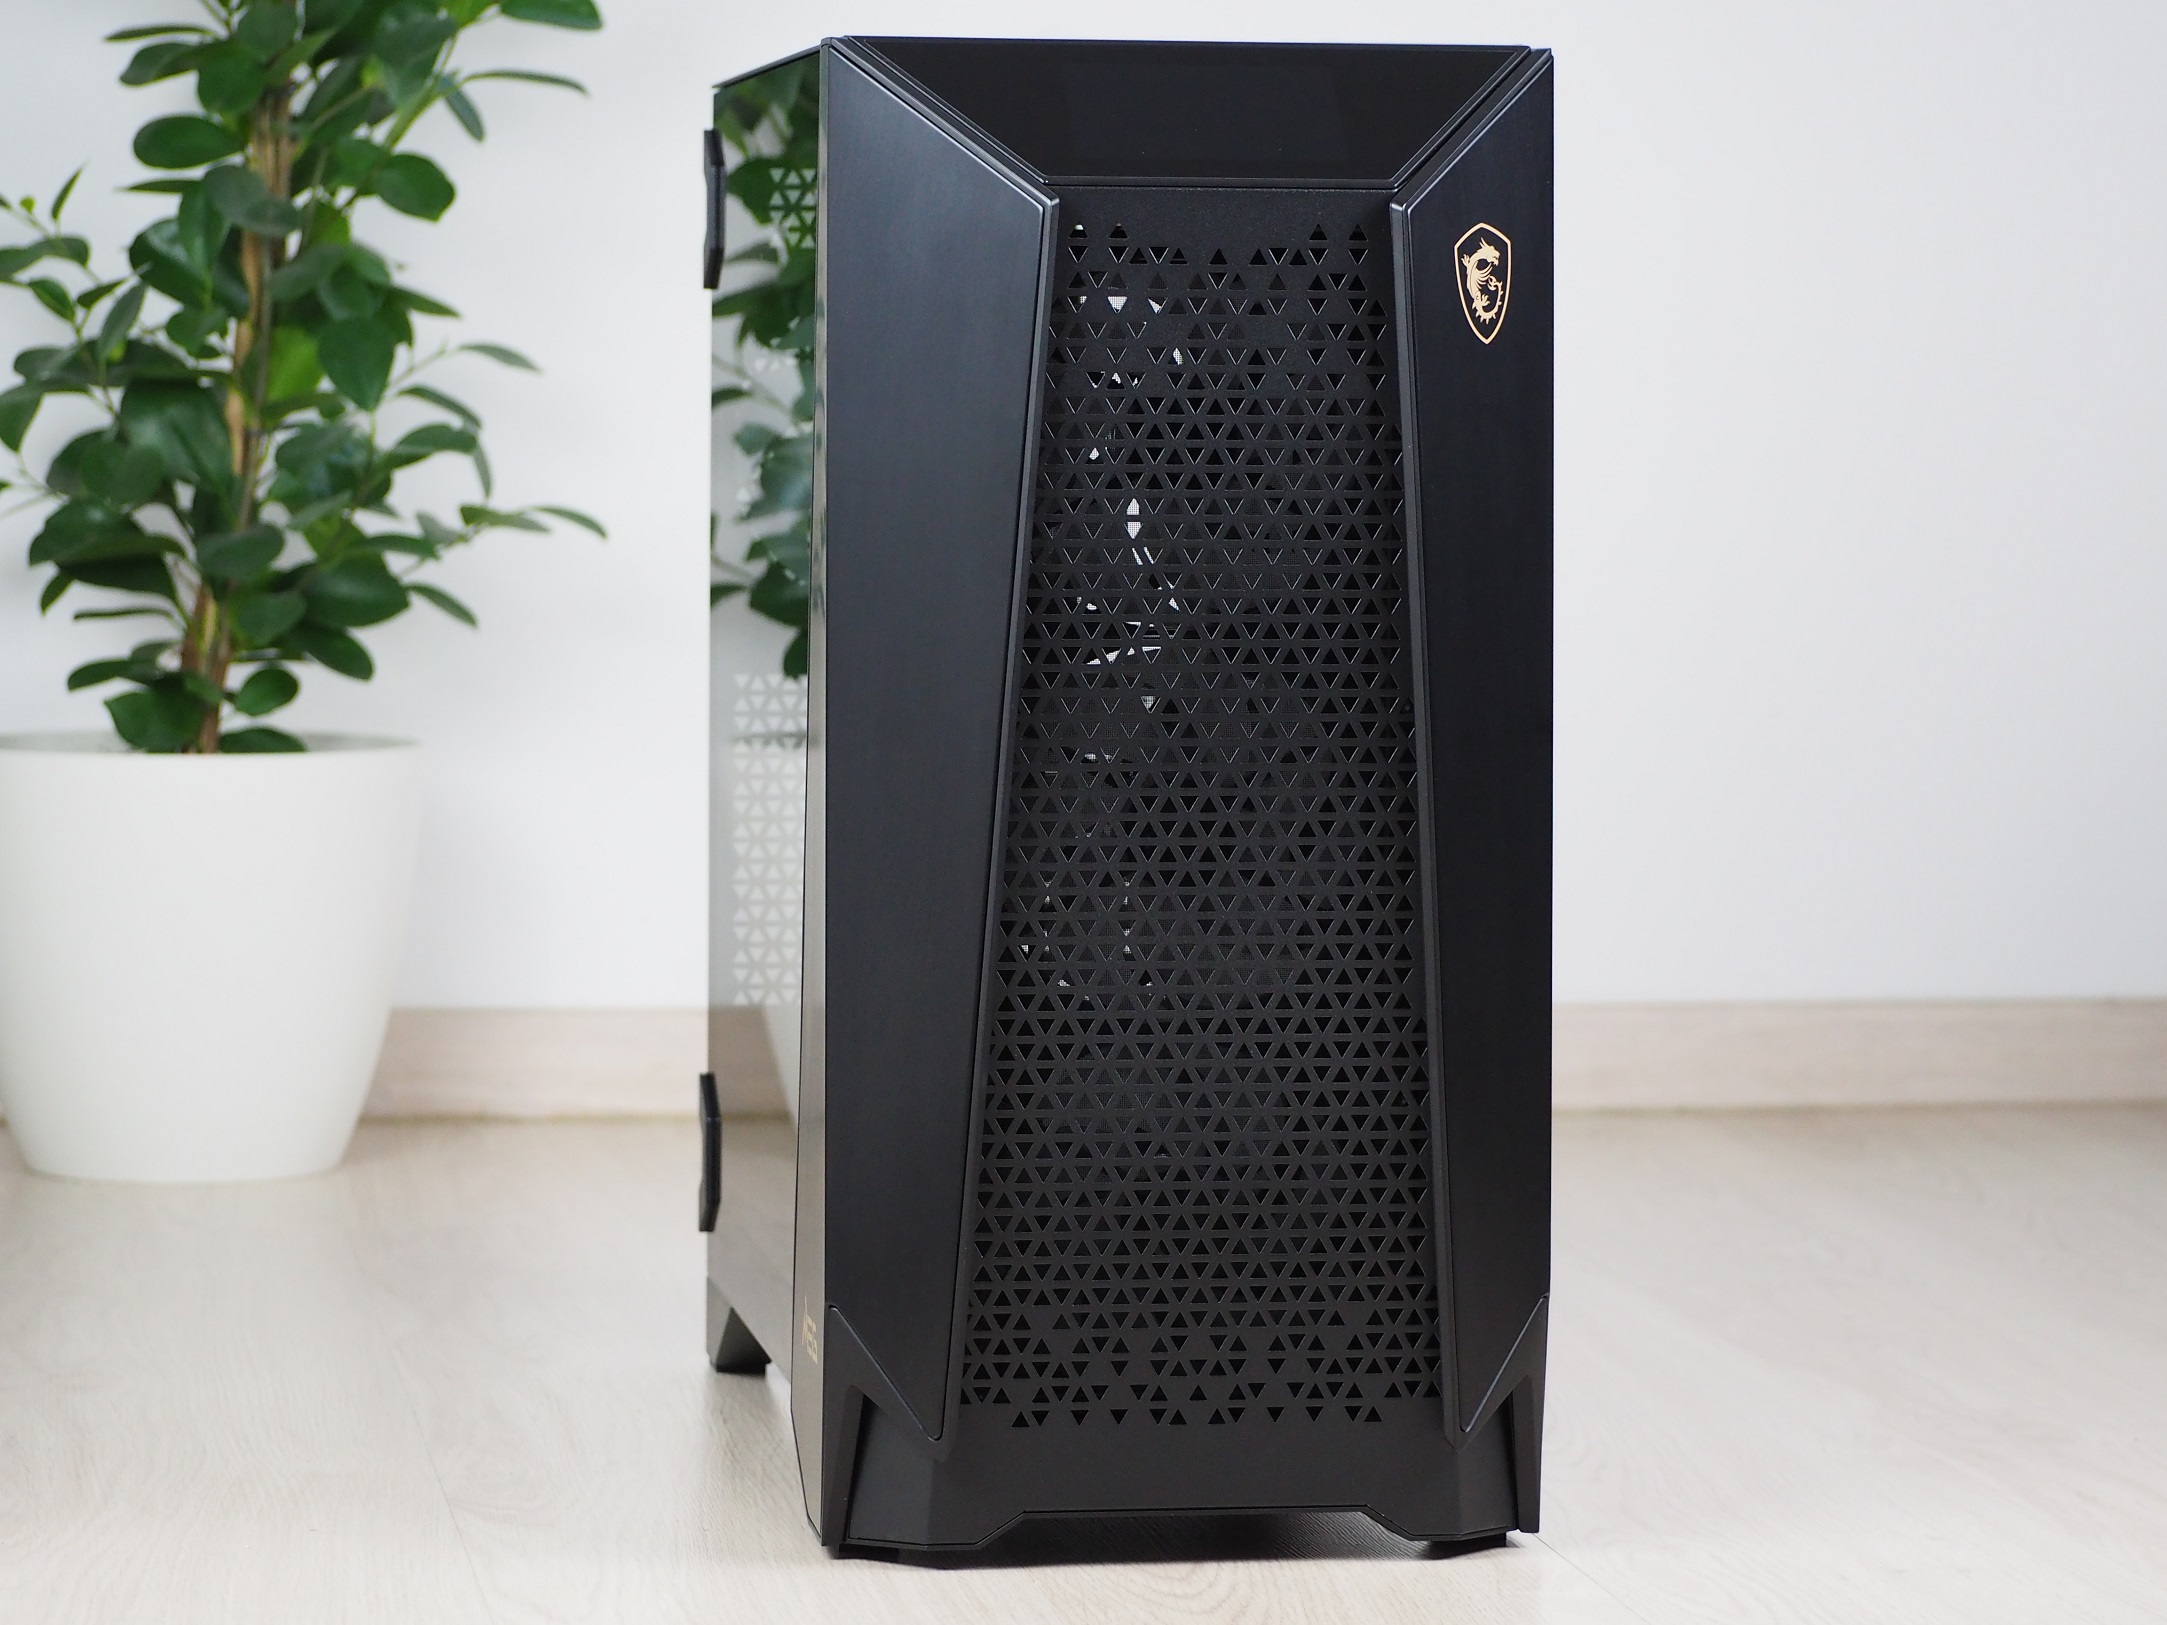
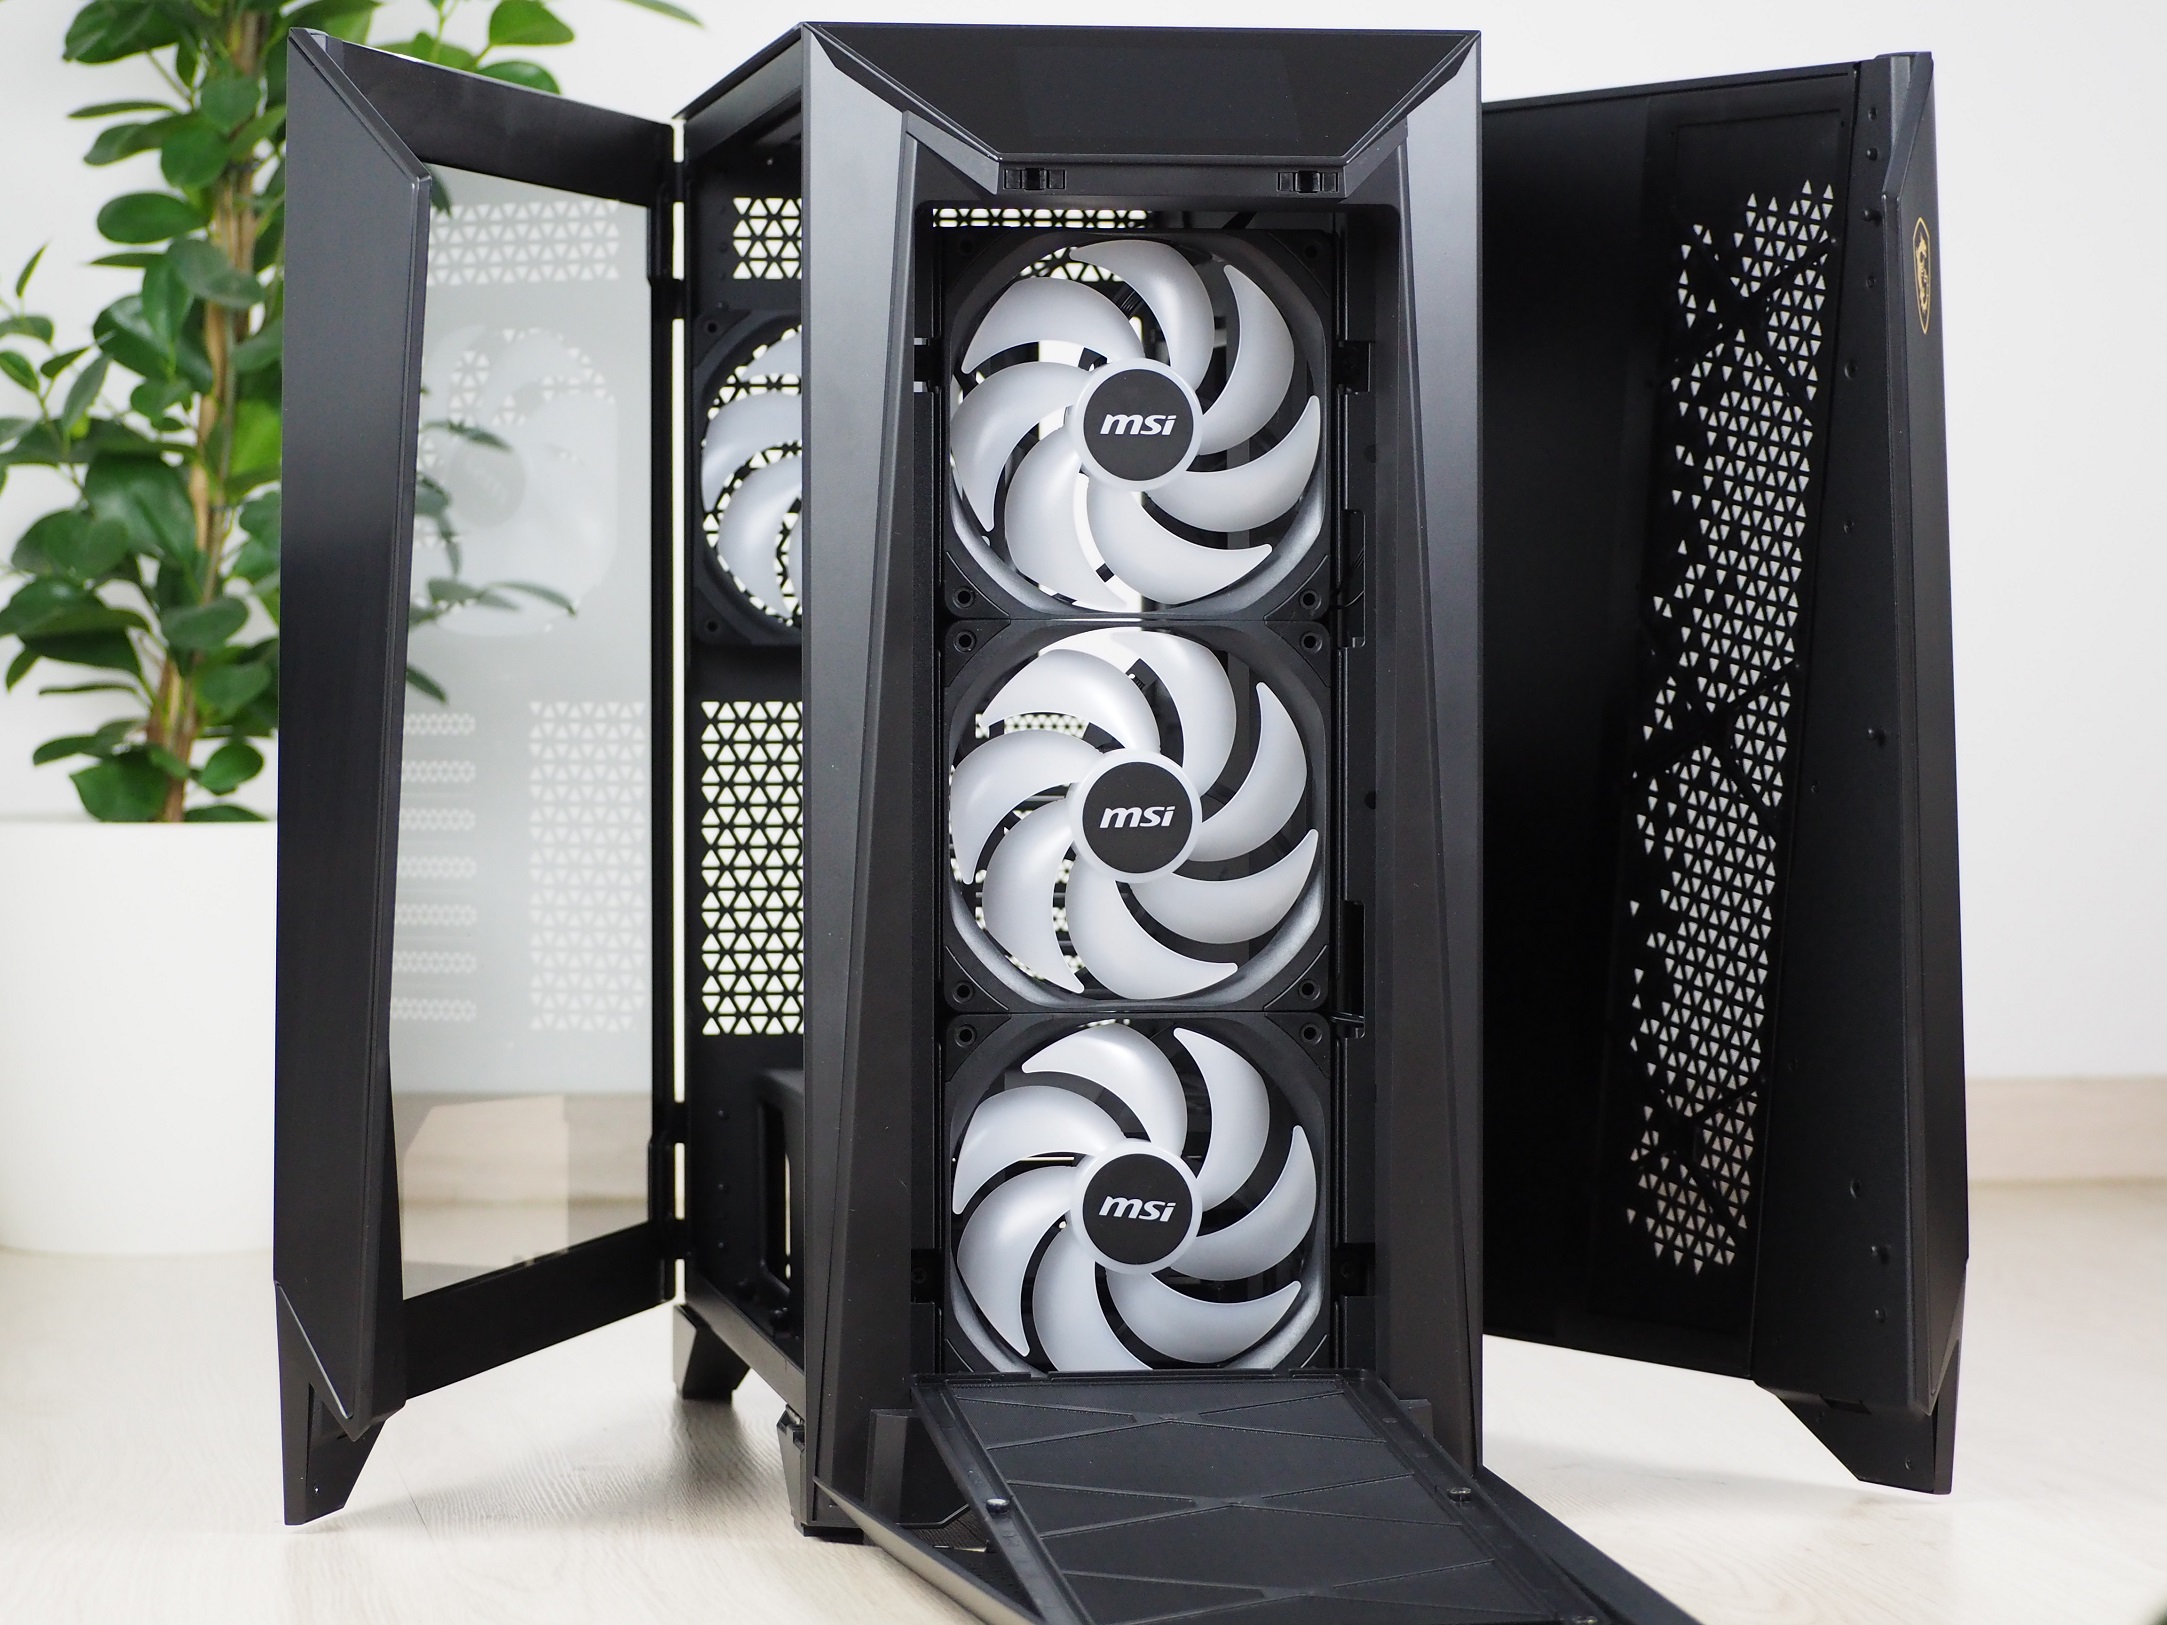
The left side panel consists of two parts. The larger part is made of tempered glass, while the smaller part is a combination of plastic and sheet metal. The front part of the side panel is coated with anodised aluminium on the surface, which gives the case a luxurious look. Size-wise, the side panel covers the entire side of the case and extends all the way to the front panel. But it doesn’t stop there and protrudes slightly beyond it. The protruding front part of the side panel serves to open the case, as it can be gripped there.

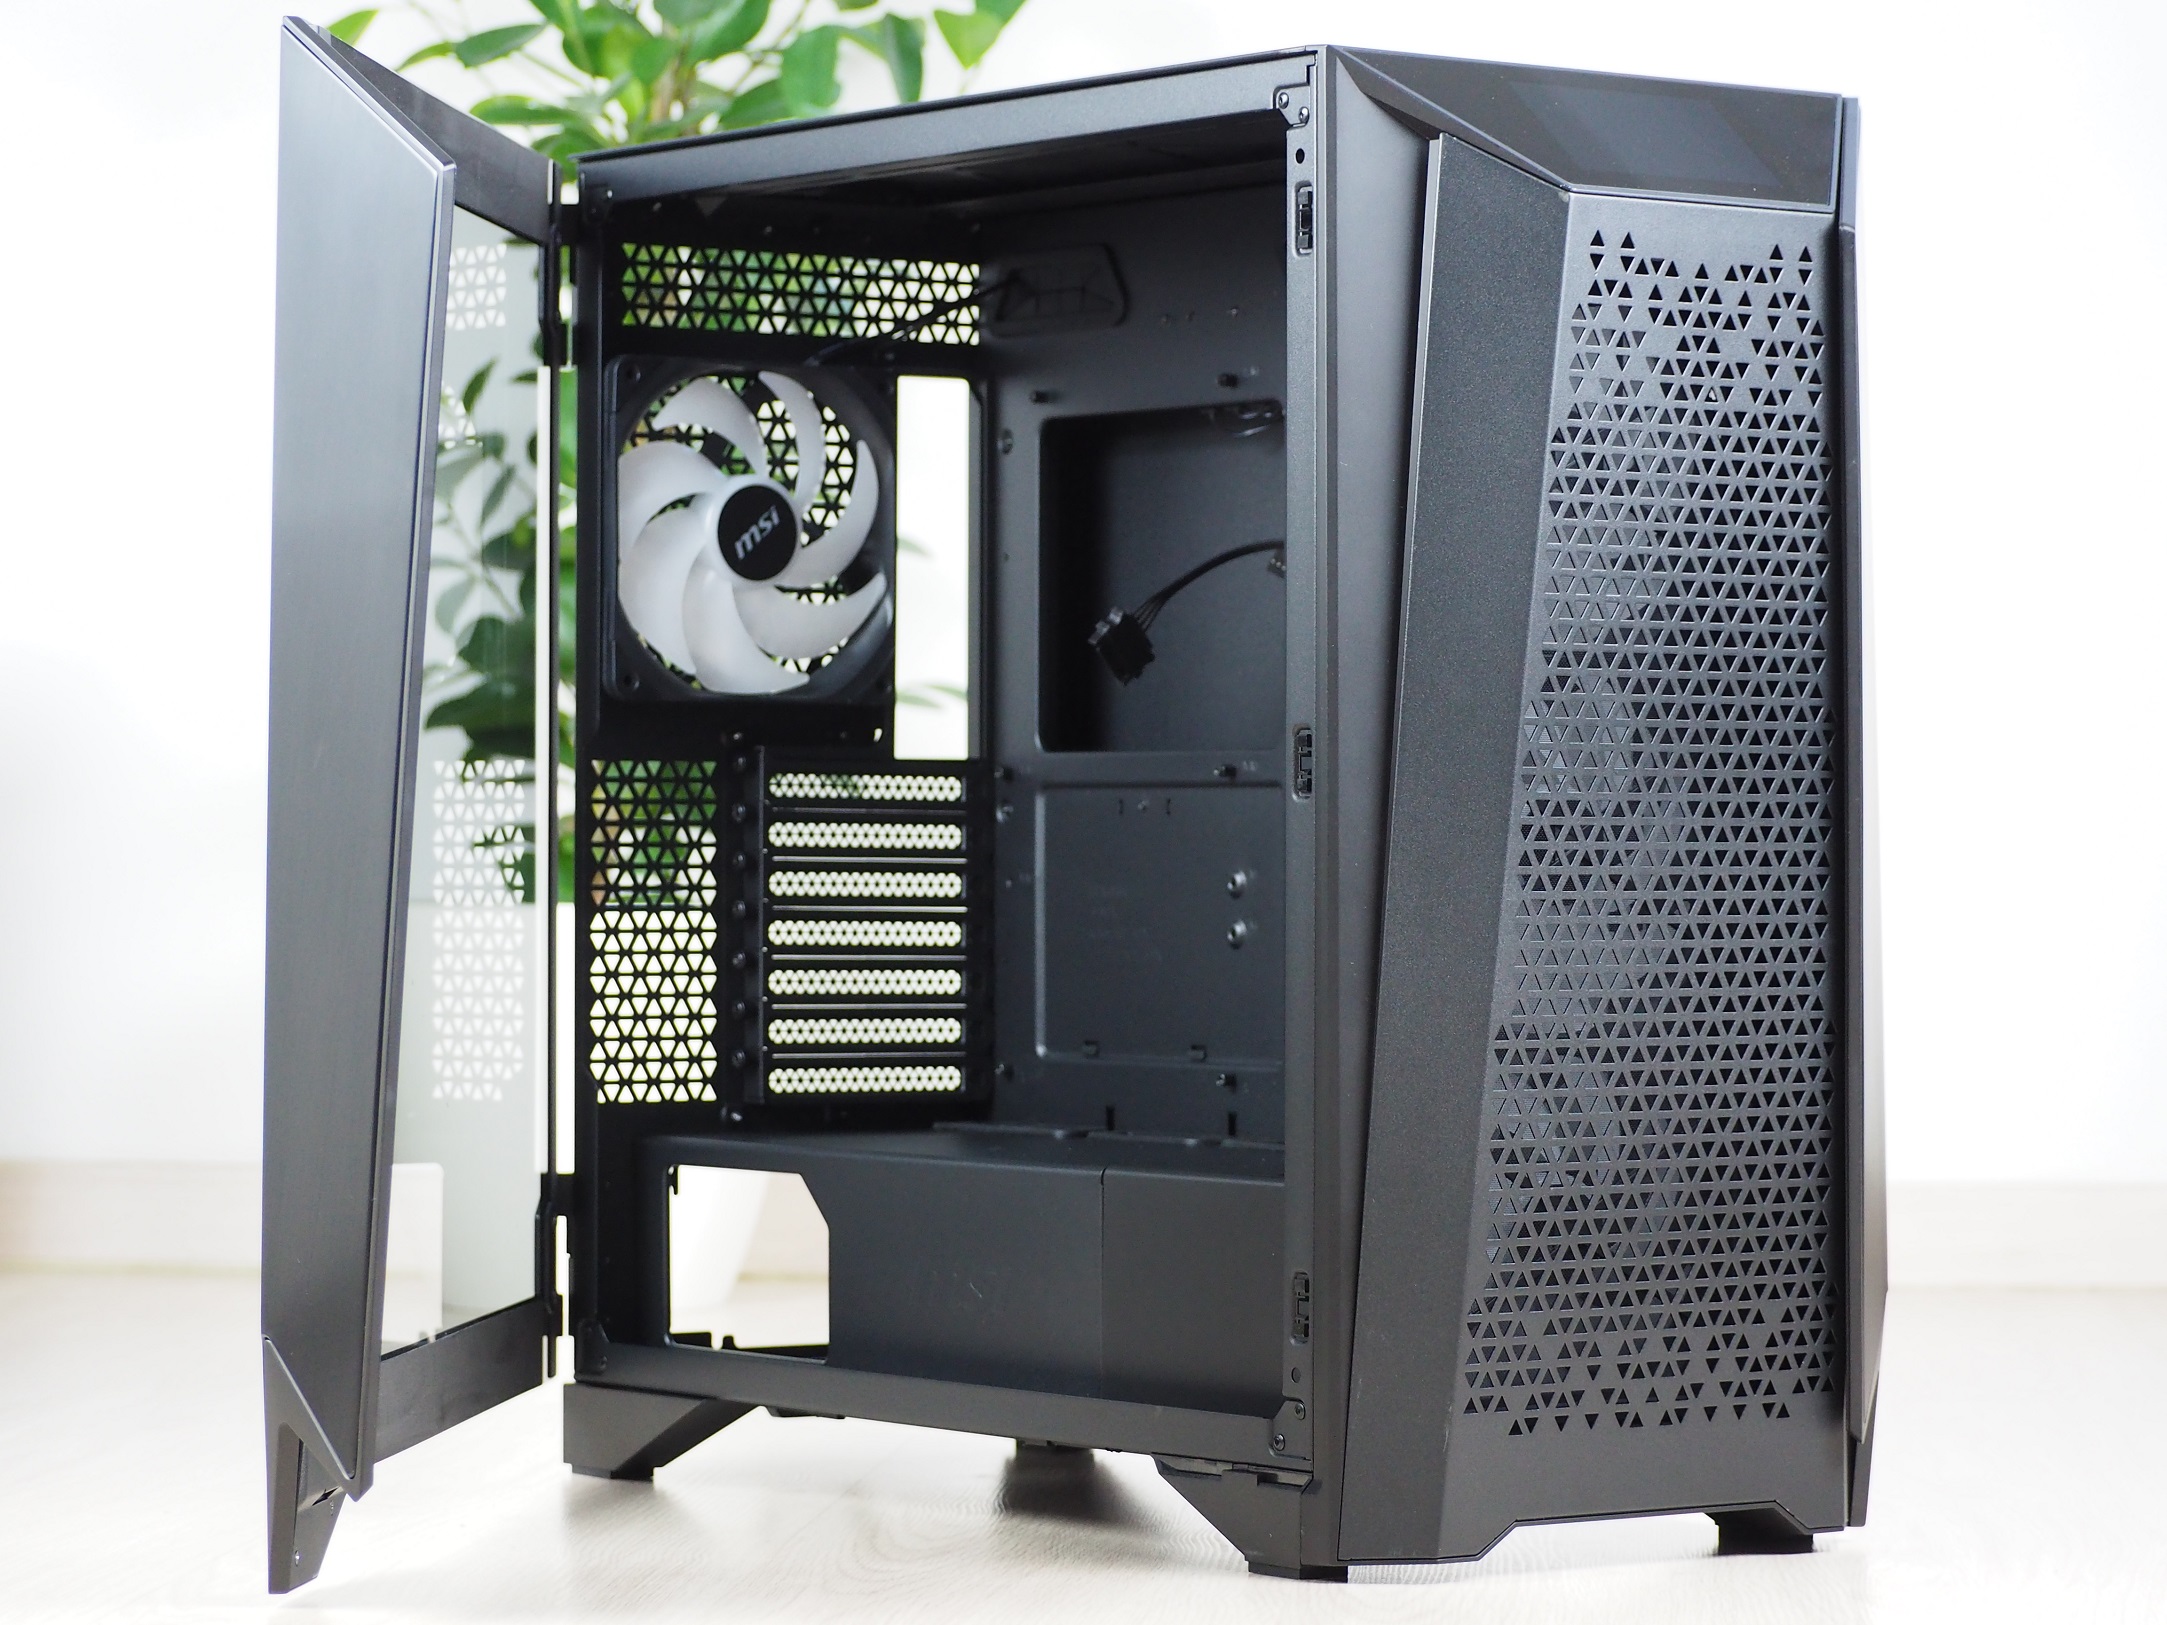
The mounting of the side panel is elegantly designed with two hinges, which allow the side panel to remain attached to the case and one to reach inside the case. Of course, for more complicated operations, it is advisable to simply remove the entire side panel by lifting it. The three round latches that fit directly into the locks on the case frame are used to secure the side panel. This tool-less method of securing is becoming increasingly popular among case manufacturers. To protect both the side panel and the front panel, it has thin rubber pads on the front to reduce the chance of scratching one part or the other when closing.
Considering the size of the side panel and the way it opens, I would imagine that the glass could be as thick as four millimetres, but in this case the glass thickness is smaller, namely 2.9 mm.

The right side panel is mounted and secured to the case using the same system as the left side panel. The only difference is that most of it is made of sheet metal. Its front part is covered by an irregular band of triangular perforations. On the inside, however, the perforations are covered by a fine nylon dust filter, so you don’t have to worry about dust covering the cables. The filter from the front fits precisely into the grooves on the side panel, while the other side is held in place by magnets.
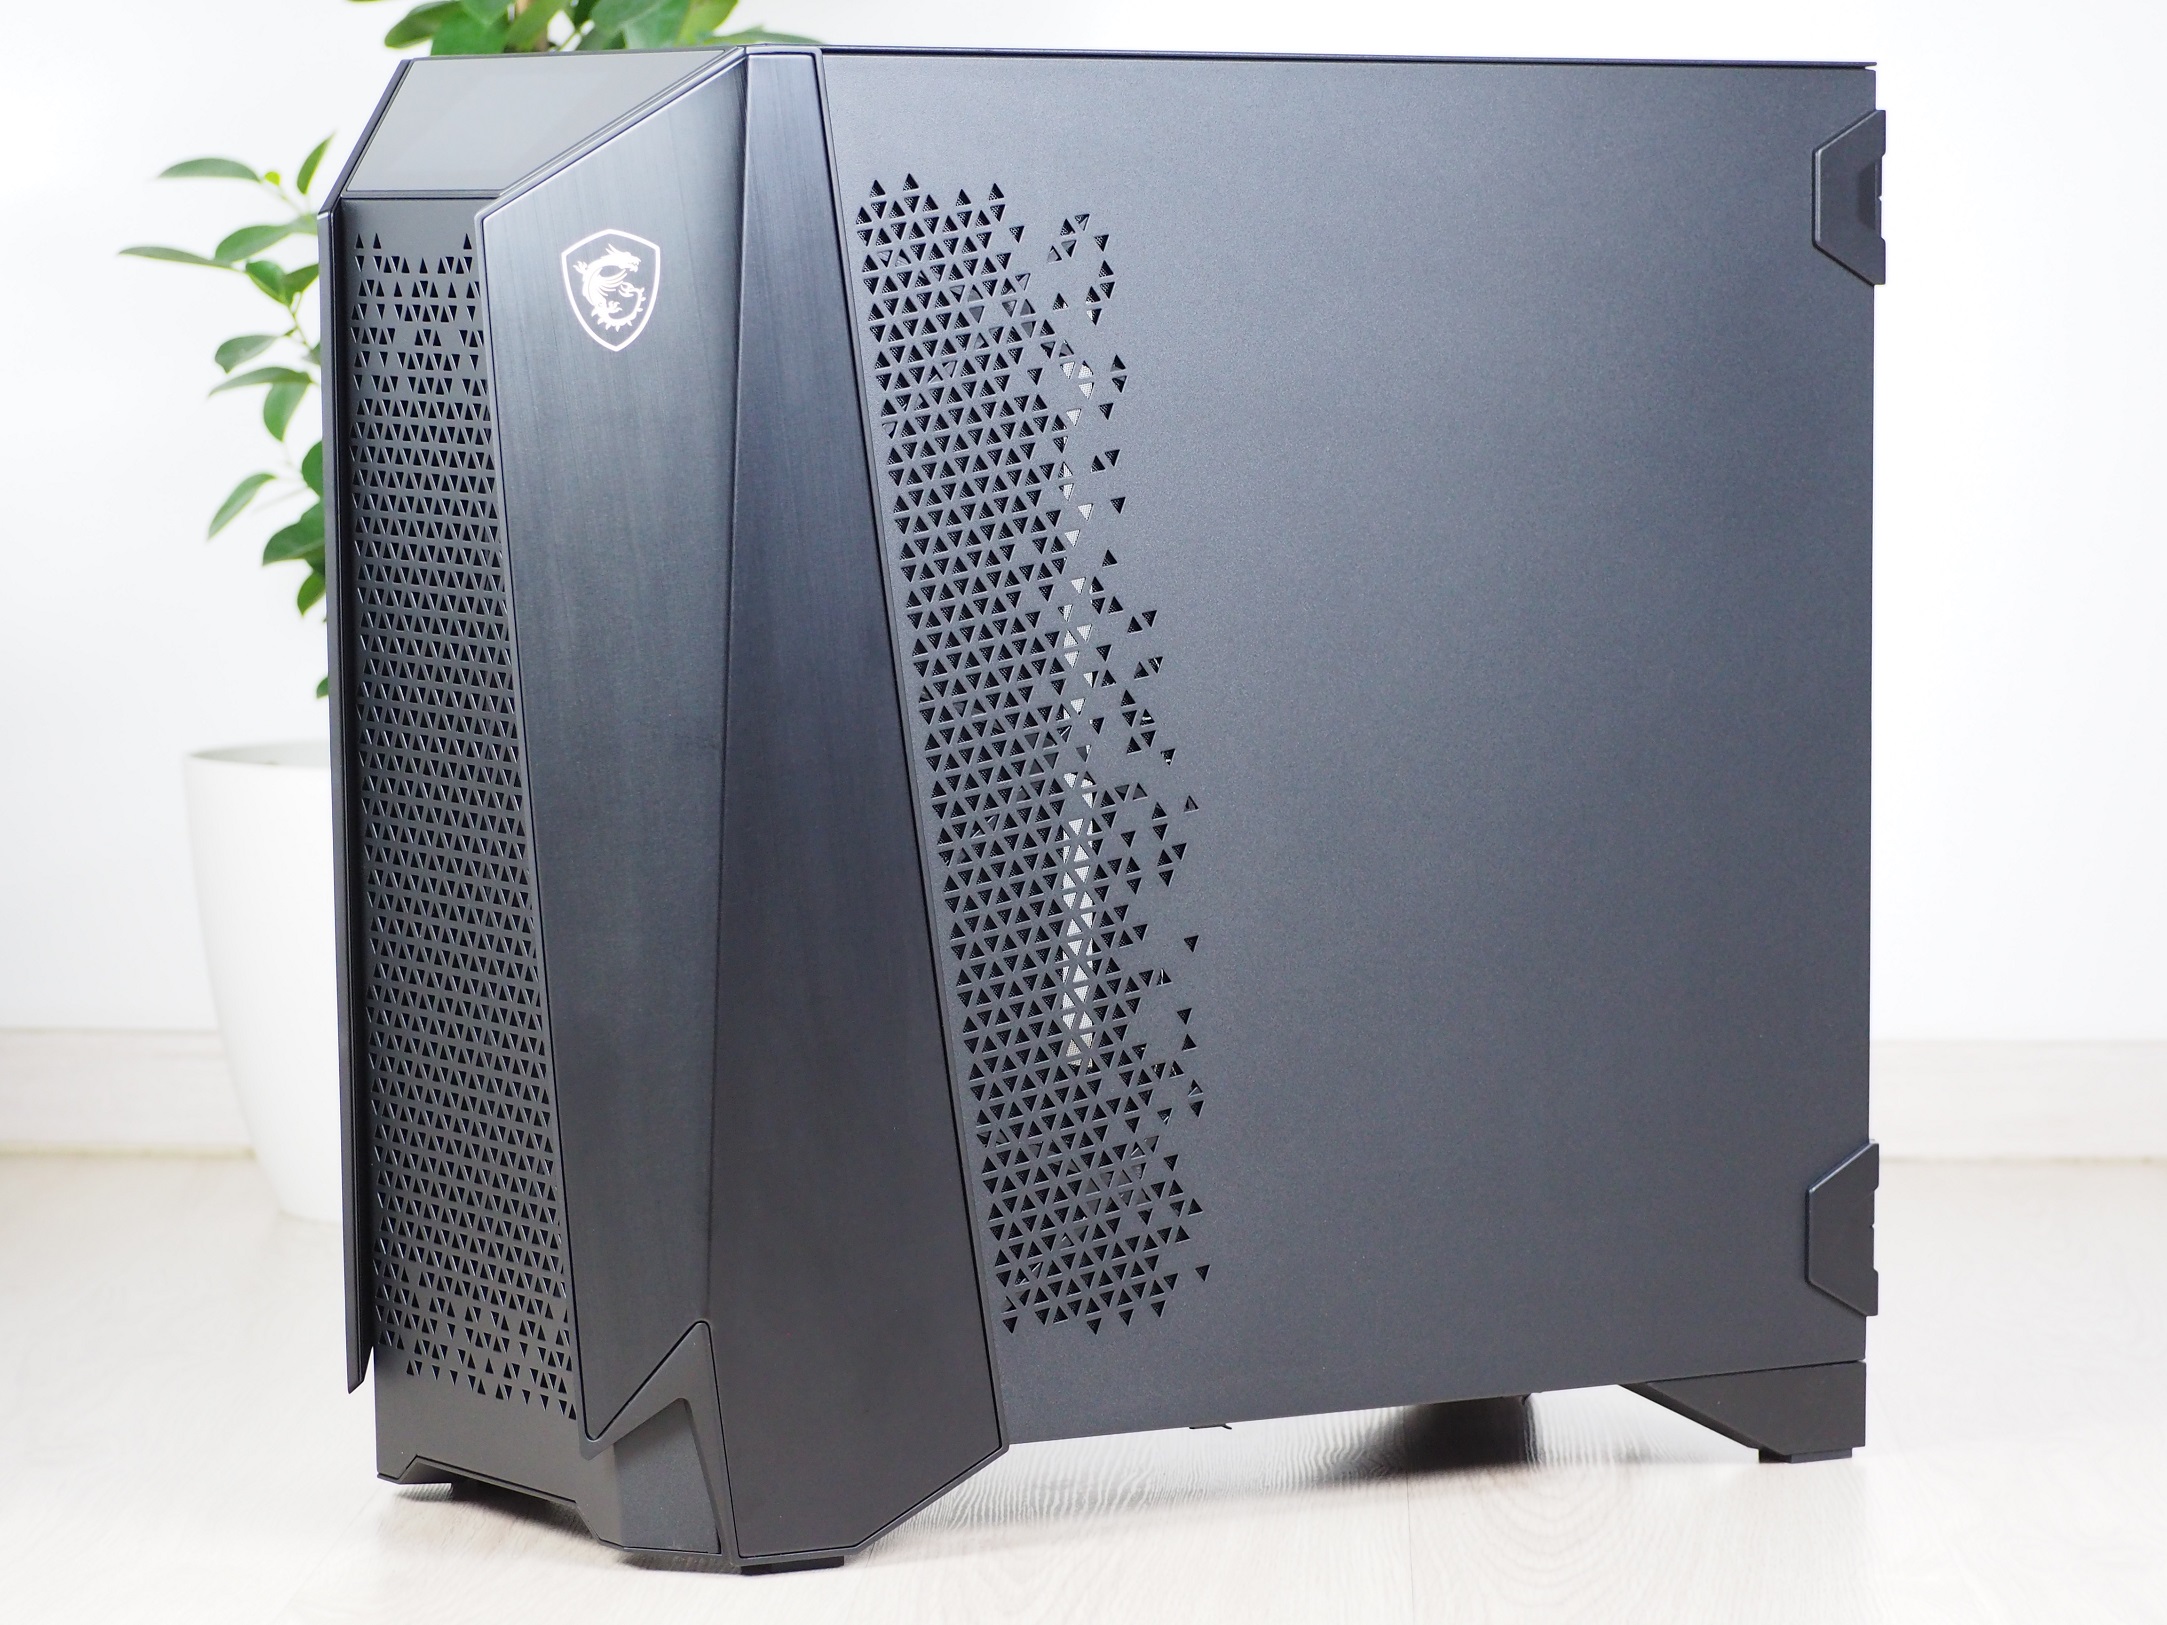
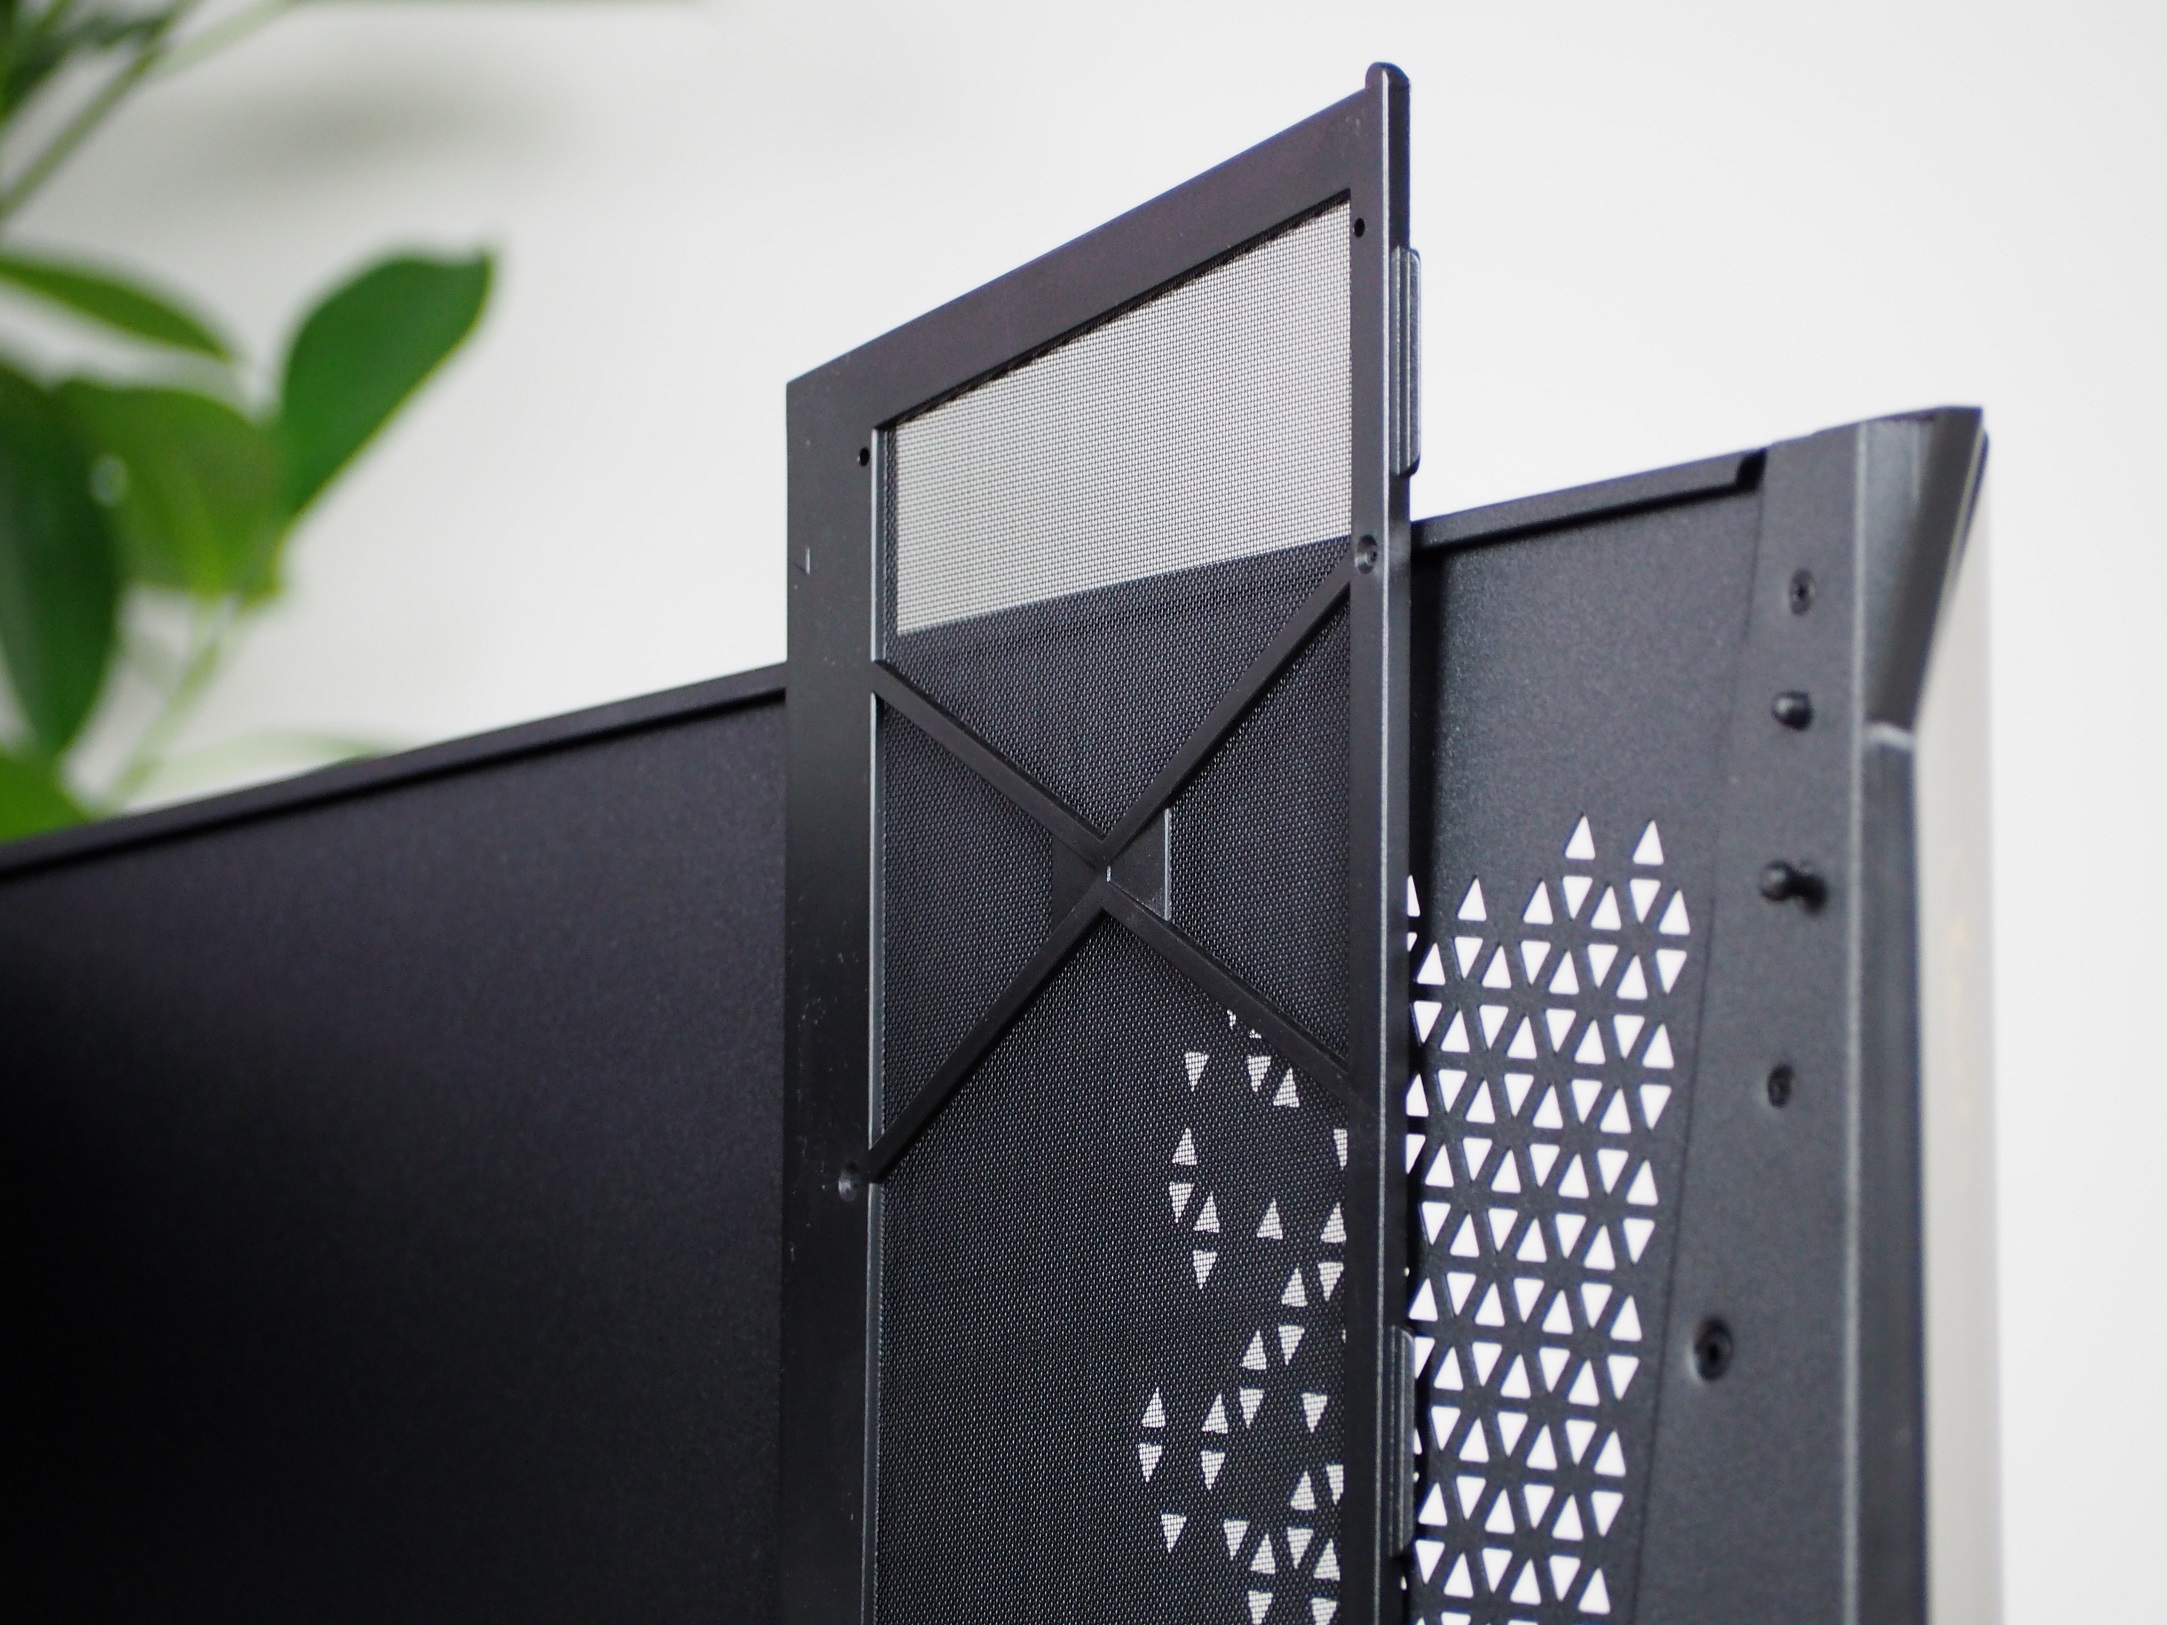
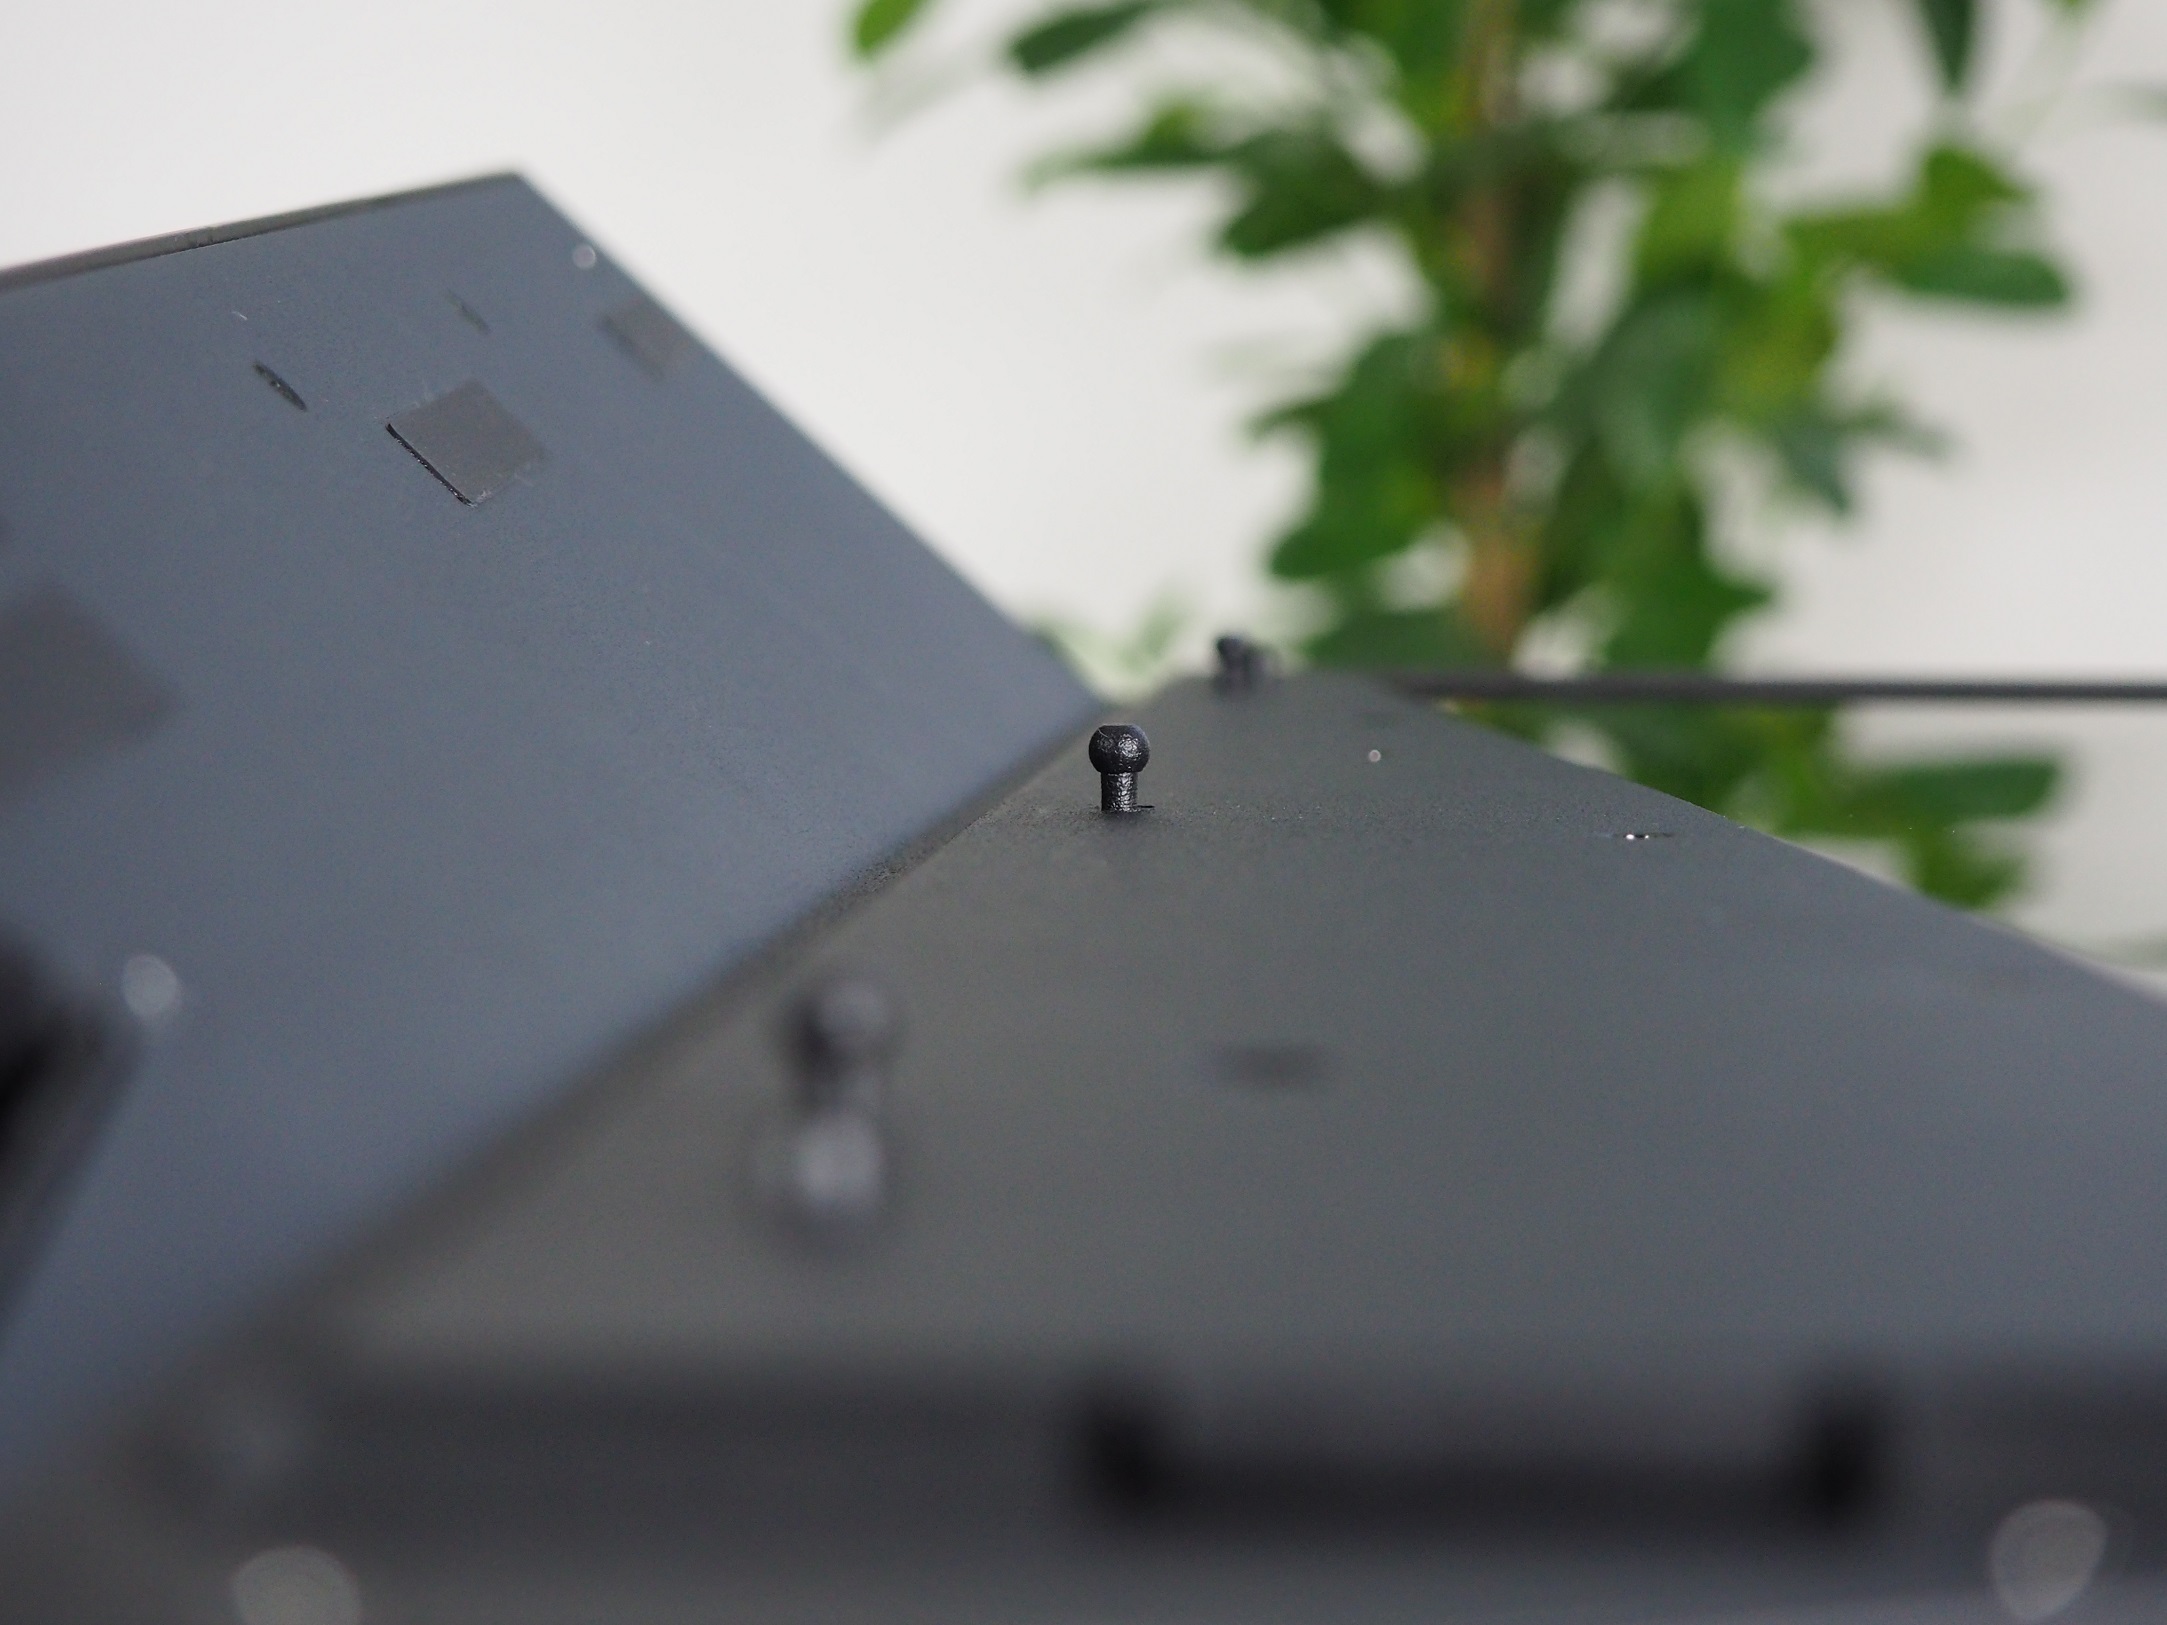
The front mask stands out with its sharp contours and triangular perforations. To remove it, it is necessary to open both side panels with the overlap. The sheet metal perforation is secured on top by ball studs, while underneath it is merely hooked into the holes. It is therefore necessary to pull on the upper part to remove it.
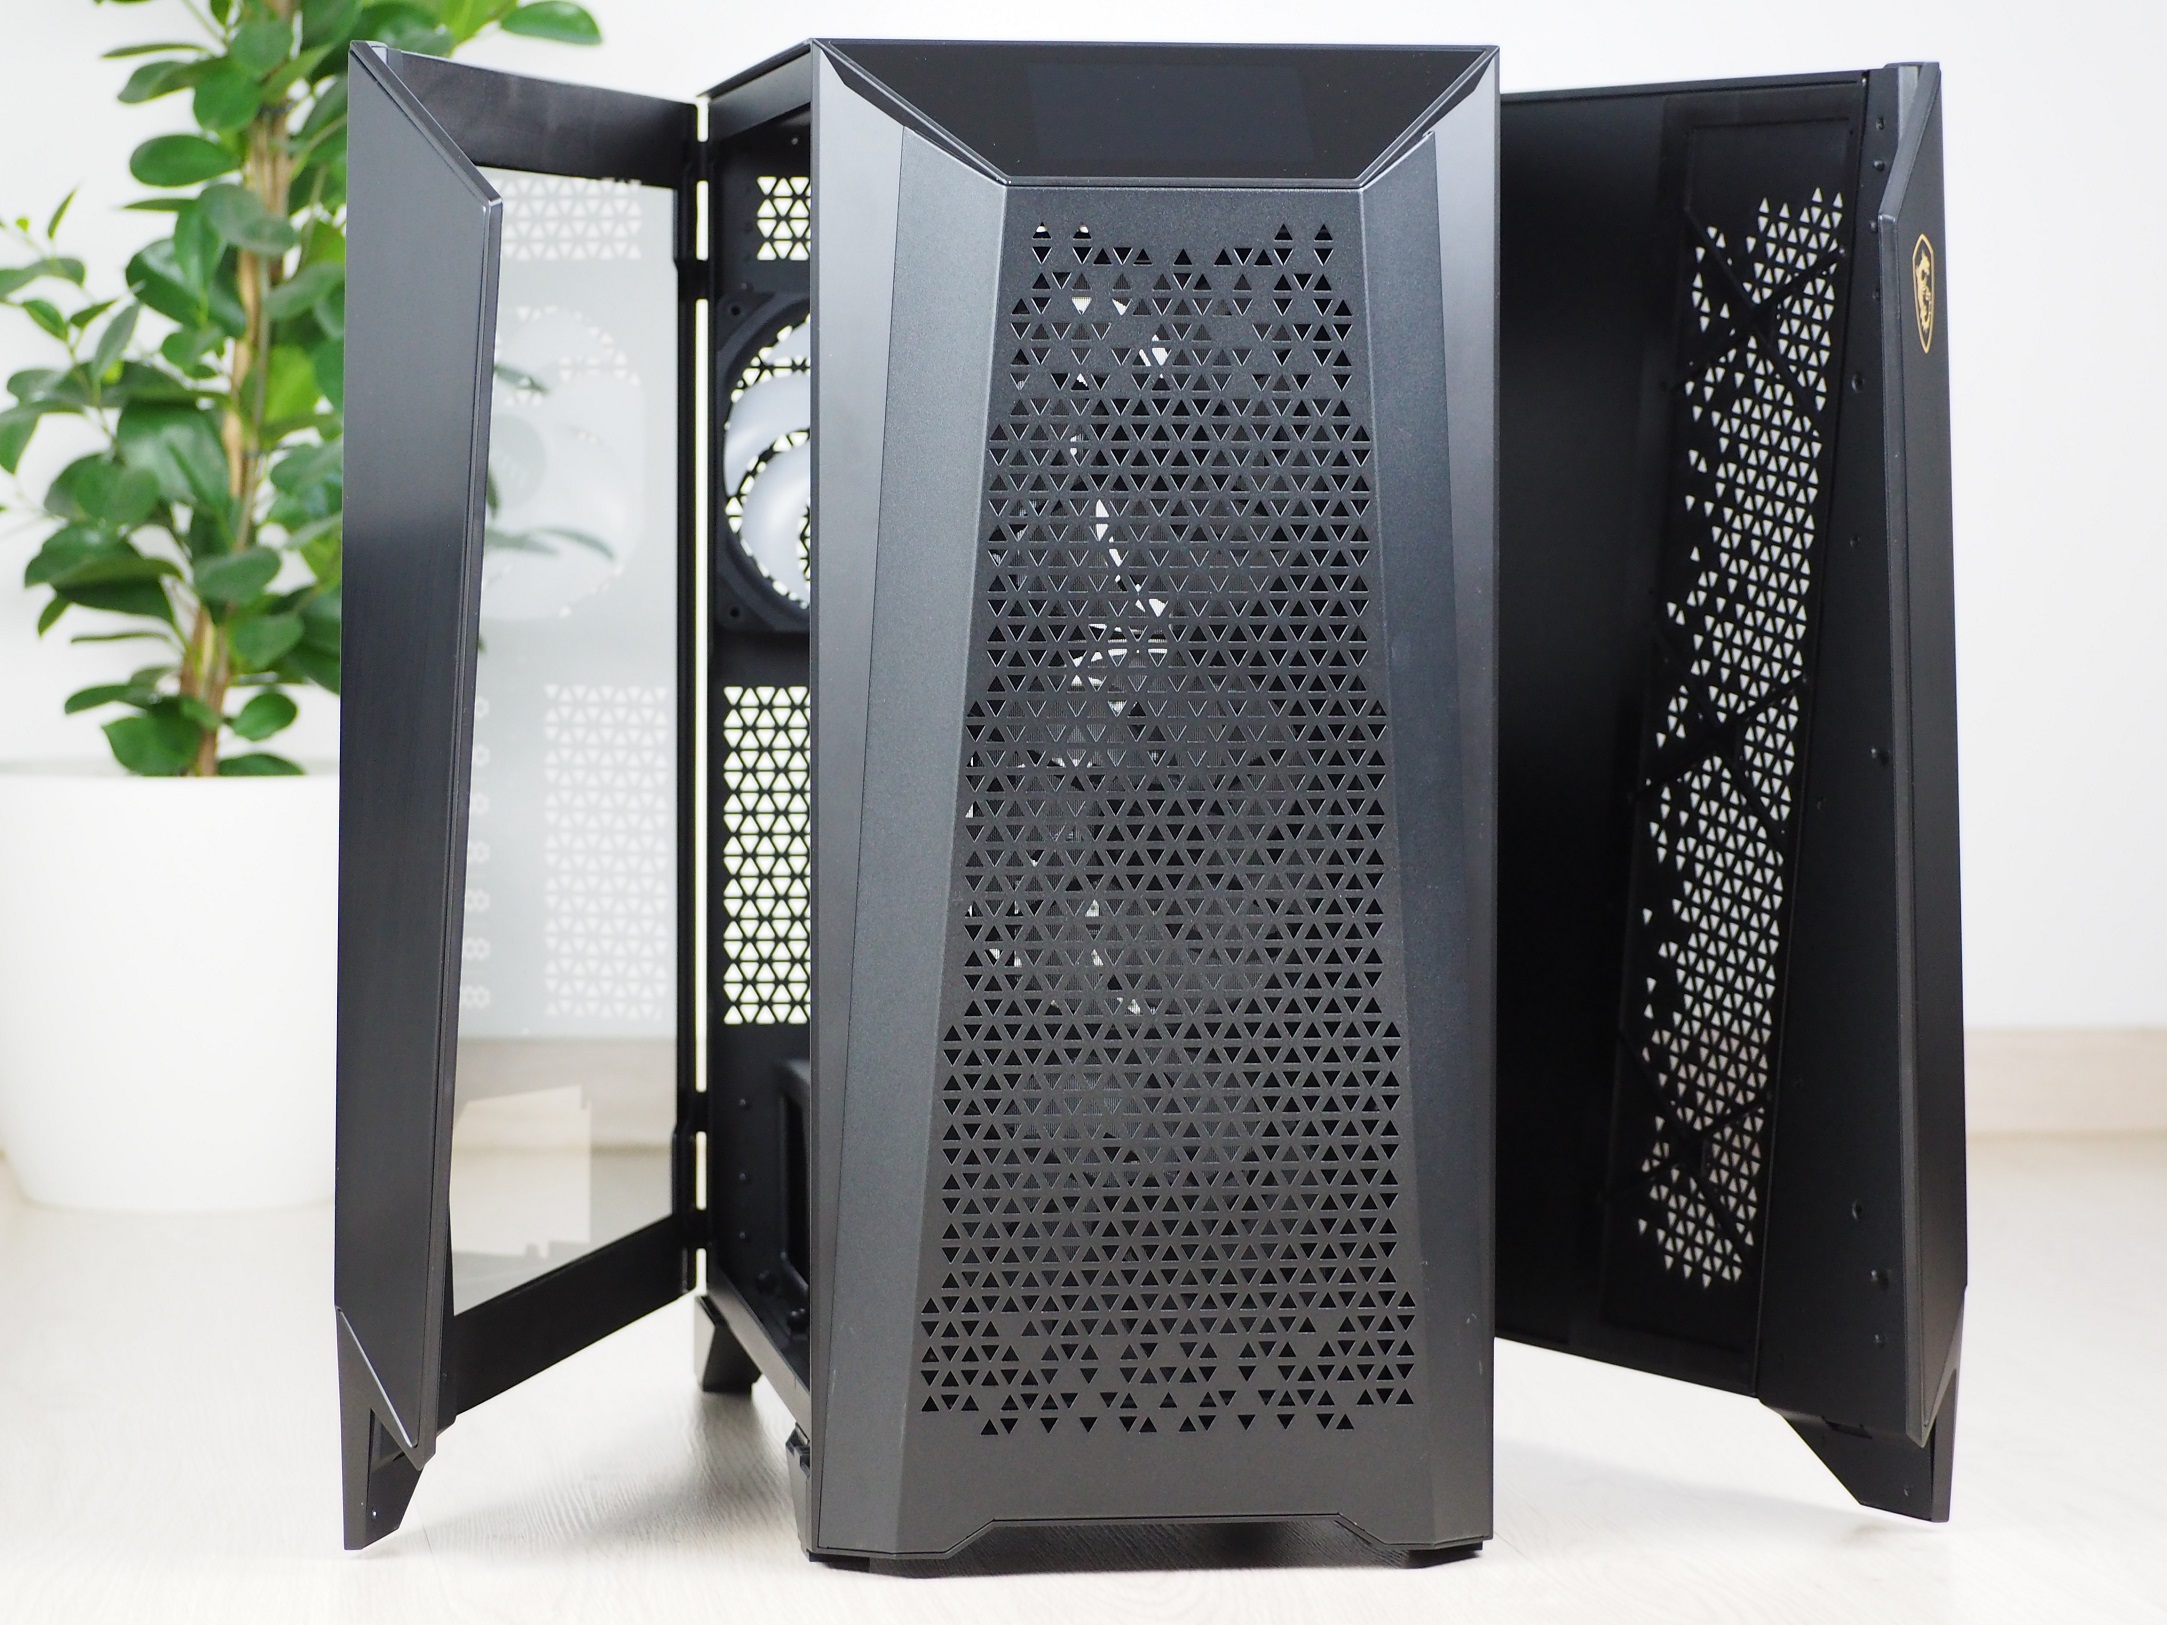
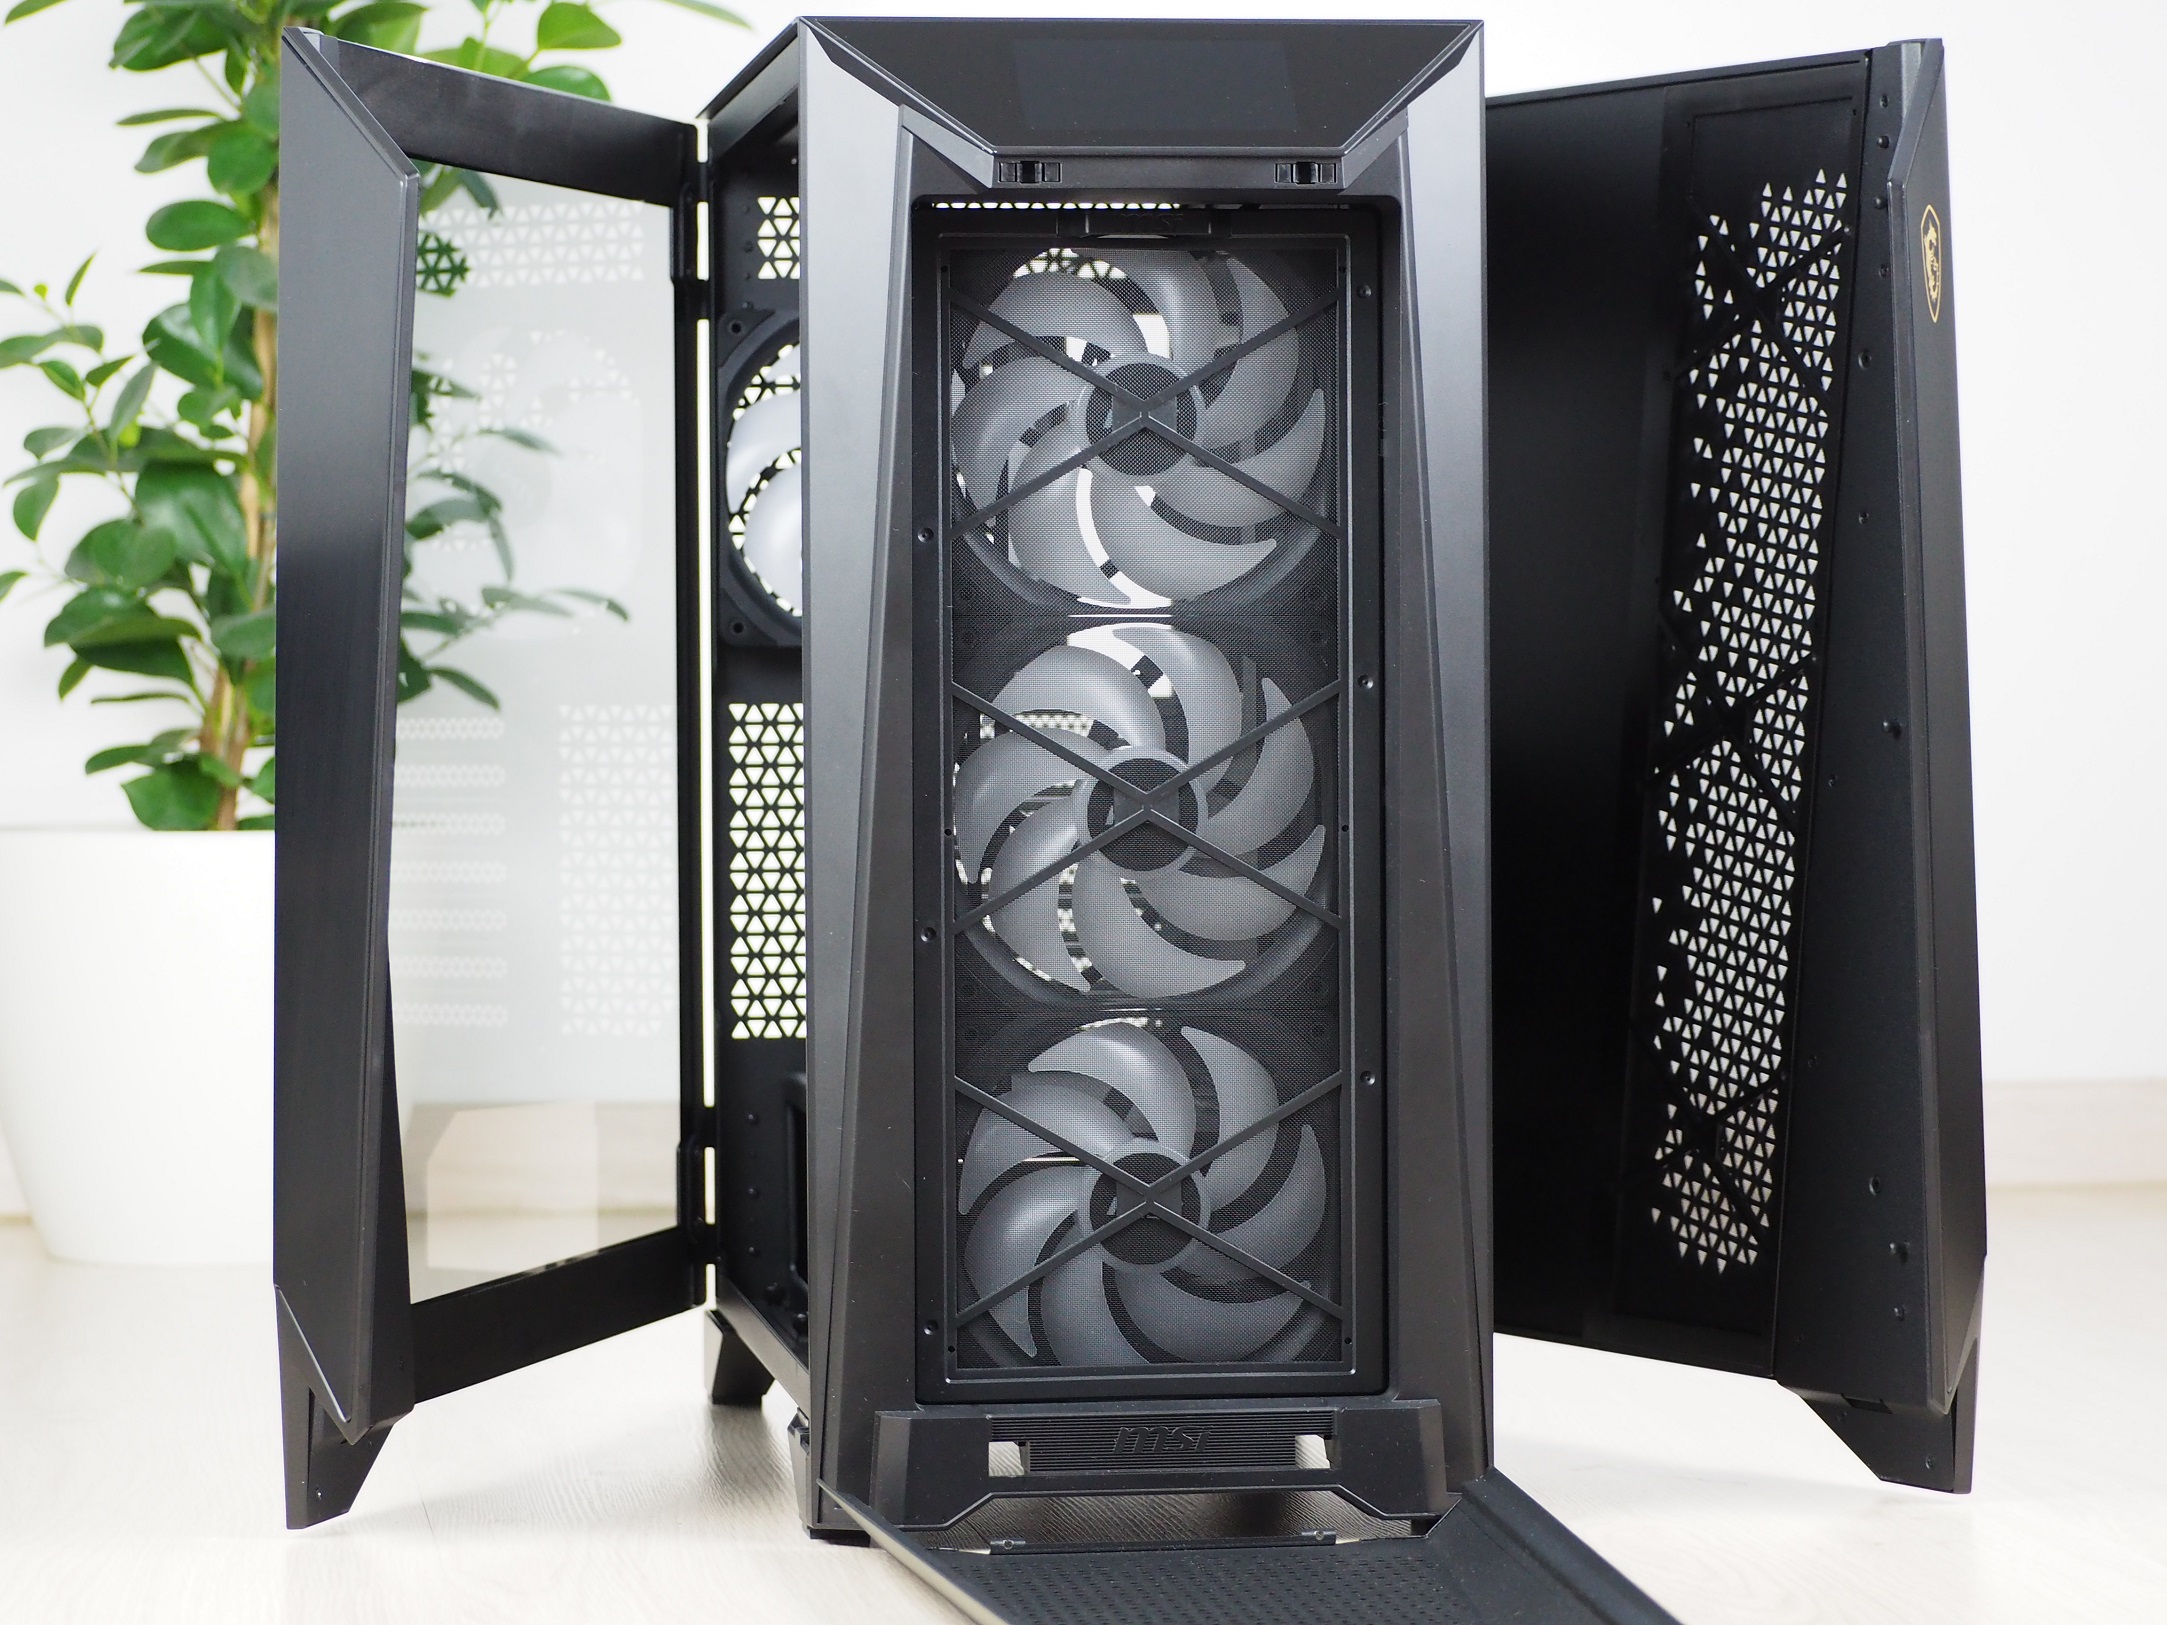
After removing the sheet metal perforation, you get to the fine nylon filter that effectively protects the inside of the case from even fine dust particles. The dust filter can be easily removed using the handle on its top. Since it is attached to the body only with the help of magnets on its sides, you just need to overcome their force. Behind the filter, you will come across three ARGB fans of 140 mm format. Interestingly for a 300 EUR case, there are no further specifications of the fitted fans. The only thing that can be ascertained is the supply voltage (12 V), current (0.28 A) and designation (14025 L 1.0) directly from the label on the back of the fan.
The fans are mounted on a metal frame, which can be removed with four screws if necessary. The presence of this frame makes the installation of a liquid cooler radiator in particular much easier, even if the case is already fitted with components. You have enough space for a liquid cooler radiator in the 280/360 mm format.

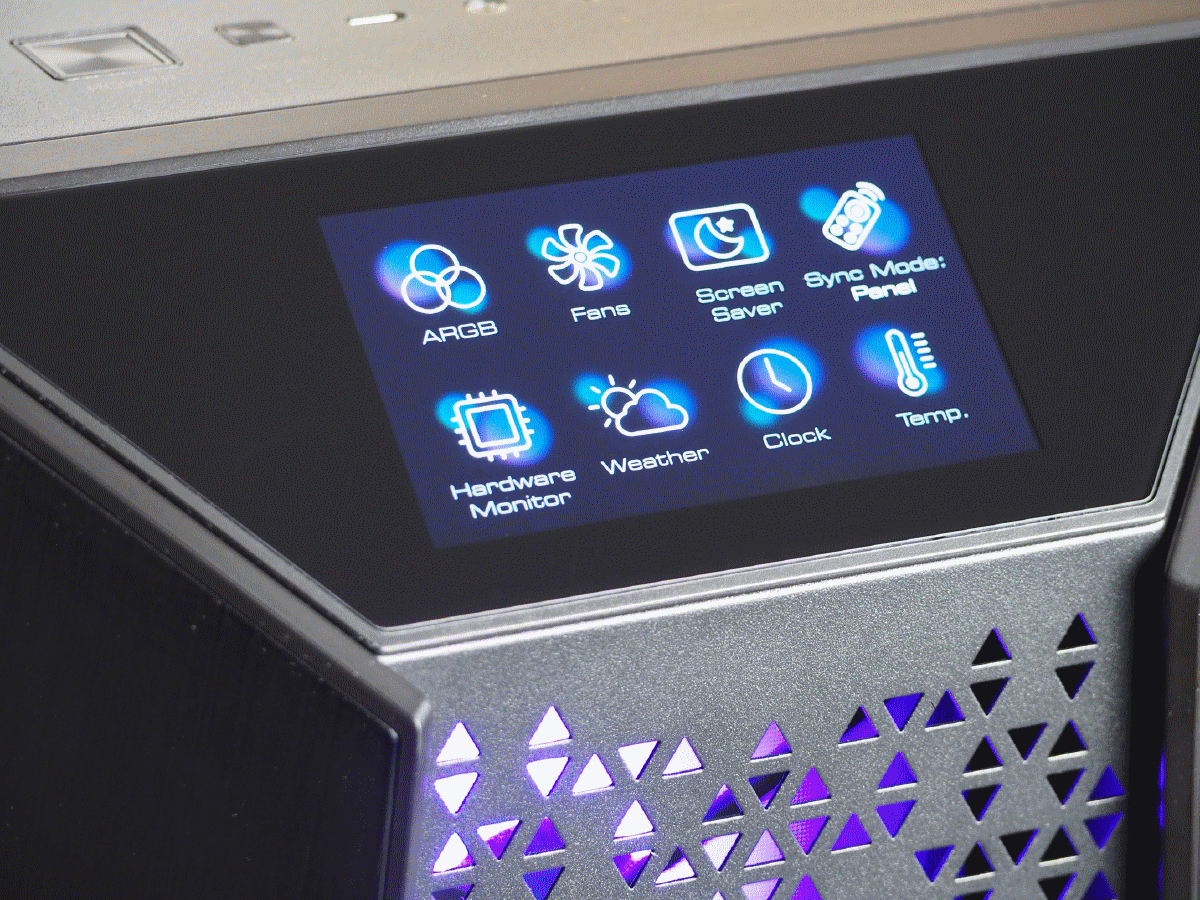
The reason to choose the MEG Prospect 700R is undoubtedly its touch-controlled display. It is the capacitive type with a diagonal of 4.3″ at a resolution of 480 × 800 px. Before testing, I had my doubts about the reliability of the touch control display, but my fears were ultimately unnecessary. Every subtle touch of the display was perfectly registered and responded to immediately.
The touch panel has not only an informative but also a functional role. With its help, you can almost fully control the entire case. On the main screen you will find eight different options: ARGB, Fans, Screen Saver, Sync Mode, Hardware monitor, Weather, Clock, Temp.
- ARGB – You can instantly select a backlight mode with the corresponding colour. You don’t have to click through the button many times, as is usual.
- Fans – via “Port” A, B, C or D you control all fans connected to the touch panel microprocessor. The only thing missing for full control of the case is precise fan regulation. Through the panel you can only control them in 20% increments.
- Screen Saver – If the panel is not in use, you can activate the screensaver. This can be set to a duration of inactivity from 30 to 120 seconds. There are three different animations to choose from.
- Sync Mode – select how you want to control the colour and speed of the fans. Either via the touchpad, the MSI Center utility app, or the motherboard.
- Hardware monitor – you can monitor the CPU and graphics card clock speeds as well as their temperatures on the display. However, this feature is only available with the MSI Center app installed.
- Weather – This feature, which is only active with the utility app, shows you the temperature, UV index, humidity and precipitation probability in your selected location.
- Clock – displays the time, which it takes from your operating system. Also, the function is not available without the utility application.
- Temp – informs you about the temperature from a sensor that is connected to the microprocessor of the touch panel.
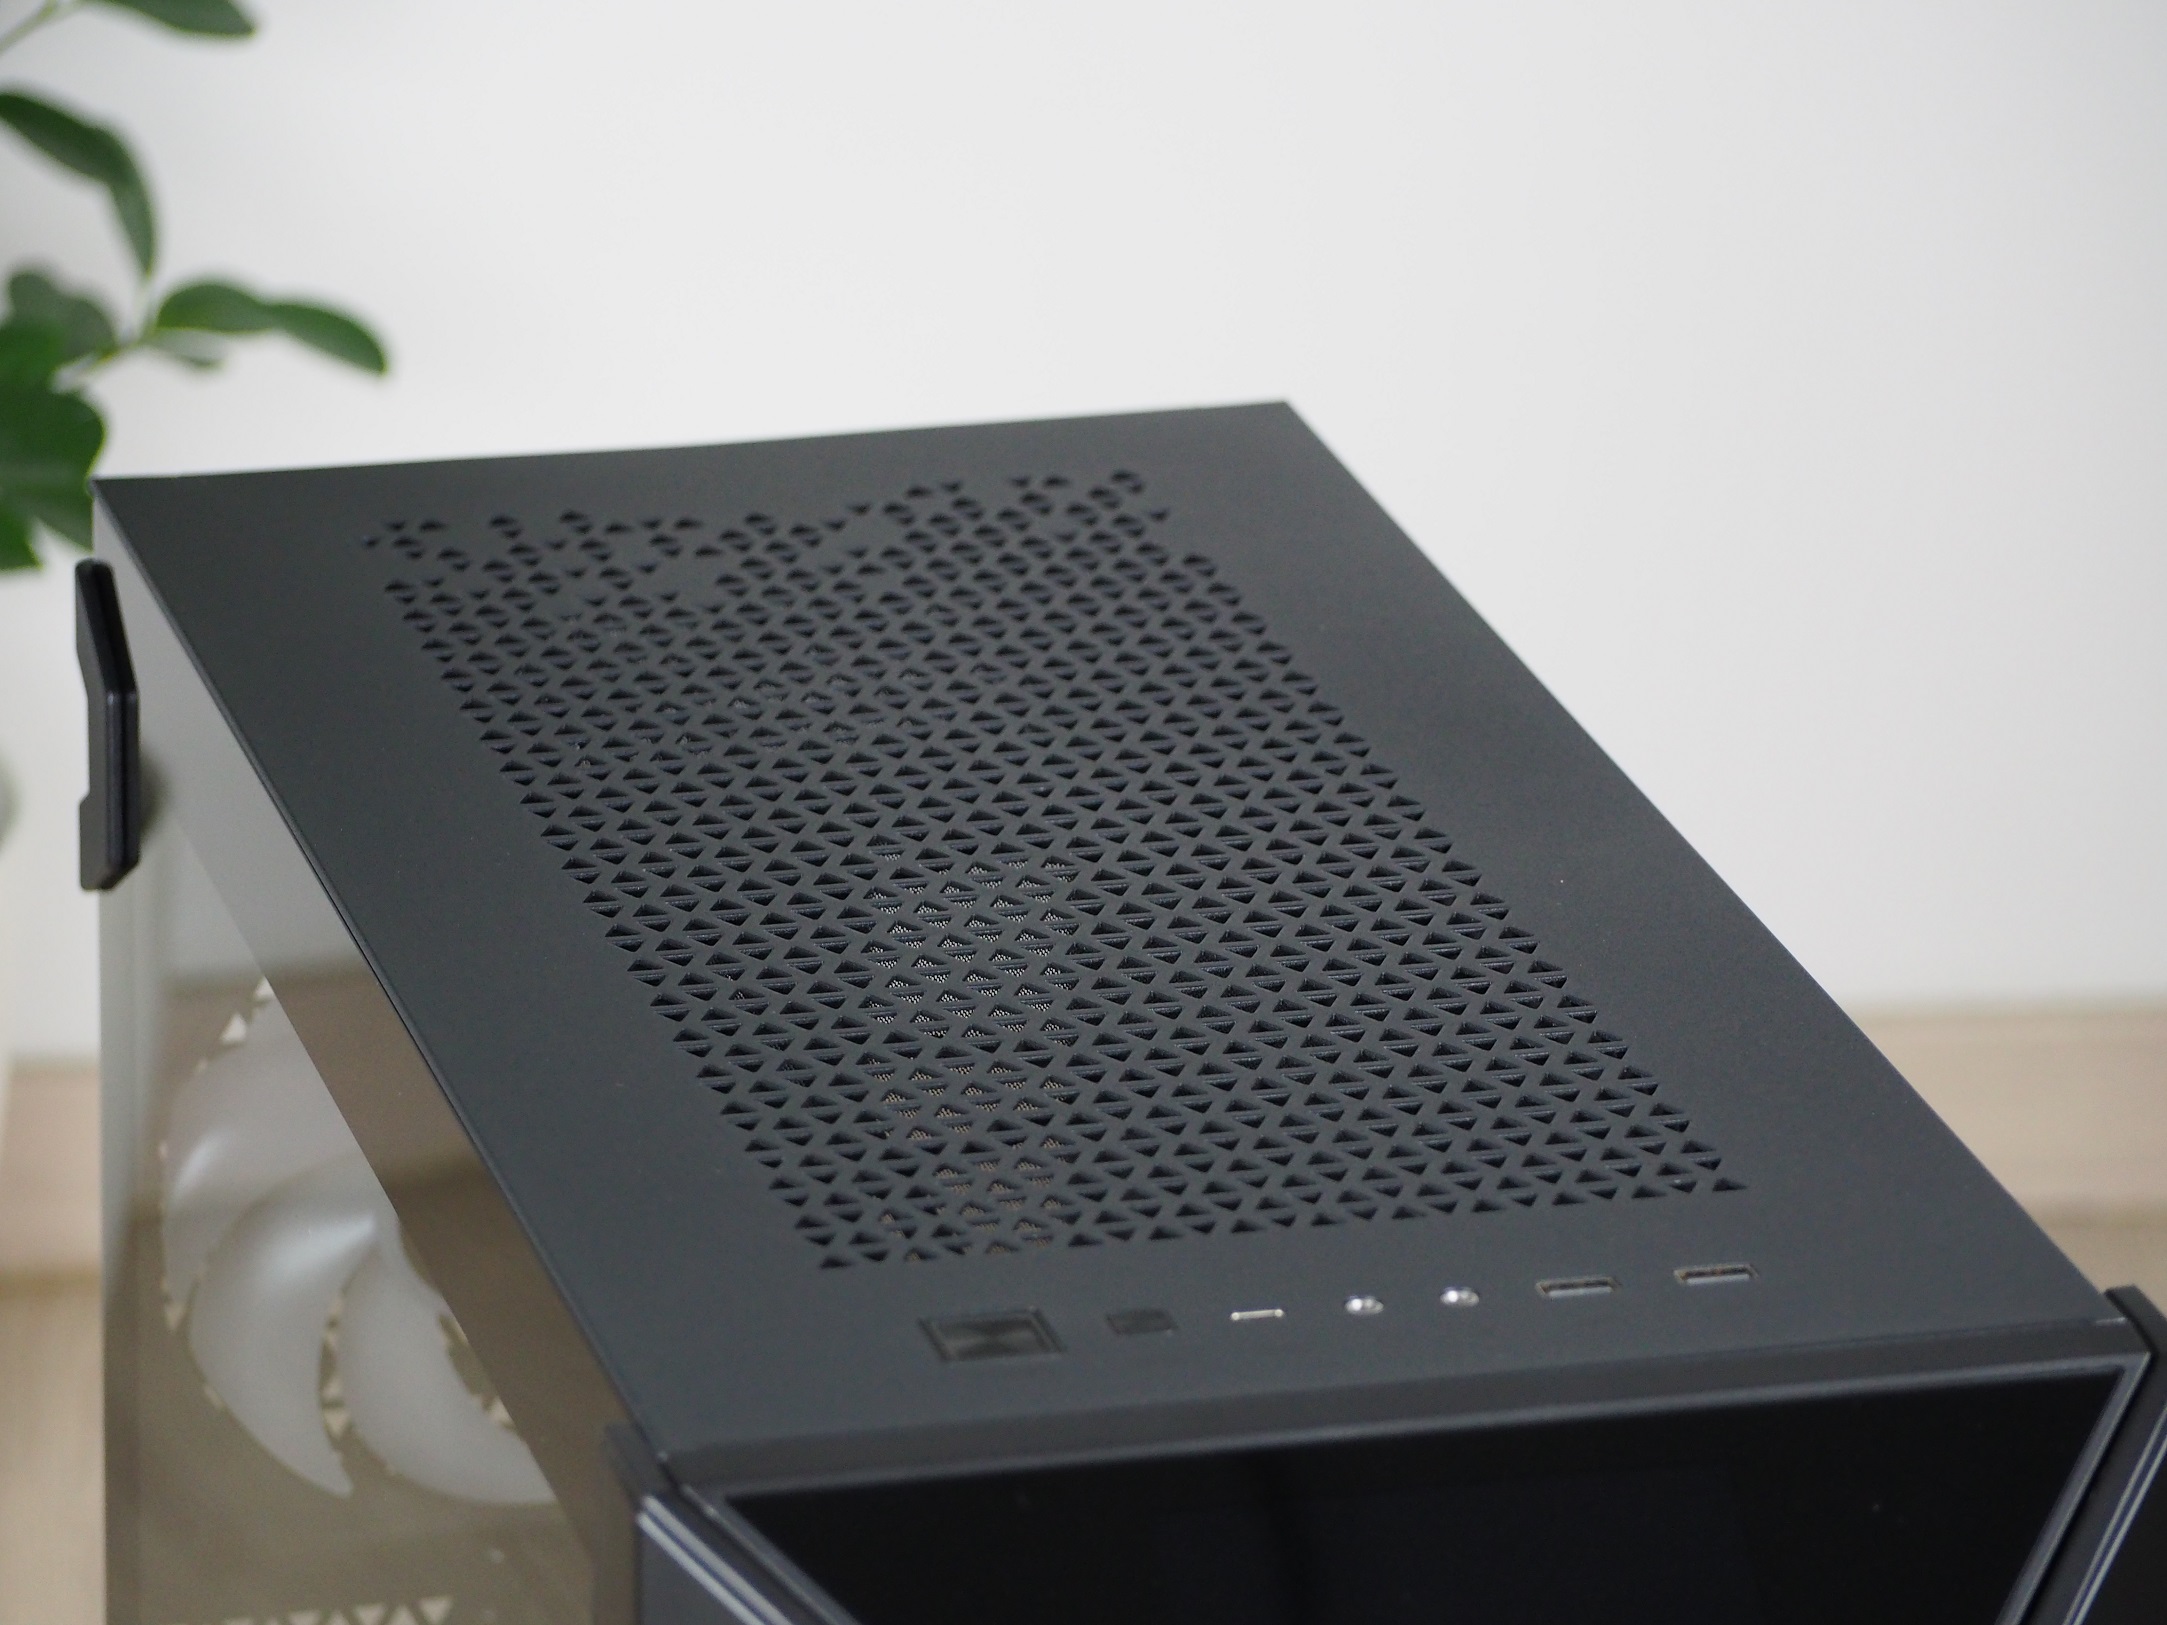
Among the case’s connectors are two USB Type-A ports, separate microphone and headphone outputs, and, as the icing on the cake, USB Type-C. The latter is not just any USB Type-C . Its theoretical bandwidth reaches up to 20 Gbps. Although this USB speed standard was introduced back in 2017, its use in cases is still very rare.
The restart and power buttons have a brushed finish. Interestingly, the power button is slightly recessed into the case, unlike the restart button. That one is flush with the top panel. Pressing them is very comfortable and provides tactile and audible feedback.

The rest of the top is made up of a metal panel with triangular perforations. This can be easily removed using the handle at the back. The securing system is the same as on the whole case, with snap-in ball studs. The presence of a fine nylon filter located directly under this panel, which is not commonplace even on more expensive cases, should be appreciated. The filter covers the opening for three 120/140mm fans or a liquid cooler radiator up to 280/360mm.
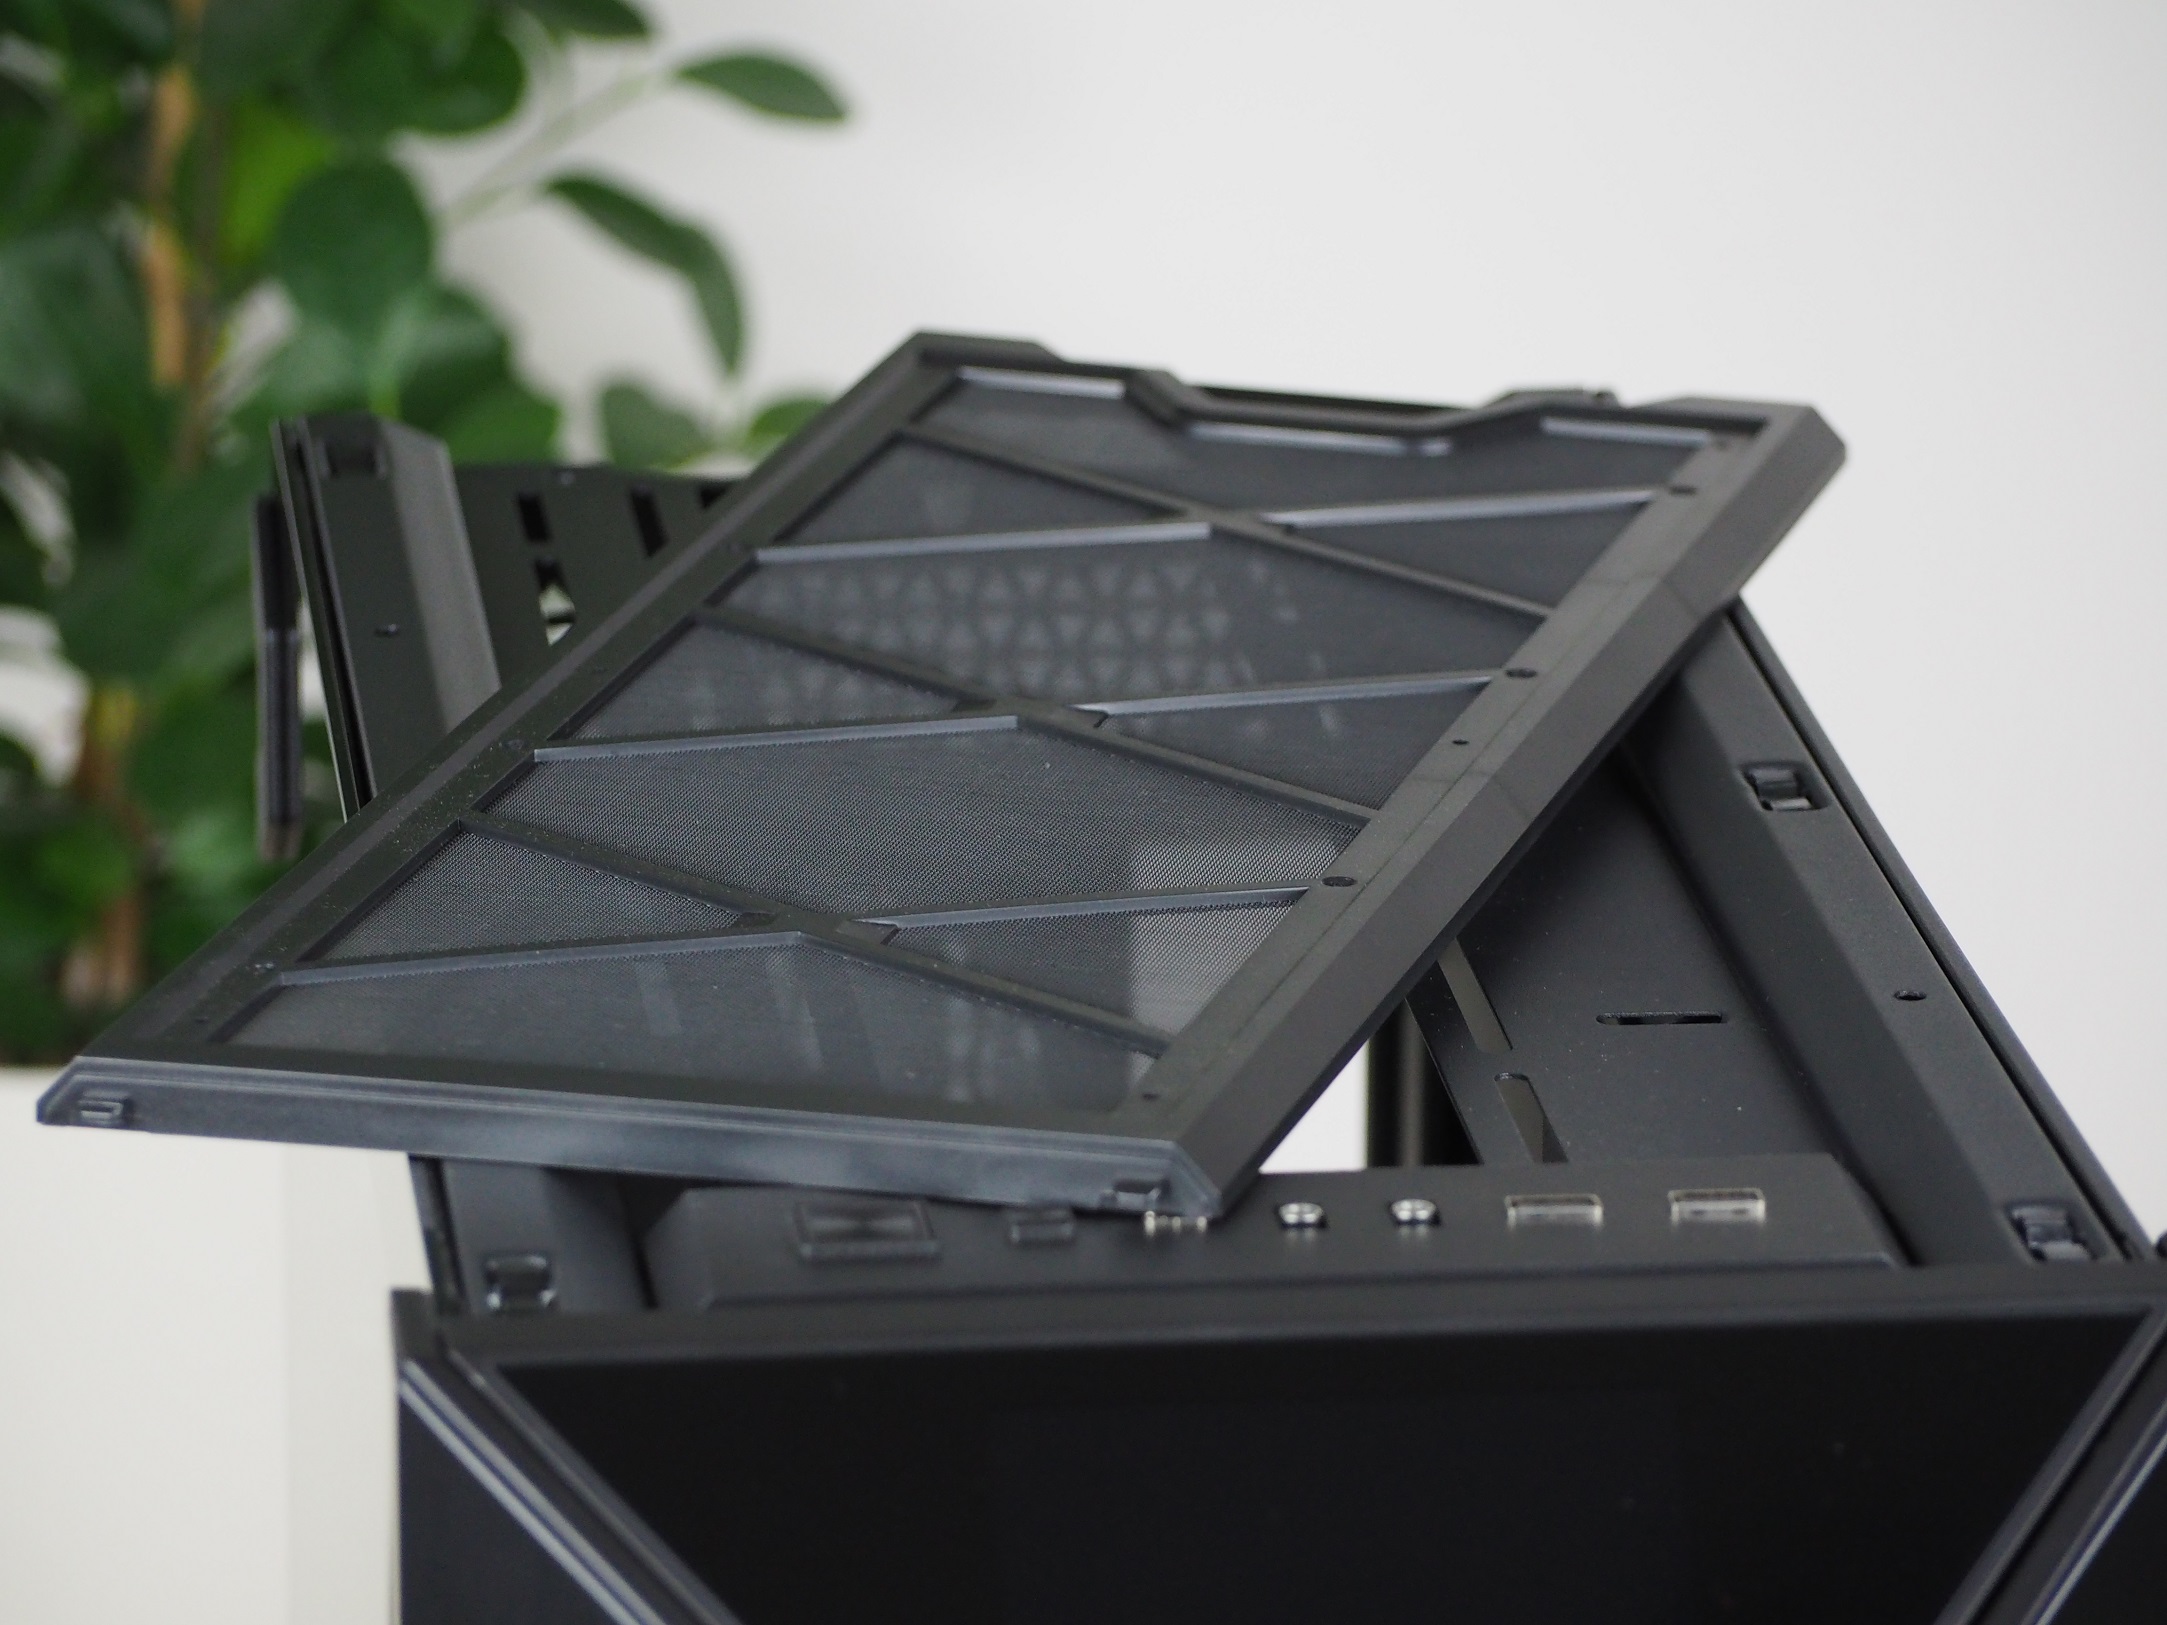
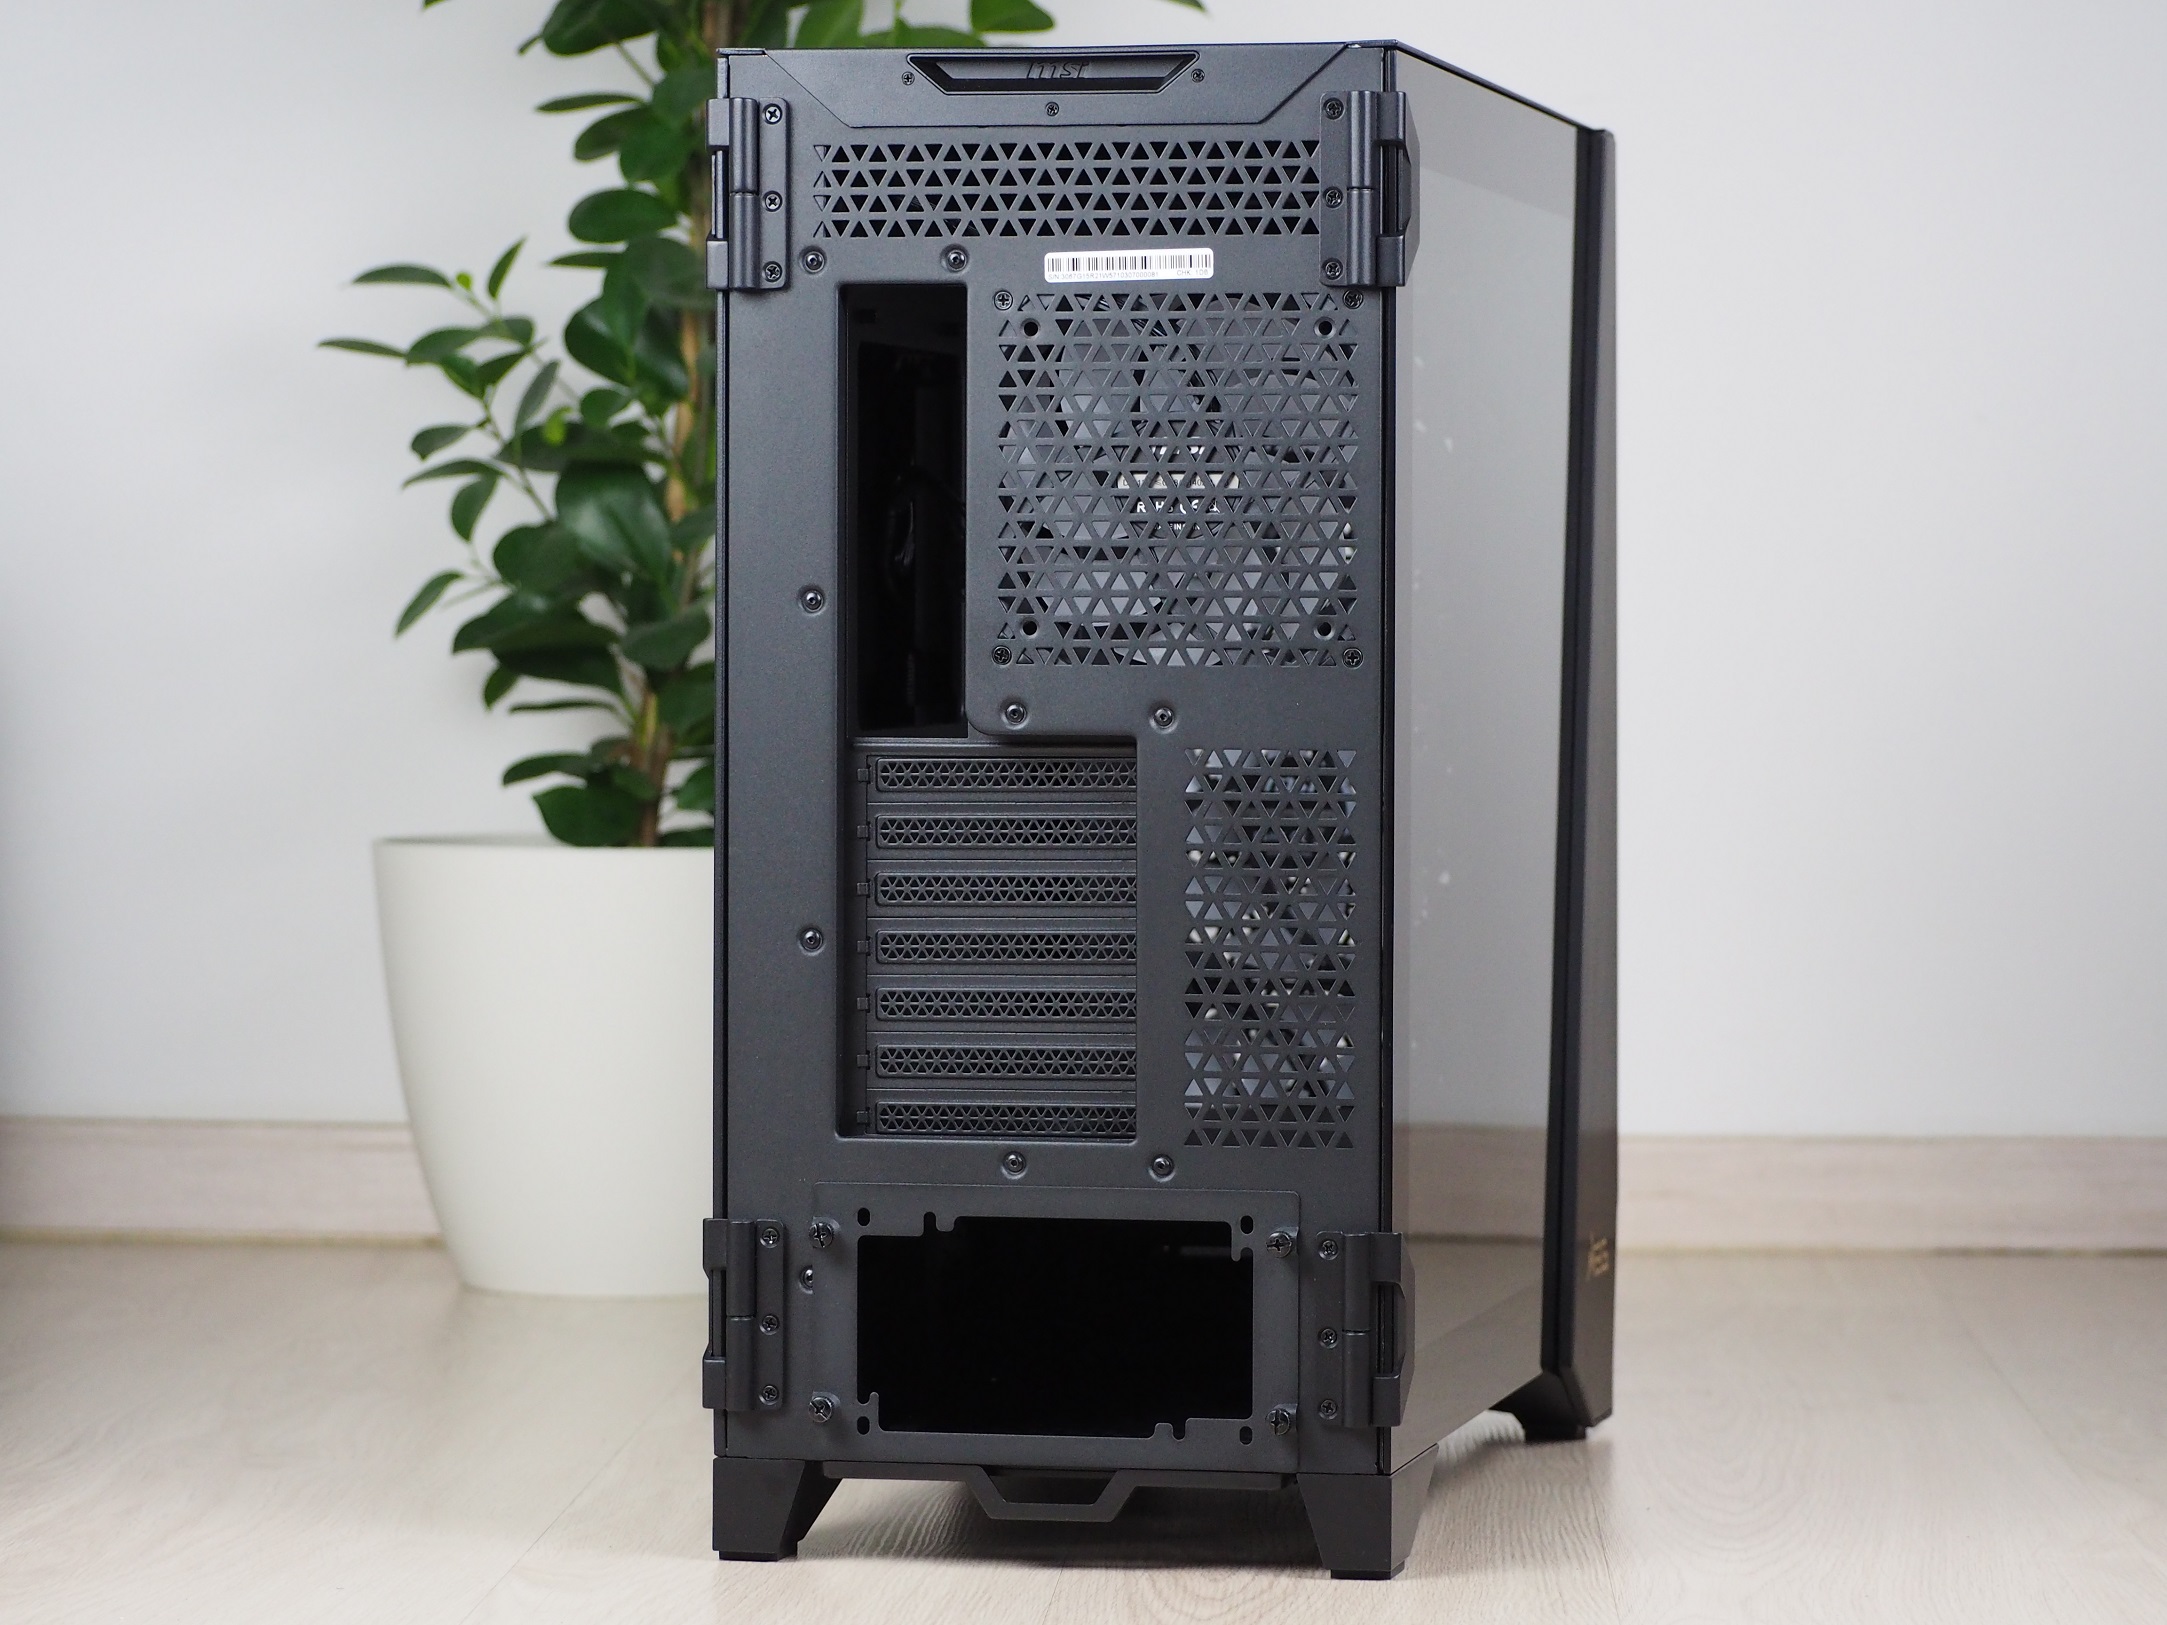
At the back of the case you can notice a larger perforated space directly under the ceiling. This indicates that there will be plenty of space in the case even in these places. Underneath there is an opening for the motherboard I/O panel. Right next to that is a perforation for a 120/140mm fan, with one of the same fans as the ones in the front already installed here. There are seven covers for PCI Express expansion card slots. Along with the motherboard opening, these parts are recessed 15mm inwards into the case, which means you’ll need to open the left side panel to access them. There’s a removable bracket at the bottom for a power supply. This means that its mounting will be from the rear and not from the side. Underneath there is a handle for the dust filter on the bottom of the case.
All three vents at the bottom are also equipped with a fine dust filter that can be pulled out by the handle. Personally, I prefer the option to pull it towards the front as I have a wall behind the case and so pulling it out is not easy. The dust filter is secured on the sides by metal brackets, but they are very tight and removing the filter was a struggle. But it can certainly be solved by modifying them yourself, by bending them. There are non-slip rubber pads on the feet that hold the case firmly in place.