
You’ve already seen the new “CH” case model as part of a build where we played around a bit with cooling optimizations and keeping things as quiet as possible. Now here is the standard review with a more detailed analysis. Compared to the CH510 Digital series, the CH560 (WH) is a bit more expensive, but comes with more features. And significantly so. Its biggest selling point is its four efficient ARGB fans.
Basic parameters
| Parameters | DeepCool |
| CH560 WH | |
| Supported motherboard formats | Mini-ITX, mATX, ATX, E-ATX |
| Supported PSU format | ATX |
| CPU cooler | up to 175 mm |
| Graphics cards | up to 380 mm |
| Fan | 9× 120 mm (1× pre-installed)/5× 140 mm (3× pre-installed) |
| Supported liquid radiators | 2× up to 280/360 mm/1× up to 140 |
| 2,5" positions | 2 + 1 shared |
| 3,5" positions | 1 + 1 shared |
| 5,25" positions | 0 |
| Dimensions [H/D/W] (and volume) | 471 × 458 × 230 mm (47,5 l without feet) |
| Weight | 7,7 kg |
| Materials | steel + plastic + tempered glass |
| Connectivity | 1× USB 3.2 gen. 1 type A + 1× USB 3.2 gen. 2 type C + 1× 3,5mm jack |
| Approx. retail price | 119.99 EUR |
Exterior
The case comes in a standard cardboard box with a sticker of the model designation and the visual of the case. The inside is lined with polystyrene inserts for safe transport of the case. The accessories include all necessary screws for hardware installation and single-use zip ties.
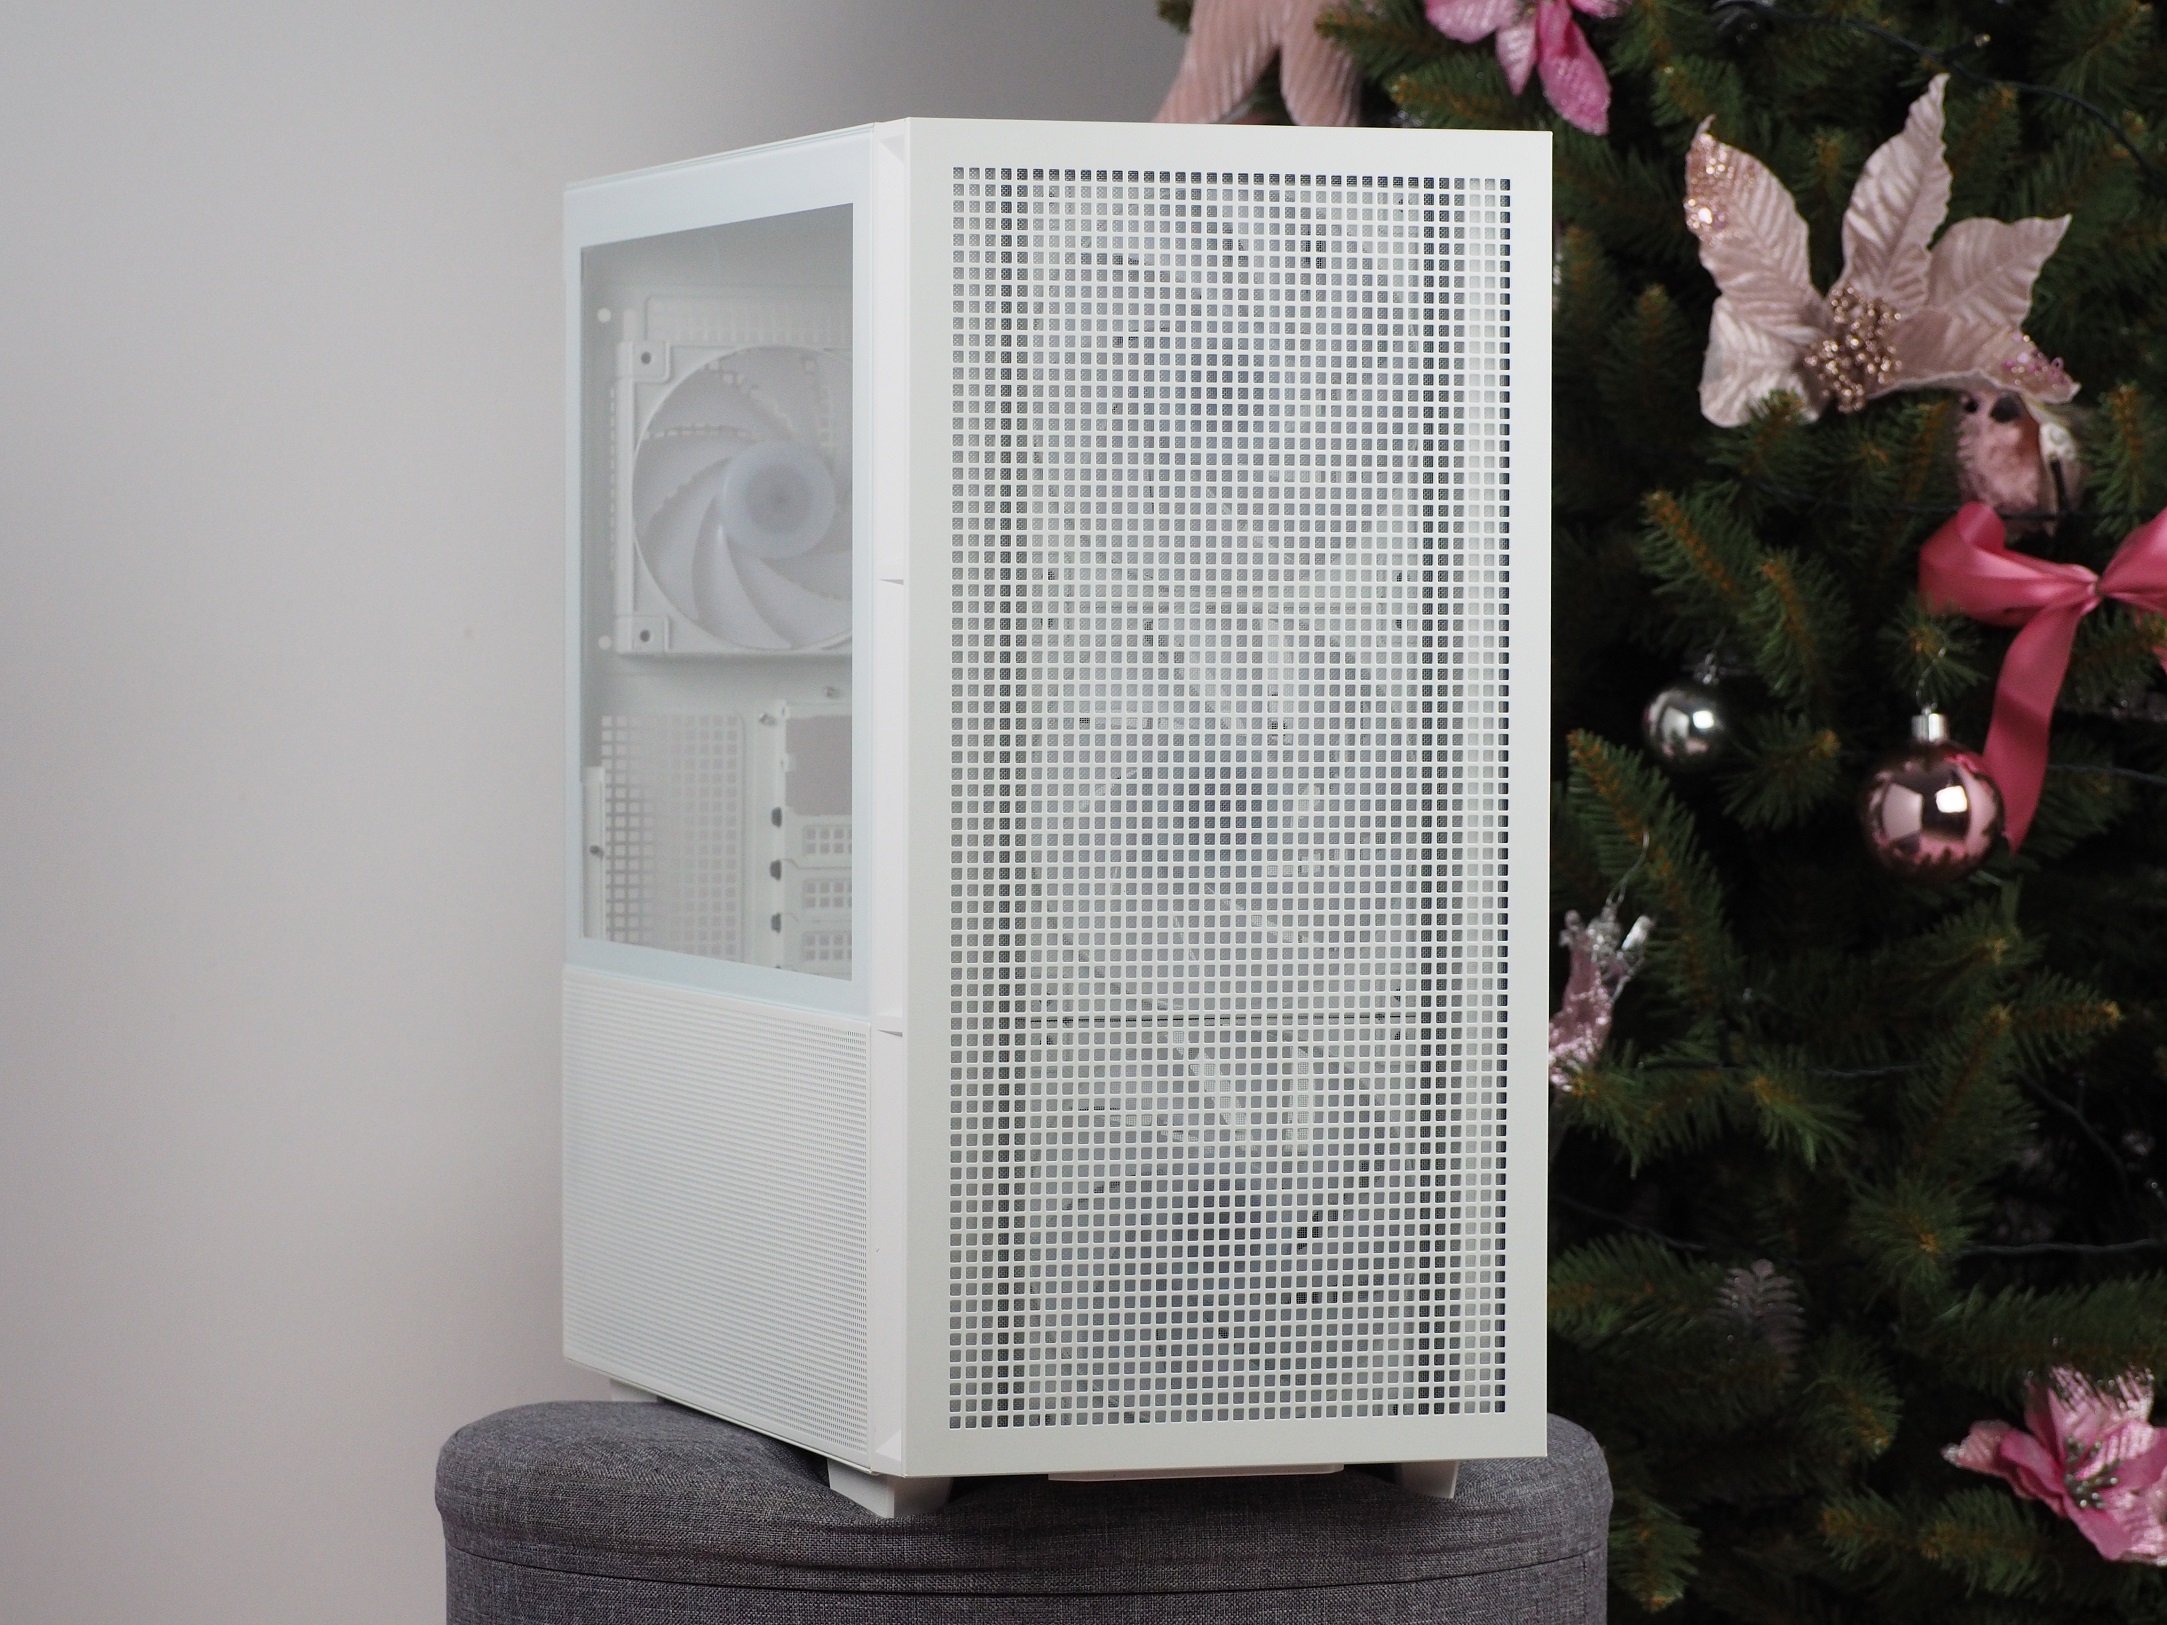
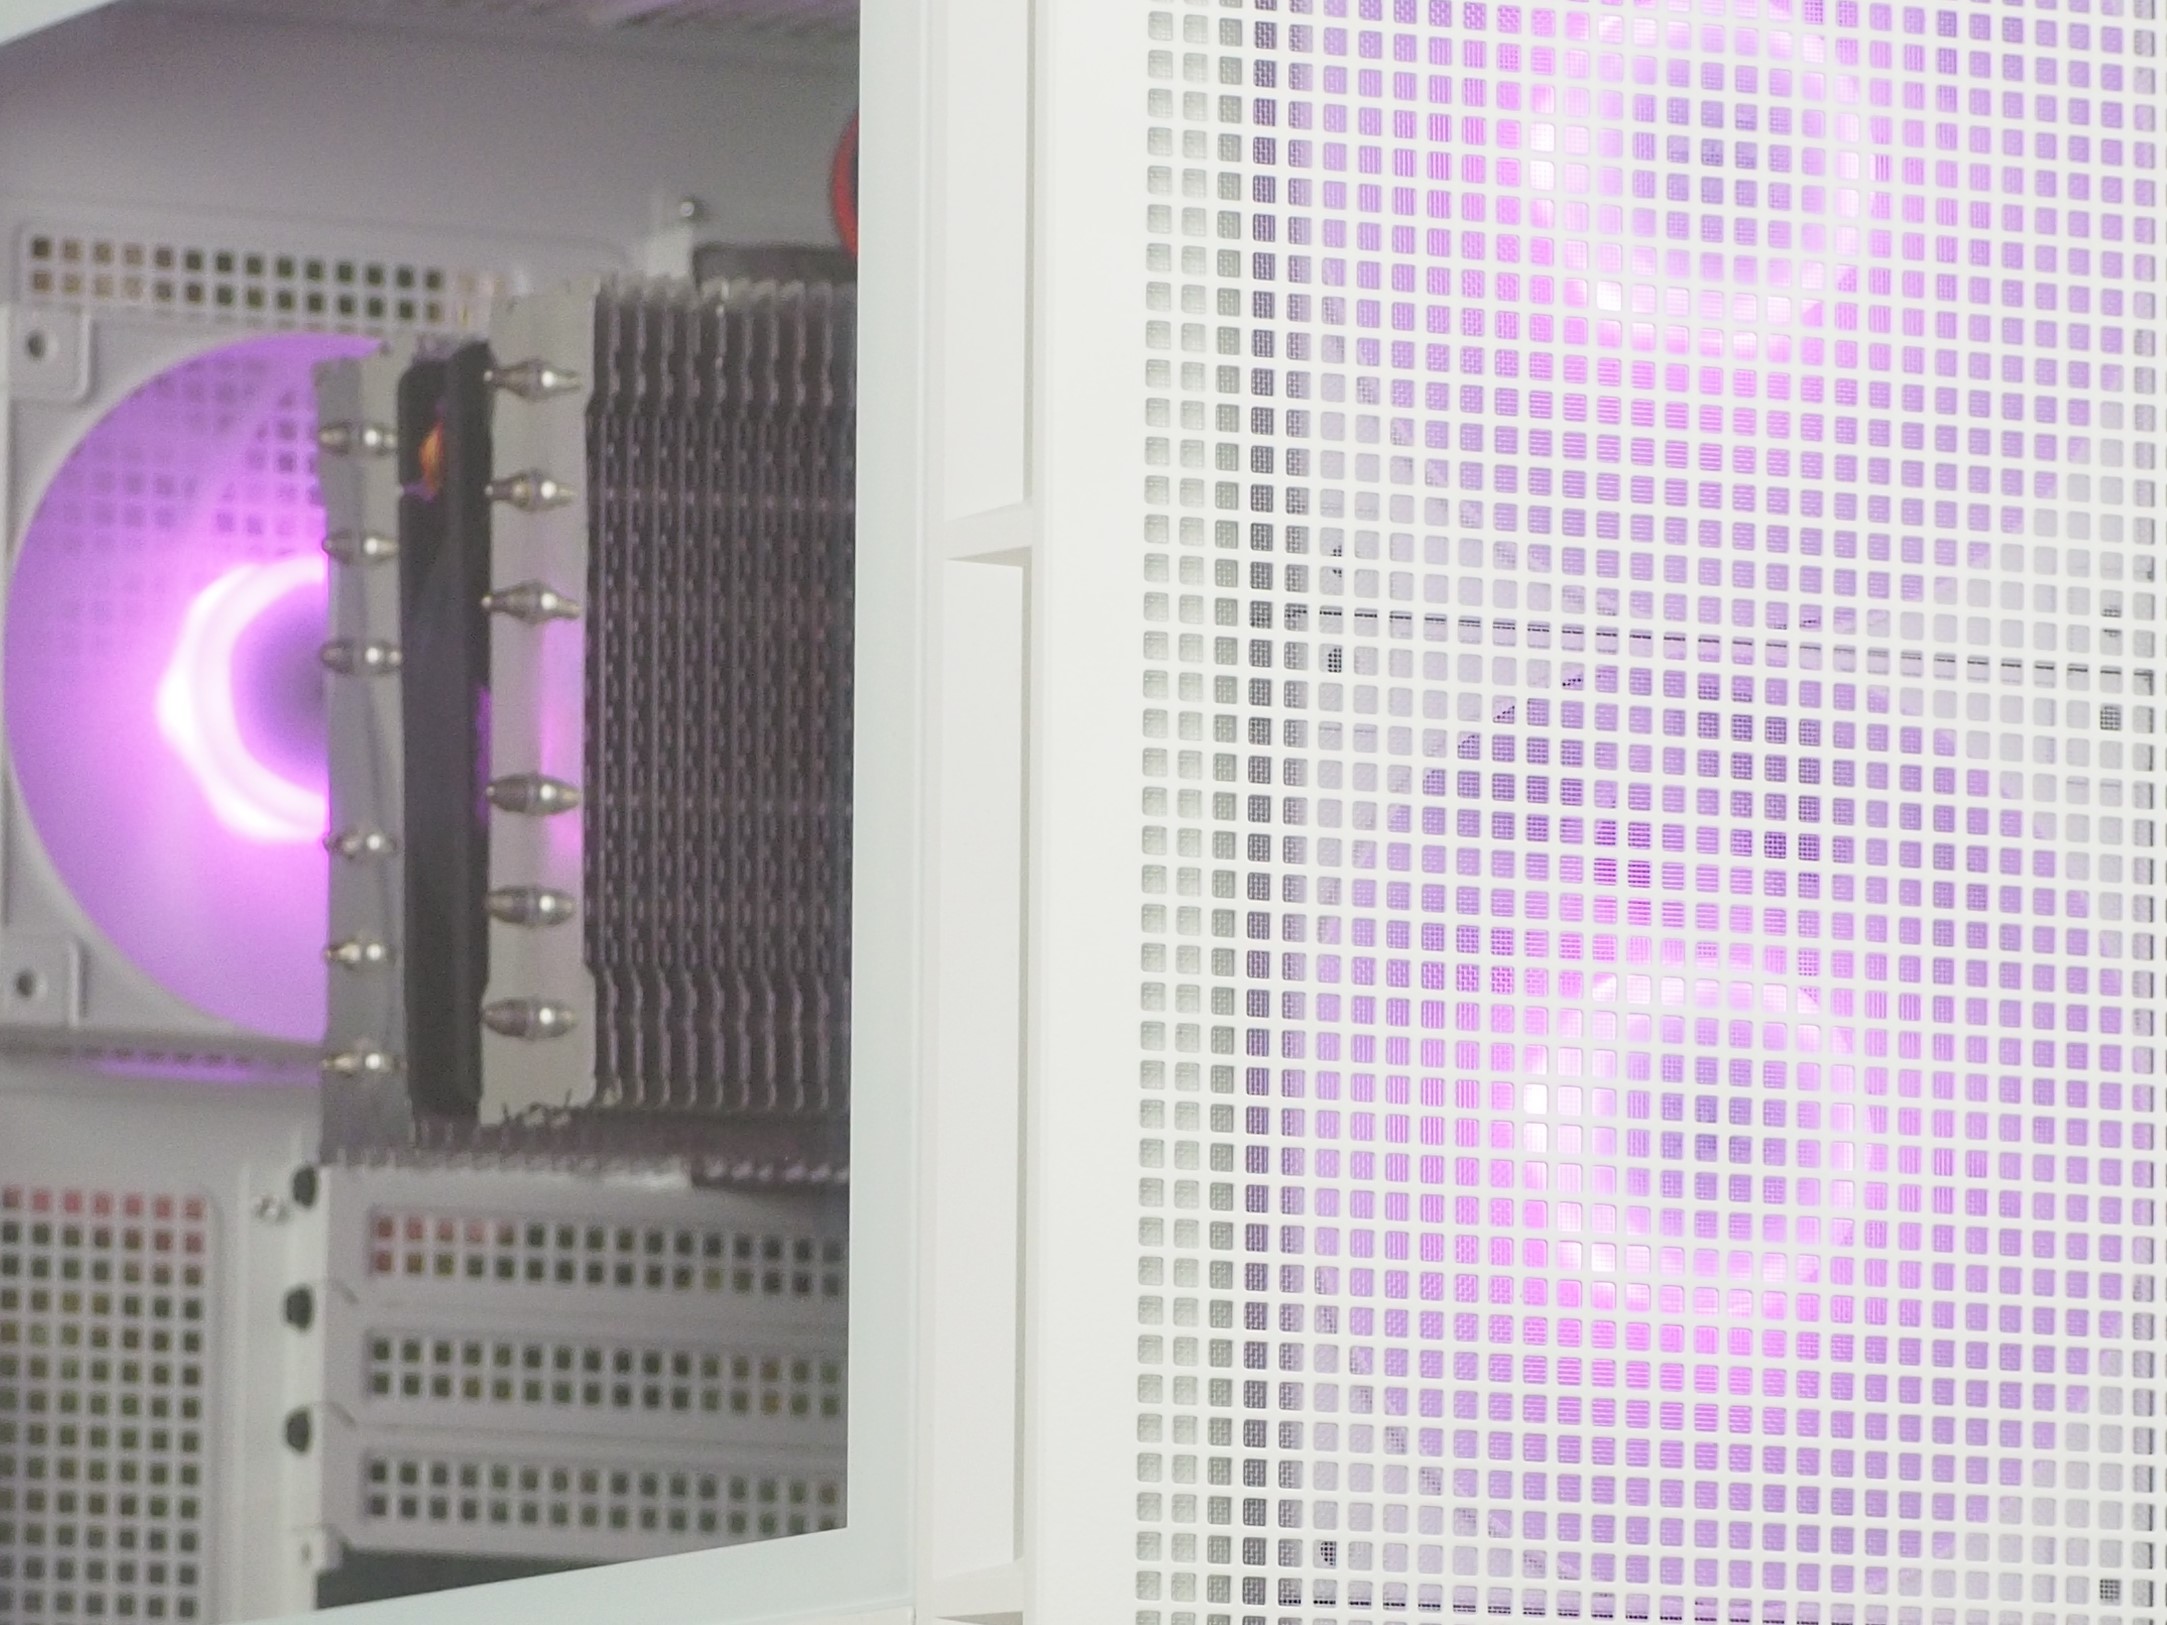
Out of the box, one of the first things that catches the eye is the left side panel. This is made of tempered glass four millimeters thick. However, it (the glass) covers only about two thirds of the side panel area. The rest of the side panel is perforated with large holes with a diameter of five millimetres. The span of this part is up to 45 millimeters above the lower tunnel (for the power supply and storage), which can have a positive effect on the cooling of the graphics card.
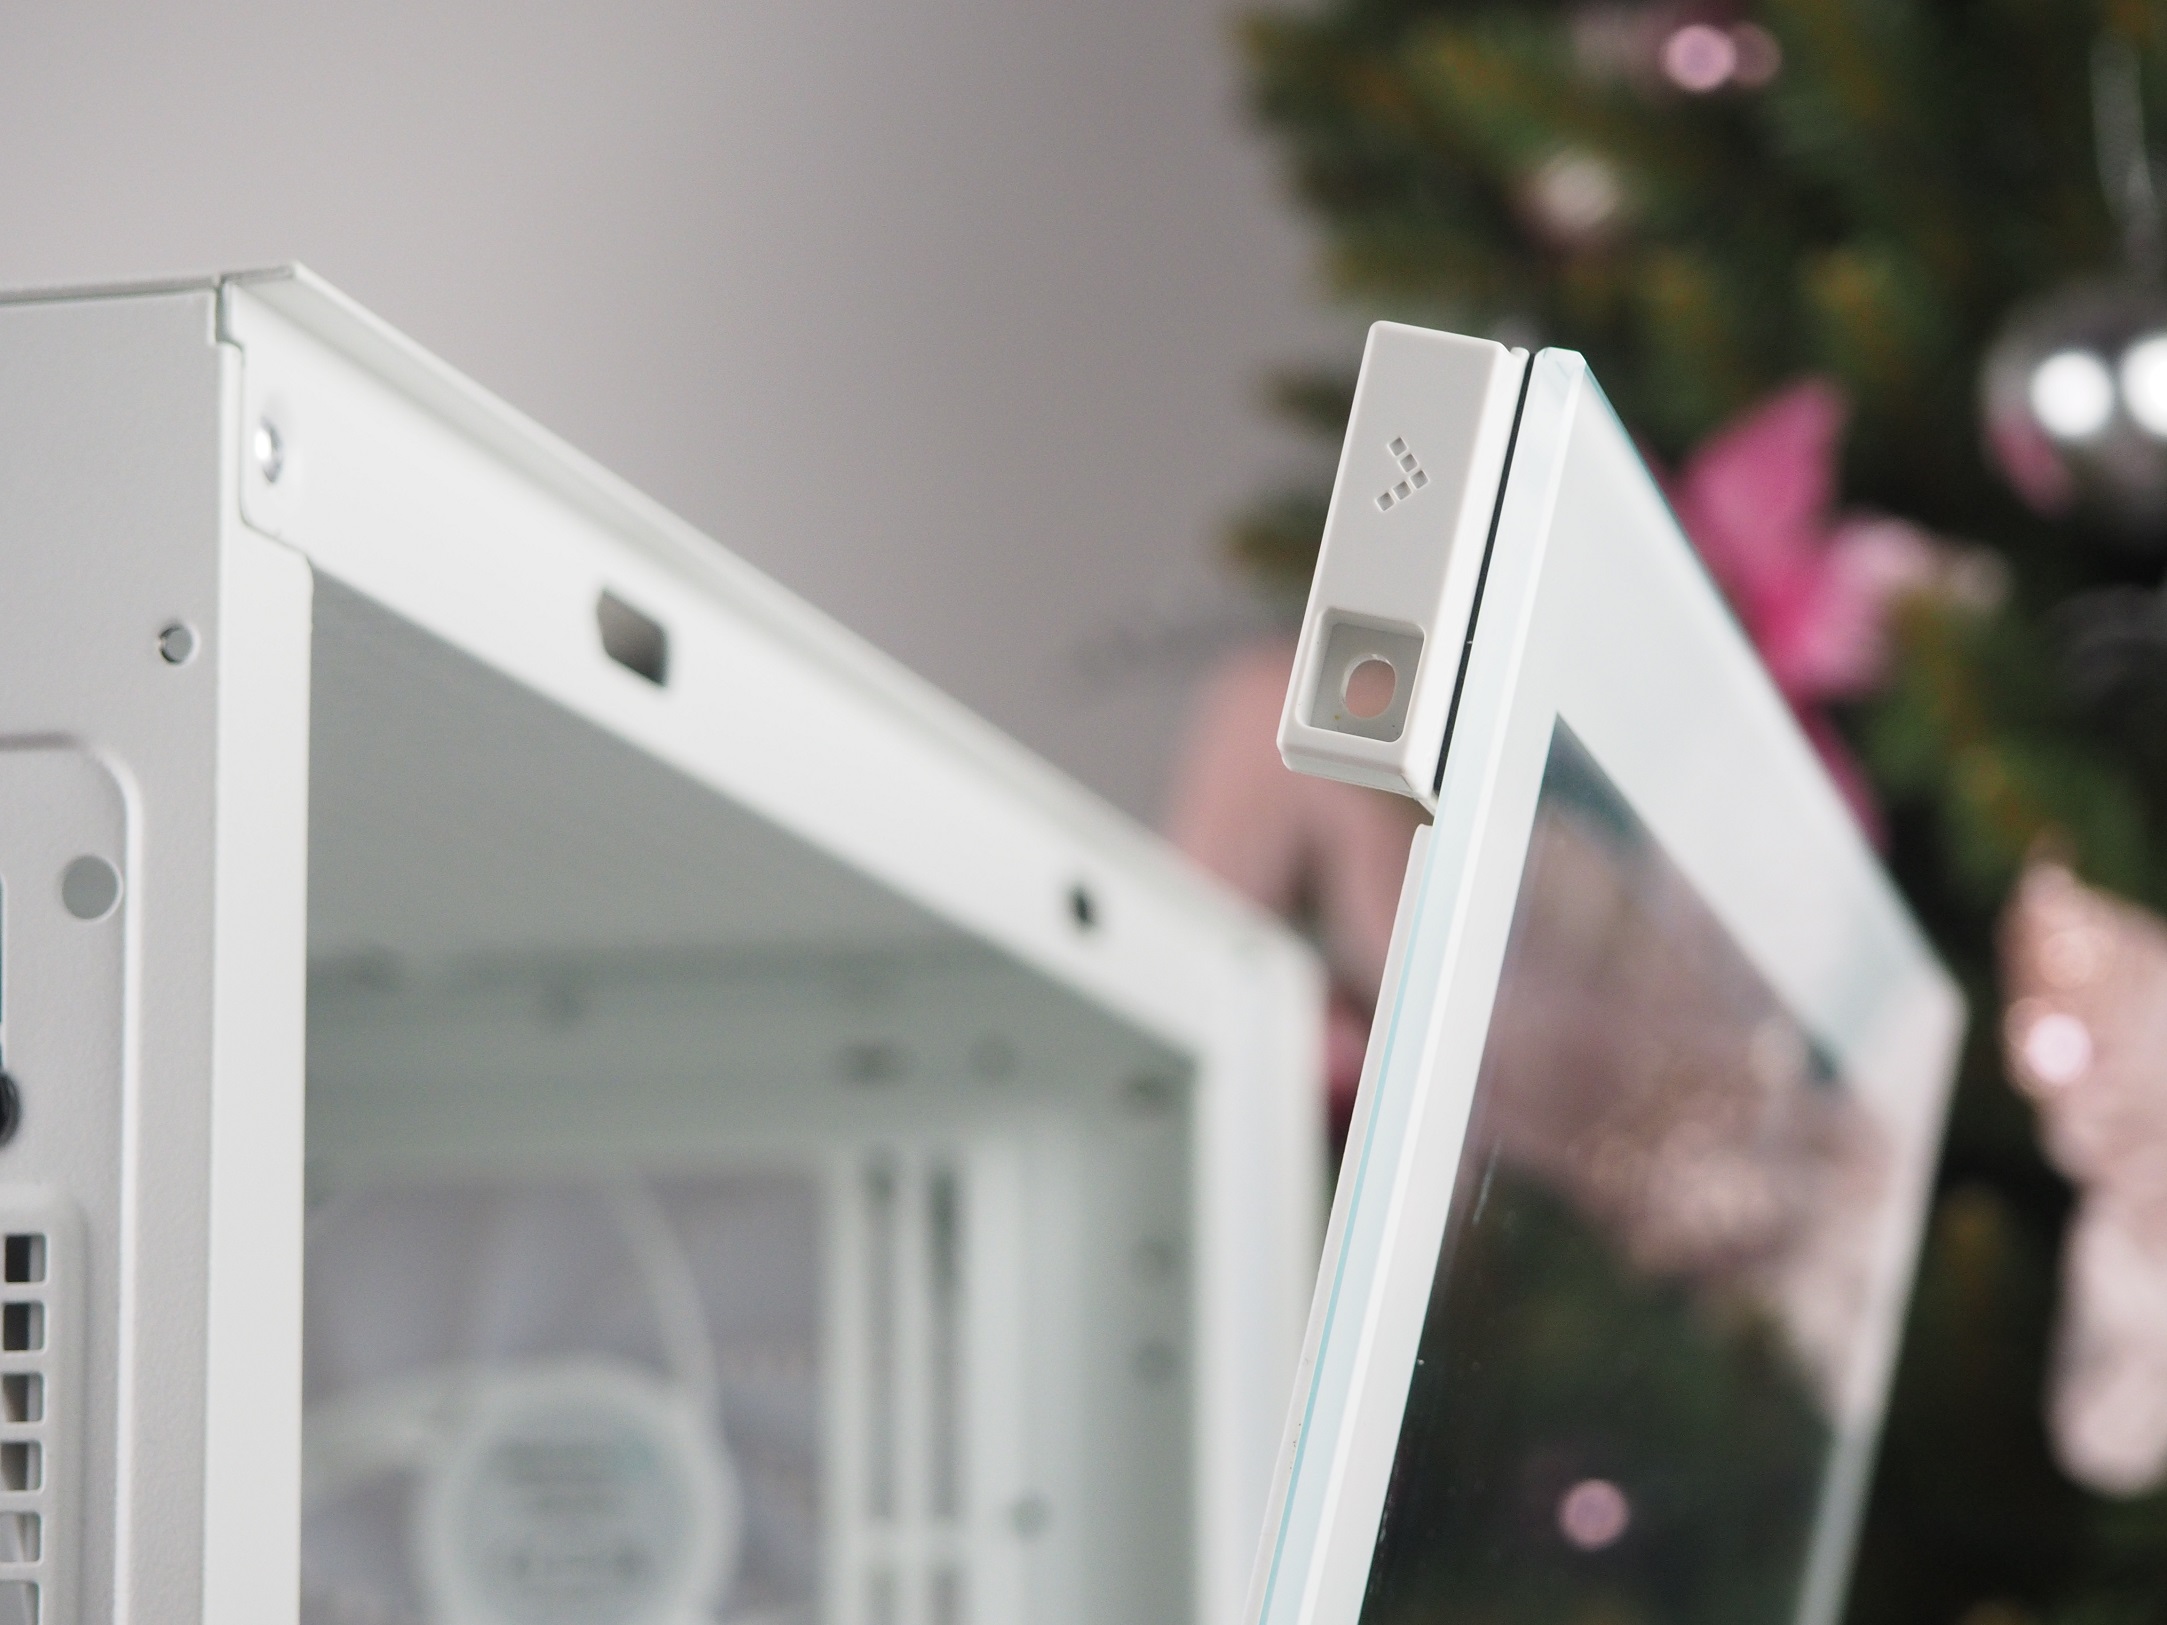
The same mechanism for mounting the side panel is used here as in the lower CH510 case model. The top of the side panel is held in place by two strong magnets on the case frame, while the underside is mounted in a rail. This allows the side panel to be removed by simply pulling the handle on the back of the case. You will also find a hole in the handle for securing the side panel directly to the case frame, which can be used, for example, when transporting the case.
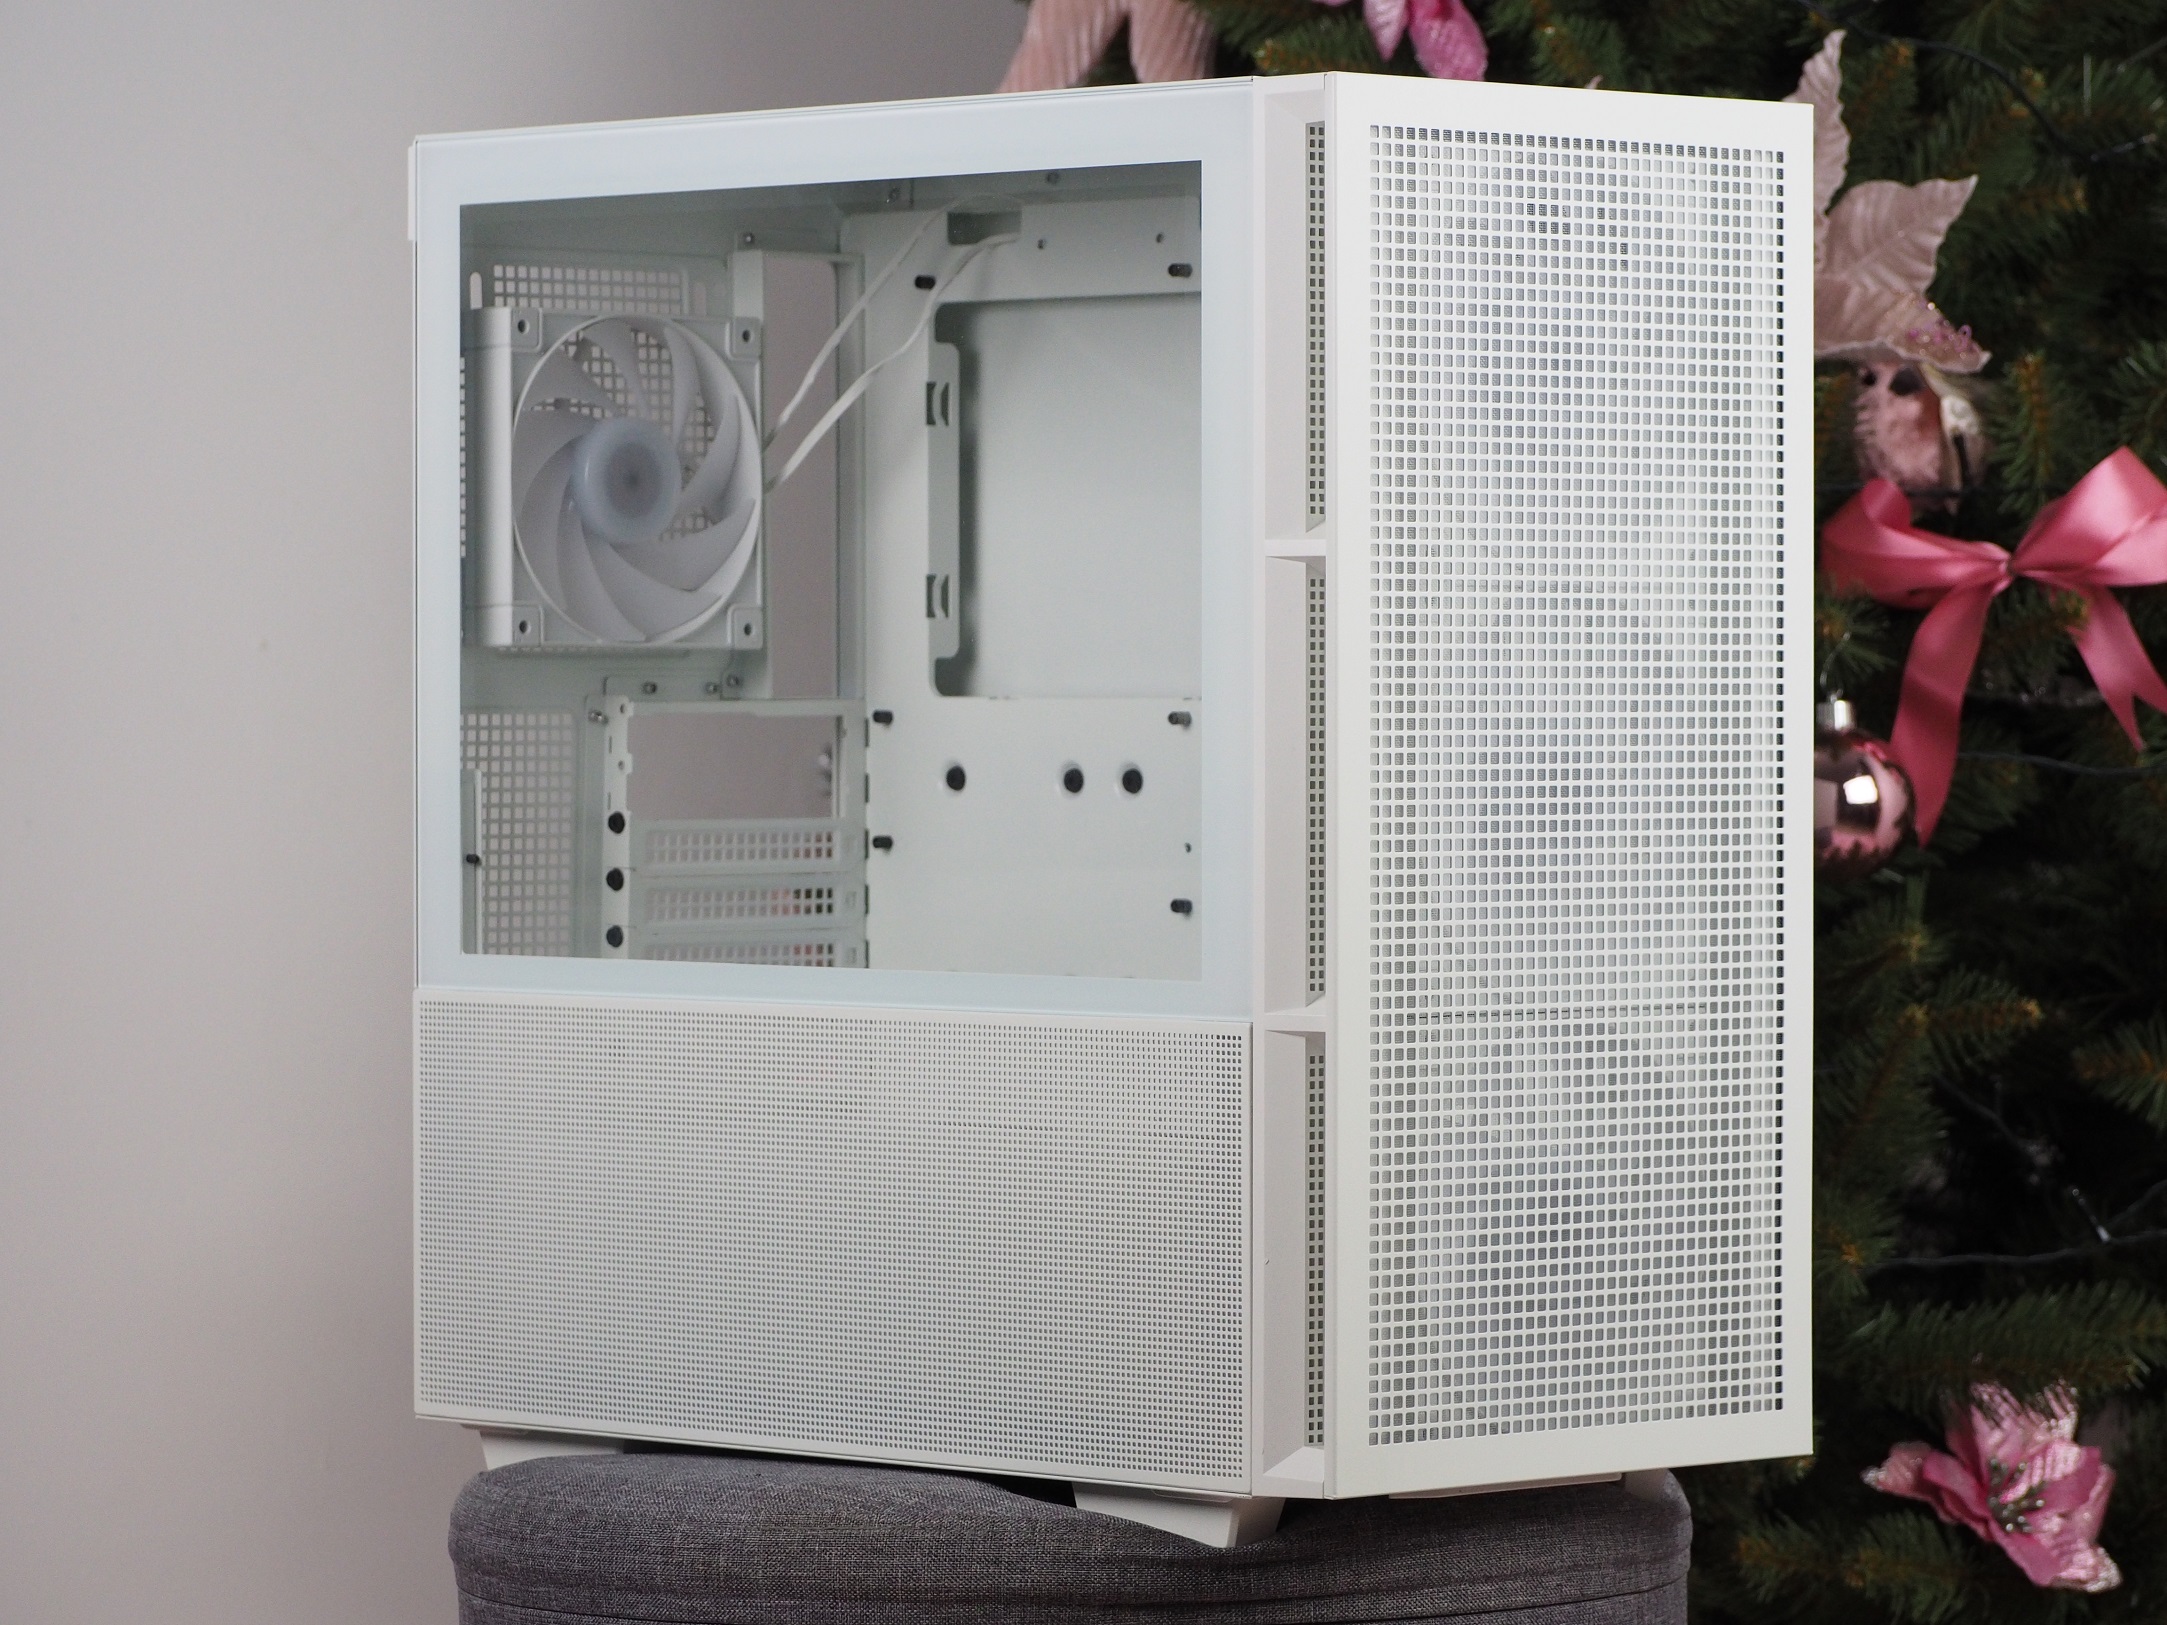
The opening of the right side panel is not as slick as that of the left one. The former is secured with two screws at the top and bottom, but I have to praise the fit of the screws themselves. They stay in the side panel even after you remove them from the case, so you won’t lose them. The thickness of the right side panel is a solid 0.85mm, while its stiffness is also maintained.
The perforation on the front panel is quite large compared to the one on the side. Because of the large holes, the front mask is flexible and would not necessarily survive a larger impact into the sheet metal perforation. Even though the holes are up to four millimeters wide, you don’t have to worry about the inside of the case getting dusty. In fact, there is a fine dust filter behind the perforation that prevents most small particles of dust from being sucked in. For easy cleaning and handling of the fans, the front panel can be easily removed. There is a handle on the underside of the panel, which needs to be pulled harder and it will stay in your hands.
Three 140 mm fans are installed directly behind the front panel. According to the model designation (DF01402512CL), DeepCool doesn’t have this fan separately in the product range, but it looks like it is a bigger brother of the FC120 fan in white. These fans are mounted on two vertical rails which make them easy to handle even in a fully populated case. The rails can only be used with 140 mm format fans. To install a 120 mm fan or liquid cooler radiator, the holes on the case just behind the rails must be used. A liquid cooler of up to 280/360 mm format will fit here.


Connectivity is weaker here, similar to the BeQuiet! Pure Base 500DX case. There is one USB Type-A, one Type-C and one 3.5mm jack for headphones with a microphone. For a case priced at over 100 euros, the connectivity is below average and it would have been enough to fit one more USB Type-A connector to reach some… let’s say average. Although the “Power” and “LED” buttons are visually identical, both their placement and behavior are different. The power button protrudes slightly from the sheet metal structure and puts up more resistance, while the other one for backlight control is the exact opposite. The button is recessed below the surface of the structure and it is enough to exert less force to press it. You get both a tactile and audible response when activating them. The last part of the case’s function panel is a small LED that indicates storage activity.
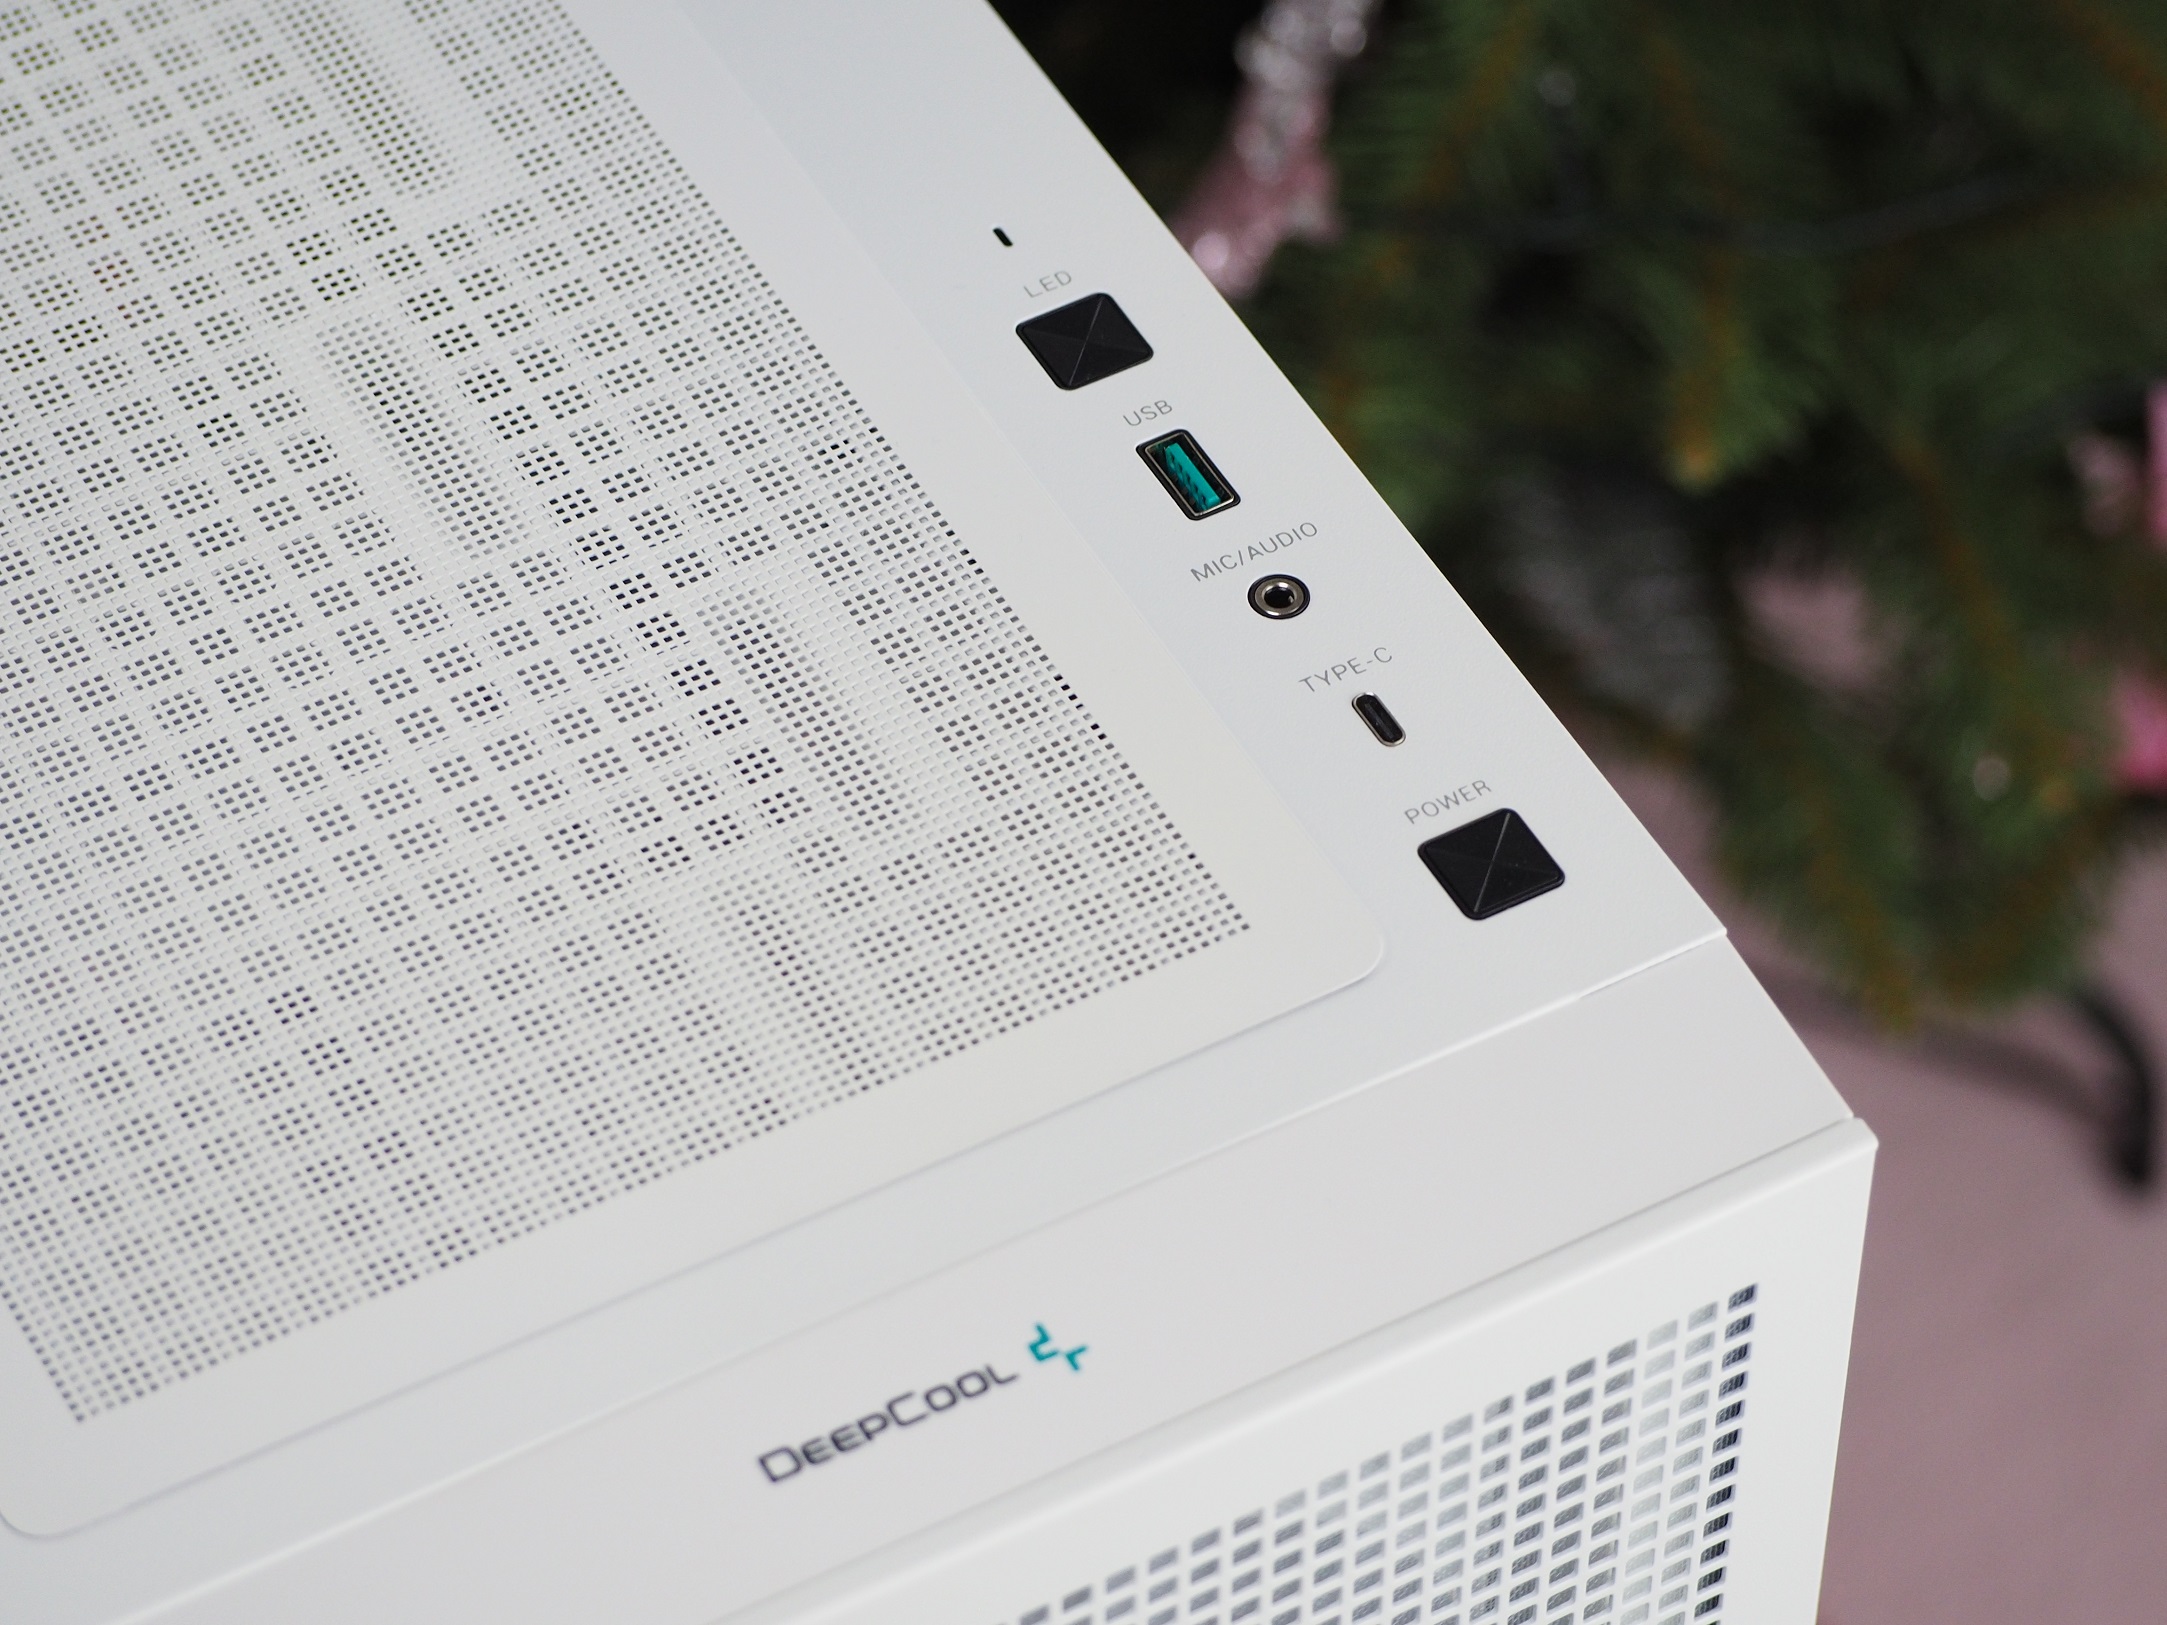
With the LED button, you can set up 18 fan lighting variations. In some cases you have to press the button several times in a row to turn off the backlight, in some cases you have to hold it for five seconds, but here the switching off is very convenient. Just hold the button for a second and the light is no longer on.
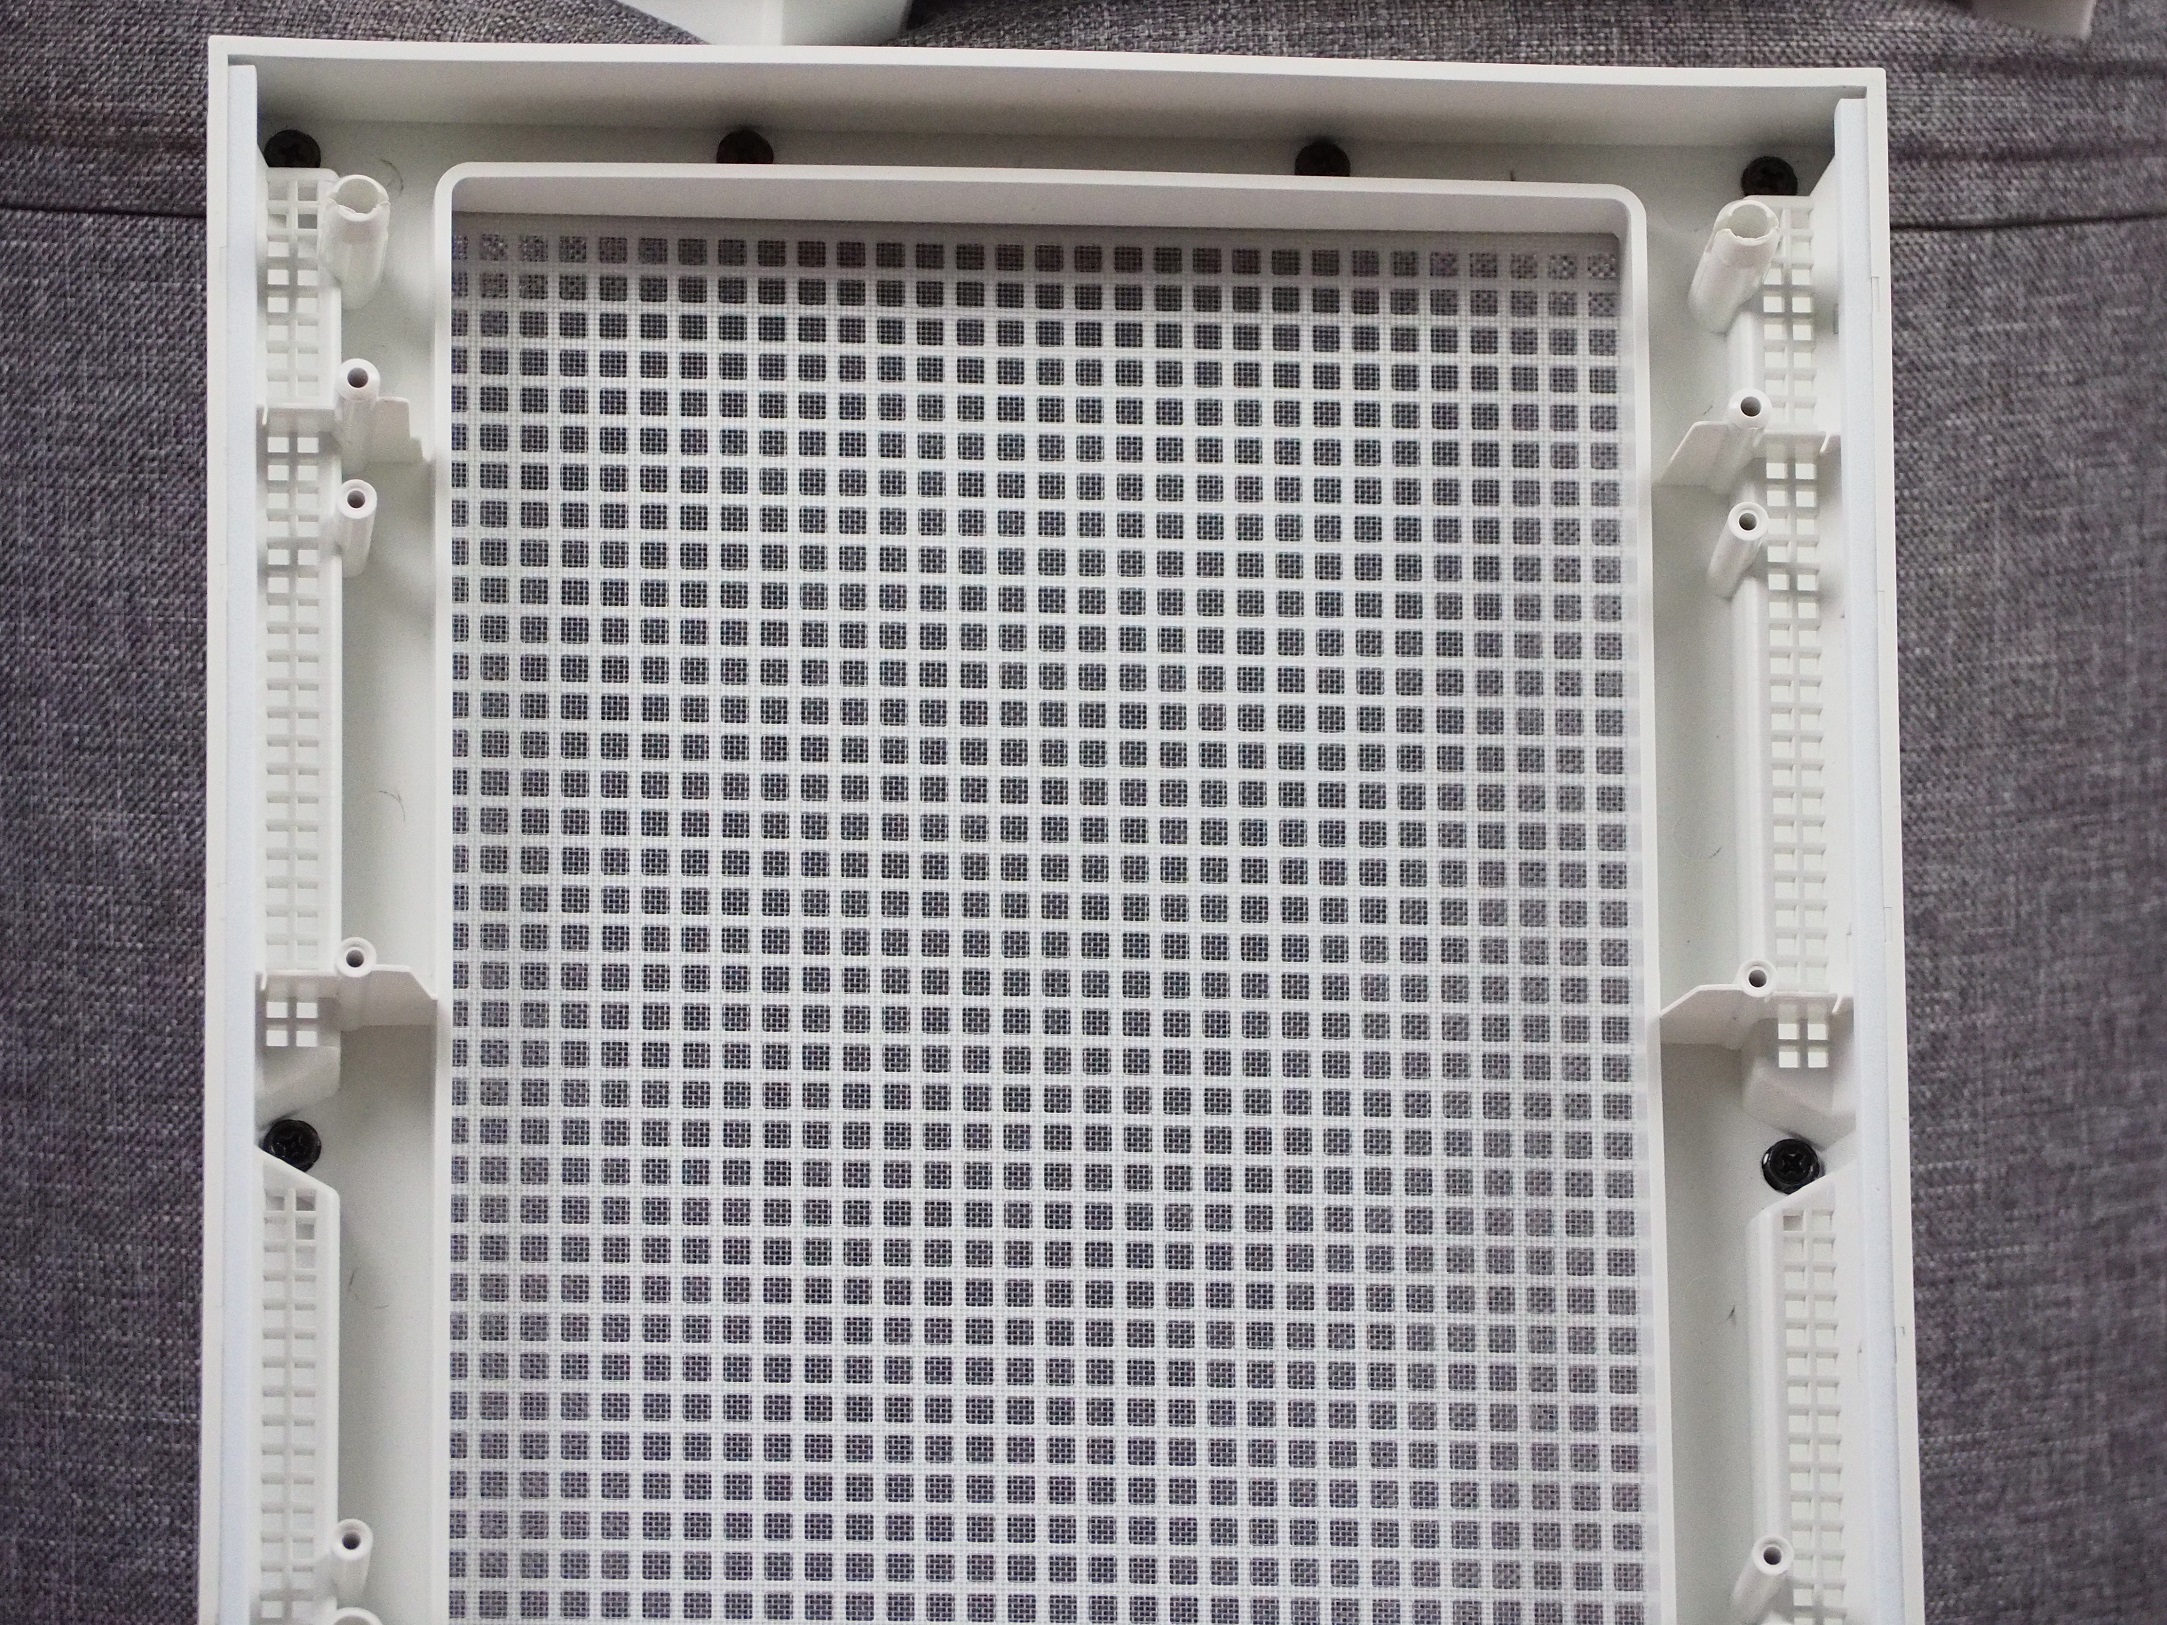
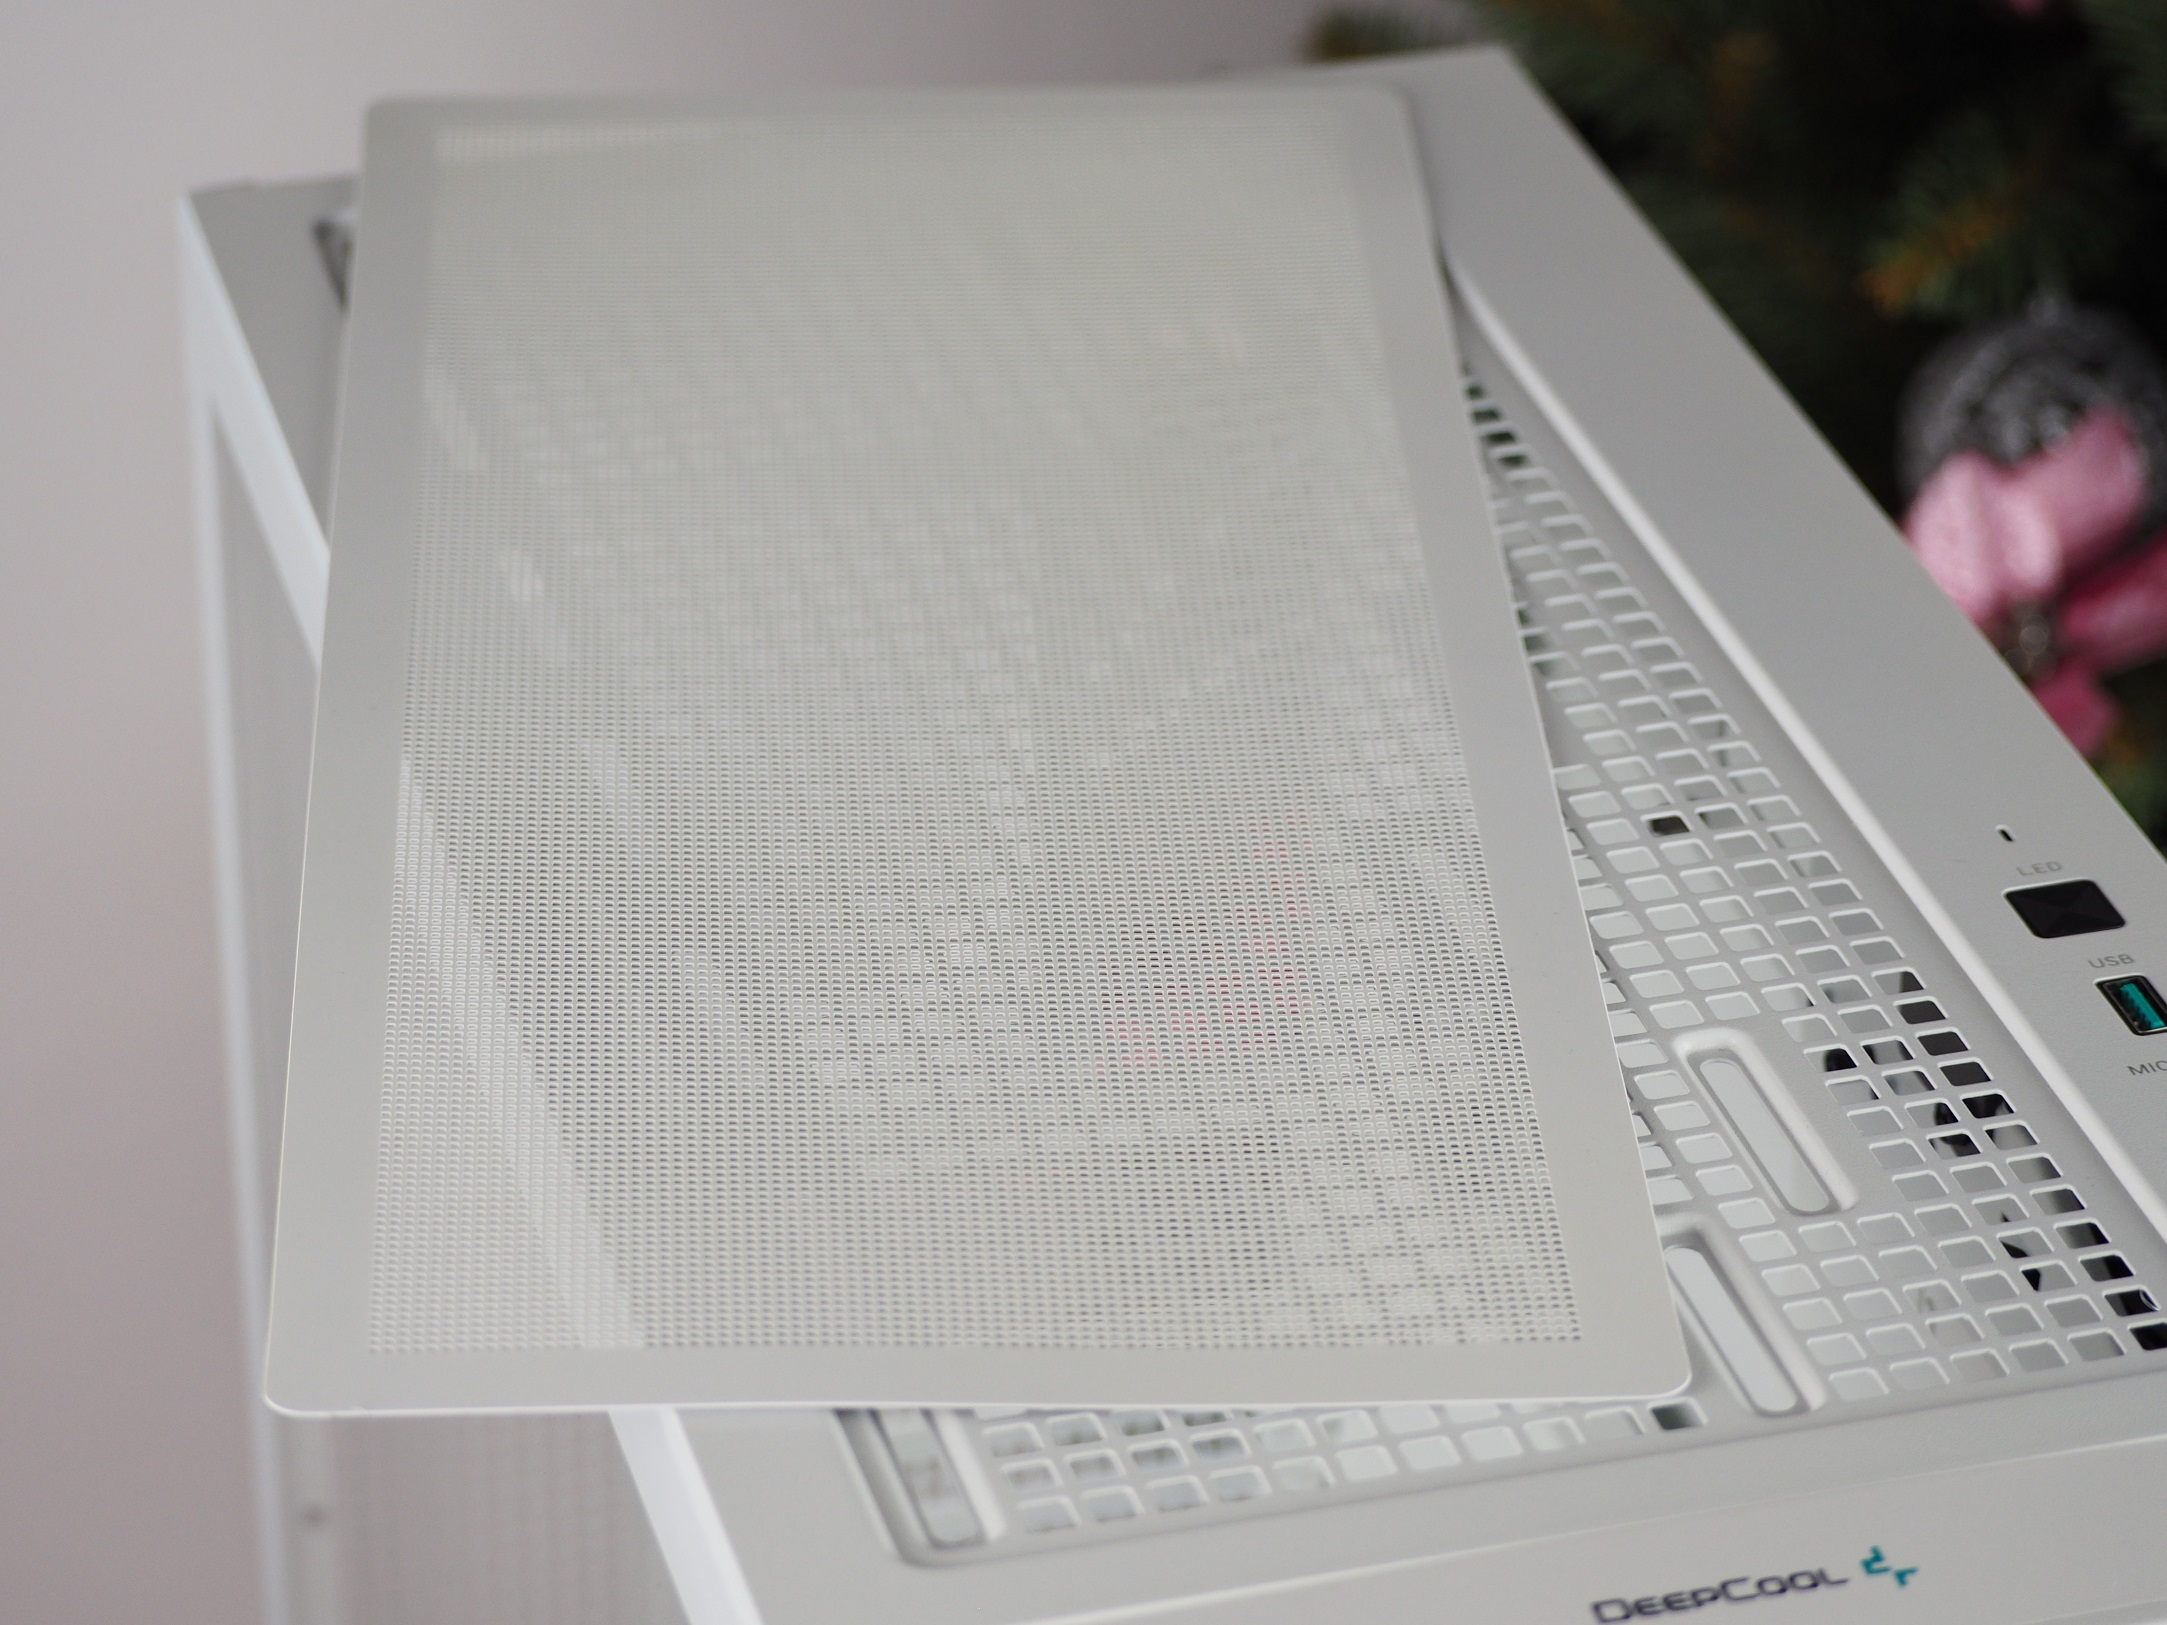
A large part of the ceiling is covered by a magnetic filter, which prevents larger particles of dust from entering the case. However, since the ceiling is used for exhausting air from the inside, I don’t consider the use of a filter to be a problem. Underneath, there are openings on the ceiling for three 120mm fans or two 140mm format fans. The same goes for the possibility of using a liquid cooler radiator up to 280/360 mm format.
A minor flaw in the structure of the case did appear. Just behind the front panel, the sheet metal is slightly folded inwards, creating a slight gap at this joint. Fortunately, it is only visible when viewed from the rear.

At the back there is a standard opening for the motherboard I/O panel, next to which there is a perforation for a 120/140 mm fan. It is factory fitted with only a 120 mm one, the FC120 model, which is also already tested in our fan database. Seven slot covers for PCI Express expansion cards can be found in the middle section. Their screws can only be accessed from inside the case, where handling the screwdriver is uncomfortable if it has a wider handle. The last hole at the back is for the power supply. Its dimensions clearly indicate that mounting the power supply will only work through the side of the case.
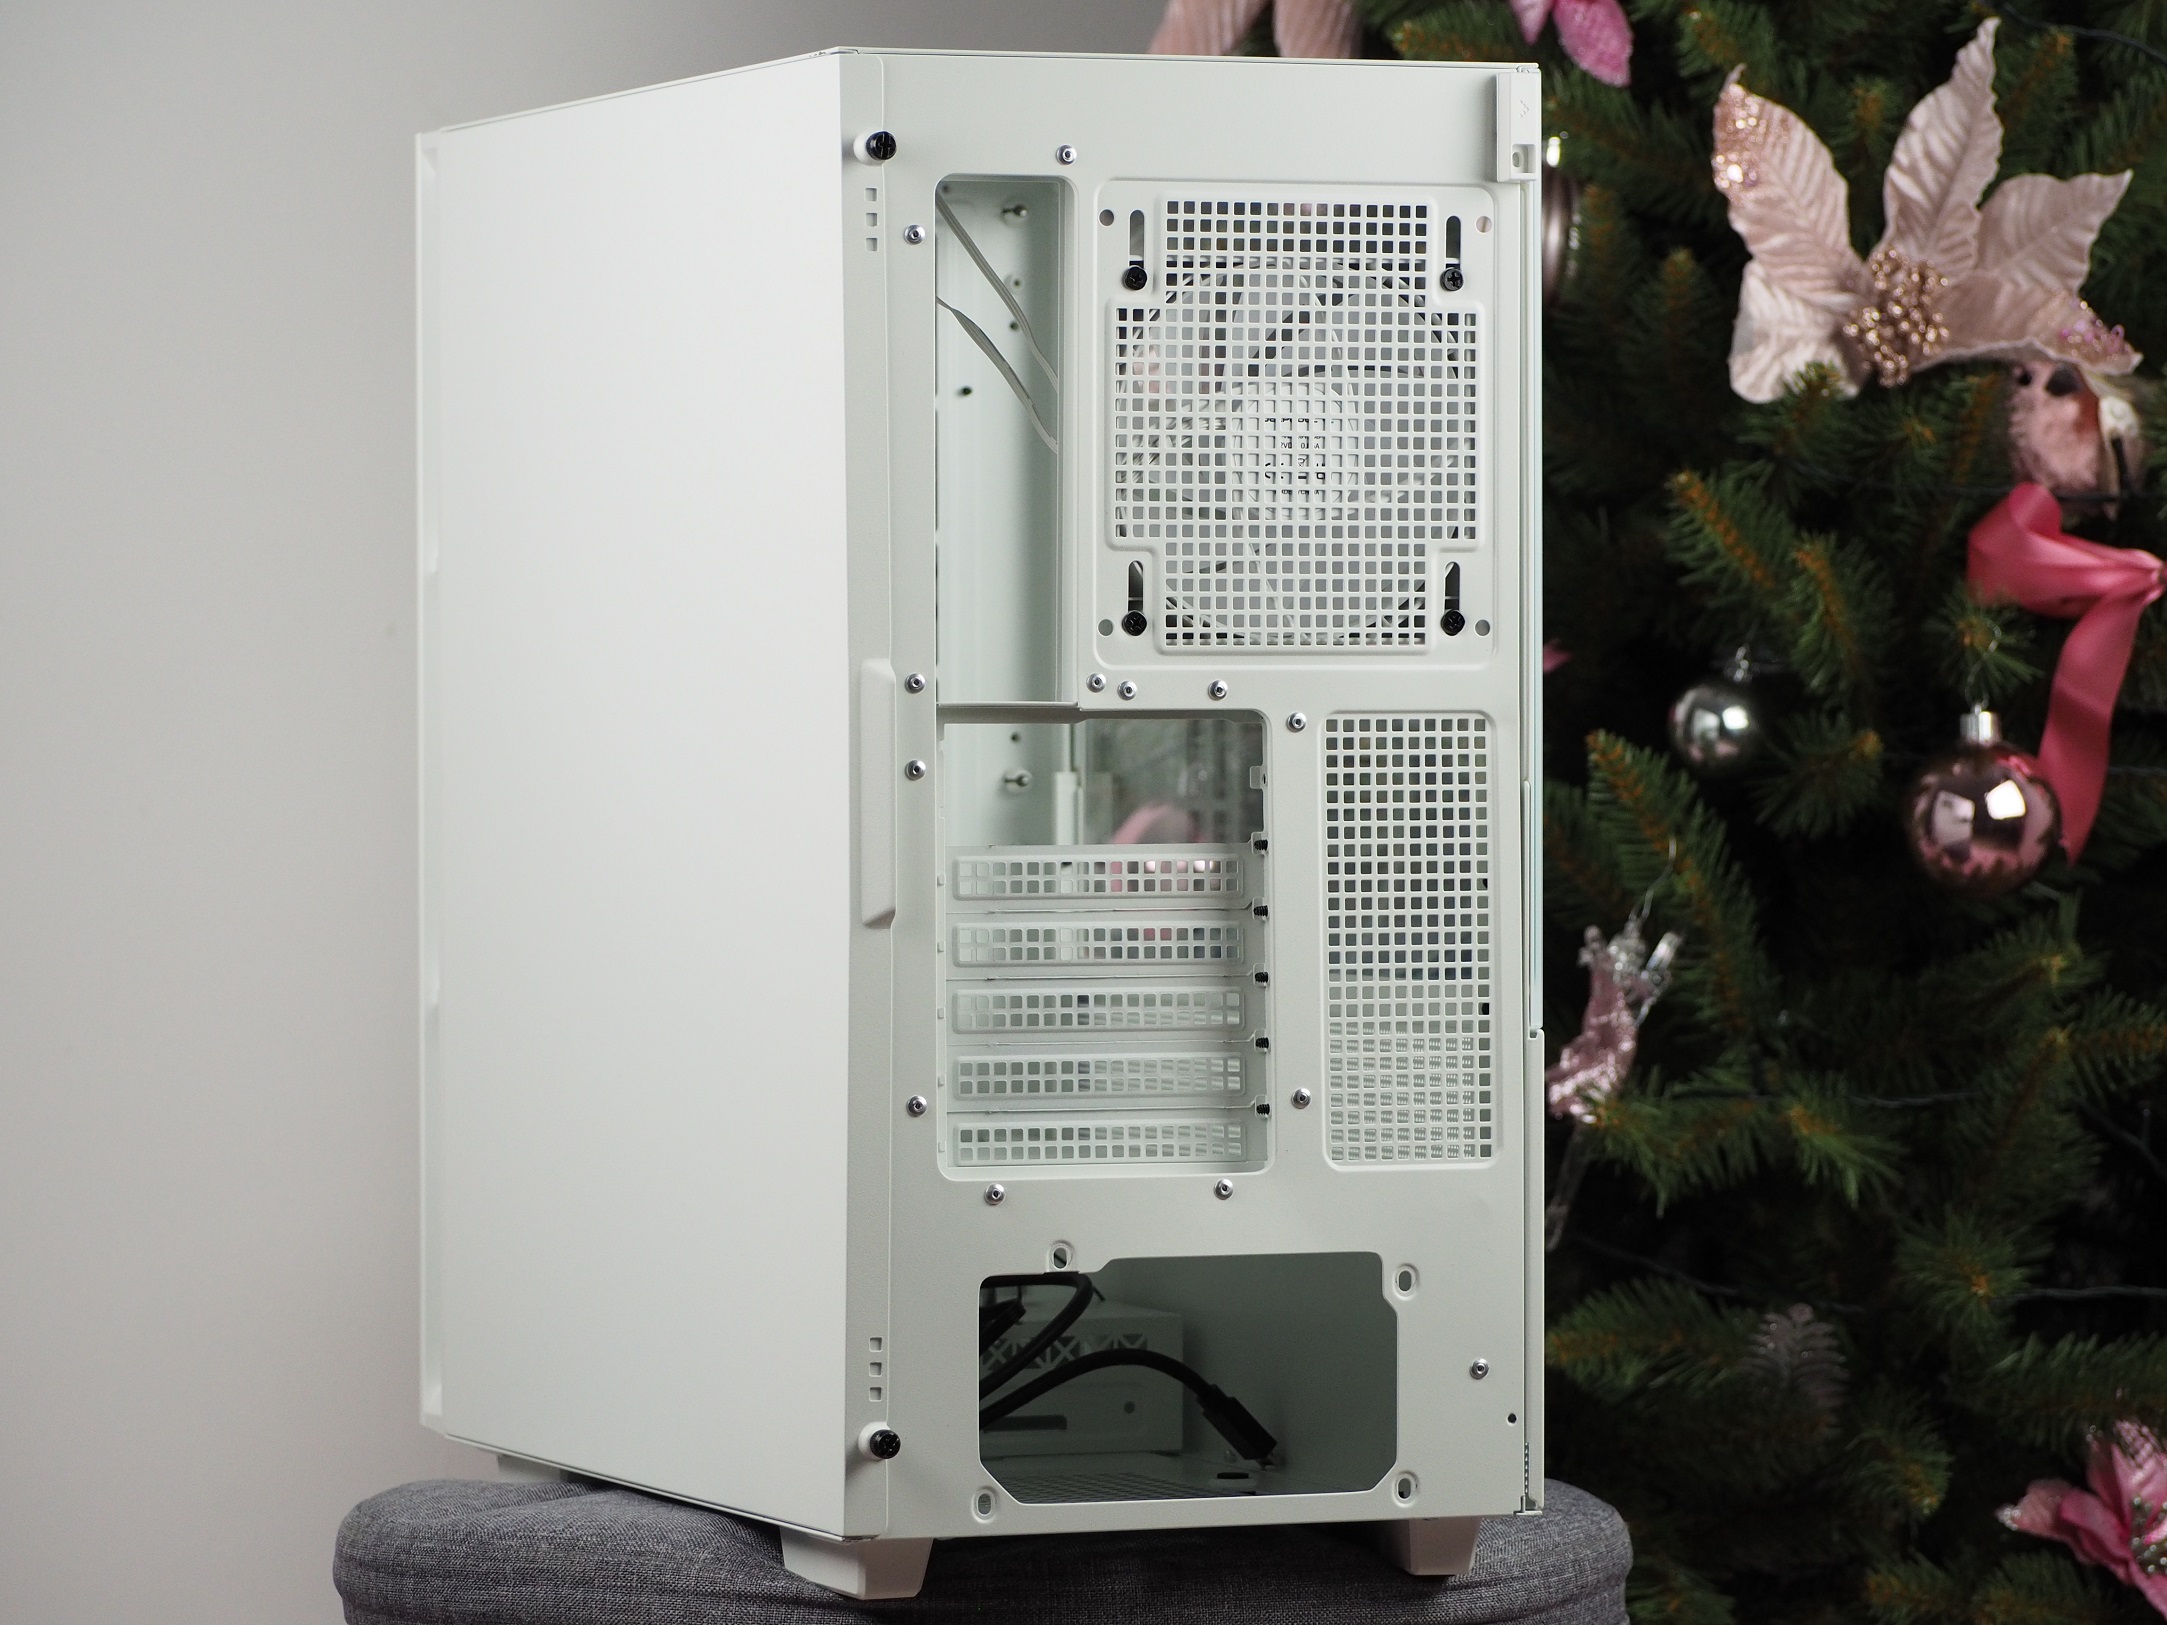
Directly below the position of the power supply there is a perforation, which seems to be protected from dust by a plastic grille. This looks very cheap and ineffective, while around it you can notice grooves for a frame with a fine dust filter. At the front, there are holes for two storage bracket positions spaced 30mm apart, so it will be possible to adjust the tunnel’s interior as needed.
The entire case is held up by four feet 20 mm from the ground. These have a softer foam glued on them, which puts minimal resistance when the case is moved horizontally.