


Interior
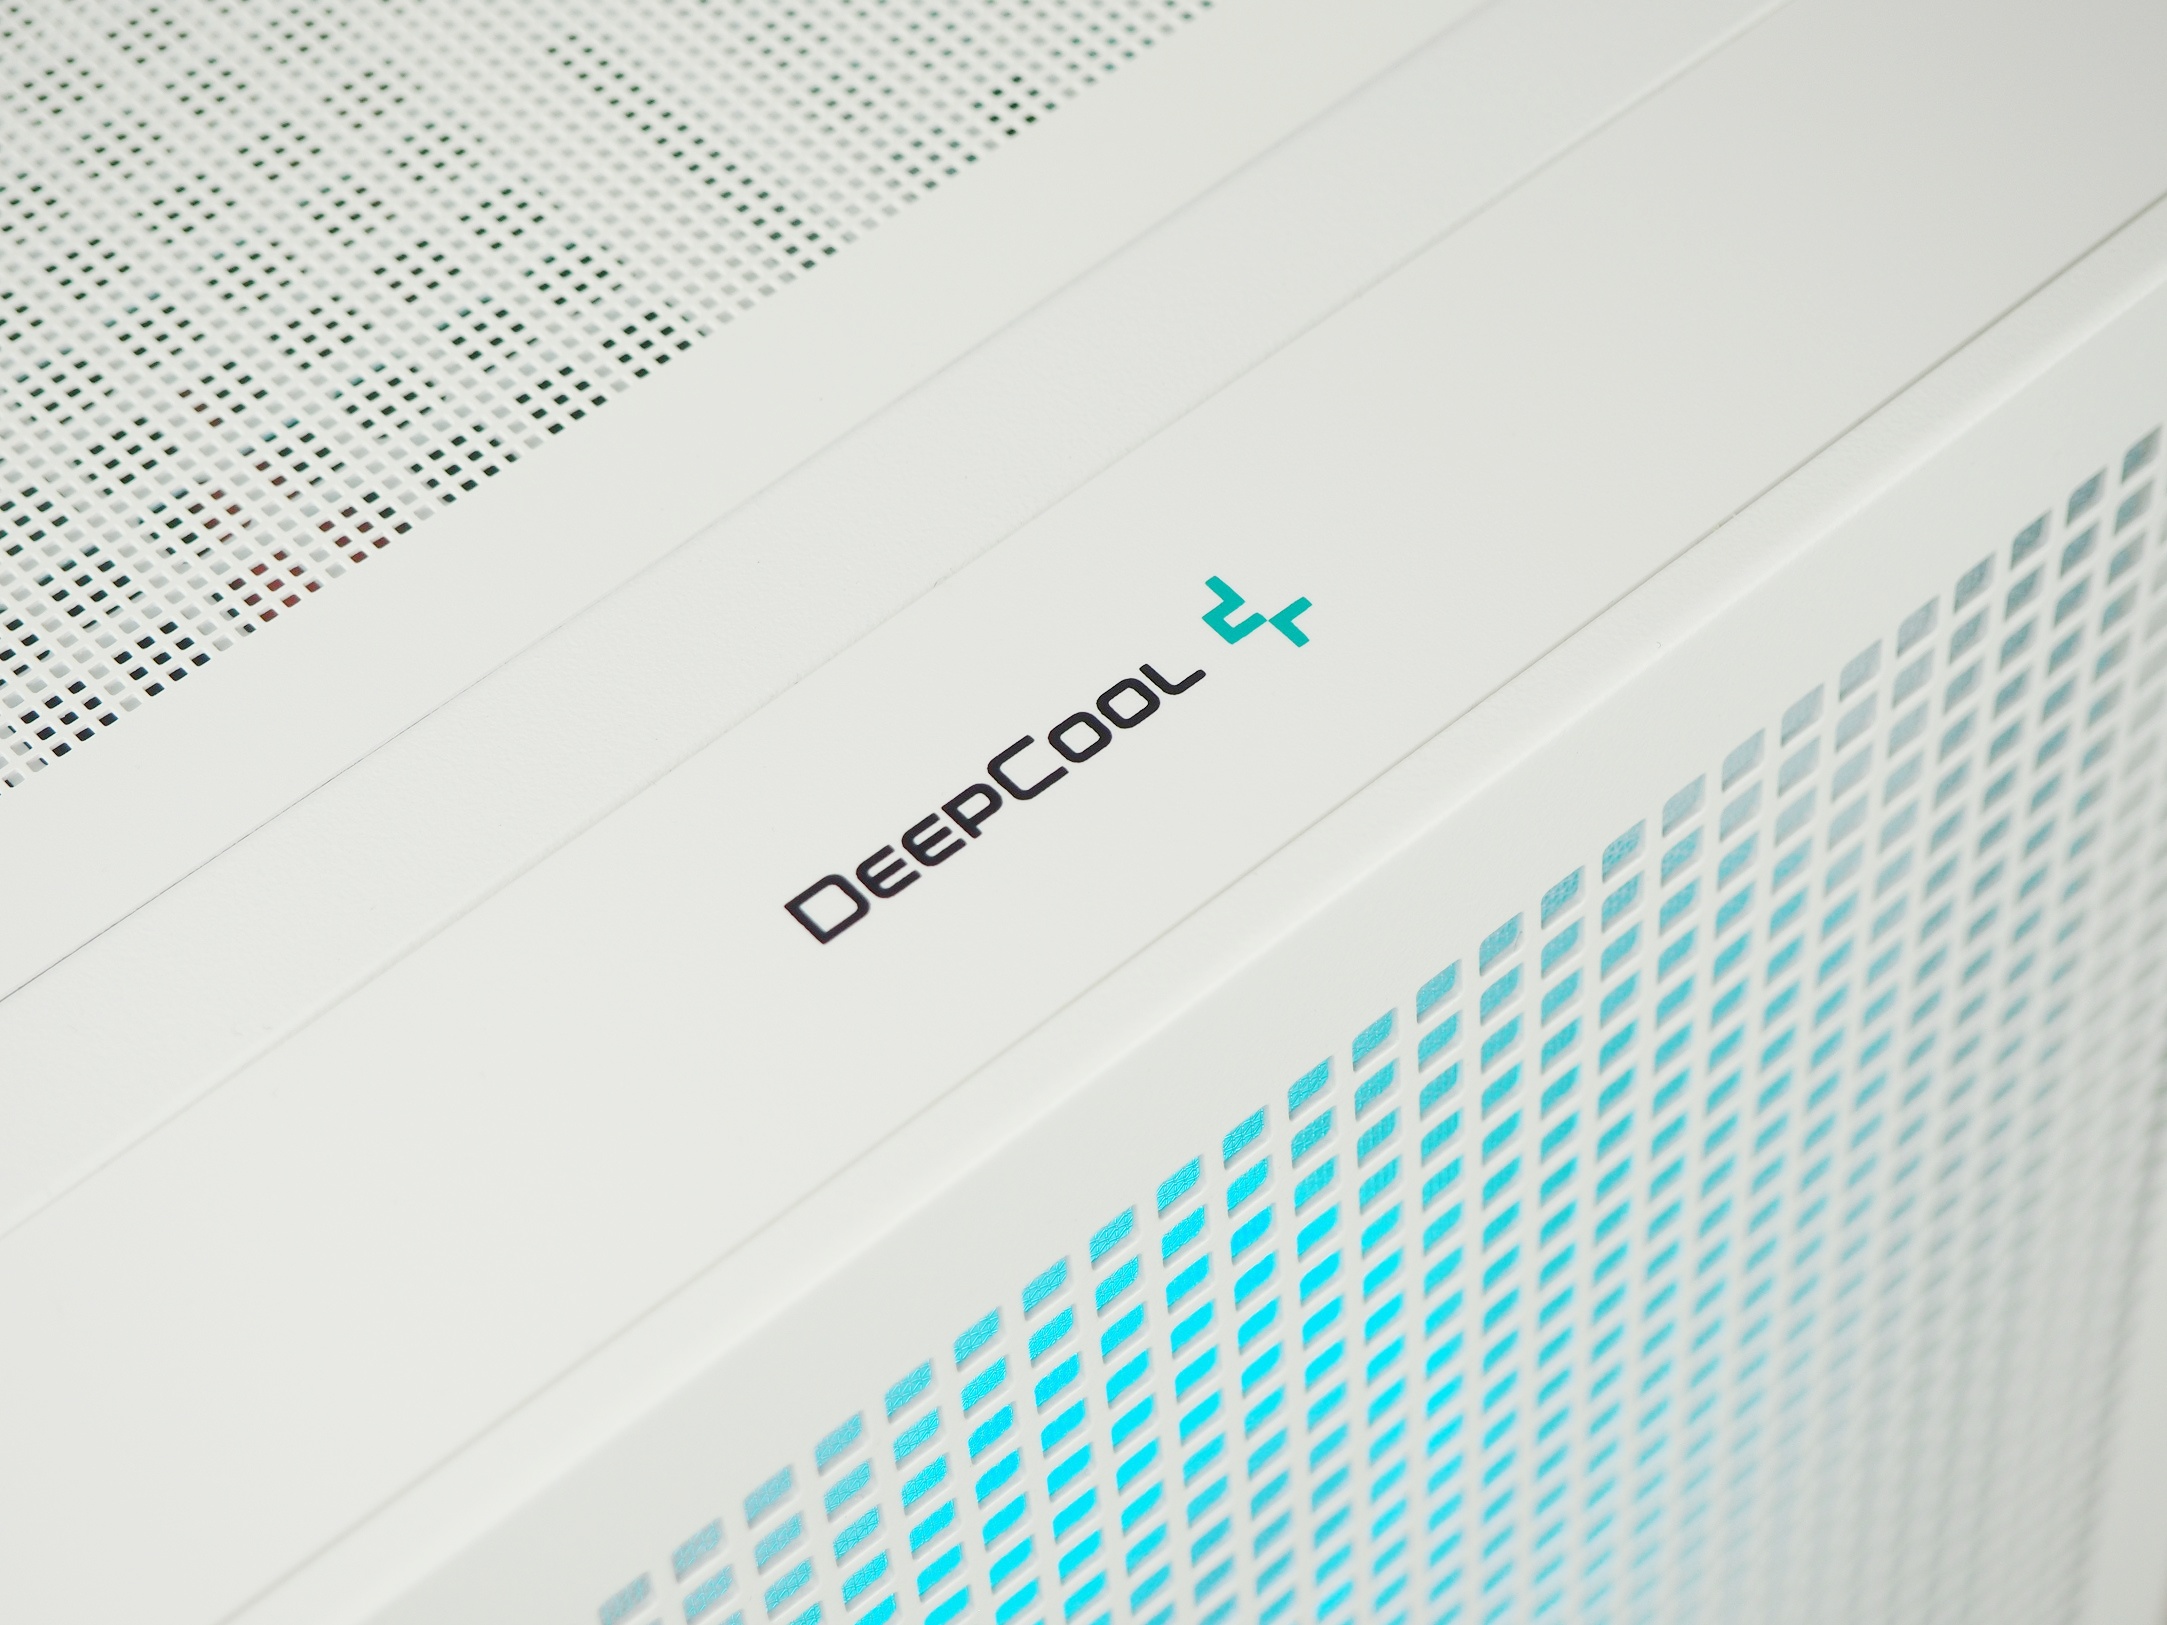
You’ve already seen the new “CH” case model as part of a build where we played around a bit with cooling optimizations and keeping things as quiet as possible. Now here is the standard review with a more detailed analysis. Compared to the CH510 Digital series, the CH560 (WH) is a bit more expensive, but comes with more features. And significantly so. Its biggest selling point is its four efficient ARGB fans.
Interior
The inside of the tray is identical in compatibility tothe lower-end CH510 case. You can mount motherboards in Mini-ITX, mATX, ATX and E-ATX formats here. It should be noted, however, that with the largest motherboard format you will overlap the vertical grommets for cables. For a graphics cards, you have 380 mm of space, so you don’t have to limit yourself in your choice. You won’t be limited when choosing a tower-shaped CPU cooler either, as you have 175 mm of space available.
The vertical holes for cables are protected by a rubber grommet which is fitted directly into the tray. This prevents the rubber grommet from sliding out when threading cables, as is often the case with those simple grommets. You have 28 mm for threading, which is also sufficient for larger cable bundles.
Along the bottom grommet, there are holes on the right and left to mount a graphics card holder. This can be adjusted vertically and horizontally for precise positioning. Although its build is simple, it fulfills its function as it should.


The ceiling of the tunnel is perforated with holes of the same size as those on the front panel. This will also help the potential fans placed on it, as there is an option to fit two 120mm fans here. The absence of rubber grommets on the tunnel openings is not a problem, on the contrary. Thanks to this, the holes are not narrowed and so you have a nice 25 mm to thread the cabling through.
At the front of the tunnel is a cut-out for a liquid cooler radiator, for which up to 75 mm is available. With that much space, you can fit even the thickest radiators here.


For the larger amount of cables, of which there are quite a few due to the lighted fans, there are two vertical paths right next to each other. One path runs directly through the openings – for cables directly from the power supply and the other is for cables from the case. This way they don’t mix with each other and managing them should be relatively easy. On the second trough you will find three pull-tabs with Velcro, which is enough for securing the main cable bundle. Also, the opening behind the motherboard offers curved protrusions onto which cables can be attached. These holes are already smaller and more suited for single-use zip ties from accessories but you can also fit reusable ones there. For cable management you have 26 mm of space, in which the depth of the side panel is also included.


All four mounted fans can be daisy-chained together – including the power and backlight cables. This allows all fans to be connected to a small hub directly under the ceiling. If you also use it as a backlight control, it must be powered using a SATA cable directly from the power supply. When controlling the backlight via the motherboard, the hub must not be connected to the power supply.

The case has four positions for storage. Two “quick-release” ones are located on the tray for 2.5″ SSD/HDDs. The simplicity and speed of the attachment is in the special screws, which you fit onto the storage and then simply snap into the holes on the tray. Additional positions for storage are located in the tunnel. The top can accommodate 2.5″ or 3.5″ storage, while only 3.5-inch storage slides inside. This compartment can be moved forward 30 mm, giving you up to 270 mm of space for the power supply with cables. In its original position, it’s still a respectable 240mm.


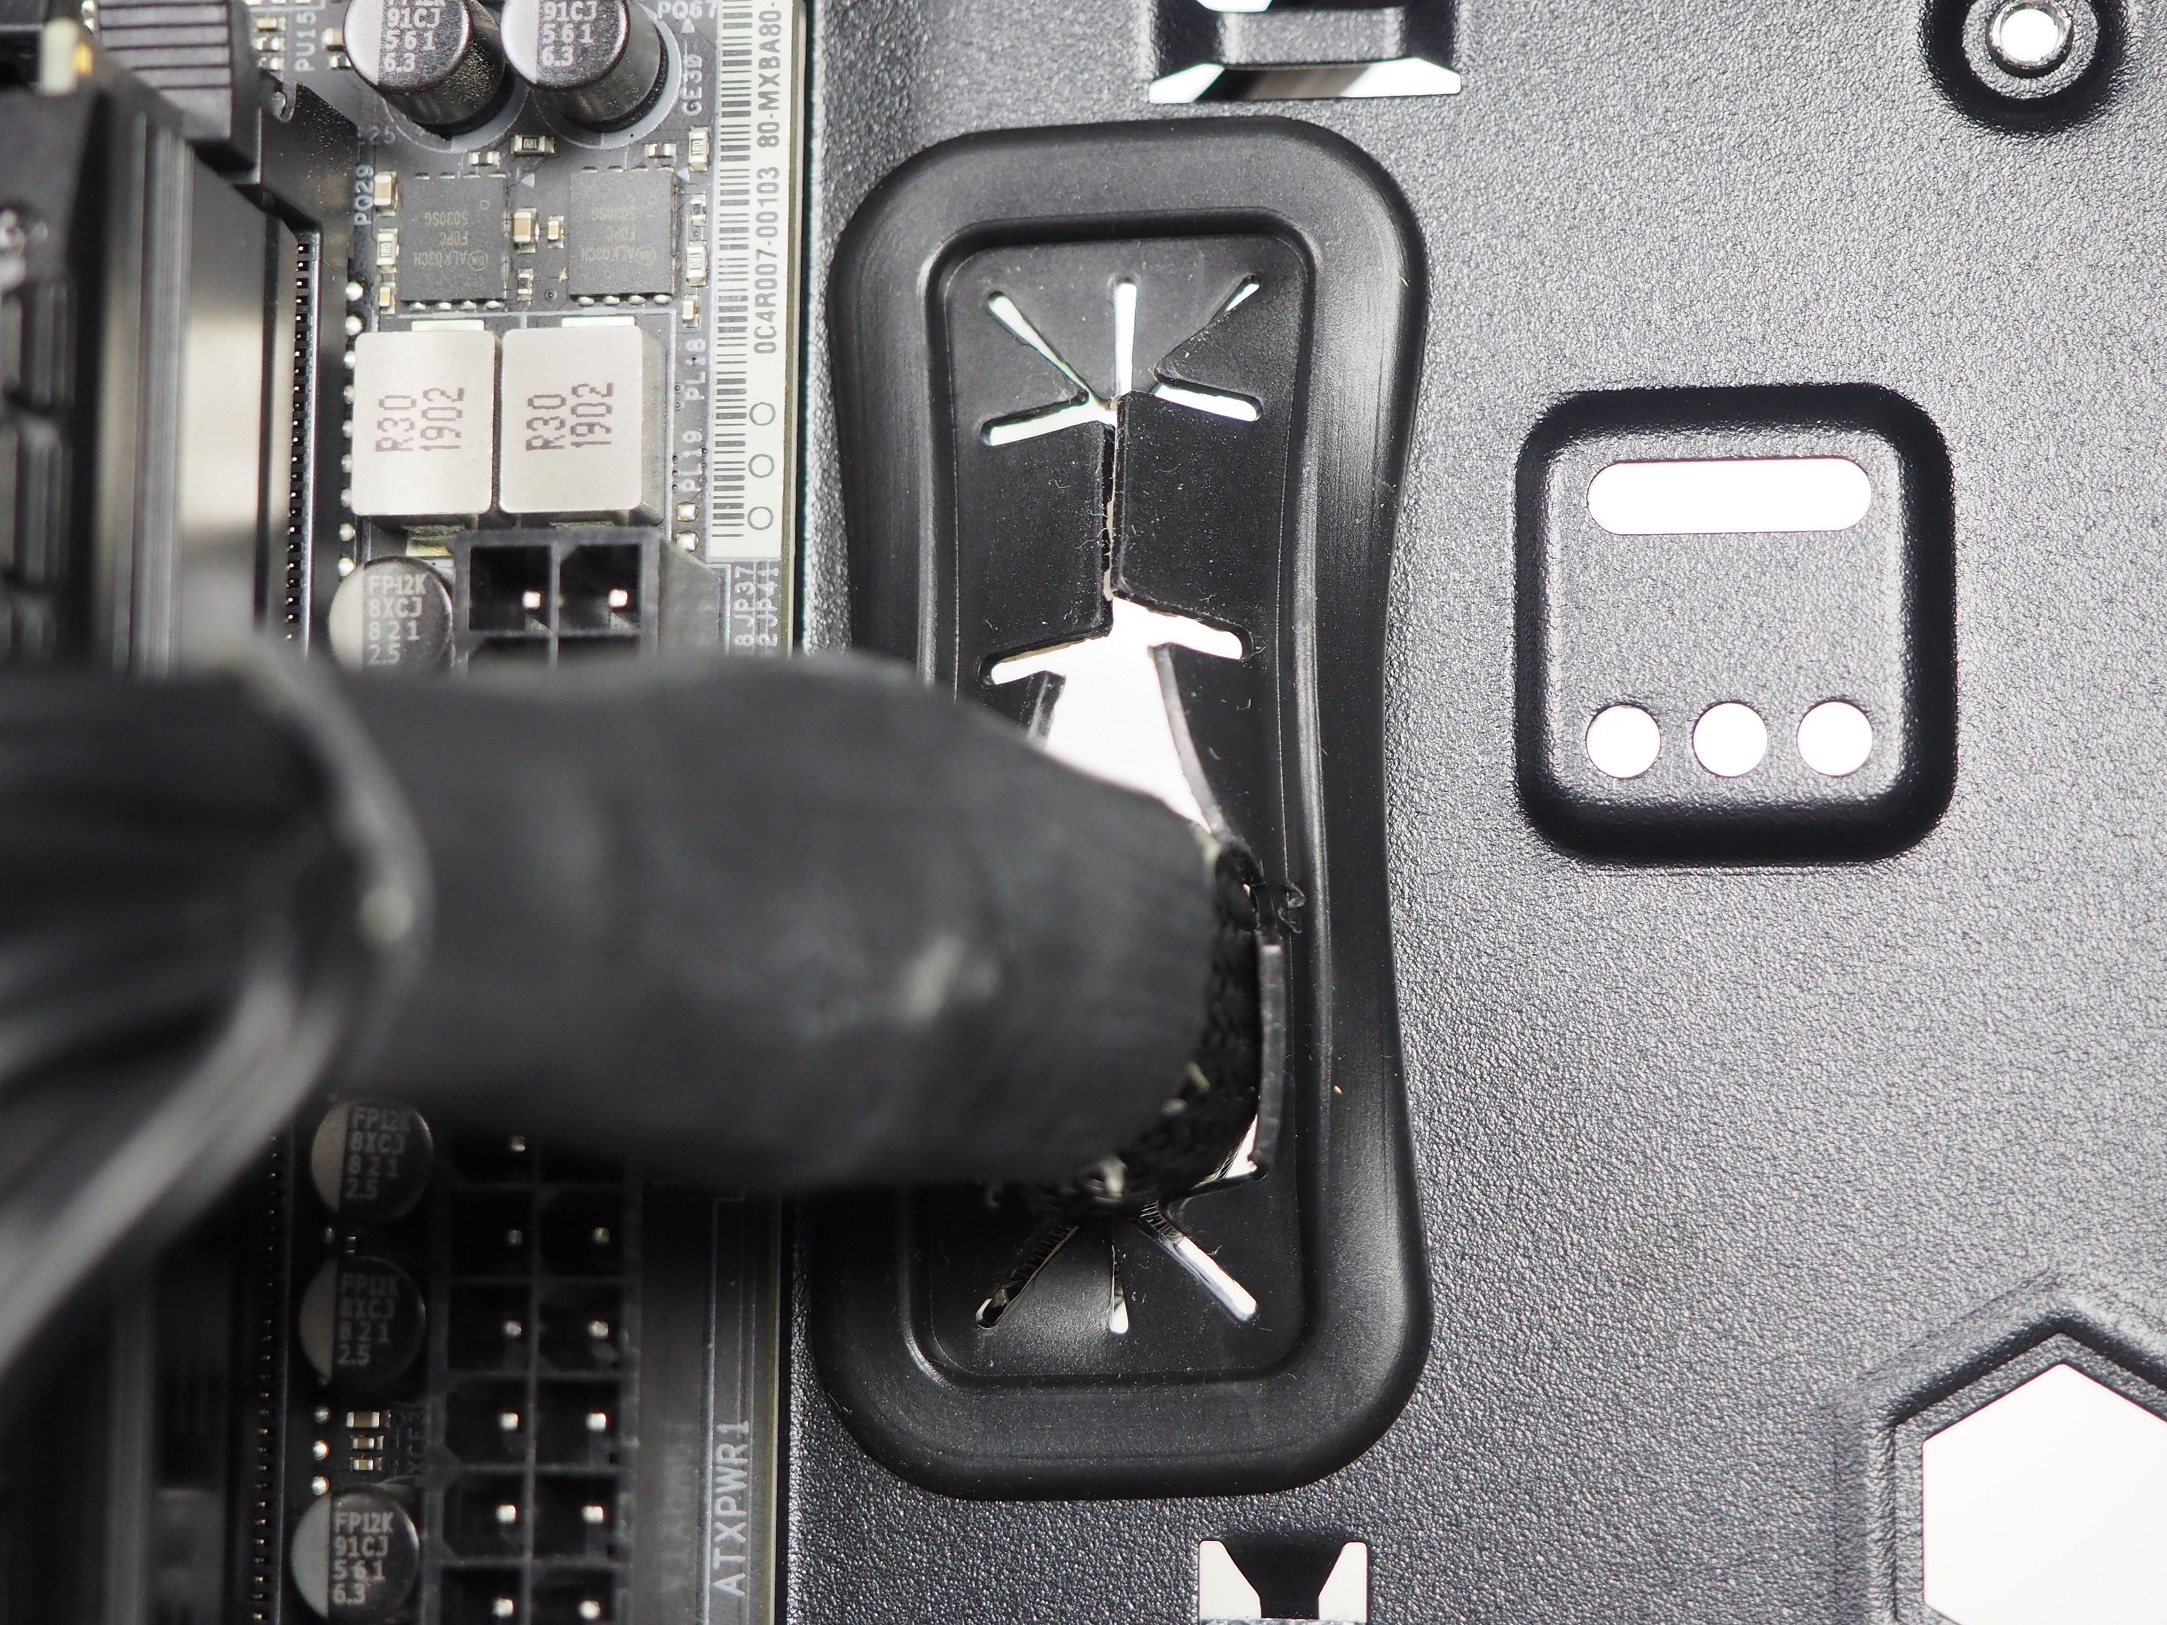
Behind the tray, cable management was relatively easy to do and even when I tried putting the 24-pin motherboard power cable through a side path, not the way it’s supposed to go. Because of this, I found that closing the right side panel was not a problem for the case, even with a thicker bundle of cables. From the opposite side, the hardware installation and plugging it in went smoothly as well. Even the CPU power cable was easy to plug in under the ceiling. And that was already with the tower CPU cooler in place.


Everything is held on top of a 0.75 mm thick tray, which is 0.1 mm less than the right side panel. You can already feel the difference in stiffness there and the tray is a little more flexible.

- Contents
- Exterior
- Interior
- Testing methodology
- CPU and GPU cooling tests
- Motherboard cooling tests
- SSD cooling tests and under-ceiling temperature
- Conclusion

