What it looks like in the BIOS
The second wave of Z790 motherboards, released alongside 125W Intel Raptor Lake Refresh CPUs, is also attractive for its upgraded network connectivity. The latter is also cutting edge on the Z790 Tomahawk Max WiFi. It’s one of the cheapest boards with WiFi 7. But in our tests of it, we’ll naturally be interested in the overall implementation of all the features. That is, what MSI managed better or worse compared to competing models.
What it looks like in the BIOS
The user interface is as you know it from MSI. That is, there’s the traditional layout of basic indicators (with CPU temperature monitoring, for example) and buttons within EZ Mode. Through these it’s possible to quickly enable a memory profile or “Game boost”, which forces higher clock speeds into situations that would be possible to be smoothed out. These are typically games that are a long way from maximum load, which is then reflected in lower power draw and temperature (compared to a heavy workload using AVX instructions). Hence the apt name (Game Boost), apparently.
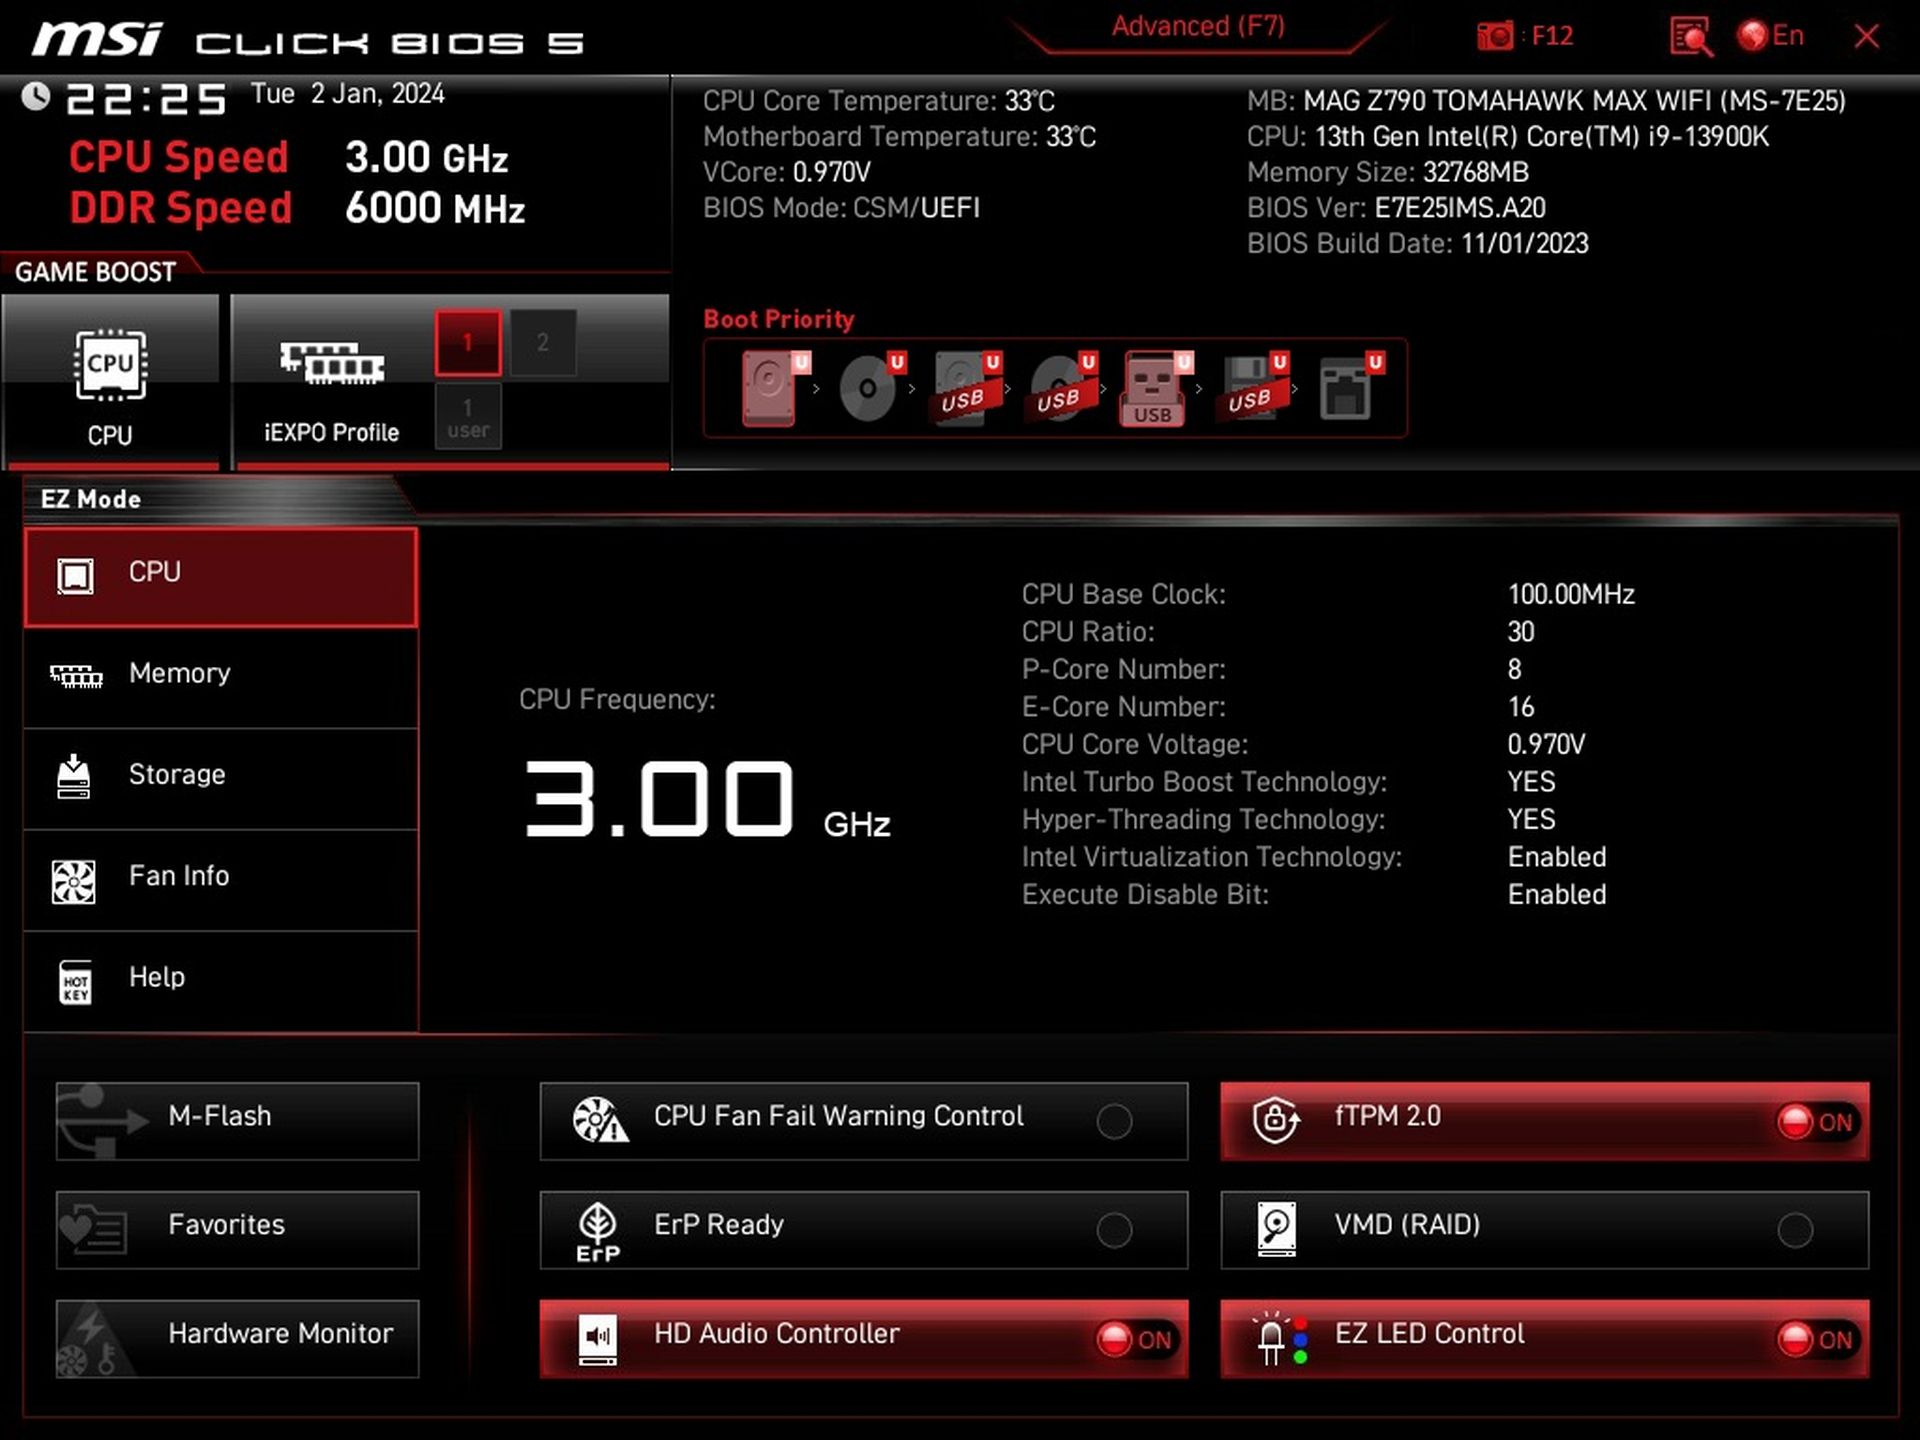
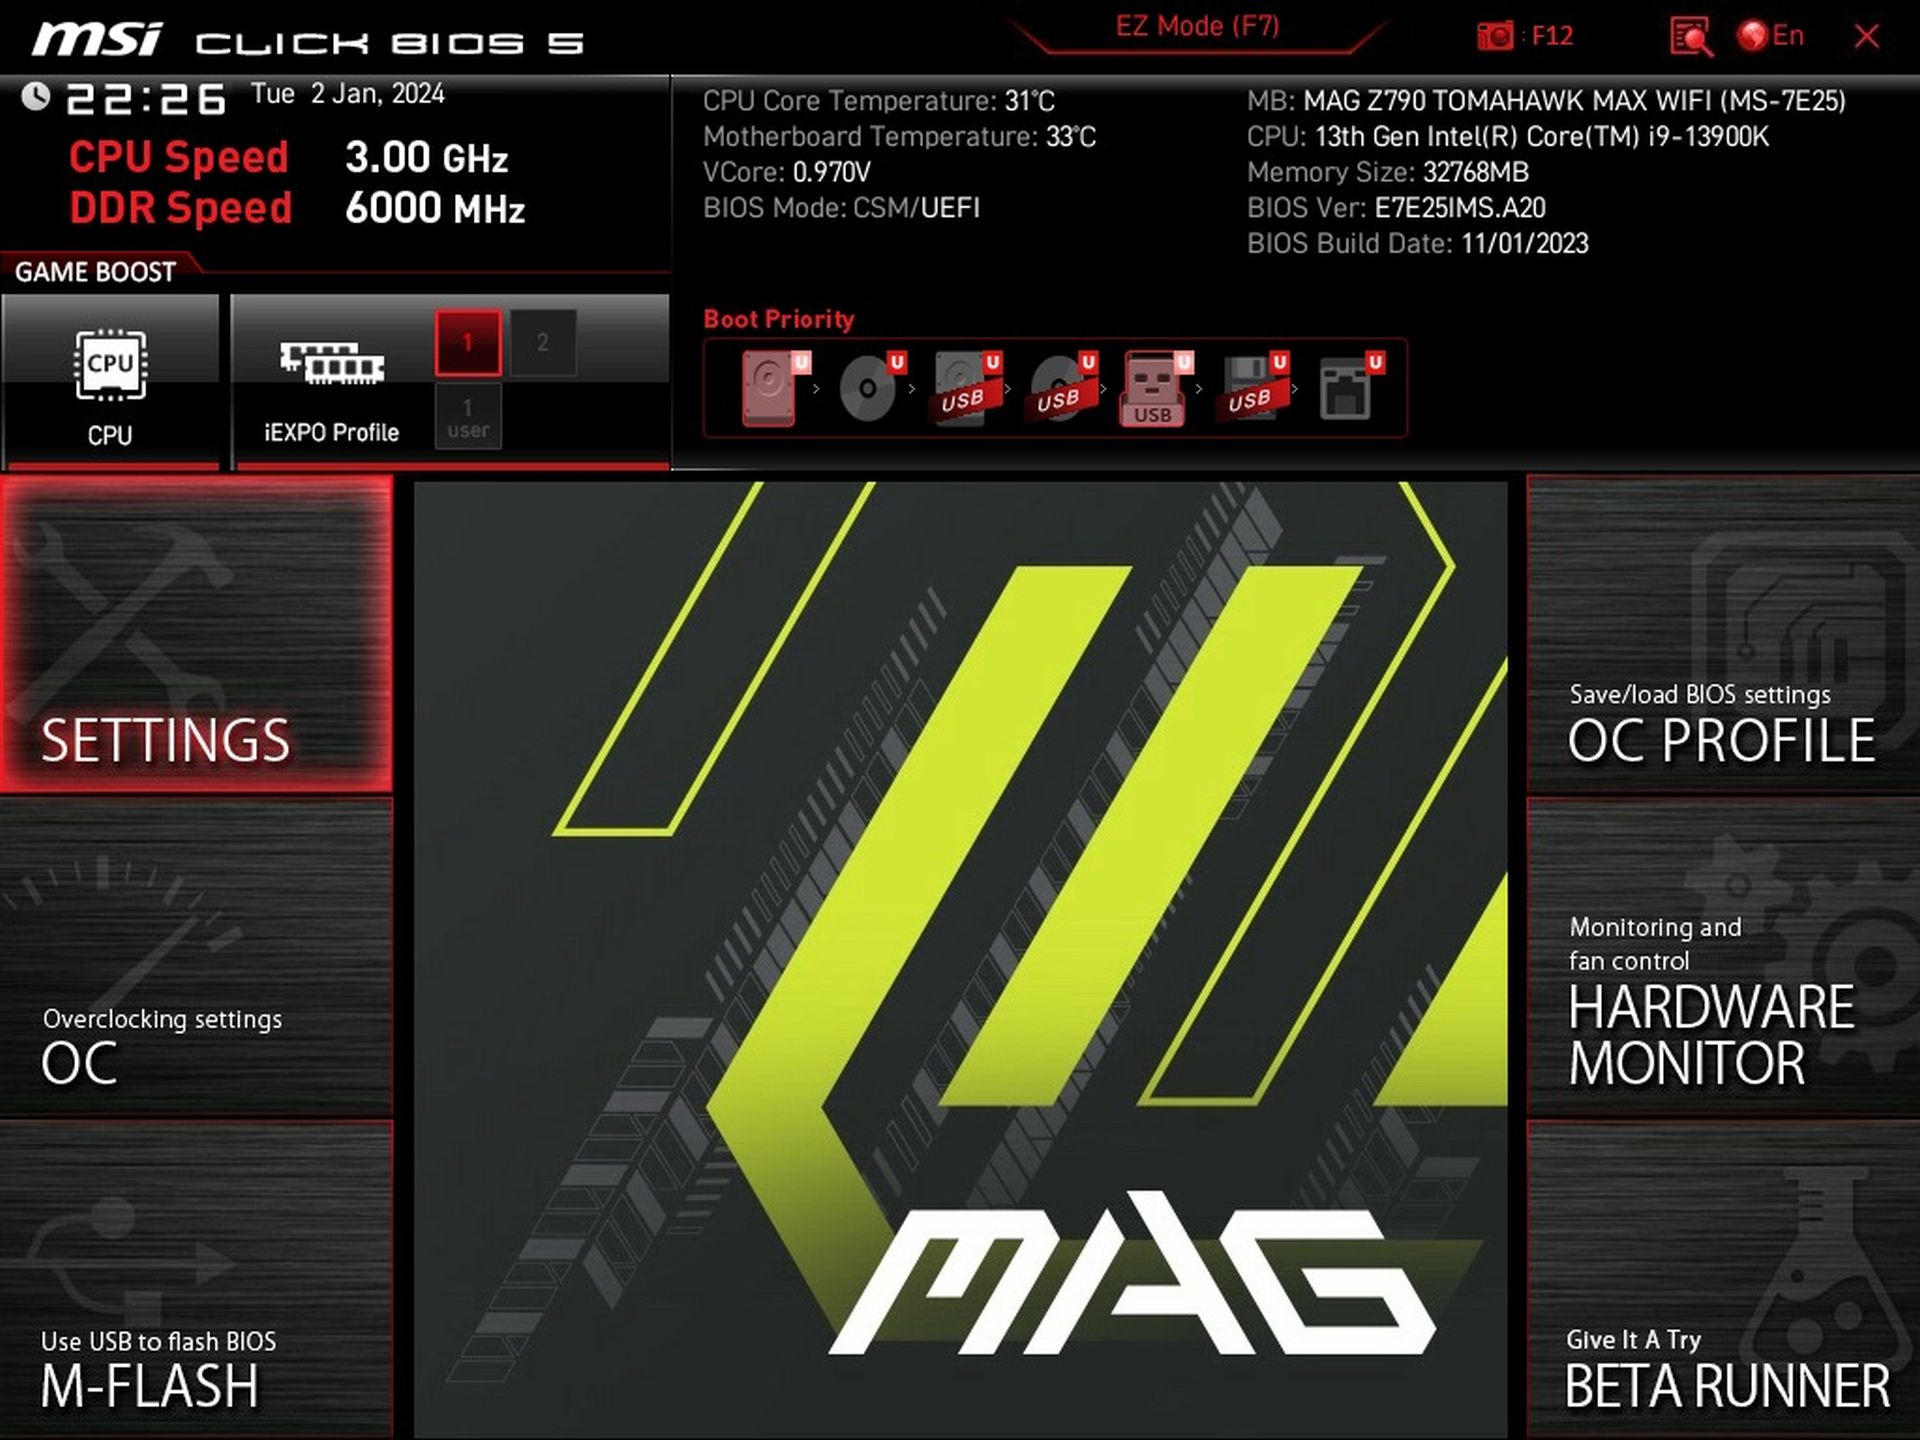
Between the themed main tabs (Settings, OC, M-Flash, OC Profile, Hardware Monitor, and Beta Tuner) is a wallpaper that responds to the motherboard’s color scheme and classification. That is, with the MAG logo and green elements in the background.
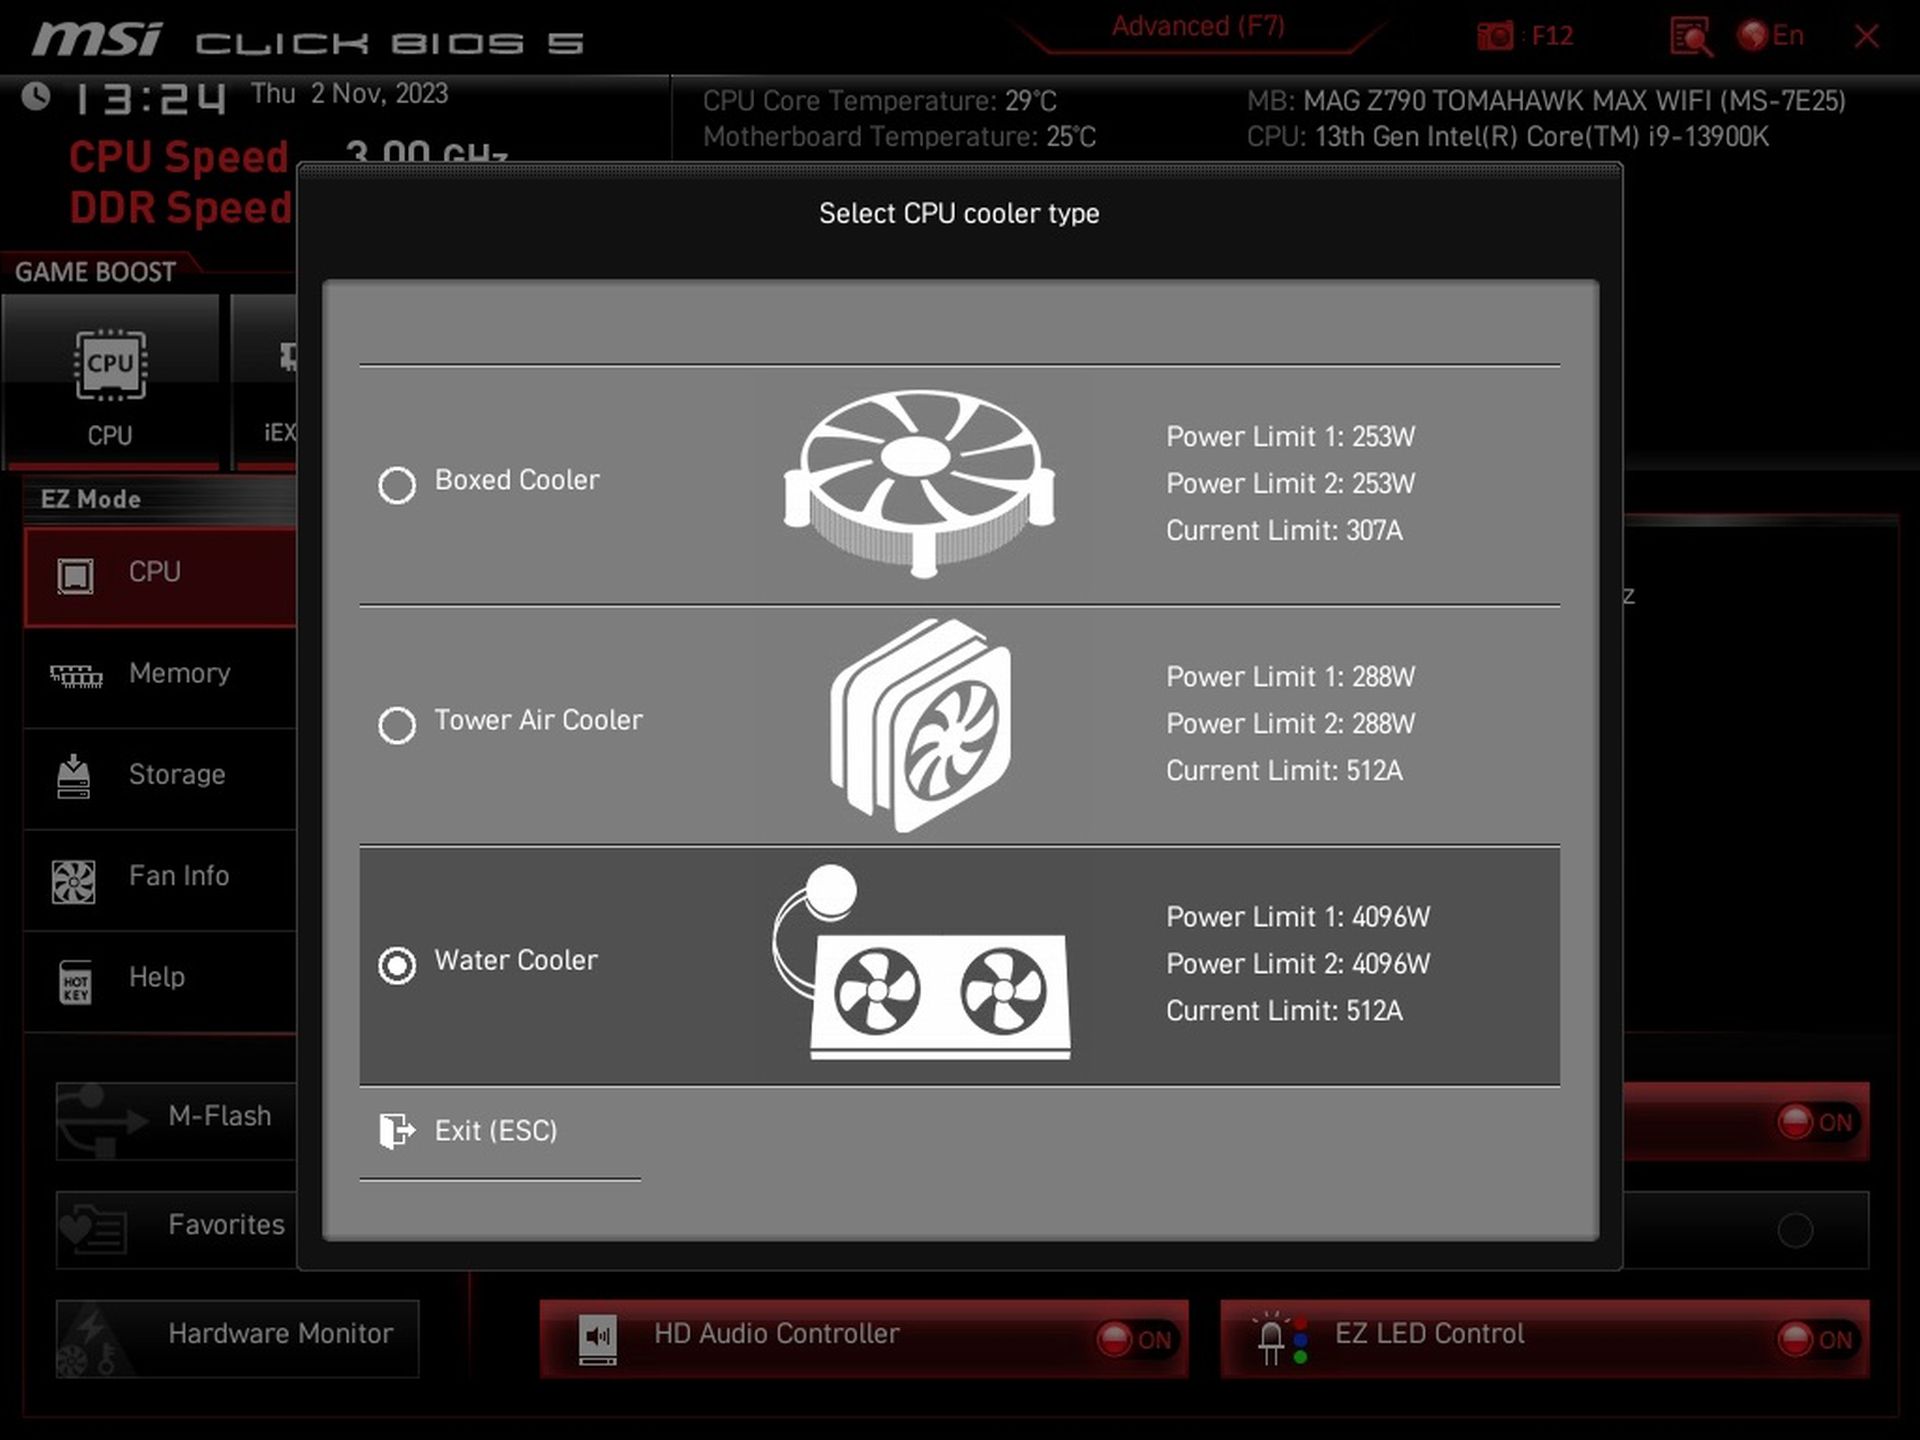
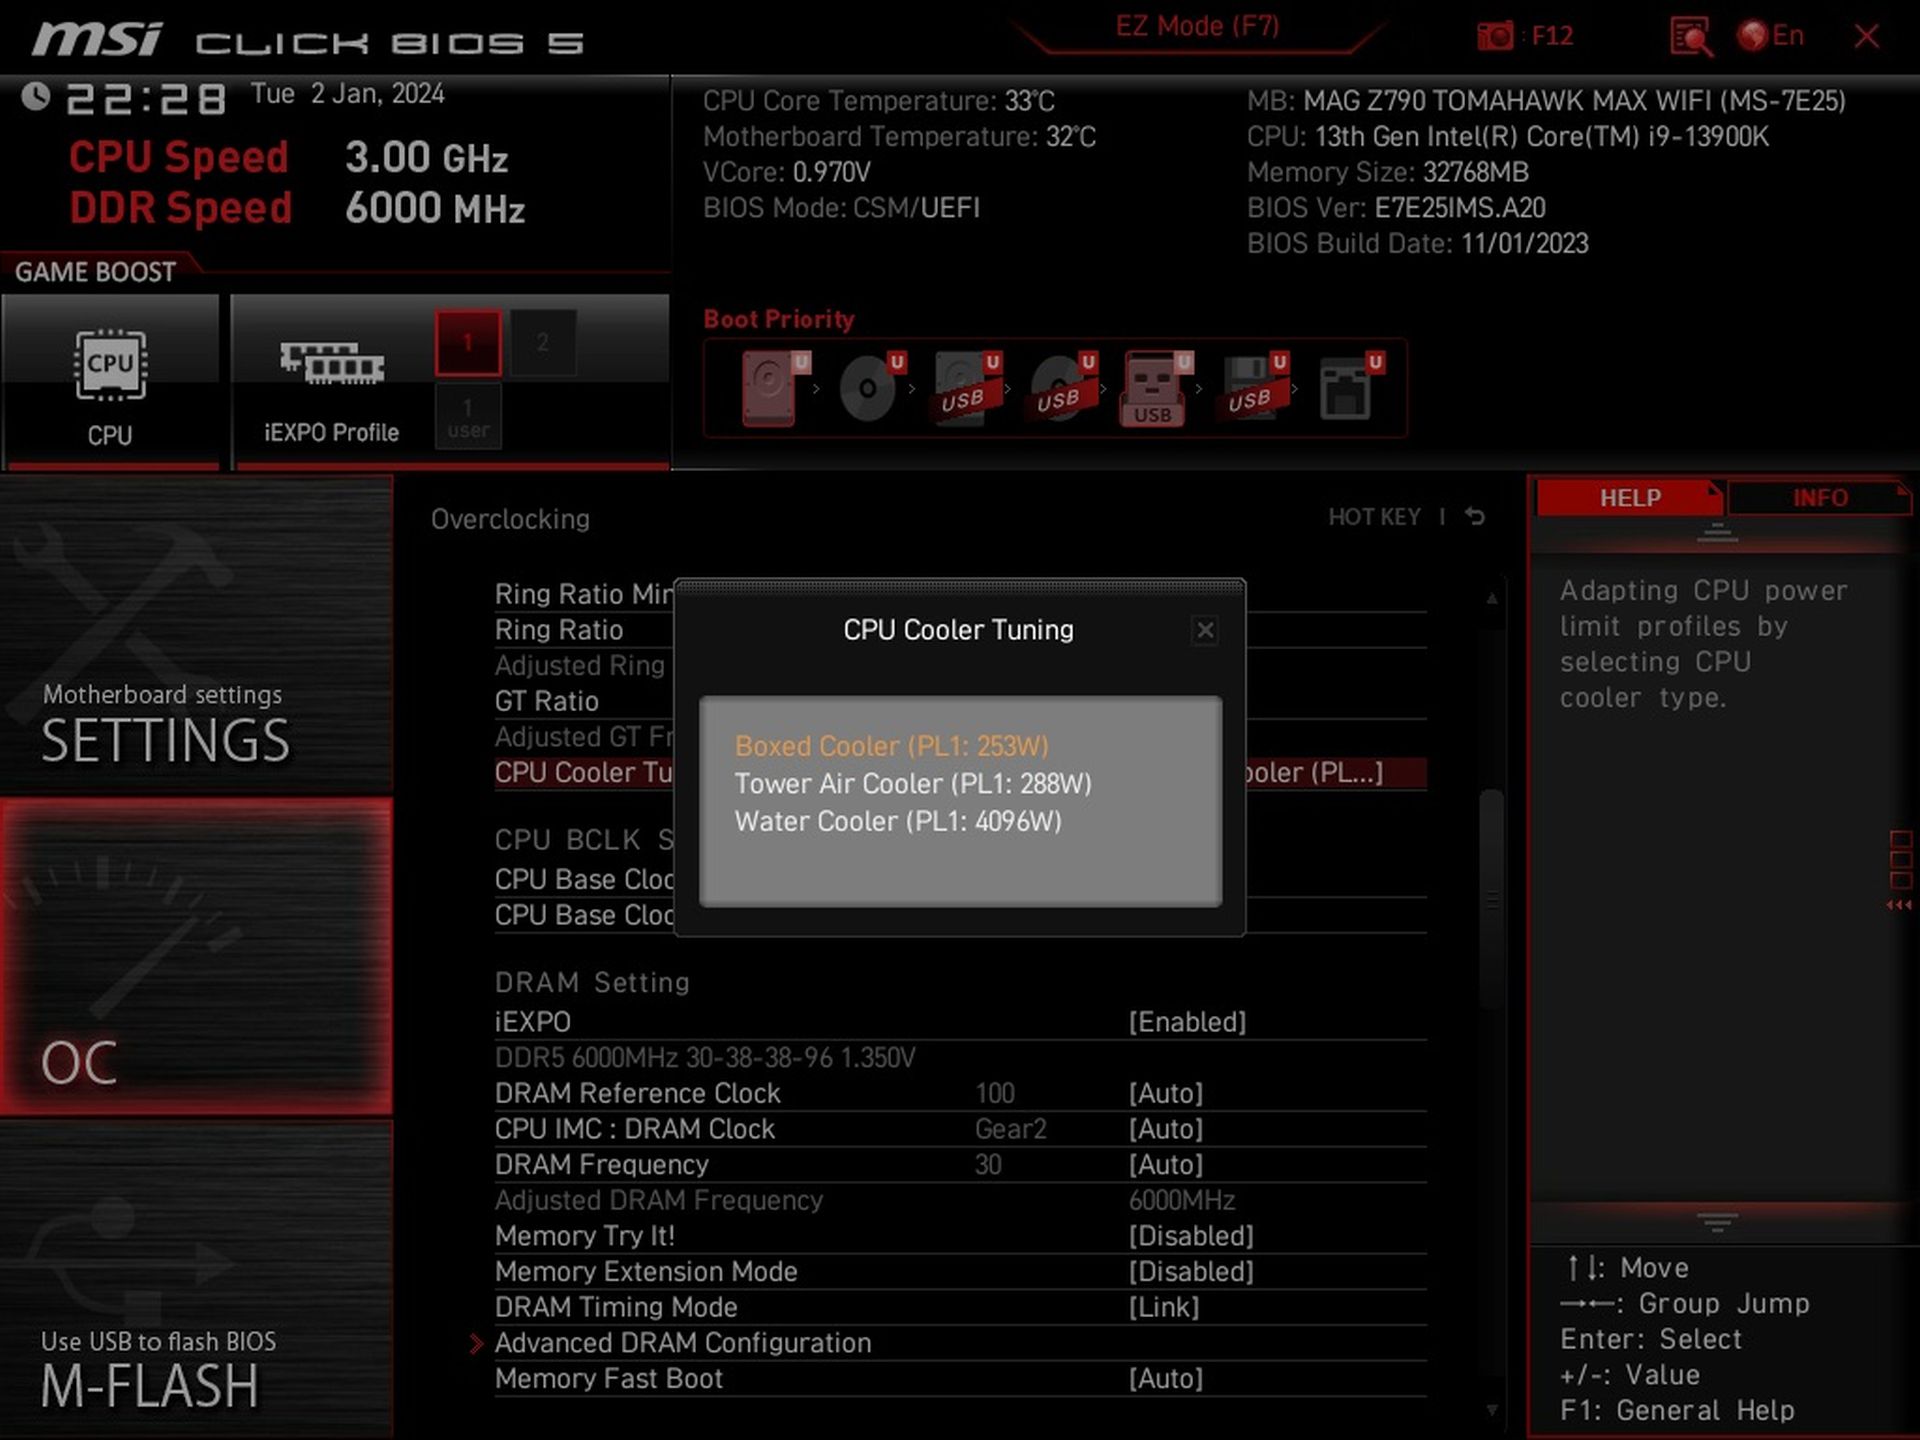
But the very first screen after the first POST prompts you to make the “correct” choice of power limits. To make it not too complicated for normal users, there are three preset profiles, symbolized by different types of coolers. The option with fully unlocked power limits is the “Water cooler” profile, which is assumed to have the highest available performance. Conversely, the “Boxed cooler” represents limited cooling performance, where the long-term load is set at 125 W. The “Tower Air Cooler” mode is then the golden middle ground with a sustained 288 W.
You can then return to the profiles with different preset power limits in the “Overclocking” section, and you can also manually enter the exact values for the short-term and long-term power limit (with the possibility of placing a time limit on it). This also on the OC tab, in the advanced CPU settings.

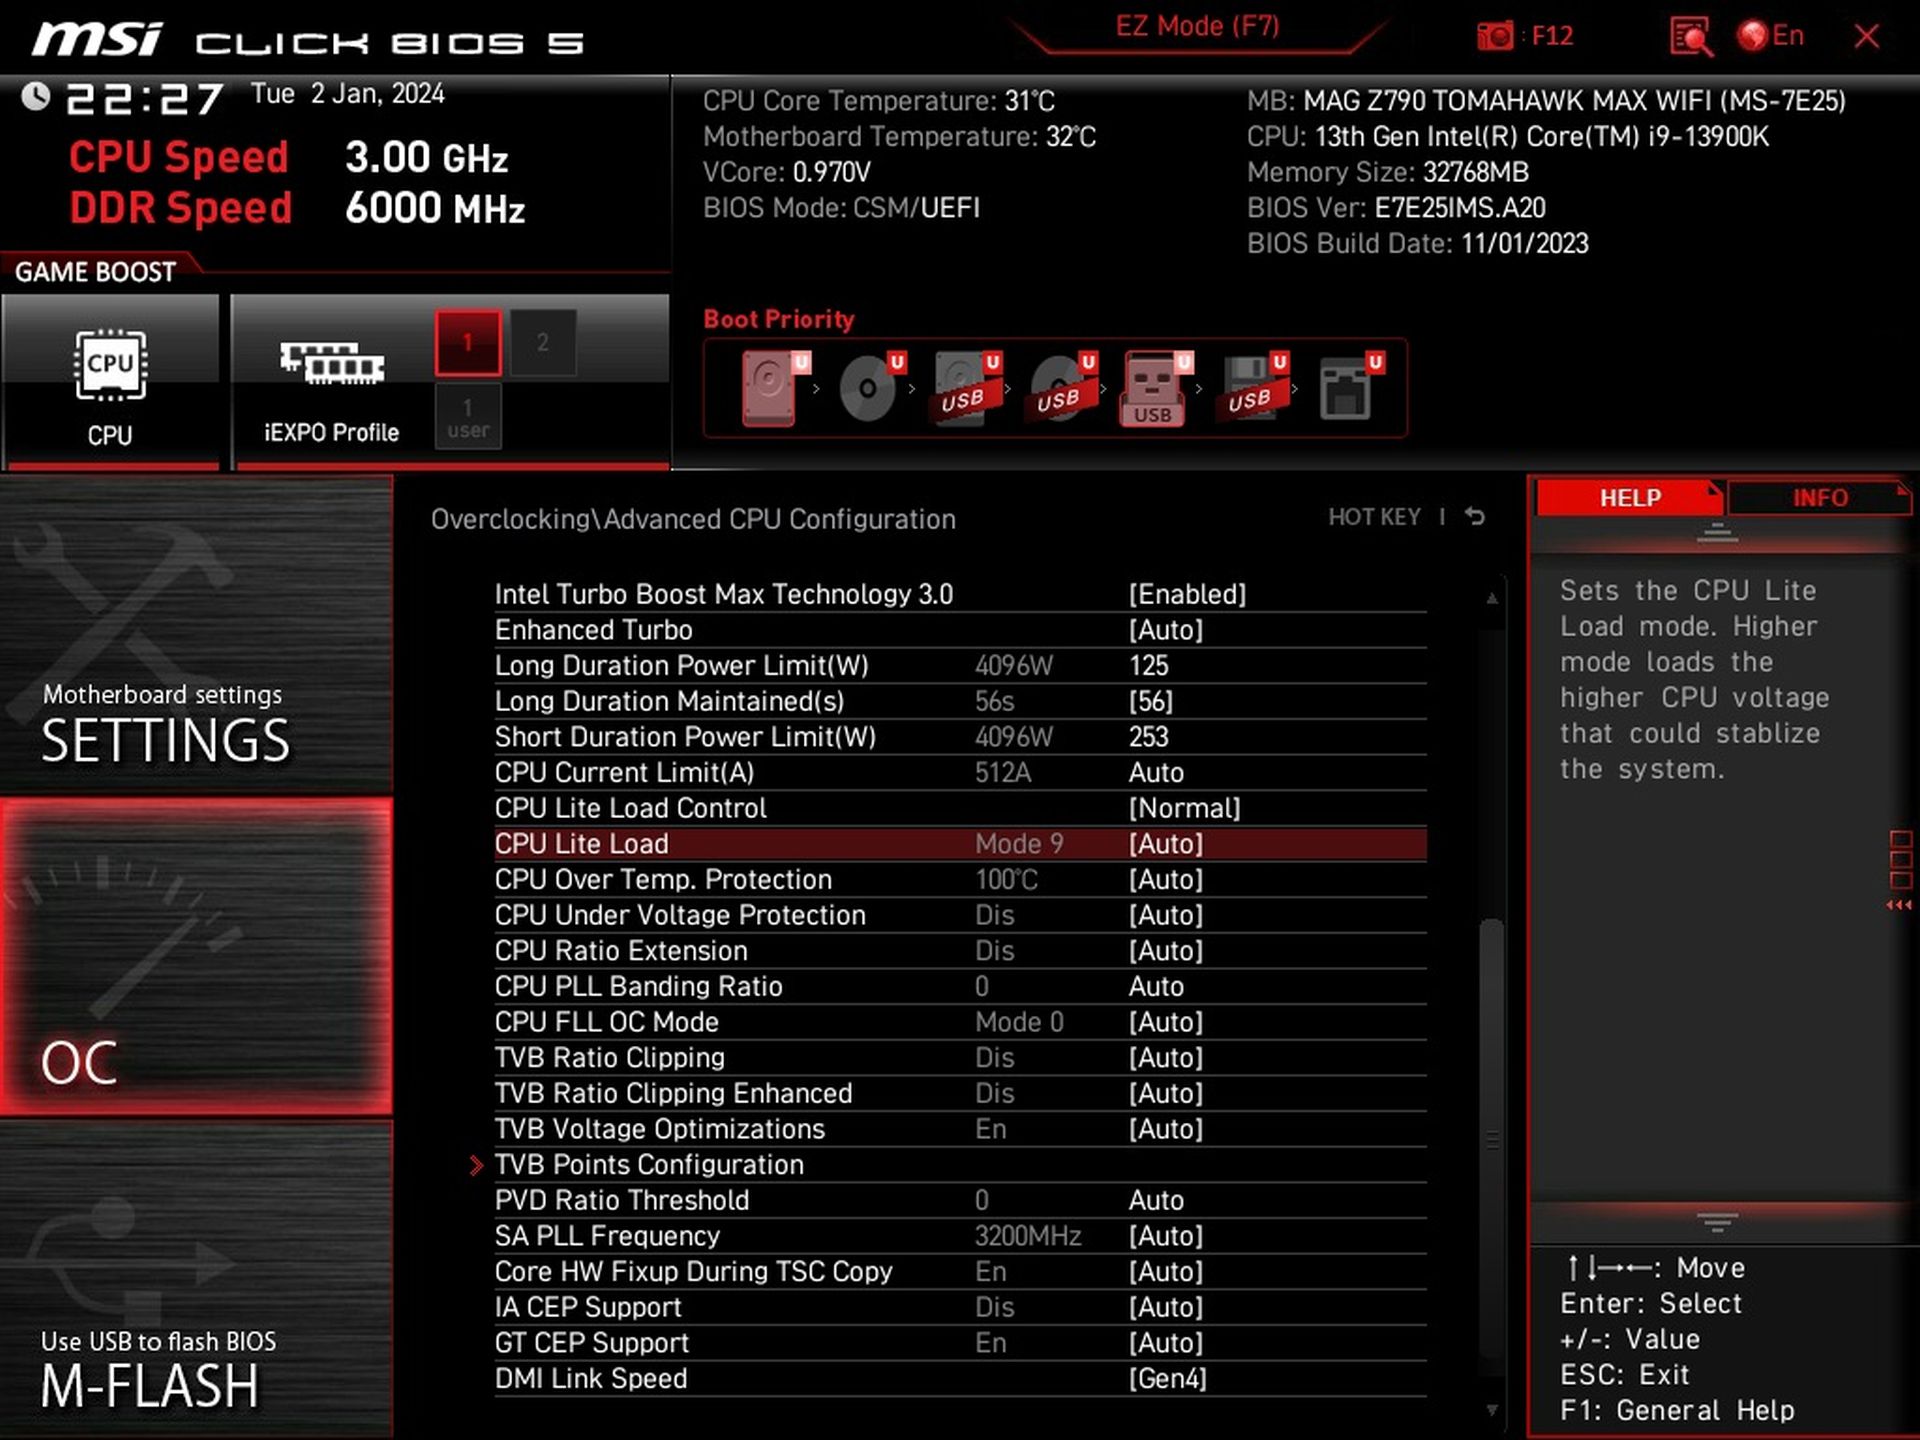
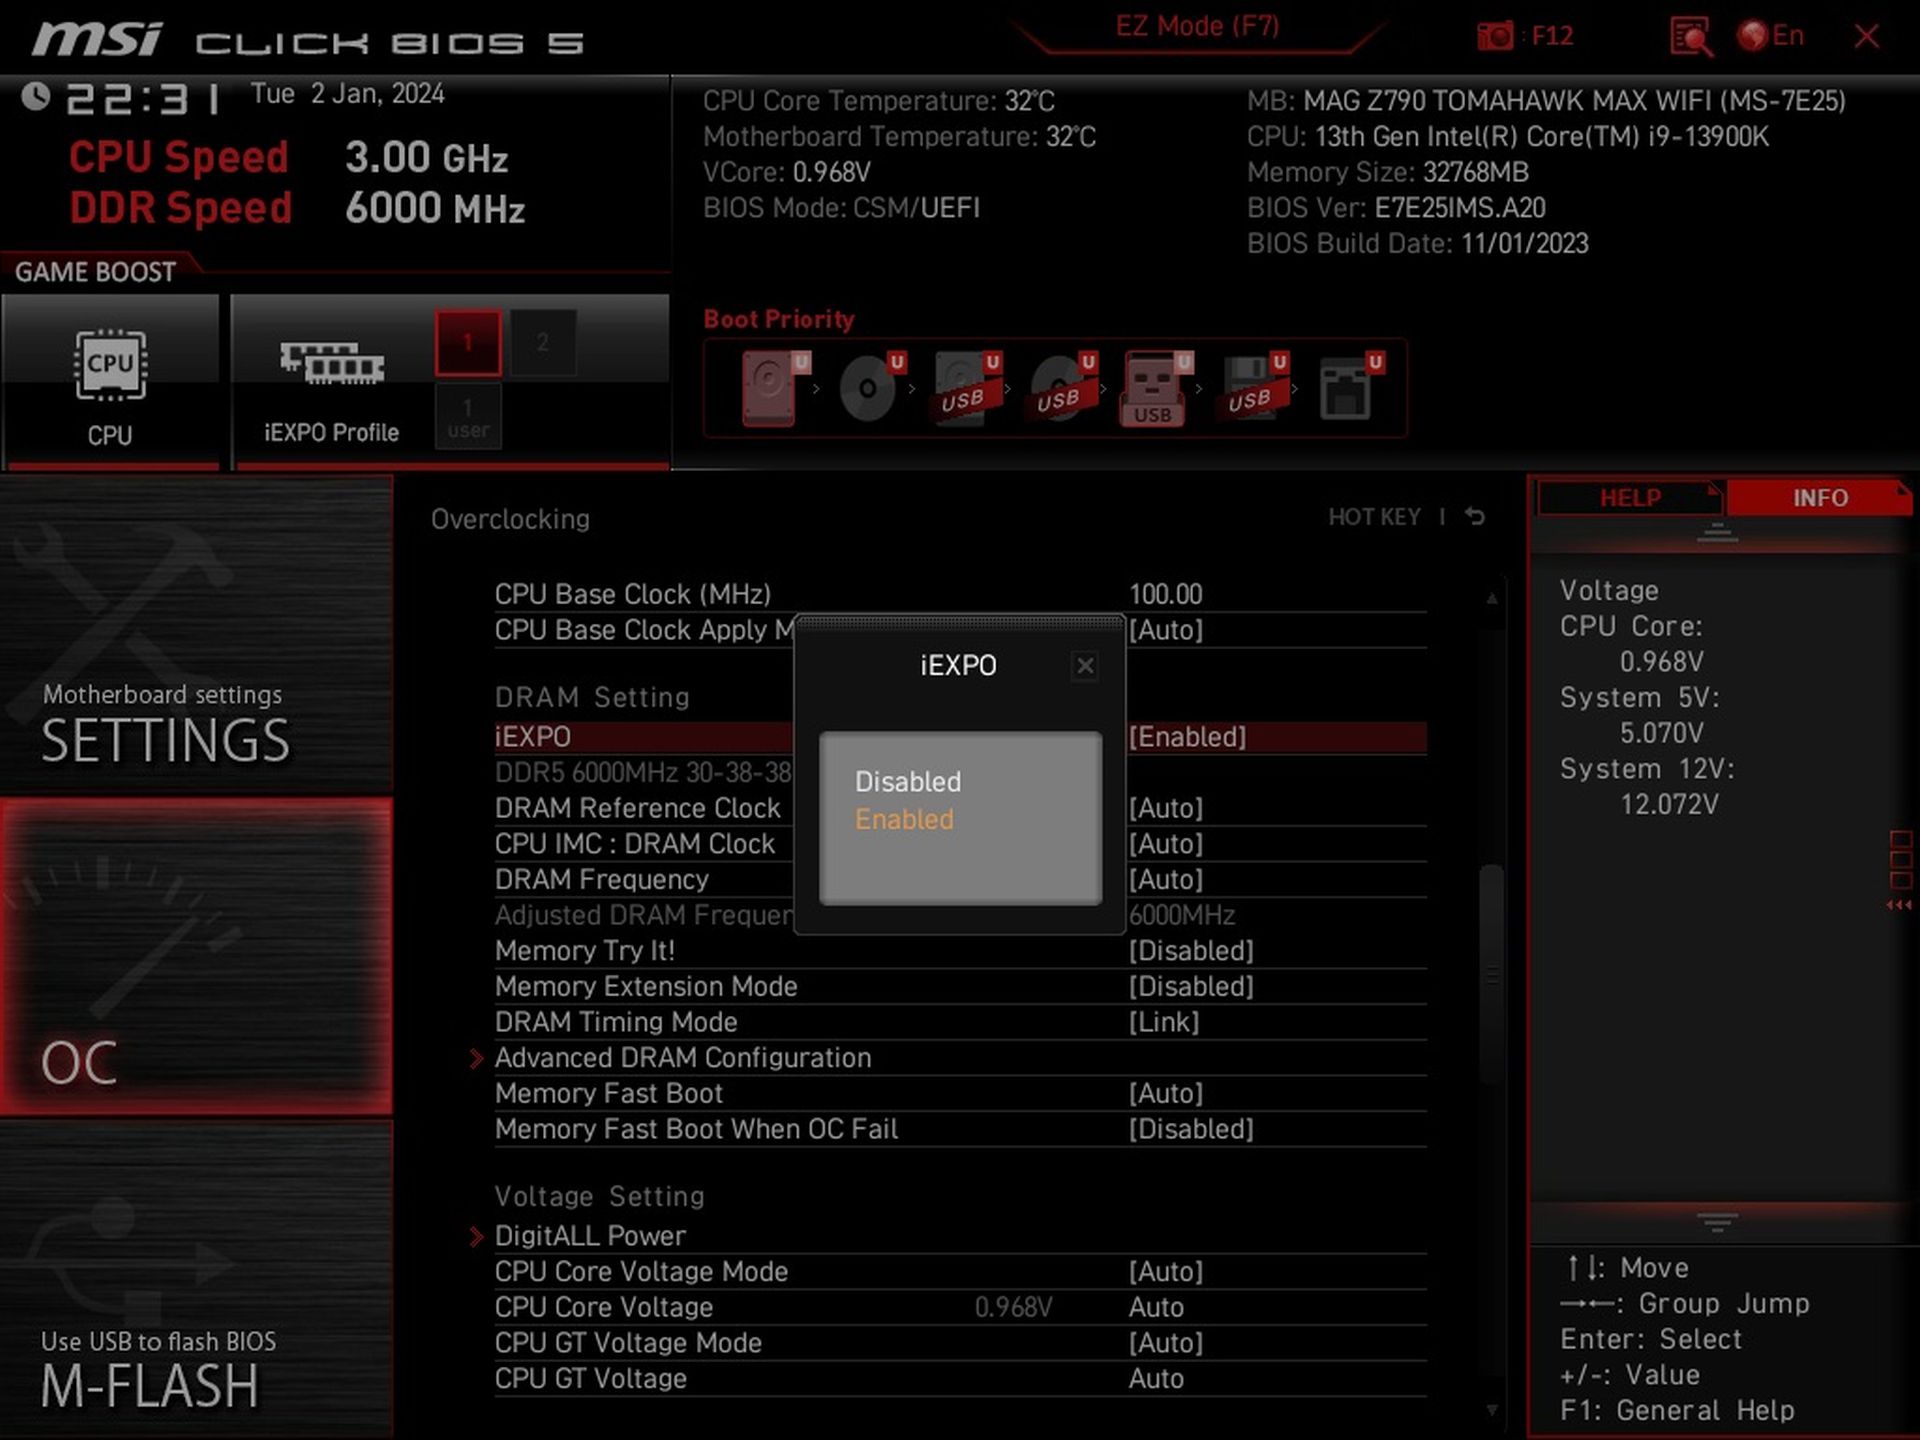
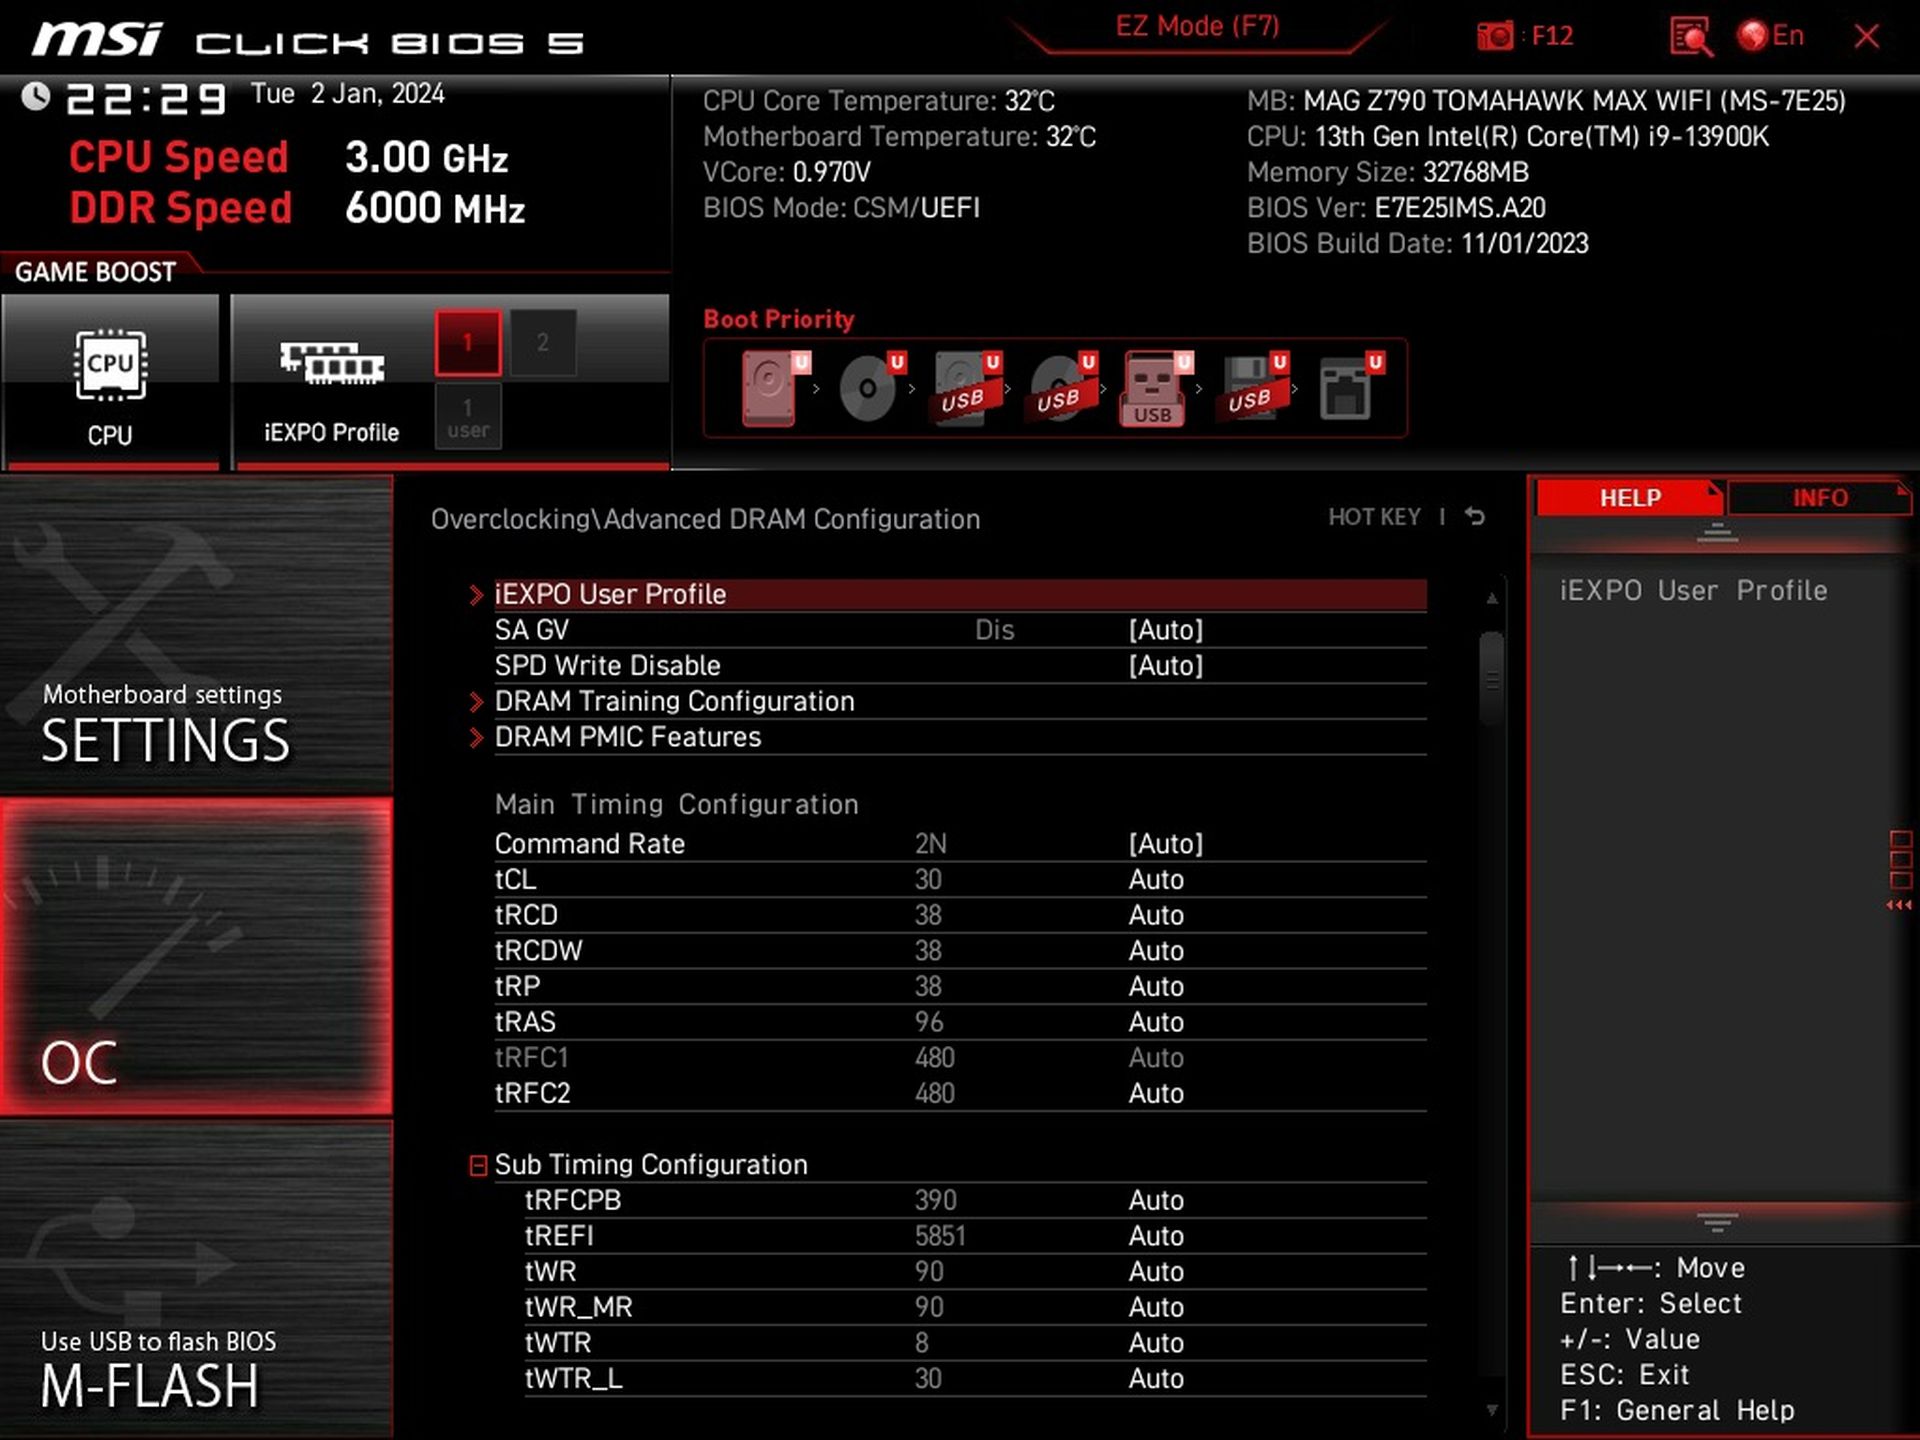
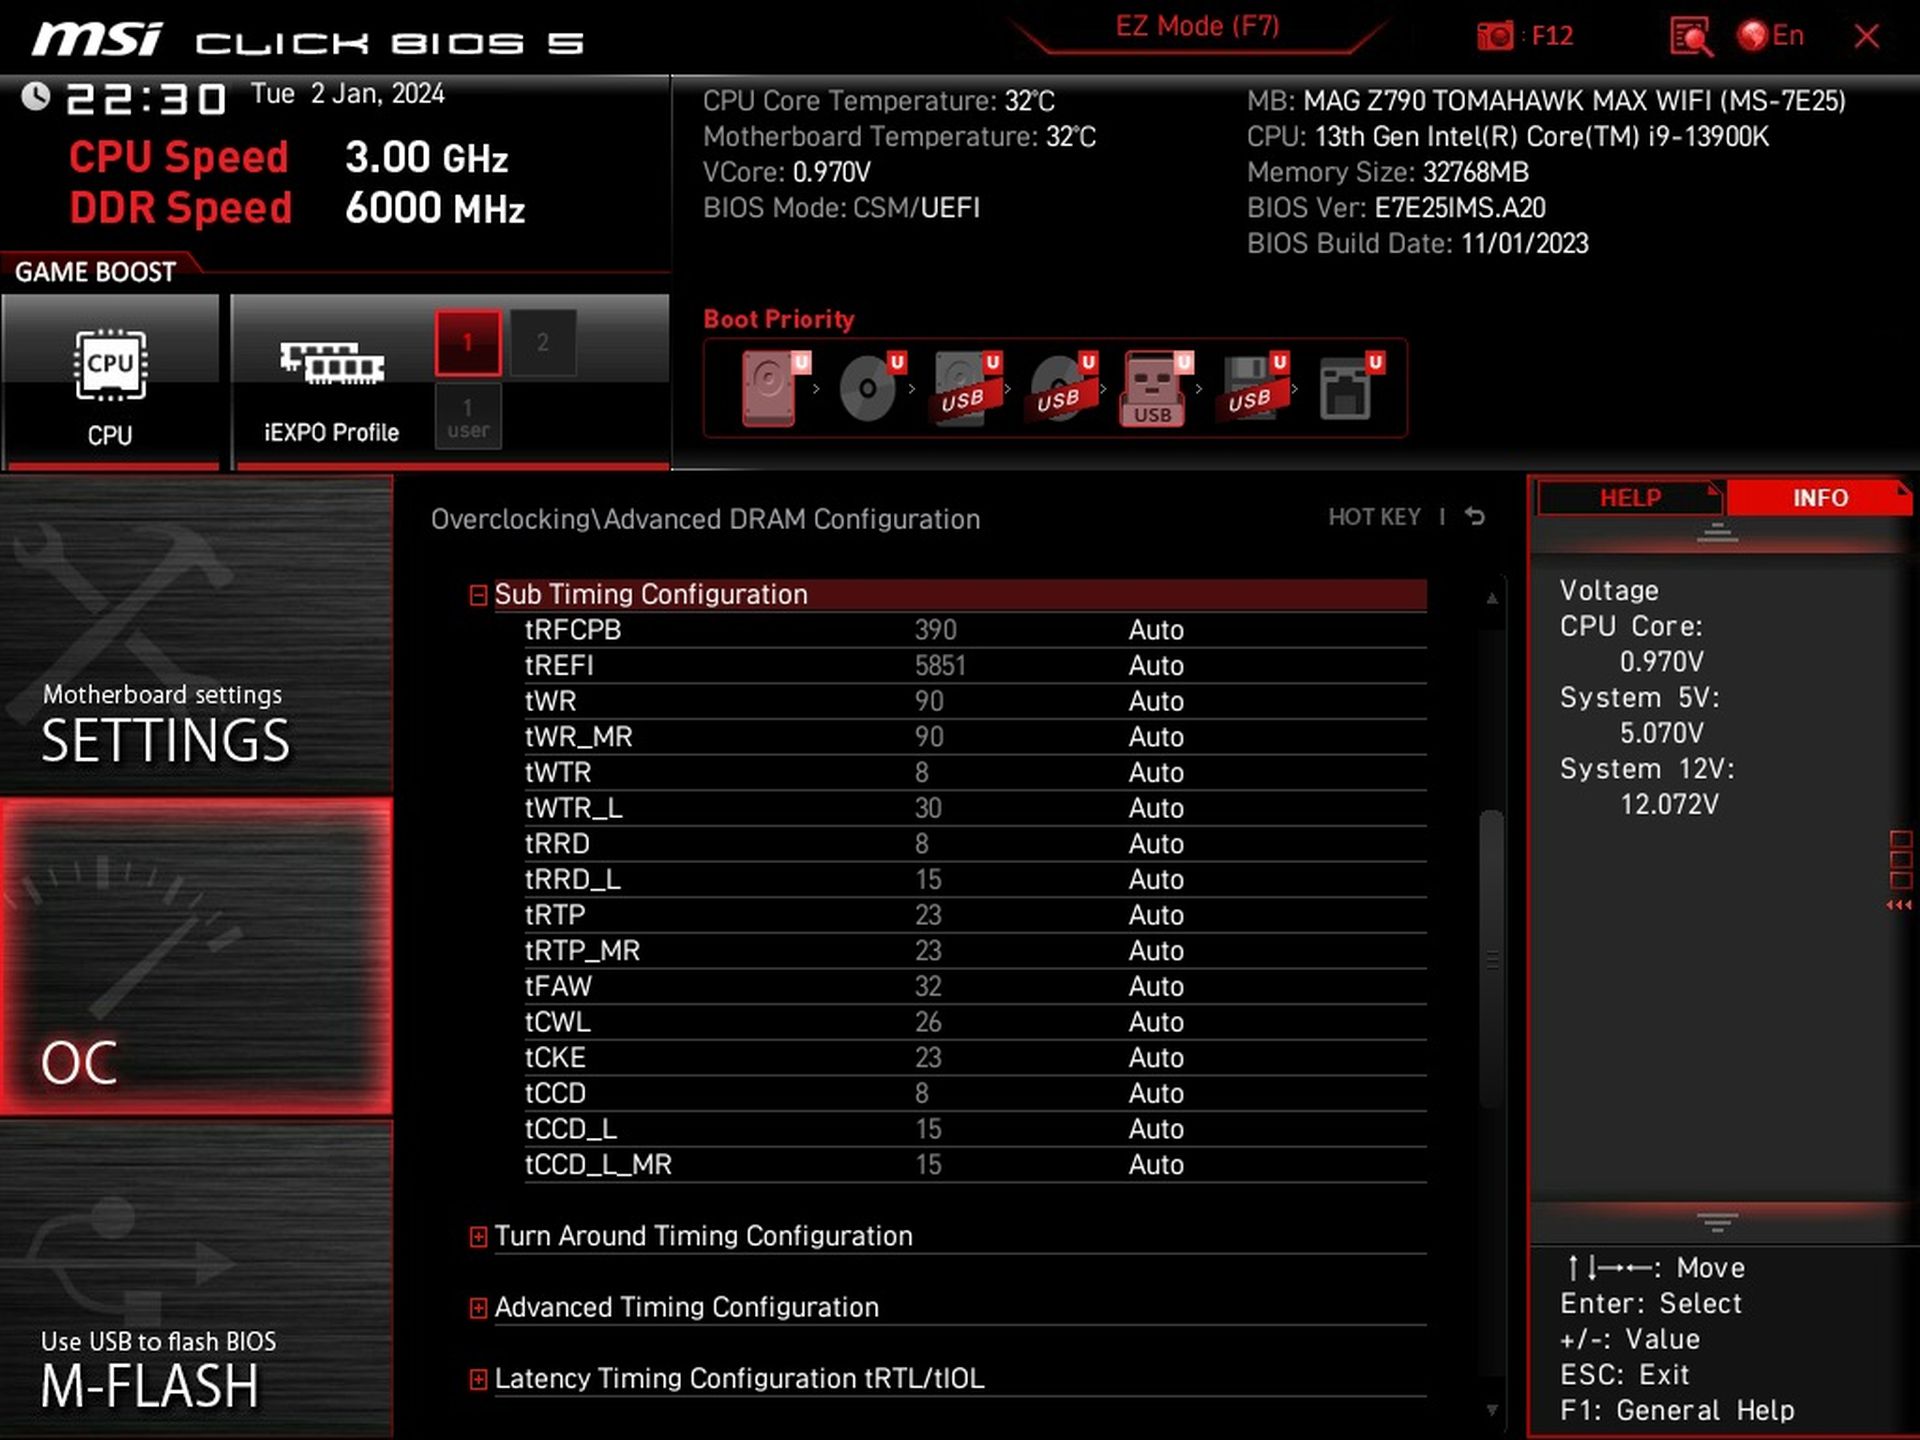
If you haven’t activated the memory profile in EZ Mode, this is also possible in the advanced settings (OC tab again), with more detailed tuning available for the memory sub-system.
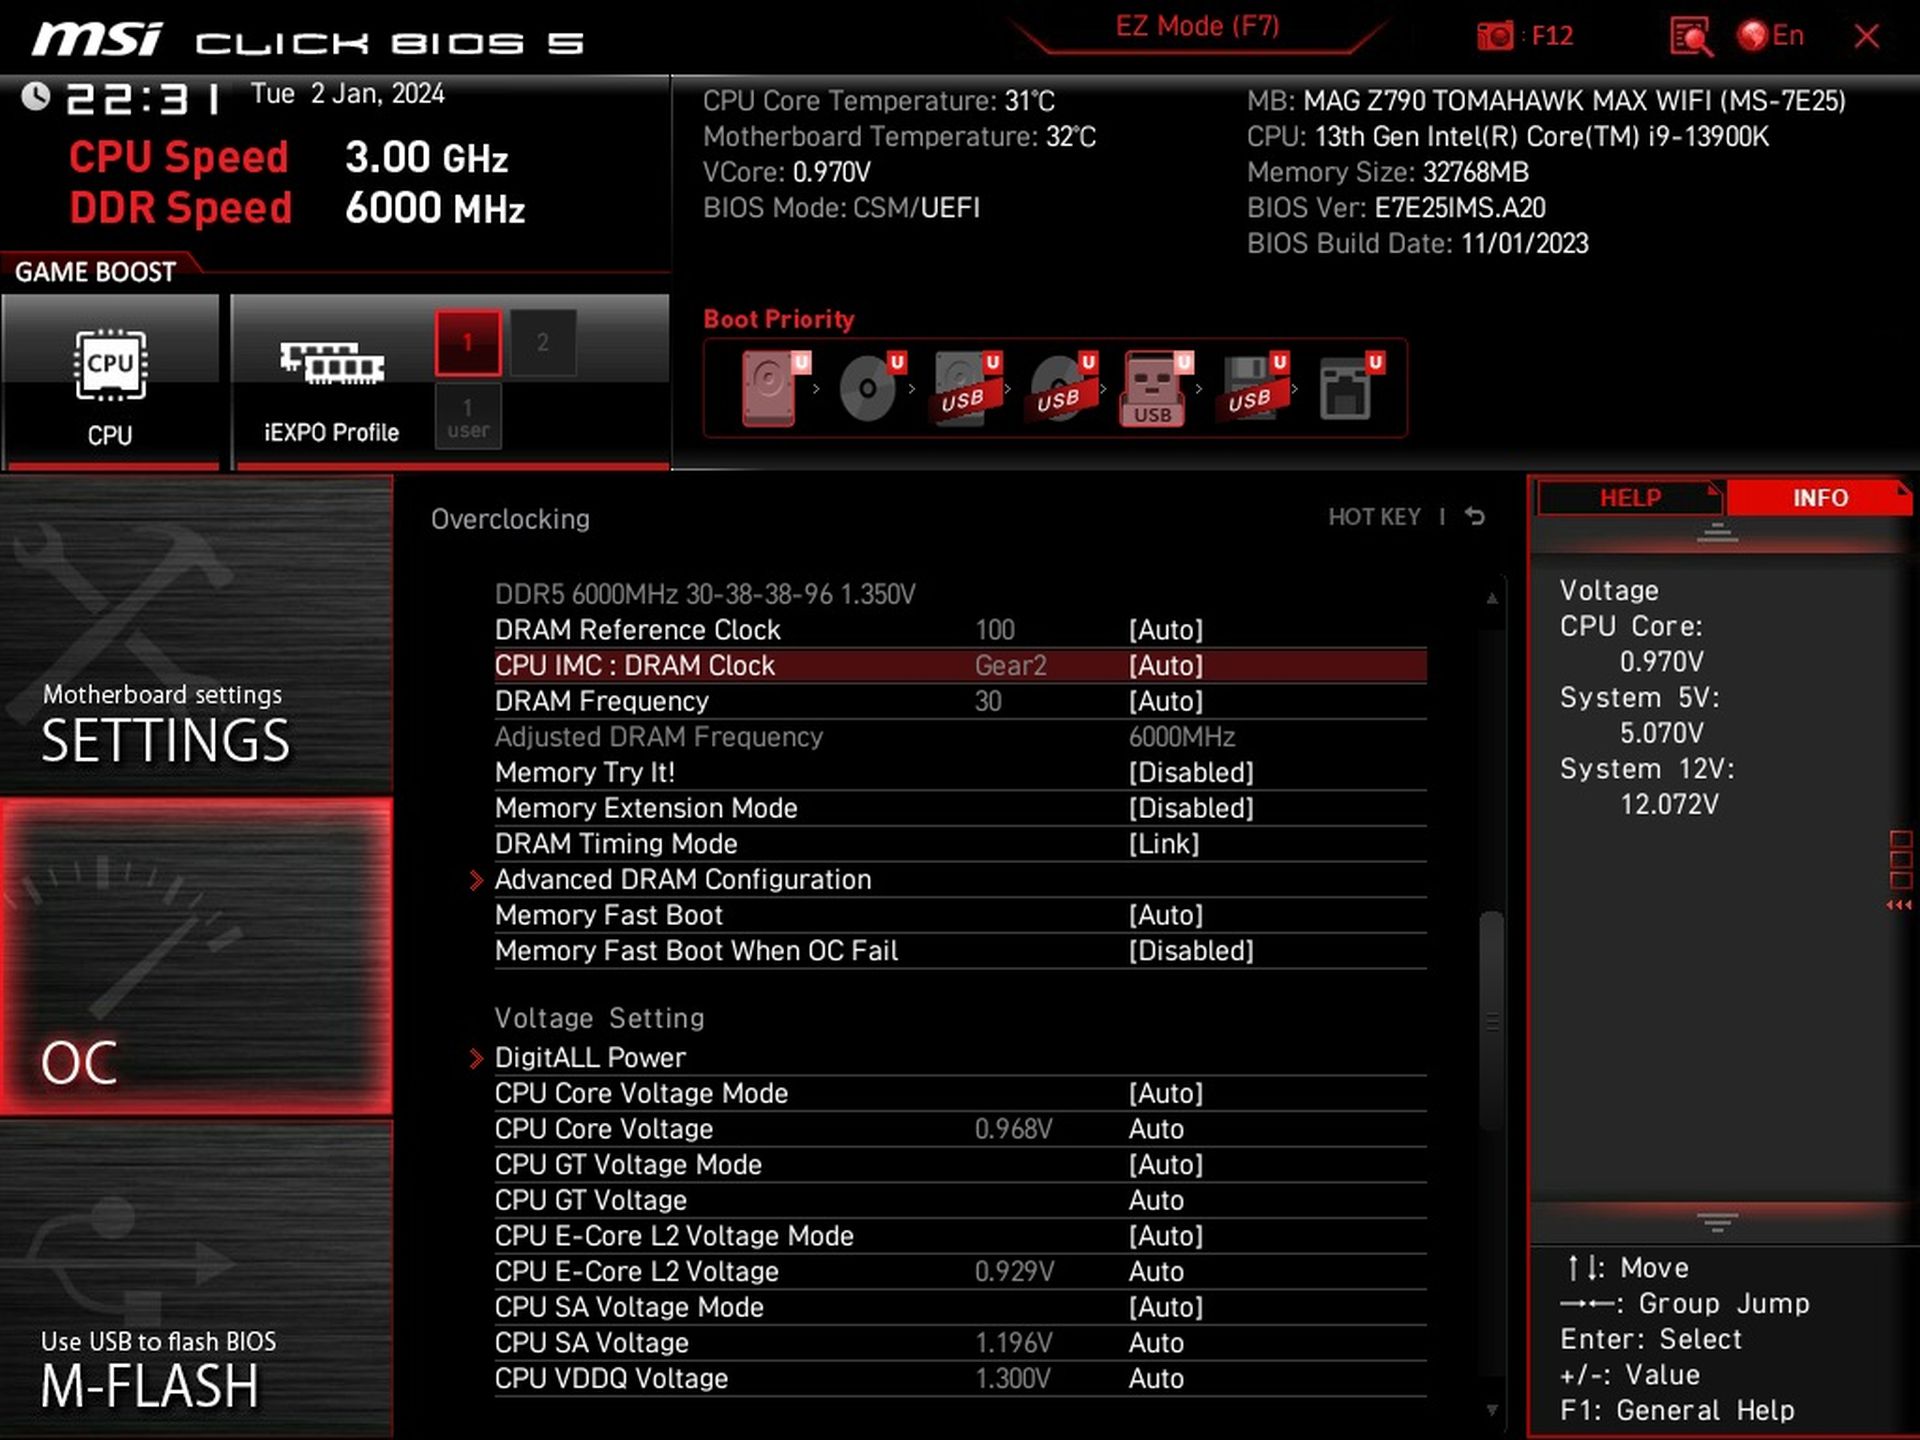
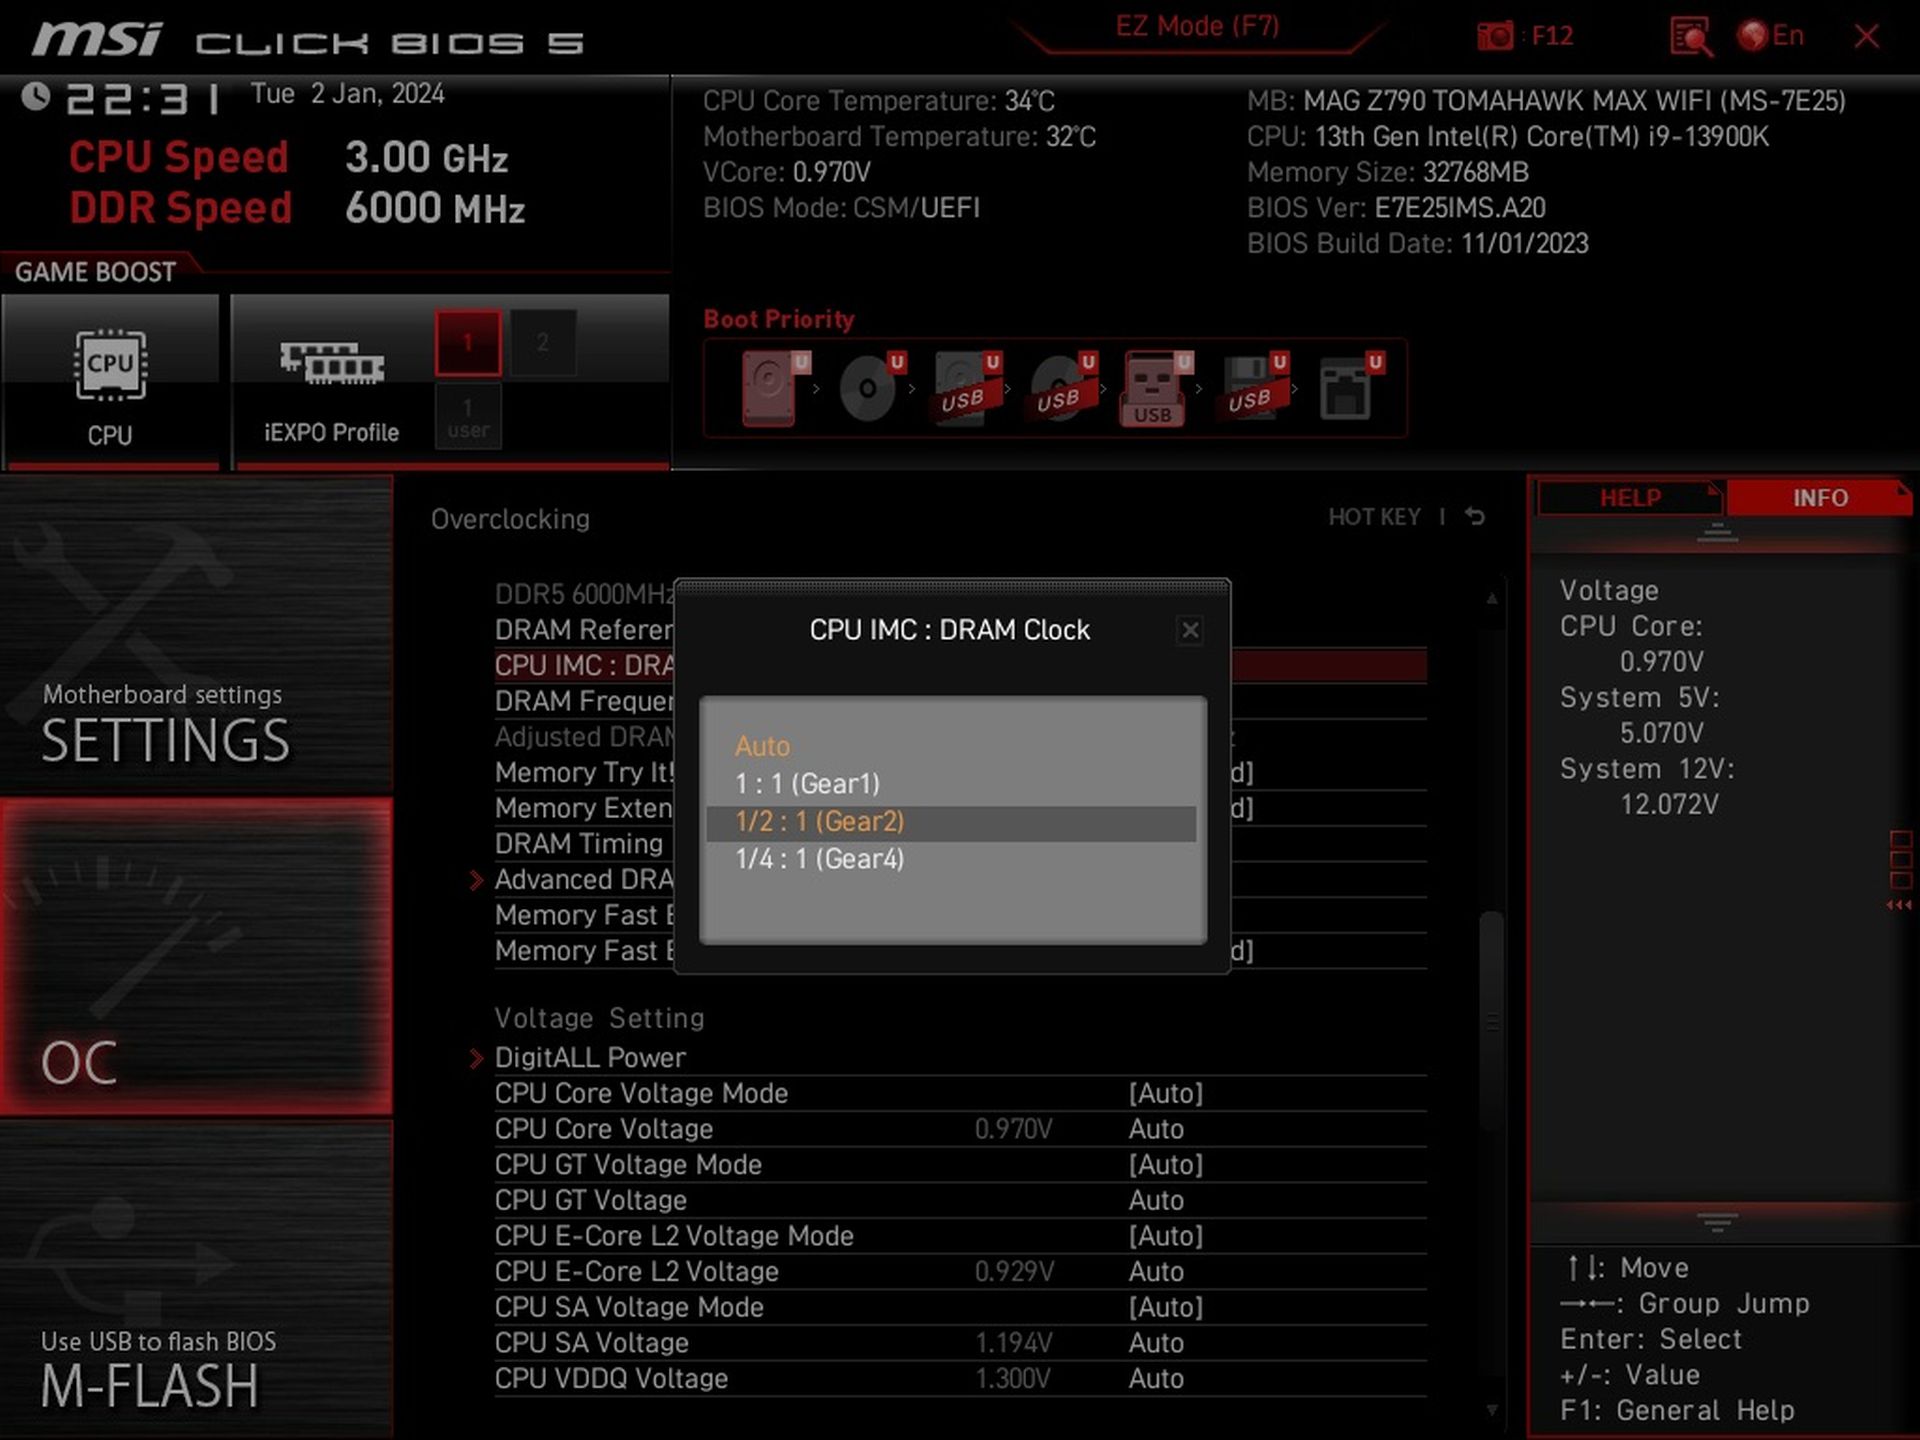
With the test modules (G.Skill Trident Z5 Neo, 6000 MHz/CL30,2×16 GB) the board automatically sets “Gear 2”, i.e. half the memory controller bandwidth. With faster memories, that’s the way it will be for you too. Of course, advanced users can always play around with Gear 1 too and tweak everything to their liking.
There is also a wide range of options for adjusting more advanced timing options. The Z790 Tomahawk Max WiFi is a very customizable motherboard in this regard. But so are competing models, so this is nothing out of the ordinary.
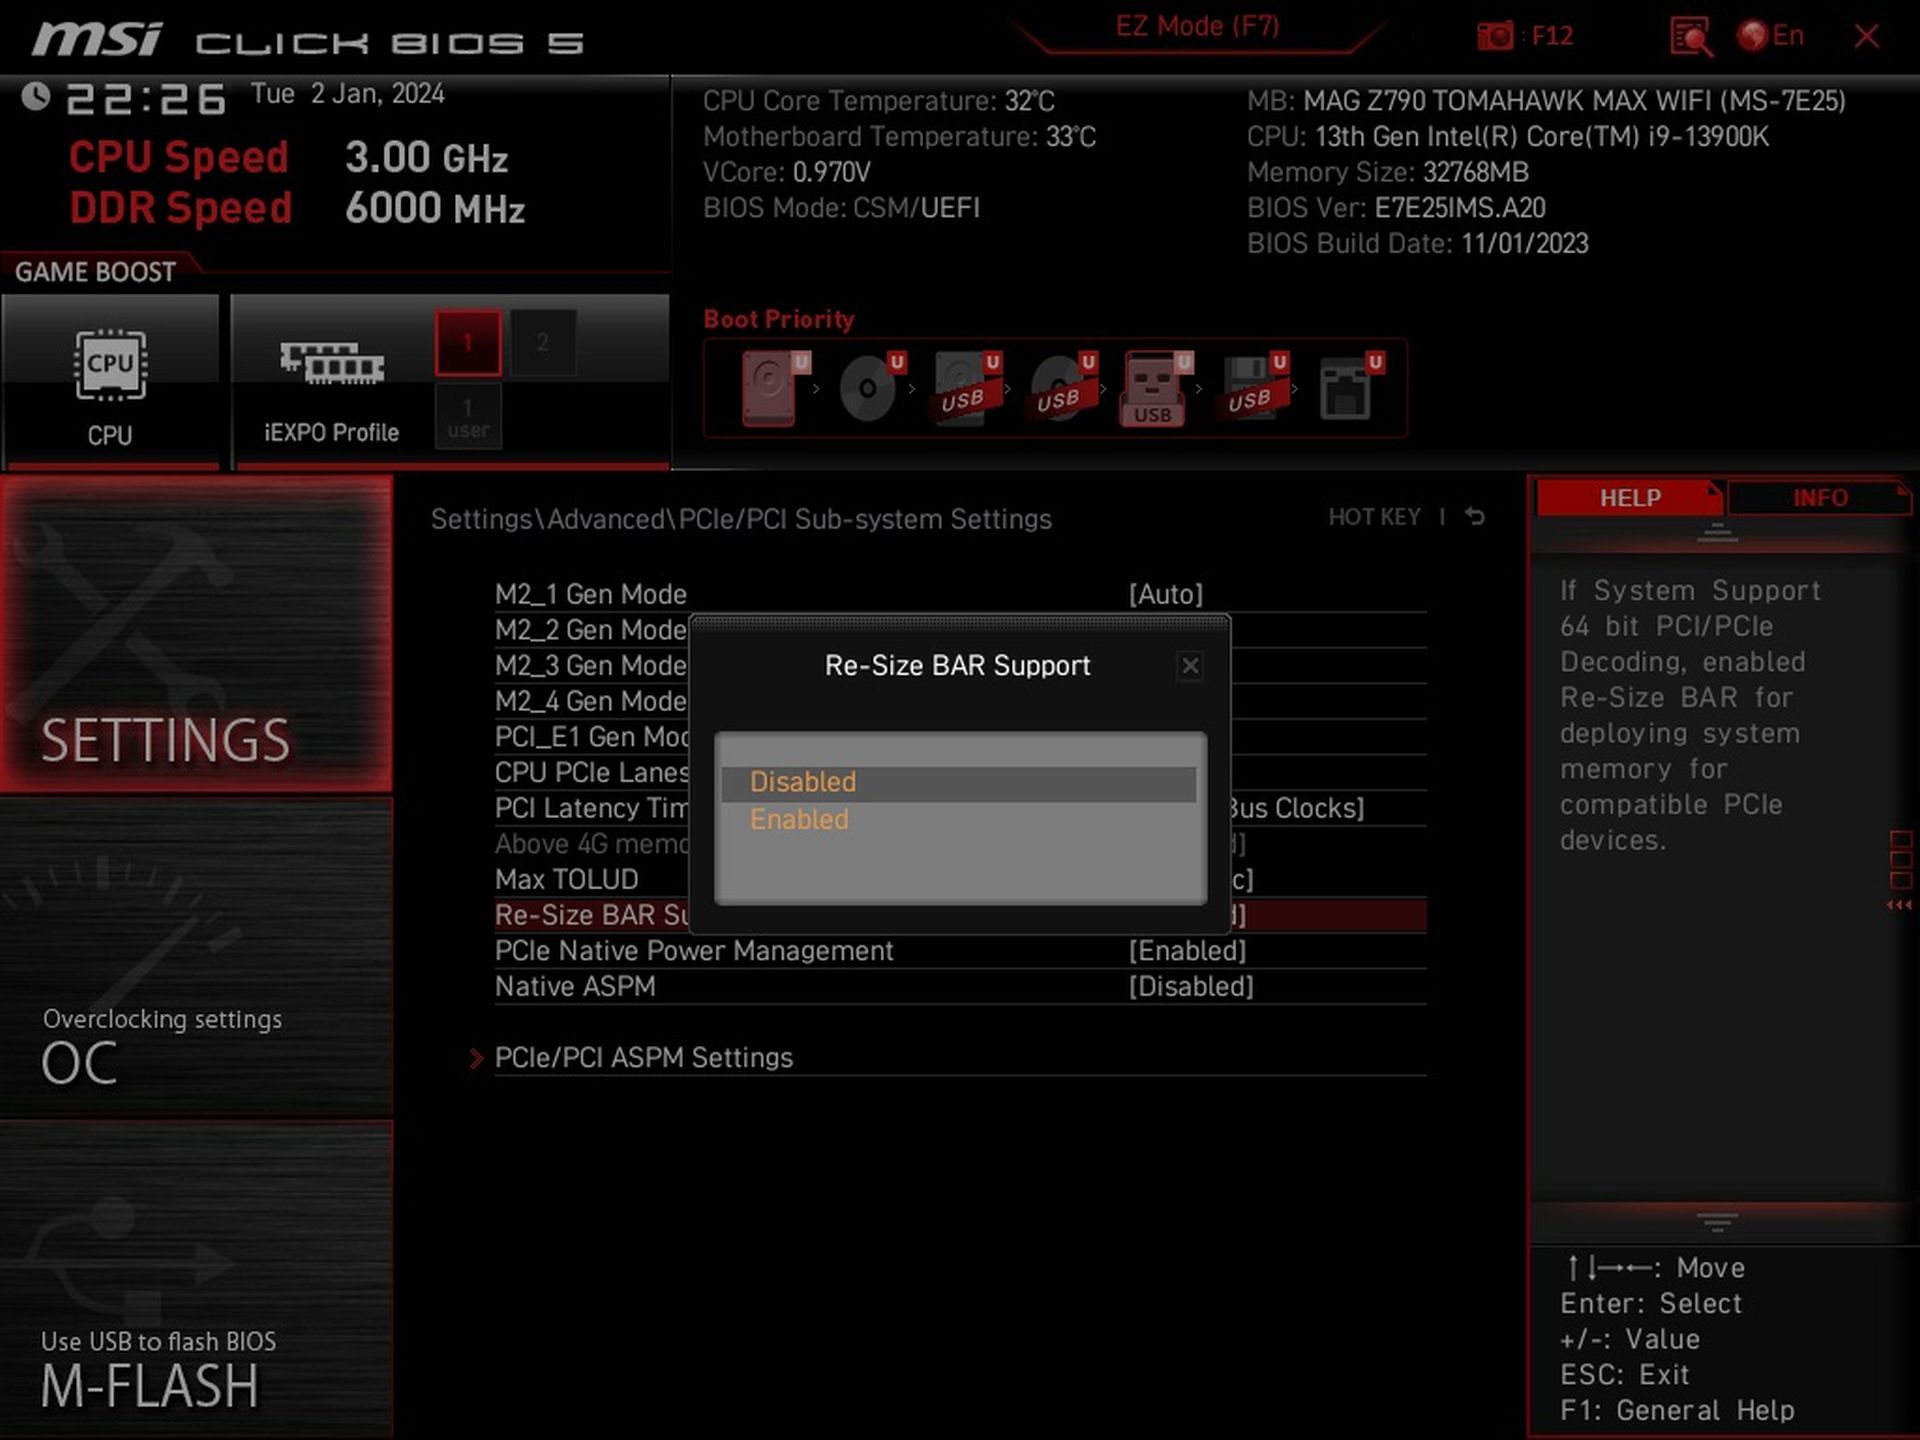
ReBAR activity can be found under the Settings tab (\Advanced\PCIe/PCI Sub-system settings) if necessary. Here it is perhaps a pity that MSI does not have a switch on the first BIOS screen. Other motherboard manufacturers already do.
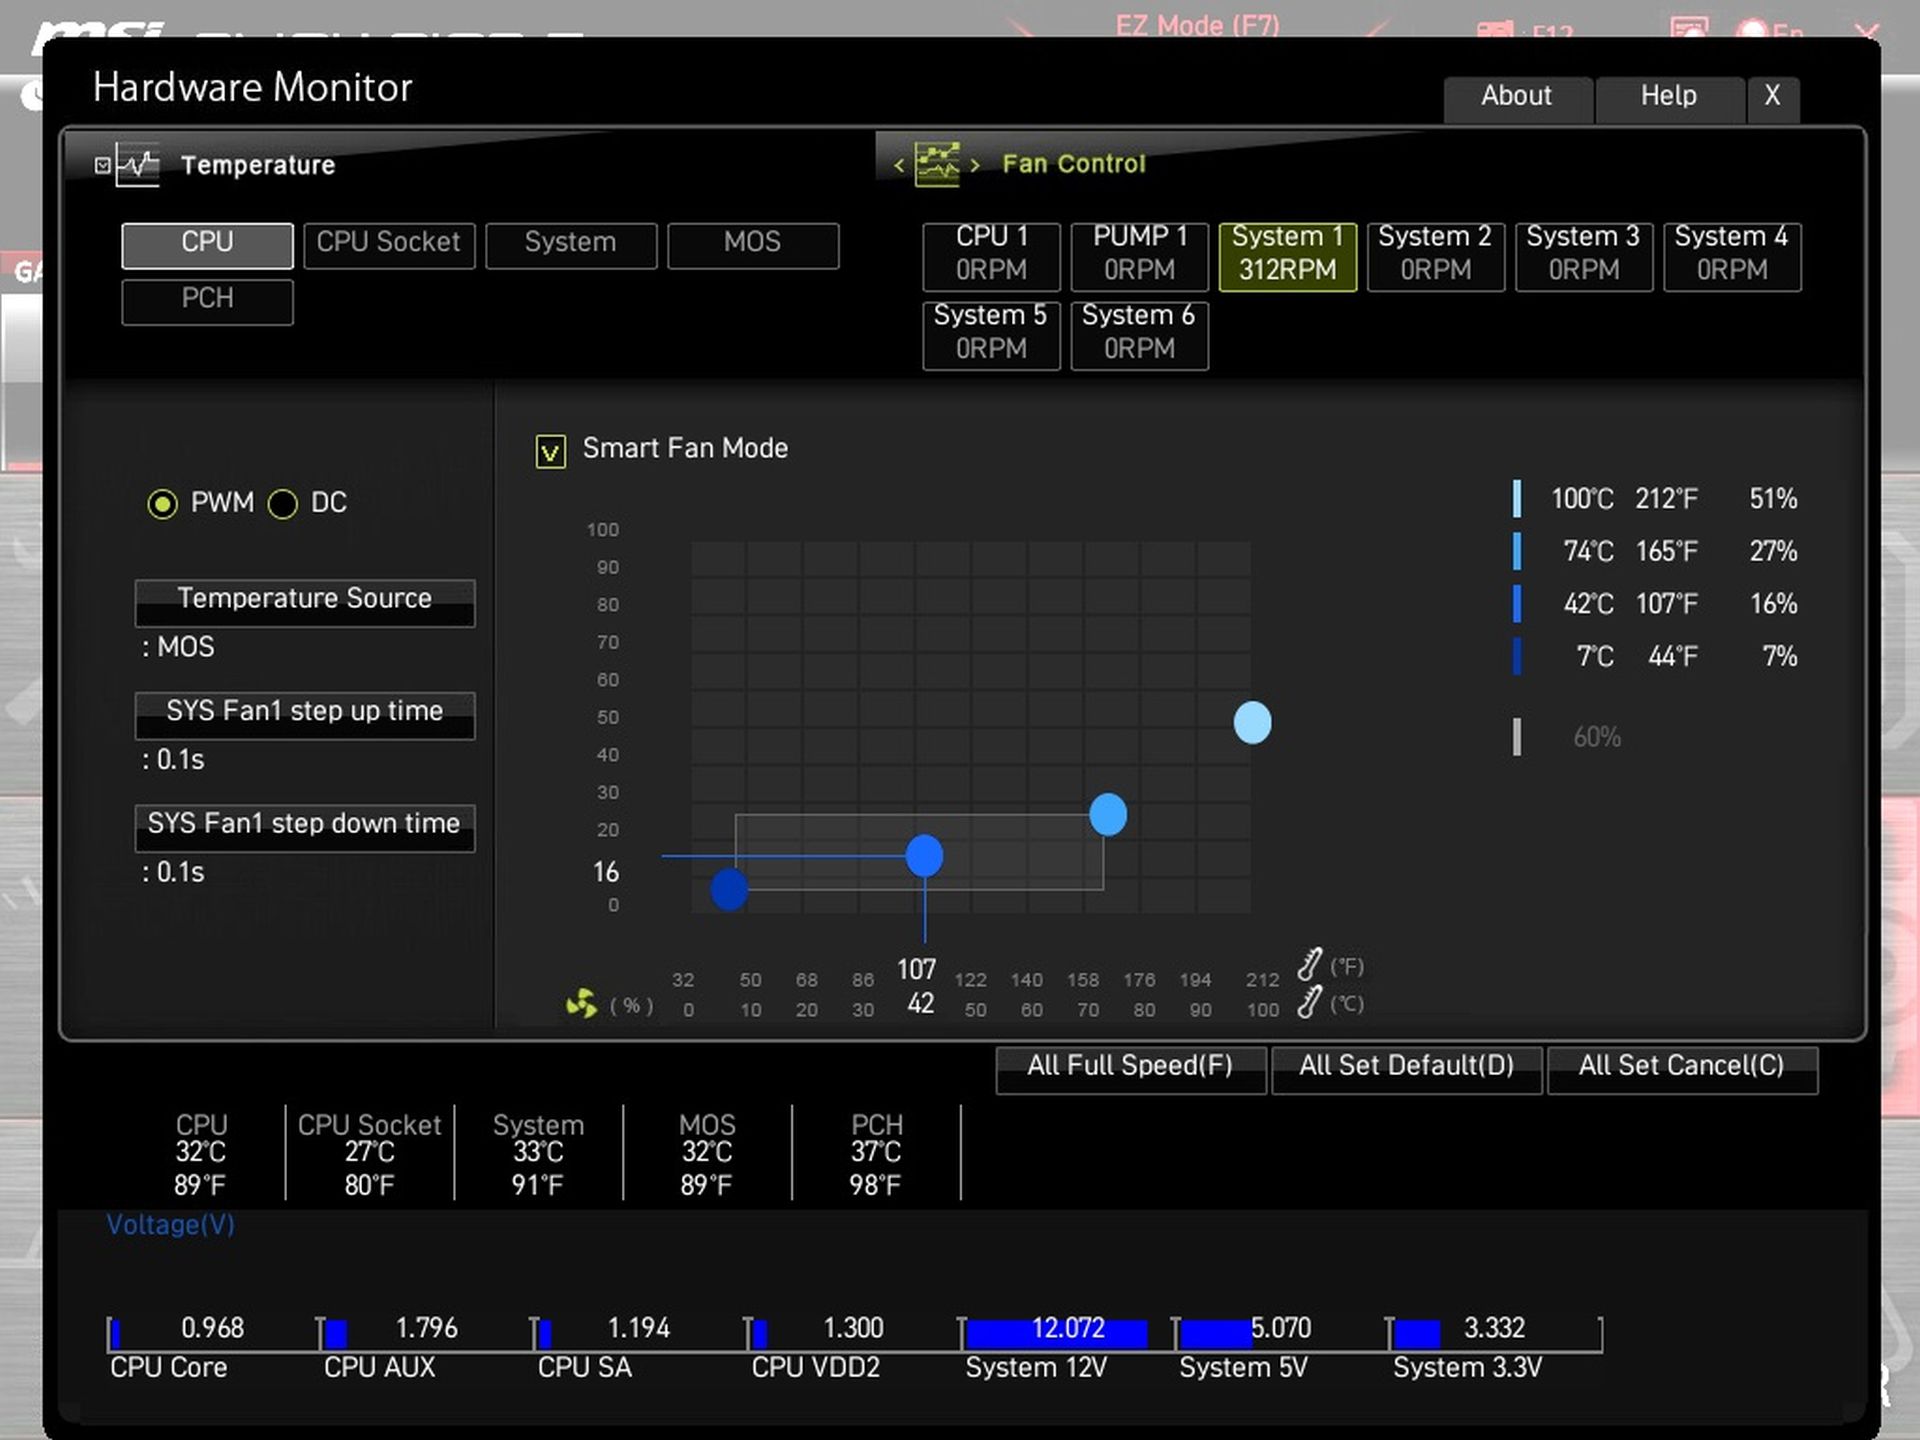
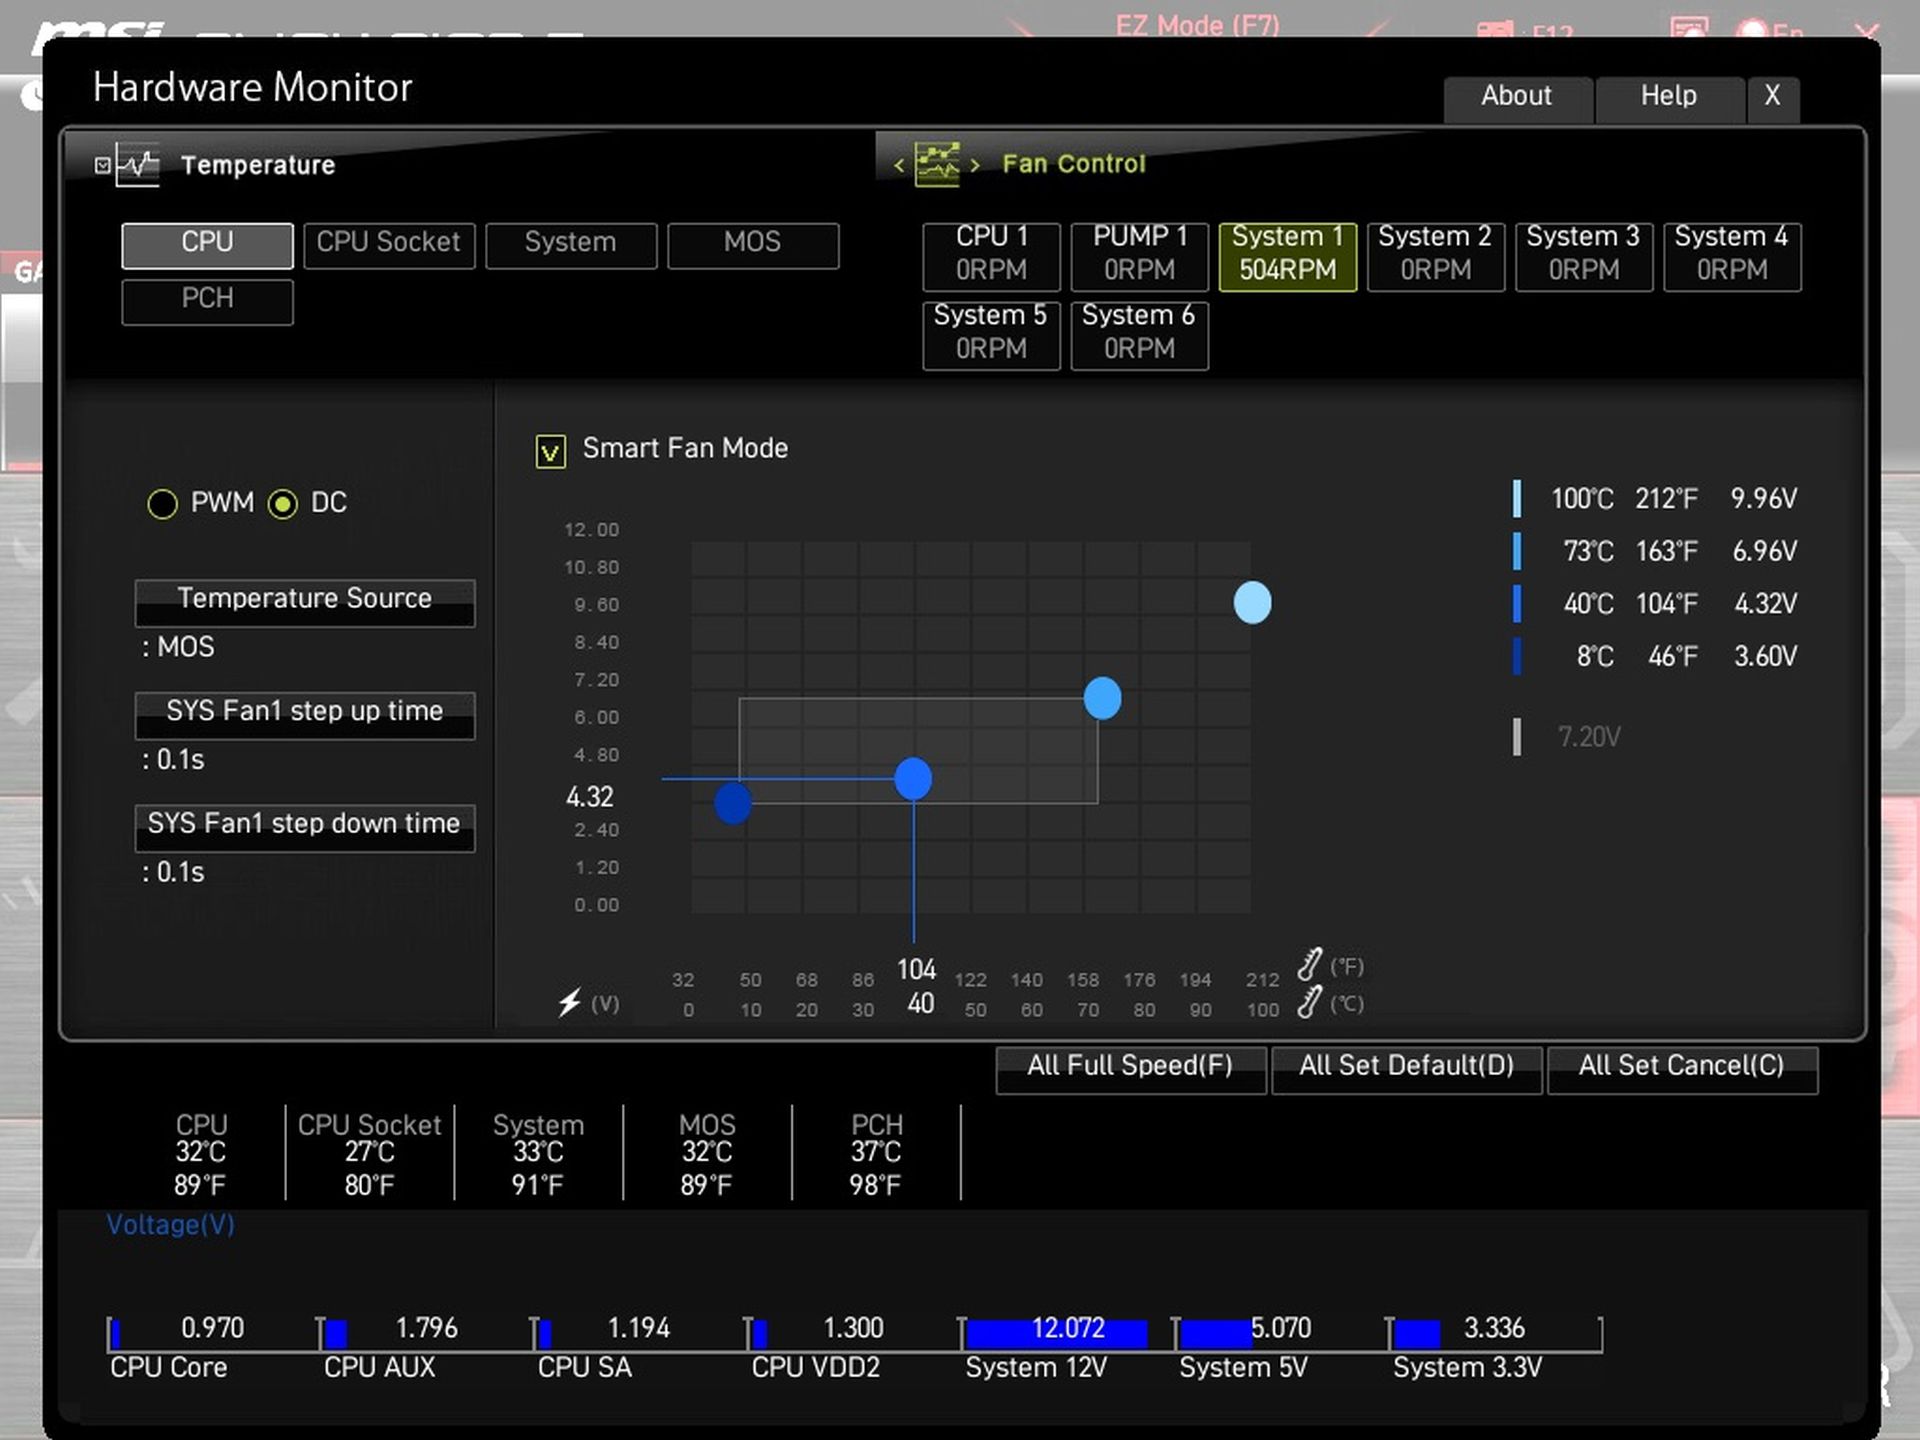
The fan management interface (Hardware Monitor) allows for very detailed setting options. Its temperature-dependent speed curves can be made according to five sensors that monitor the temperatures of the CPU, VRM, chipset, socket surroundings and some control point on the motherboard. Who knows where the “System” sensor is located…
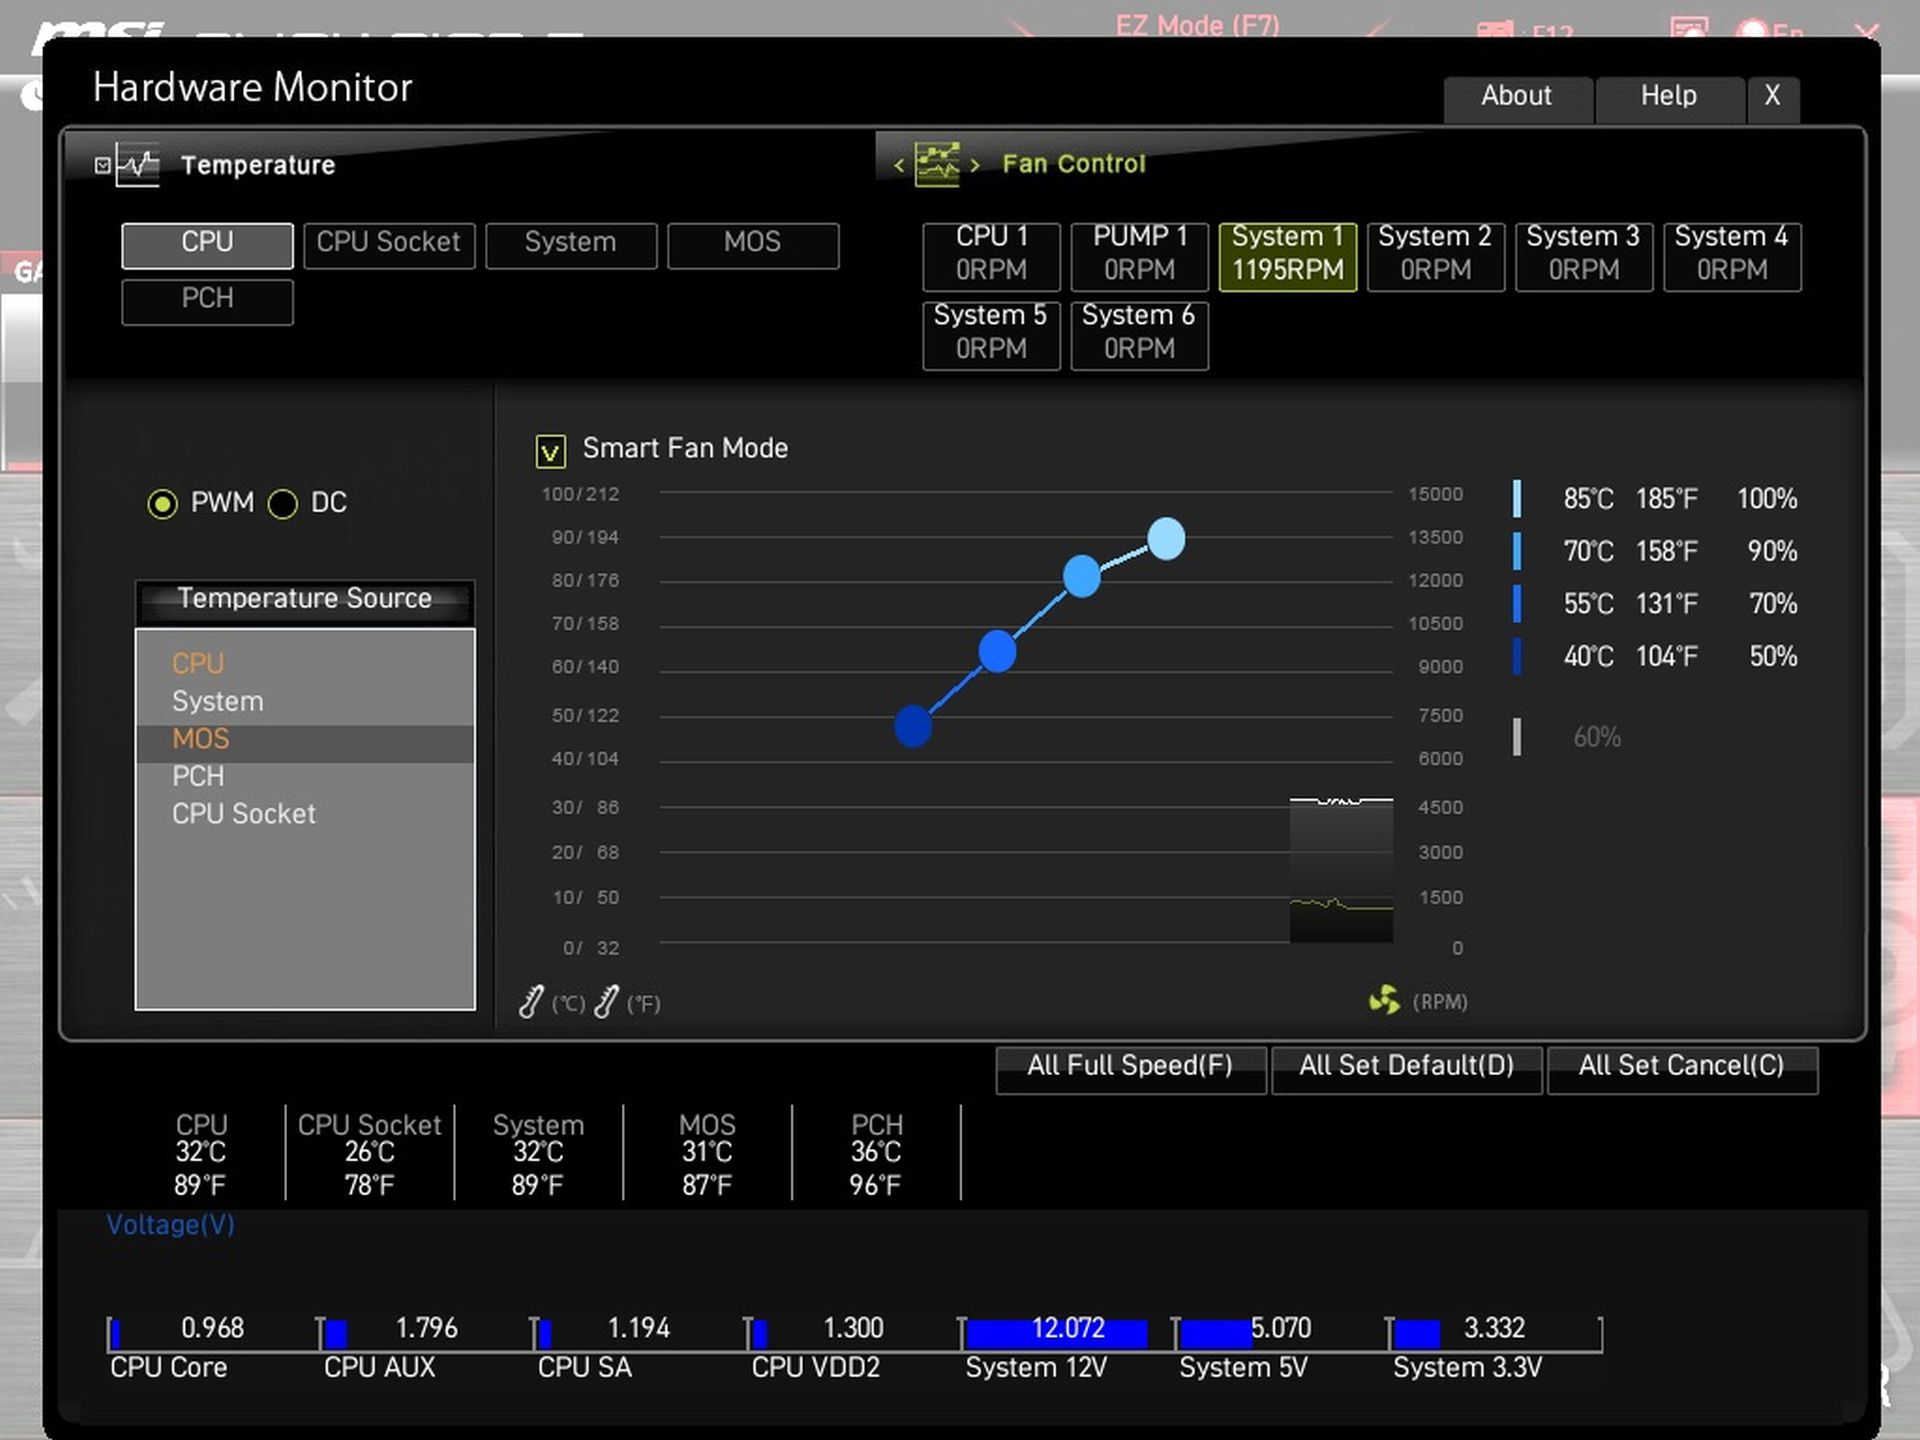
If you are not able to slow down the connected fans sufficiently, make sure you are trying to do the control in “PWM” mode. In “DC” (i.e. with control by changing the linear voltage), the starting speed of most fans will be higher.
- Contents
- MSI MAG Z790 Tomahawk Max WiFi in detail
- What it looks like in the BIOS
- Methodology: Performance tests
- Methodology: How we measure power draw
- Methodology: Temperature and frequency measurements
- Test setup
- 3DMark
- Borderlands 3
- F1 2020
- Metro Exodus
- Shadow of the Tomb Raider
- Total War Saga: Troy
- PCMark and Geekbench
- Web performance
- 3D rendering: Cinebench, Blender, ...
- Video 1/2: Adobe Premiere Pro
- Video 2/2: DaVinci Resolve Studio
- Graphics effects: Adobe After Effects
- Video encoding
- Audio encoding
- Photos: Adobe Photoshop, Affinity Photo, ...
- (De)compression
- (De)encryption
- Numerical computing
- Simulations
- Memory and cache tests
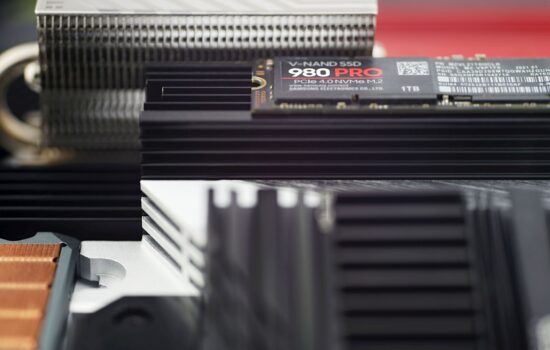
- M.2 (SSD) slots speed
- USB ports speed
- Ethernet speed
- Power draw without power limits
- Power draw with power limits
- Achieved CPU clock speed
- CPU temperature
- VRM temperature – thermal imaging of Vcore and SOC
- SSD temperature
- Chipset temperature (south bridge)
- Conclusion