Aquarium or terrarium? In short, a proper glass (panoramic?) case with a good view of the components. It is not only the appearance that is supposed to be “attractive”, but also the abundant options for cooling, or rather installation of liquid coolers. And reconfiguring the system fans can also make sense with the DeepCool CH780. We chart the differences in the comparison tests as well.
Basic parameters
Parameters
DeepCool
CH780
Supported motherboard formats
Mini-ITX, mATX, ATX, E-ATX
Supported PSU format
ATX/SFX
CPU cooler
up to 132 mm
Graphics cards
up to 480 mm
Fan
9× 120 mm/9× 140 mm (3× pre-installed)/4× 180/200 mm
Supported liquid radiators
3× up to 360/420 mm
2,5" positions
2 + 2 shared
3,5" positions
2 shared
5,25" positions
0
Dimensions [H/D/W] (and volume)
551 × 528 × 250 mm (69,7 l without feet)
Weight
13.7 kg
Materials
steel + plastic + tempered glass
Connectivity
4× USB 3.2 gen. 1 type A + 1× USB 3.2 gen. 2 type C + 1× 3,5mm jack
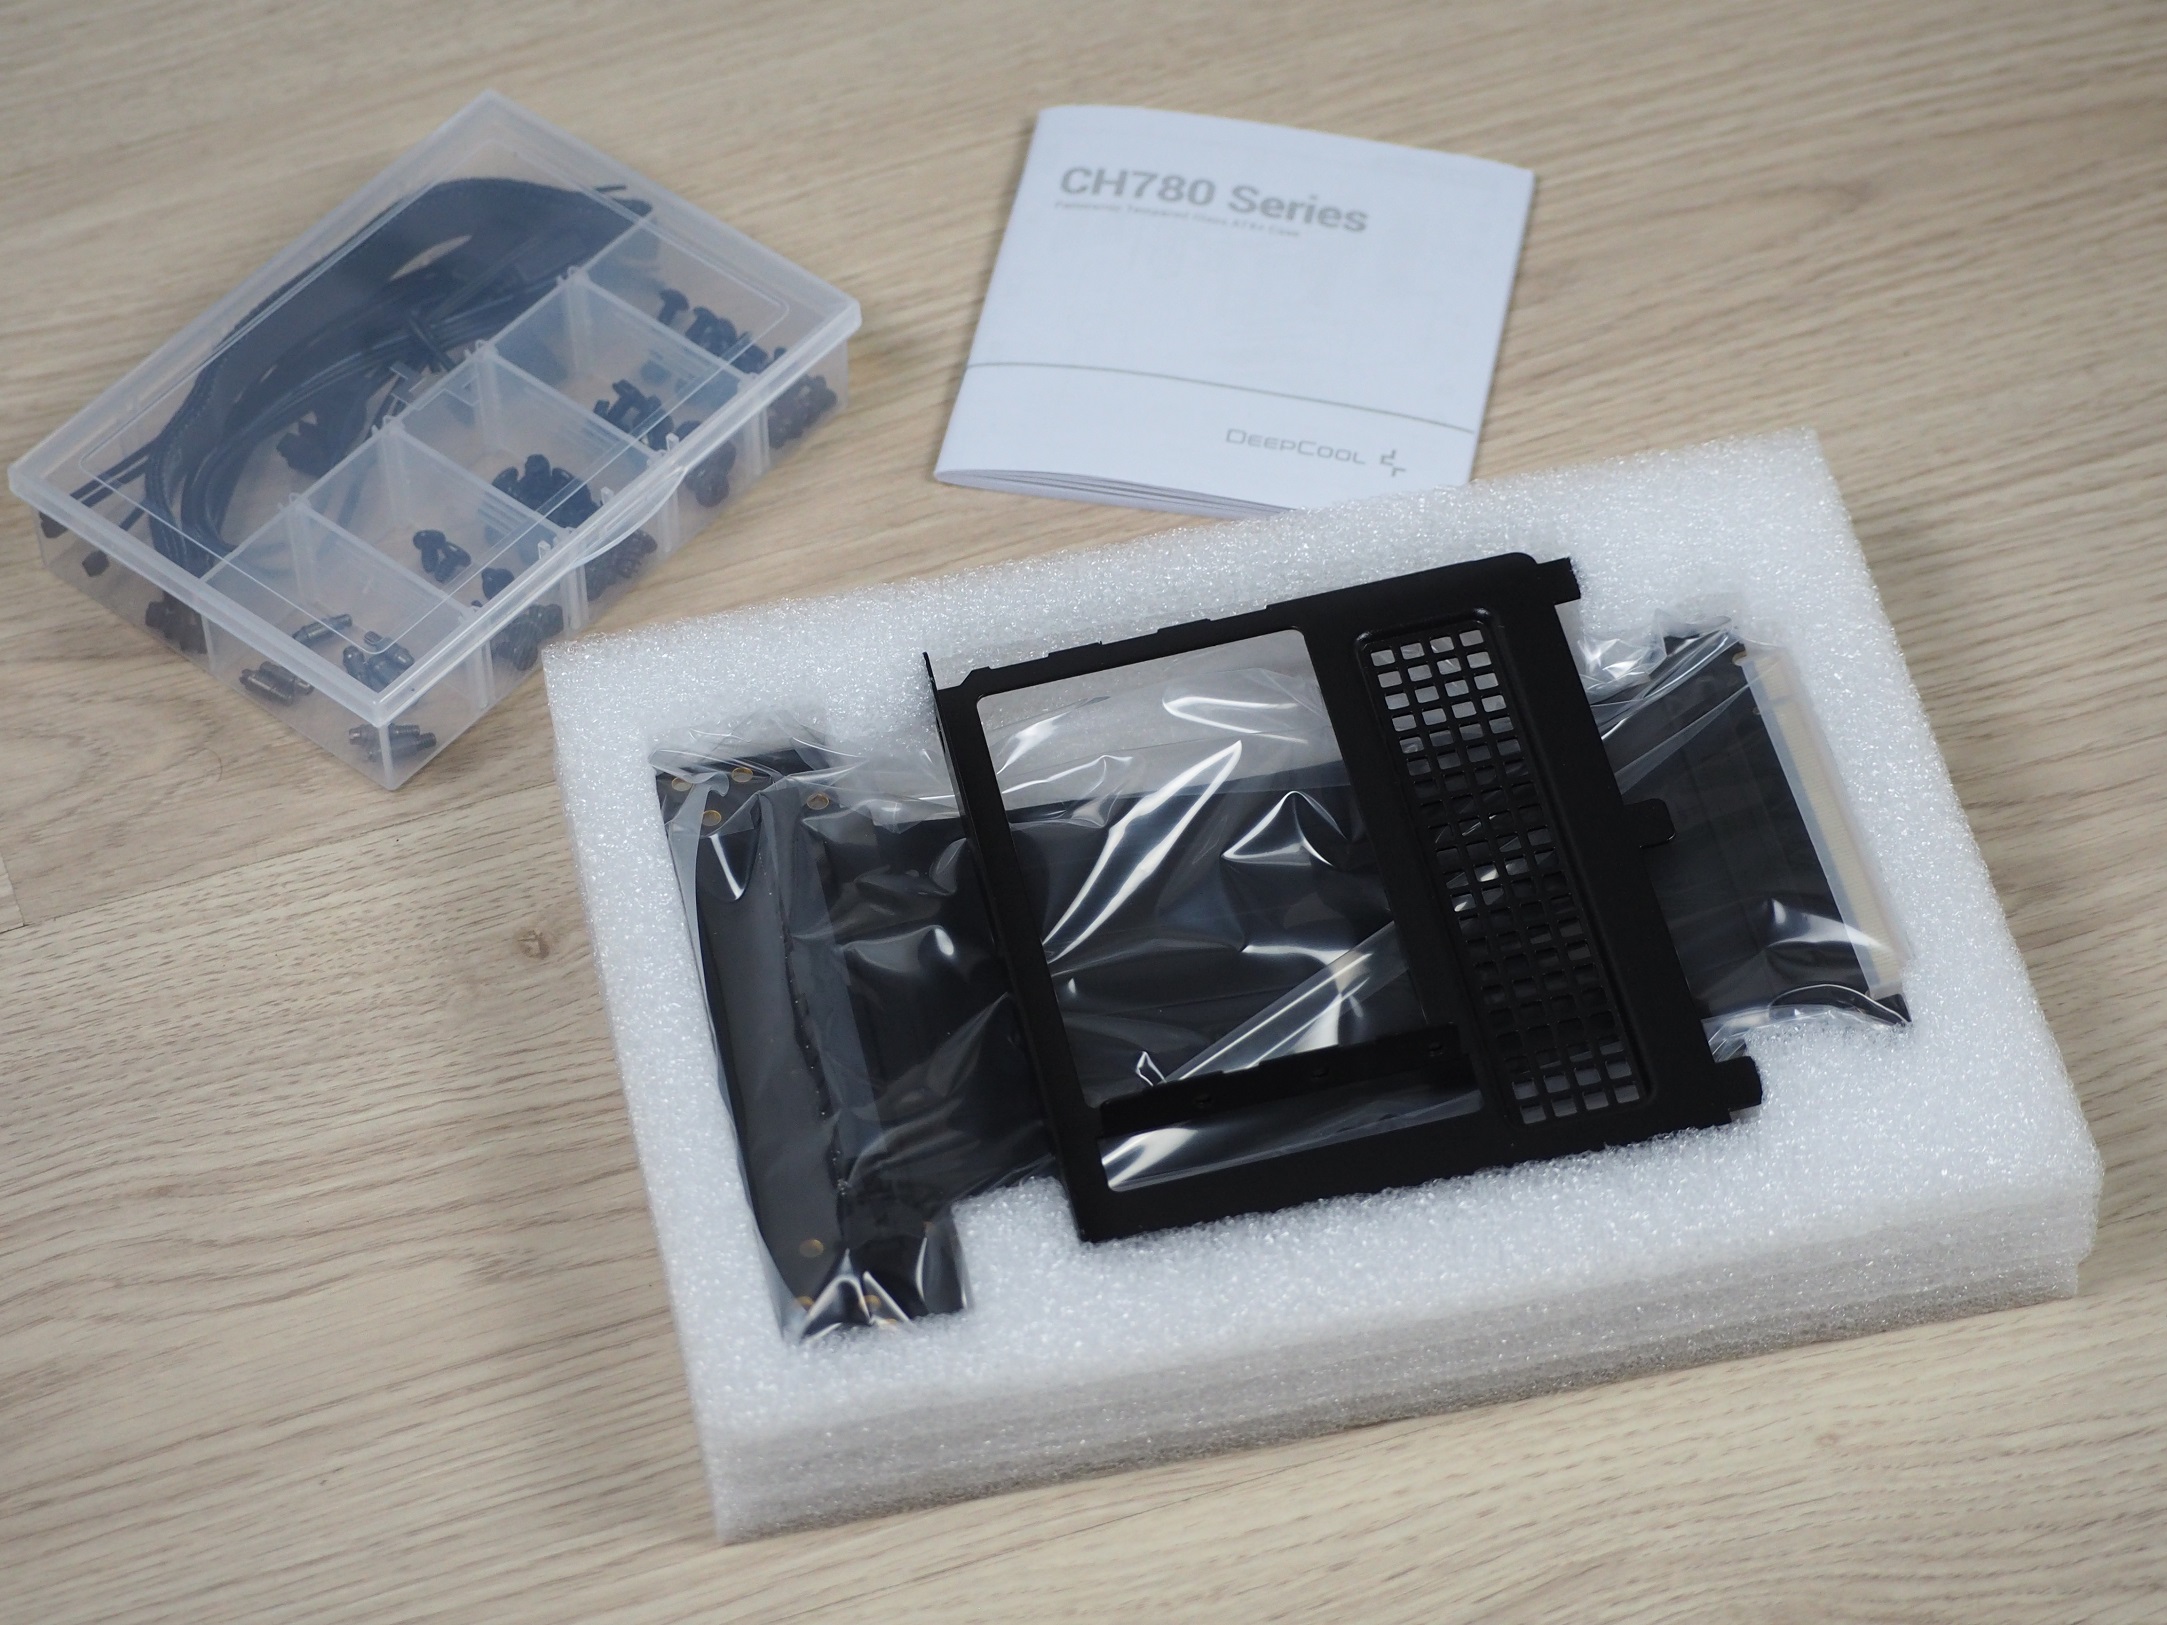
Regarding the packaging, I appreciate the protection of the case from damage. The foam filling used is very easy to handle and does not leave behind as much mess as, for example, polystyrene. The small accessories (screws, zip ties, …) are concentrated in a practical organizer with fixed dividers. A PCI Express riser with a bracket for vertical mounting of a graphics card is also a standard part (of the accessories).
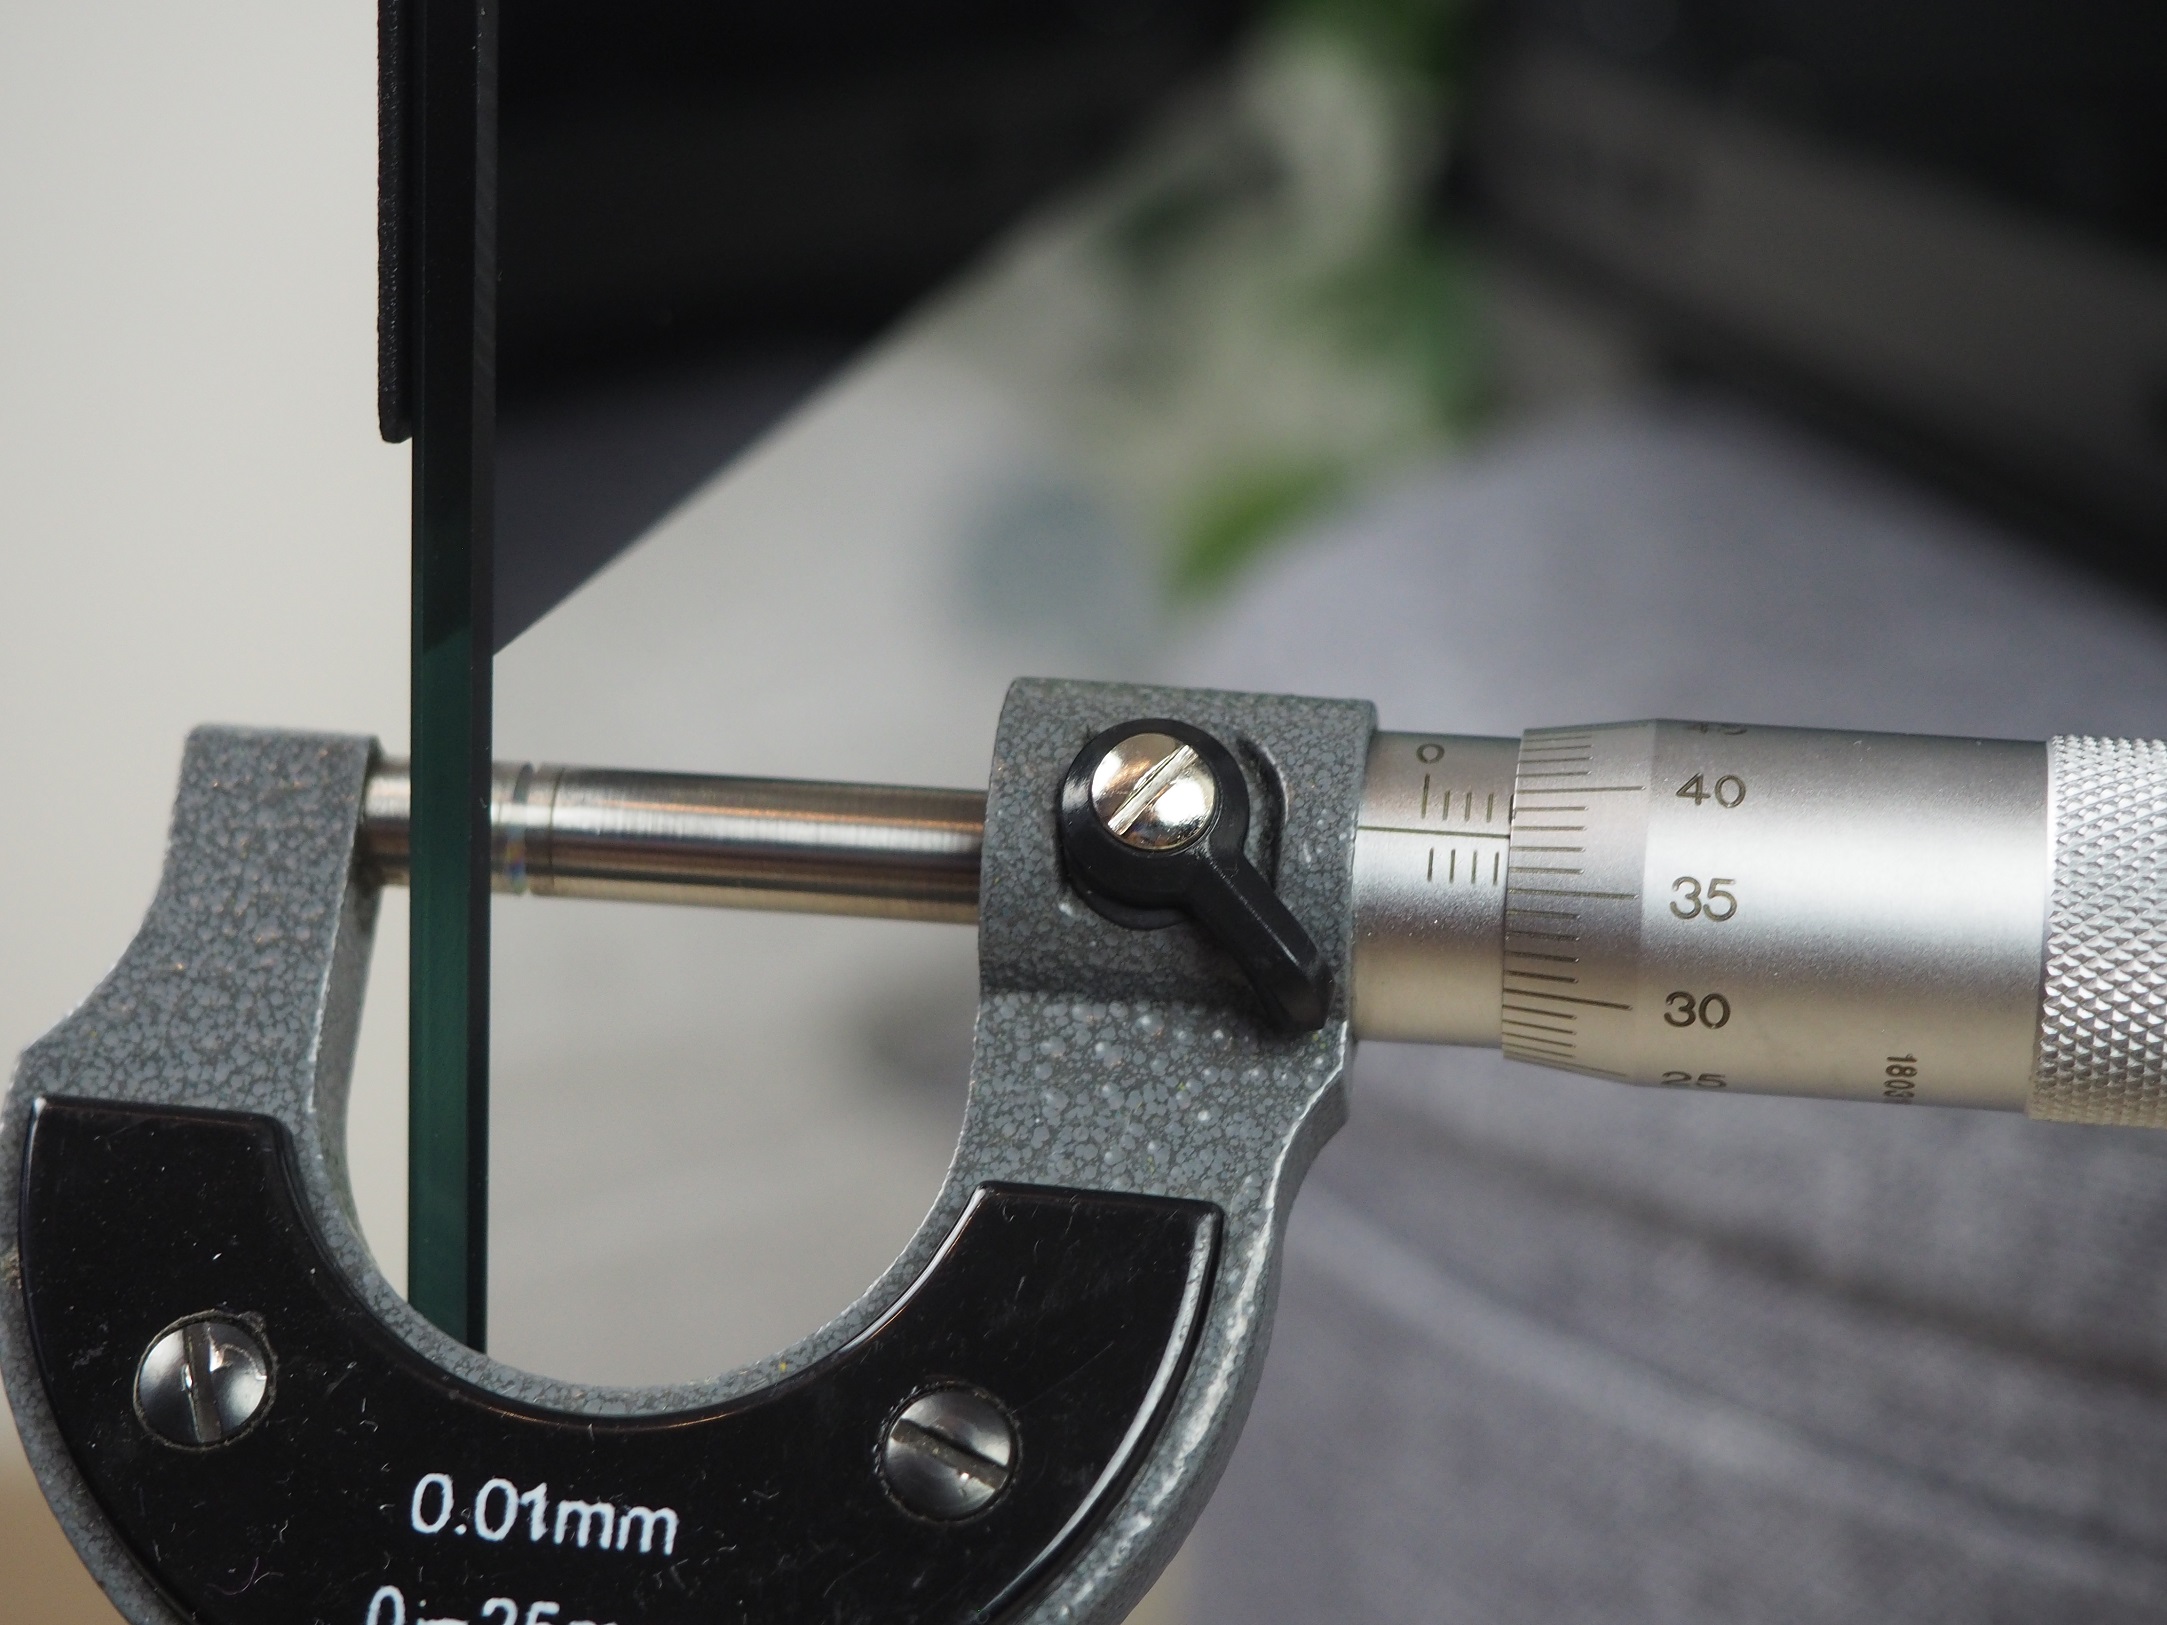
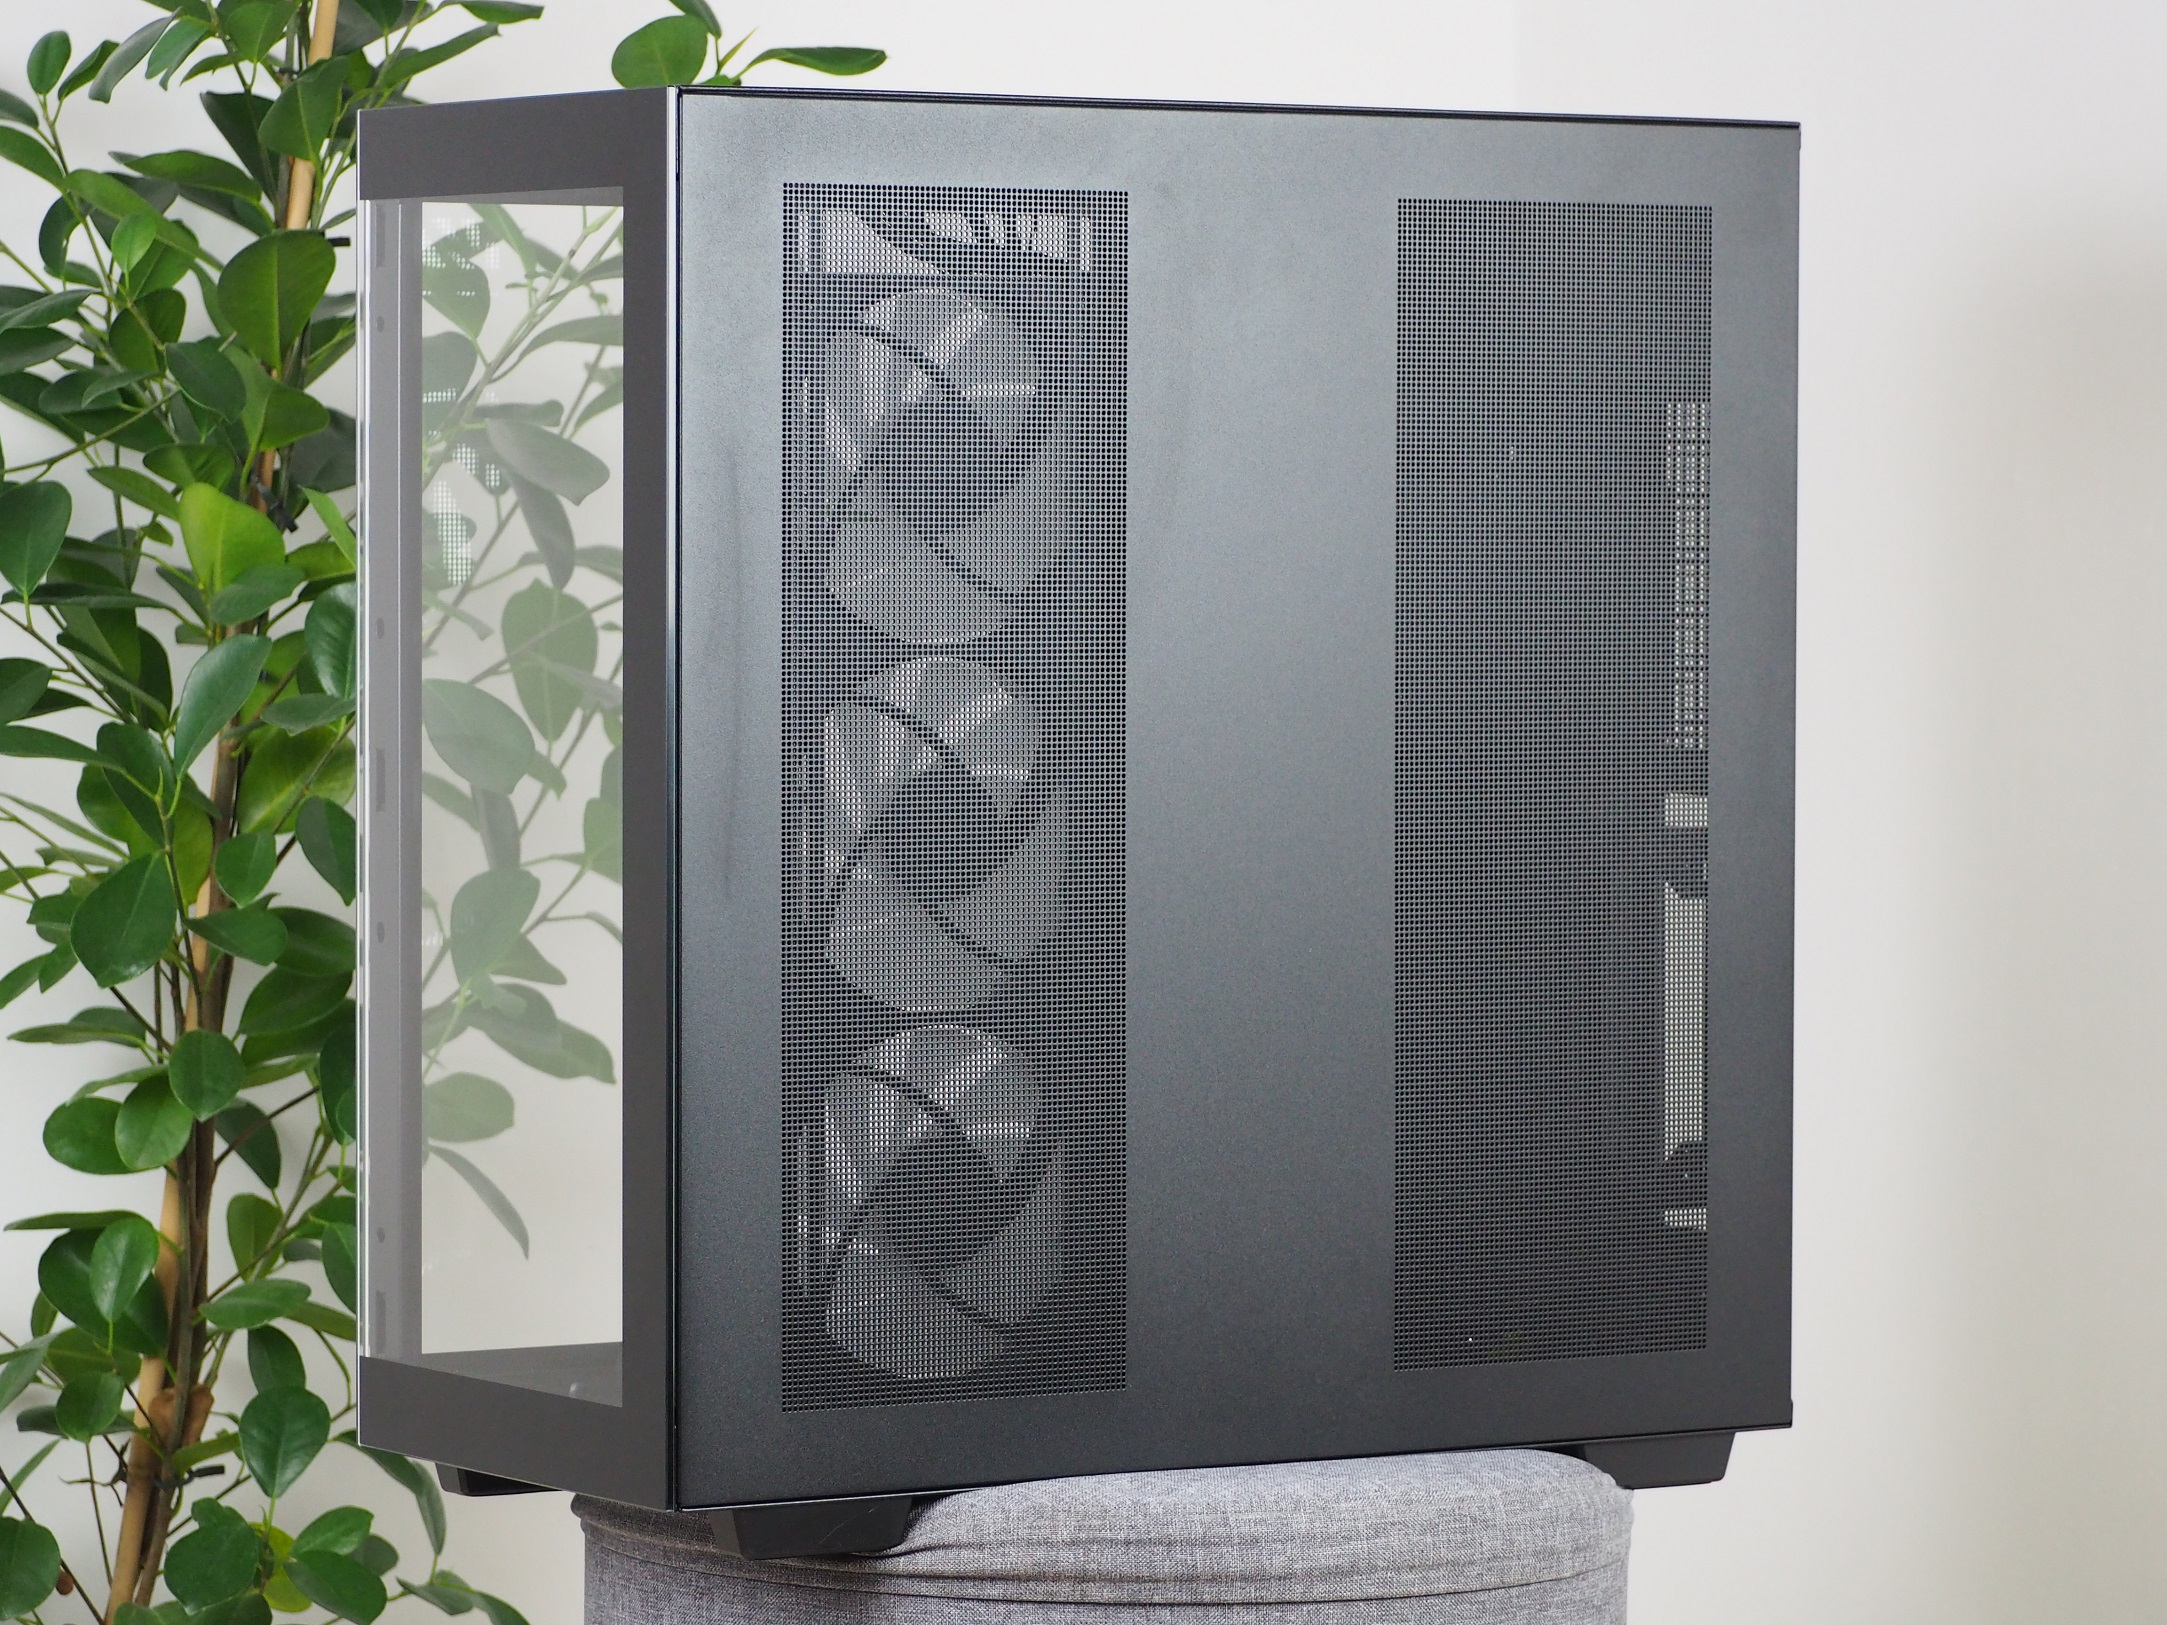
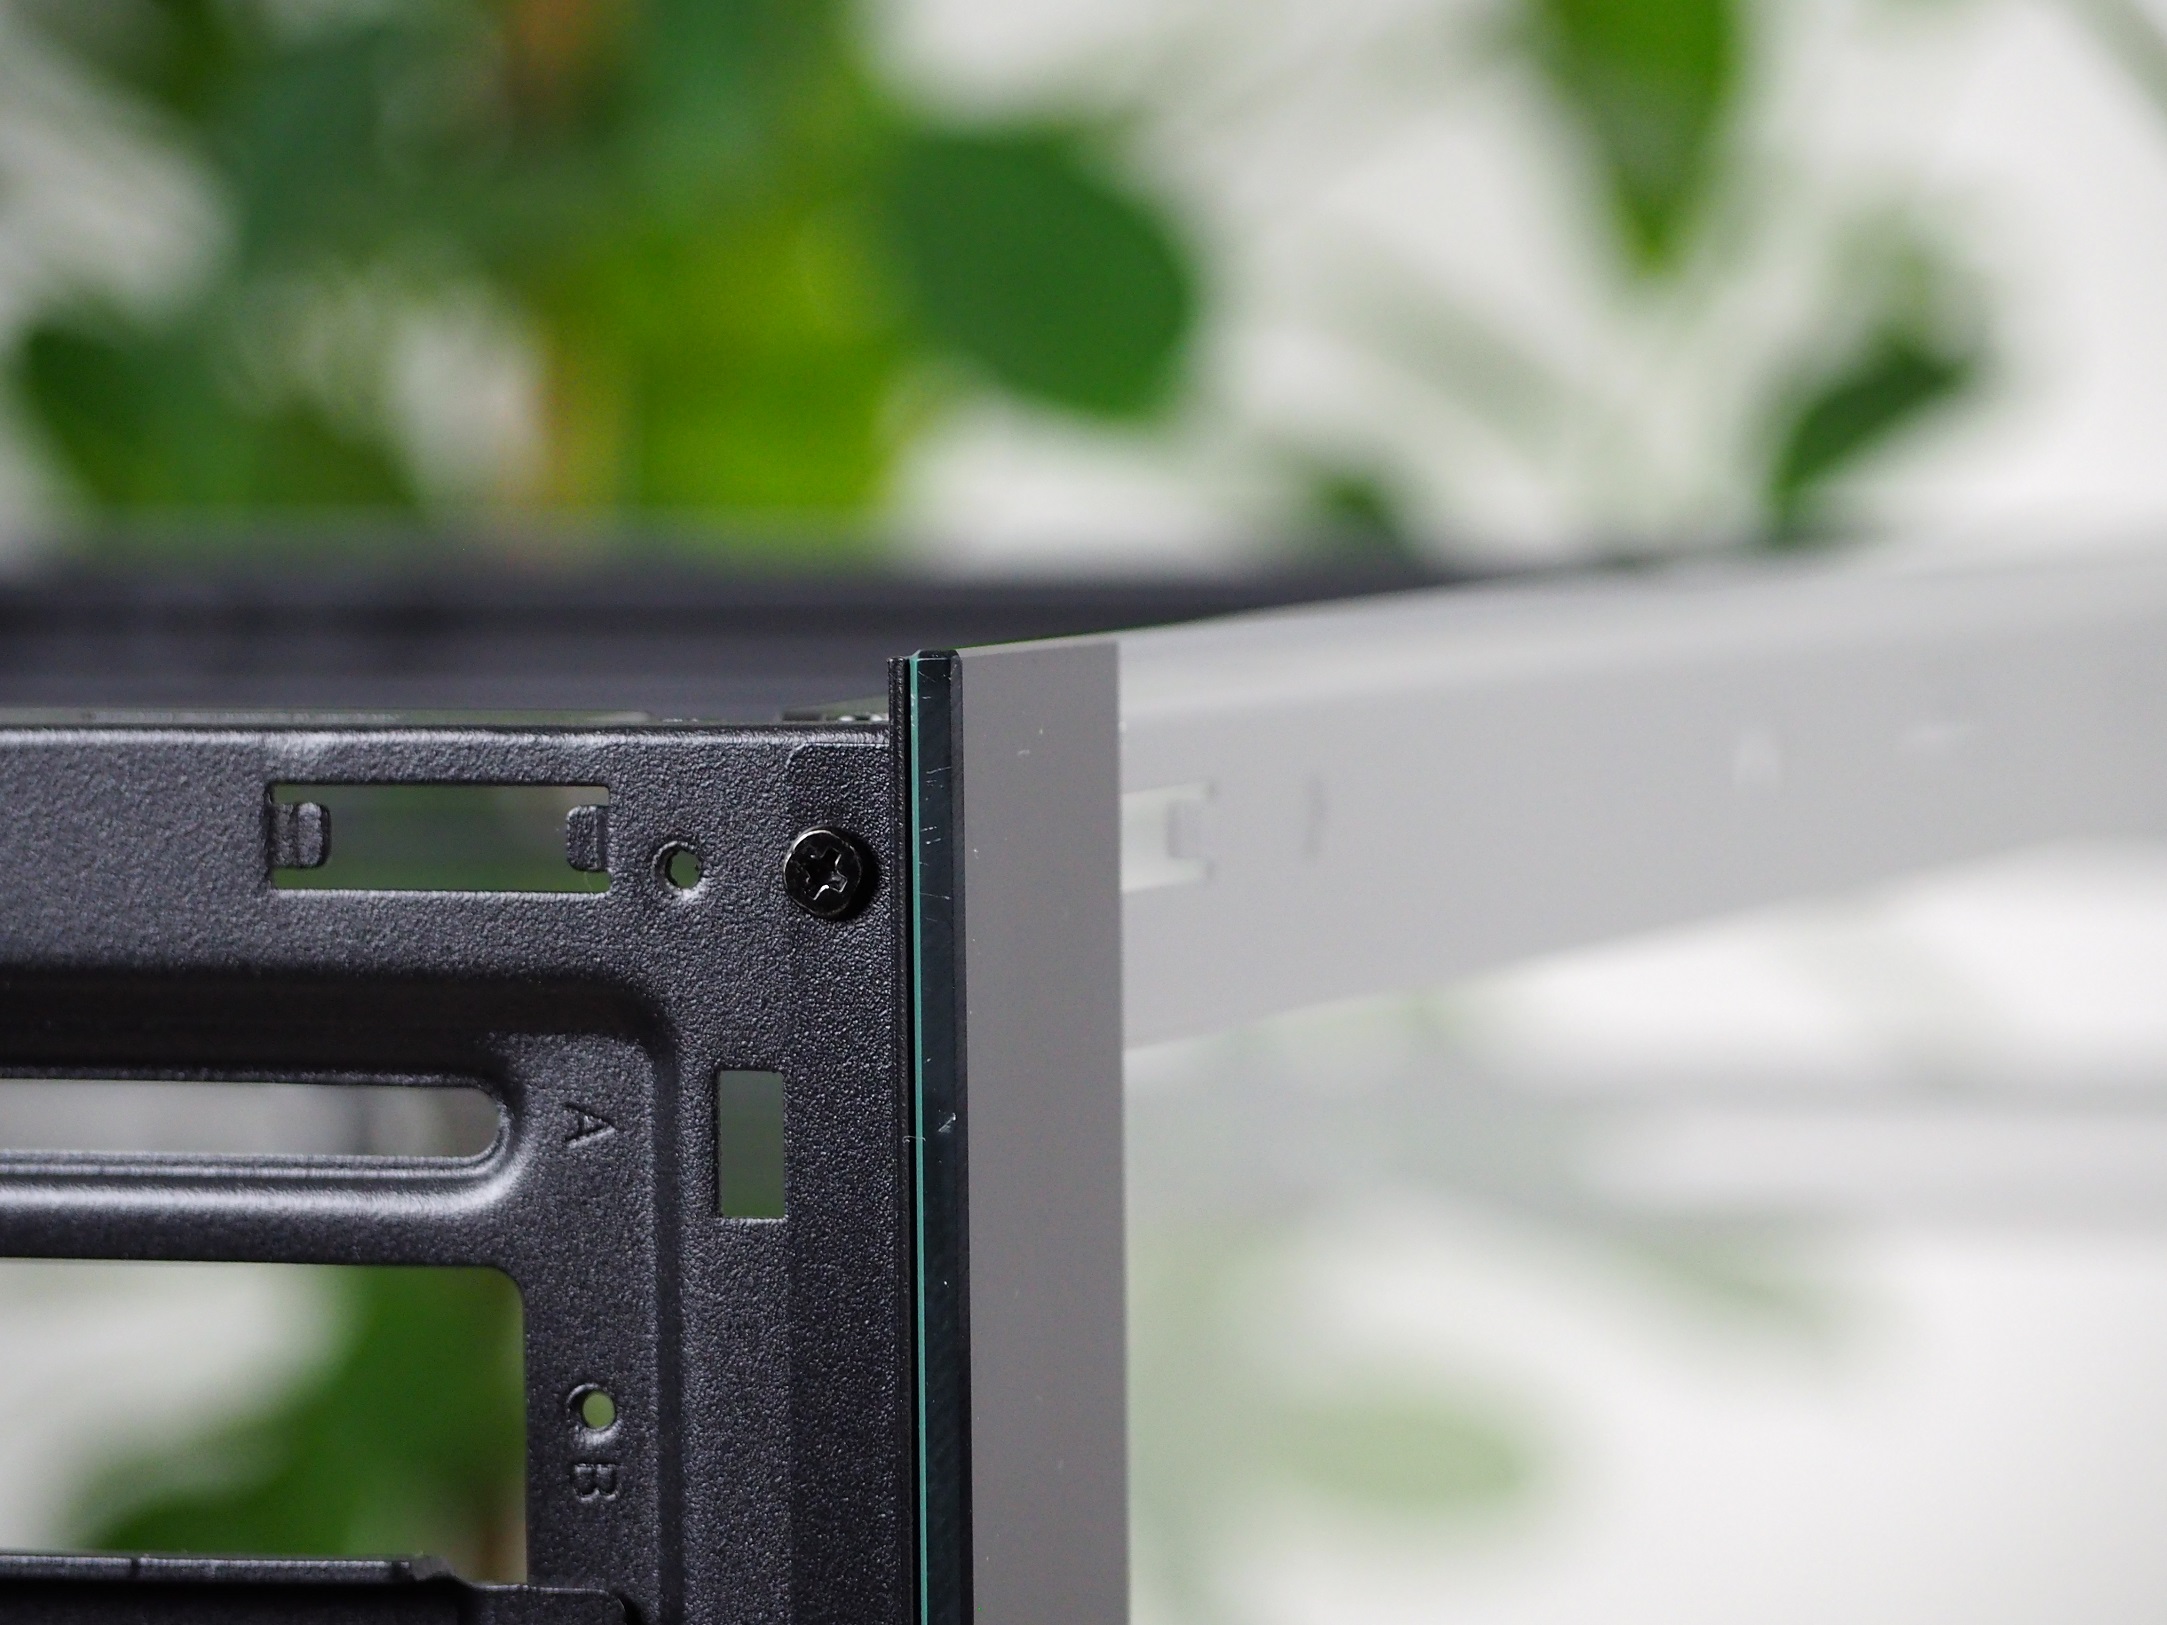
The front and left part of the case exterior is made of tempered glass. It is 3.90 mm thick. The left side panel is attached to the frame via a ratchet mechanism, which is becoming increasingly popular among case manufacturers. I have to say, though, that the initial removal of the side panel from the frame was a struggle. It was held in so tightly that I was worried about damaging the glass when pulling it off.
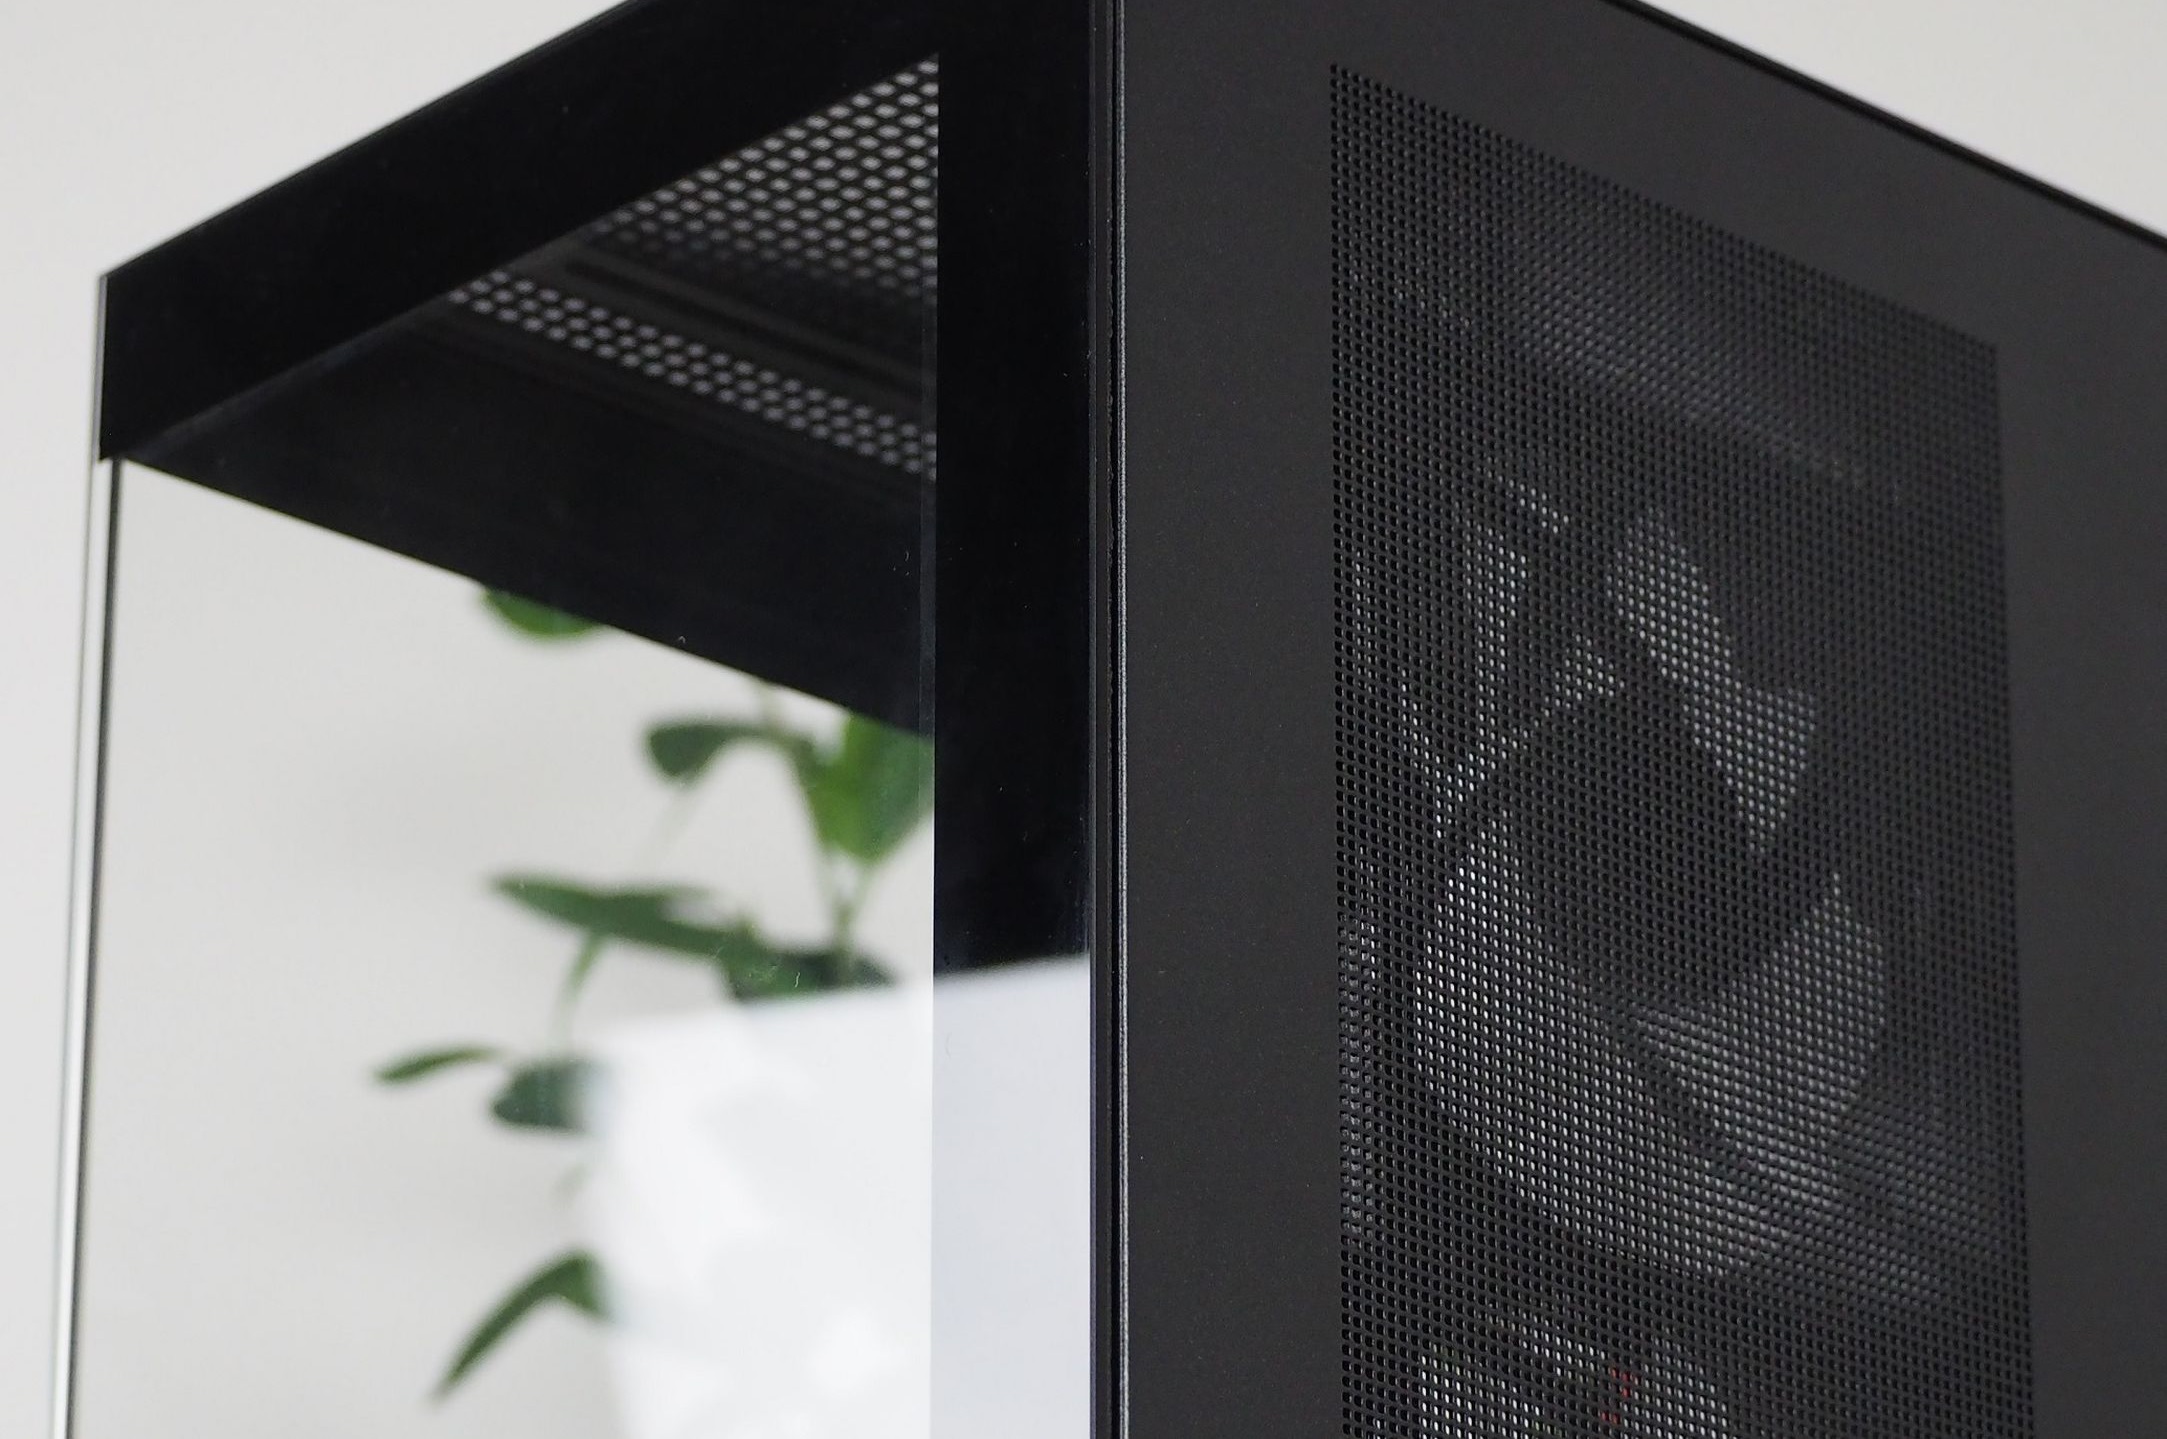
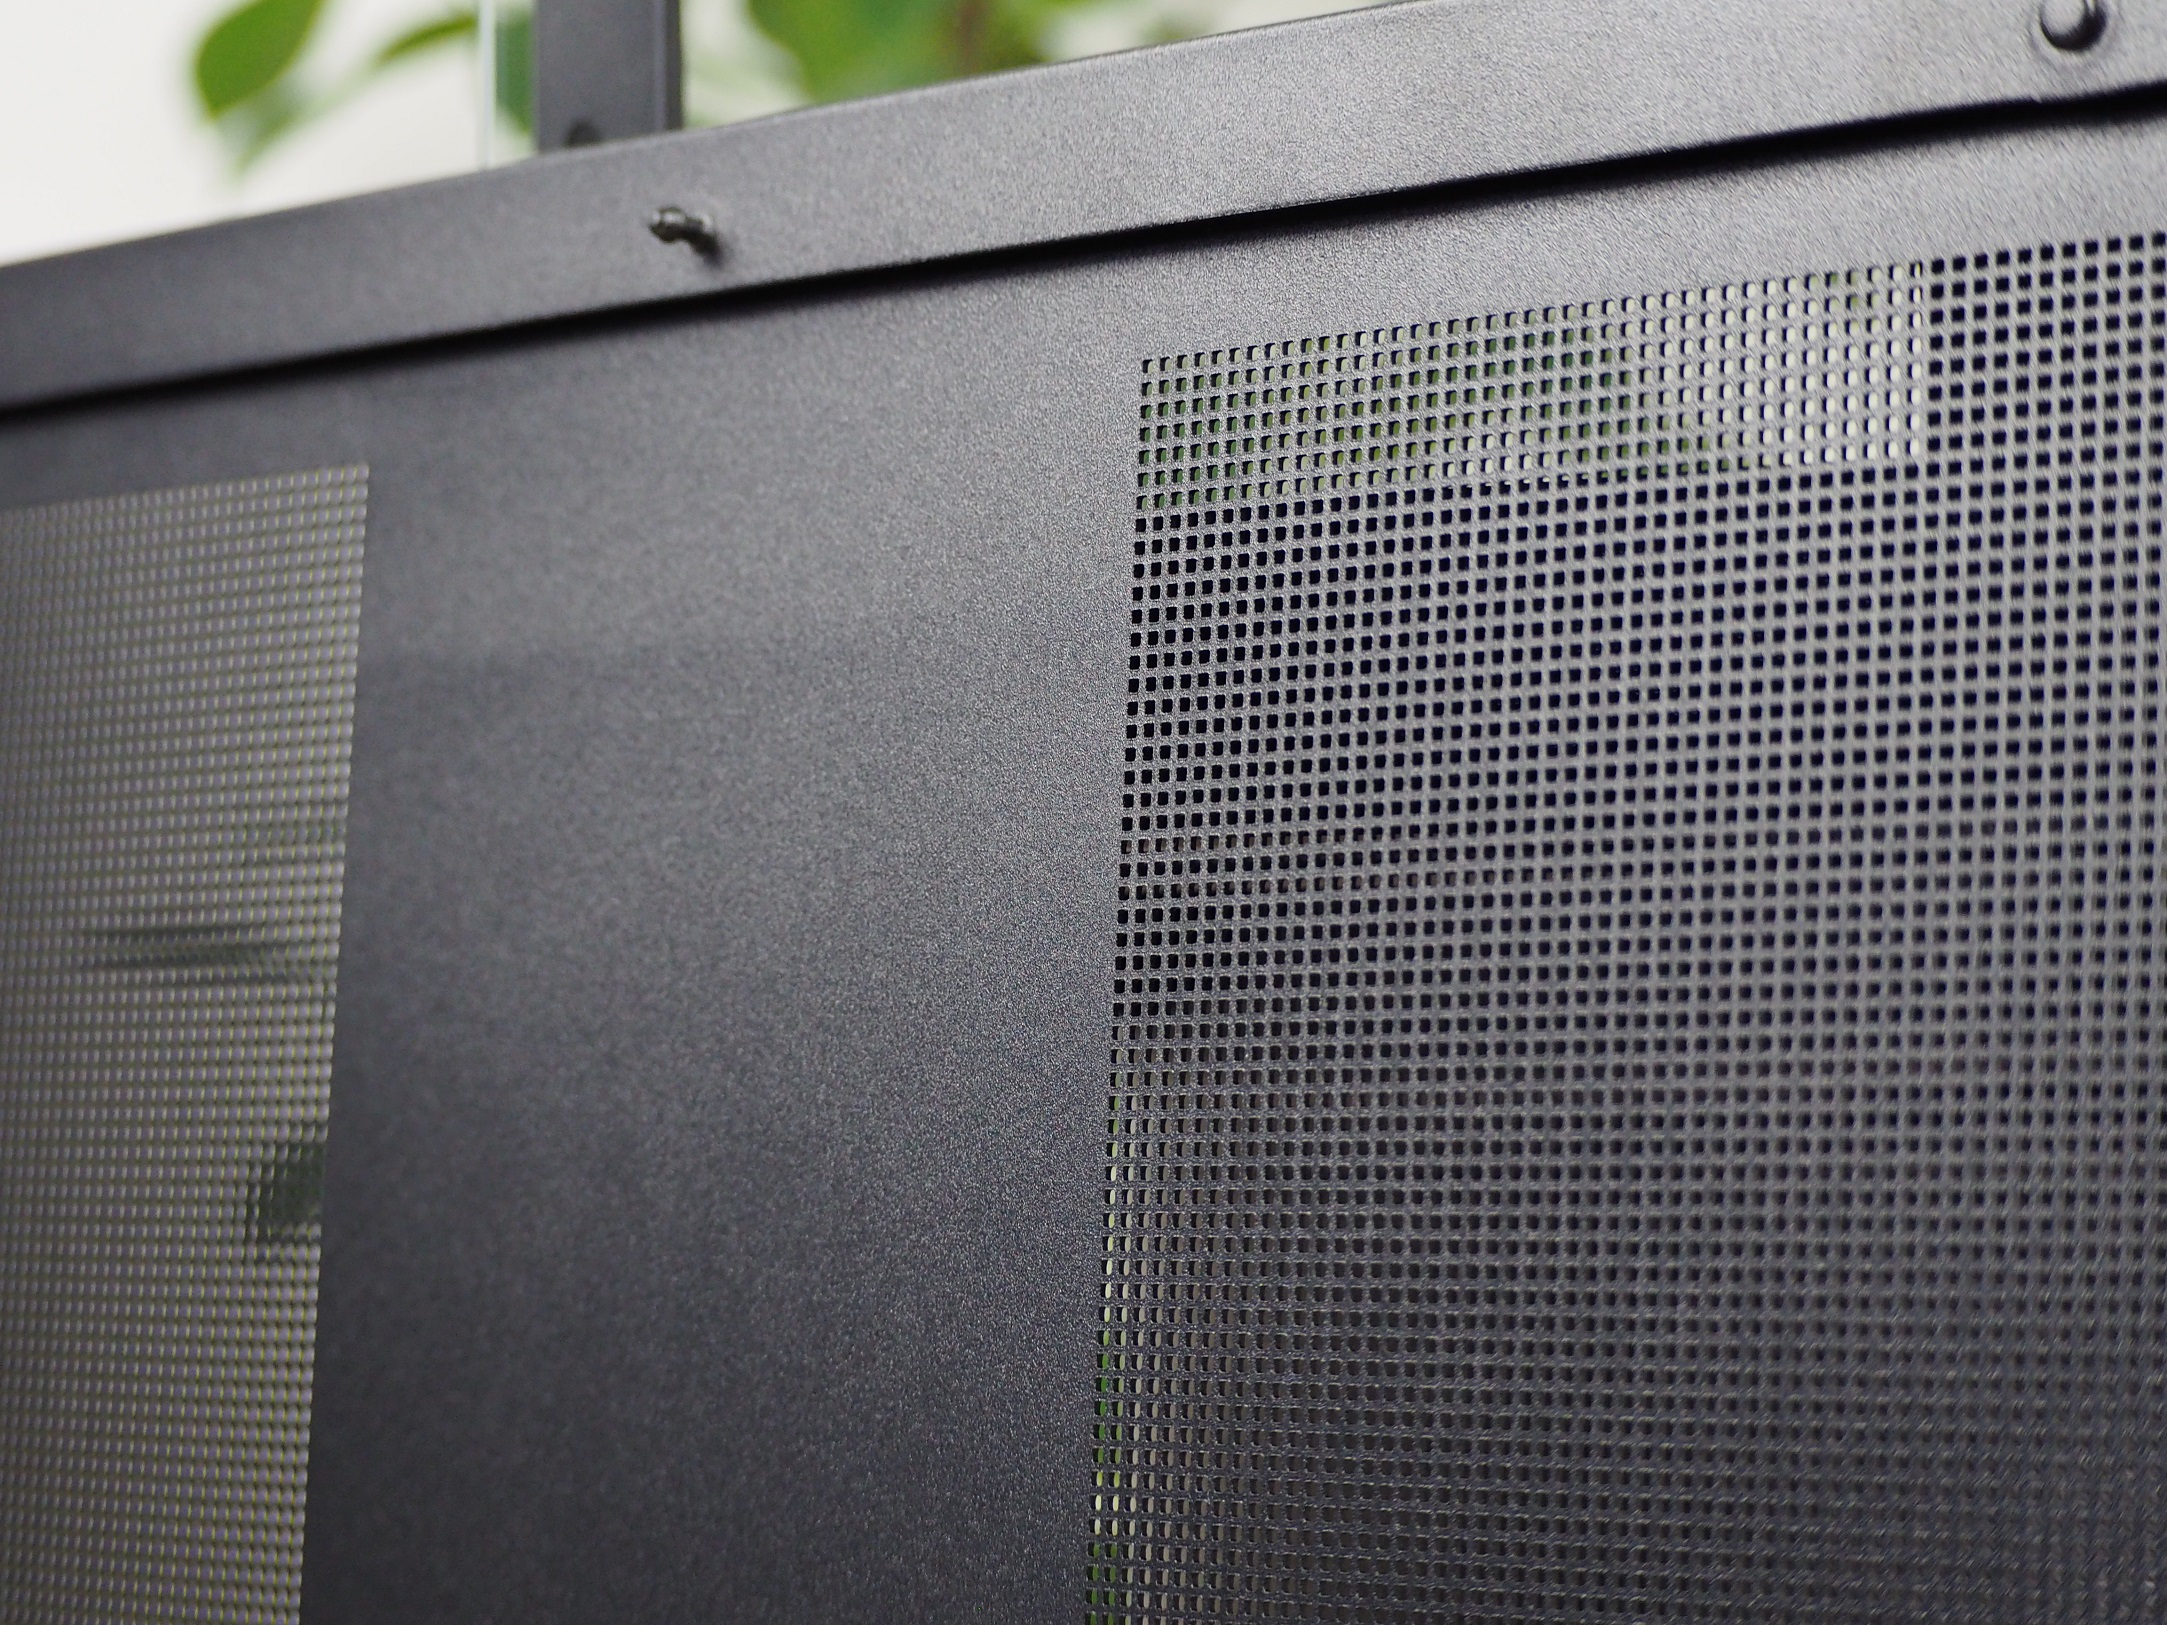
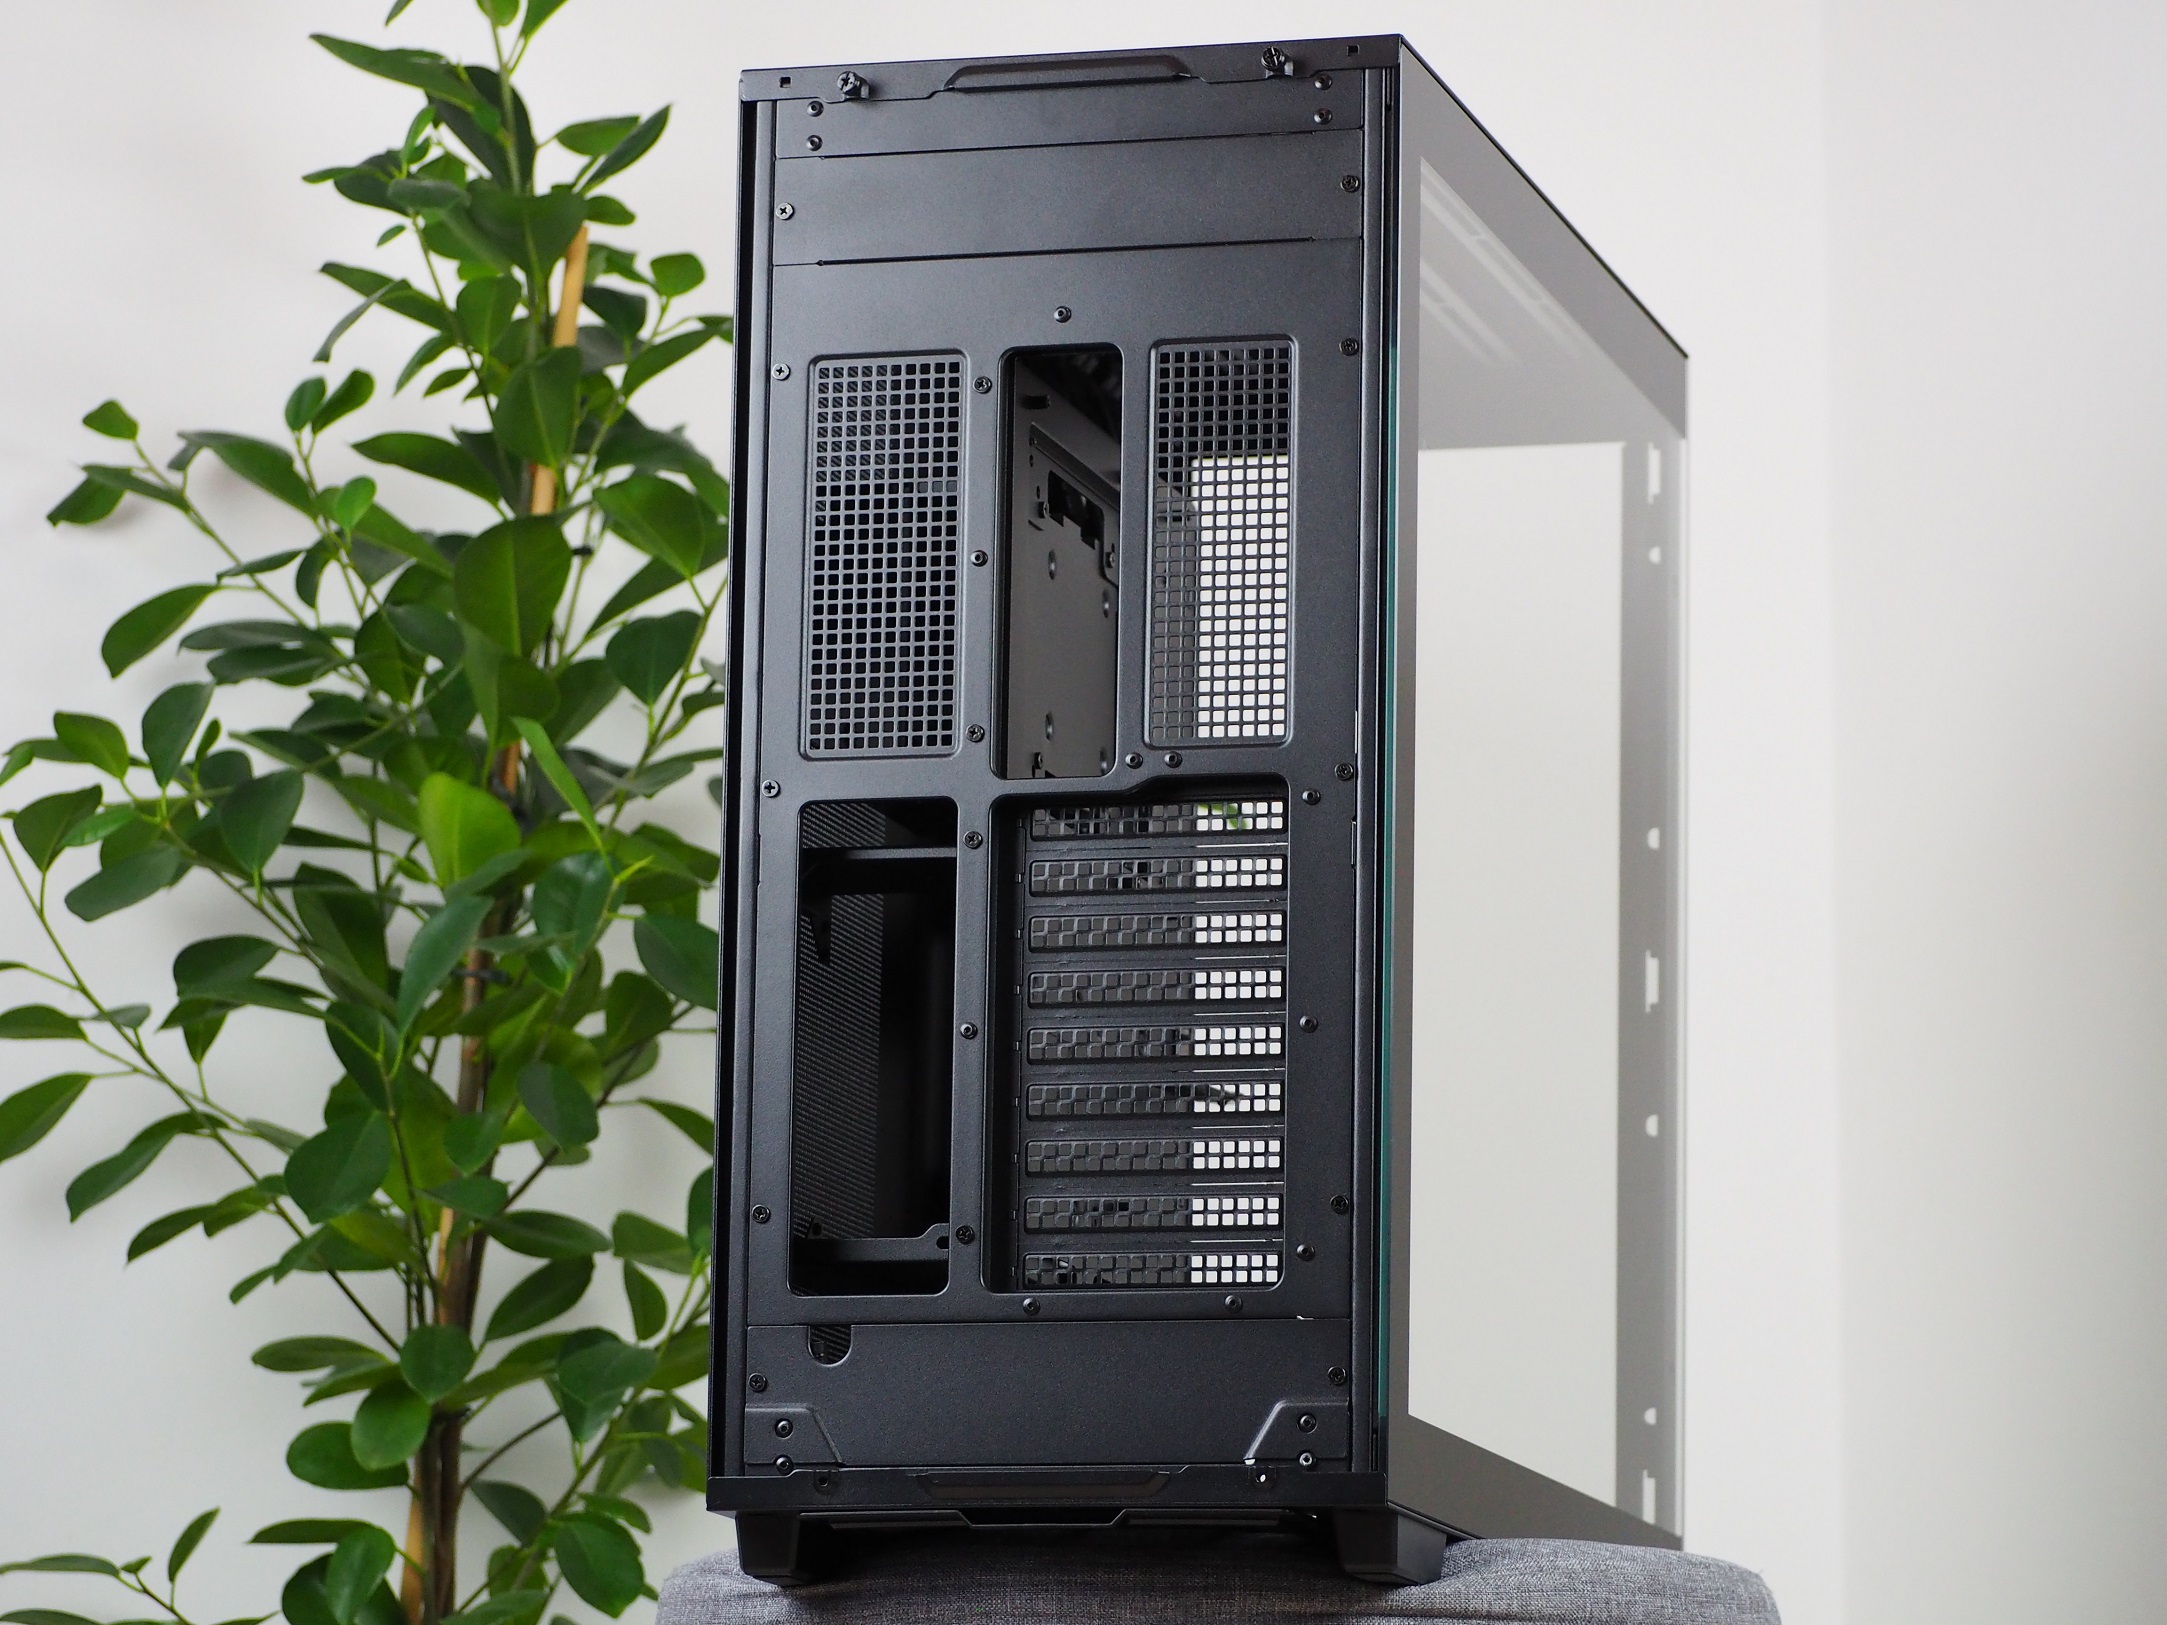
The right side of the case is constituted by a large metal side panel. It is solid even with two large perforations and there is minimal flexing of the side panel. This is mainly due to the thickness of the sheet metal, which is almost one millimetre. The manufacturer has not forgotten about effective mounting of this panel either. On the top and on the sides of the sheet metal there are conical latches, which hold the entire side panel on the case firmly enough.
There is no dust filter behind the one and a half millimetre holes in the perforation. This makes it an ideal position for blowing warm air out of the case, instead of sucking in cool air.
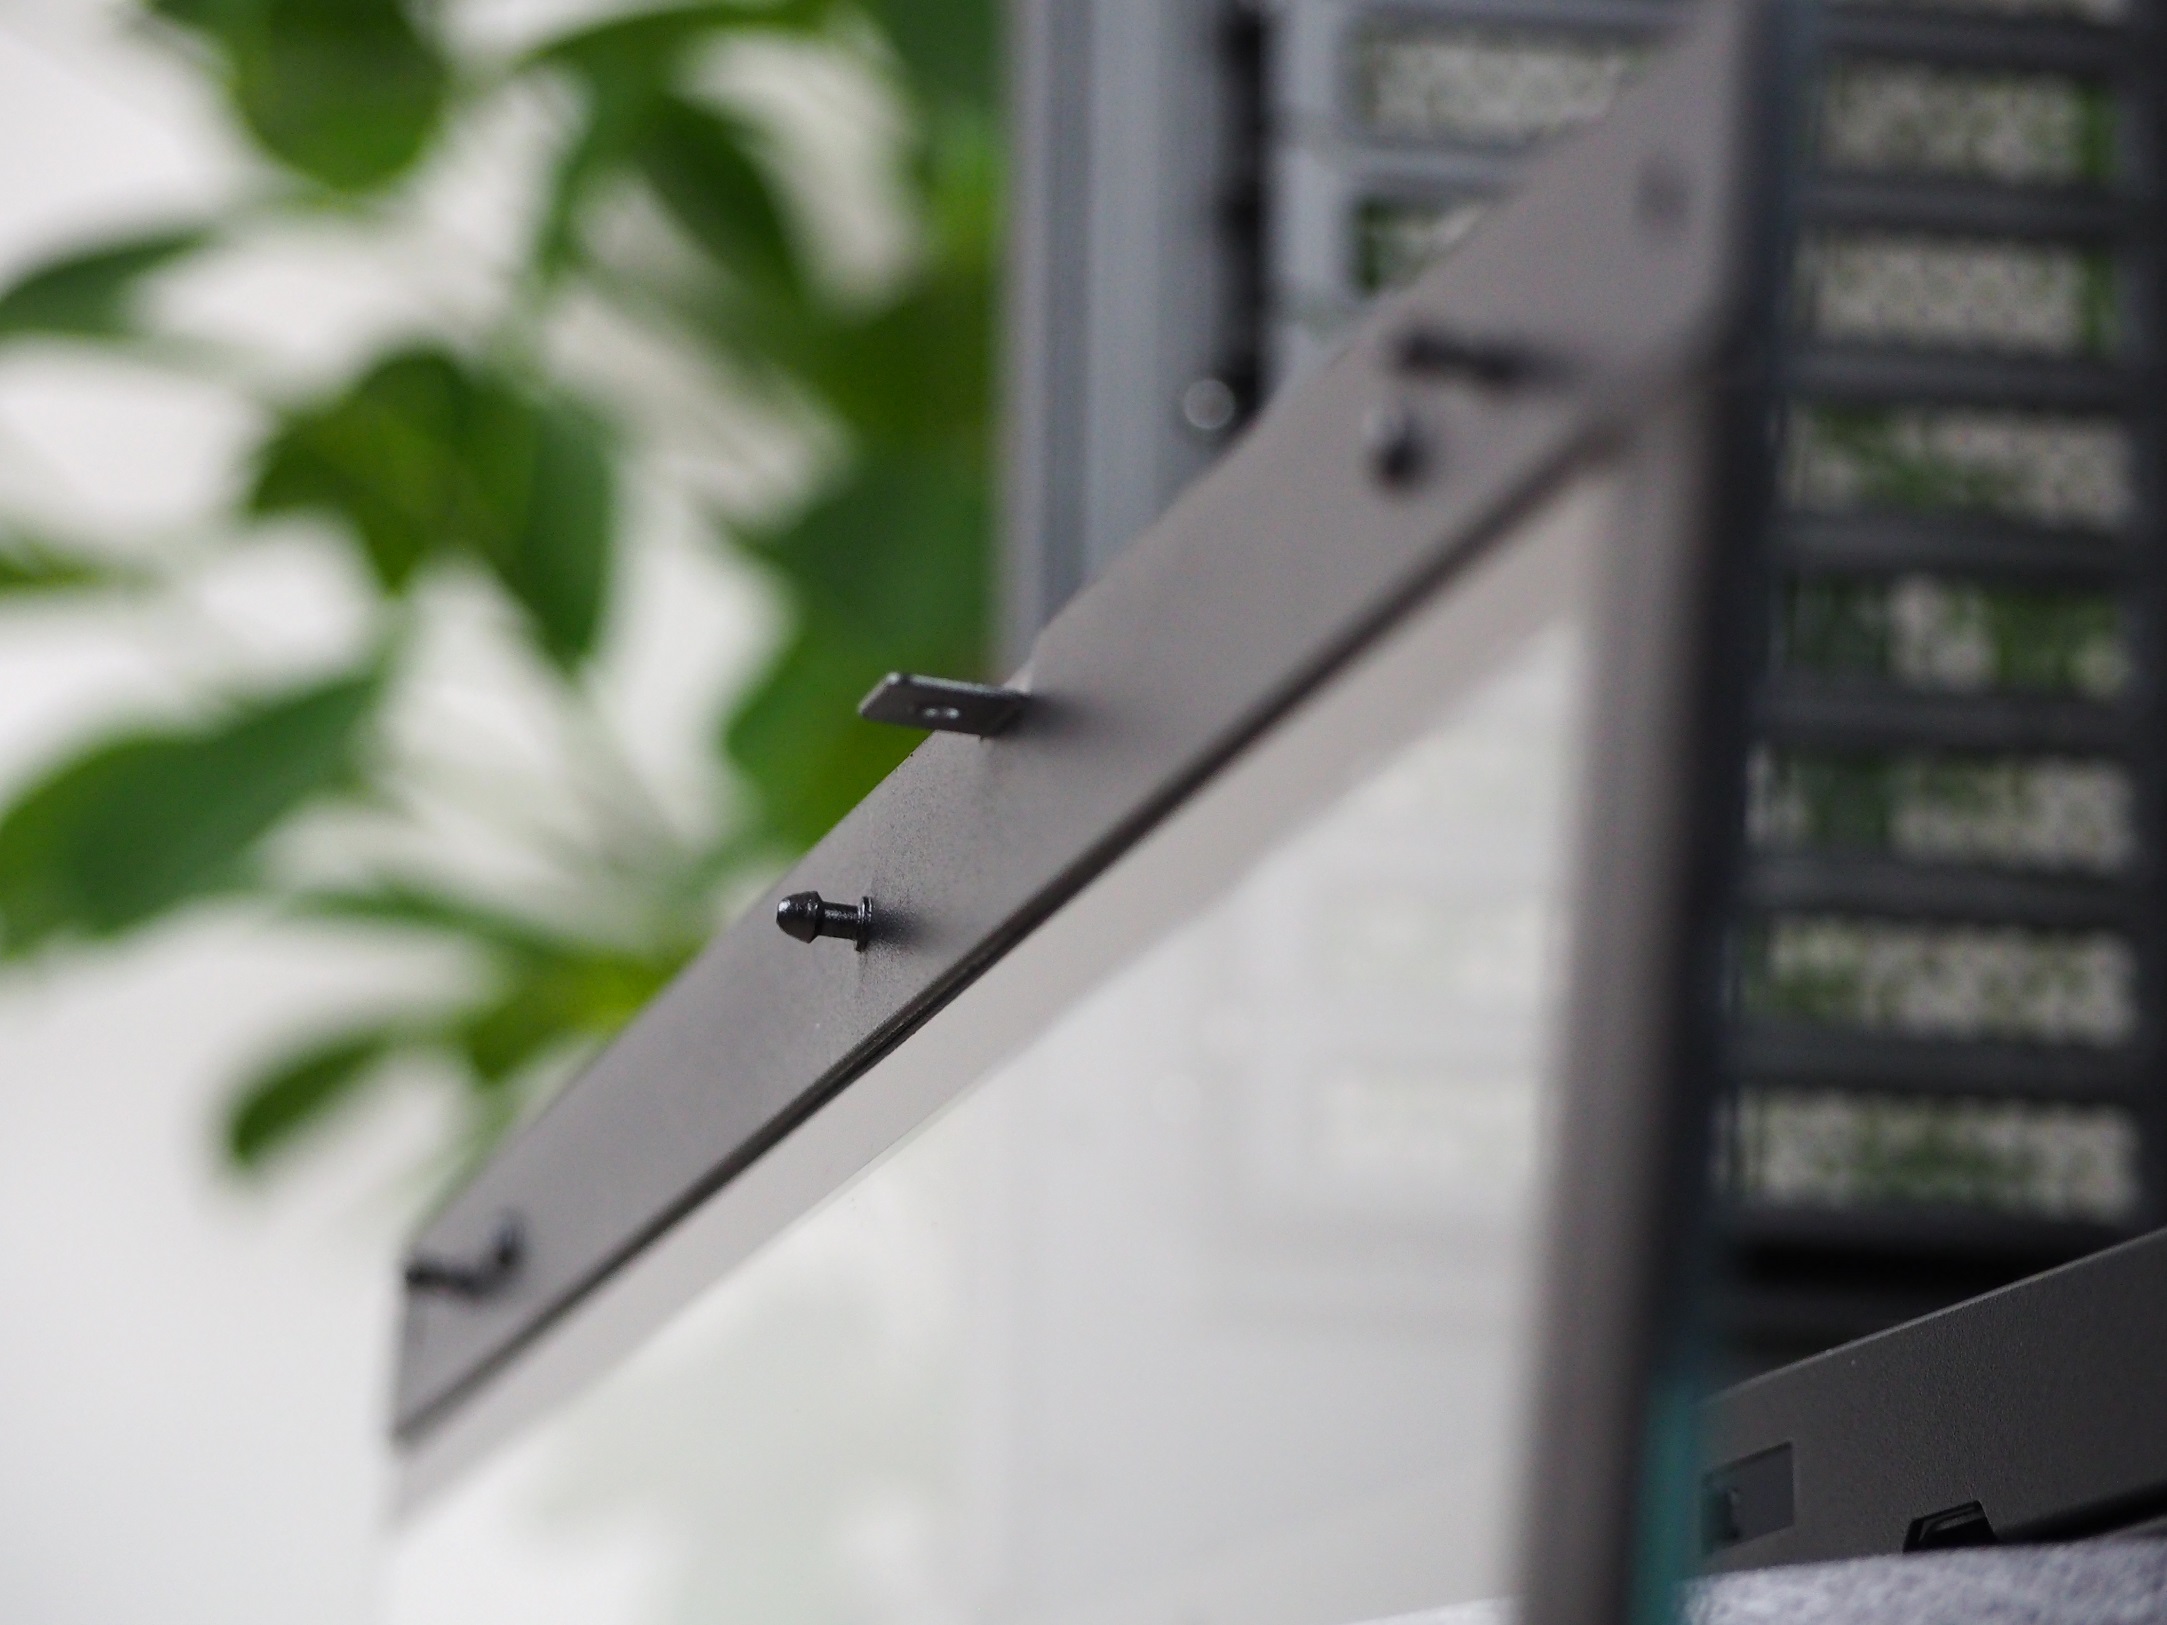
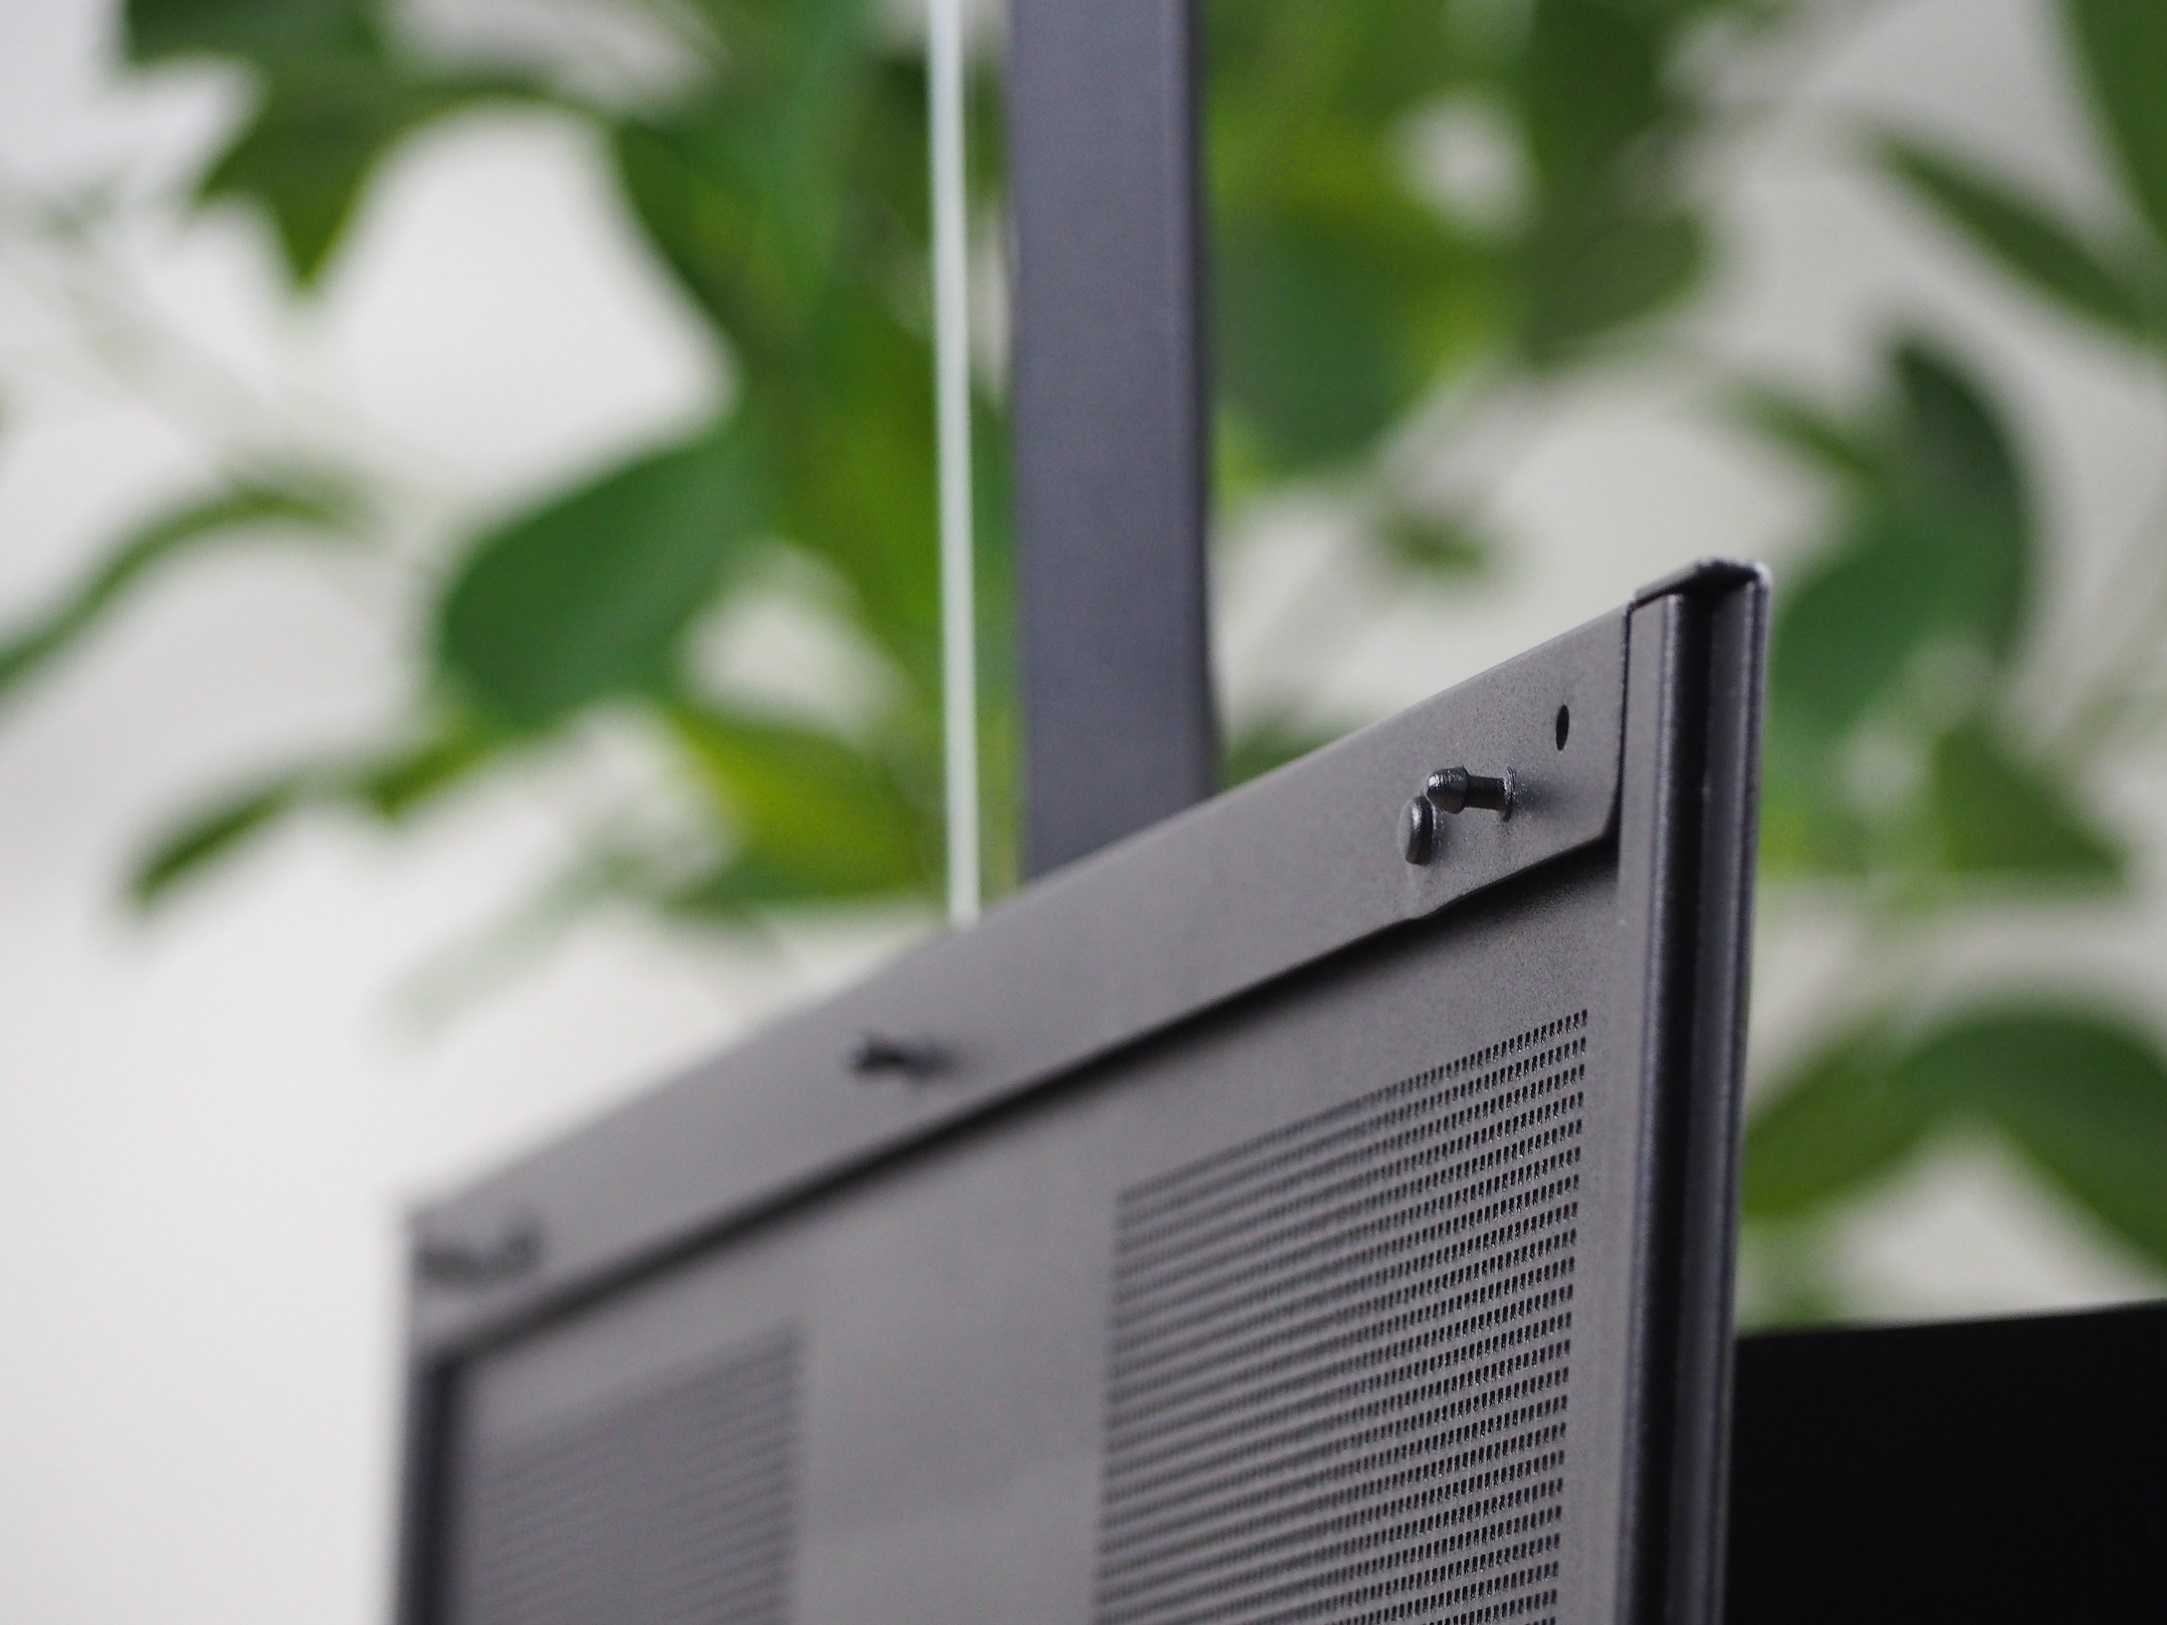
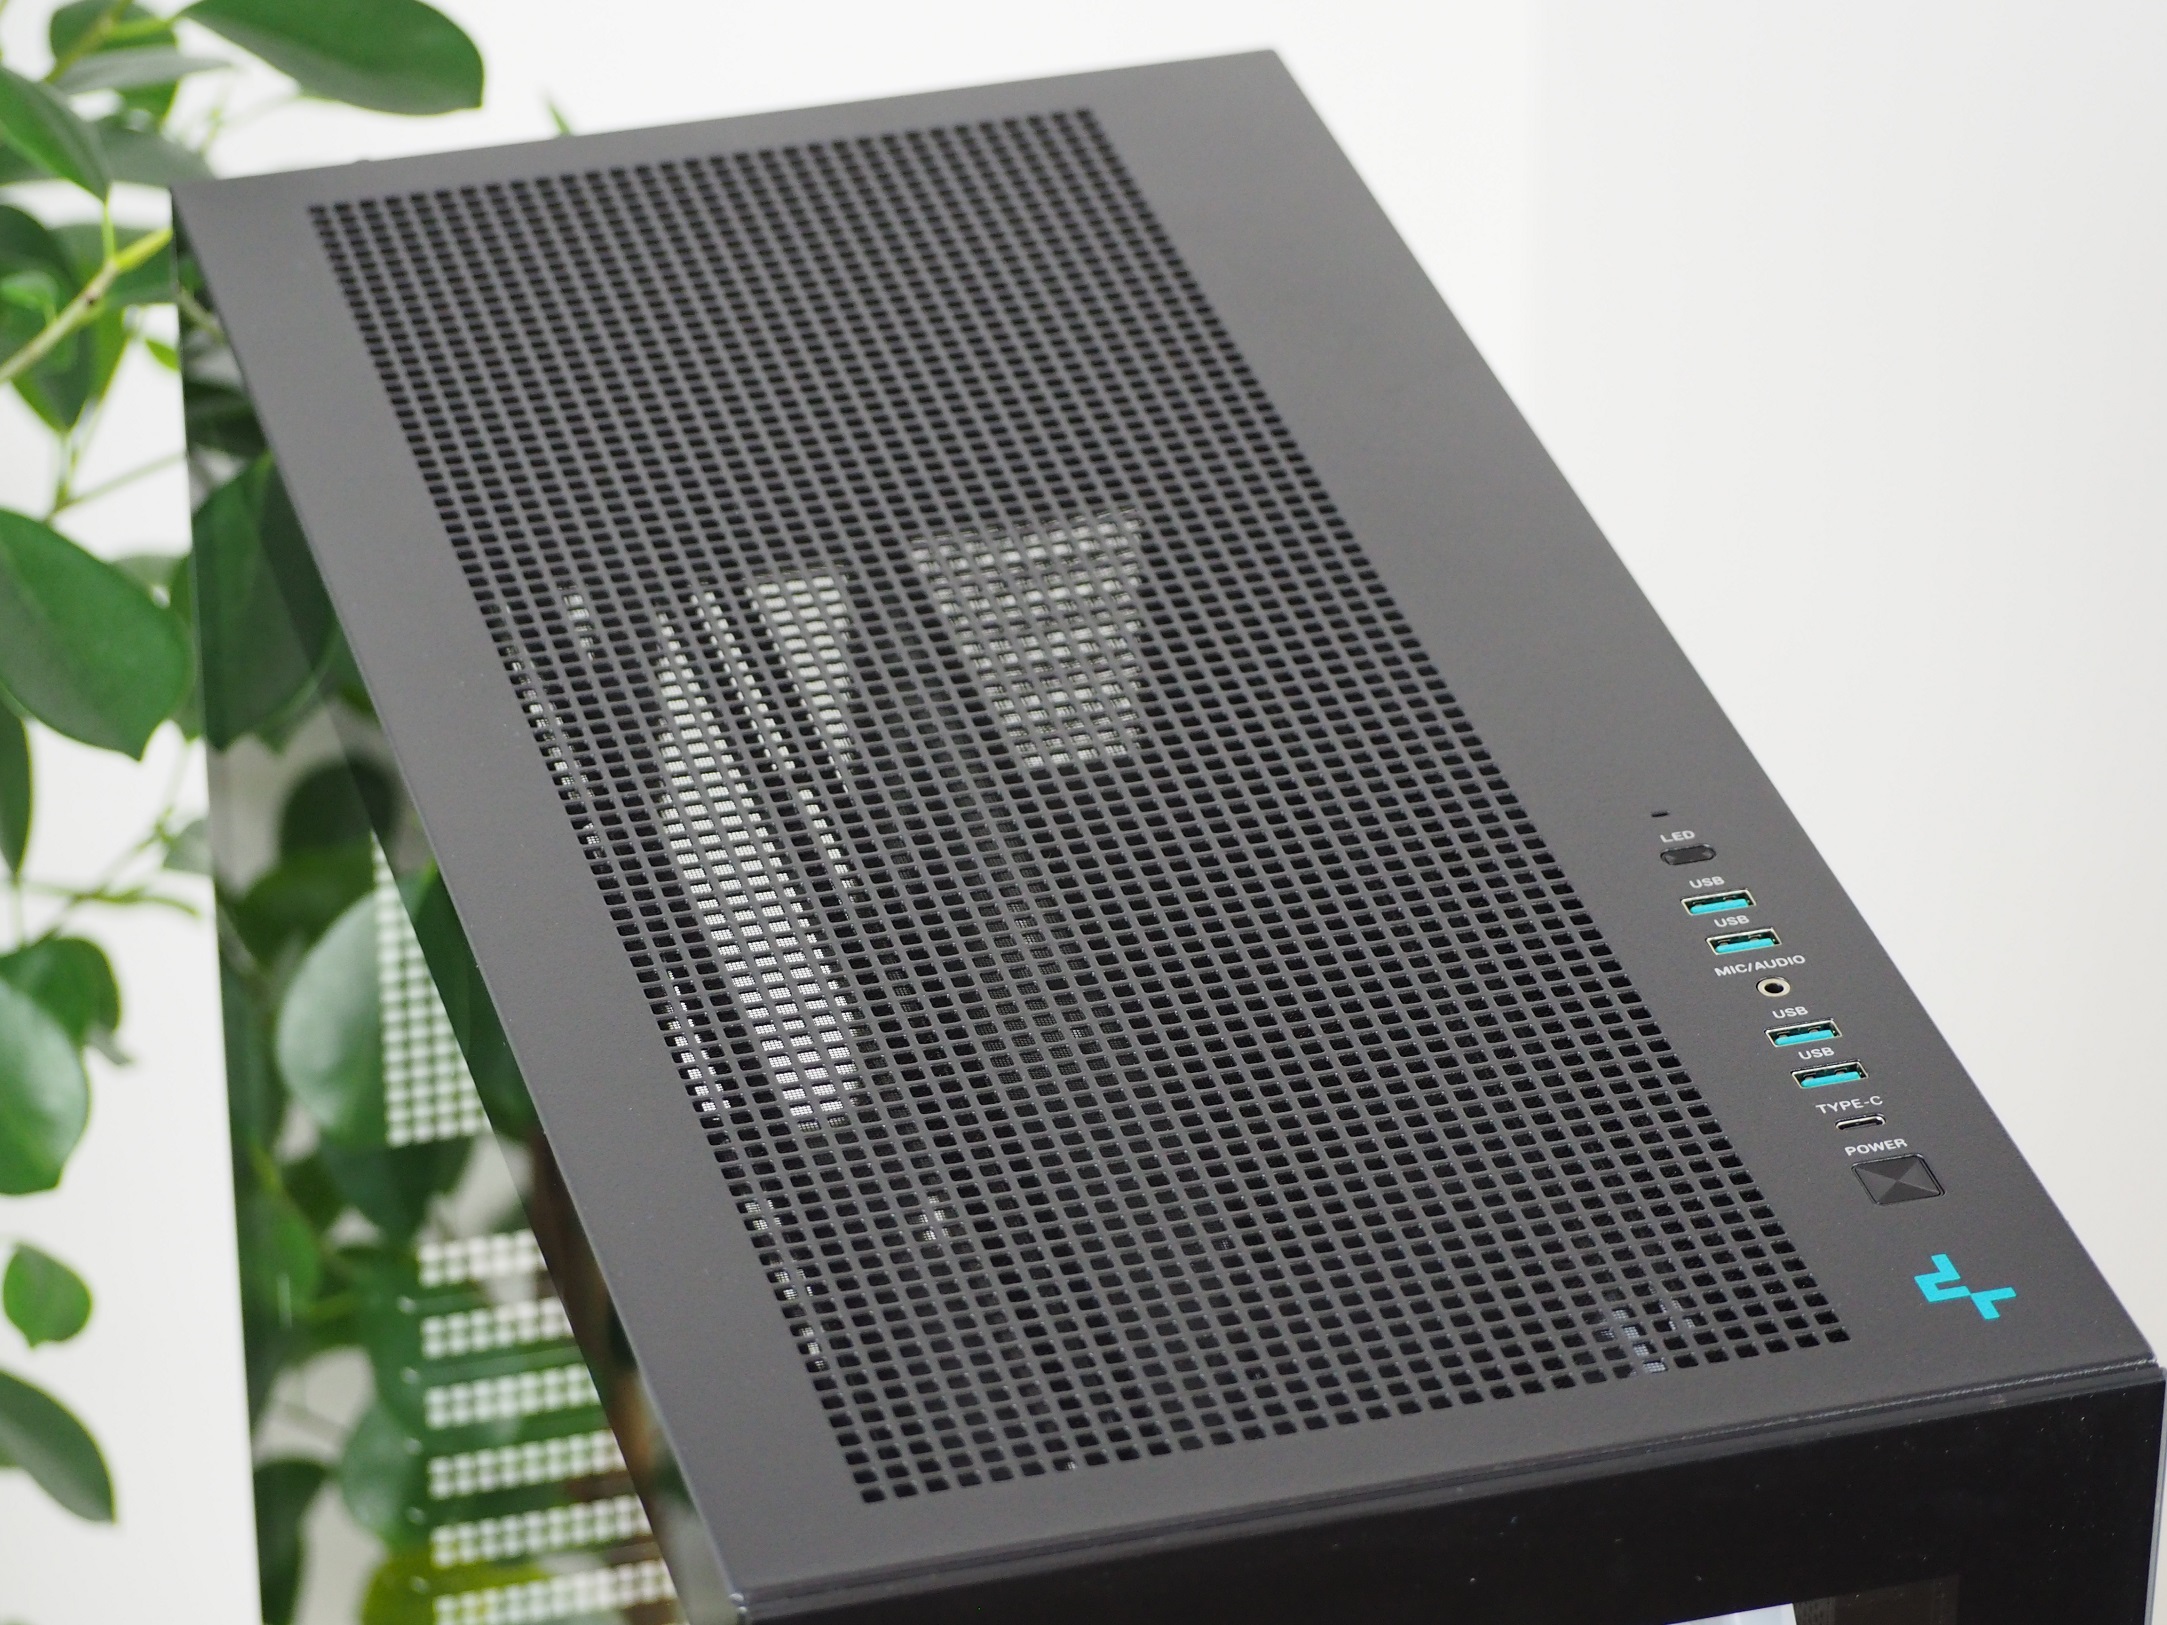
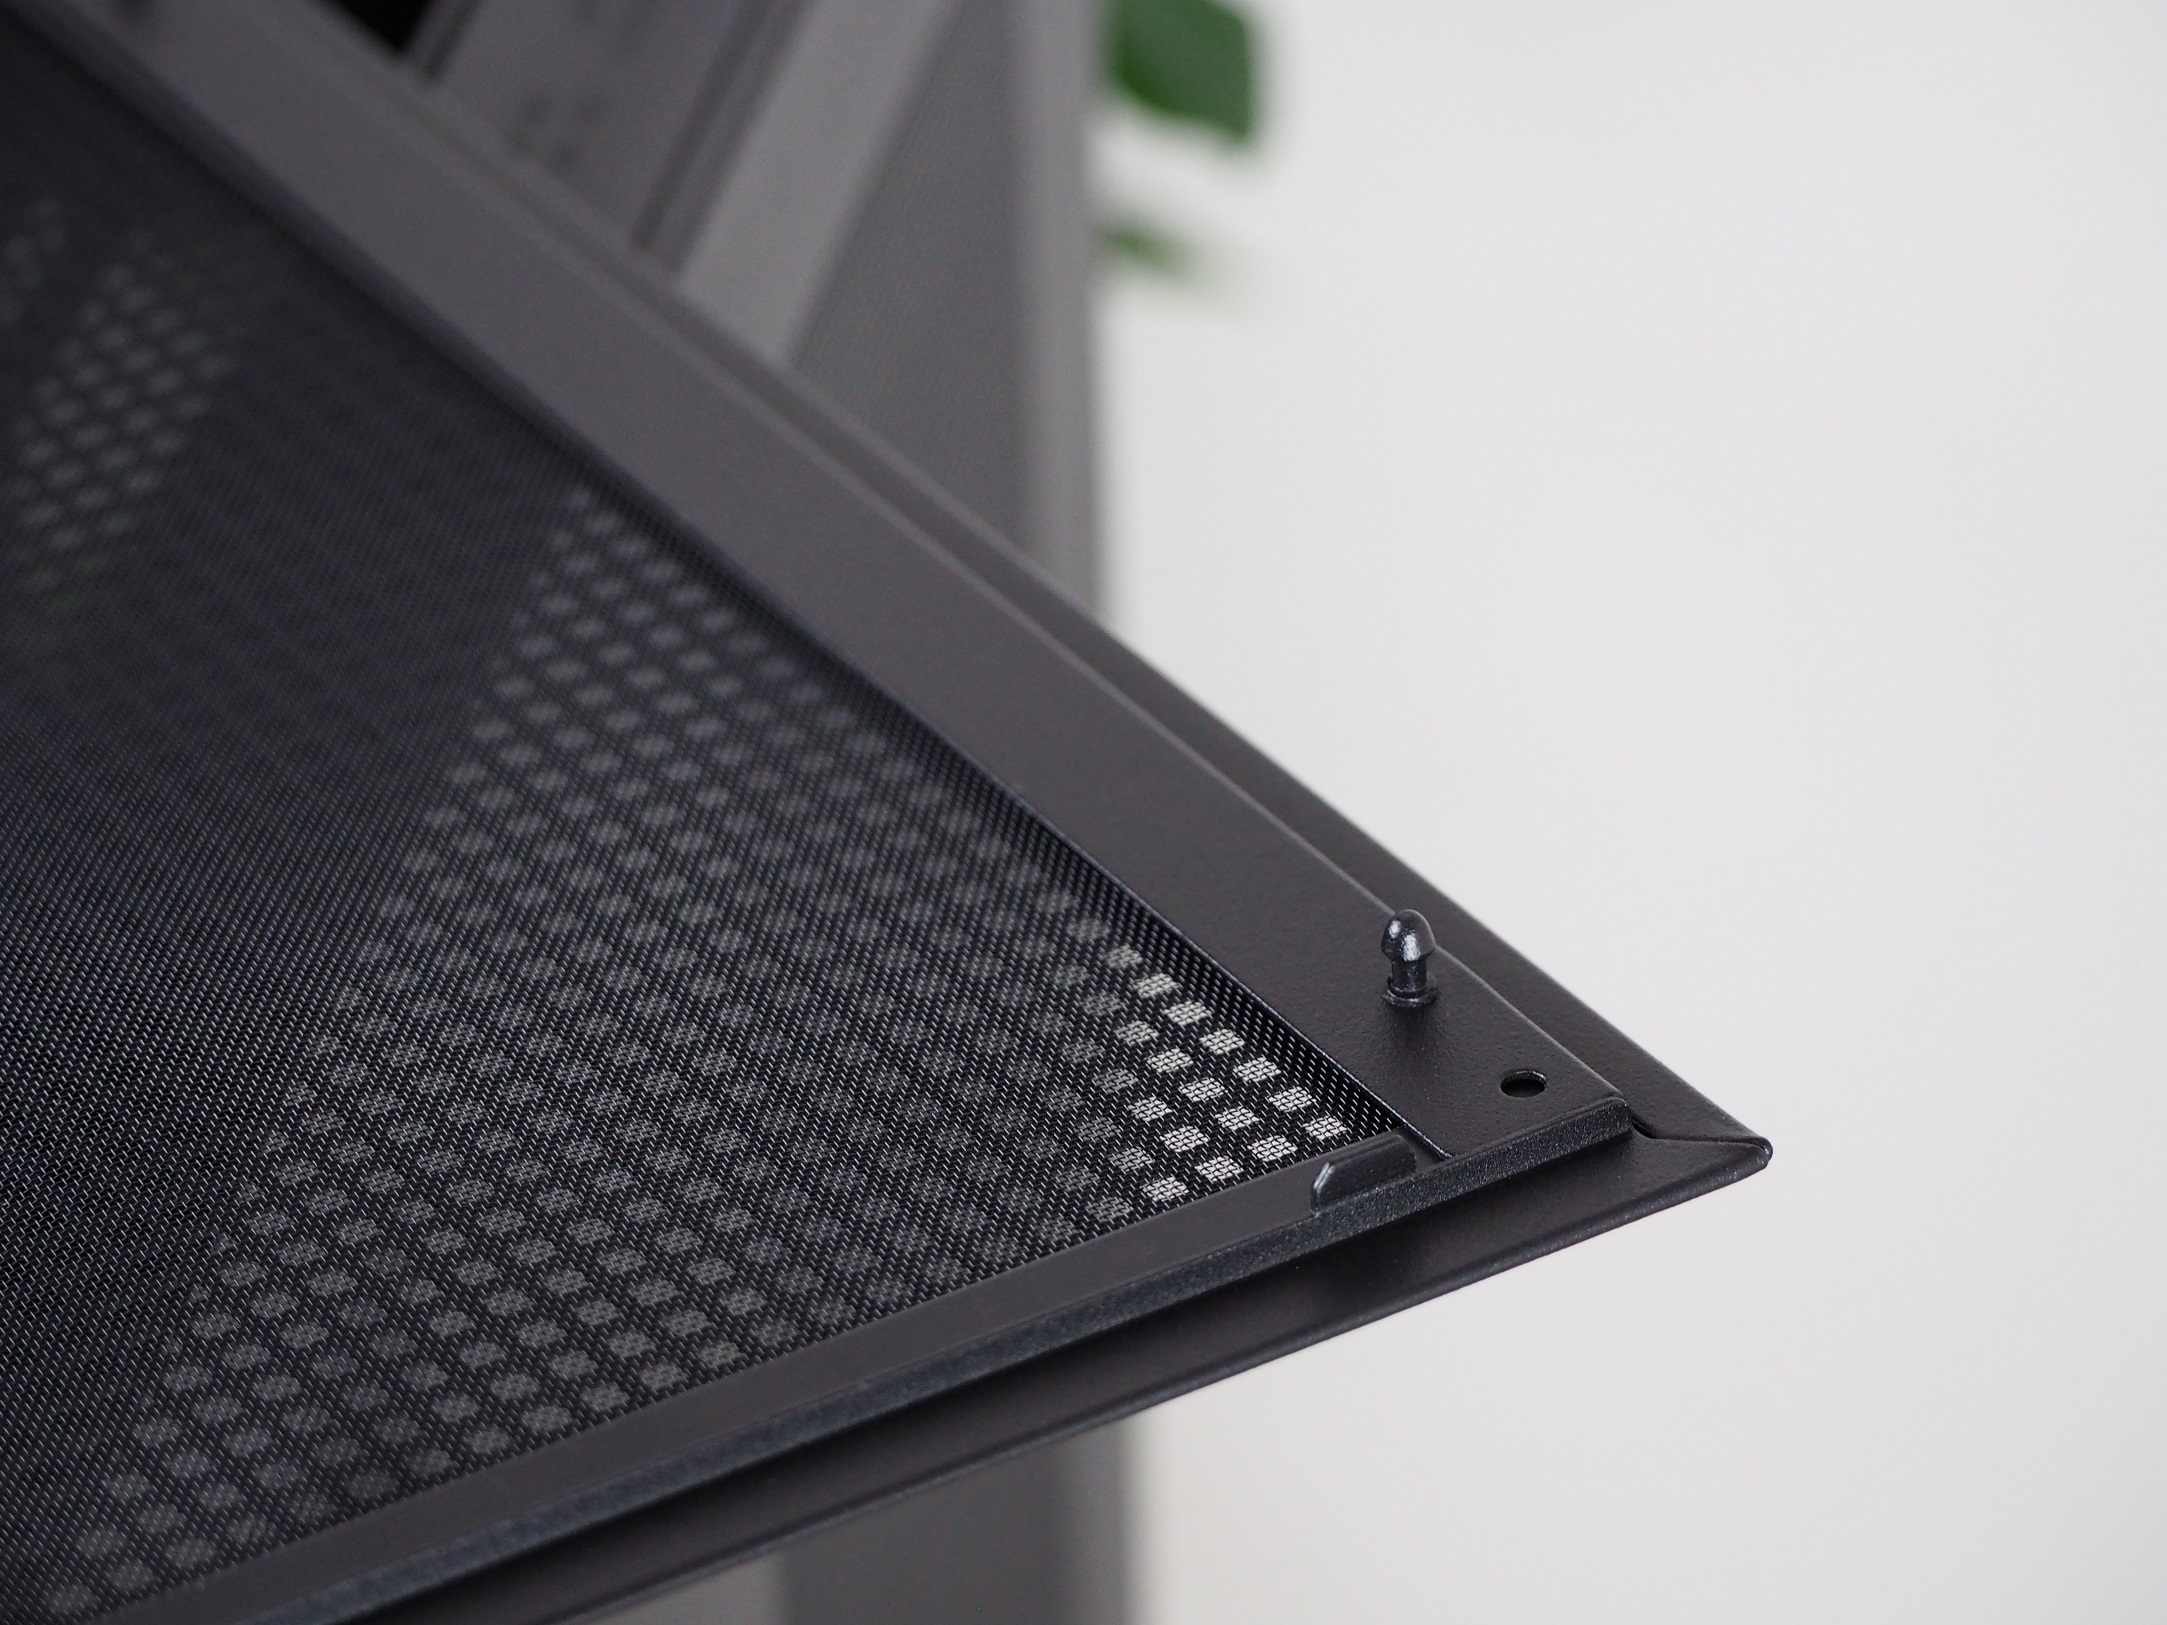
A large percentage of the top of the case is again made up of holes. In this case, they are even slightly larger than on the right side, 4 mm. The advantage of the top section is that it also has a fine dust filter built into the panel. This is held onto the case with the same ratchet mechanism, but from the rear the panel is secured with two screws. These remain on the panel even after unscrewing. Since they are loose, it happened to me several times when putting the panel on that they got in the way of the ratchet mechanism being correctly secured. They simply need to be fiddled with to allow the sheet metal to fully contact the case frame.
The dominant feature of the top is the I/O panel located along the right edge. Here you will find as many as six connectors in total. Four of these are USB Type-A ports and one faster USB Type-C port. The last connector is a 3.5mm Jack, which is a joint headphone and microphone jack. The first and larger of the two buttons is for turning the computer on/off. Its activation path is relatively short and will give you both a tactile and audible response when activated. The small button is used to change the backlight mode. This is more difficult to press because of its size and also the longer activation path. Especially when you have the computer on your desk and you want to turn off/change the backlight from the comfort of your chair. The last part of the I/O panel is a strong white LED that indicates the computer is on.
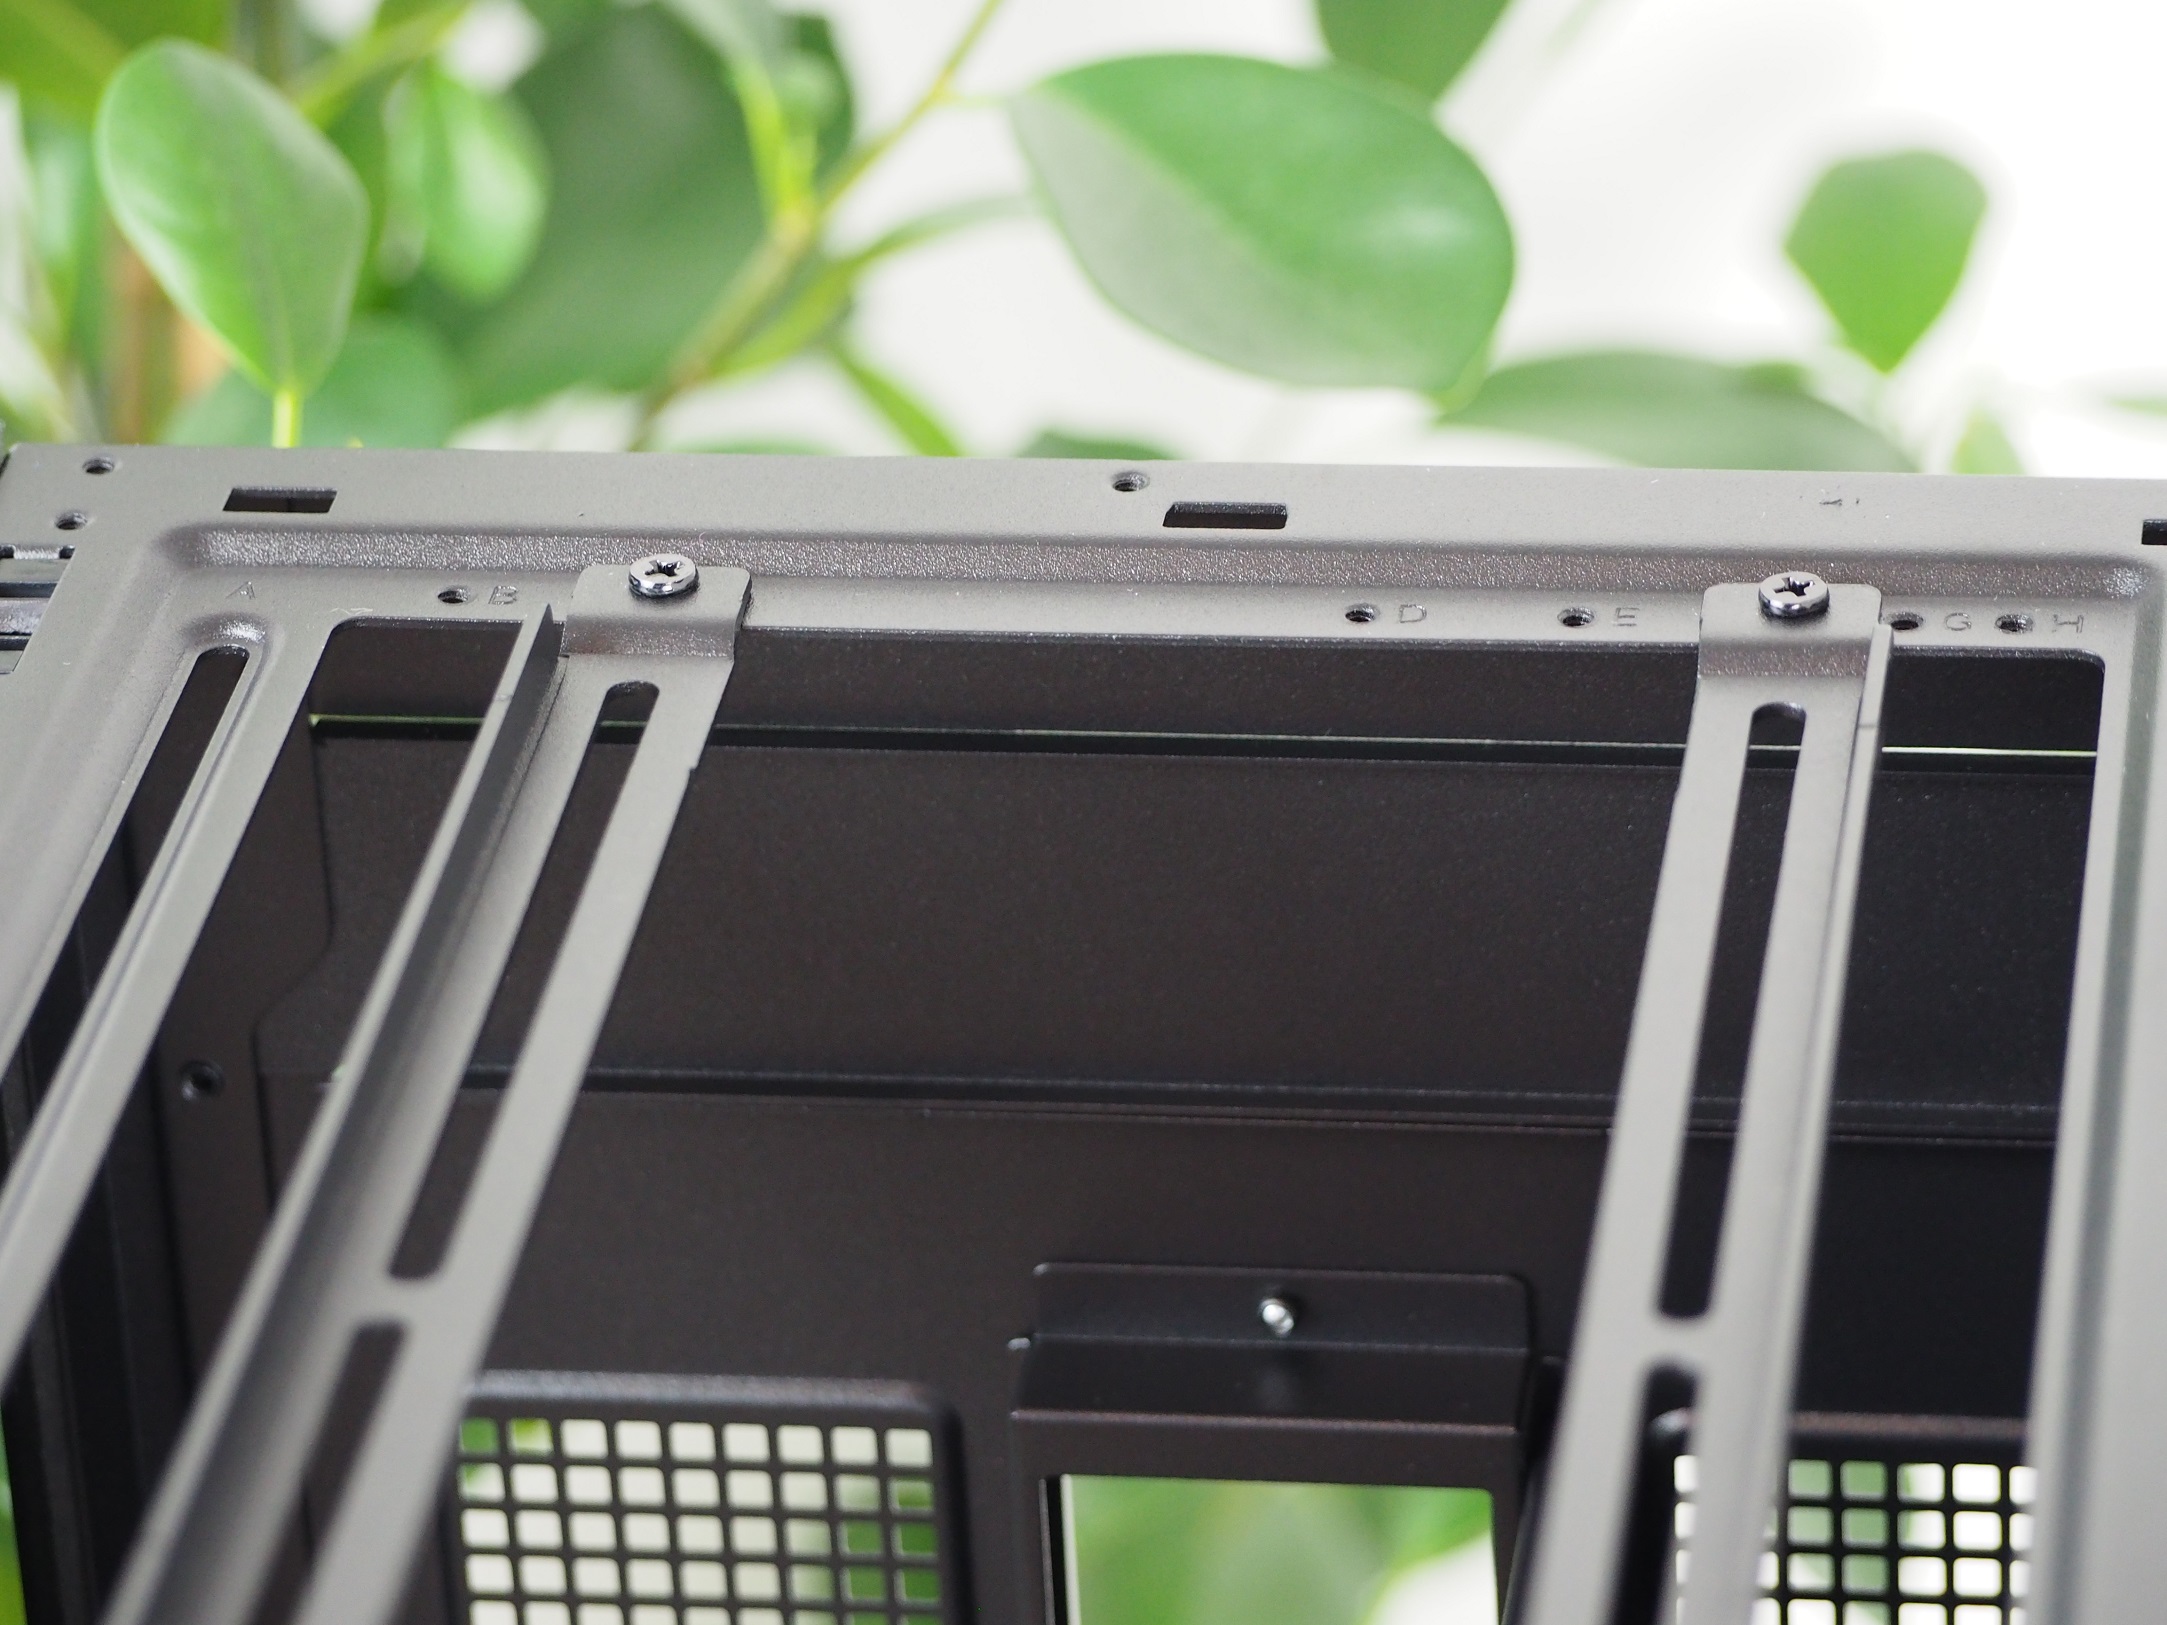
Under the top panel, there is a space for mounting fans or a liquid cooler radiator. Using two rails, the width for mounting fans can be adjusted ranging from 120 through 140, 180 and up to 200 mm format. There is space for three fans of the smaller formats (120 and 140 mm), and “only” two larger ones (180 and 200 mm). You won’t be limited with a liquid cooler radiator either, as there’s room for one up to 360/420 mm format.
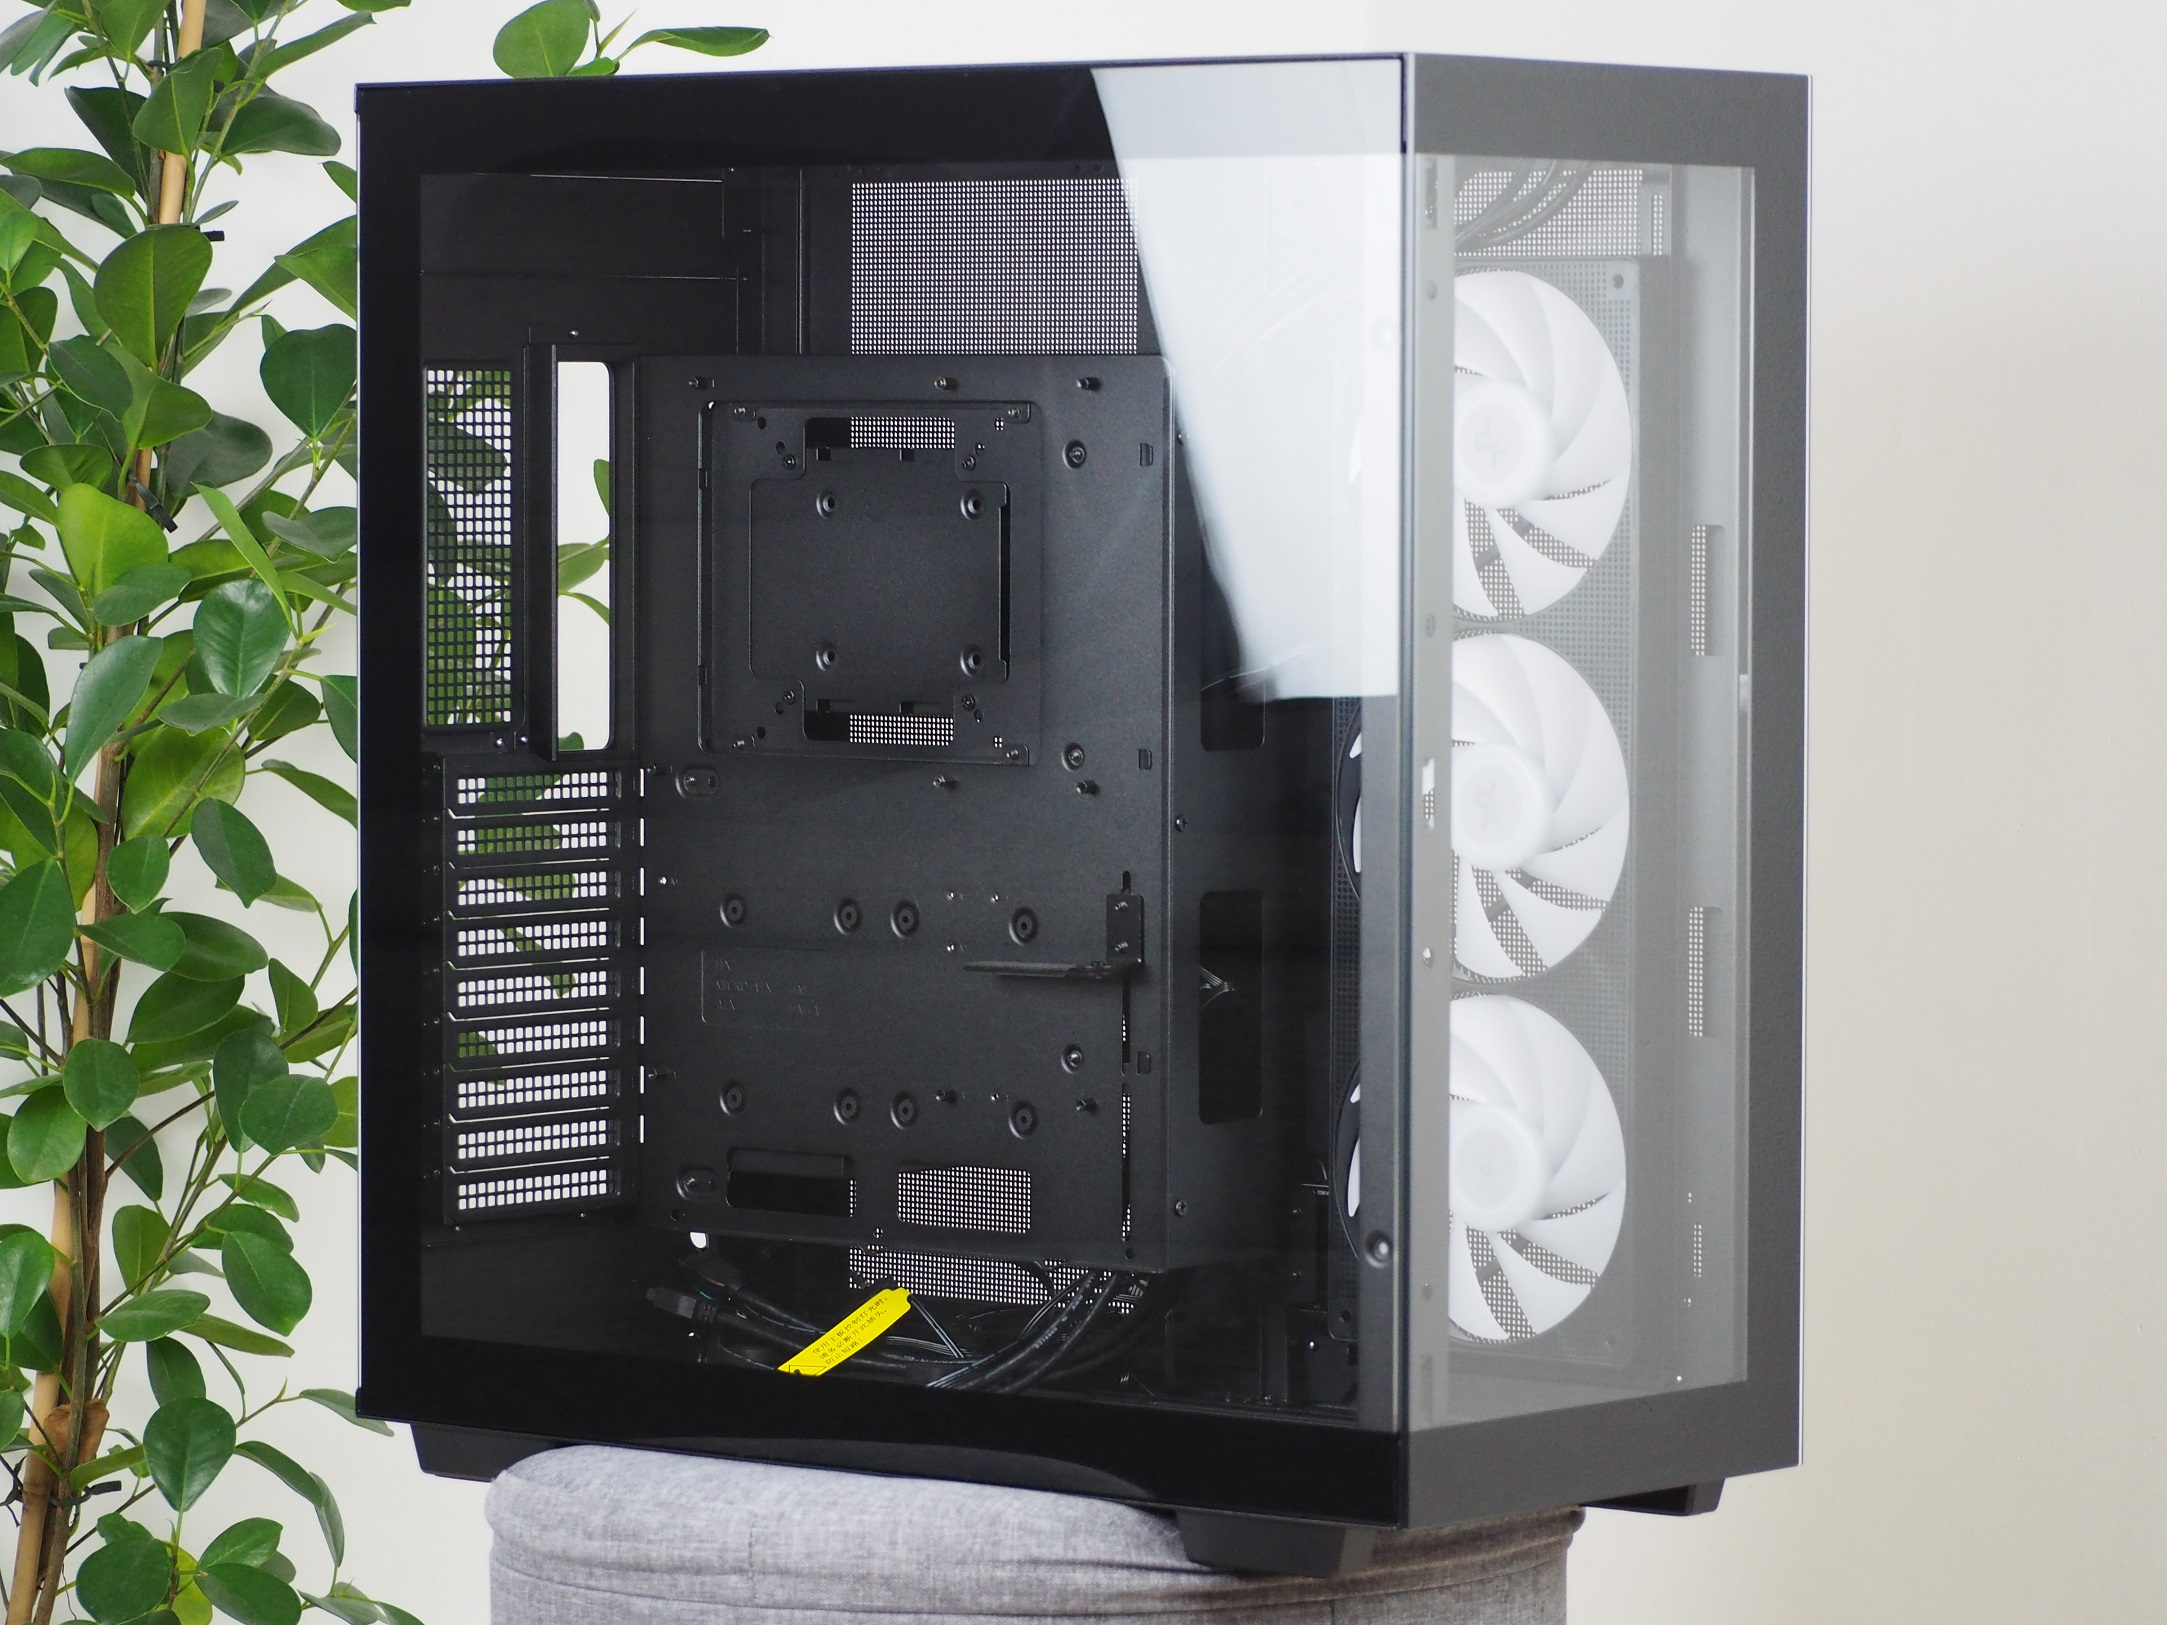
As you can notice, the back is arranged differently than most of today’s cases. There is a lot of free space under the ceiling, with the motherboard I/O panel opening starting in the second fifth of the case. Even its placement is not traditional – in the middle, between two perforations. Underneath, there are up to nine caps for PCI Express expansion card slots. Aligned with the caps is a hole for a PSU. The orientation of the hole indicates that the mounting of the PSU will be vertical.
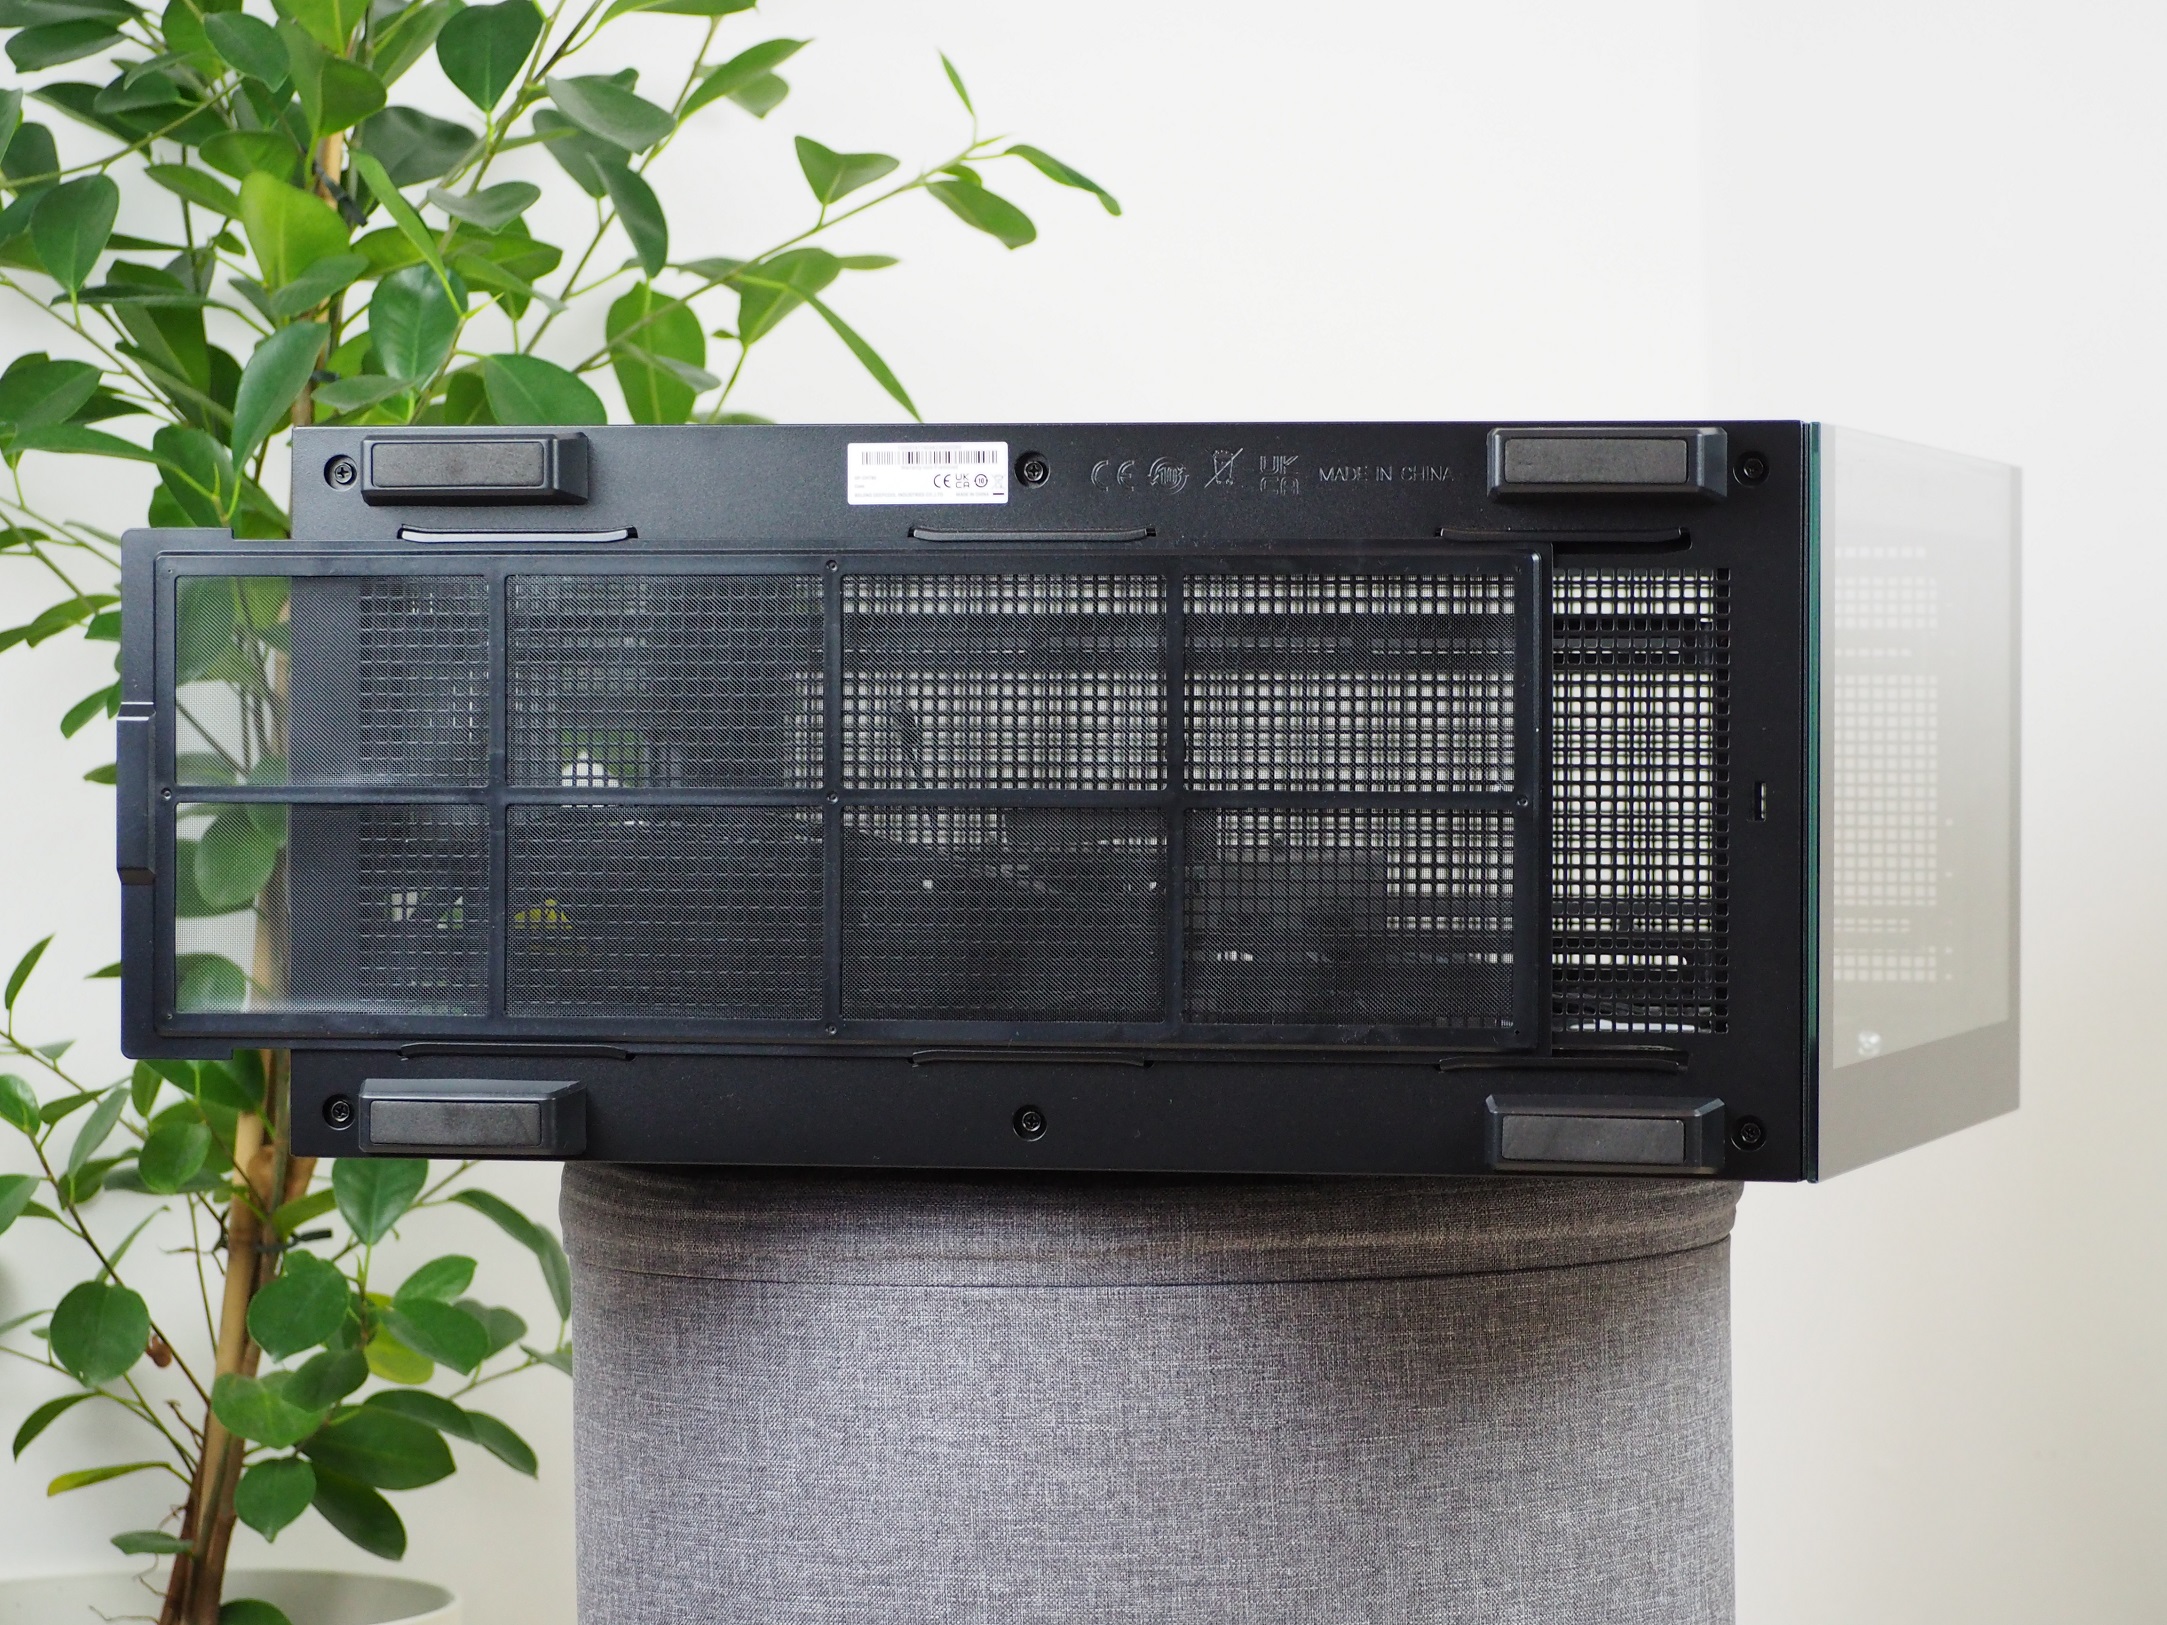
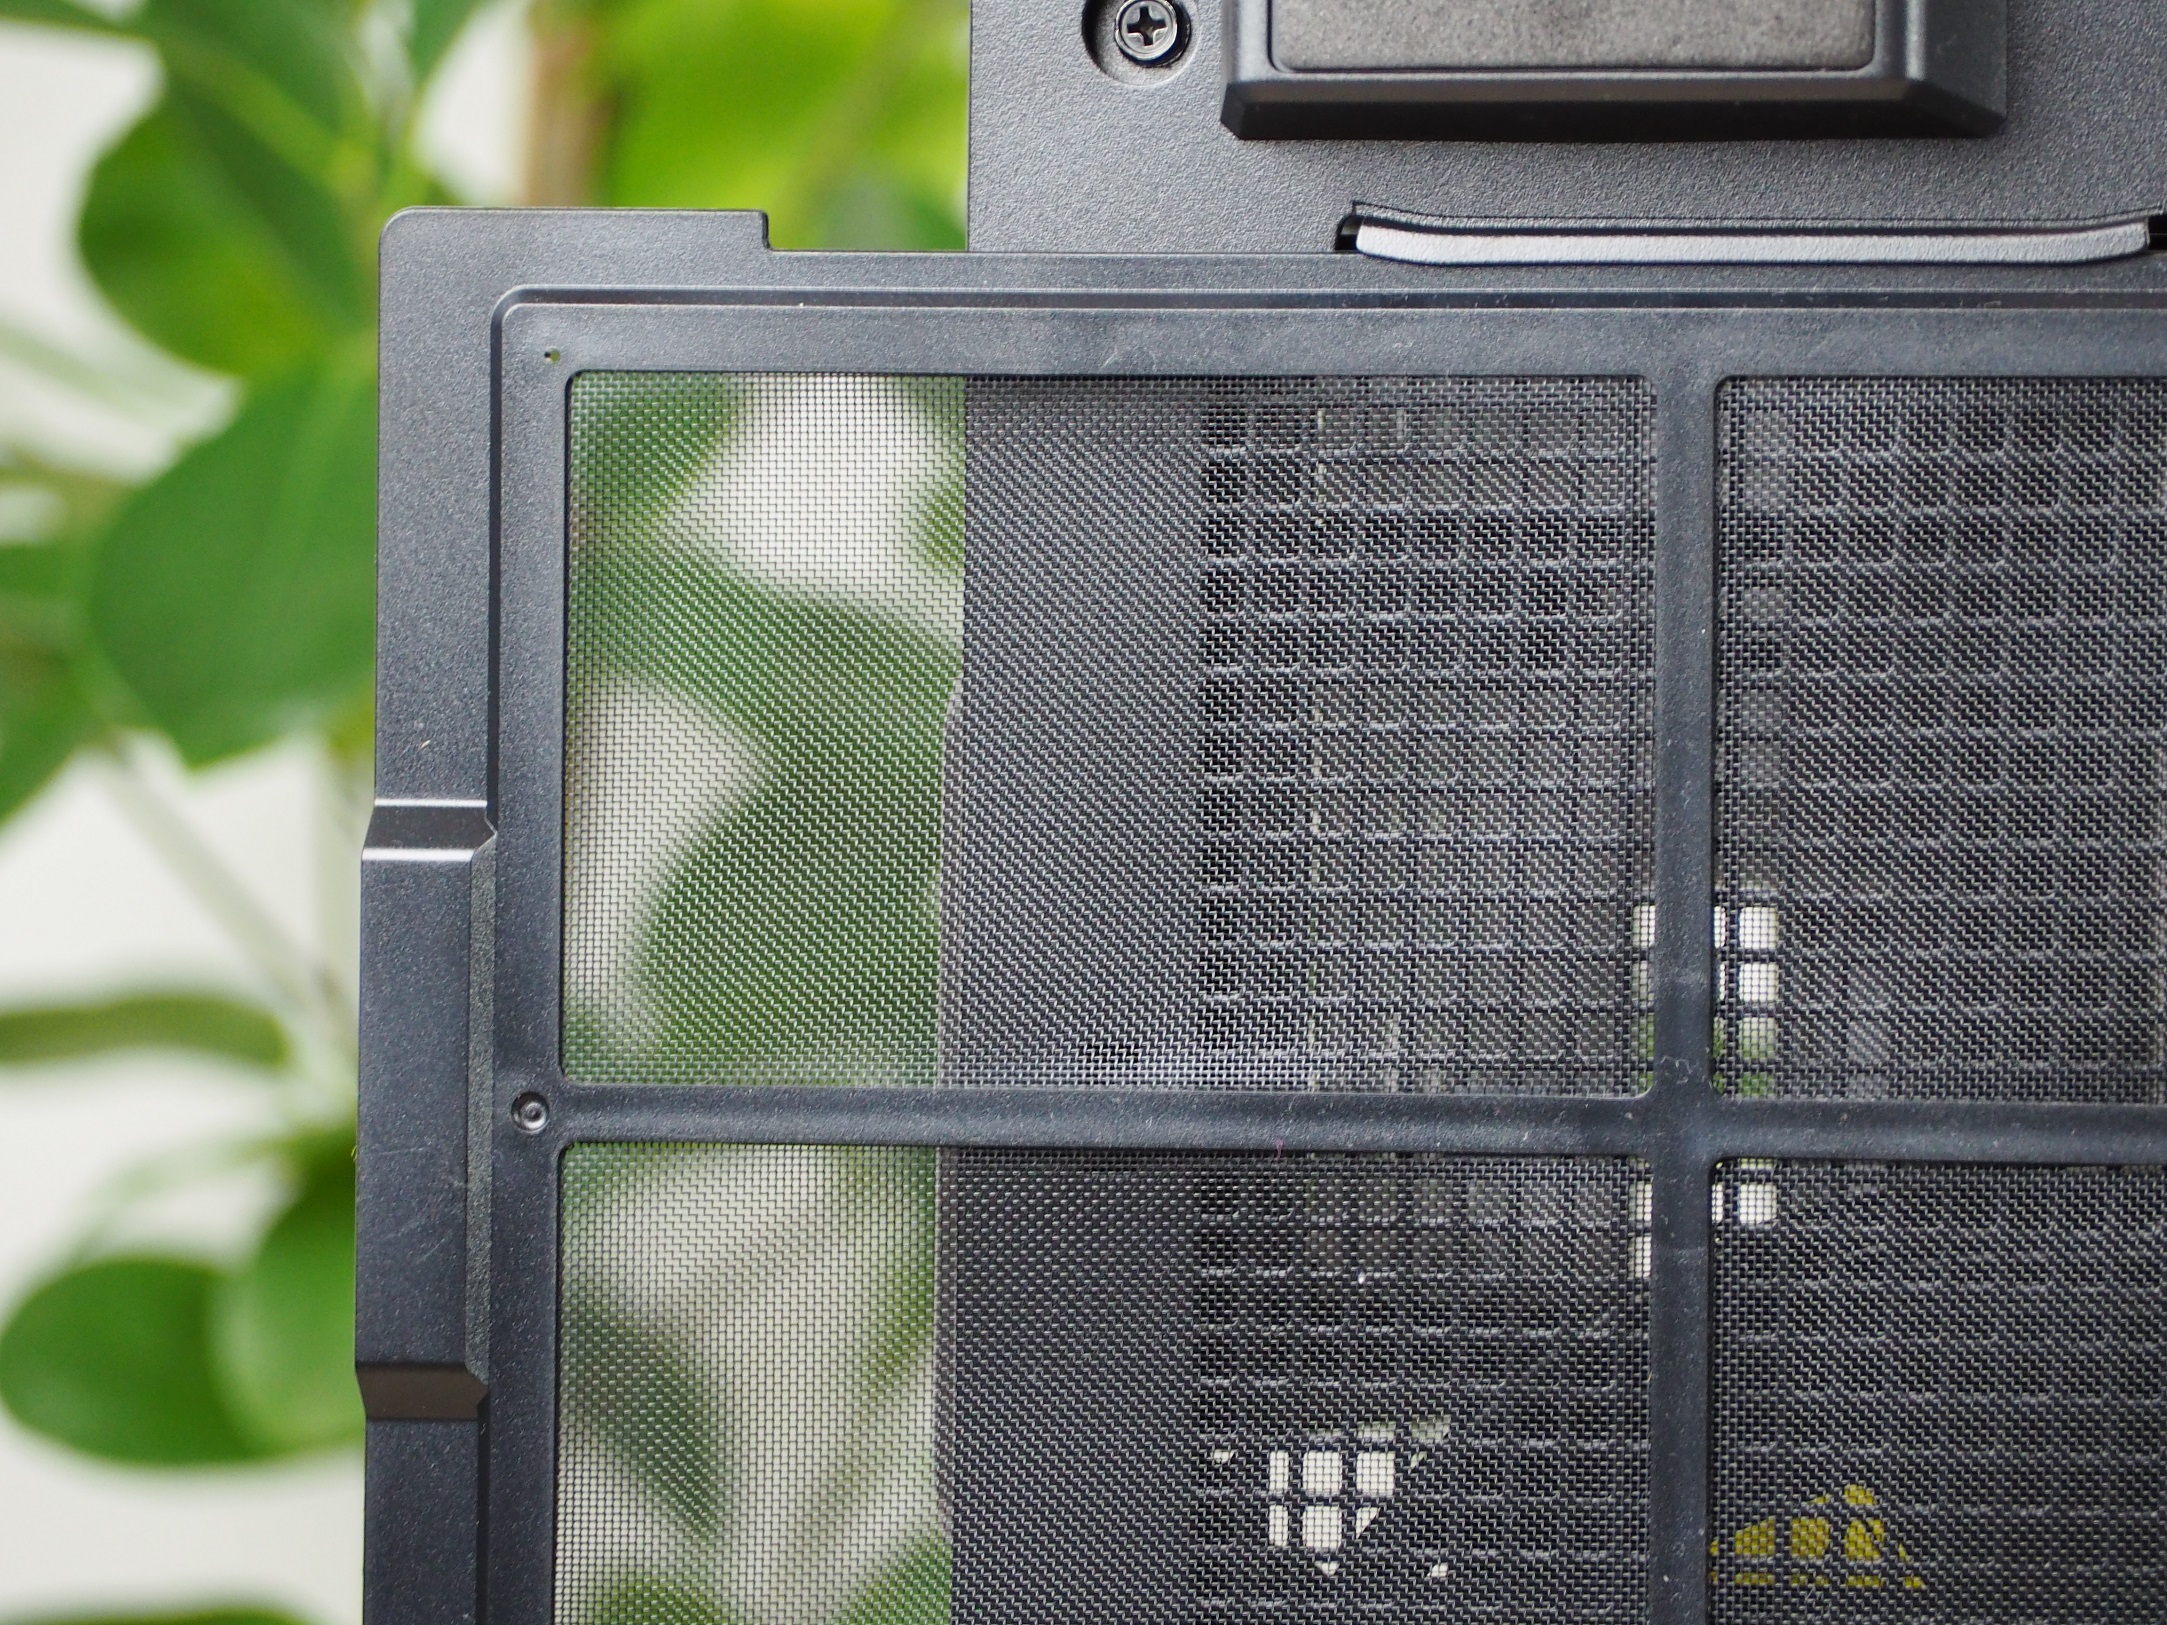
The case is 23 mm off the ground thanks to four elongated feet. These have a soft sole on them so as not to damage the surface on which the case is standing. The rest of the base is perforated with the same square holes as the top of the case. Dust control has also been thought of here, so there is a large dust filter with a fine nylon mesh. The latter can be removed and cleaned. Unfortunately, the filter is removed by pulling it out from the back, which can be hindered by the location of the case – if there is a wall behind it.
The bottom part is secured to the case frame by six screws, through which it can be loosened and removed. This gives you access to the same two rails as under the case ceiling. These can be configured exactly as required for fans or a liquid cooler radiator. You can also accommodate less standard formats such as 180 or 200 mm, of which two will fit here. Smaller 120 and 140 mm fans are not forgotten either. You can put up to three of these here. For the liquid cooler radiator, you have the choice of up to 360/420 mm format.
The secondary function of removing the entire bottom section is to access the screws that secure the front glass.
That’s a much better fan rail design than most cases. Further improvement would require a design that only covers the corners of the fans.
For intake vs. exhaust, I’d imagine the reason why exhaust is worse is partly due to the open top. Without a radiator and with only the stock case fans in exhaust orientation, covering the top vents should result in more airflow over the motherboard area. This applies to the intake orientation too, but to a lesser extent since air is thrown towards the general direction of the components.
Thanks for the great review. This is a very nice case and I am excited to build in it.
My current plan is: AIO top exhaust, side block in take, bottom 3 fans intake.
This config provides too little exhaust vs intake. Because of this, I am considering alternatives described in configs 1 and 2.
“The Deepcool CH780 impresses with its wide viewing angles and solid performance at the core, offering great value for users seeking quality sound and comfort. An excellent choice for those who prioritize both style and functionality in their gaming or multimedia setup.”
To provide the best experiences, we and our partners use technologies like cookies to store and/or access device information. Consenting to these technologies will allow us and our partners to process personal data such as browsing behavior or unique IDs on this site and show (non-) personalized ads. Not consenting or withdrawing consent, may adversely affect certain features and functions.
Click below to consent to the above or make granular choices. Your choices will be applied to this site only. You can change your settings at any time, including withdrawing your consent, by using the toggles on the Cookie Policy, or by clicking on the manage consent button at the bottom of the screen.
Funkčné
Always active
Technické uloženie alebo prístup sú nevyhnutne potrebné na legitímny účel umožnenia použitia konkrétnej služby, ktorú si účastník alebo používateľ výslovne vyžiadal, alebo na jediný účel vykonania prenosu komunikácie cez elektronickú komunikačnú sieť.
Predvoľby
Technické uloženie alebo prístup je potrebný na legitímny účel ukladania preferencií, ktoré si účastník alebo používateľ nepožaduje.
Štatistiky
Technické úložisko alebo prístup, ktorý sa používa výlučne na štatistické účely.Technické úložisko alebo prístup, ktorý sa používa výlučne na anonymné štatistické účely. Bez predvolania, dobrovoľného plnenia zo strany vášho poskytovateľa internetových služieb alebo dodatočných záznamov od tretej strany, informácie uložené alebo získané len na tento účel sa zvyčajne nedajú použiť na vašu identifikáciu.
Marketing
Technické úložisko alebo prístup sú potrebné na vytvorenie používateľských profilov na odosielanie reklamy alebo sledovanie používateľa na webovej stránke alebo na viacerých webových stránkach na podobné marketingové účely.


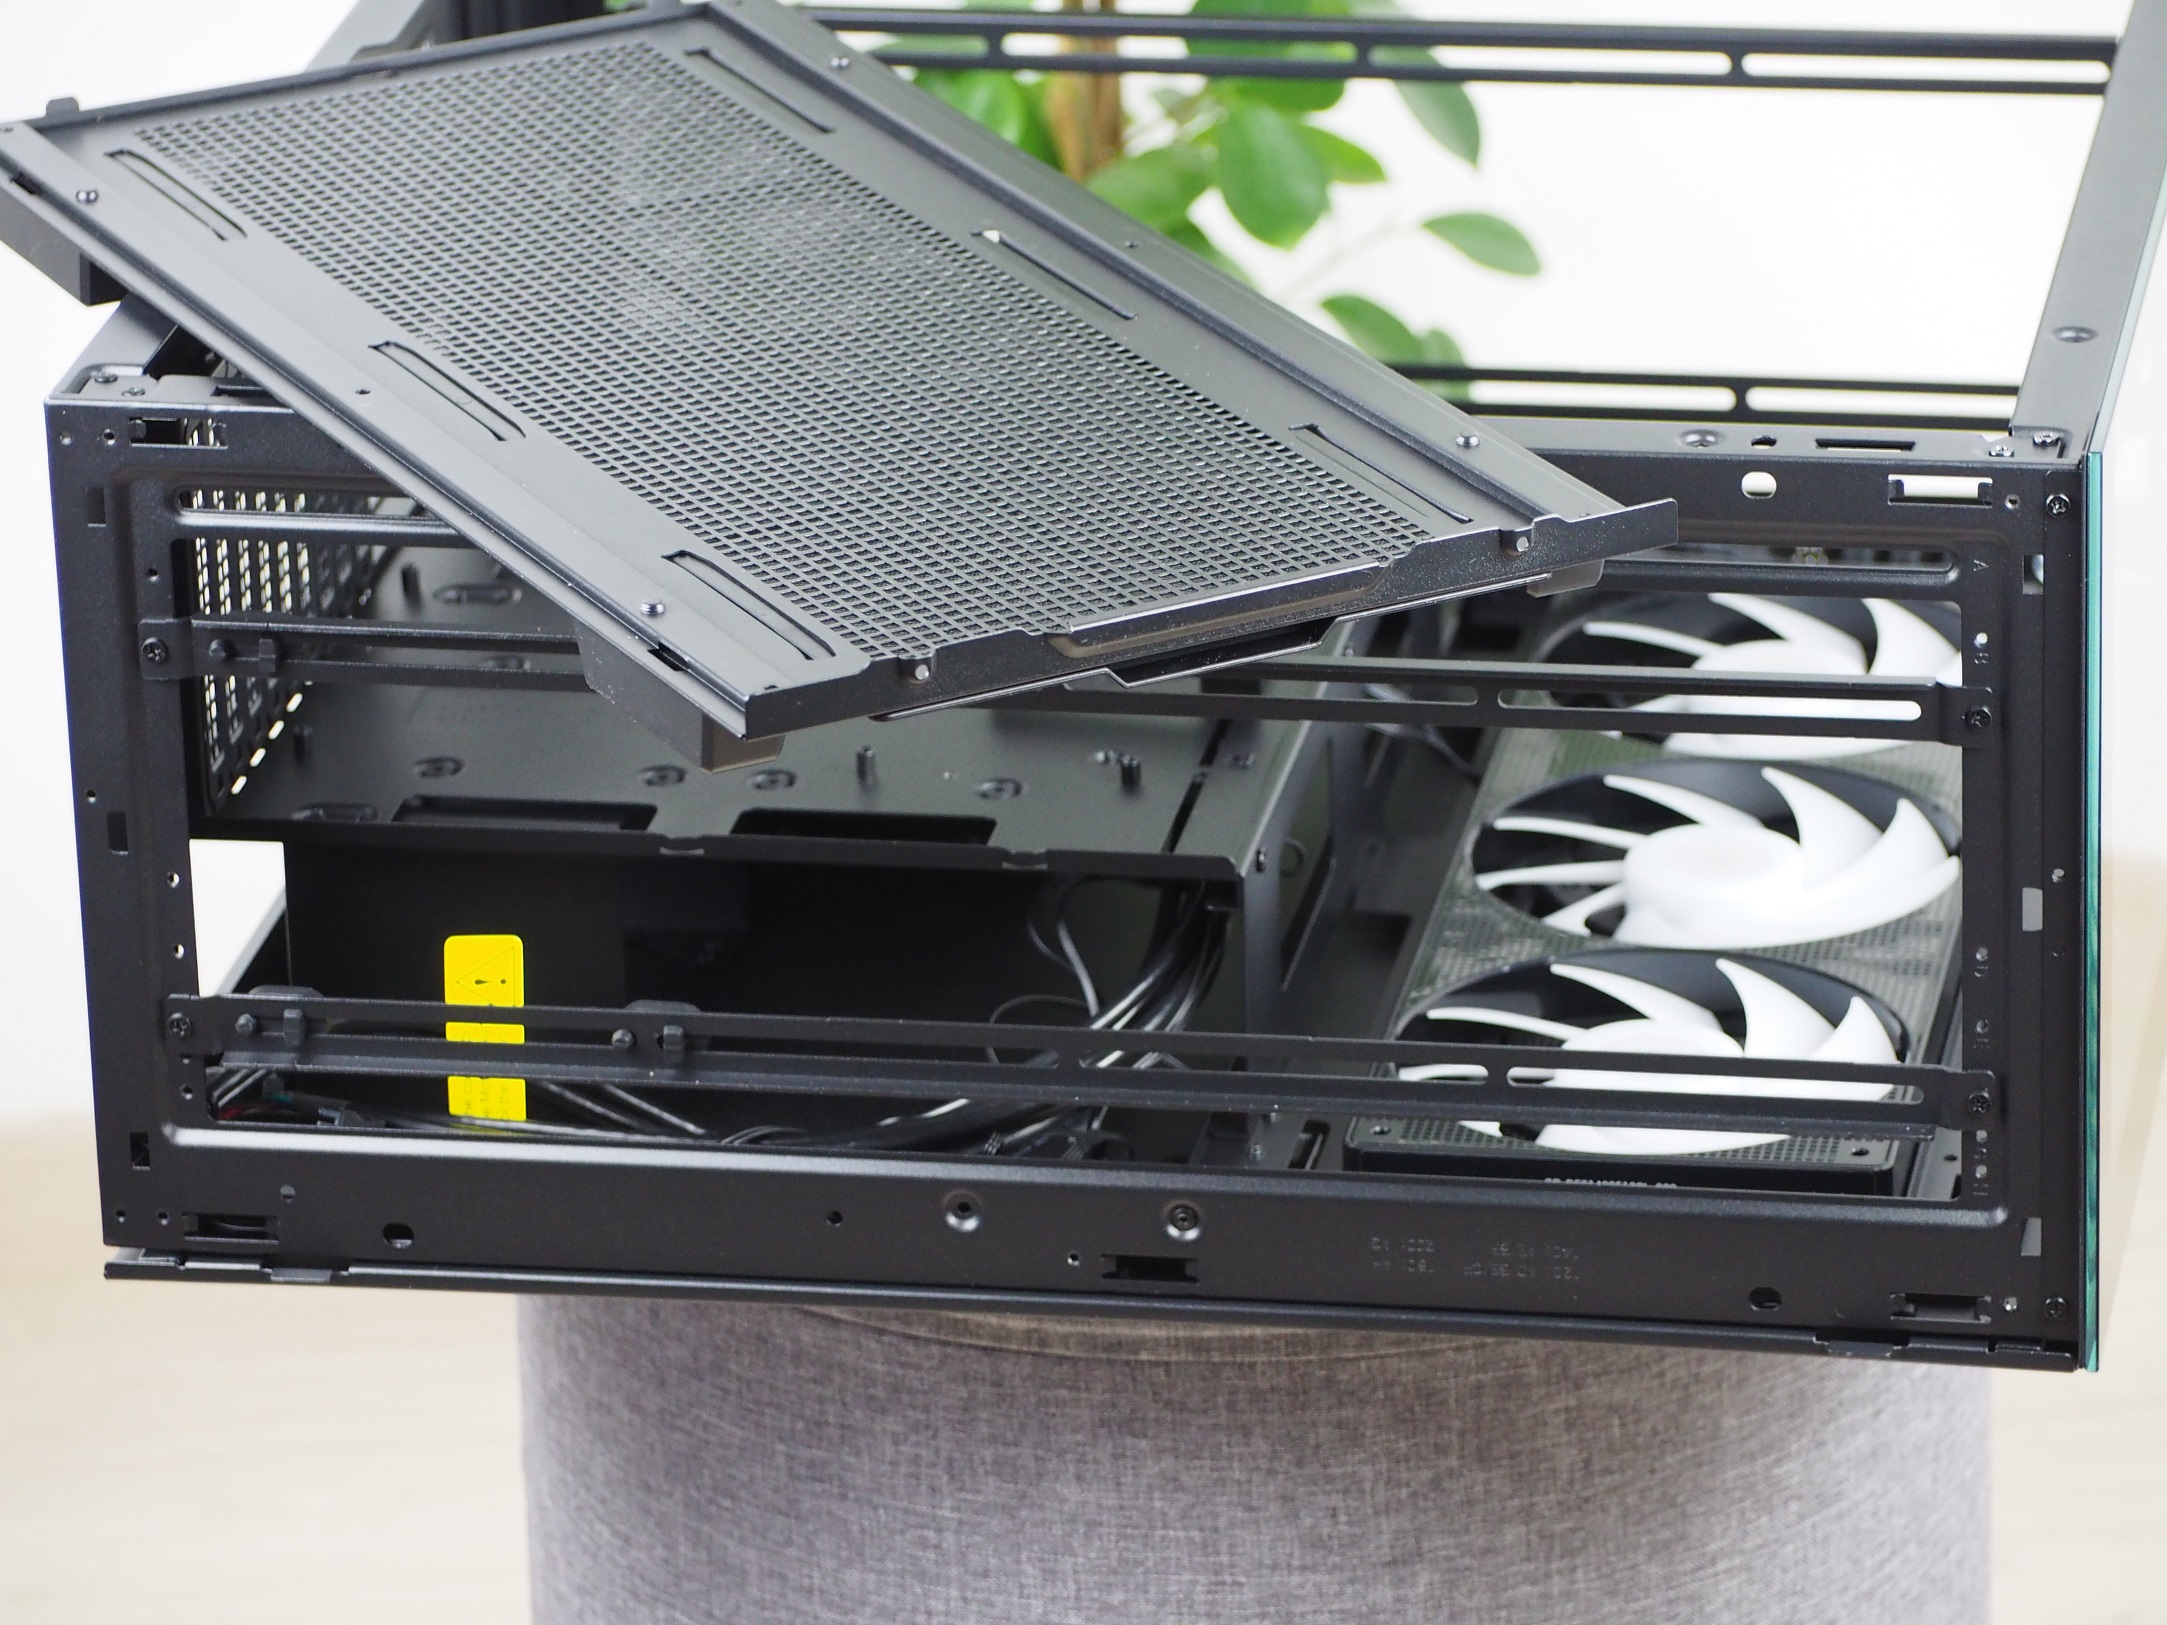
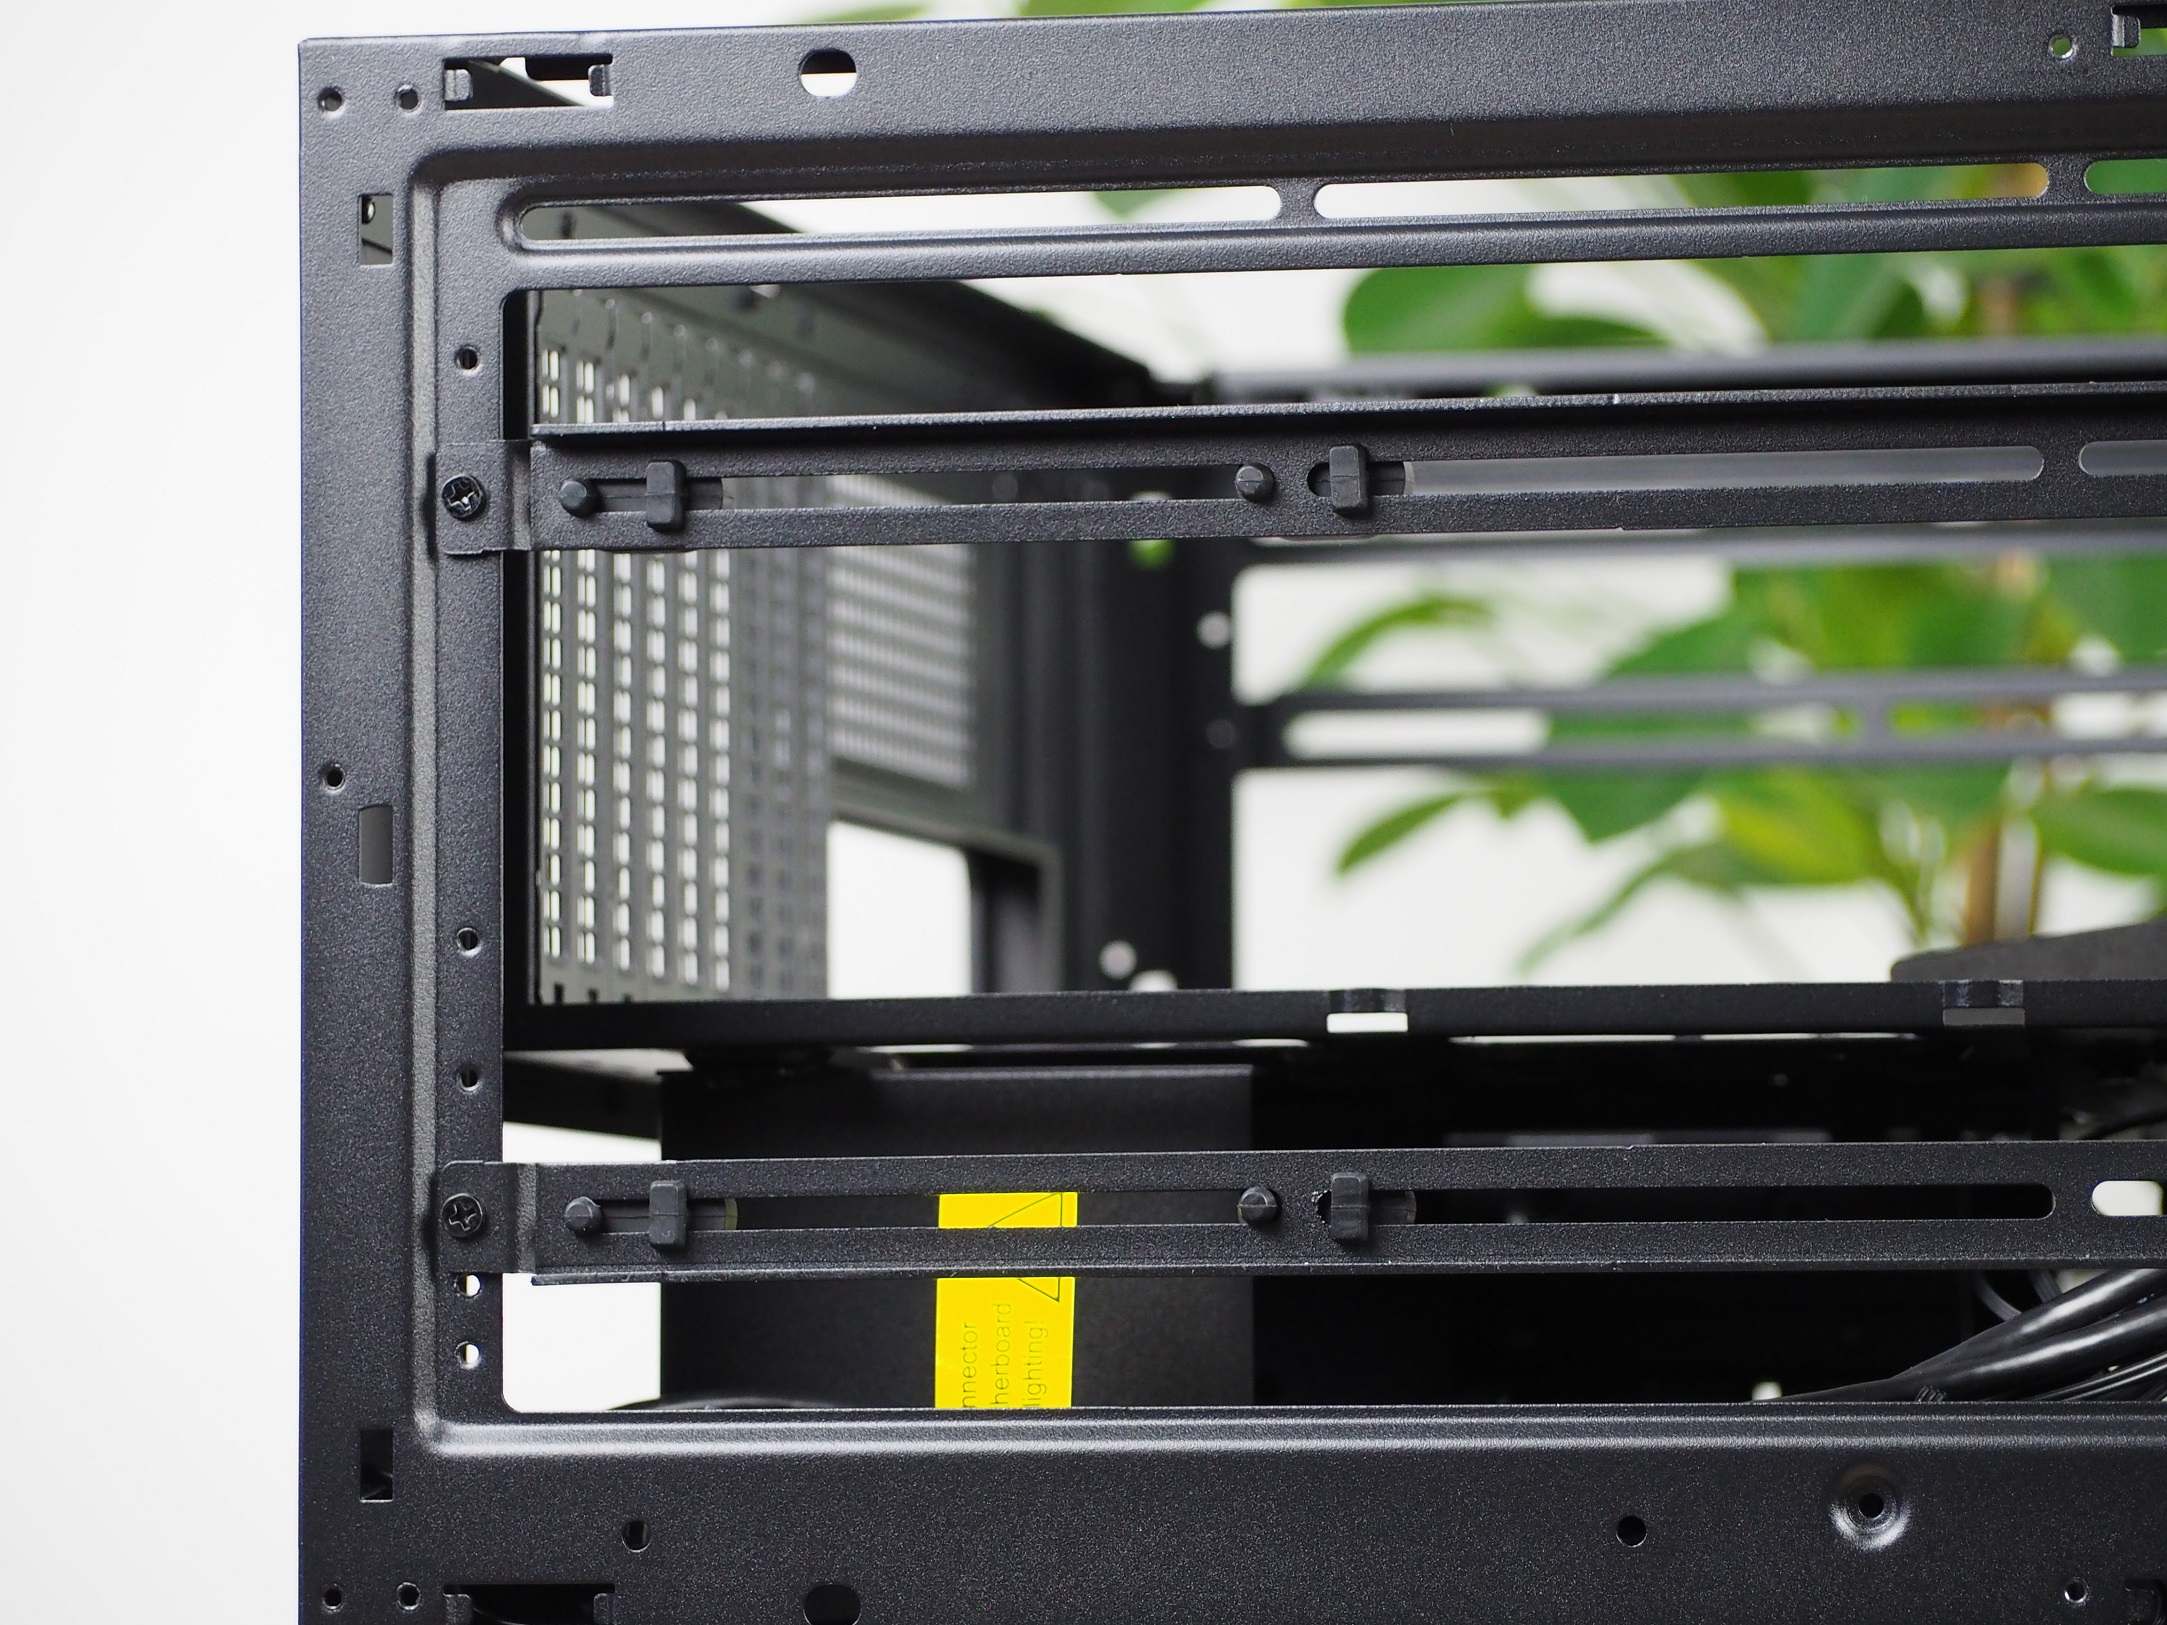

That’s a much better fan rail design than most cases. Further improvement would require a design that only covers the corners of the fans.
For intake vs. exhaust, I’d imagine the reason why exhaust is worse is partly due to the open top. Without a radiator and with only the stock case fans in exhaust orientation, covering the top vents should result in more airflow over the motherboard area. This applies to the intake orientation too, but to a lesser extent since air is thrown towards the general direction of the components.
Thanks for the great review. This is a very nice case and I am excited to build in it.
My current plan is: AIO top exhaust, side block in take, bottom 3 fans intake.
This config provides too little exhaust vs intake. Because of this, I am considering alternatives described in configs 1 and 2.
https://ibb.co/RNtqzFx – config 3
https://ibb.co/xJRsJ3J – config 1
https://ibb.co/CQJrB0v – config 2
I’m leaning towards config 1 bc there’s actually slightly more intake as there’s 3x140mm + 1×120 vs 5x 120mm with aio interfering with 3.
Config 2 would be too close to negative air pressure, leading to dust build up inside case.
“The Deepcool CH780 impresses with its wide viewing angles and solid performance at the core, offering great value for users seeking quality sound and comfort. An excellent choice for those who prioritize both style and functionality in their gaming or multimedia setup.”