


What it looks like in the BIOS
The higher price of motherboards is one of the main topics around desktop PCs. Especially in the context of the AMD platform. However, if you decide to build your rig on DDR5 memory with the vision of a longer life expectancy, the B650 Tomahawk WiFi, in comparison to similarly equipped motherboards with Intel chipsets, is rather higher on the “price” scales and with a more attractive price/value ratio.
What it looks like in the BIOS
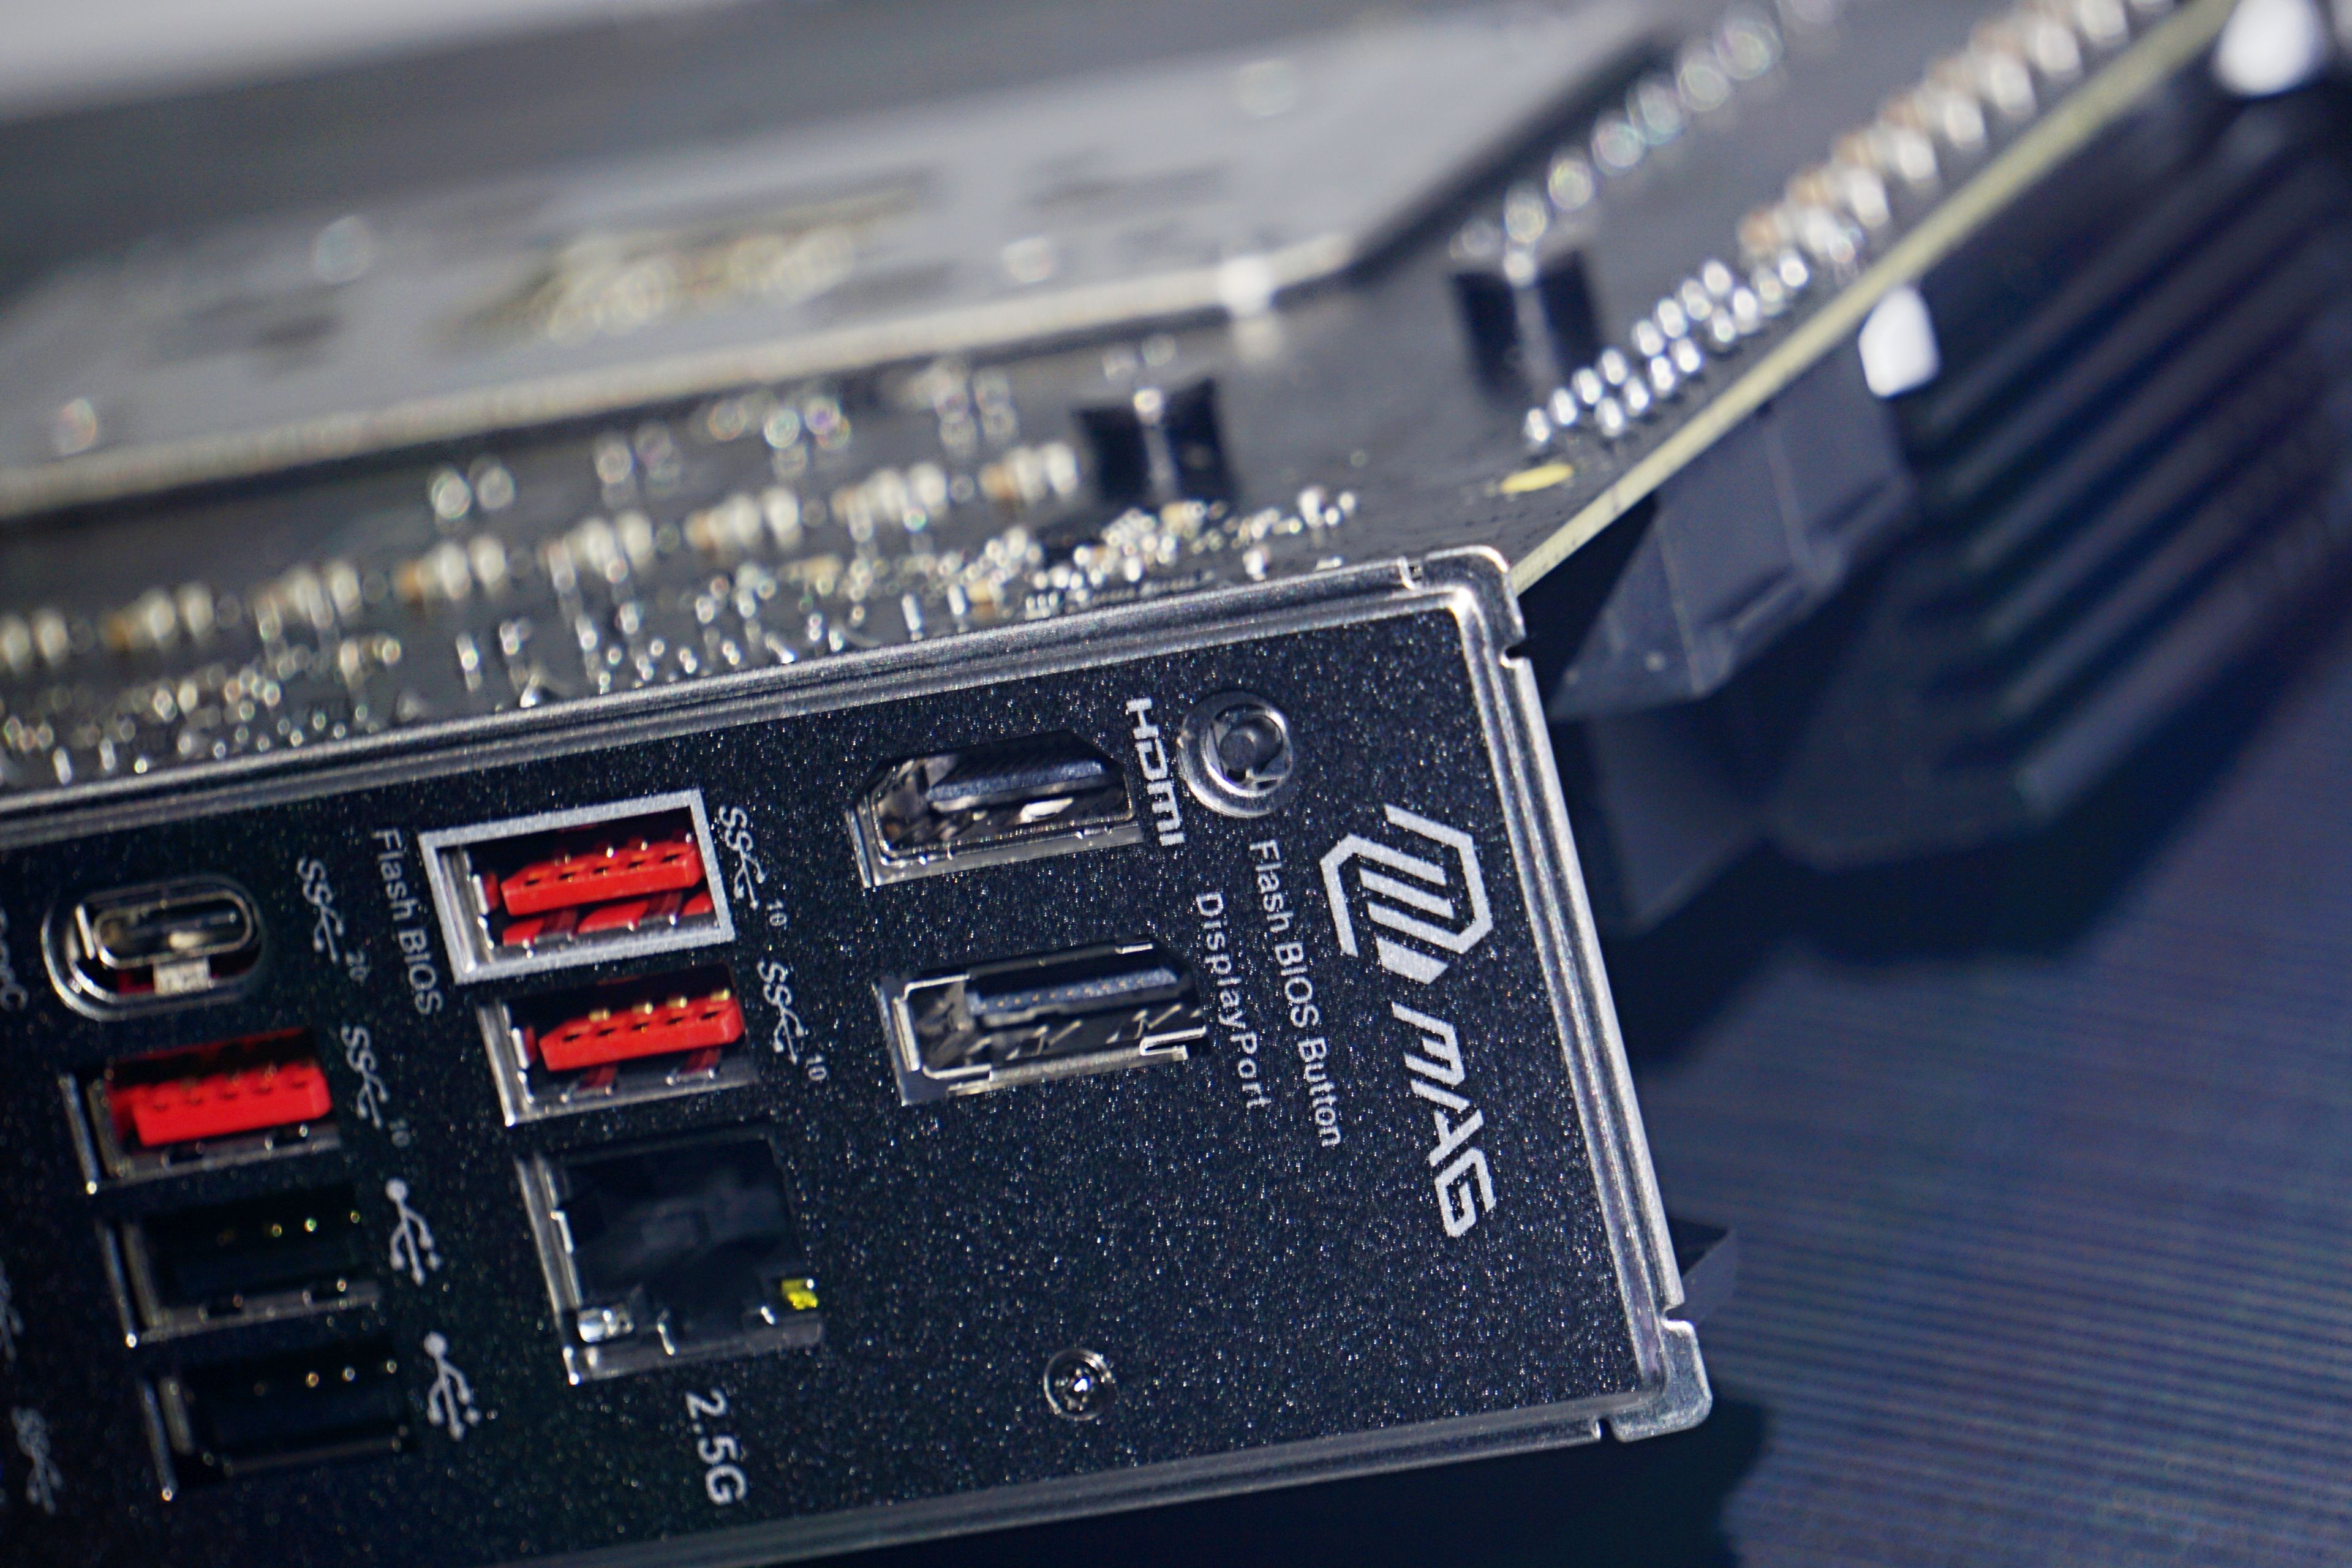
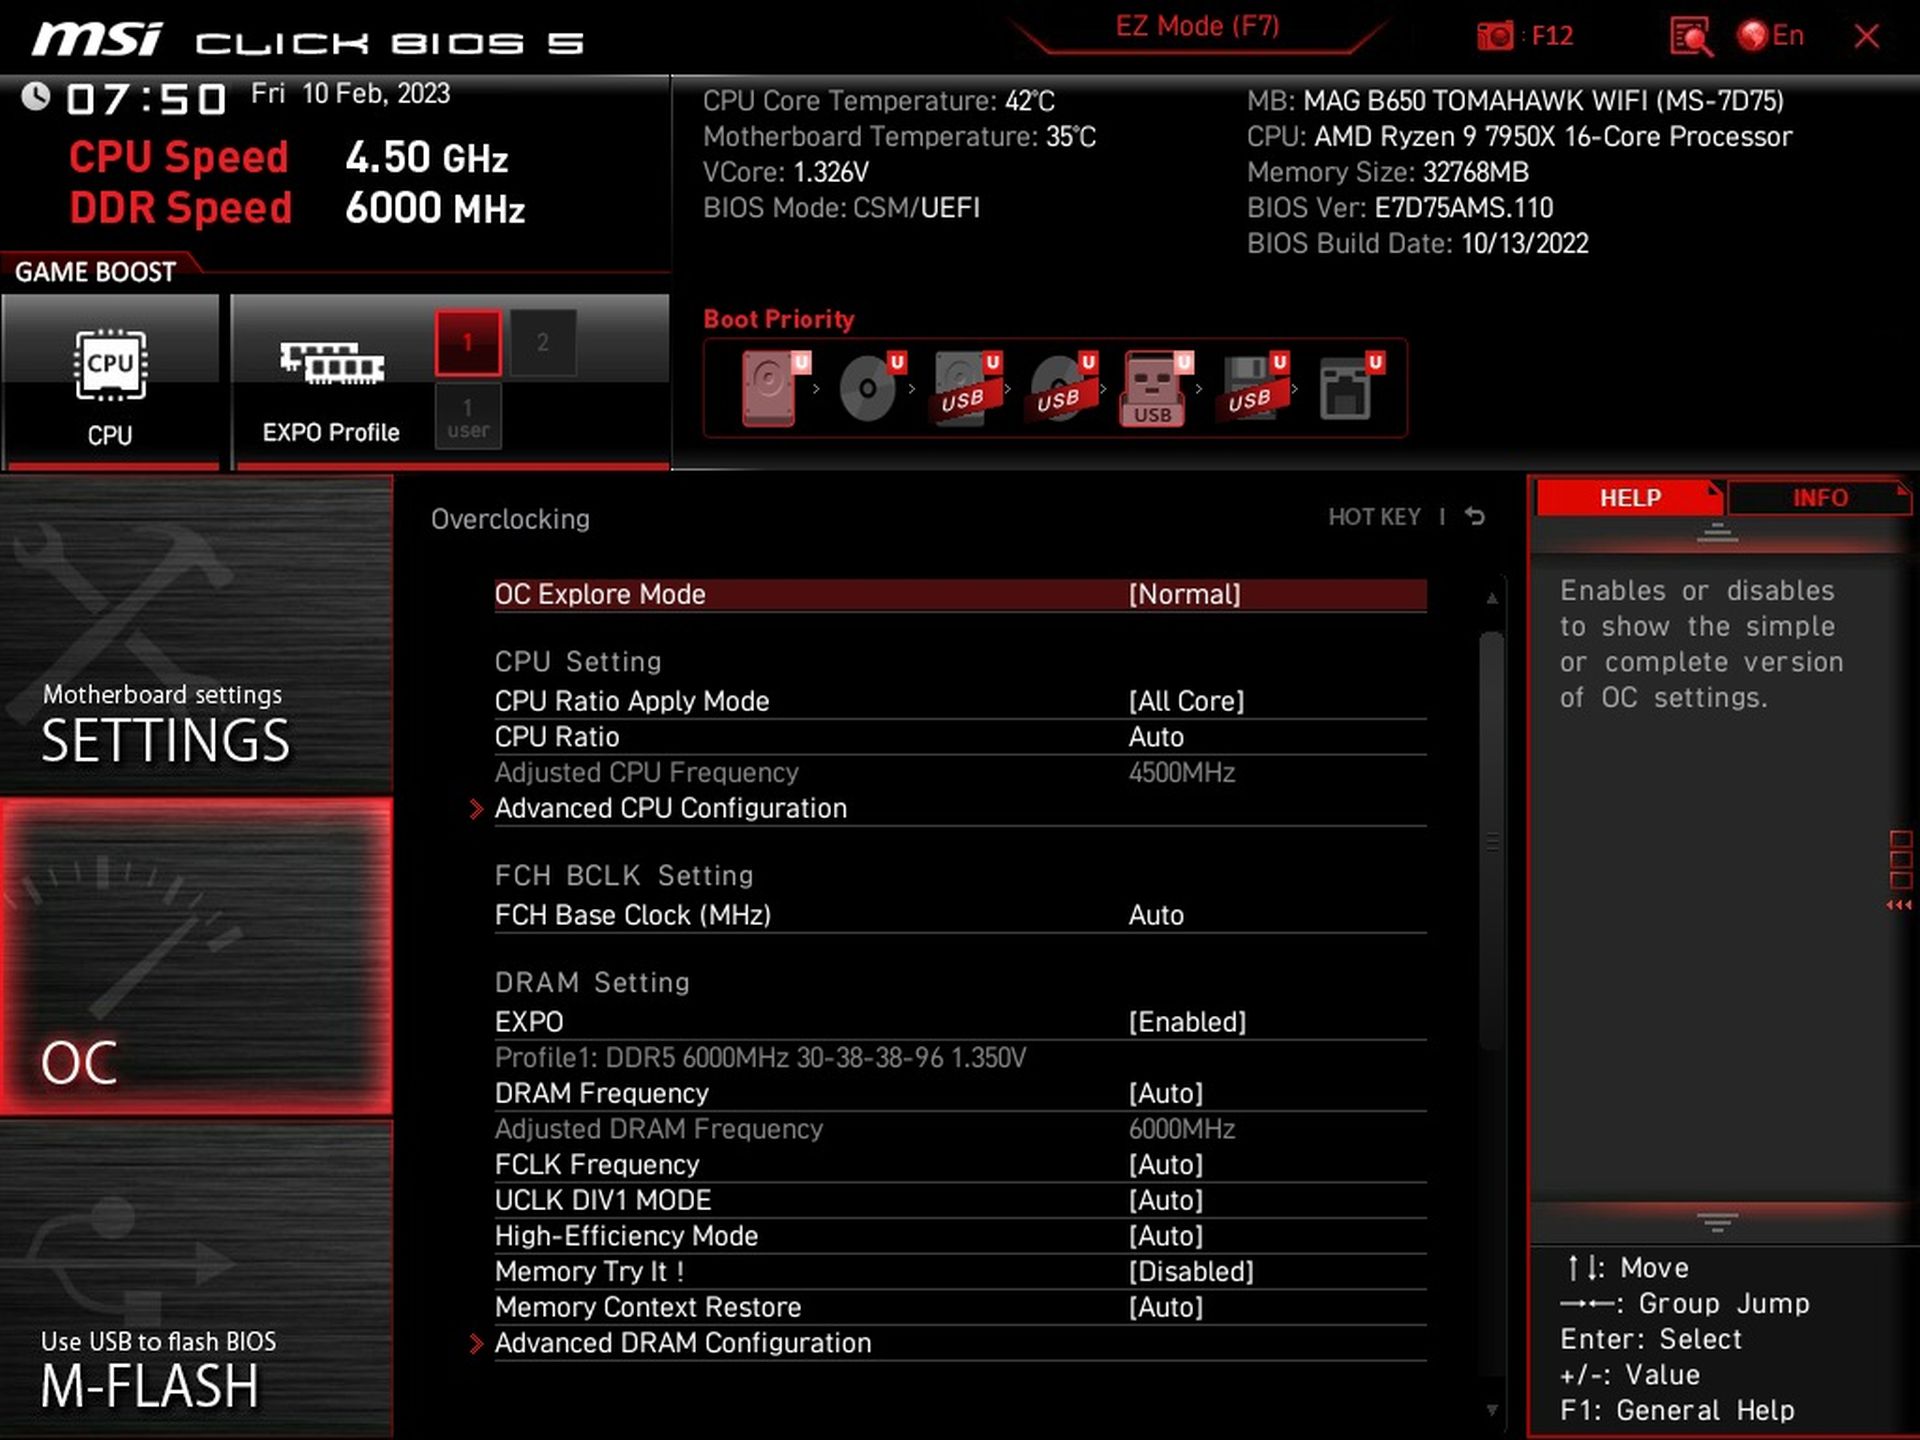
The UEFI user interface copies older boards and practically nothing has changed between generations in terms of the start screen and the layout of its elements. It is practical and clear.
In the middle, the information for each tab (CPU, Memory, Storage, Fan Info) is displayed, which you can switch between as needed. This is a basic overview and you have to go to advanced mode to change individual settings. This is not the case, for example, for activating the memory profile (EXPO), which has a button already brought up in “EZ Mode”. From it, you can also force a “Game boost”, which in lower CPU loads (corresponding to games, for example) pushes to more aggressive core clock speeds.

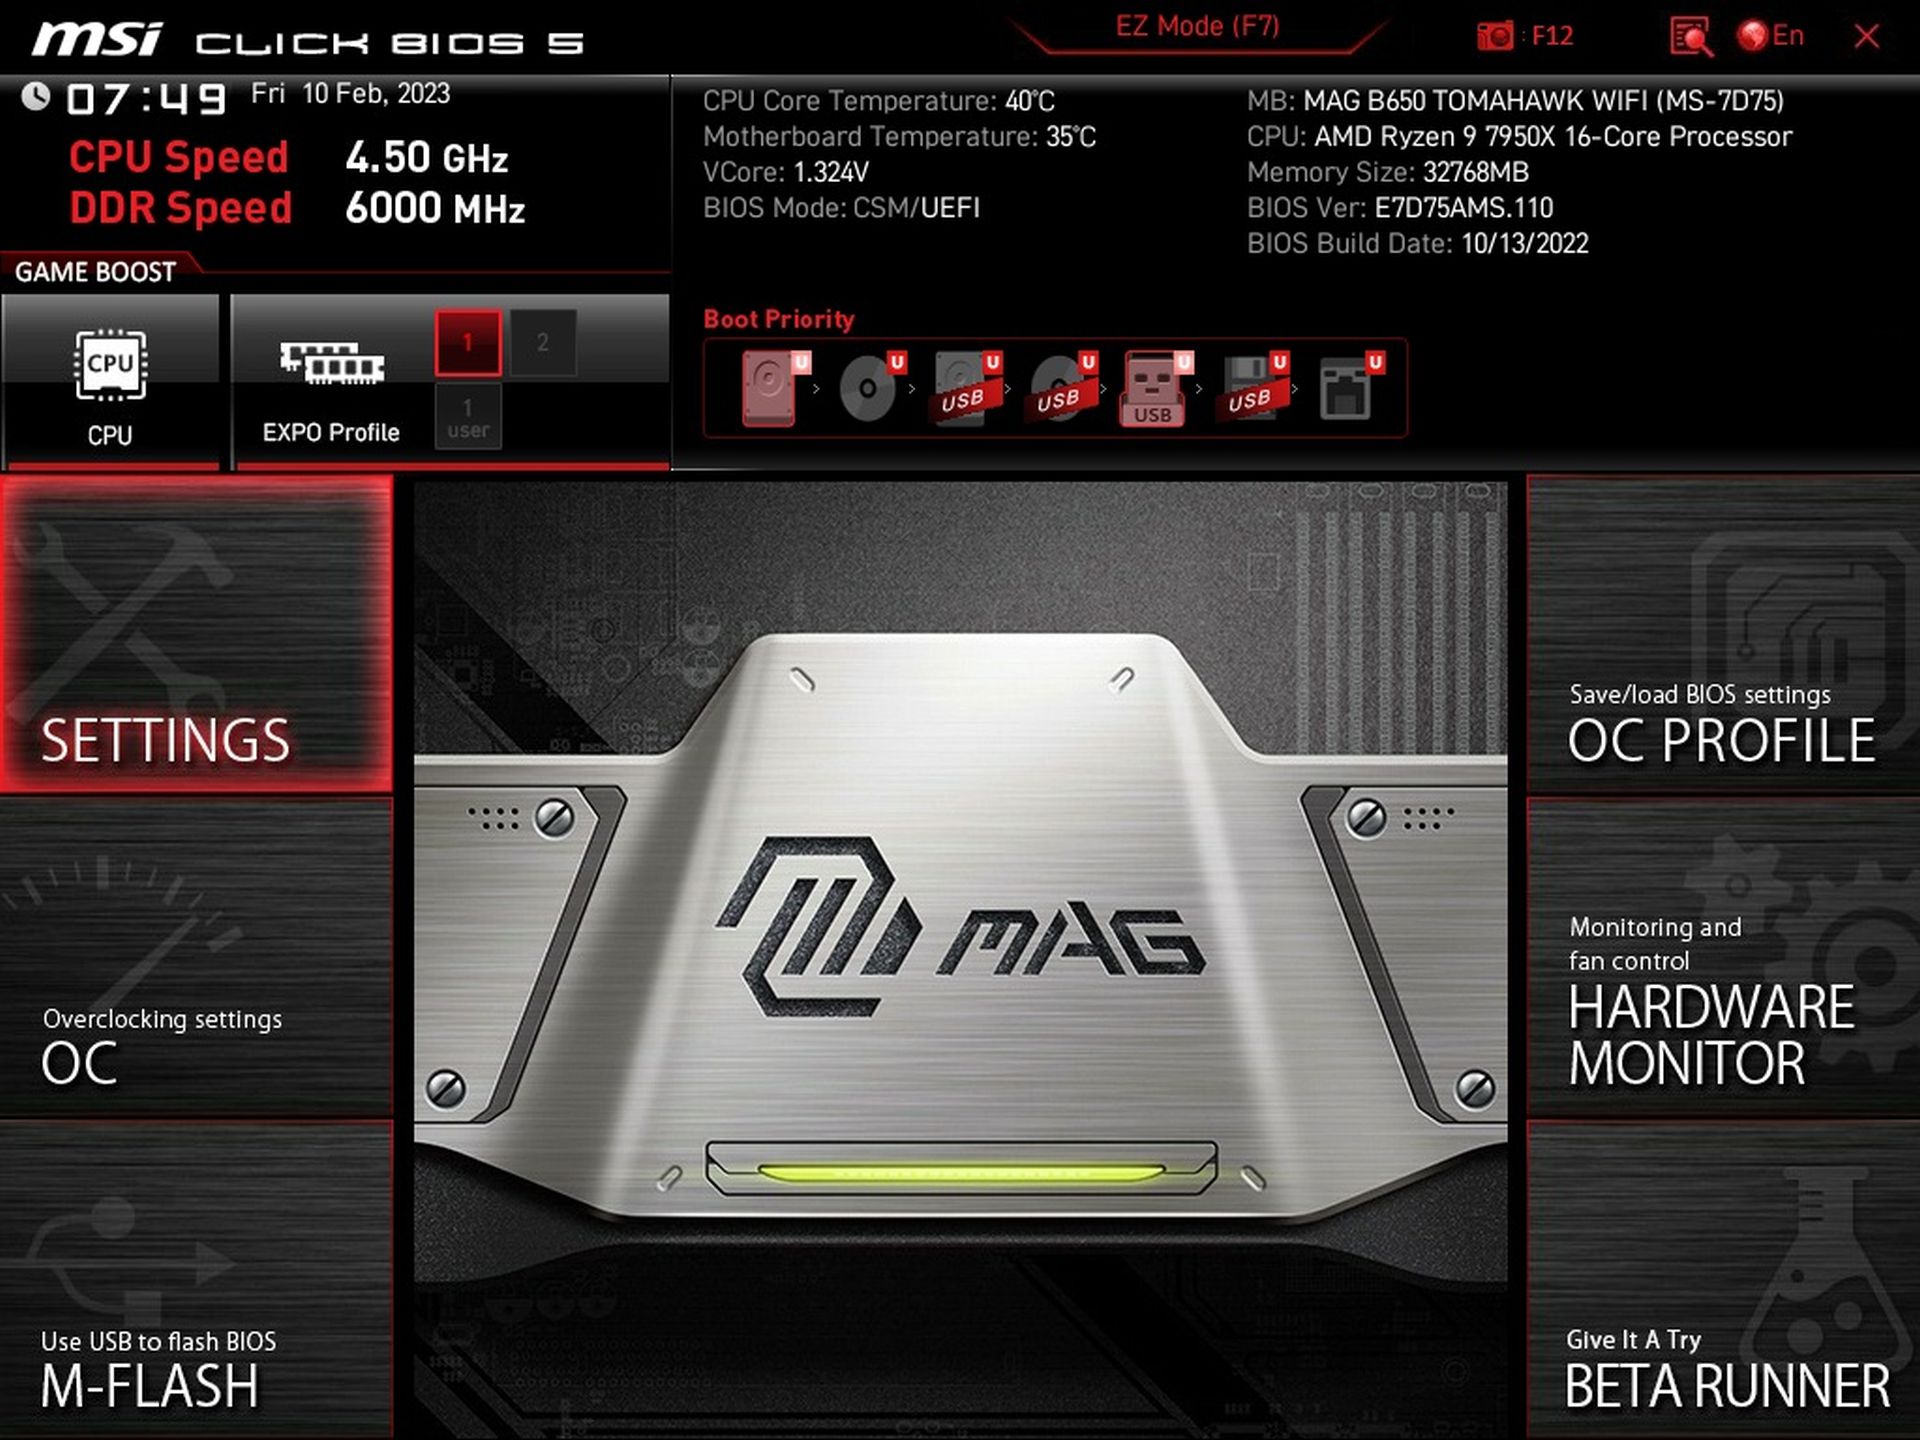
To enter advanced mode, press the F7 key. The reason for this is, for example, to configure ReSize BAR. This technology is enabled by default, but in case you would like to disable it (for example because it reduces performance in your application), you have to access it via the settings tab in the PCIe subsystem section.
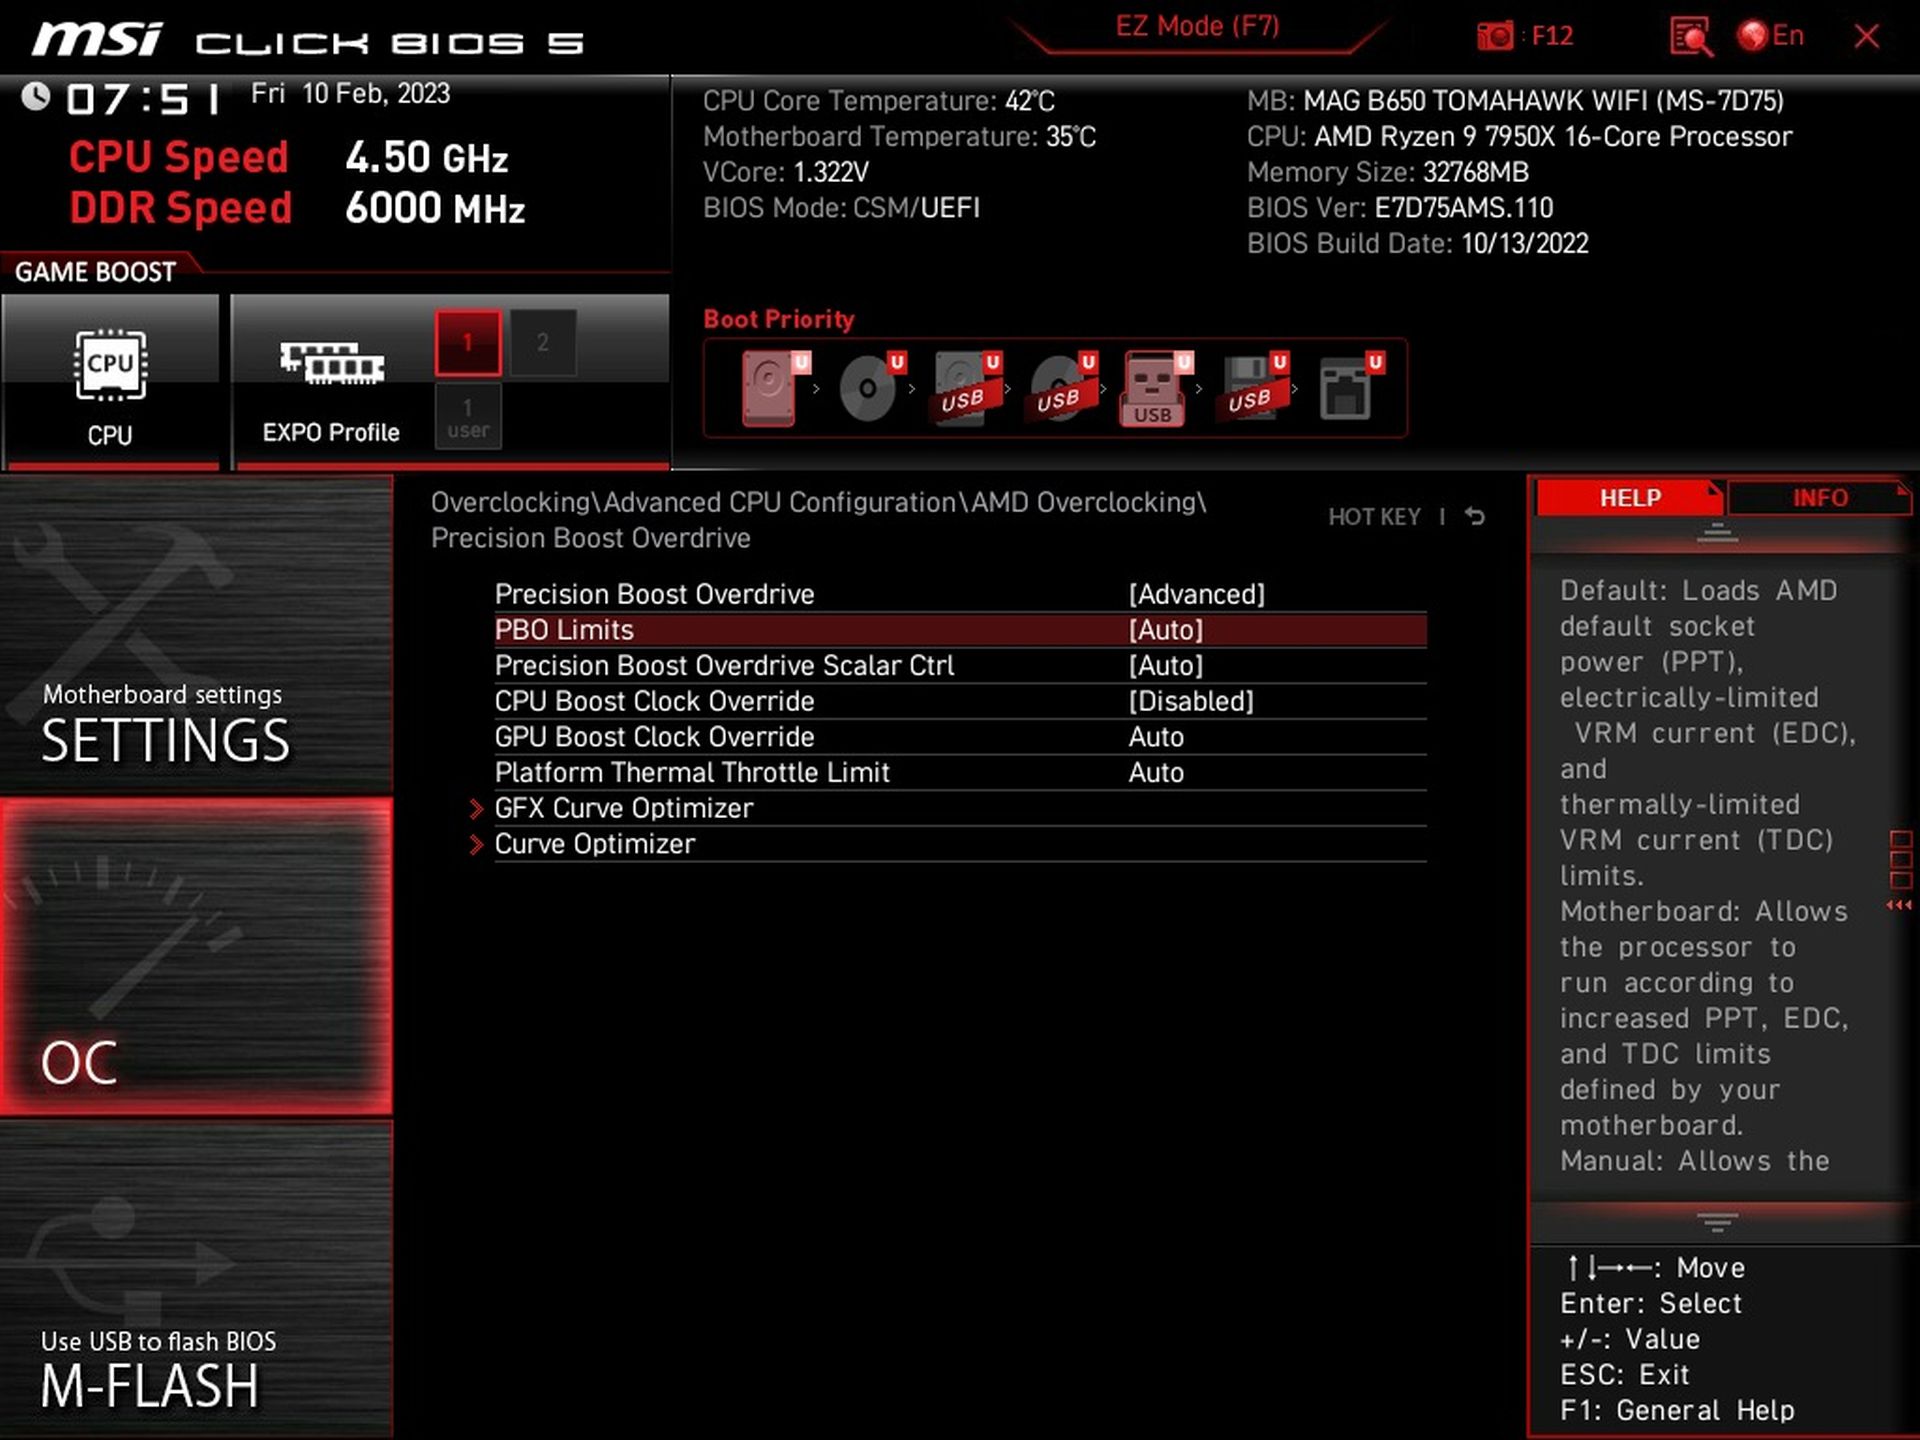
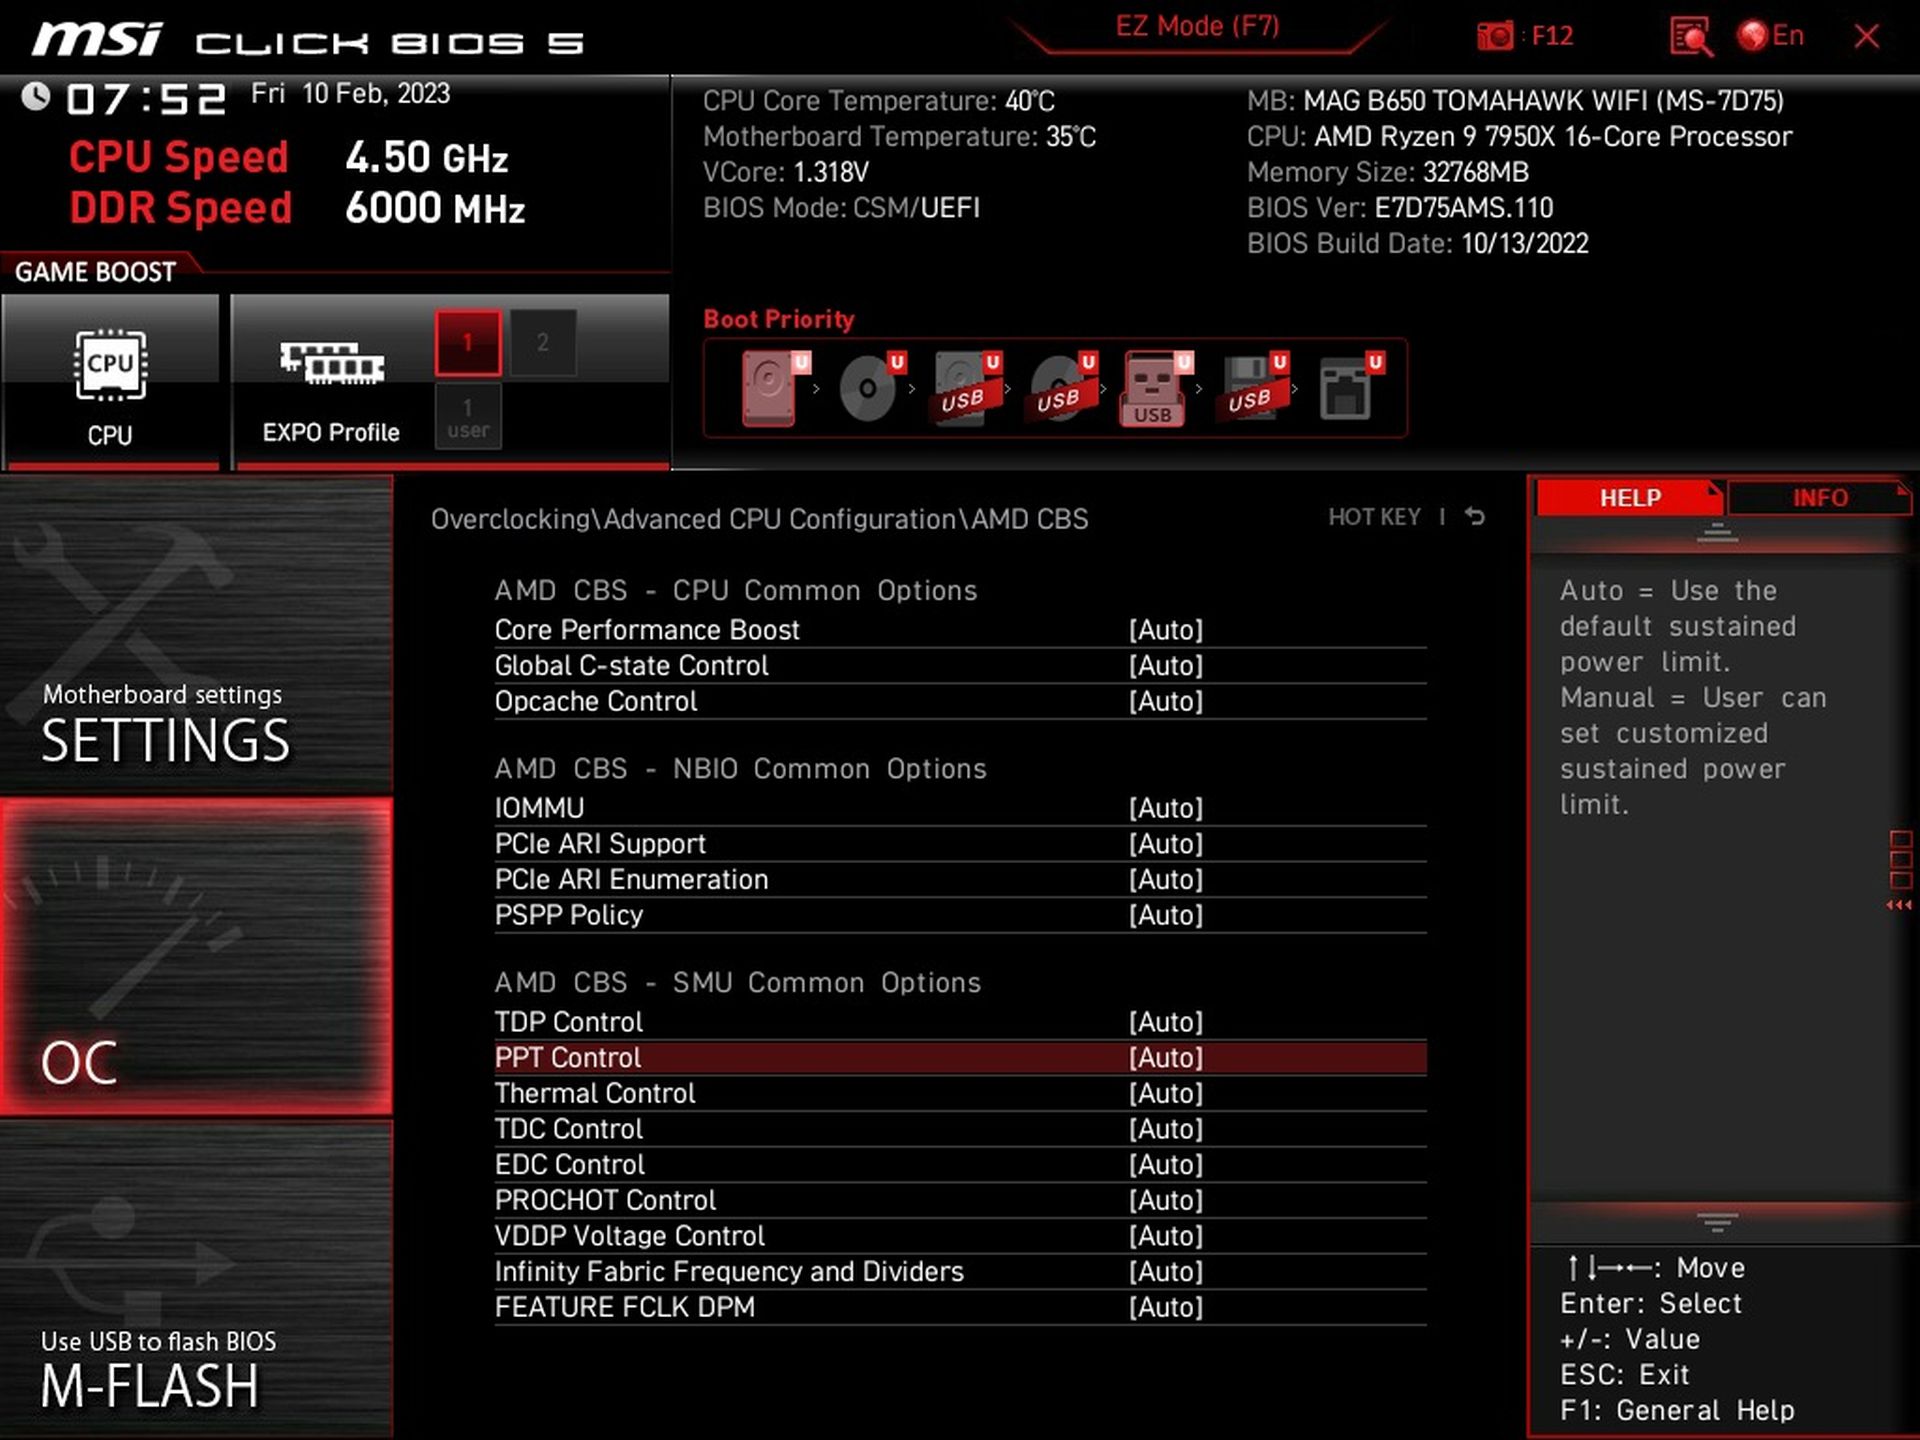
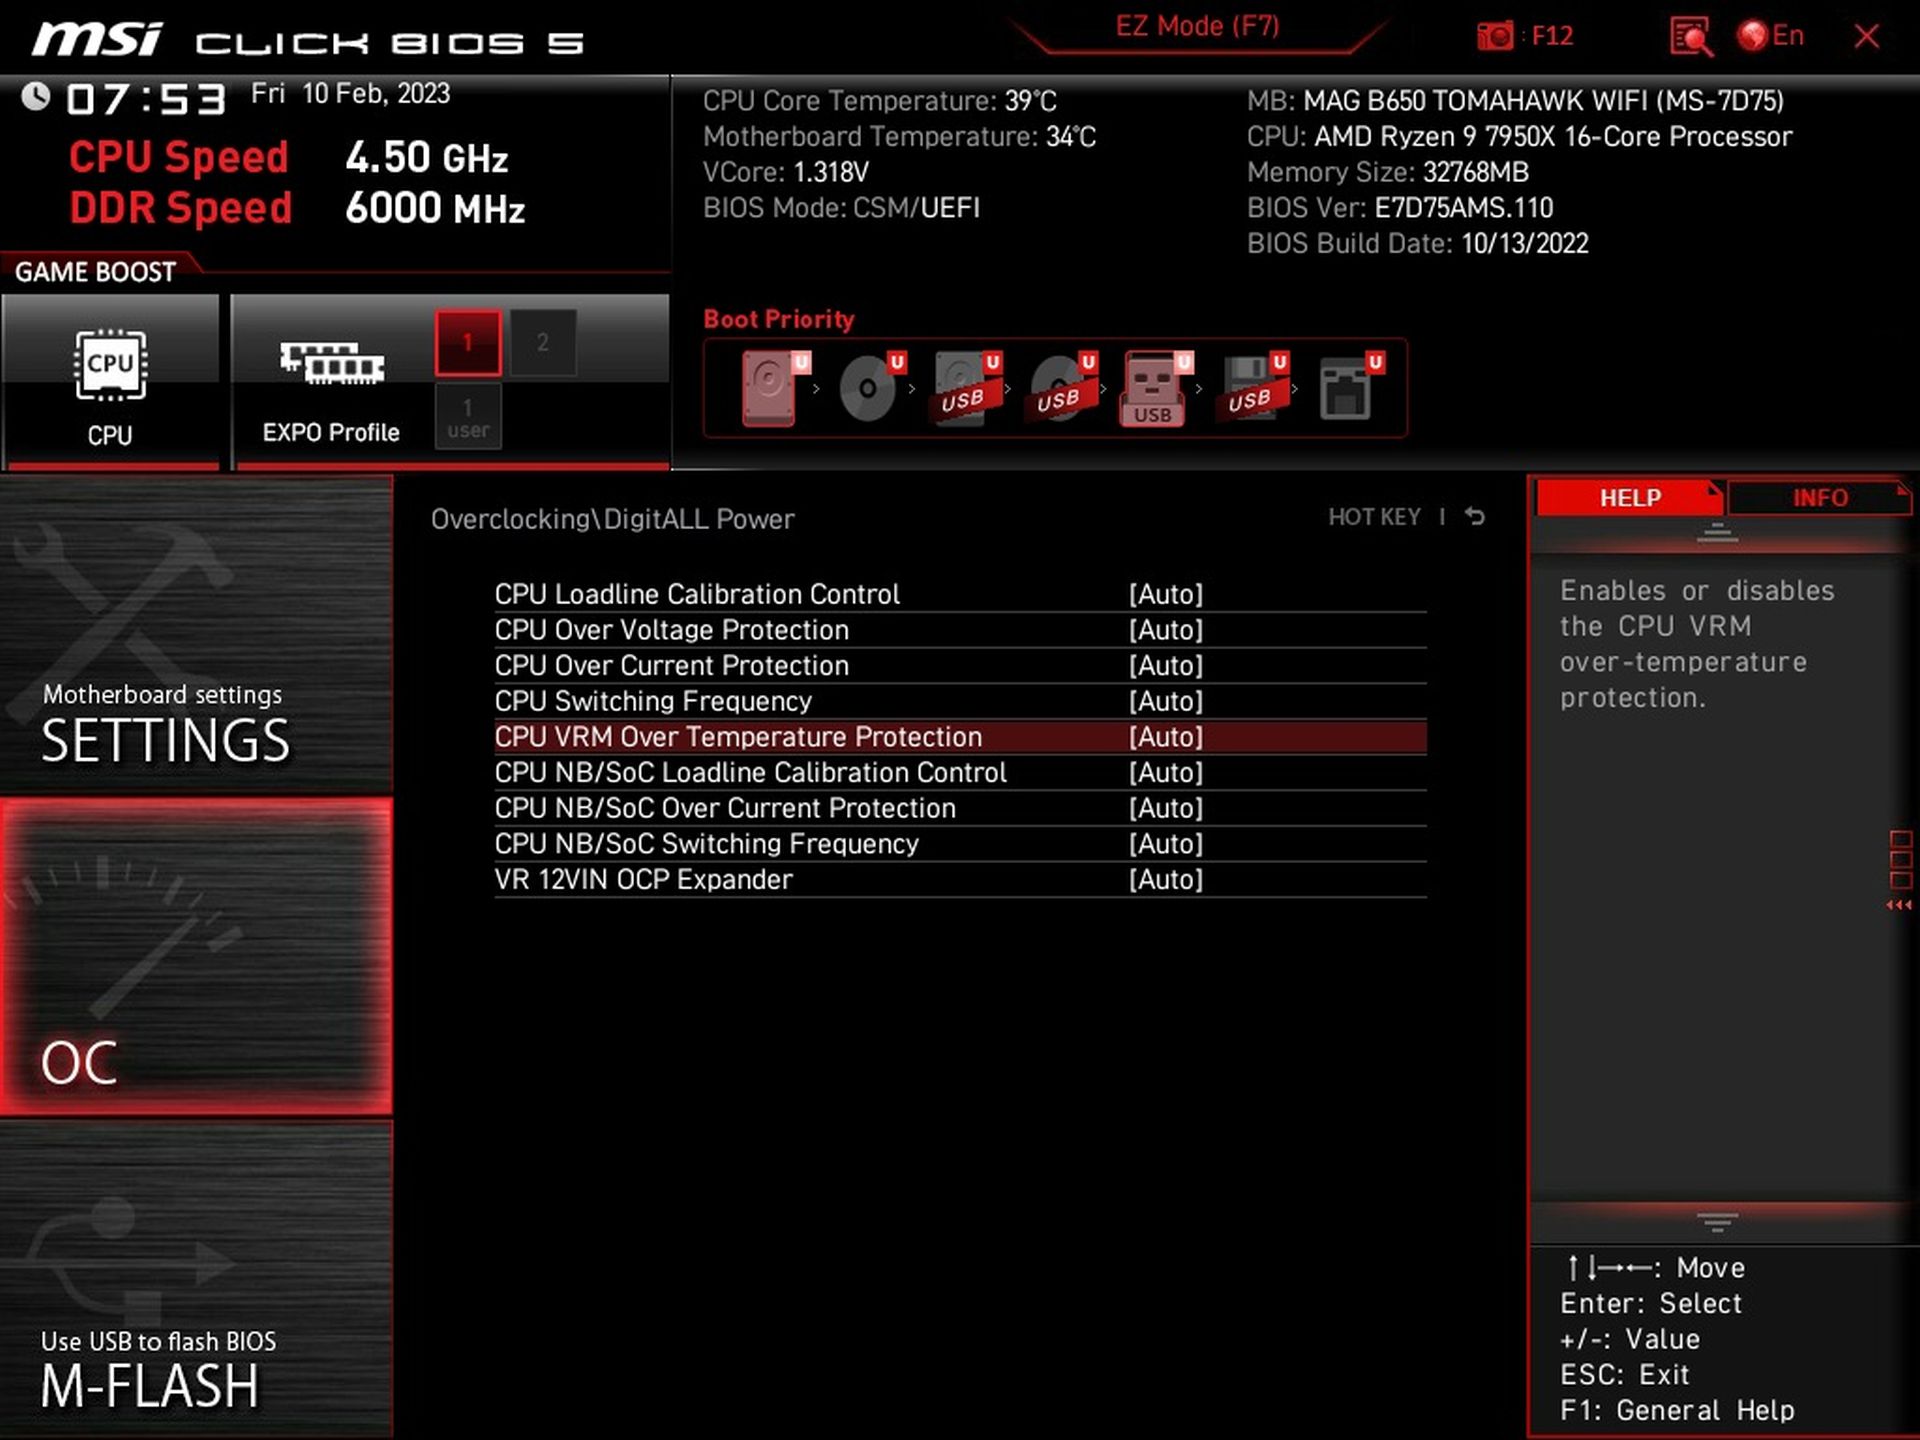
Traditionally, there is also a separate section for “overclocking”, where we are always most interested in the power supply management options. These are handled extremely well by MSI on its boards, as it has preset profiles for TDP configuration. All boards don’t have this and rely on Ryzen Master or the fact that you manually adjust the PPT in the PBO settings. However, MSI’s solution is more elegant and the TDP can be quickly adjusted in six steps: 170W (PPT 230W), 125W (PPT 170W), 105W (PPT 142W), 95W (PPT 128W), 65W (88W) and 45W (61W). We use a TDP of 142 W (with PPT 142 W) for testing purposes in “Eco” mode.
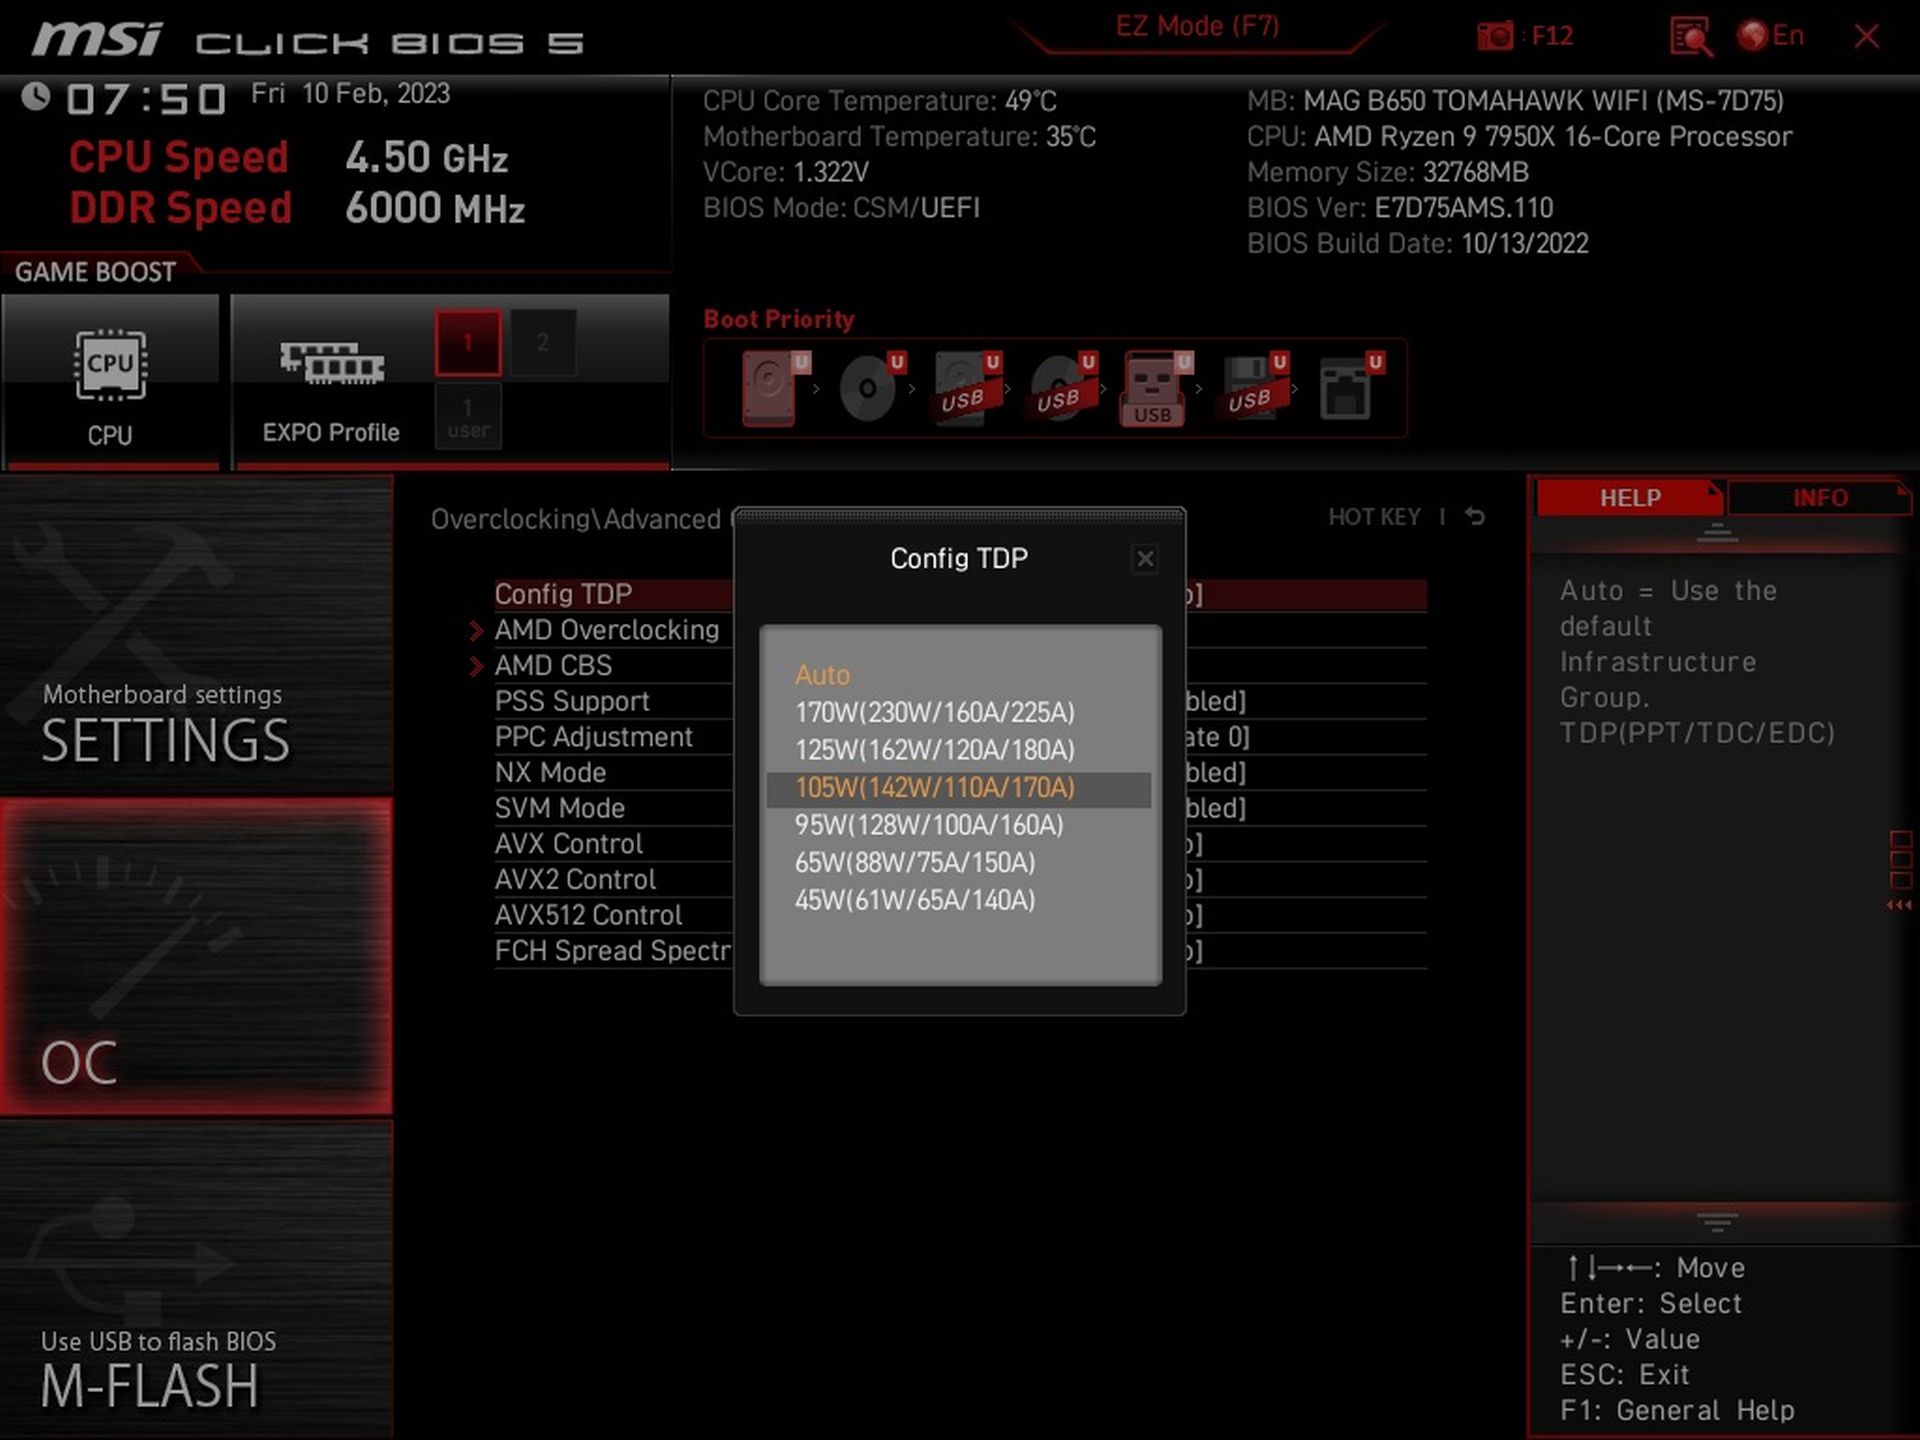
However, as with all boards, the power limits can also be set manually by entering specific PPT and current limit values via PBO management. This will probably be of interest to those interested in more detailed tuning with greater resolution.

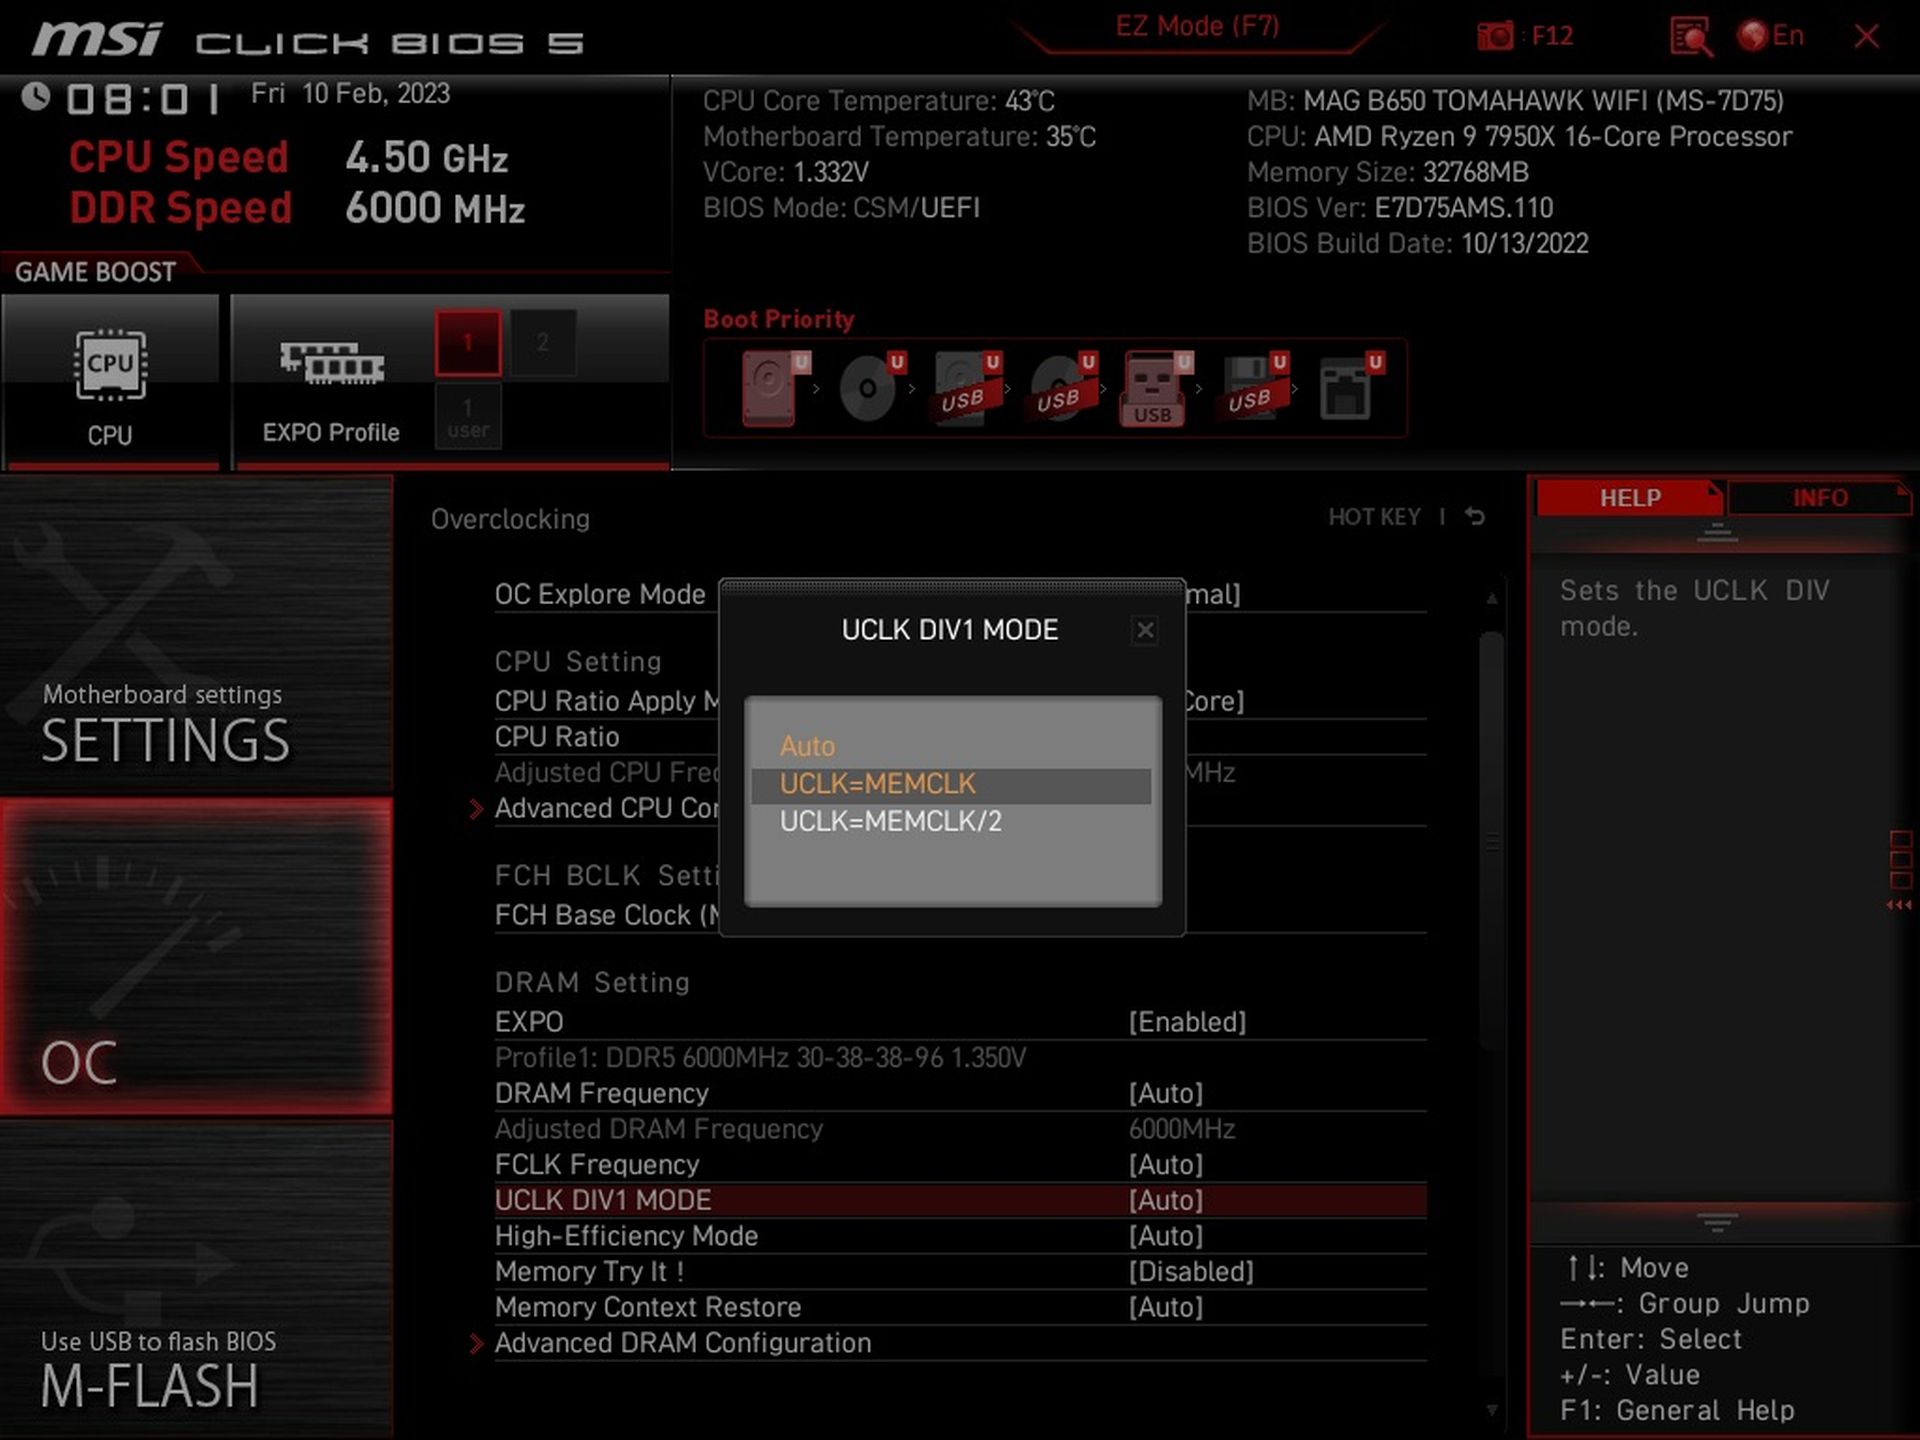
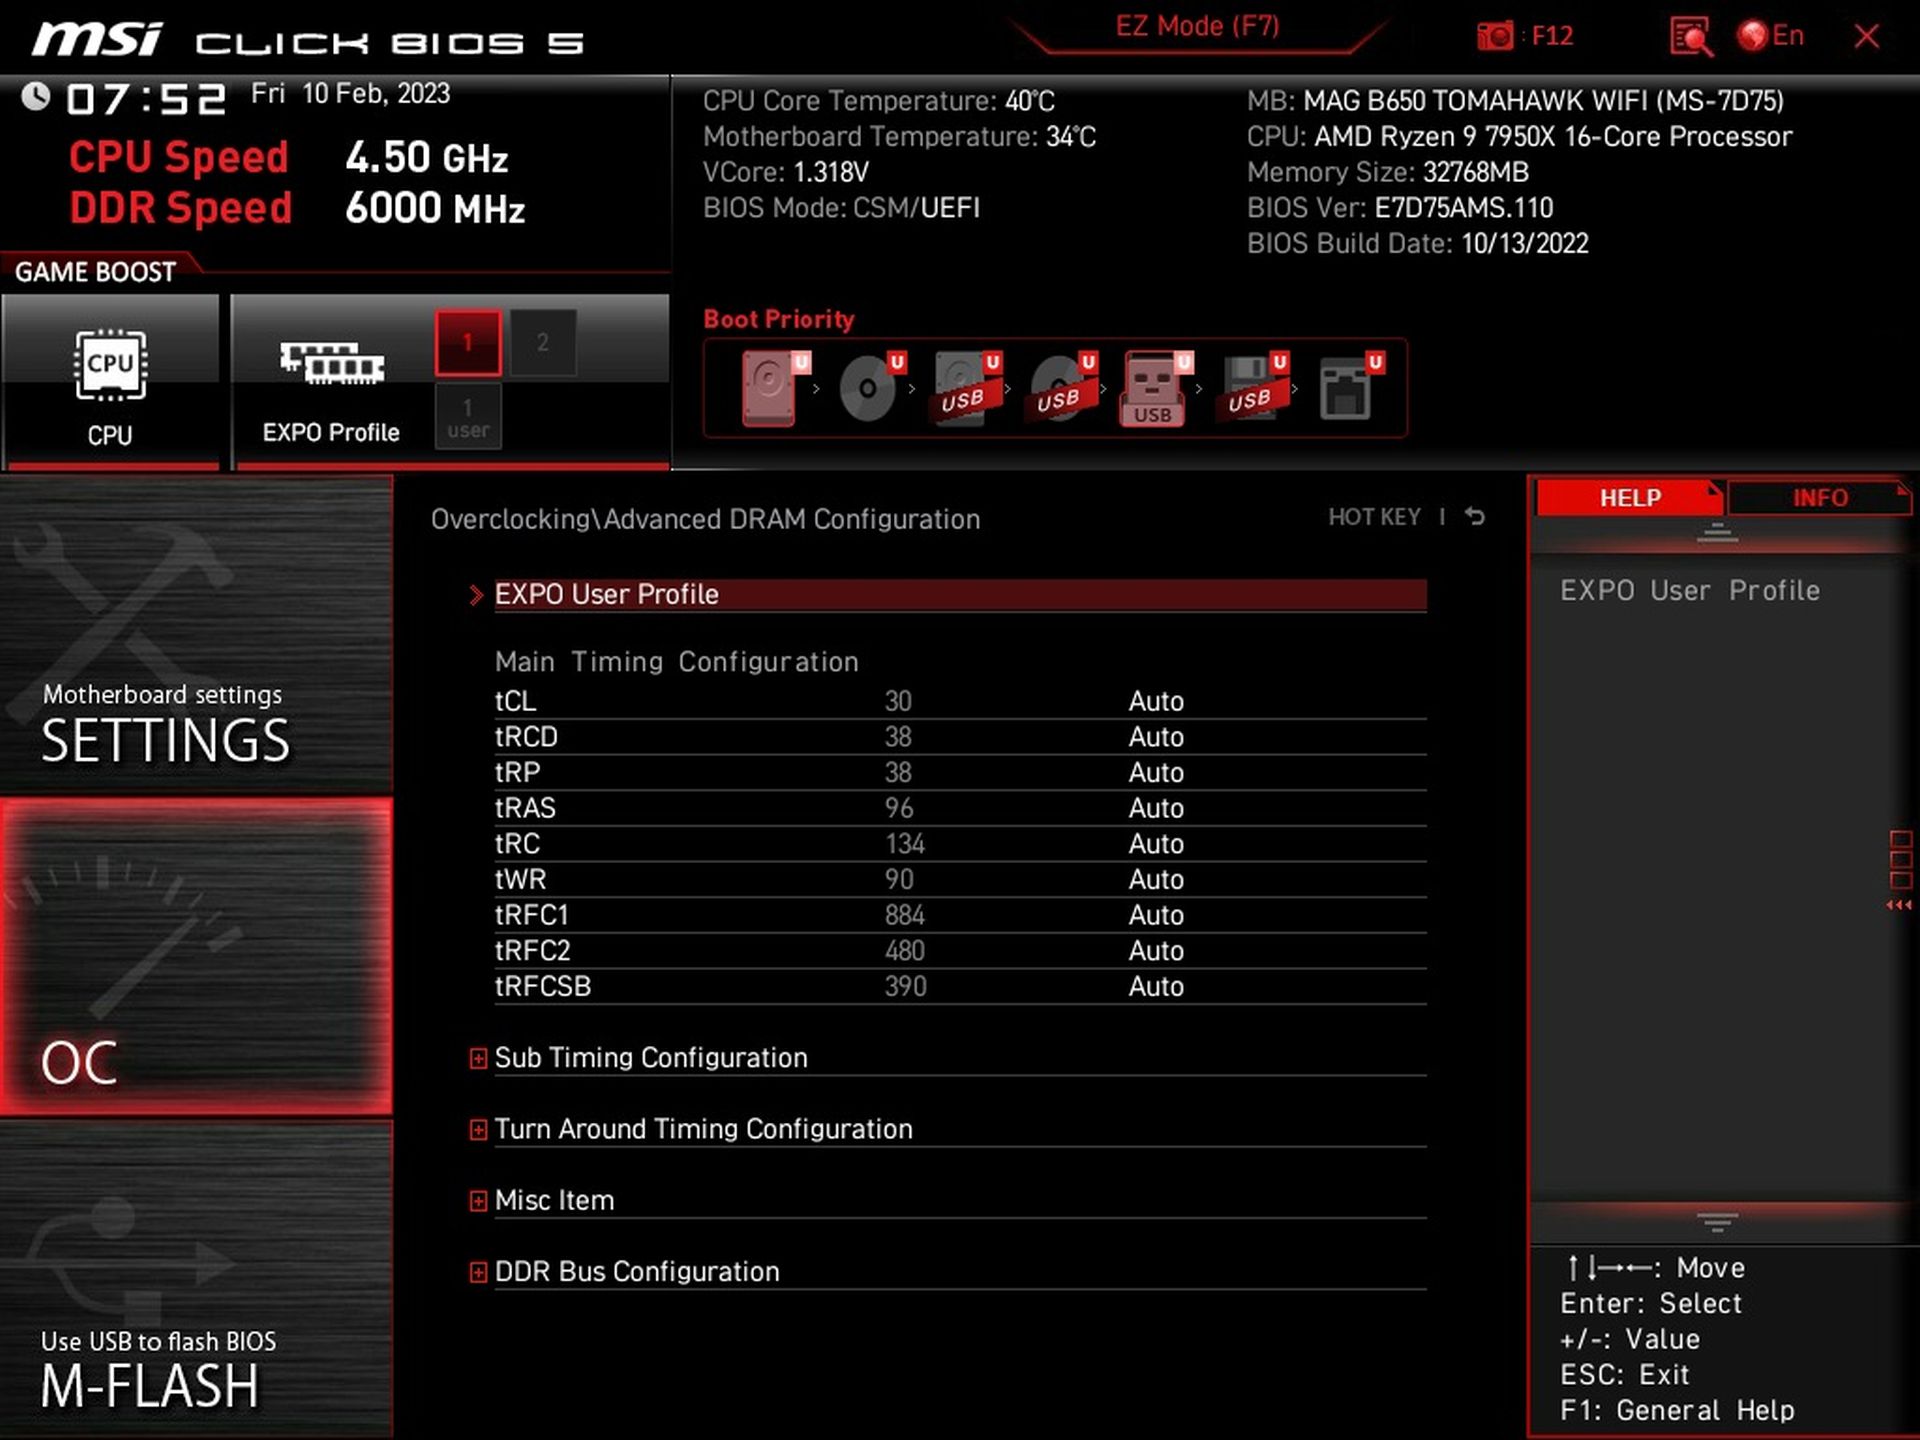
AMD Expo: As we pointed out last time in the Aorus X670 Elite AX board test, activating a profile may access one of the memory controller’s clock speeds, Uncore, differently. Some bypass the divider to achieve higher performance, which is not the case here. Here UCLK sticks to 1500 MHz.

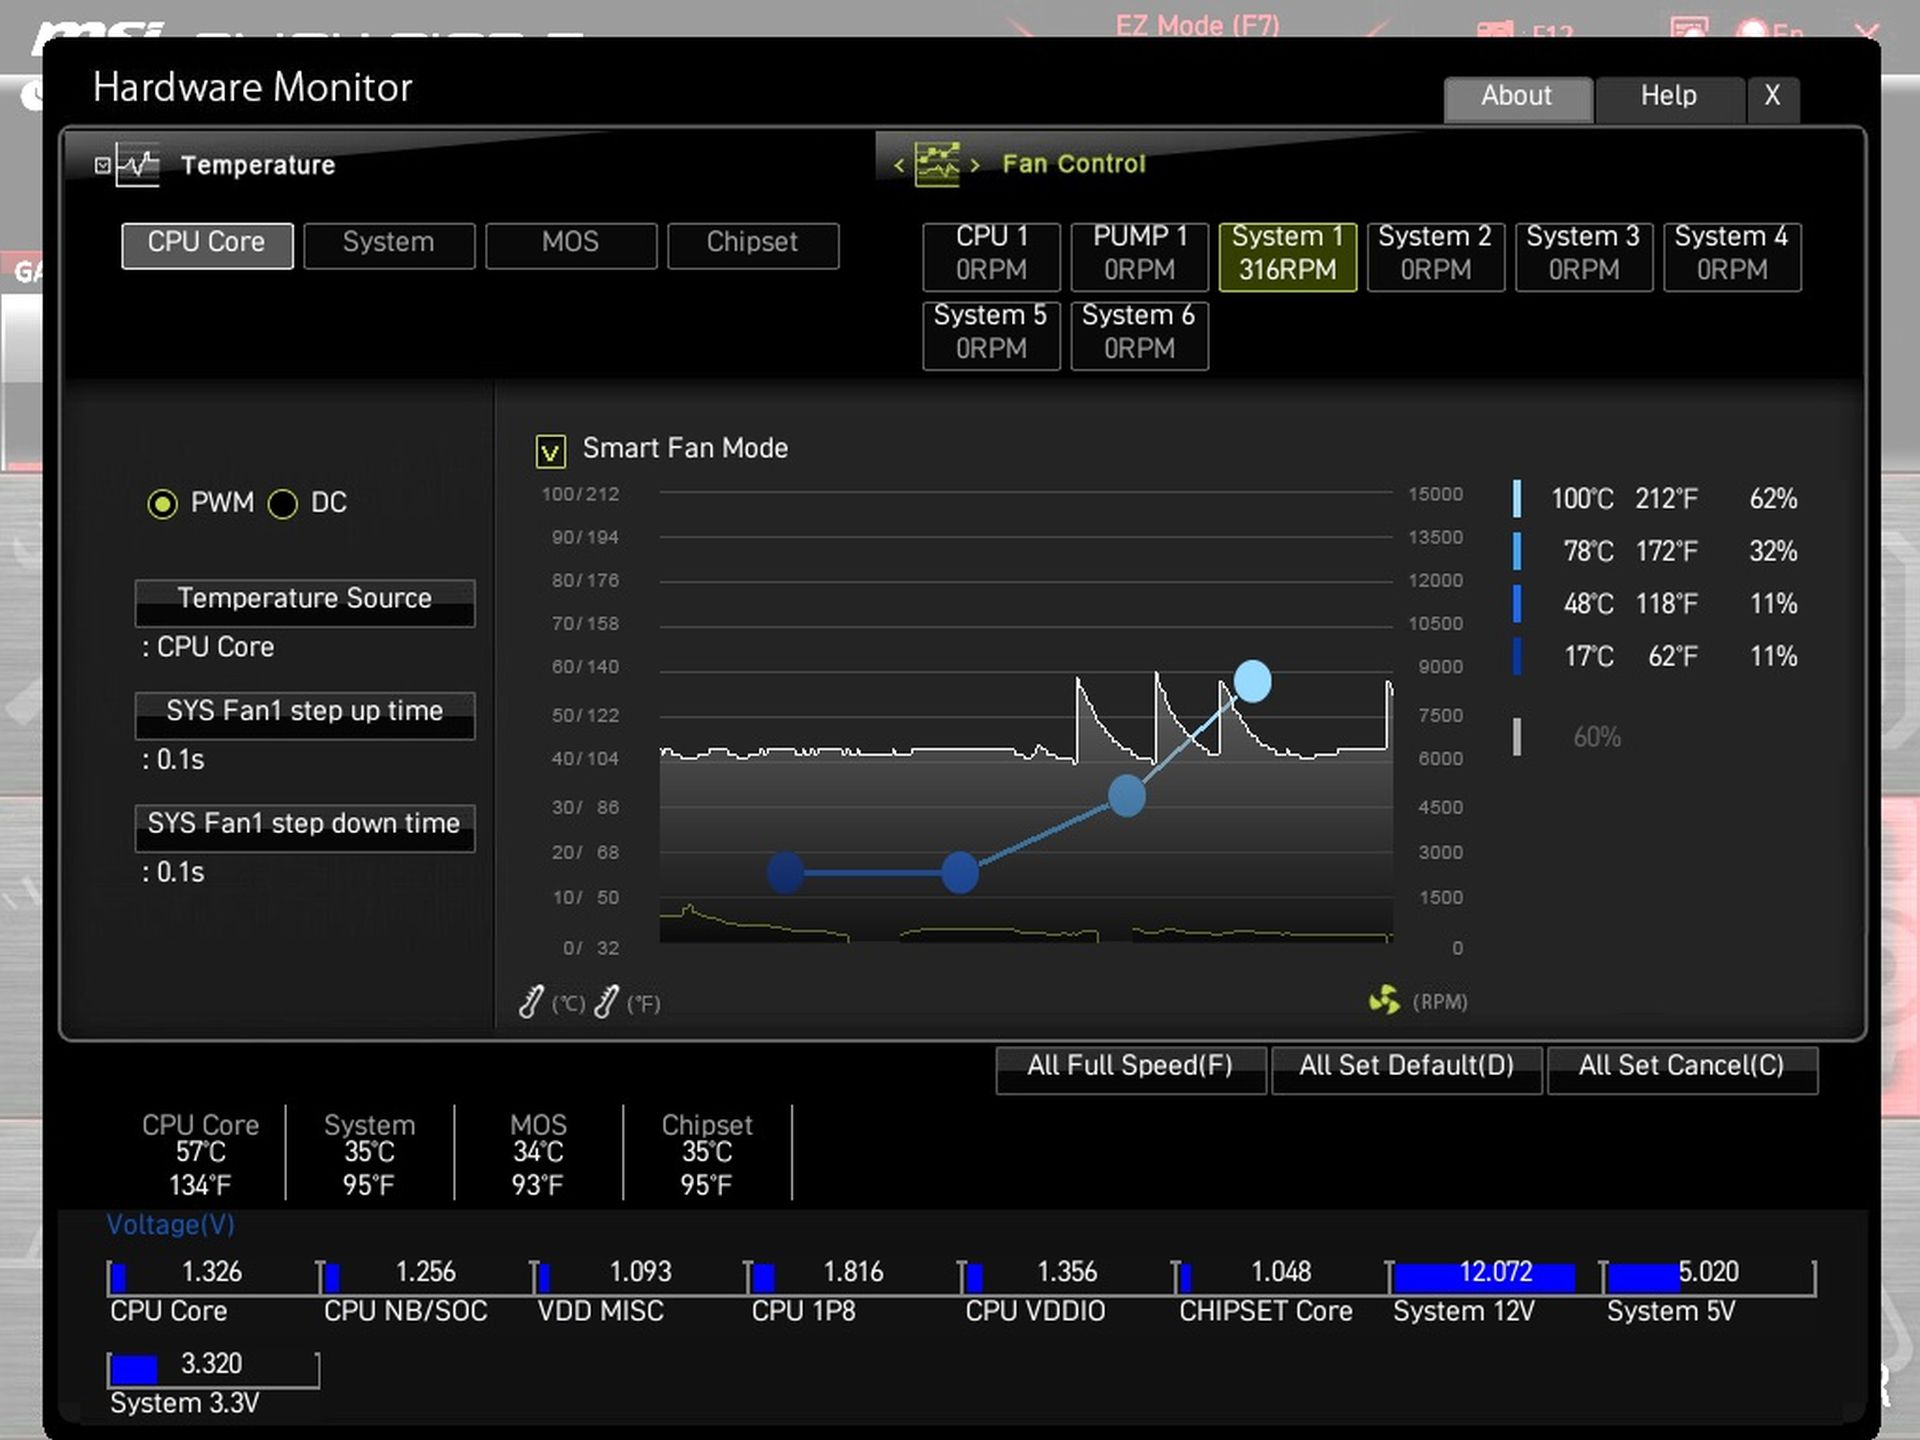
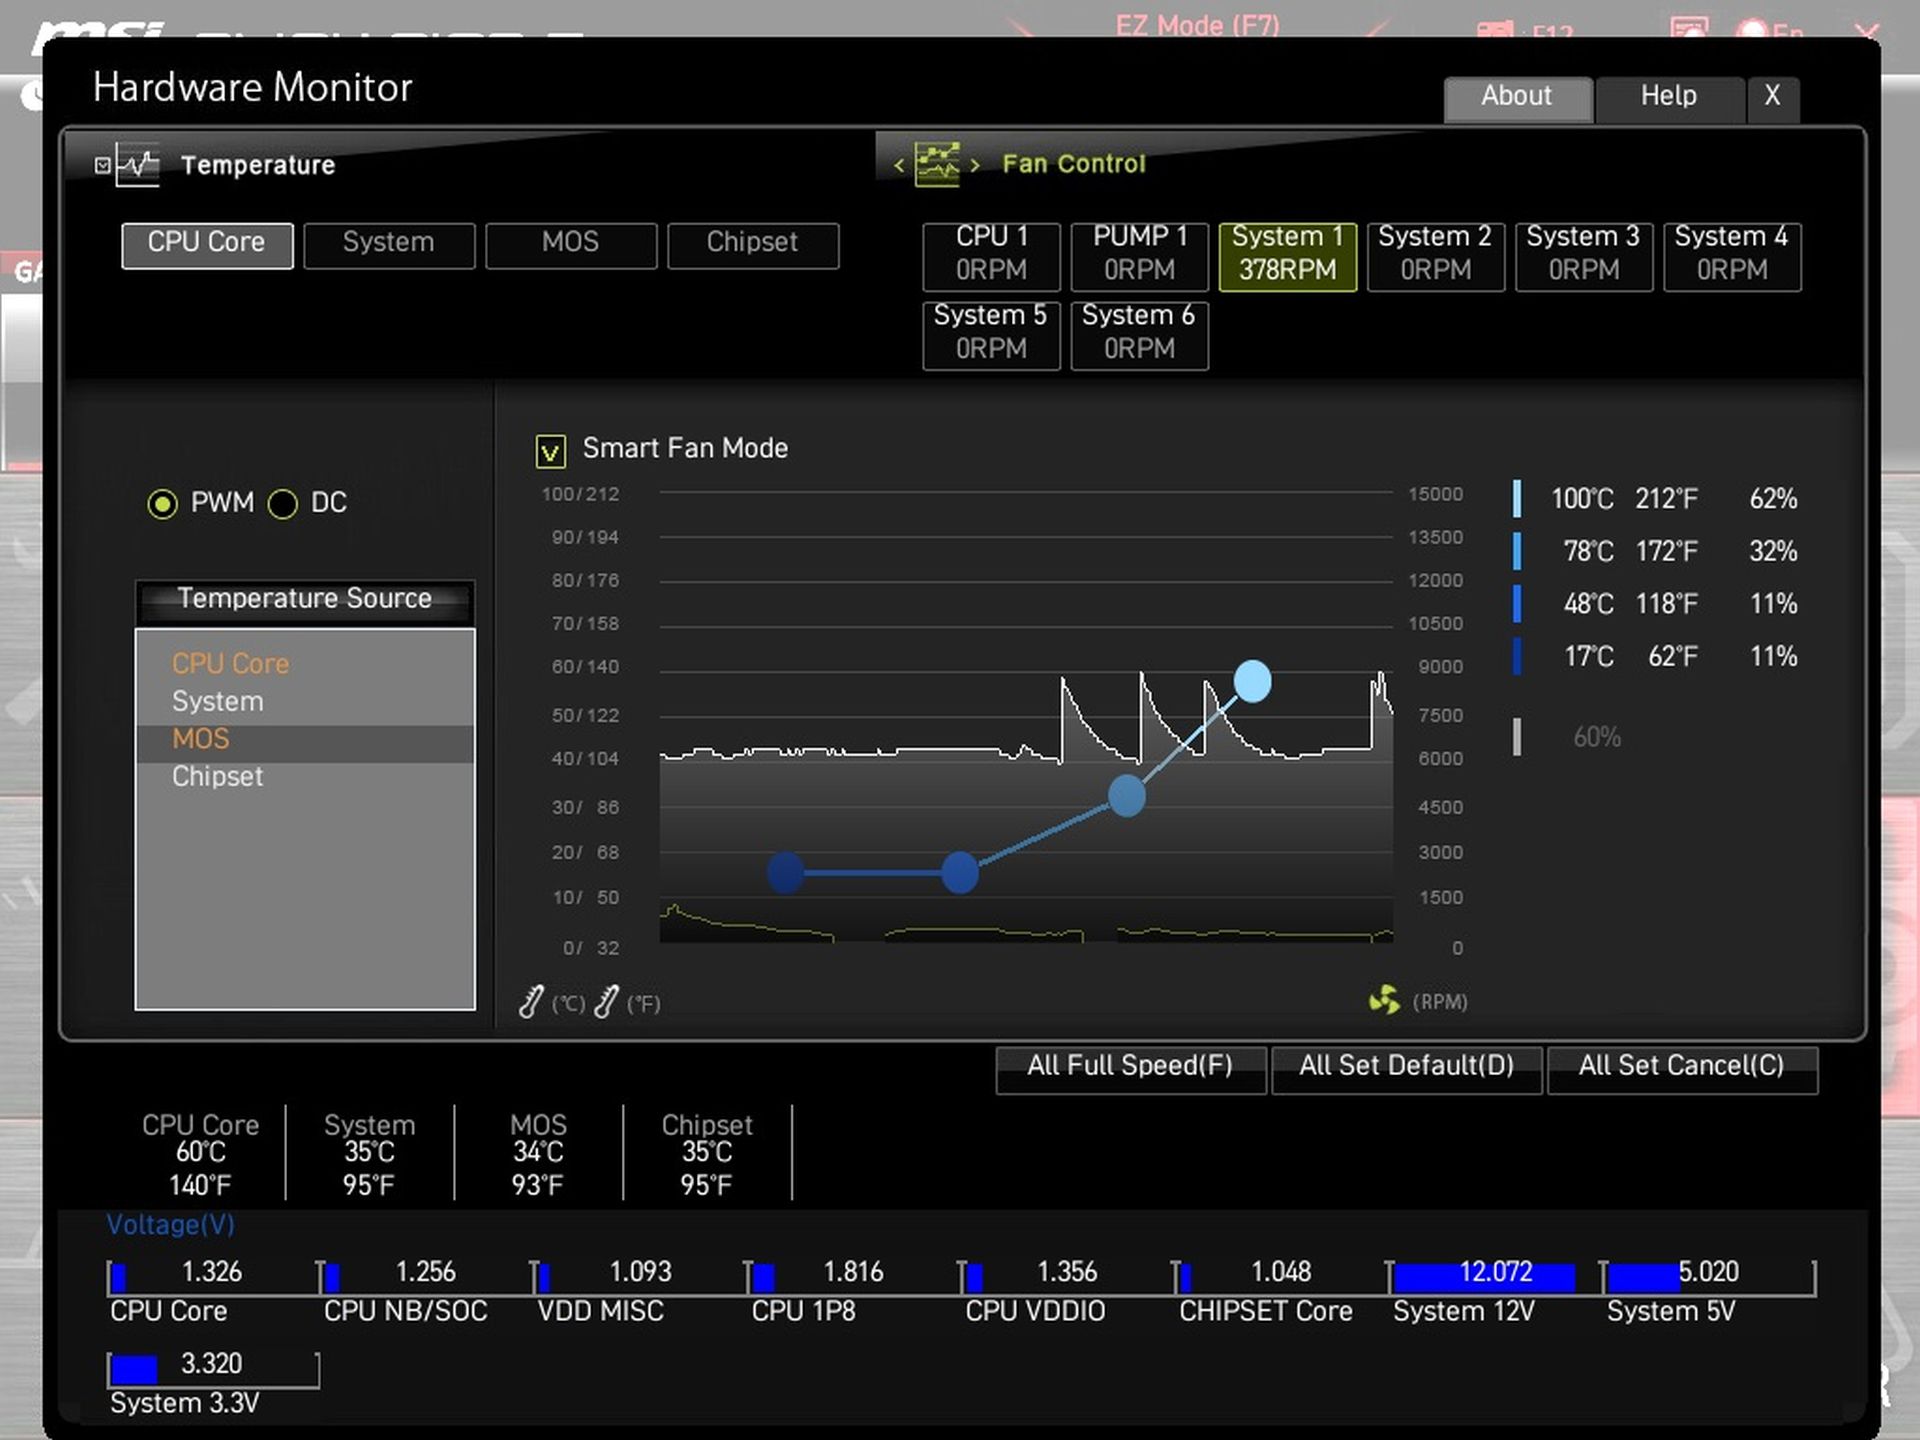
Fan management options are top-notch. That’s also contributed to by the fact that you have up to eight connectors under your thumb, which is uncommon in this class. Each of them can be customized and in PWM mode in a really wide range. The “DC” regulation is traditionally weaker and starts from higher voltages as is typical with other boards. The optimizations are in short towards what is used more – PWM.
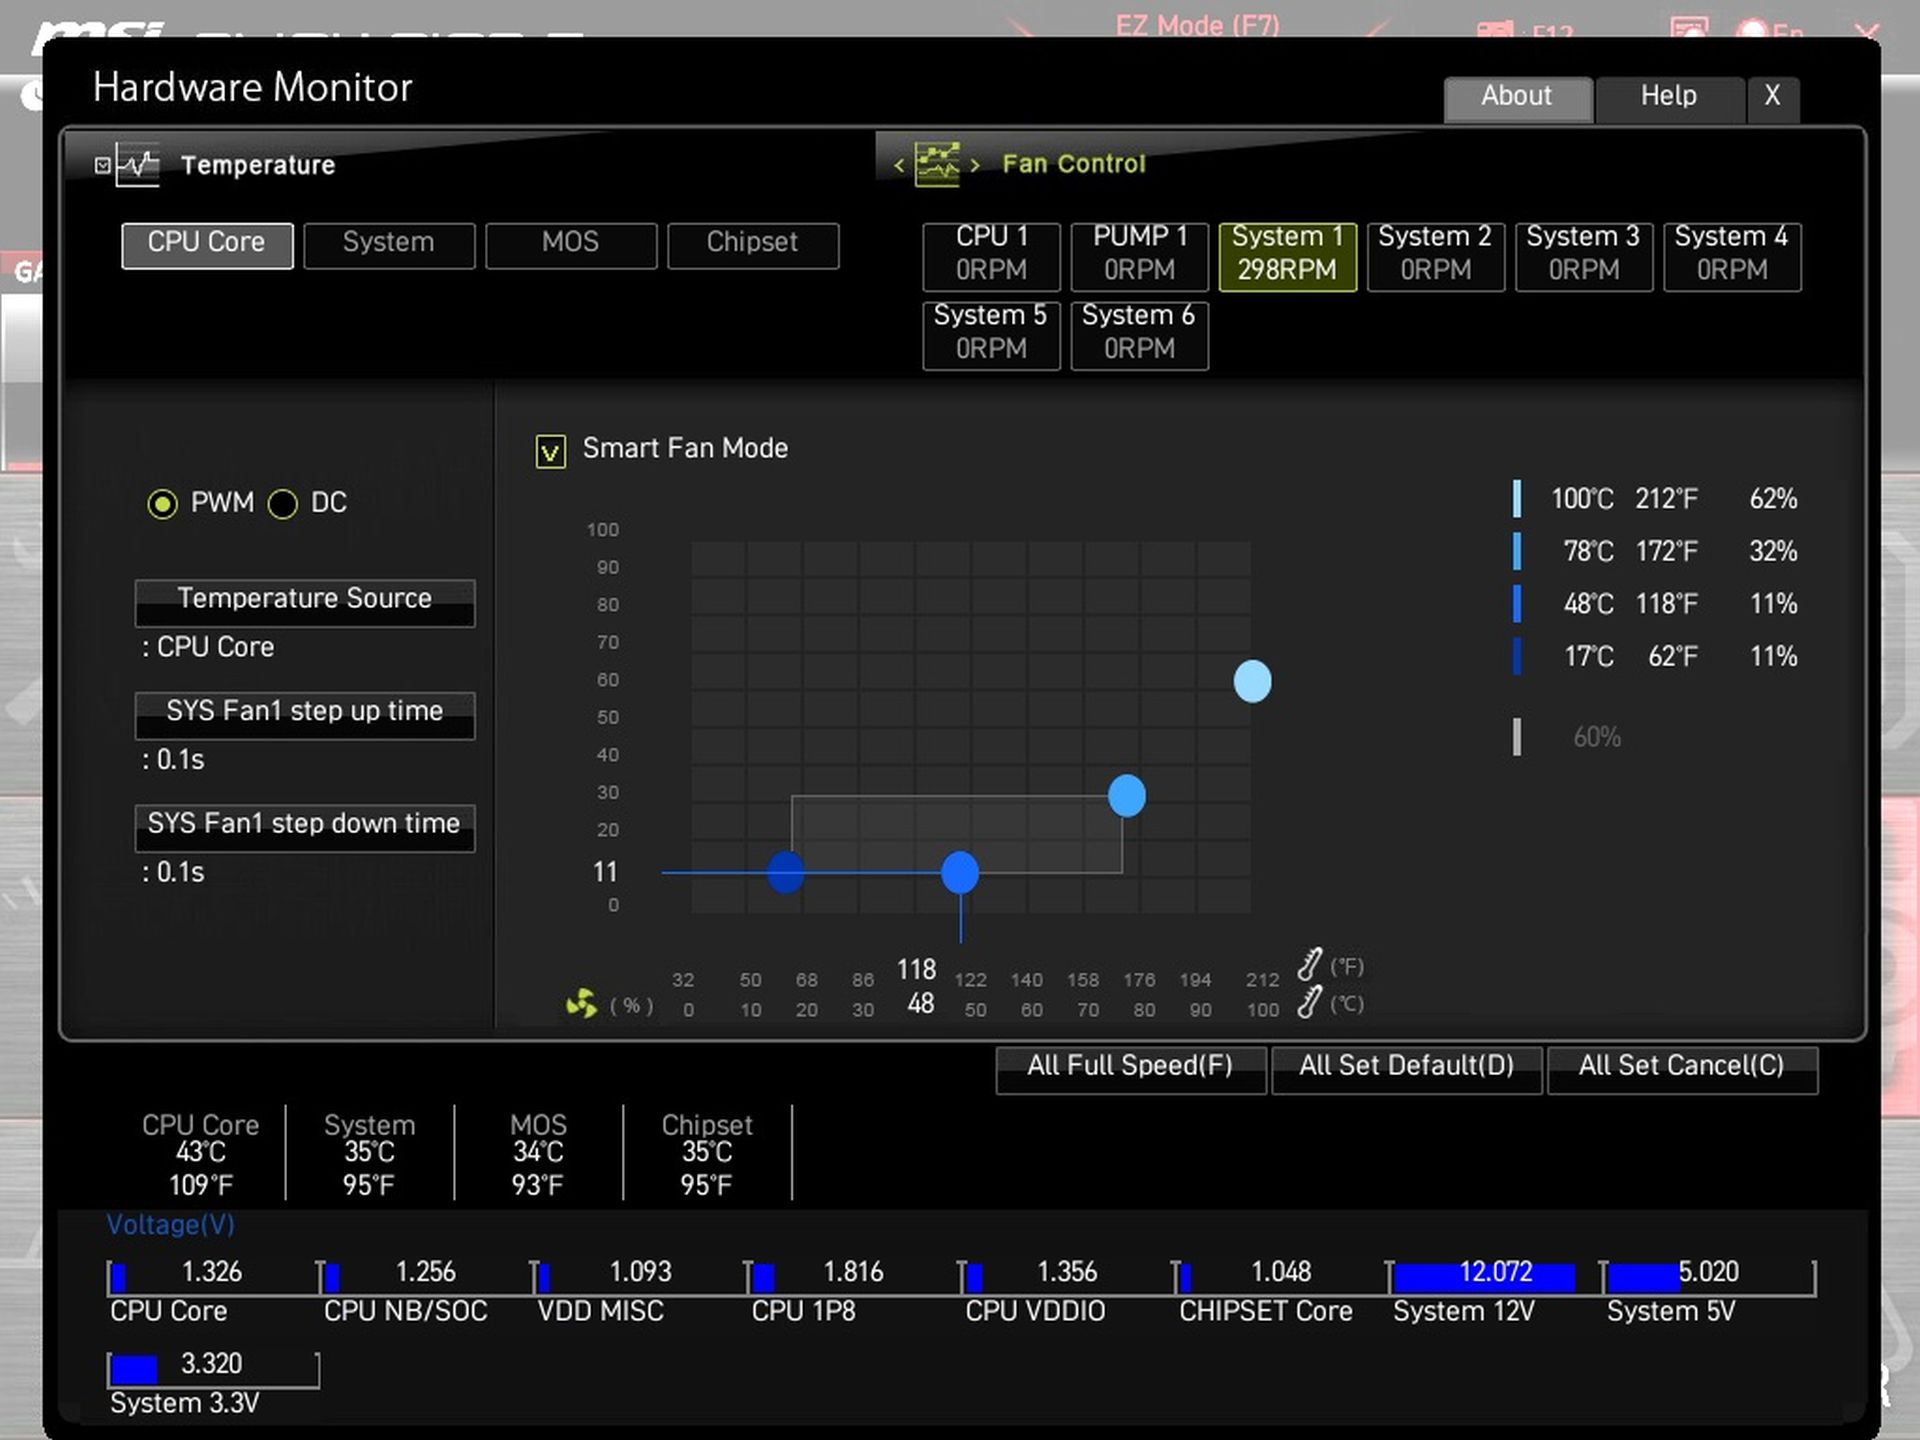
There are four temperature sources from which the control curve can be derived. In addition to the CPU temperature sensors, there are the MOS sensors (some point within the Vcore section), the chipset or the system sensor, which represents some “colder” location on the board. In fact, under heavy load neither the CPU nor the GPU gets too hot.
- Contents
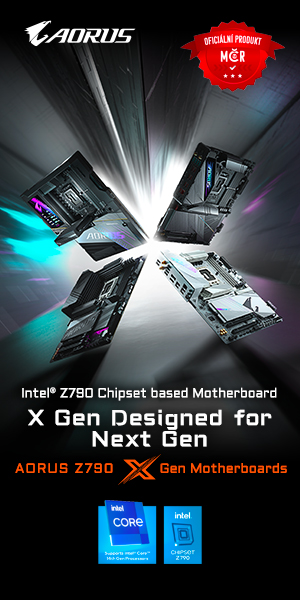
- MSI MAG B650 Tomahawk WiFi in detail
- What it looks like in the BIOS
- Methodology: Performance tests
- Methodology: How we measure power draw
- Methodology: Temperature and frequency measurements
- Test setup
- 3DMark
- Borderlands 3
- F1 2020
- Metro Exodus
- Shadow of the Tomb Raider
- Total War Saga: Troy
- PCMark and Geekbench
- Web performance
- 3D rendering: Cinebench, Blender, ...
- Video 1/2: Adobe Premiere Pro
- Video 2/2: DaVinci Resolve Studio
- Graphics effects: Adobe After Effects
- Video encoding
- Audio encoding
- Photos: Adobe Photoshop, Affinity Photo, ...
- (De)compression
- (De)encryption
- Numerical computing
- Simulations
- Memory and cache tests
- M.2 (SSD) slots speed
- USB ports speed
- Ethernet speed
- Power draw without power limits
- Power draw with power limits
- Achieved CPU clock speed
- CPU temperature
- VRM temperature – thermal imaging of Vcore and SOC
- SSD temperature
- Chipset temperature (south bridge)
- Conclusion


Hi hwcooling.net team, I would like to ask about the ALC4080 integrated sound card, I heard that many people have problems with it, such as crackling in the speakers or stuttering of the sound during videos and etc. Is this true or not? Can you advise me on this? Or would you rather buy the Asus TUF B650 Plus wifi? Thank you
We can answer a lot of questions, but the ones that require a proper analysis of the sound adapter are not part of it yet. Anyway, we are working on a test methodology, on the basis of which it will be possible to evaluate the characteristics of the audio. However, if difficulties are often discovered based on user experience, it is likely that there will be some issue. Whether the TUF Gaming B650-Plus is better/worse and on top of that without tests I also cannot judge. The only thing we can do is to compare the parameters… I’m sorry I didn’t give you much advice. :/
Is that mosfet temp your review mentions, something concerning? Paired with a 7800x3d, should there be issues down the road??
I tried to find more info about this, but only your website mentions this.
Hard to say. Who knows what (part of the processor) is being supplied through the voltage regulator at all. You probably can’t get this information from publicly available materials, although some more detailed VRM block diagrams should exist somewhere.
Anyway, this motherboard won’t have the slightest trouble with the Ryzen 7 7800X3D processor. It’s a relatively low-power processor, the Ryzen 9 7950X for tests has almost three times higher power draw. Of course, you still can not exclude that that what the controller is in charge of, just won’t require more intensive power supply with the R7 7800X3D…