Introduction and test procedures
A drop in the middle, a cross, spread it with finger, or use an old credit card to smooth it perfectly? Even simple things like applying a thermal paste under your cooler can be a bit tricky sometimes. Commonly used methods are seemingly different, and if you also consider batching, there comes a question of how to it to achieve the best results.
Introduction and test procedures
As we all know, even the best cooler is ineffective without a thermal paste. There are so many combinations of how to create a thermal bridge between a heatspreader of a chip and a cooler that we thought it definitely deserves a closer look.
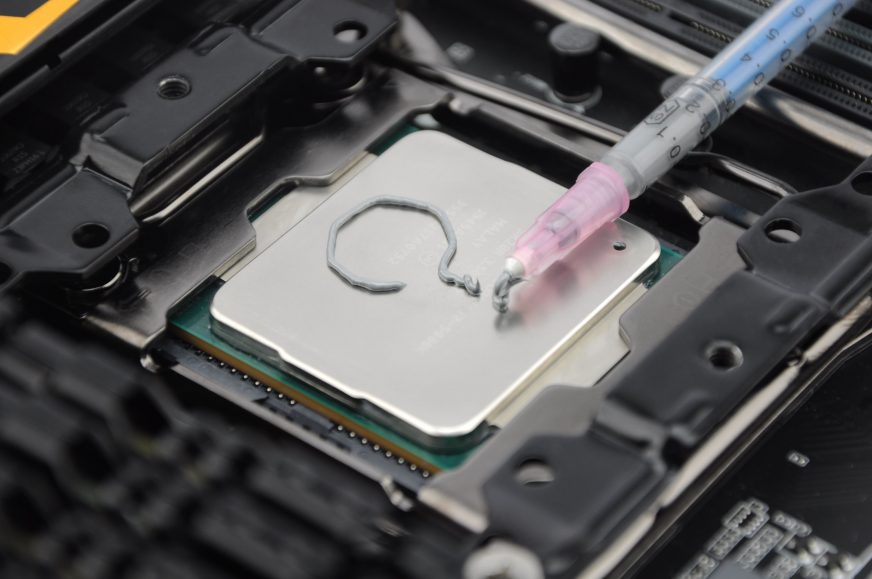
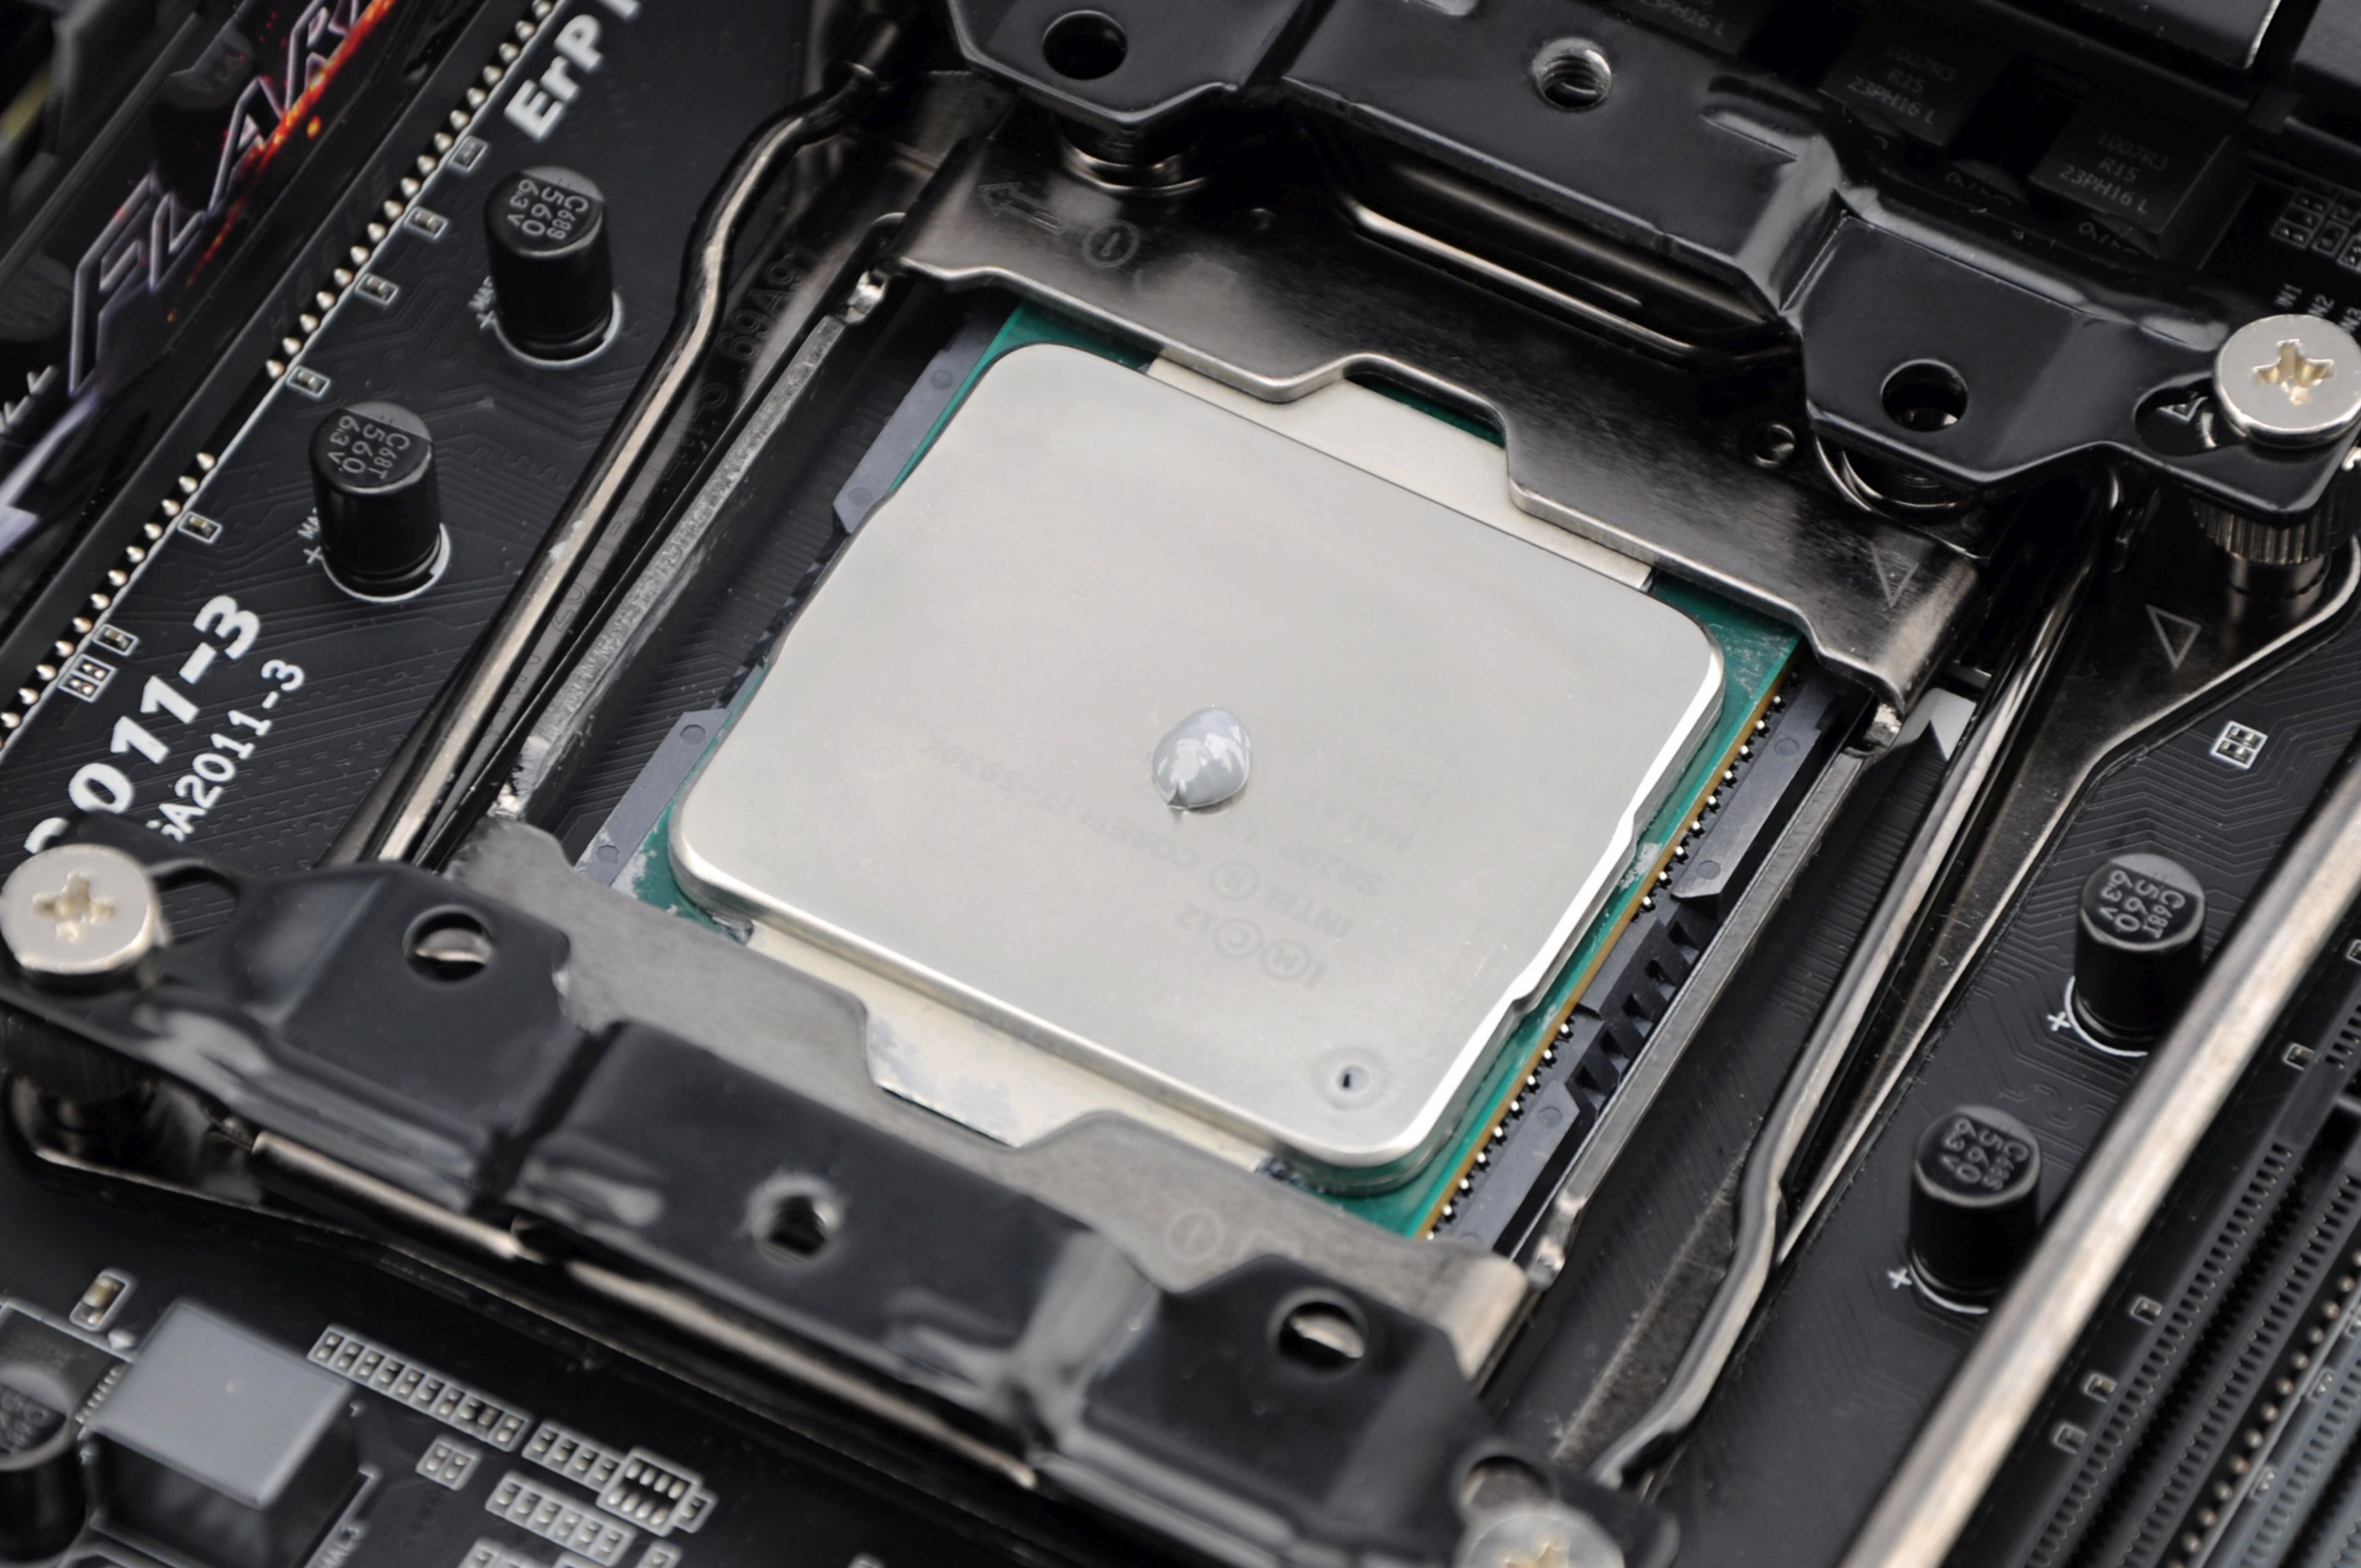
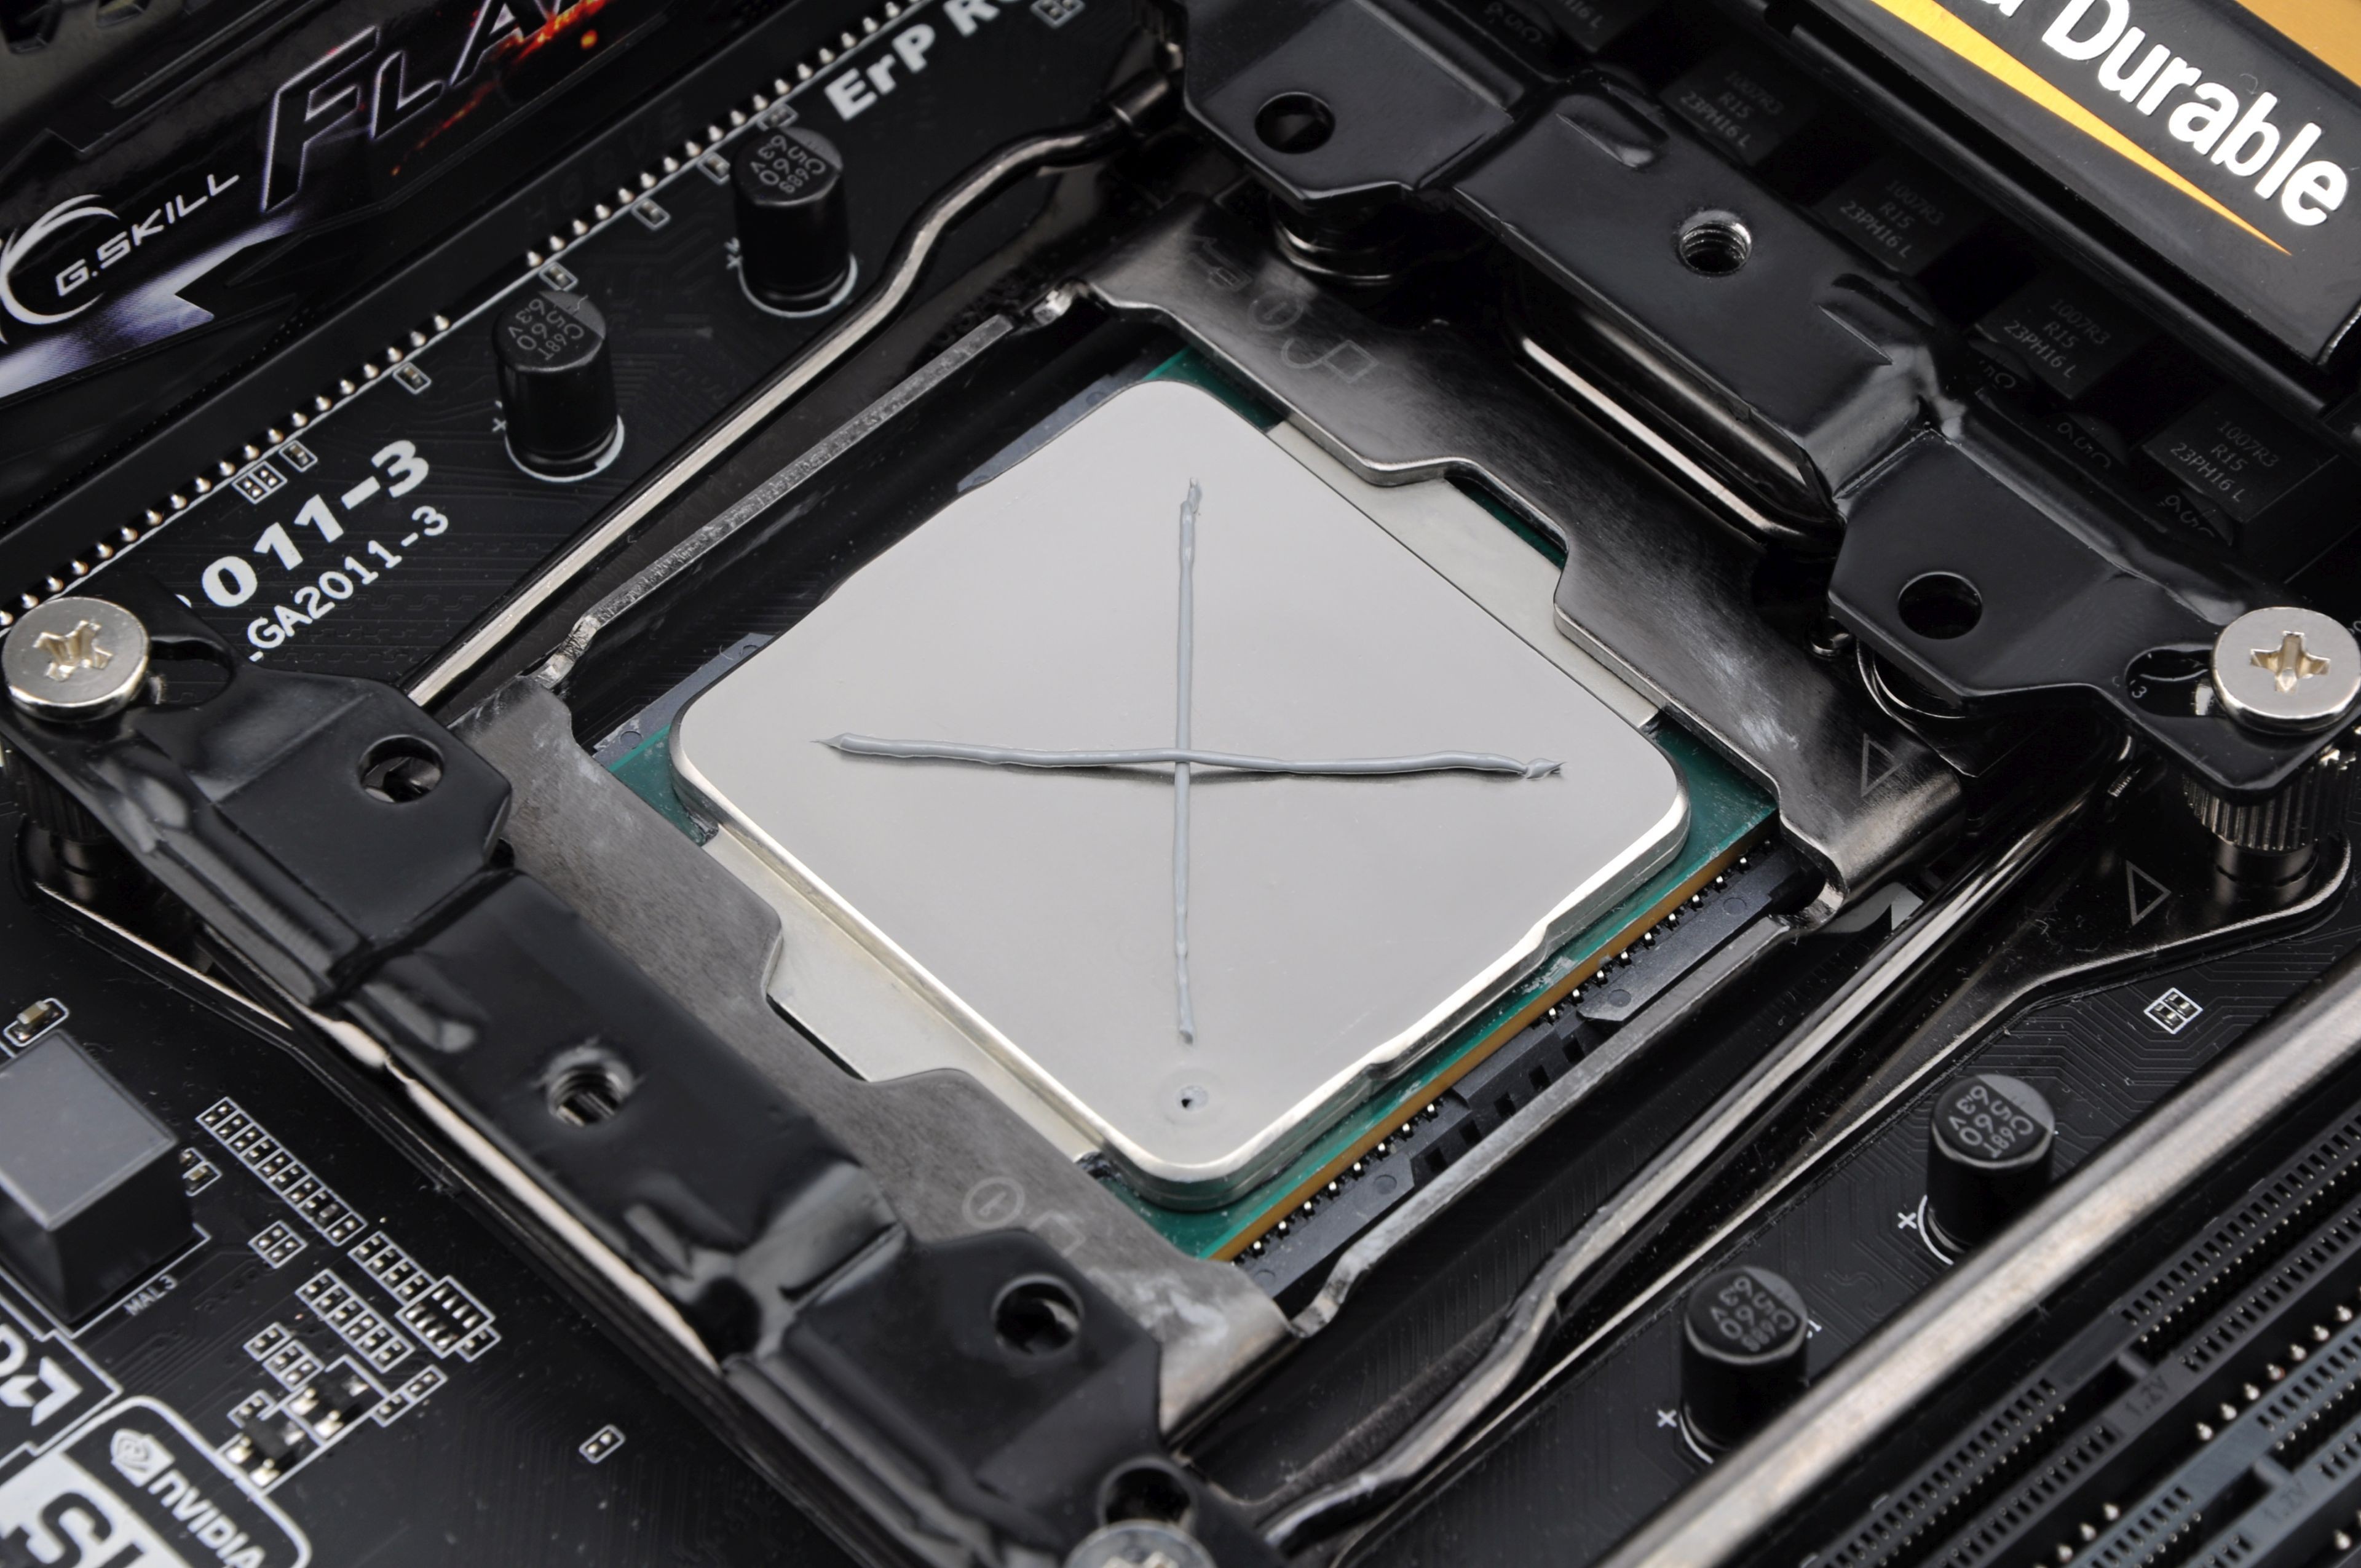
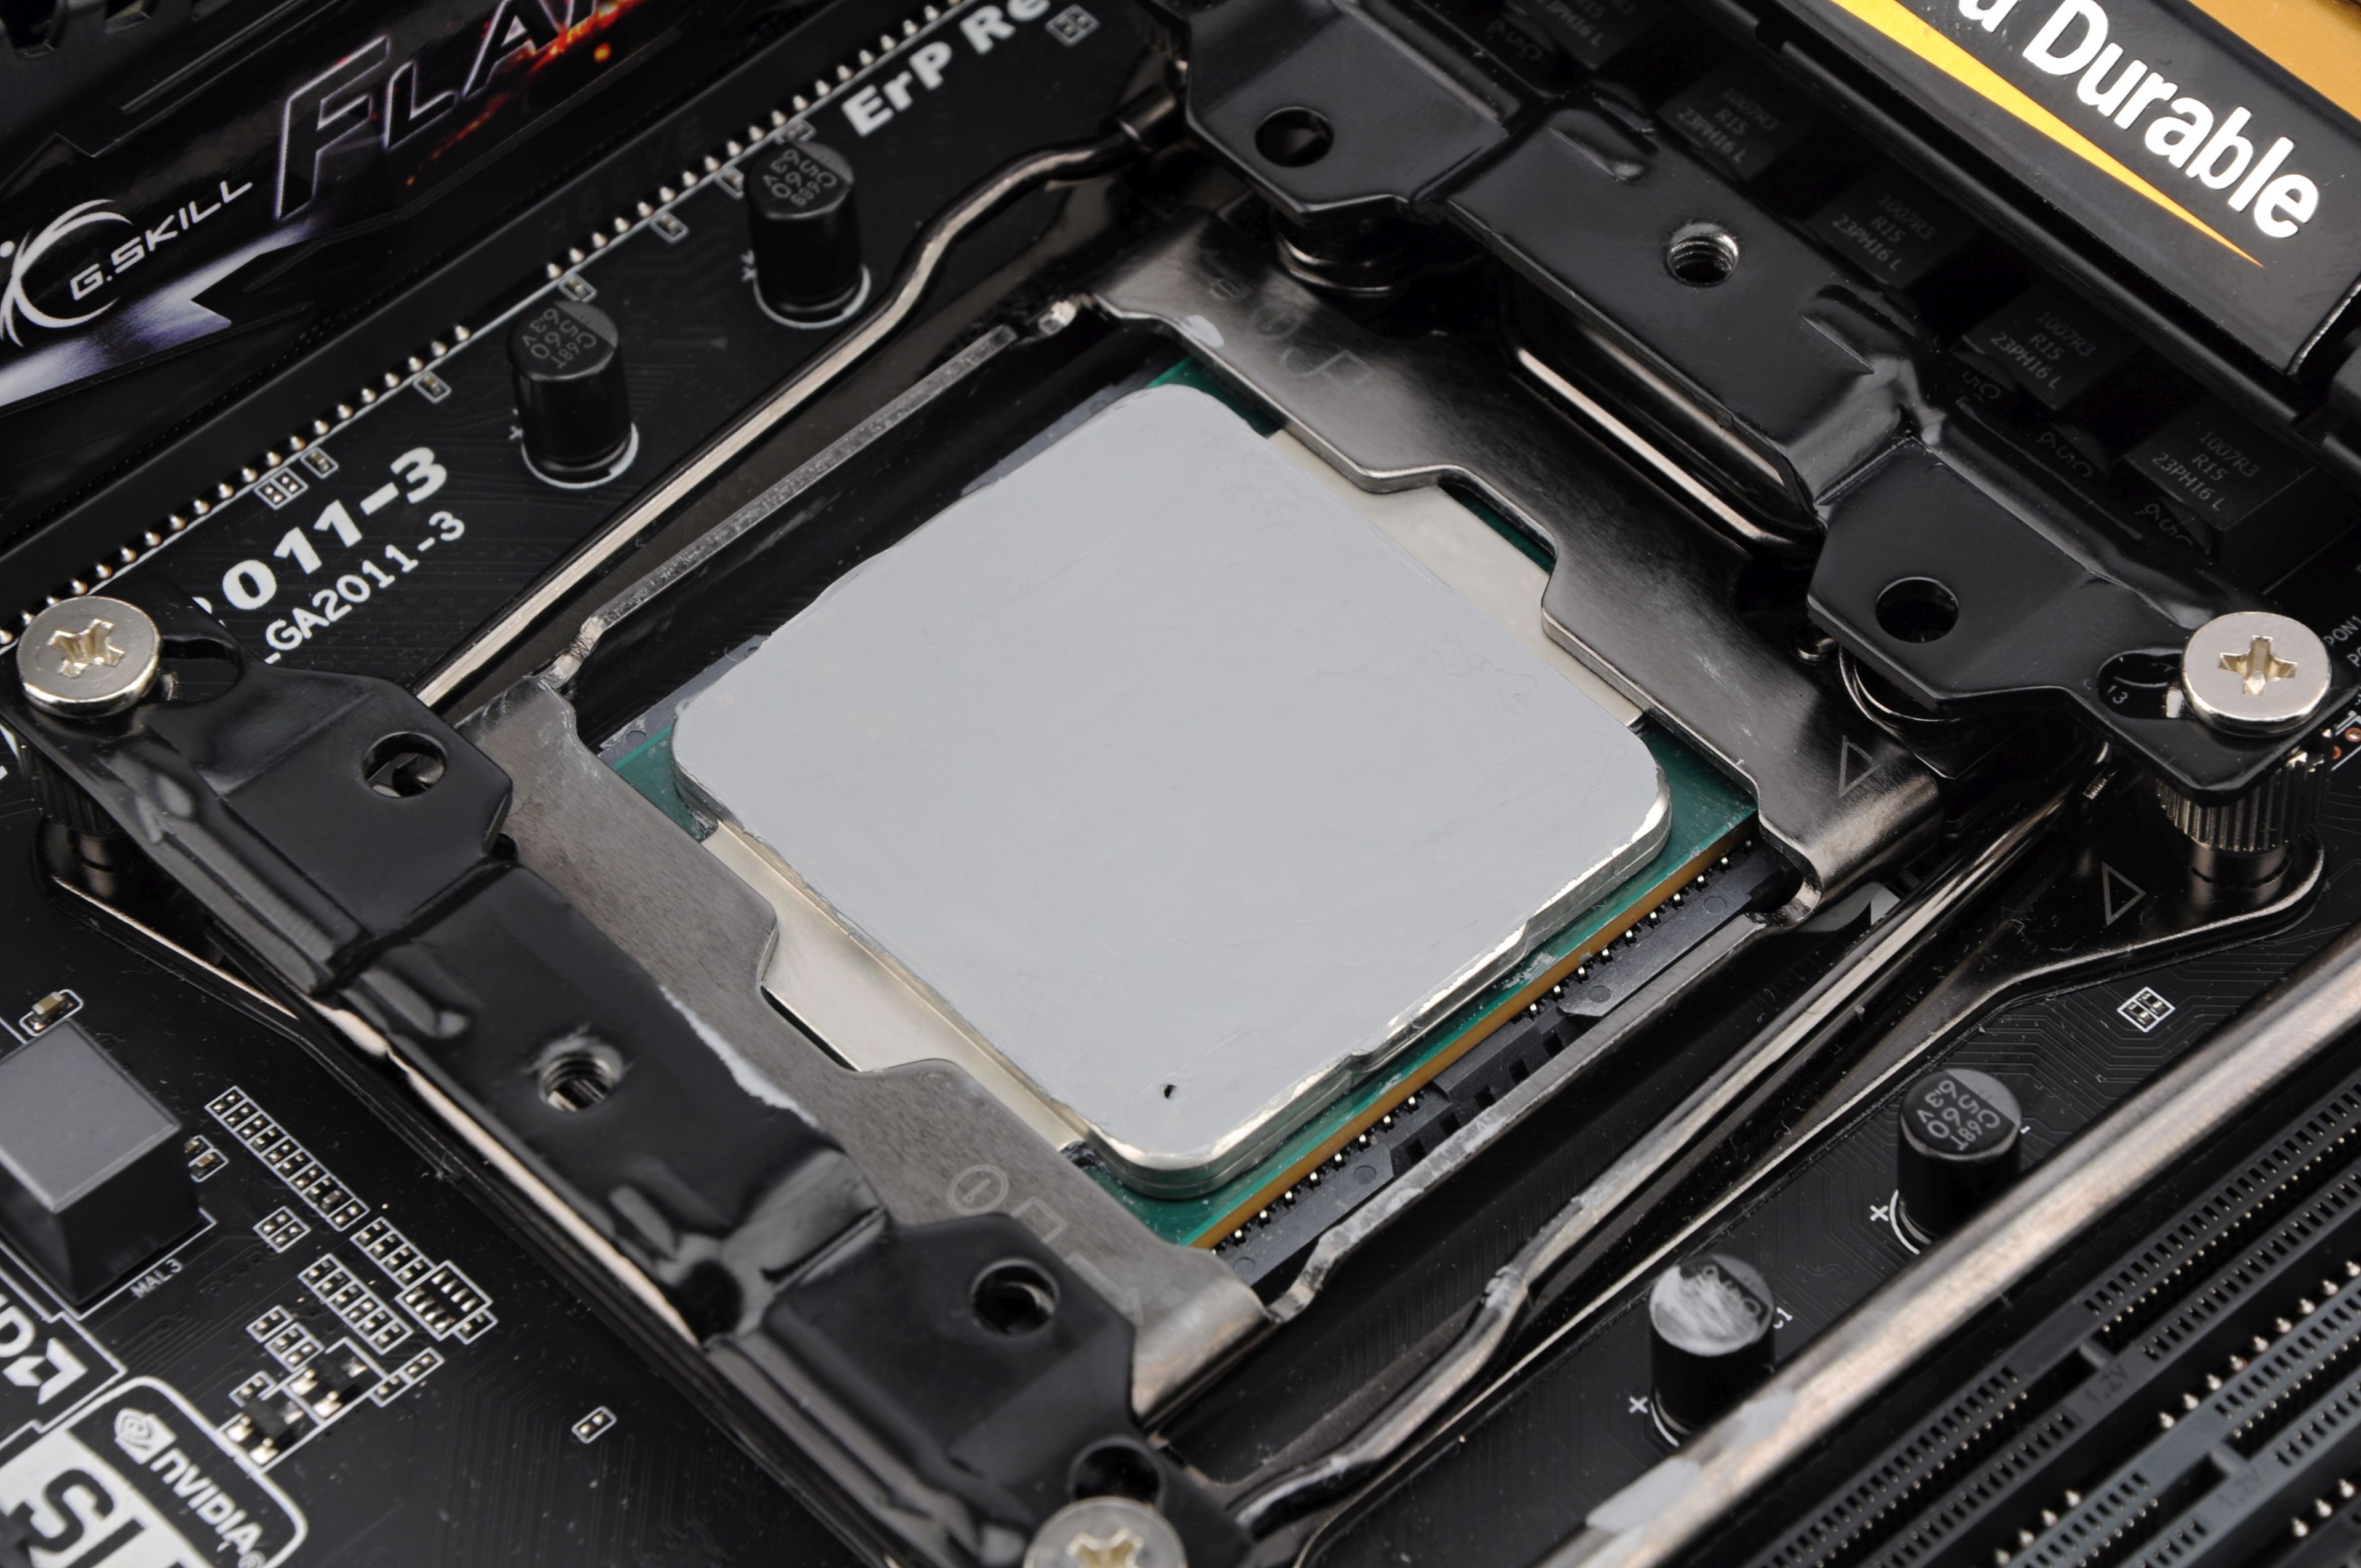
We have chosen and compared four methods in our tests. One of the most recommended and used is a drop in the middle of IHS, which is spread by the pressure of a cooler. This pressure is also used with the cross method that can better reach corners in some cases. These corners usually remain dry when using combination of the drop method and less paste.
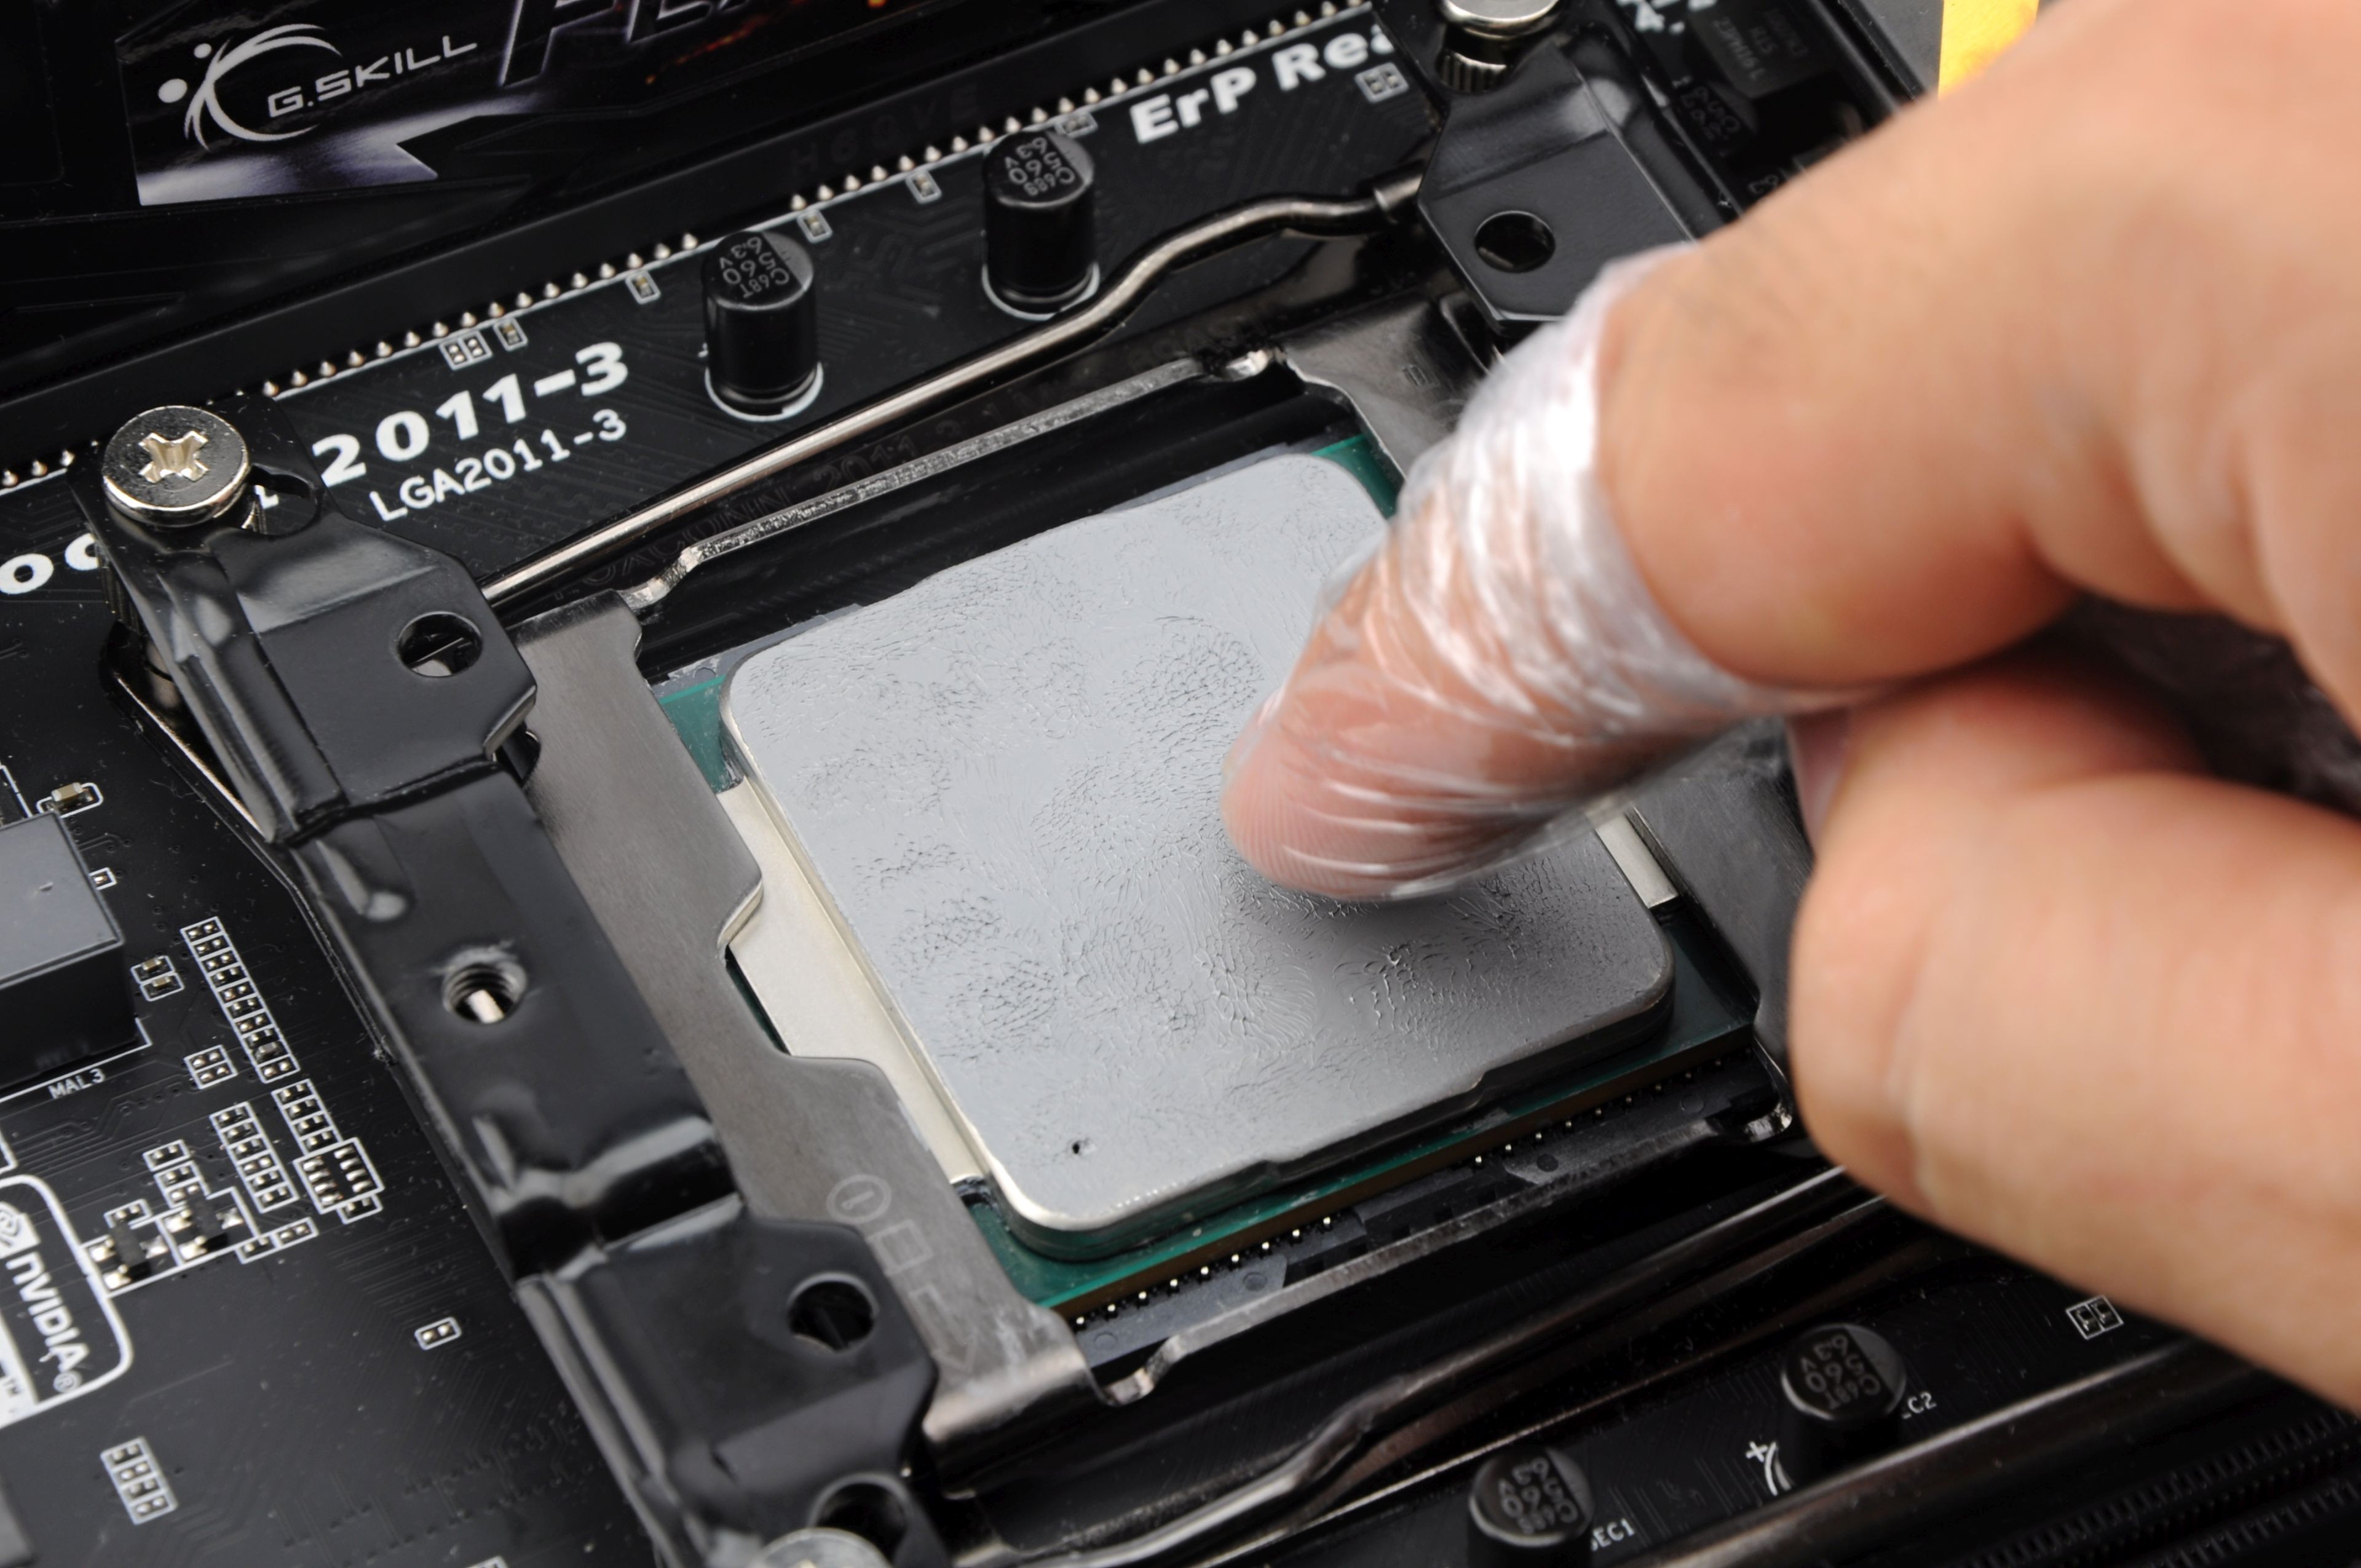
It is also very popular to use finger and a foil to spread the paste on the whole surface of IHS. However, this method is often criticized by more experienced users because the layer of the paste is not perfectly smooth and that can lead to creation of air gaps. That is why people who want to avoid this use some applicator (or simply something with a sharp edge, like an old credit card or a razor blade) to precisely smooth the layer.
When you have decided which technique to use, it is time to think about the amount of paste to be used. We worked with the range of 0.01 – 0.15 ml and we used 0.1 ml, 0.066 ml, and 0.033 ml as reference values for every method.
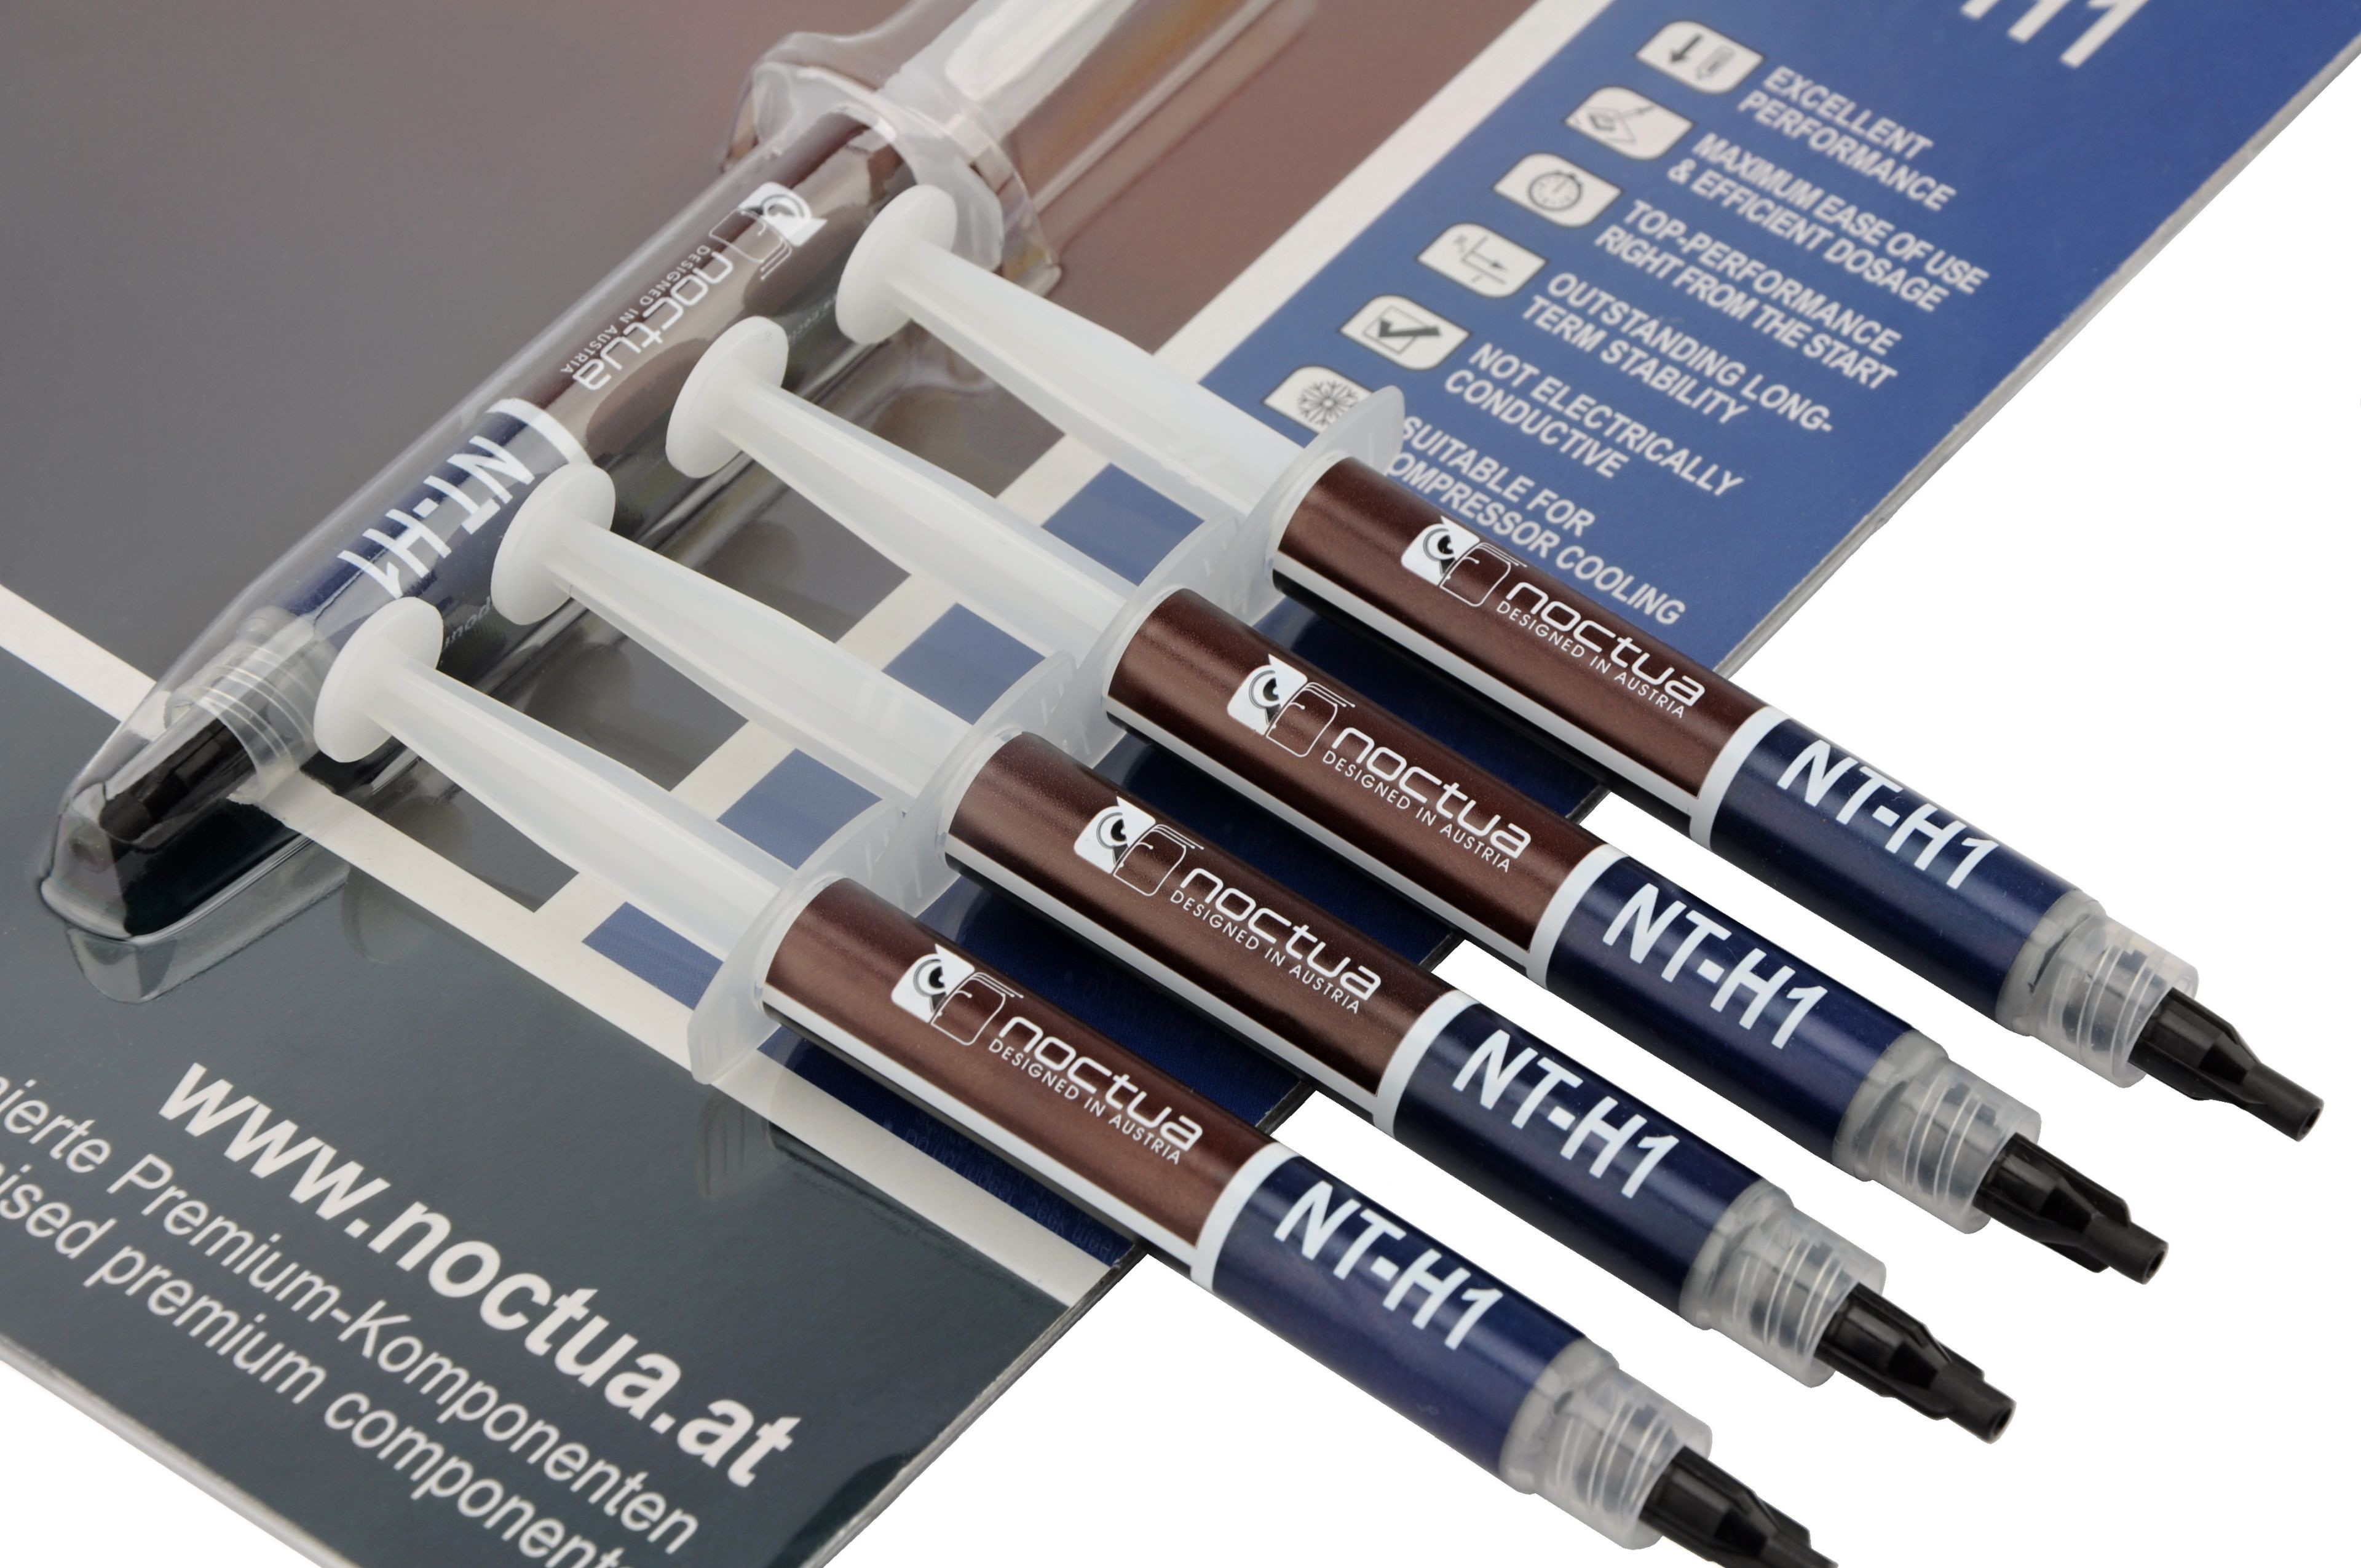
The paste which was used in our experiment is Noctua NT-H1. We’ve chosen it because it is a part of the accessories of popular coolers Noctua and also because it has an acceptable consistency for equal spreading, despite its higher viscosity. Some pastes tend to tear, which makes it harder to create a smooth consistent layer.
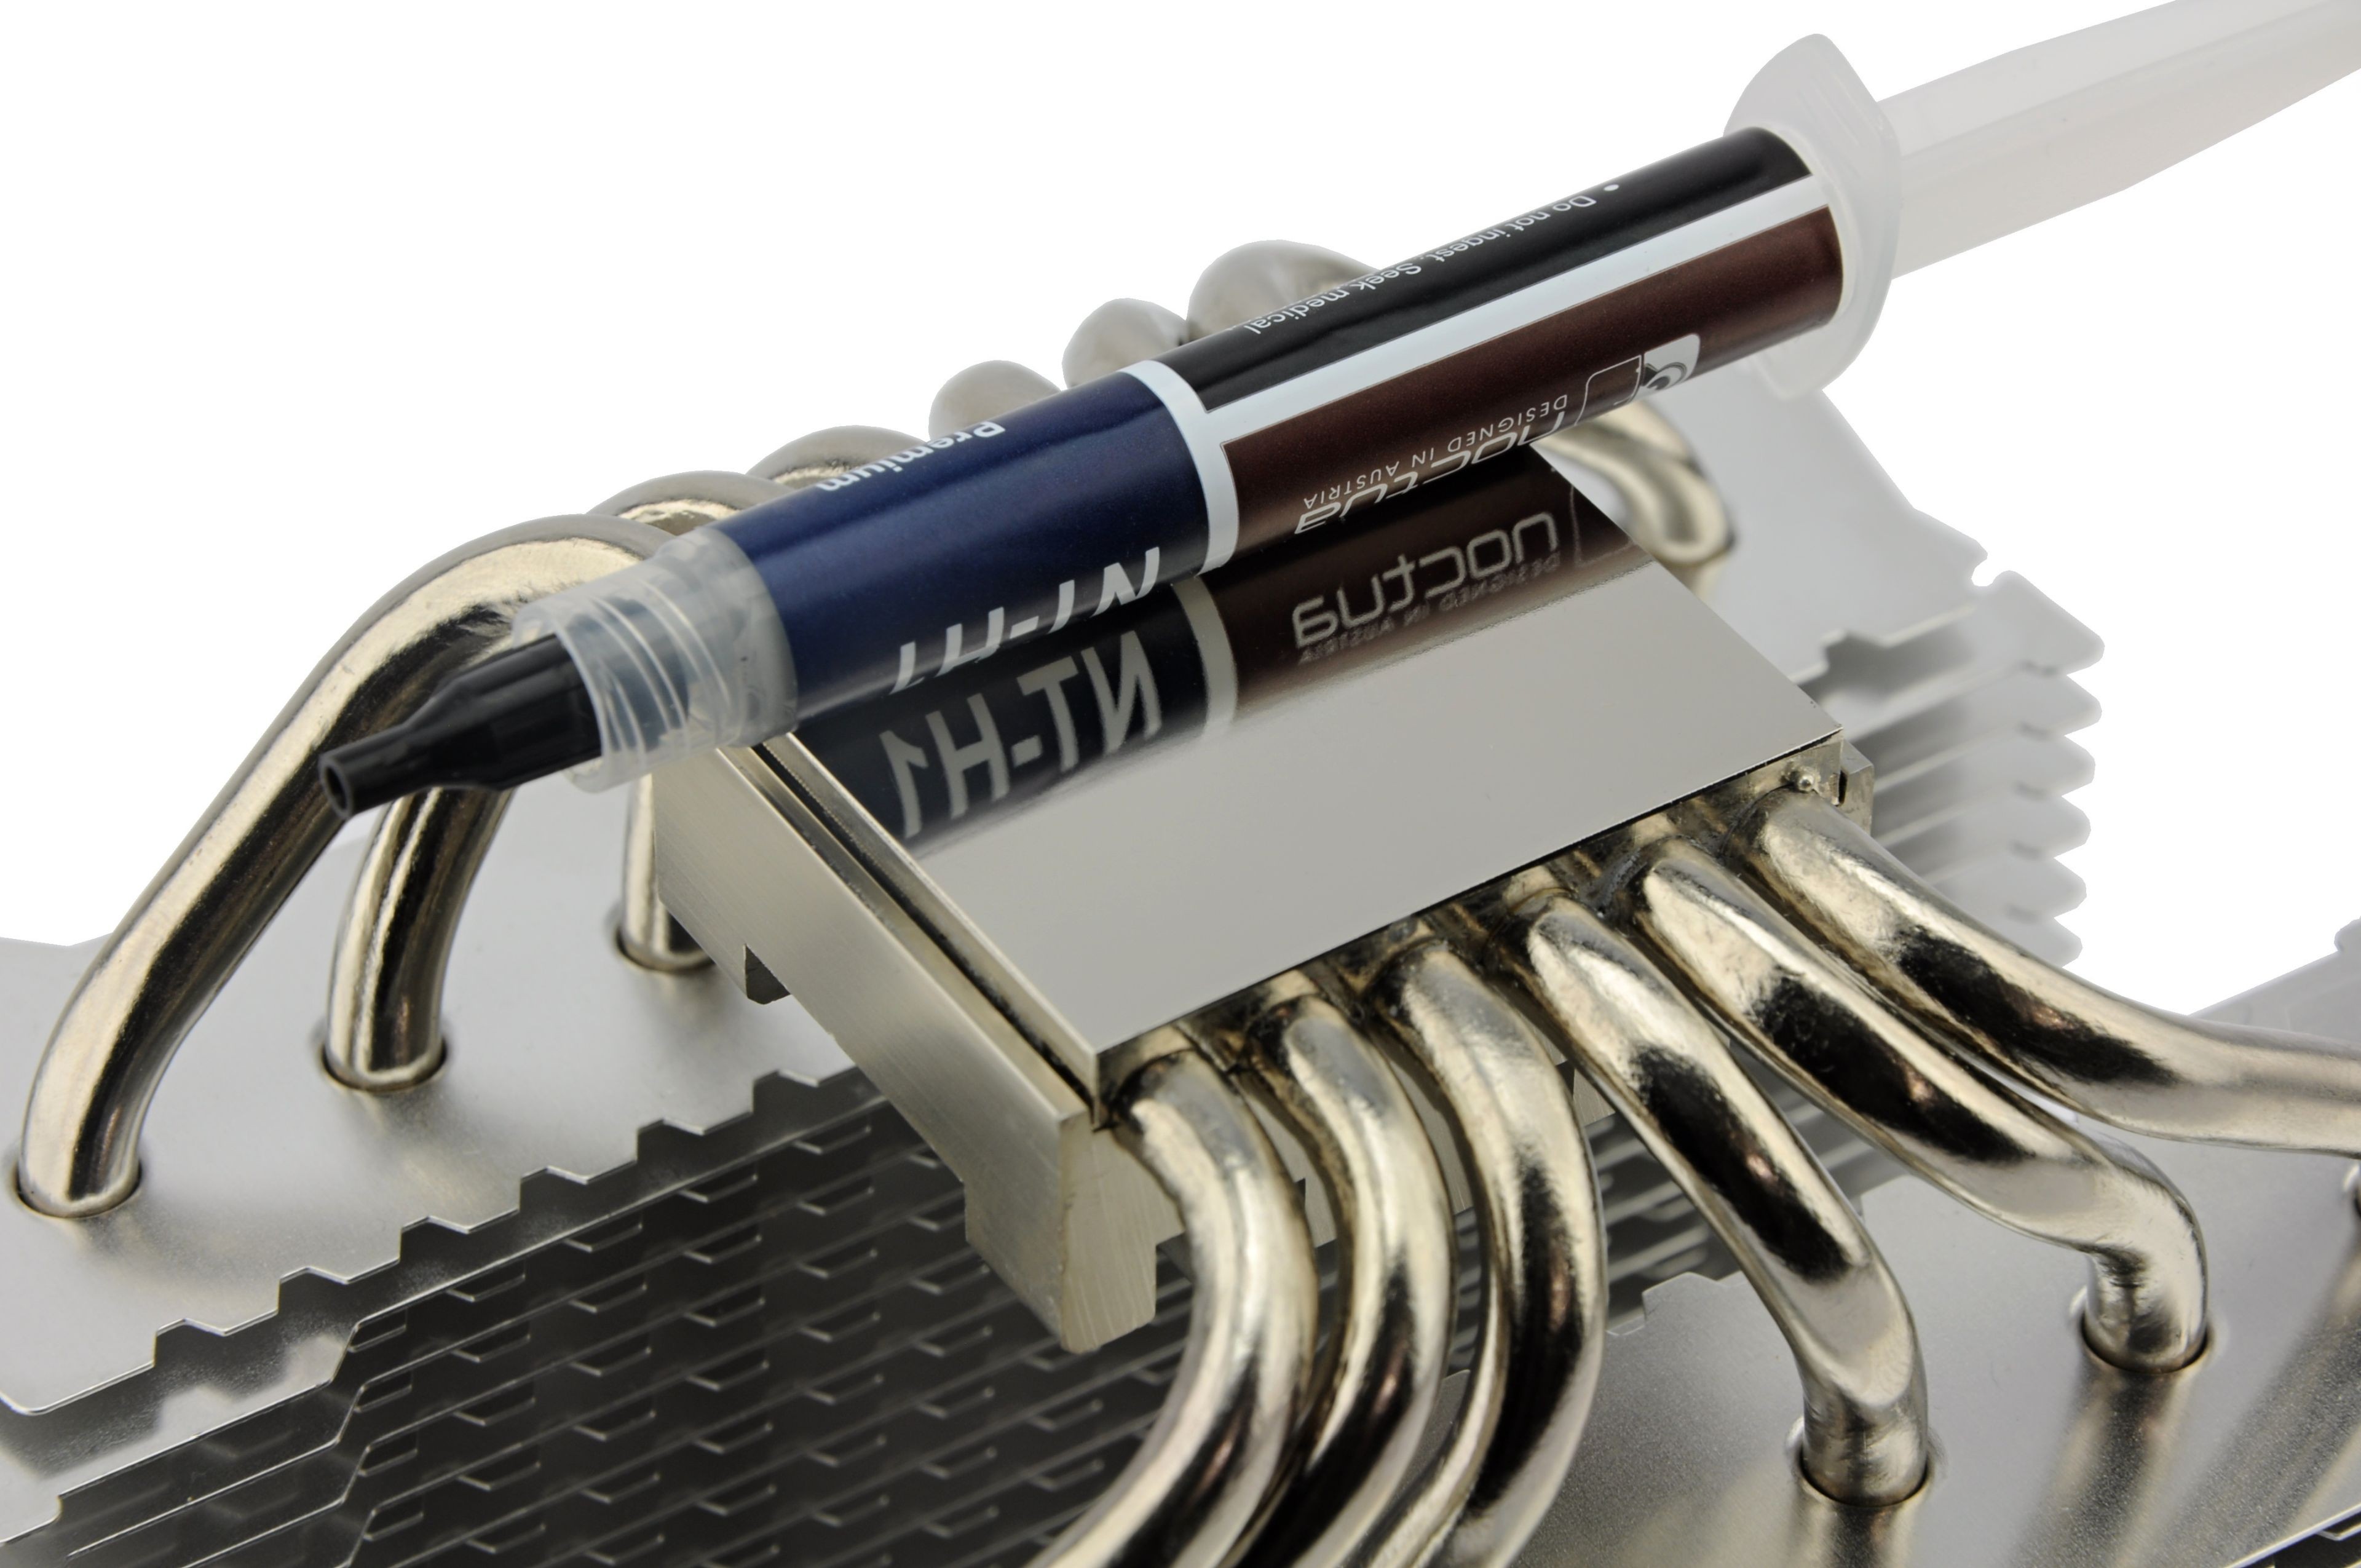
The choice of the cooler was Scythe Fuma. Because of its suitable base, it was possible to see whether the air gaps reduce effectiveness of the heat transfer.
The heating element was overclocked Intel Core i7-5930K@4.5 GHz (on Gigabyte X99 UD4) with increased Vcore to 1.275 V. We simulated the burn in IntelBurnTest (7500 MB). The waste heat was around 250 W.
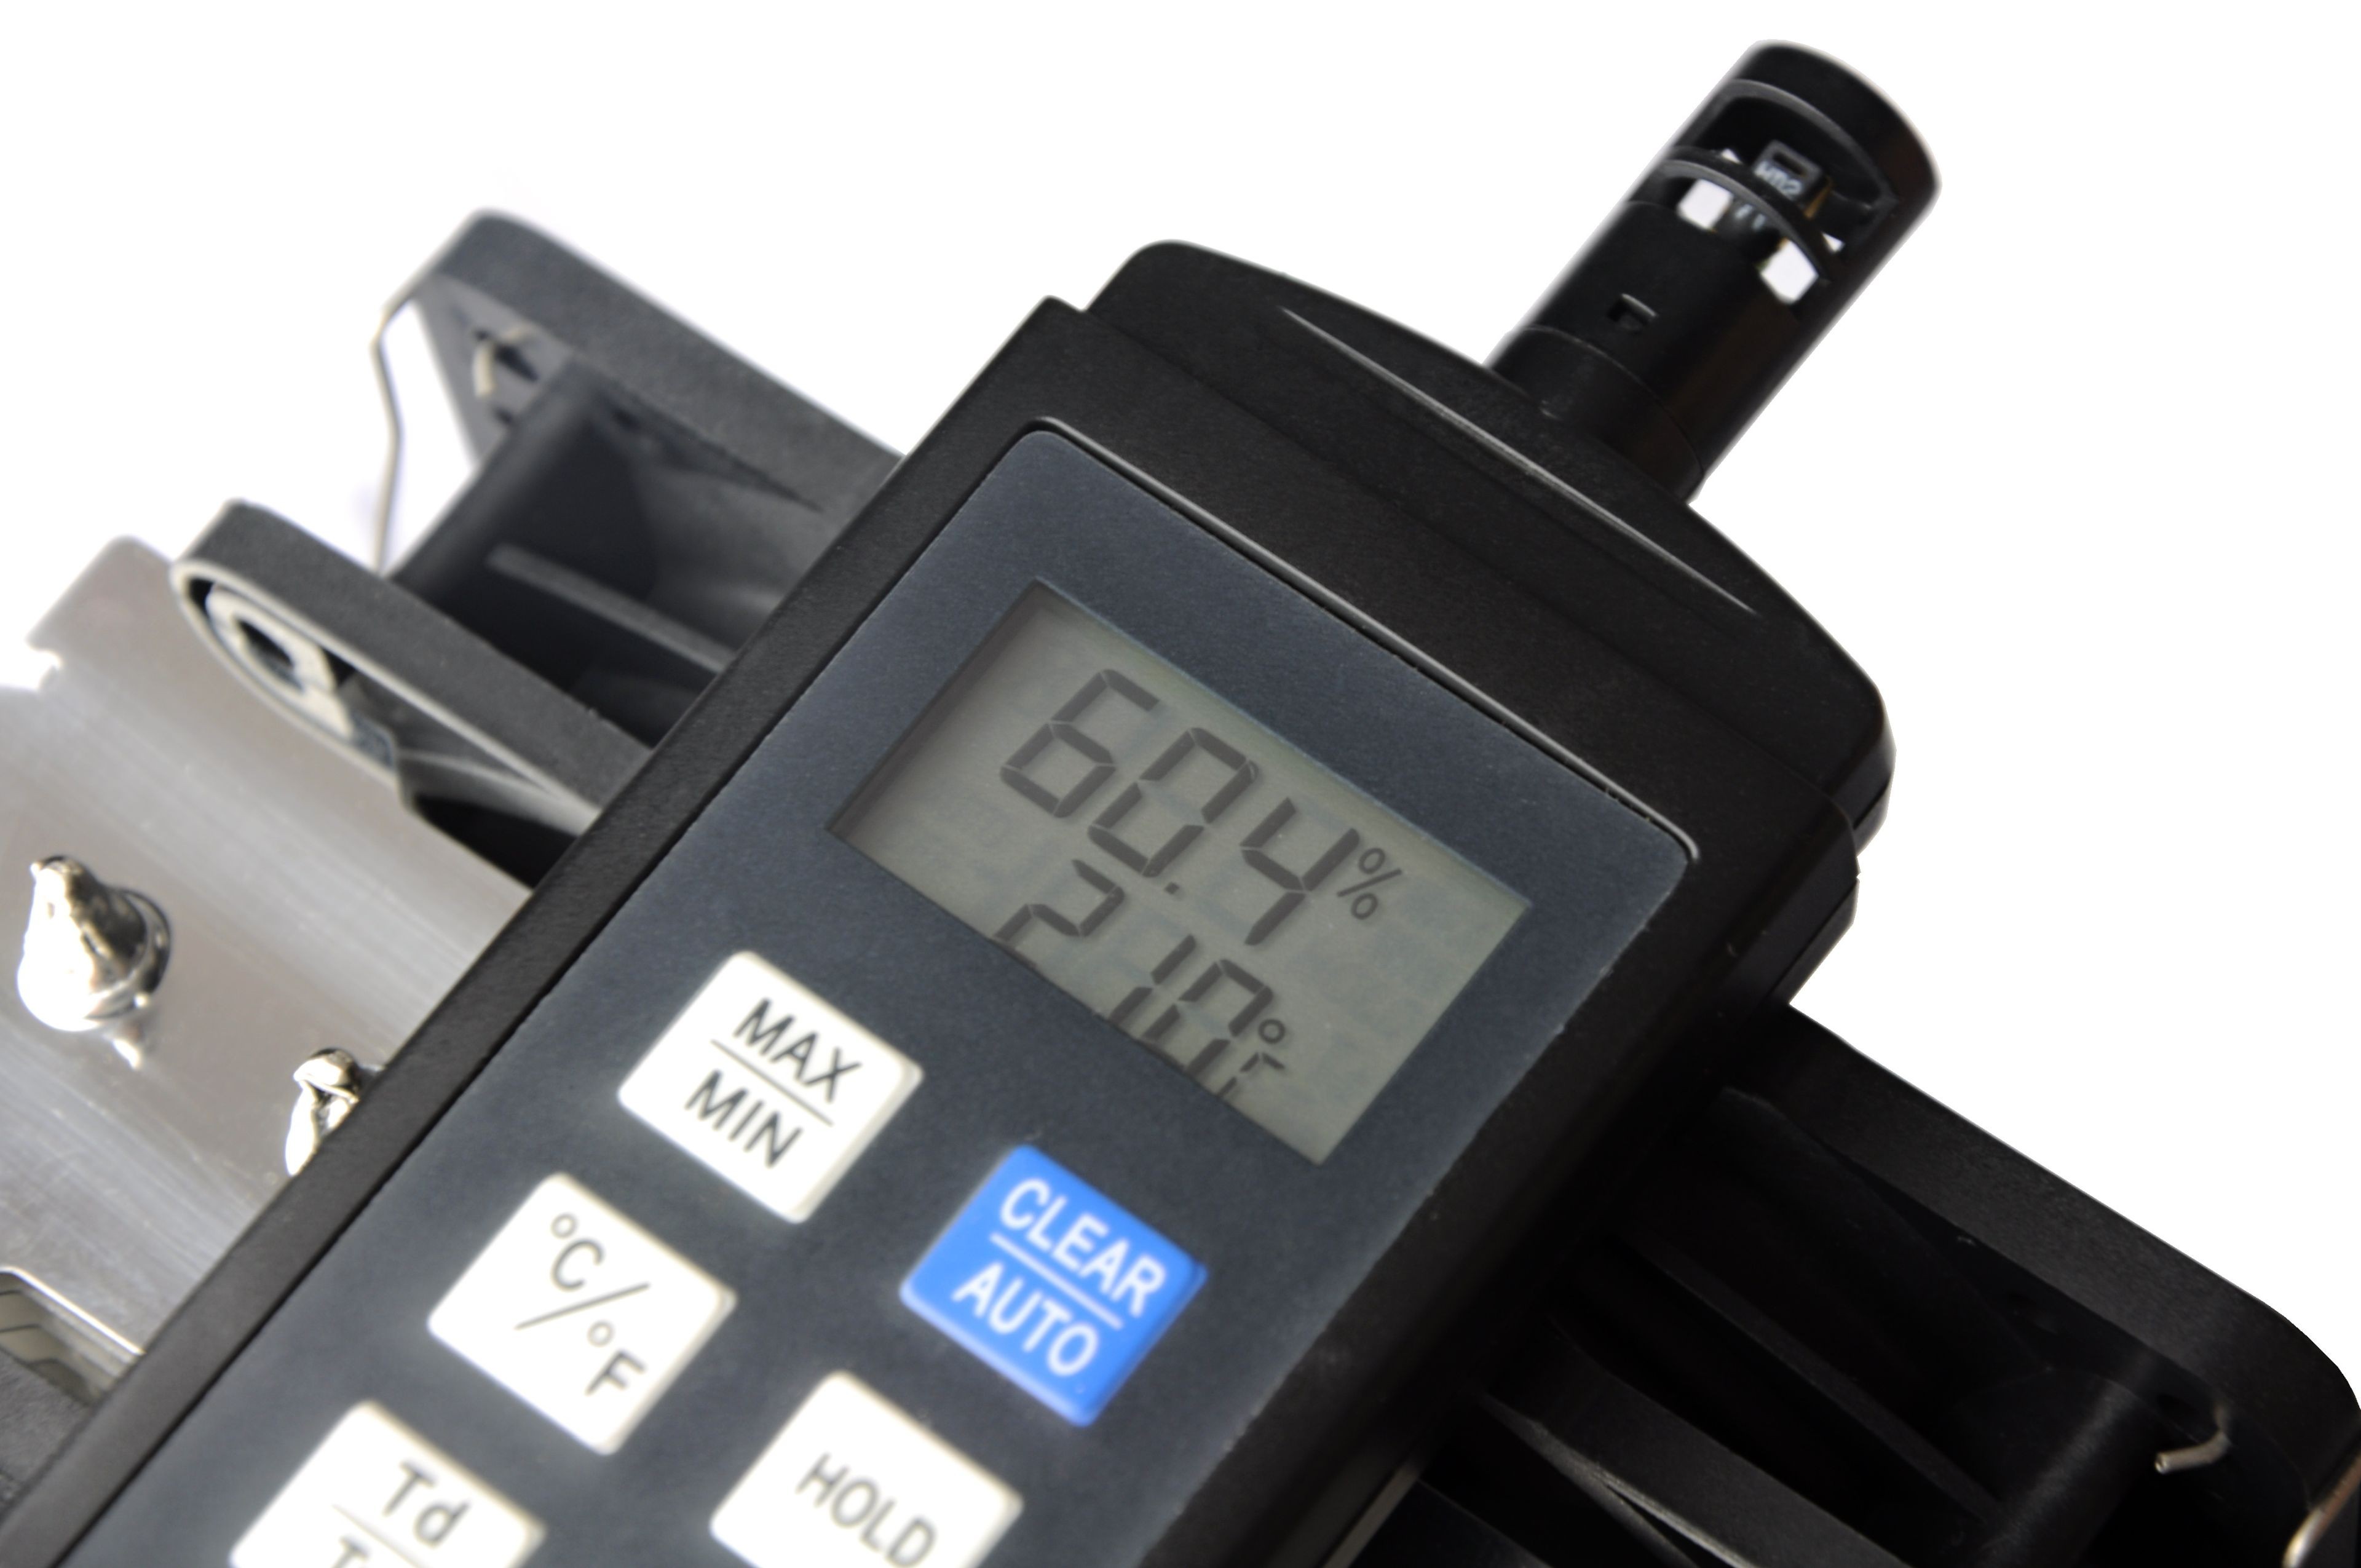
After the initial burn in, the tests took 300 seconds. We used high-flow industrial fans Noctua iPPC NF-F12 2000, so five minutes should be more than enough for temperatures to stabilize. It was crucial to watch if the CPU was working with the same performance the whole time. Even the smallest offset (GLOPS) could affect the final results. We repeated every test twice (new installation included) to make sure that measured values match. The intake air temperature was 21 – 21.3 °C, ensured in our air-conditioned lab.
Before we get to the comparing, we need to add that results can differ with other pastes and configurations. The reason is differences in viscosity, pressure, and contact areas of coolers. Coolers with solid block base can spread the heat differently than coolers that put heatpipes directly on the CPU’s heatspreader.


