


After analyzing the nylon and plastic dust filter, we now add a test of the “foam” dust filter. The latter has a slightly more complex construction. It consists of several parts and is kind of like a jigsaw puzzle, the elements of which even improve the aerodynamics in some ways. We go through everything in detail, and although we approached this type of filter with a bit of a bias, it comes out in a good light in the end. Is a foam dust filter better than a nylon one?
Grille, foam, grille
Foam filters may look a bit awkward at first glance like some “B-grade” option, but beware. The main protagonist of this test is the Akasa GRM120-30 filter, which you can usually buy here for around three euros. It’s just a pity that the product pages of this filter don’t reveal many details. Practically all you will learn is that underwater cleaning is possible. It is apparently made of low density polyurethane (2,5g/cm3).
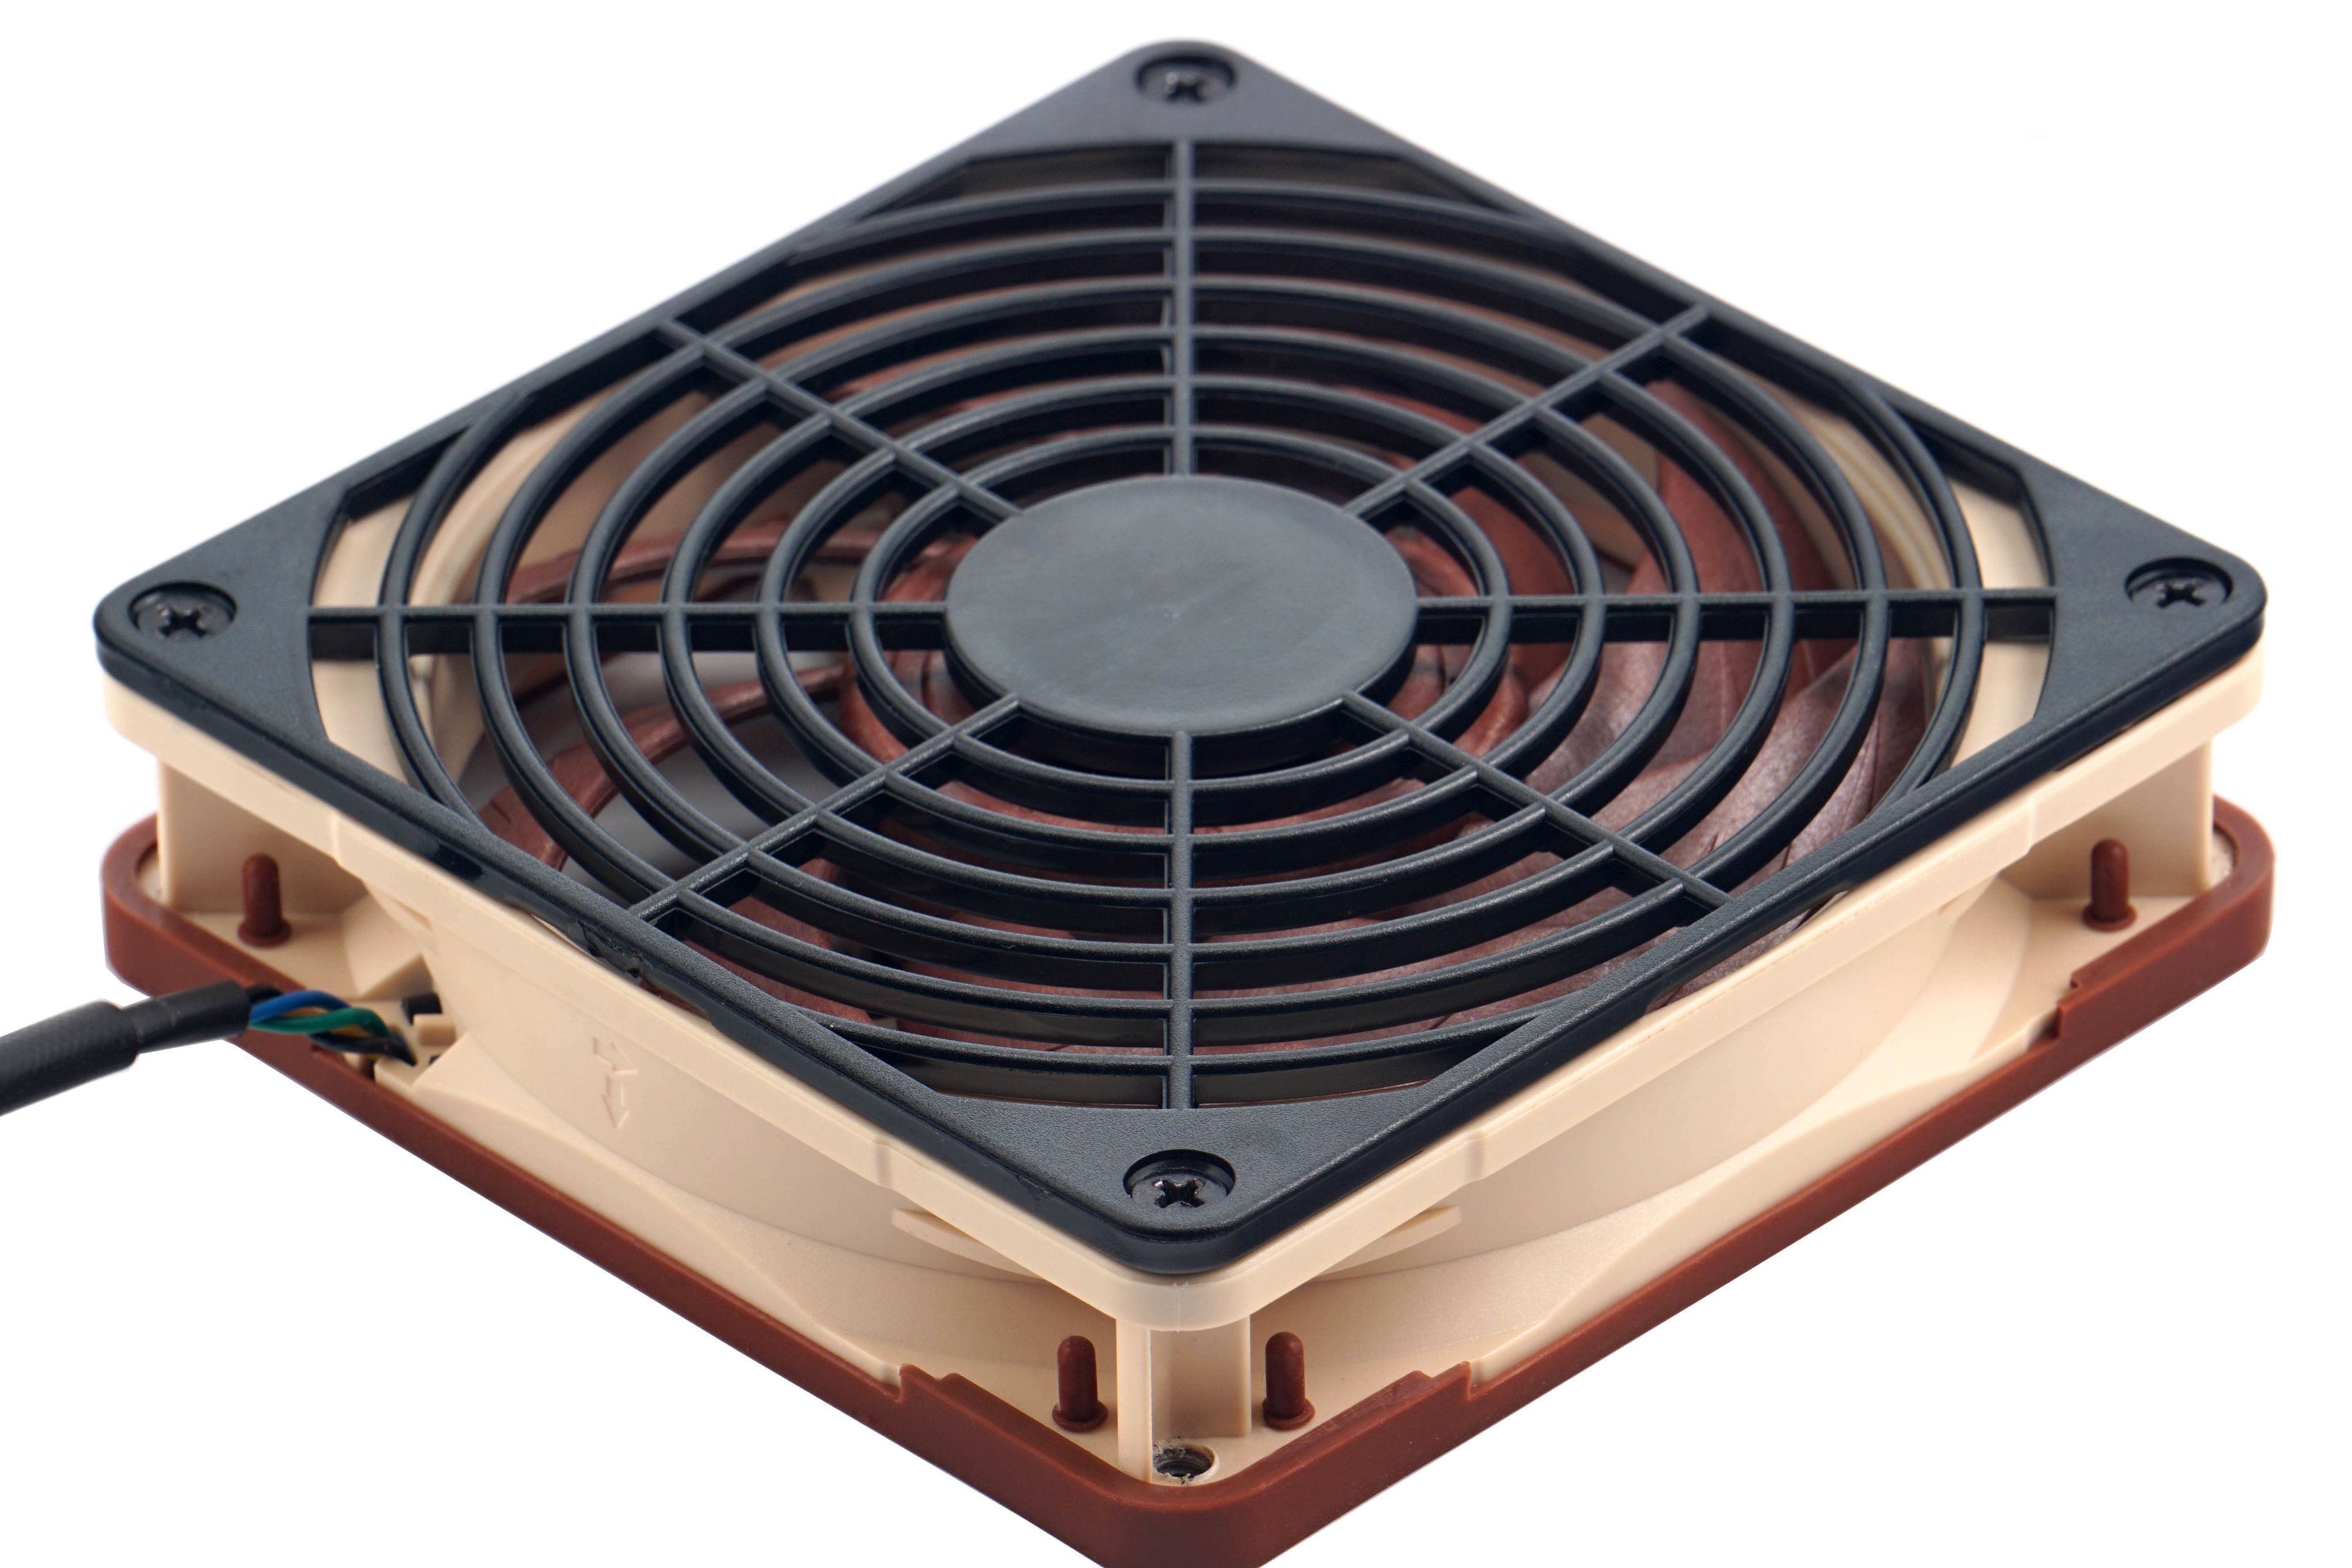
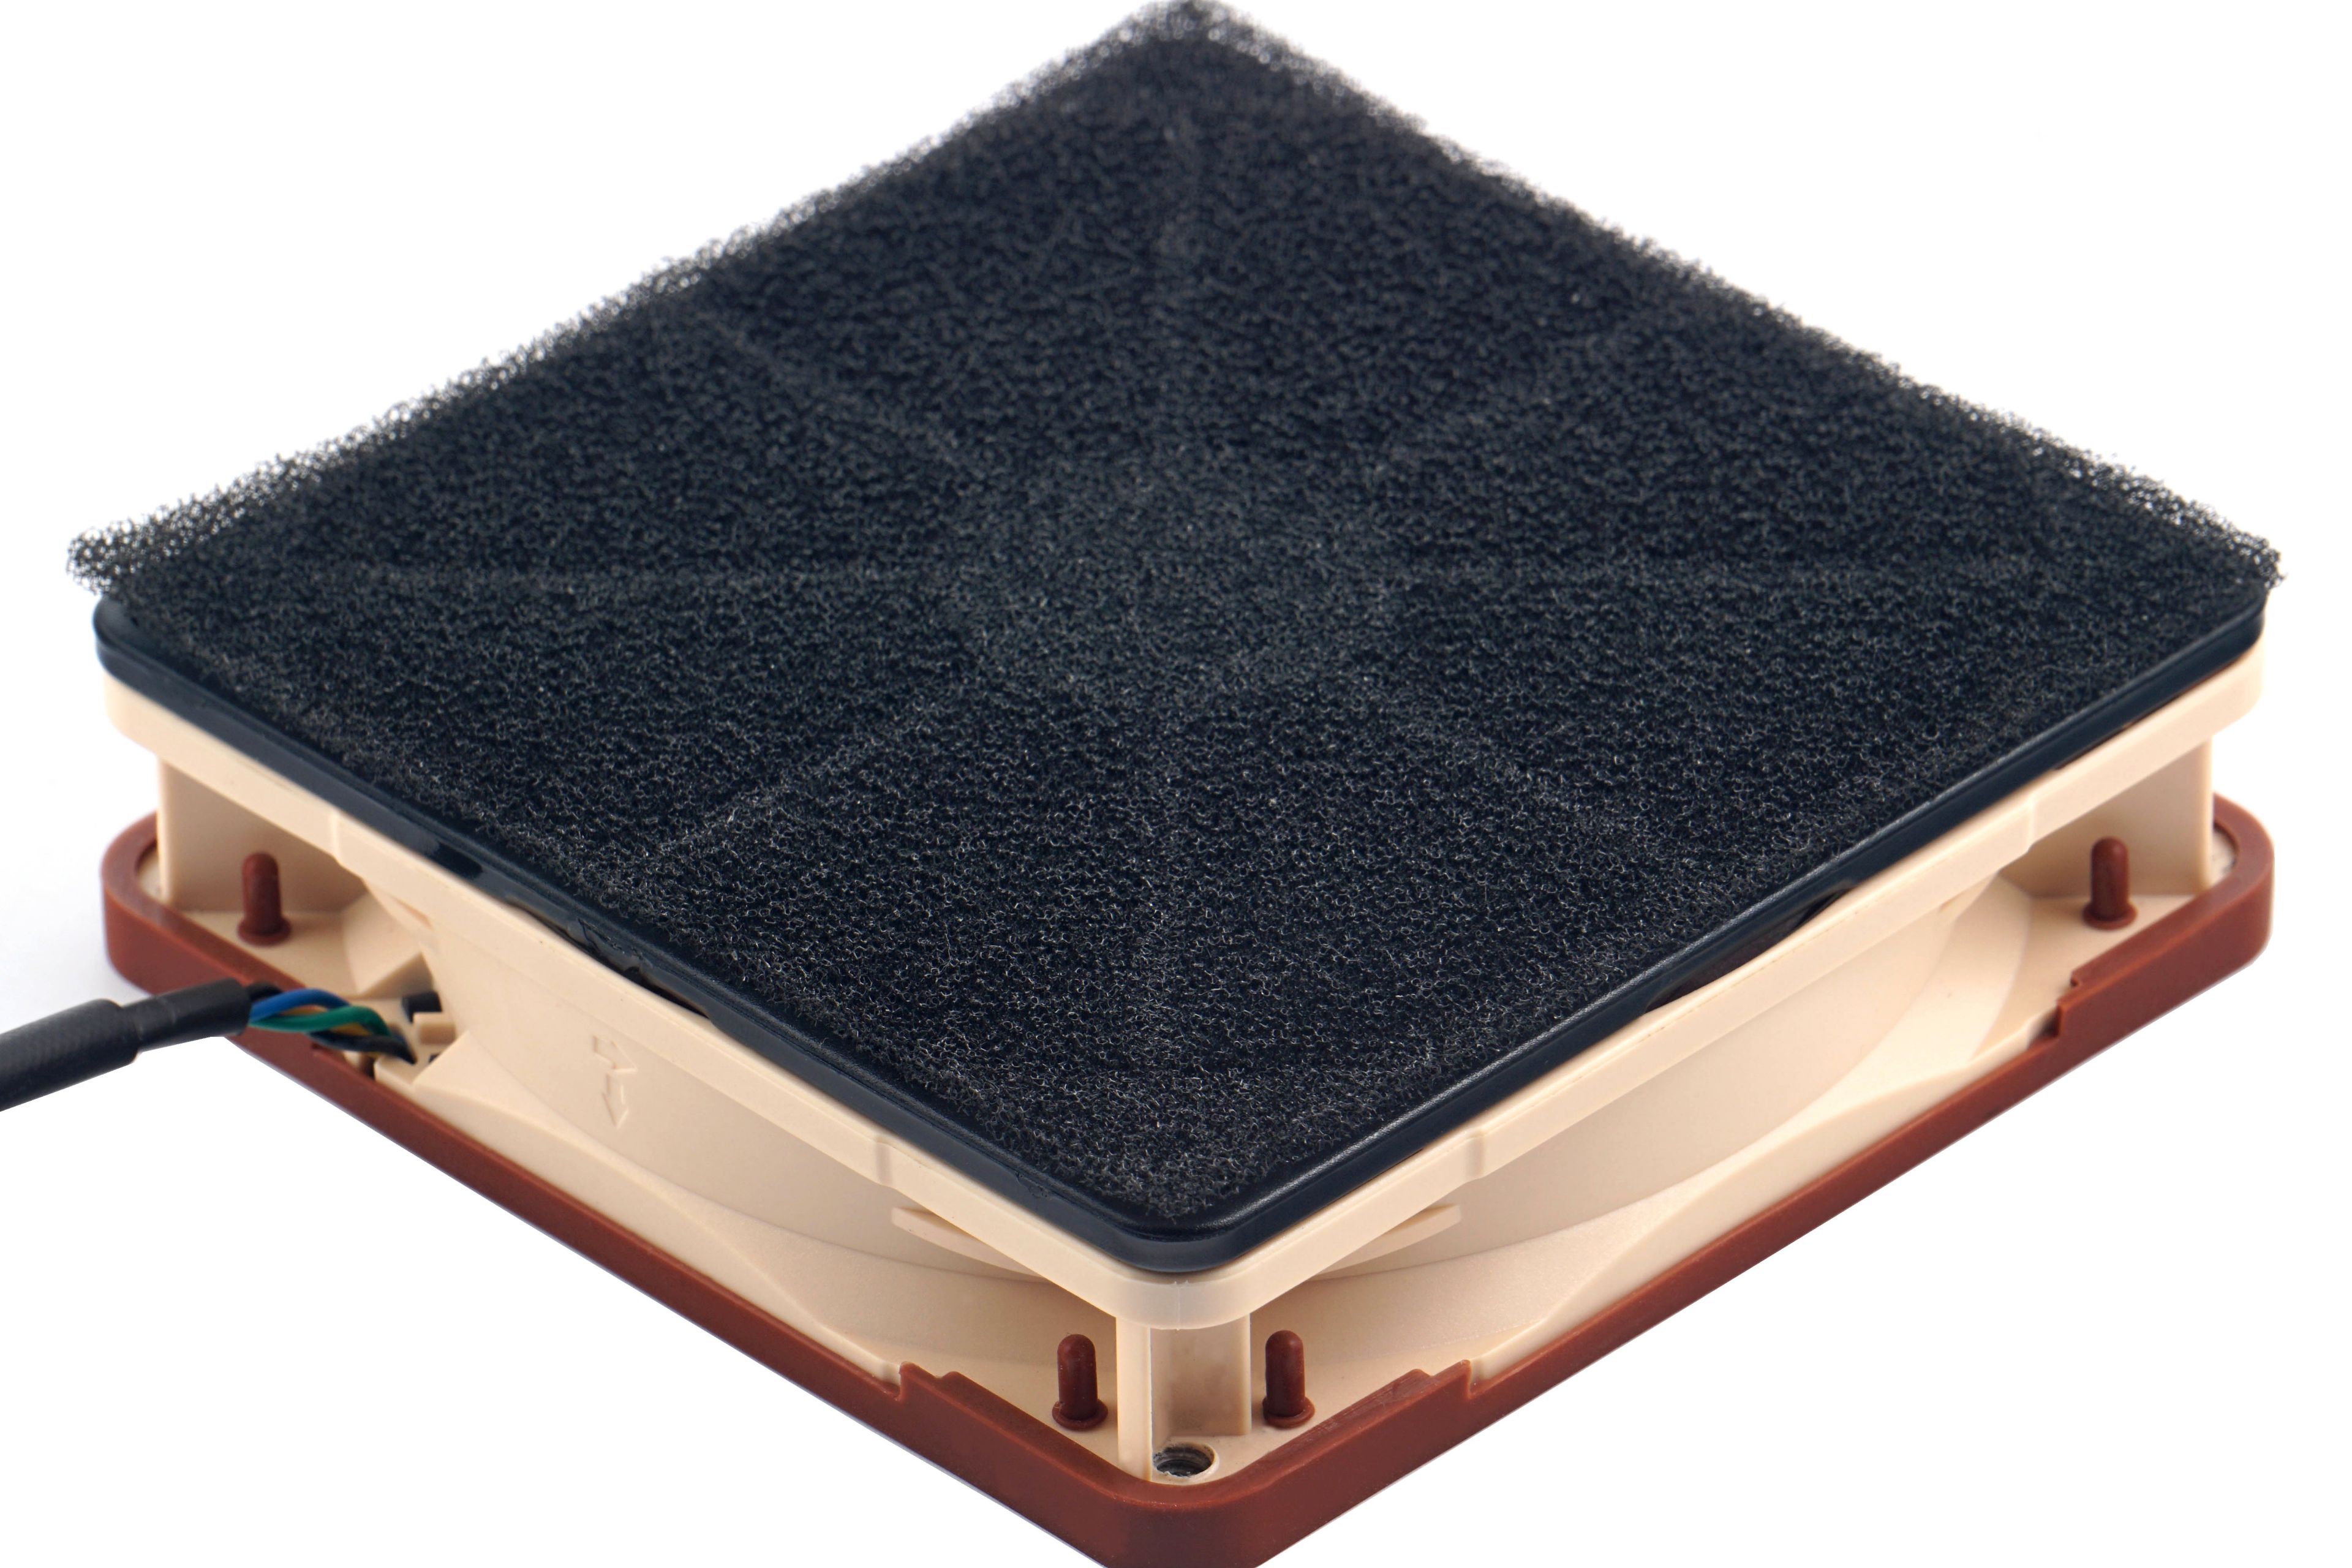
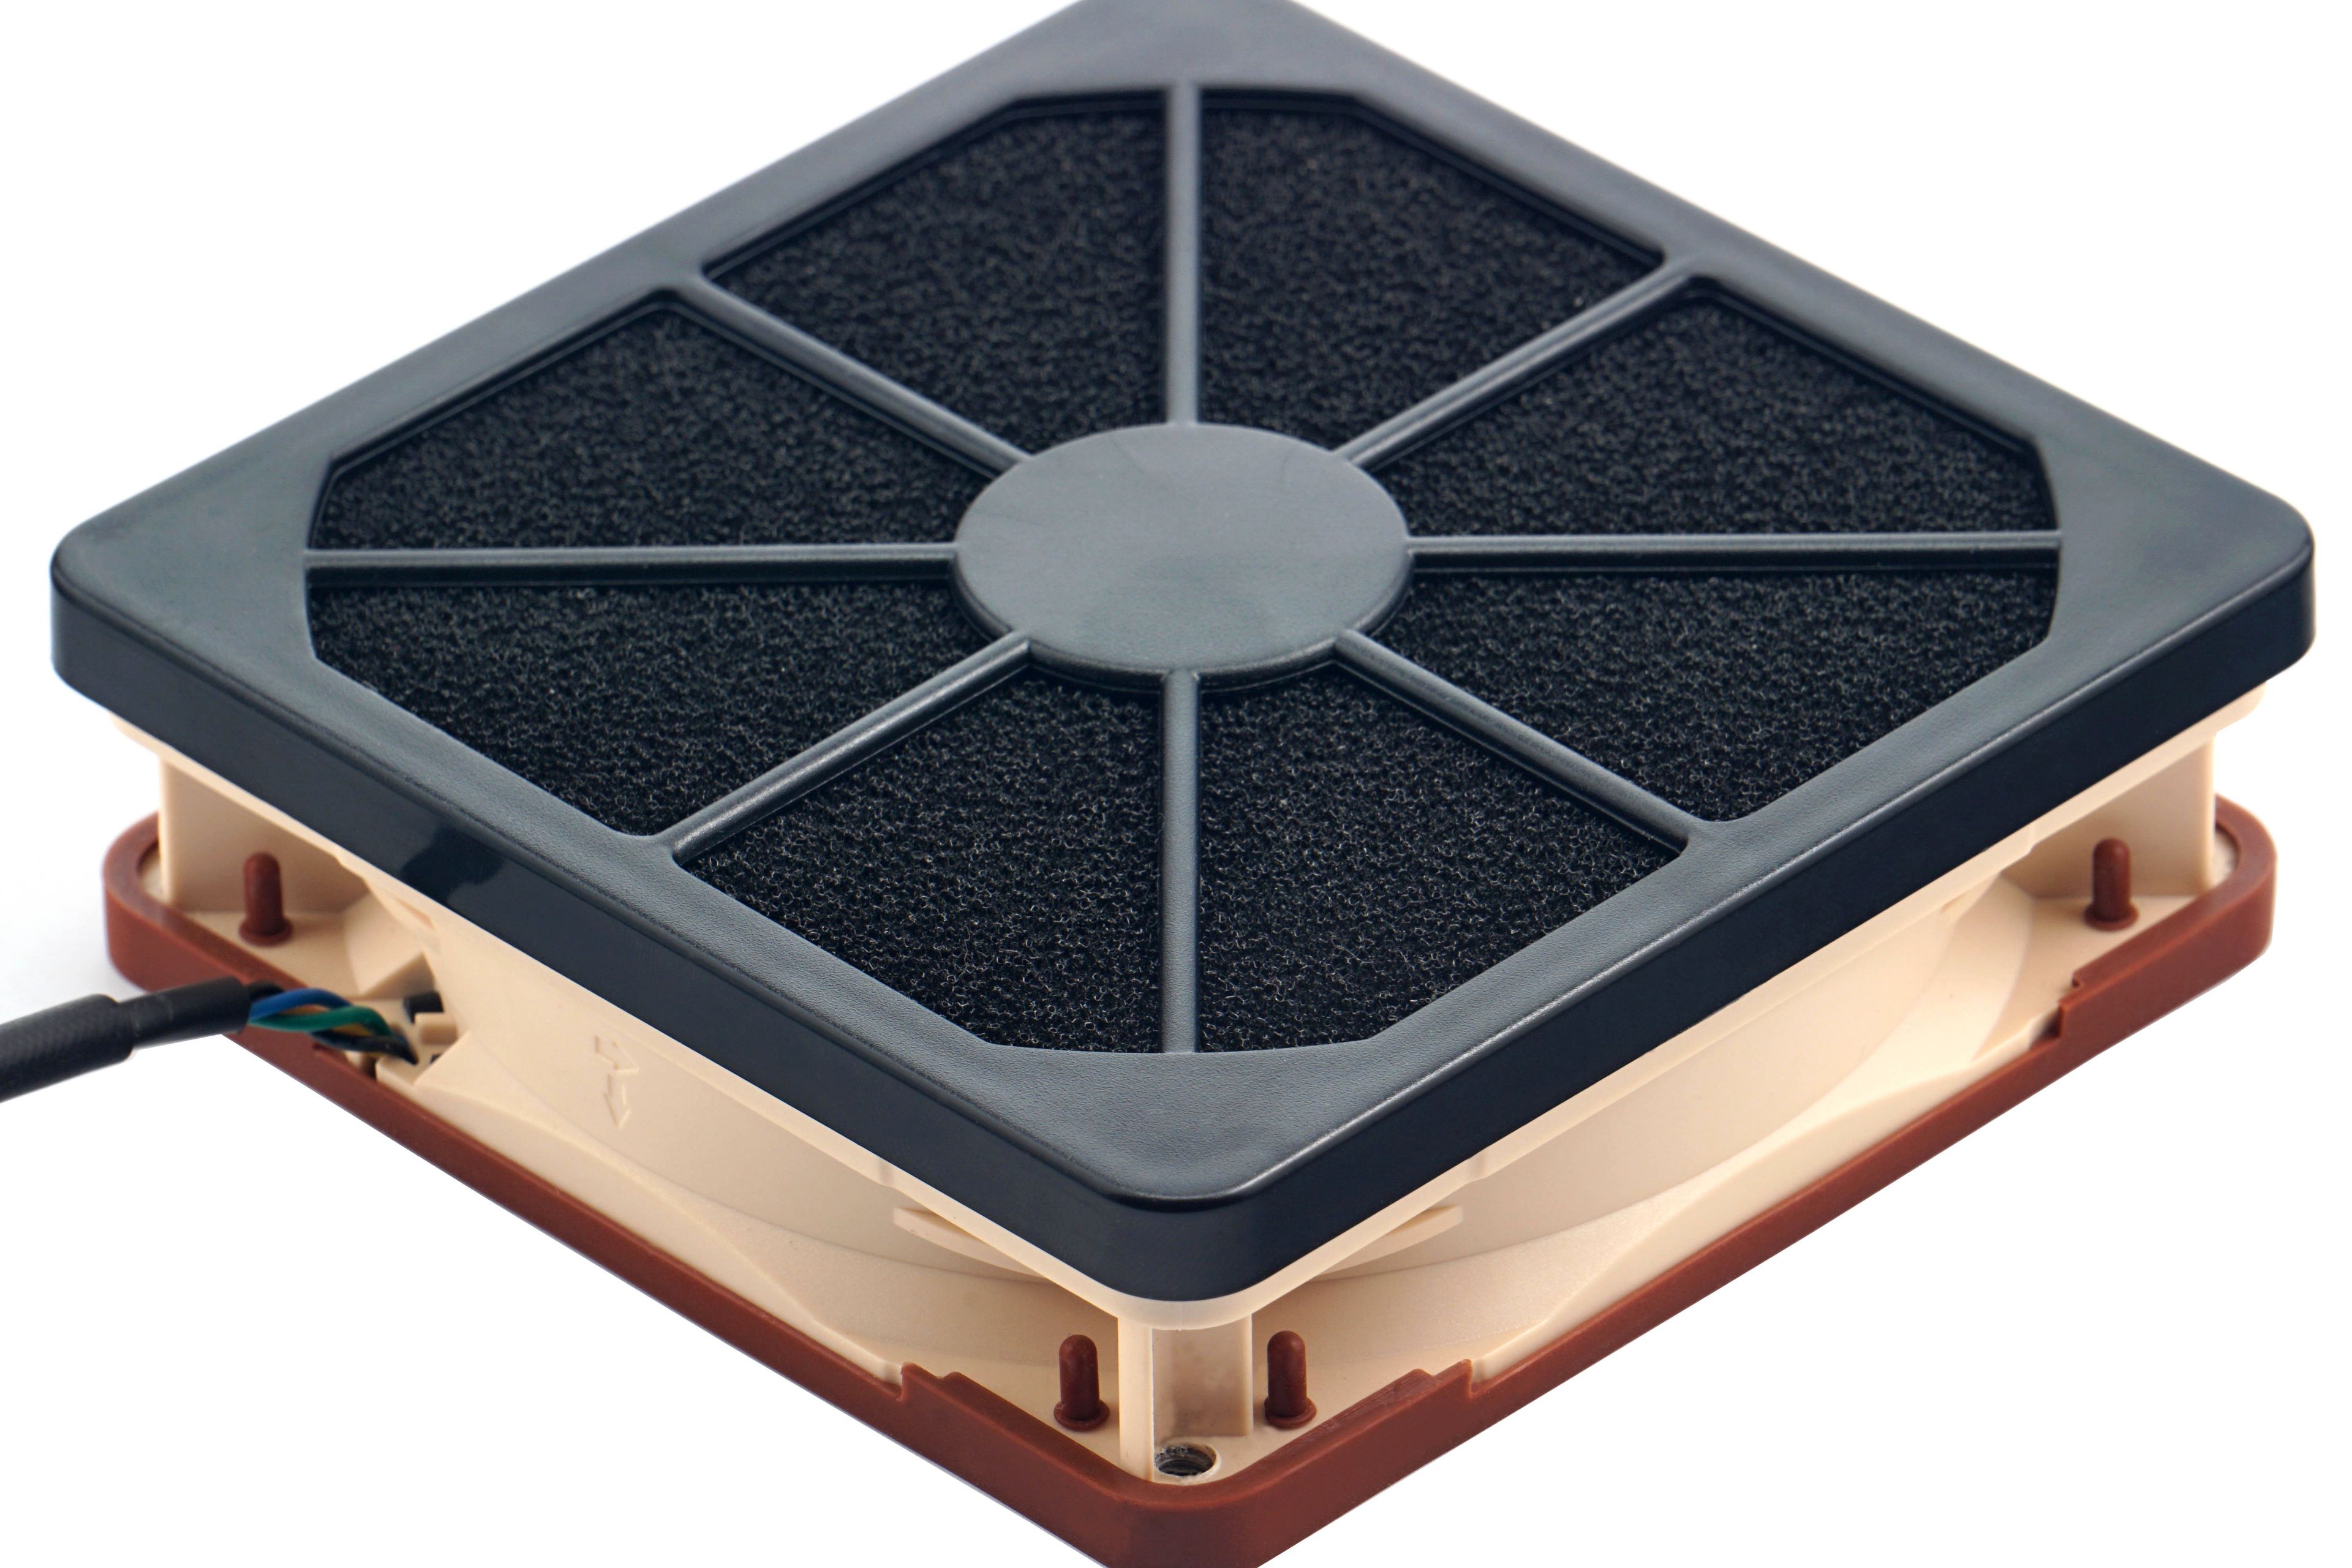
The frameless foam insert itself has a 116mm square base. However, even with a clearance margin, this is enough to cover the entire cross-section of the active part of the 120 mm fans. Of course, the walls of the frame also count in this format and the rotor itself always has a smaller span, so around 112 mm (± 1 mm).
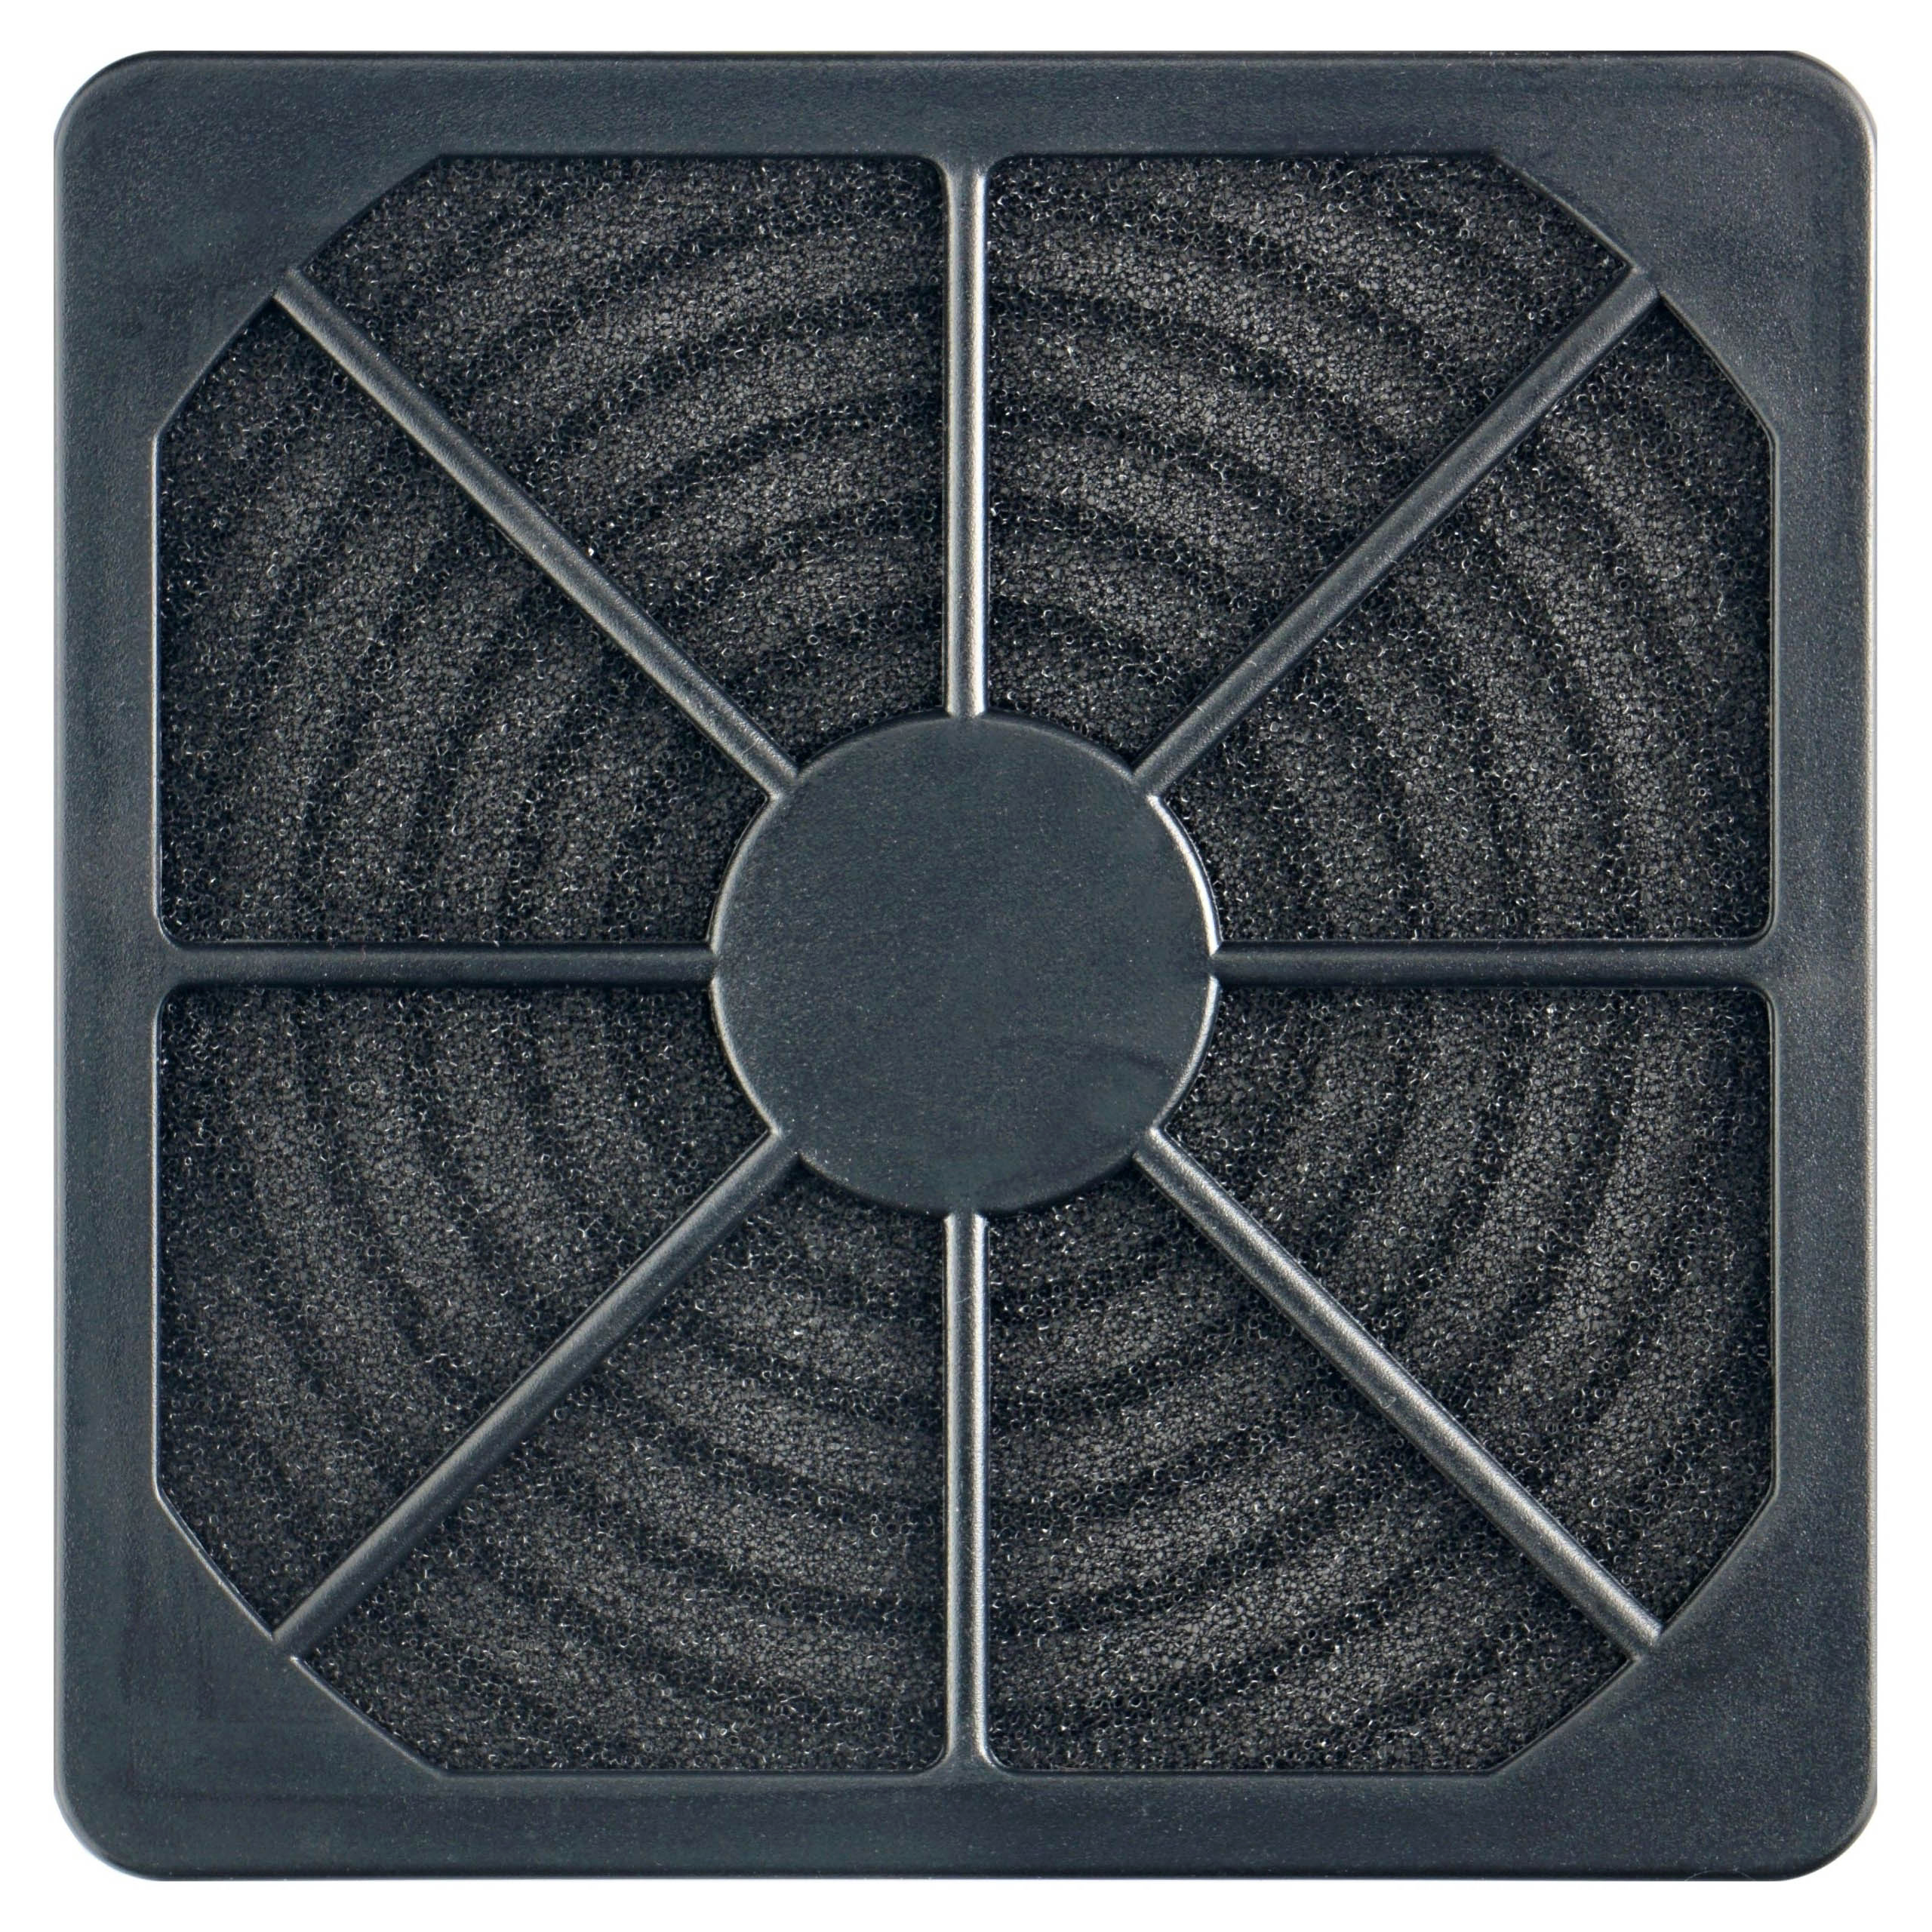

In addition to the dust-catching material, the filter has two other parts. A front and a back cover, both made of plastic. You don’t have to worry about those. They are shaped in such a way that they can even help a simple fan. At the core or foam liner level, the airflow and pressure will naturally be throttled, but the design of the plastic frame can improve the aerodynamic properties. Note the front struts and again the larger and smaller circles at the rear with a common center. These are the shapes that transform the turbulent flow in front of the fan blades to a laminar one.
The more laminar the flow in front of the fan, the more air will flow through it. Turbulent flow is required behind the blades. So these grilles are a bit of an obstacle in the way, but as you already know from the last test of the circular grille, the negative impact on flow is minimal. Conversely, for typically cheaper fans that don’t have elements for laminarisation at the intake (typically by protrusions, such as what Noctua calls “Flow Acceleration Channels”), such modifications can bring a fresh breeze to the sails when it’s already largely absorbed by the filter itself.
For the measurements we used Noctua Fan NF-A12x25 PWM. Firstly, because it is a fairly popular and widely used fan. Moreover, it is from a higher price category and one can assume that its owners will be interested in how it handles dust filters. Although we will be using not only filters but also other obstacles in our standard fan tests, a separate article with a slightly modified methodology is also appropriate.
We measure both airflow and pressure in the wind tunnel as described in the fan test methodology, but we measure noise a little differently. We don’t equate the latter to the same level in these filter tests, but we have fixed levels of operating voltages of the test fan. This is so that the filter (and later grille) tests can show the increase in noise that is caused by the greater mechanical resistance if an obstacle is placed in front of or behind the rotor. Thus, we use the NF-A12x25 PWM with 9 V (~1650 rpm), 7 V (~1330 rpm) and 5 V (~980 rpm). We didn’t test at maximum power because few will be blasting through dust filters at around 2100 rpm, where the Noctua is as well, naturally, noisy.
Don’t be alarmed by higher noise levels in the results. They are so because we increase the sensitivity of the sensing to a high enough resolution even for very low speeds by a parabolic collar around the noise meter. We also use the same fixture for in-depth sound analysis, where we measure noise levels in the 20–20,000 Hz range at 240 frequencies. For more on this topic, see Get familiar with measuring the frequency response of sound. If you are interested in fan tests and don’t know how to read spectrograms yet, we recommend you to complete the overview, it will come in handy.
The article continues in the following chapters.