
What it looks like in the BIOS
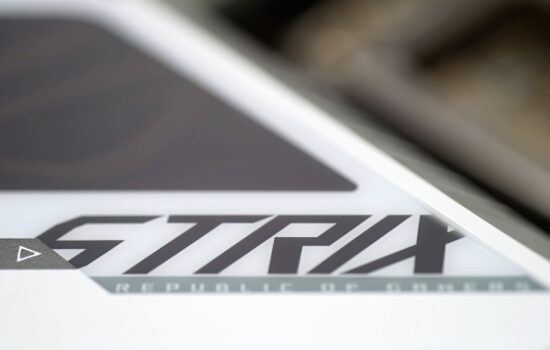
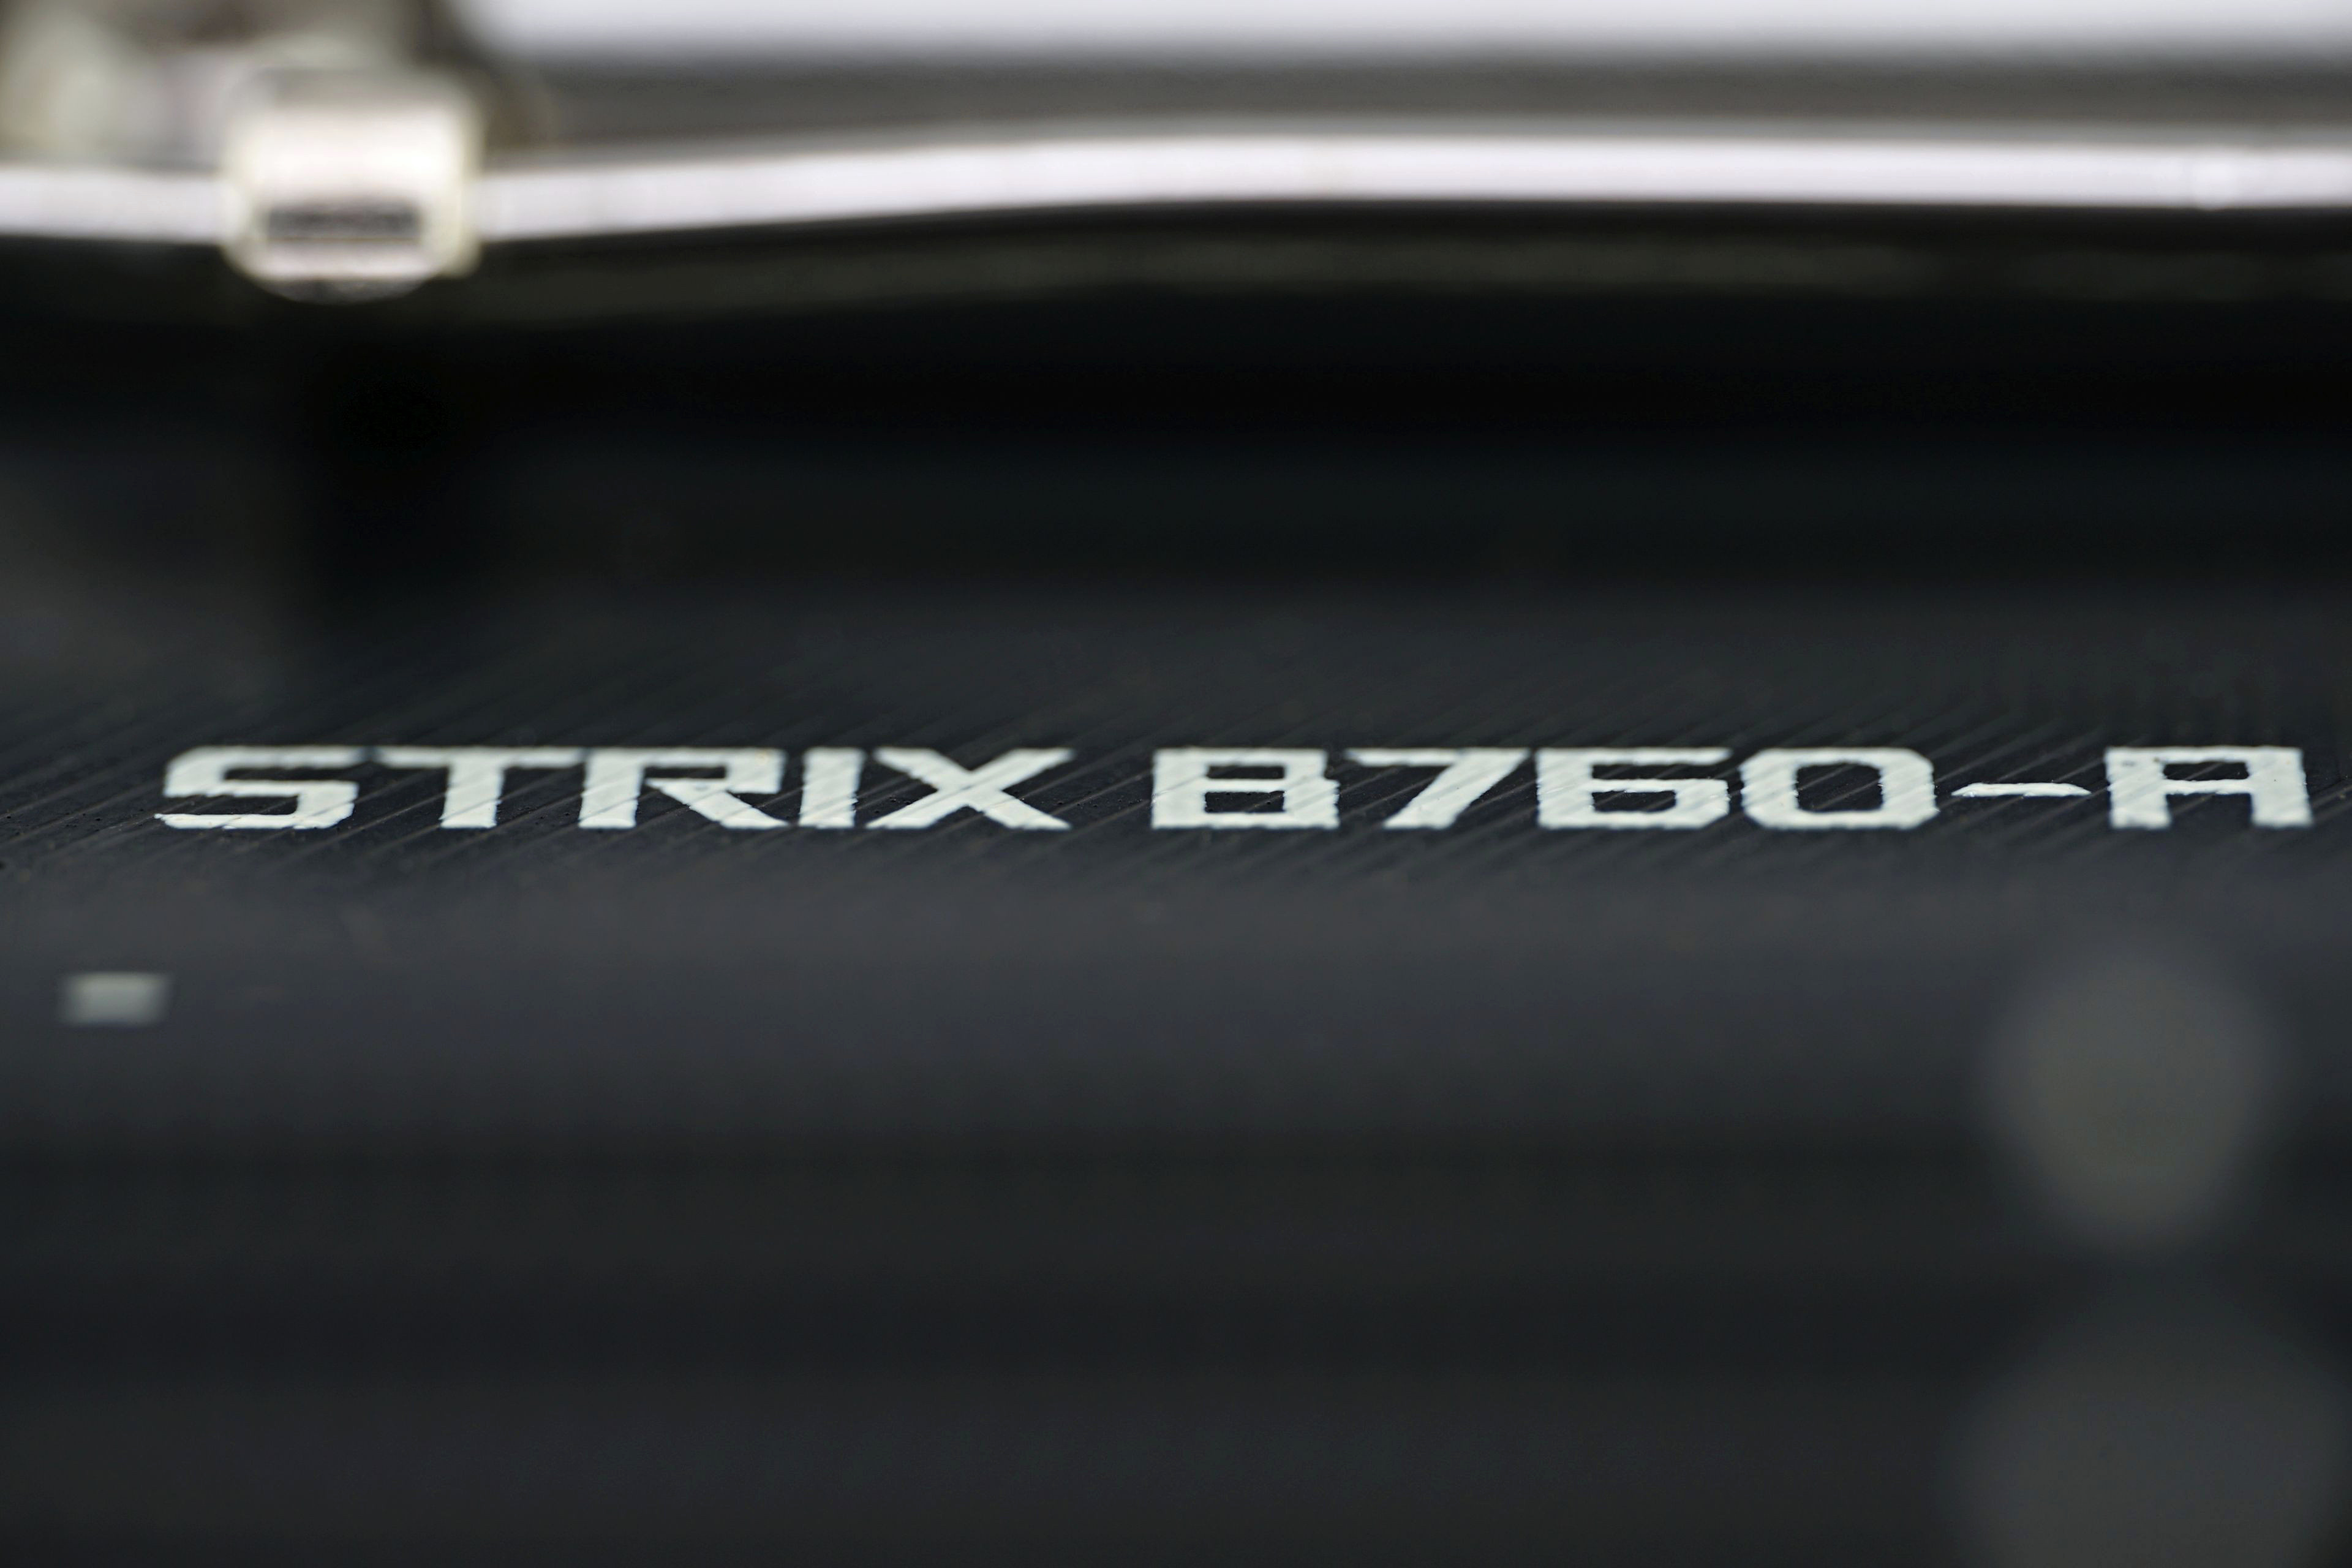
After the Z790 motherboards for the Intel LGA 1700 platform, models with cheaper B760 and H770 chipsets are also coming out. In this test, we’ll take a detailed look at the Asus ROG Strix B760-A Gaming WiFi D4 motherboard, which takes full advantage of what the new chipset (B760) brings. You’ll also get a general idea of how the Core i9-13900K processor performs with DDR4 memory compared to the faster DDR5 modules.
What it looks like in the BIOS
The layout and amount of EZ Mode features have not changed between generations, it is the same. For example, compared to the B660 Plus WiFi D4 board, only the colour scheme is different. Here, it’s red and black with which this motherboard claims its place in the ROG family.
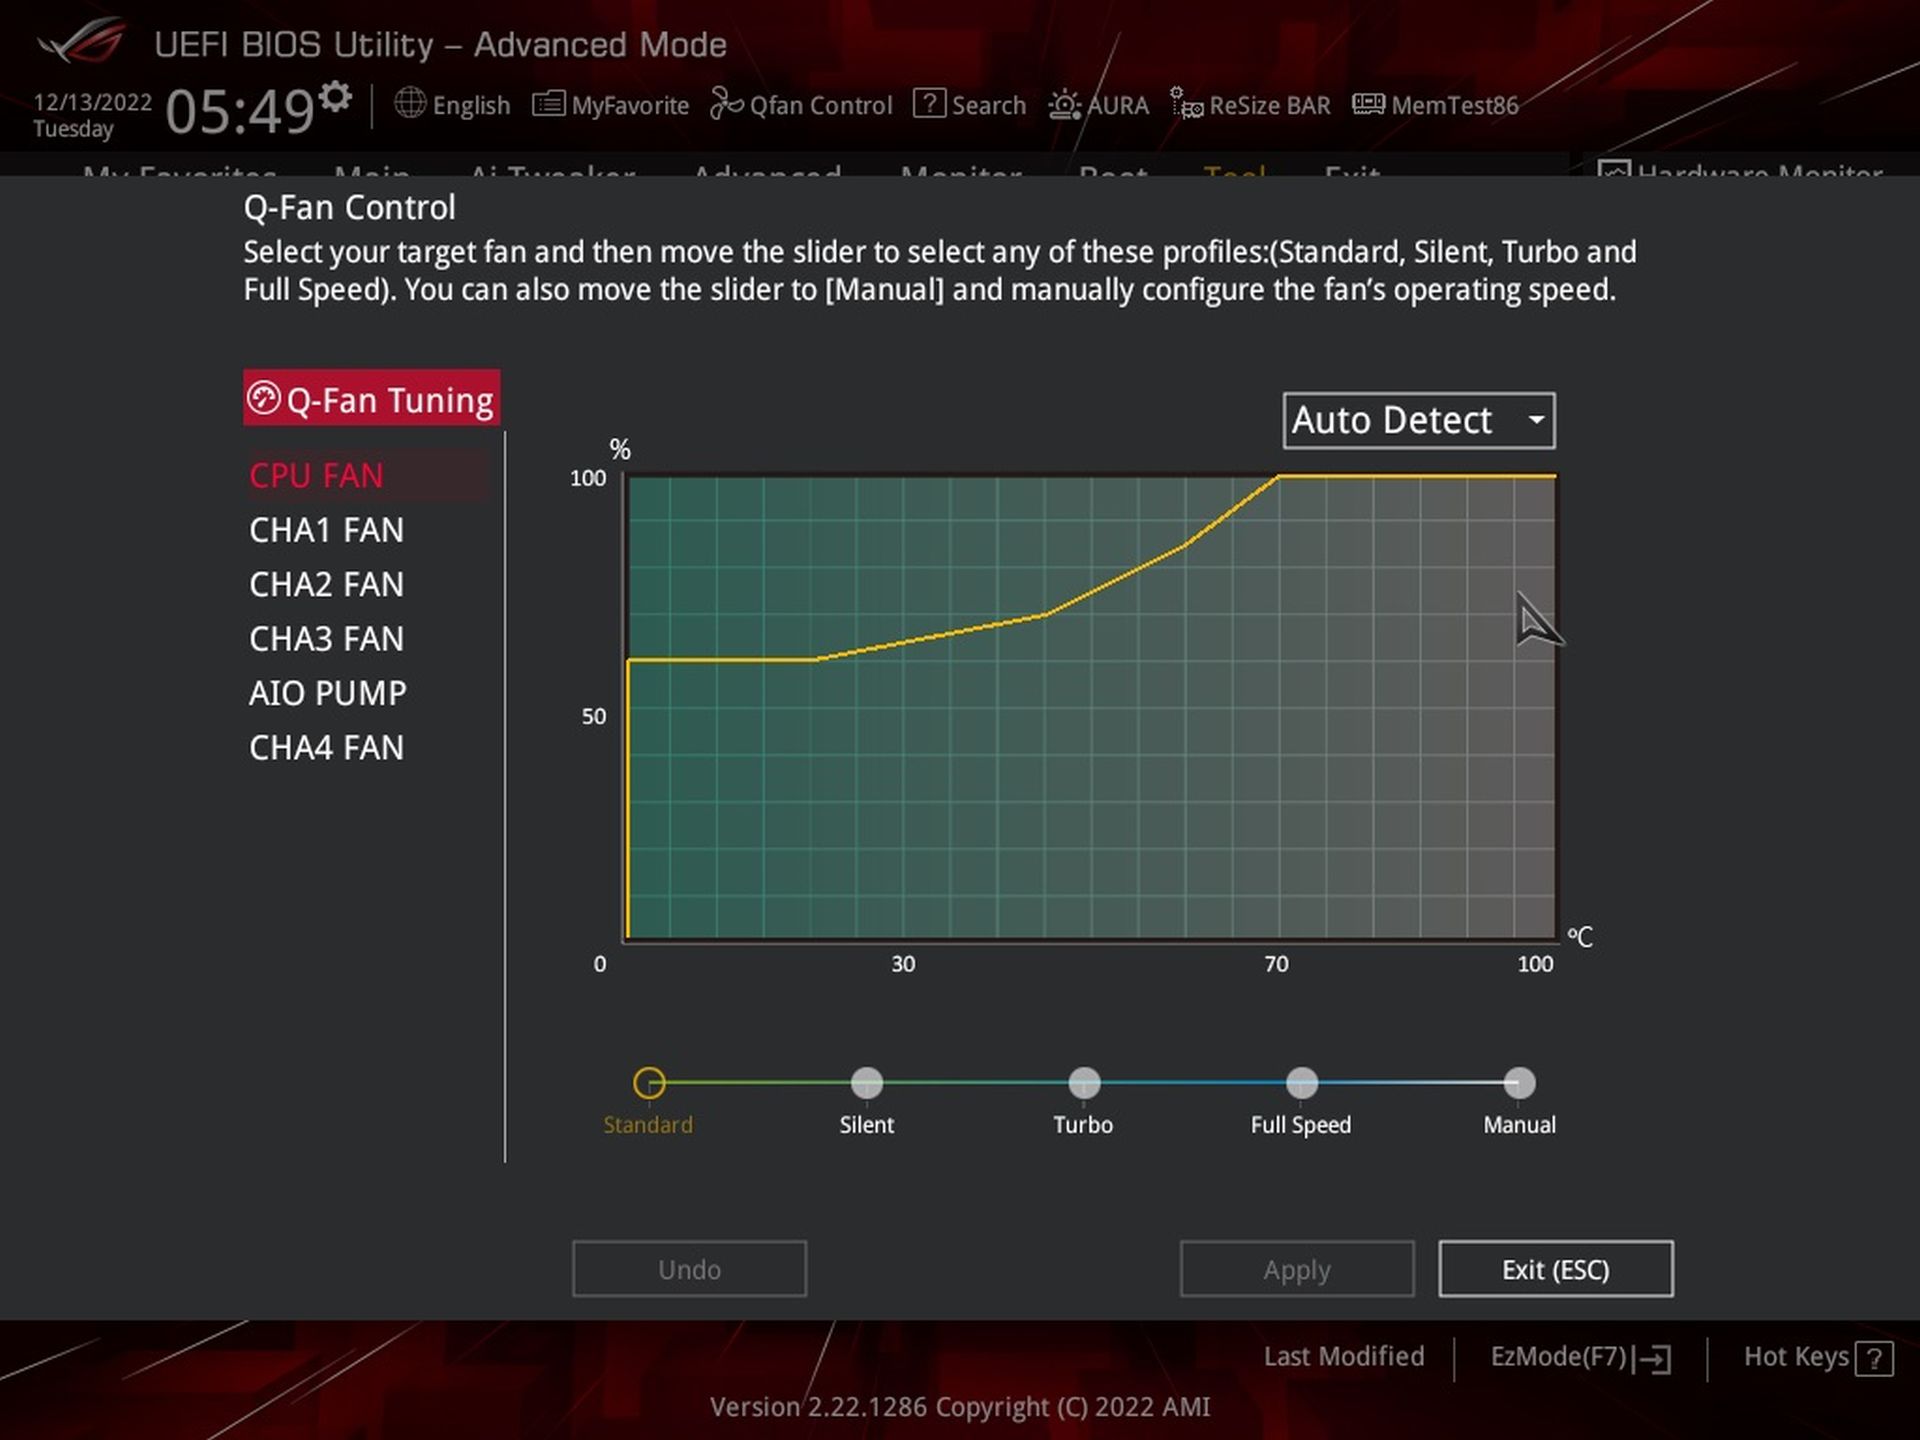
Right from the welcome screen, there is a good overview of the connected components and their settings – everything is on one slide, clearly divided into logical segments. In the upper left quadrant there is information about the BIOS version, the installed processor (and its temperature), the connected storage or memory, and there is also a quick button to enable XMP. The information (speeds, which connector is occupied and which is free) is then below, with the option to switch to the Q-Fan Control interface for more detailed tweaking, which we’ll get to later.
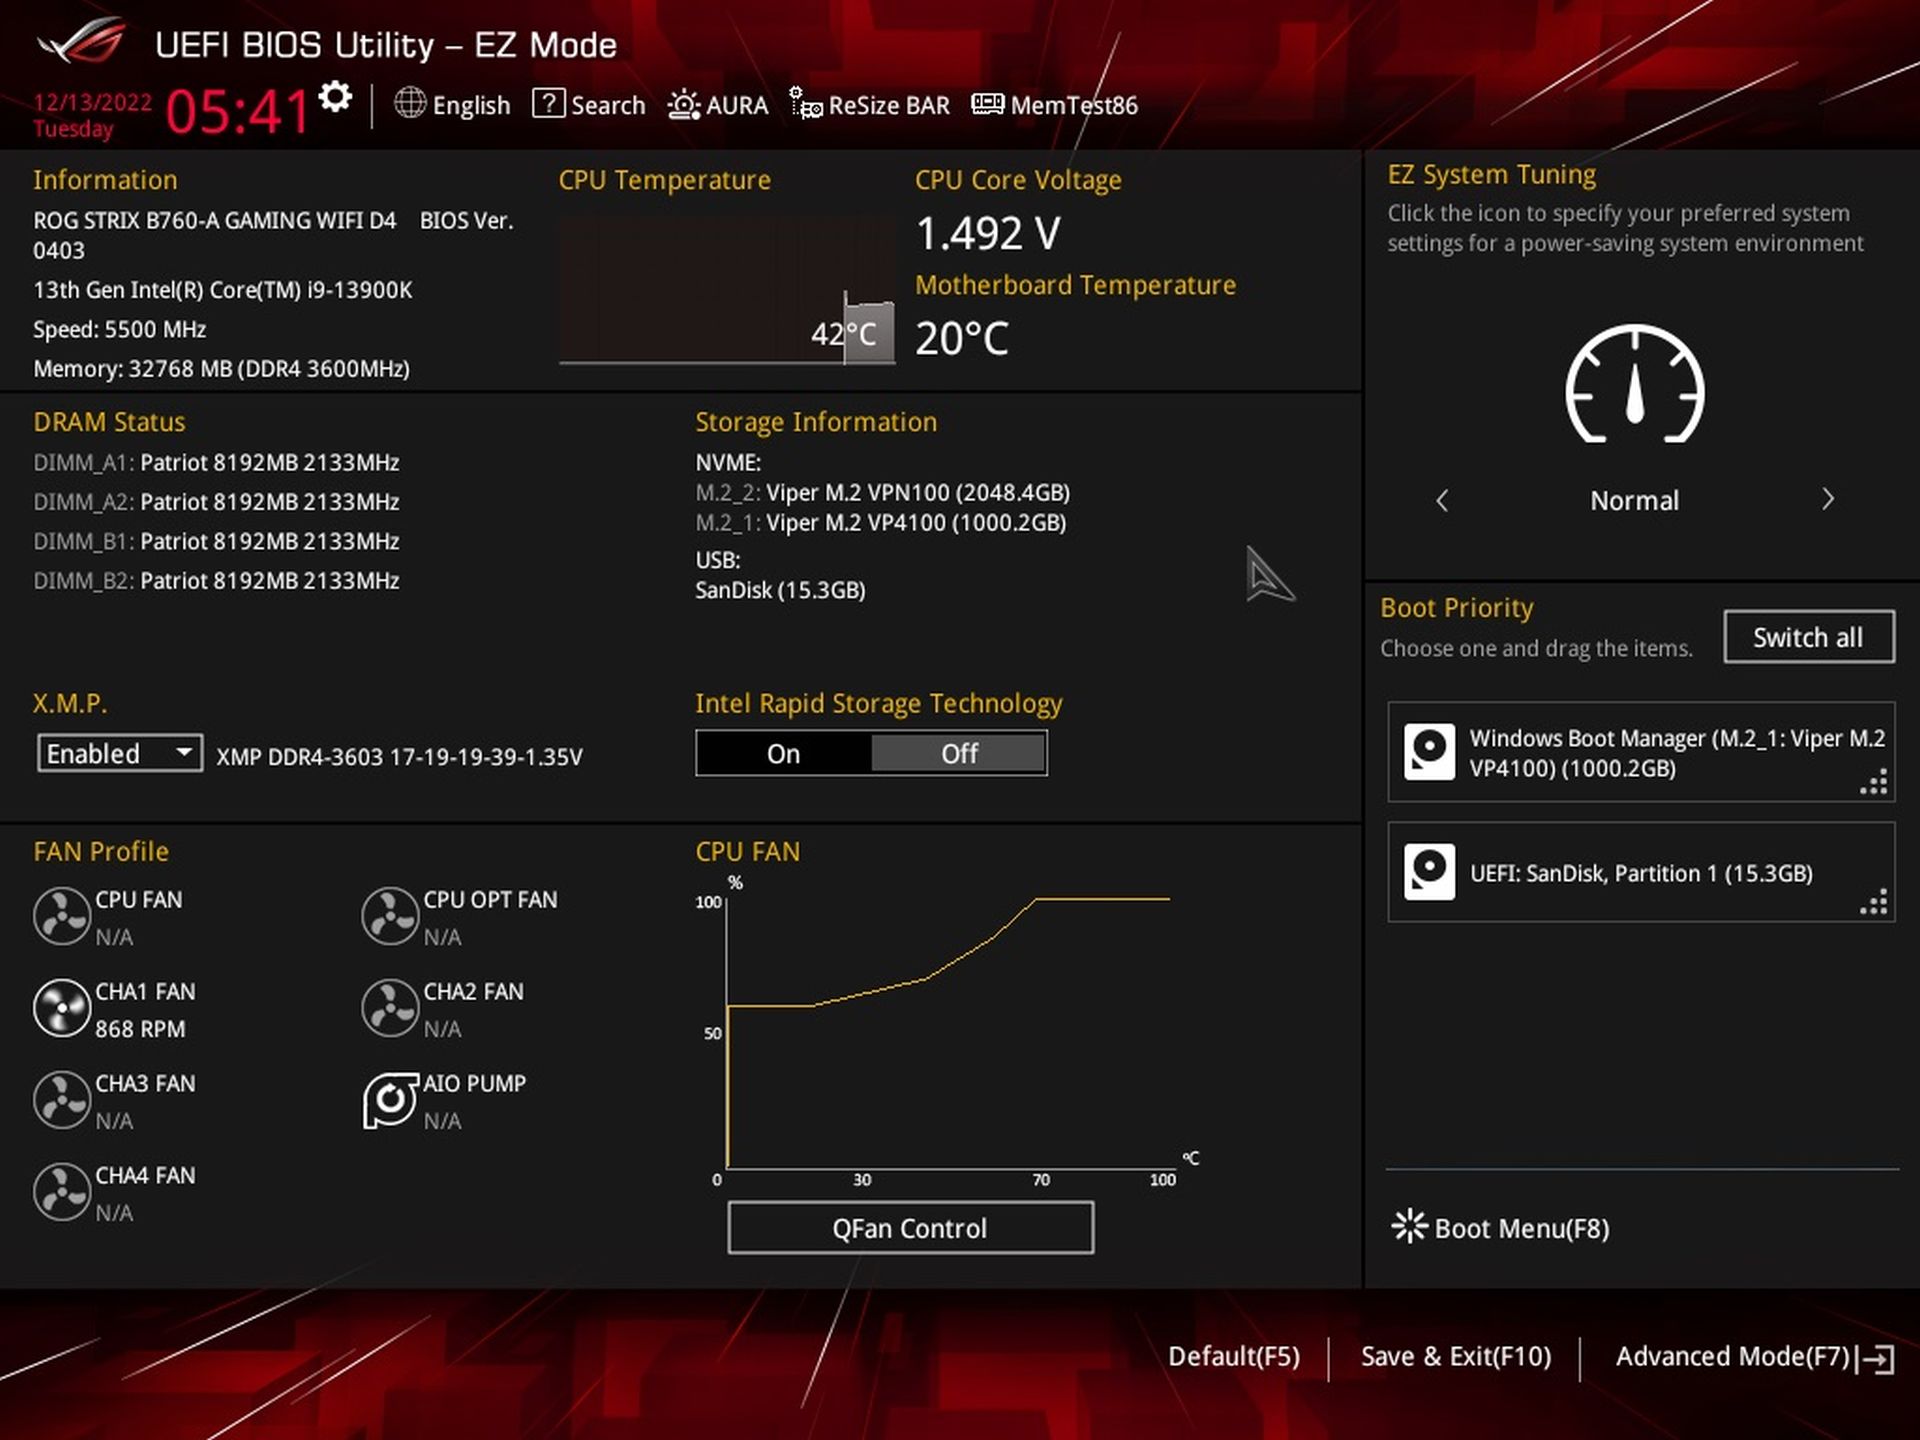
On the opposite side, on the top navigation, you might be interested in the “ReSize BAR” button. By default, this technology is turned on , which was not yet the case with the B660 generation of boards from Asus (there it was necessary to turn ReBAR on) and if you don’t care about it, you have to turn it off manually. There are relatively few situations where this is appropriate, but still, ReBAR can do more harm than good in some cases. Typically in non-gaming applications for which it is not optimized.

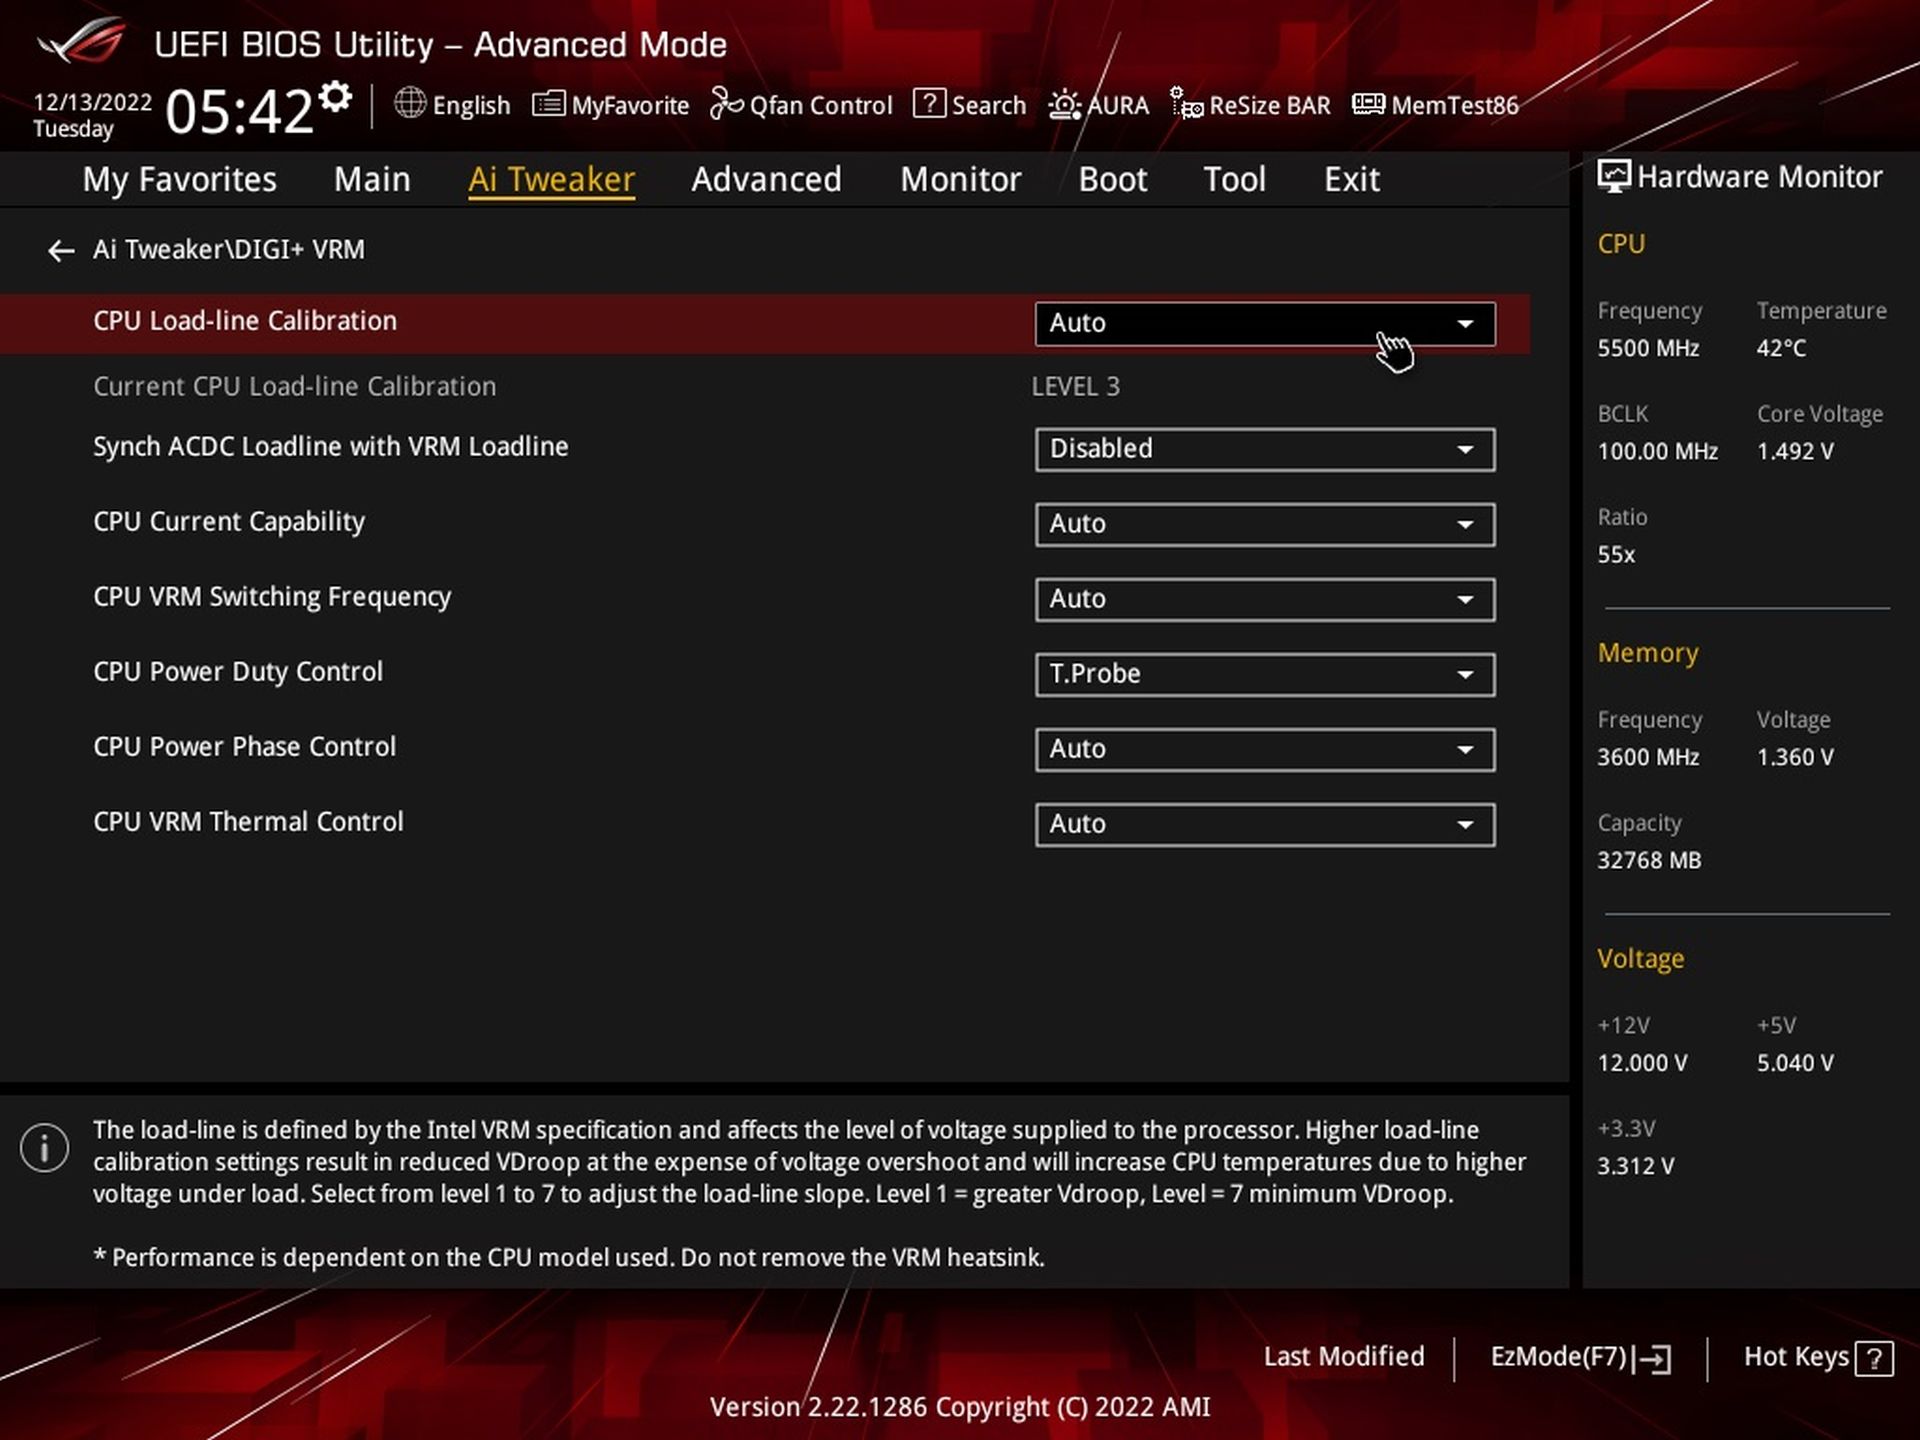
The advanced settings are traditionally accessed by the F7 button for Asus, where on the Ai Tweaker tab, one of the first options is “Asus Performance Enhancement”. Enabling it will increase the power limits and can also be set with a temperature limit. So the achieved clock speed of the CPU cores is also dependent on the cooling intensity, or the CPU temperature.
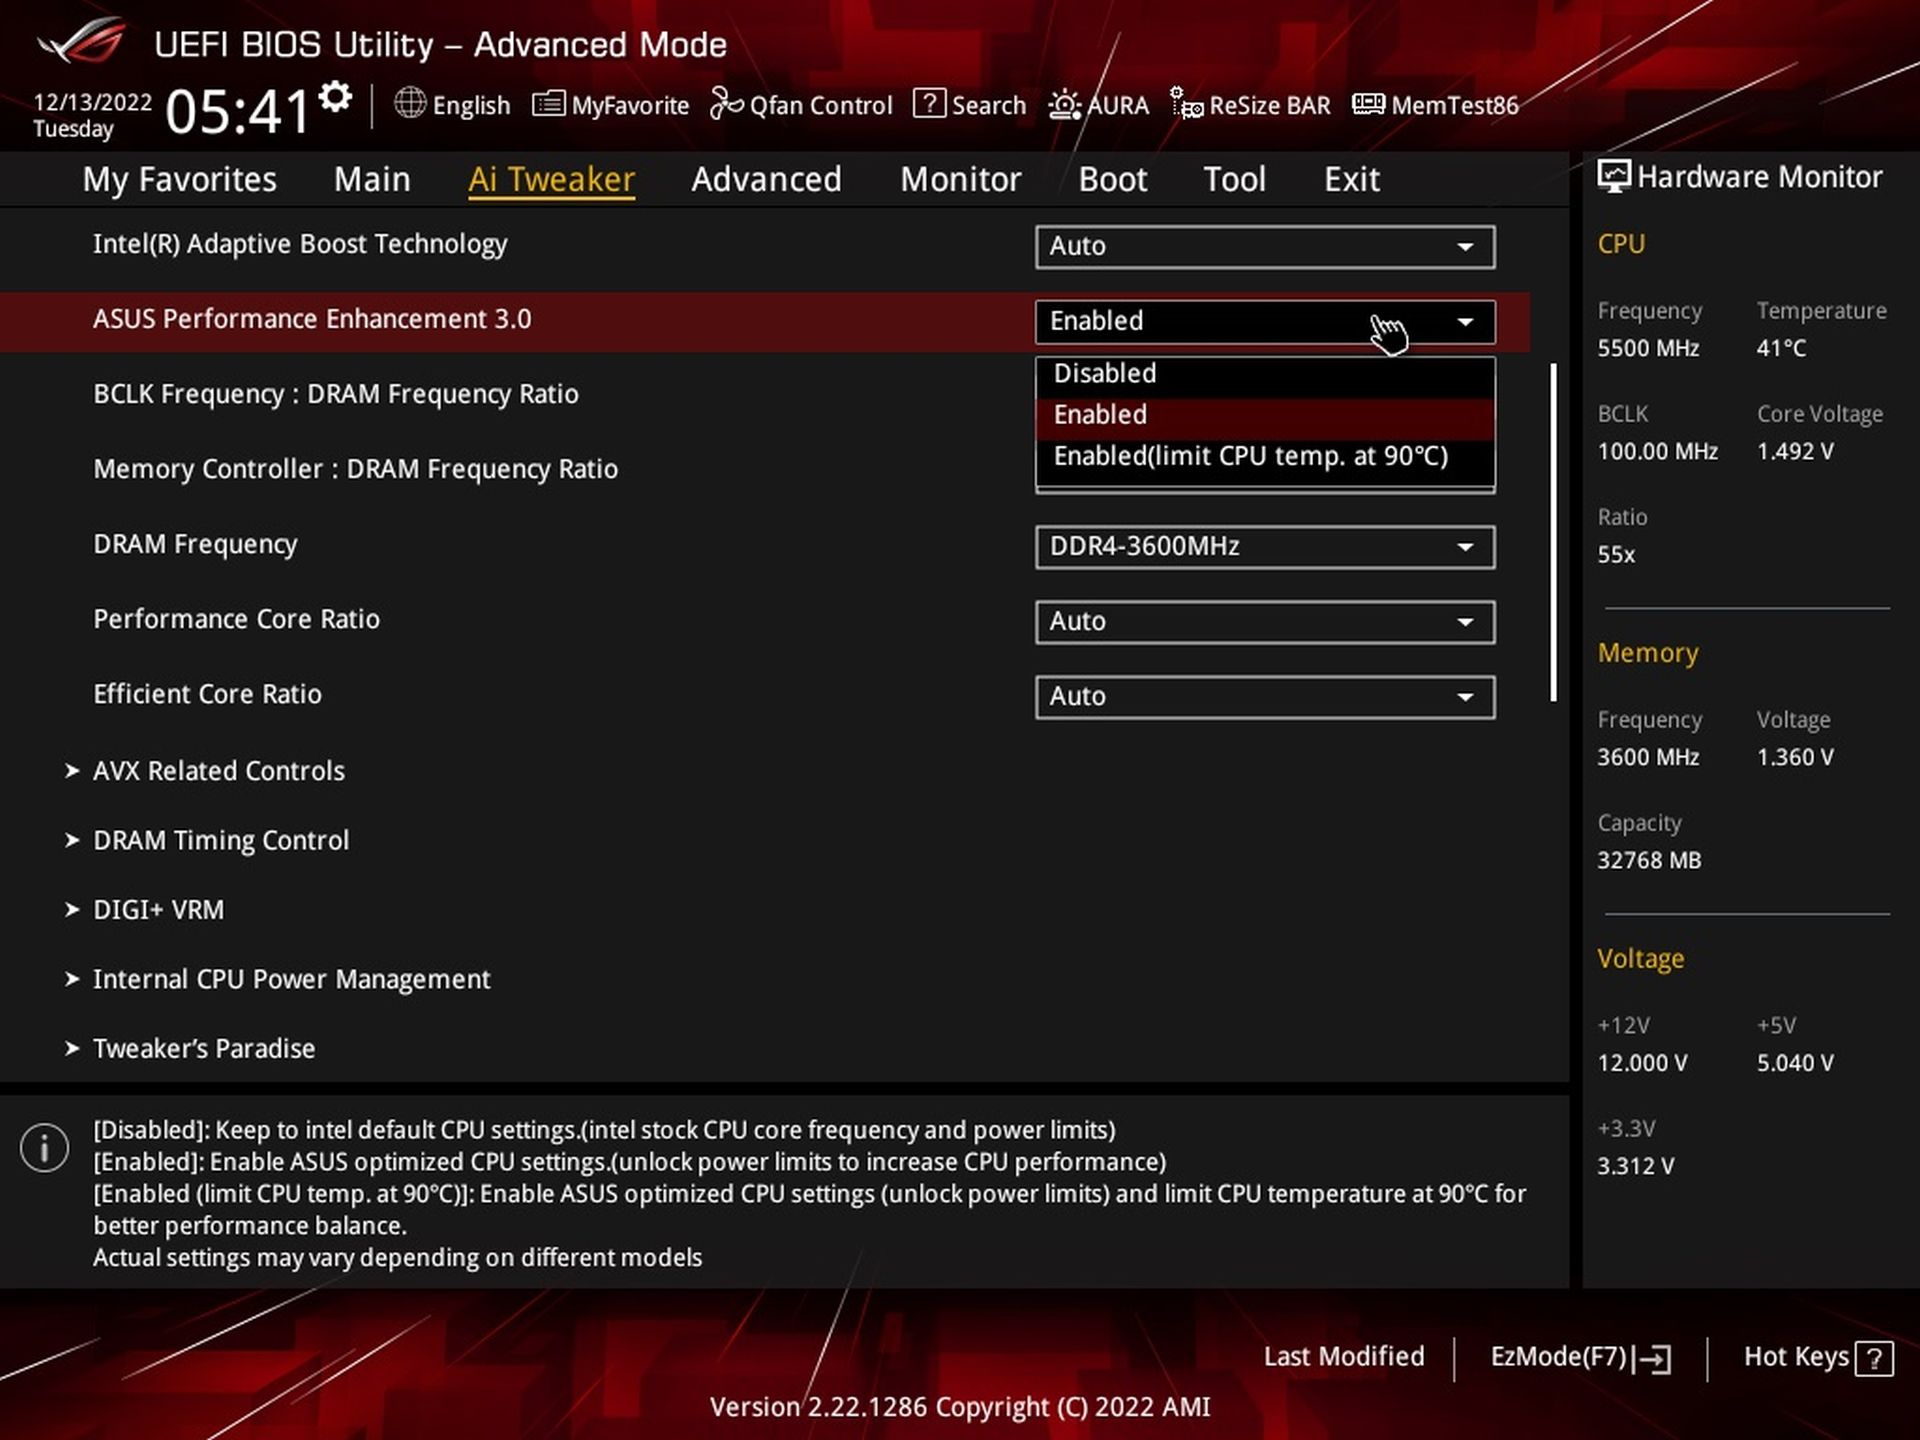
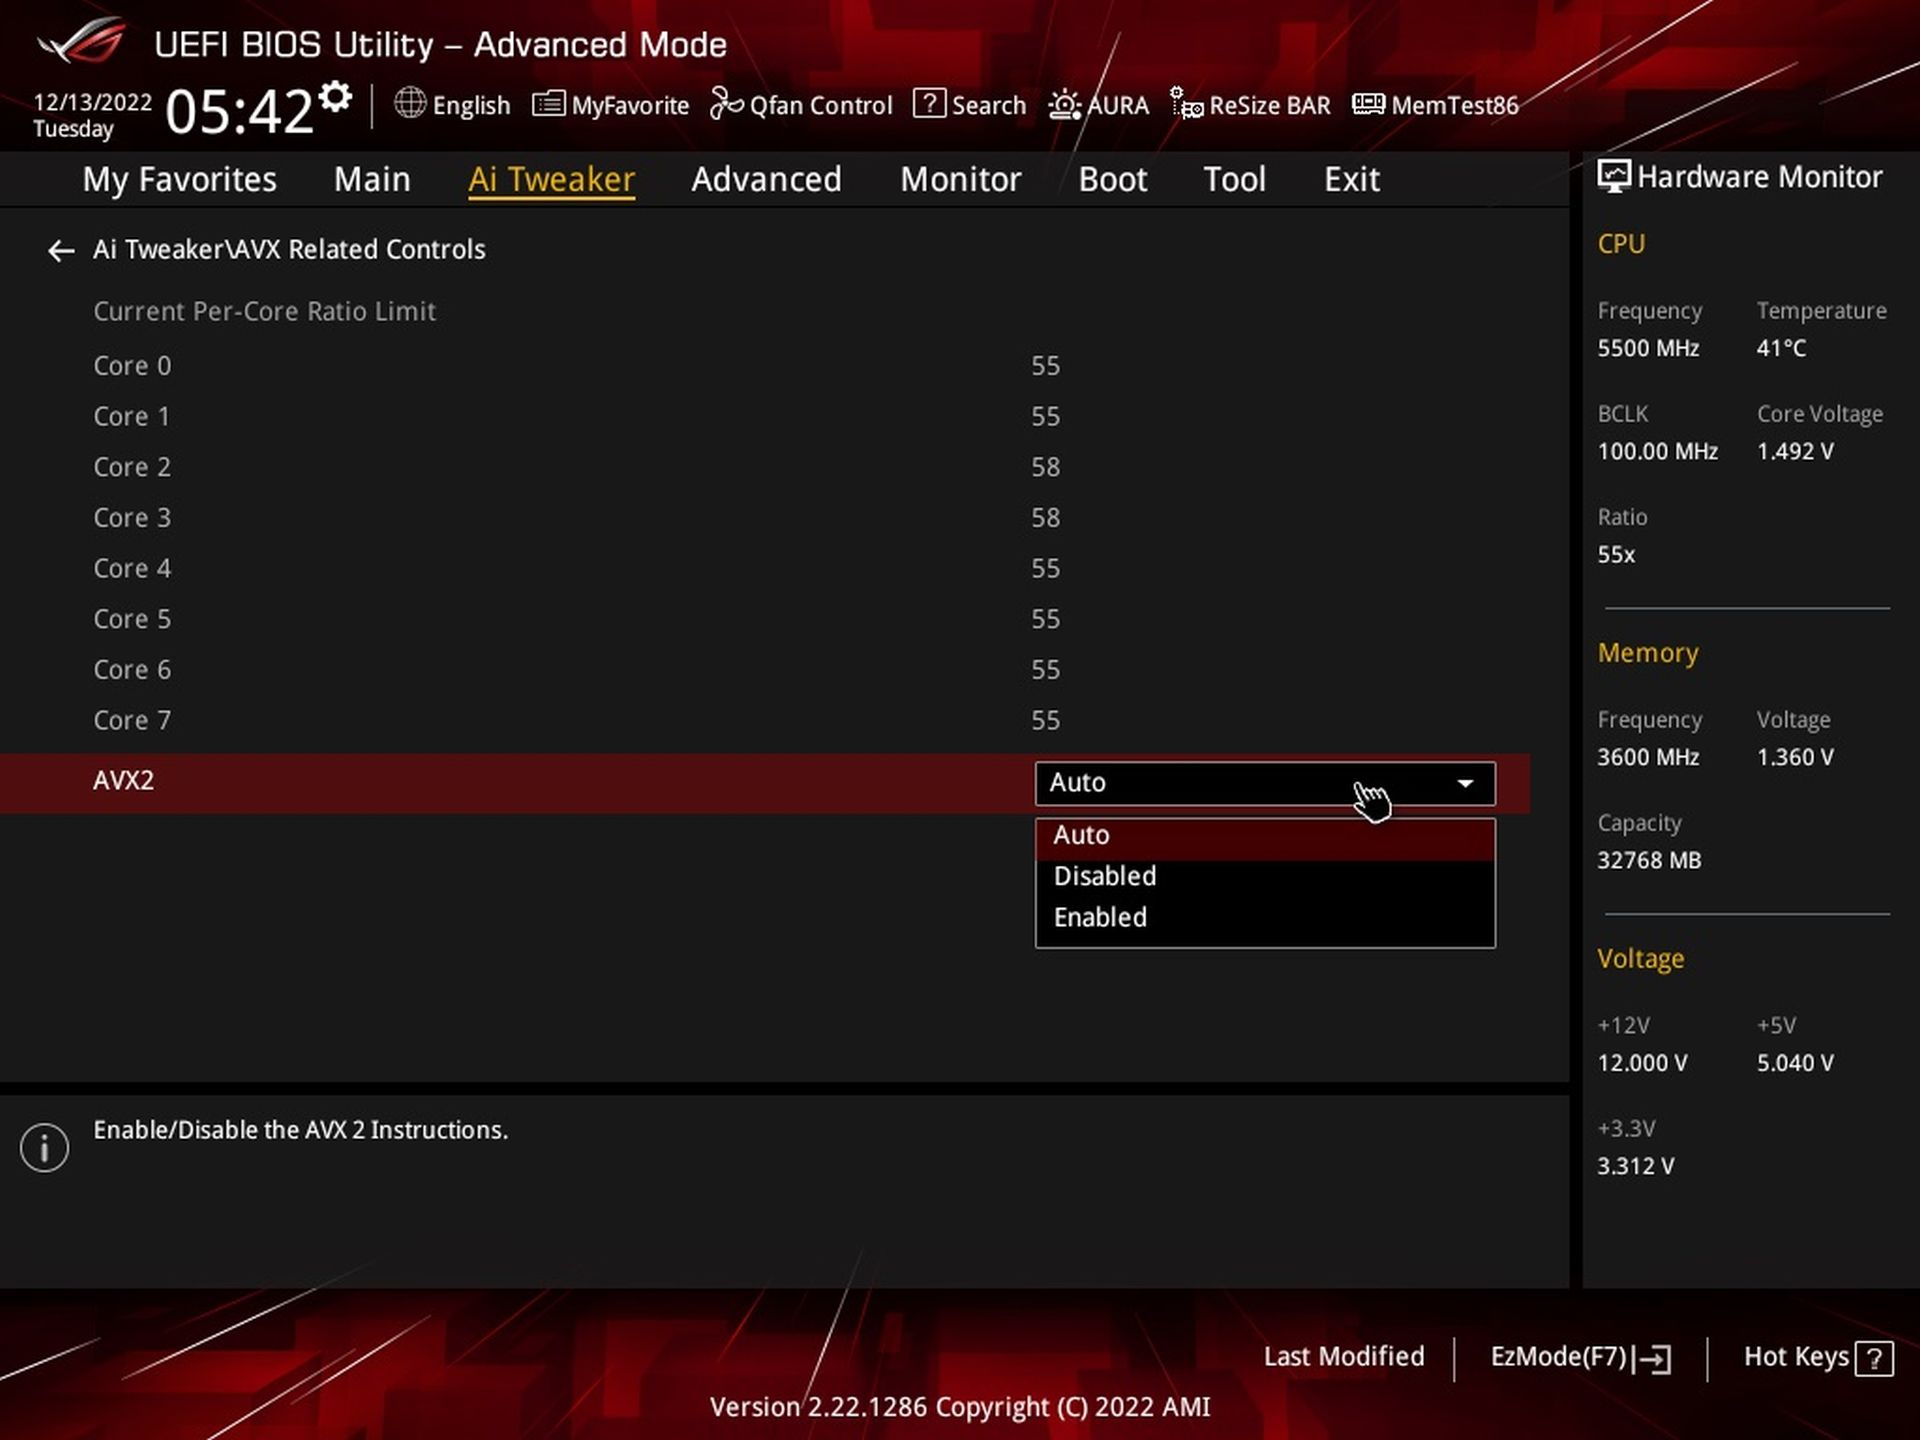
Tlmiť záťaž, nápor procesora na chladič, ale i dosku, je možné až s ohľadom na to, či aplikácia používa alebo nepoužíva inštrukcie AVX2. However, we do not change these settings for testing purposes and respect the manufacturer’s intention. The same applies to the LLC settings. The preset power supply options also tend to vary with respect to the specific processor, where the manufacturer calculates when, with which processor (at what load) the operation will be optimal from their point of view.
What we already set fixed for all boards the same is the power limit in the “Internal CPU Power Management”. For most tests, it’s the settings without power limits for both short and long term load, and then for selected tests we reduce PL to 125W (TDP) and PL2 to 253W with Tau timeout to 56 seconds.

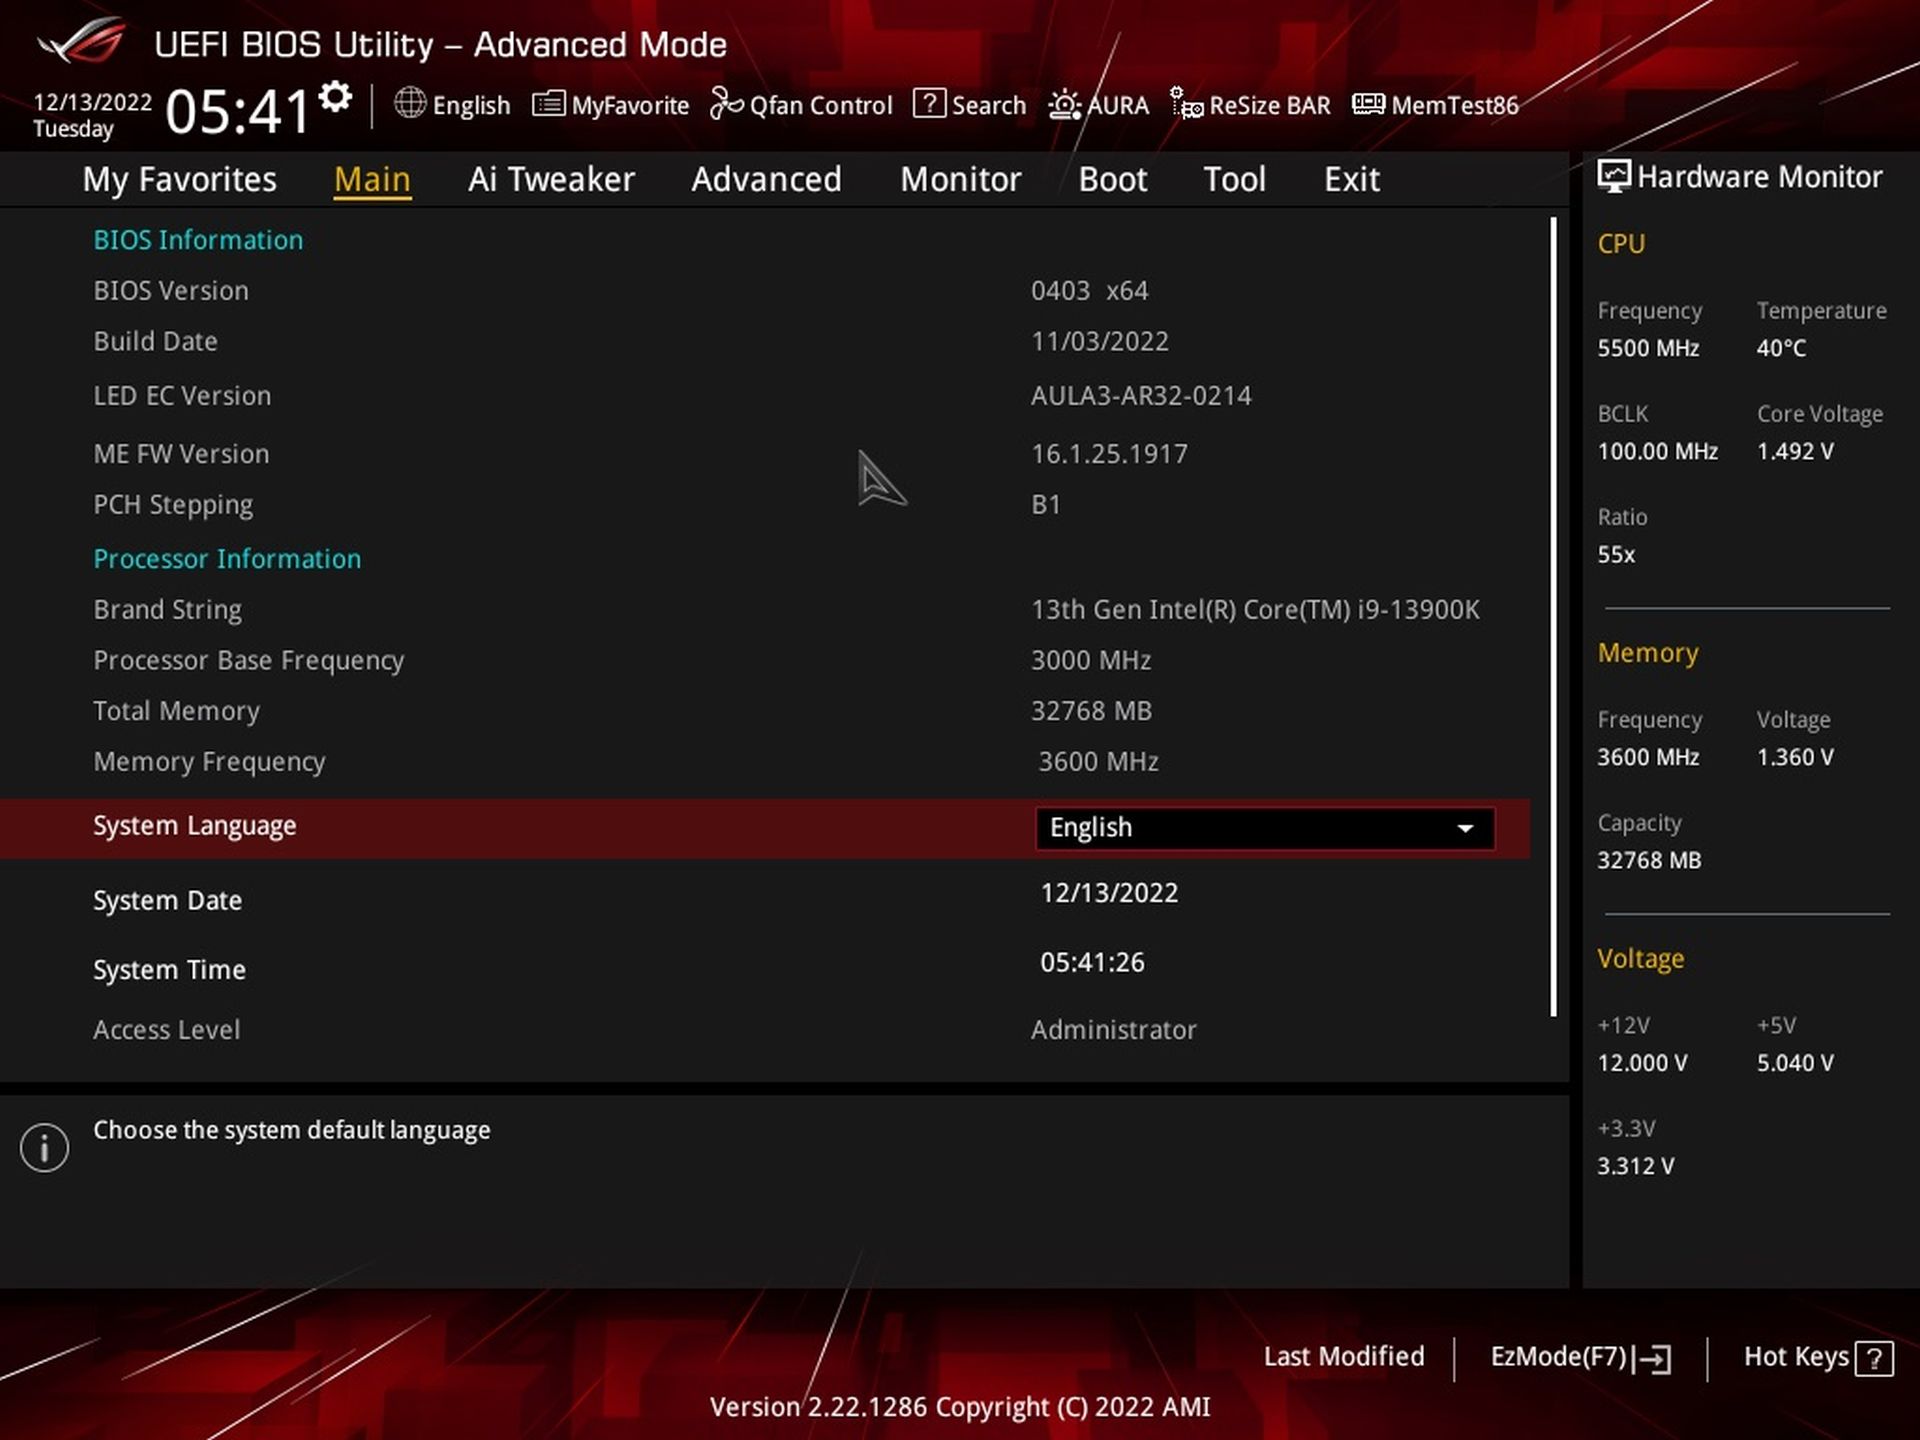
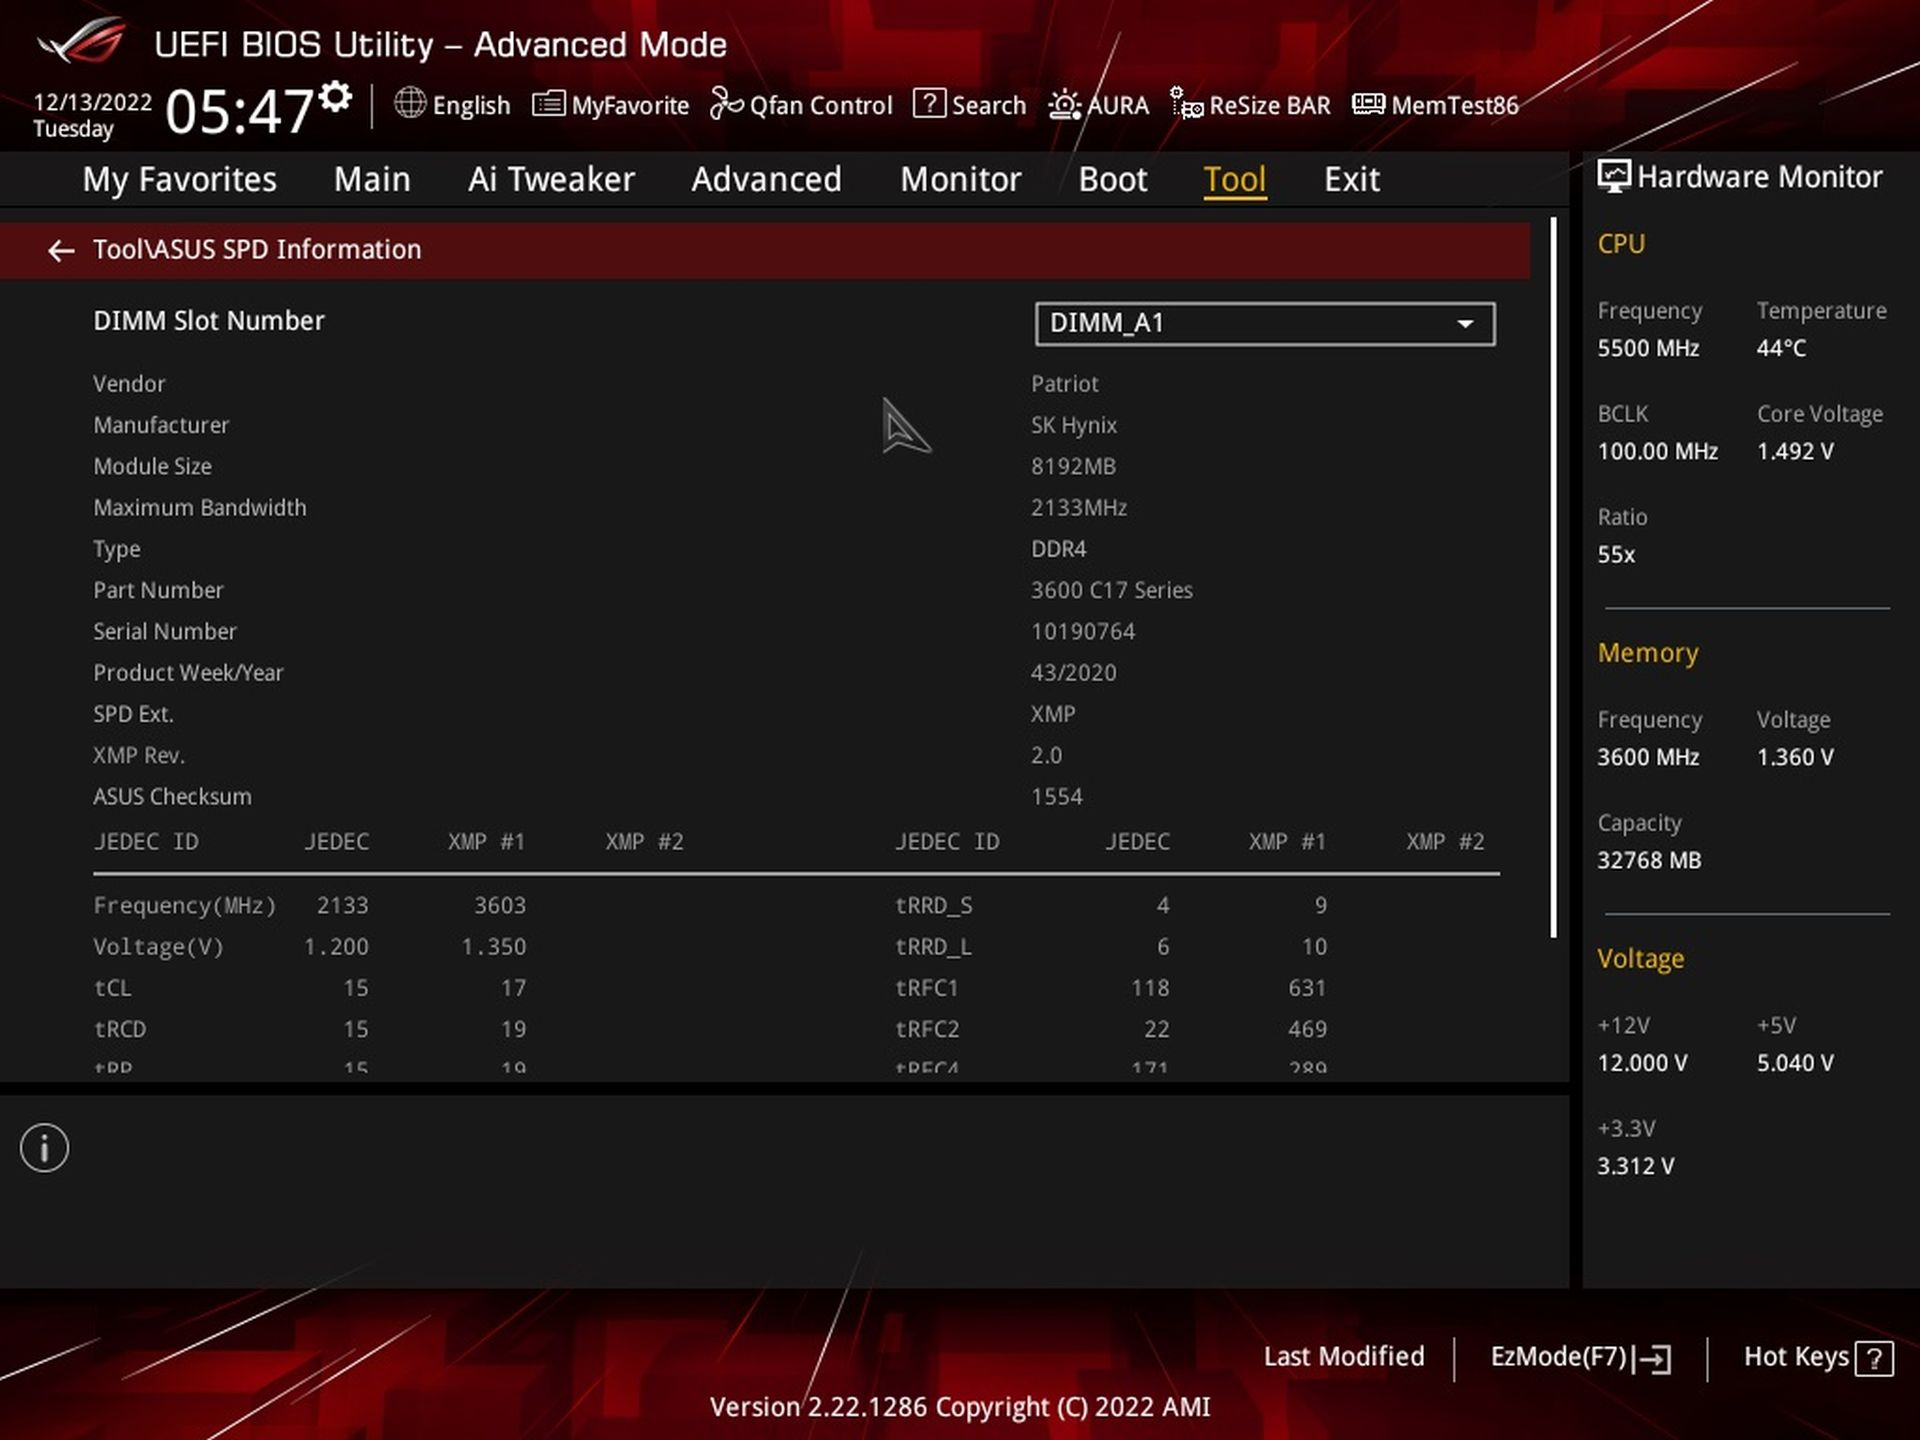
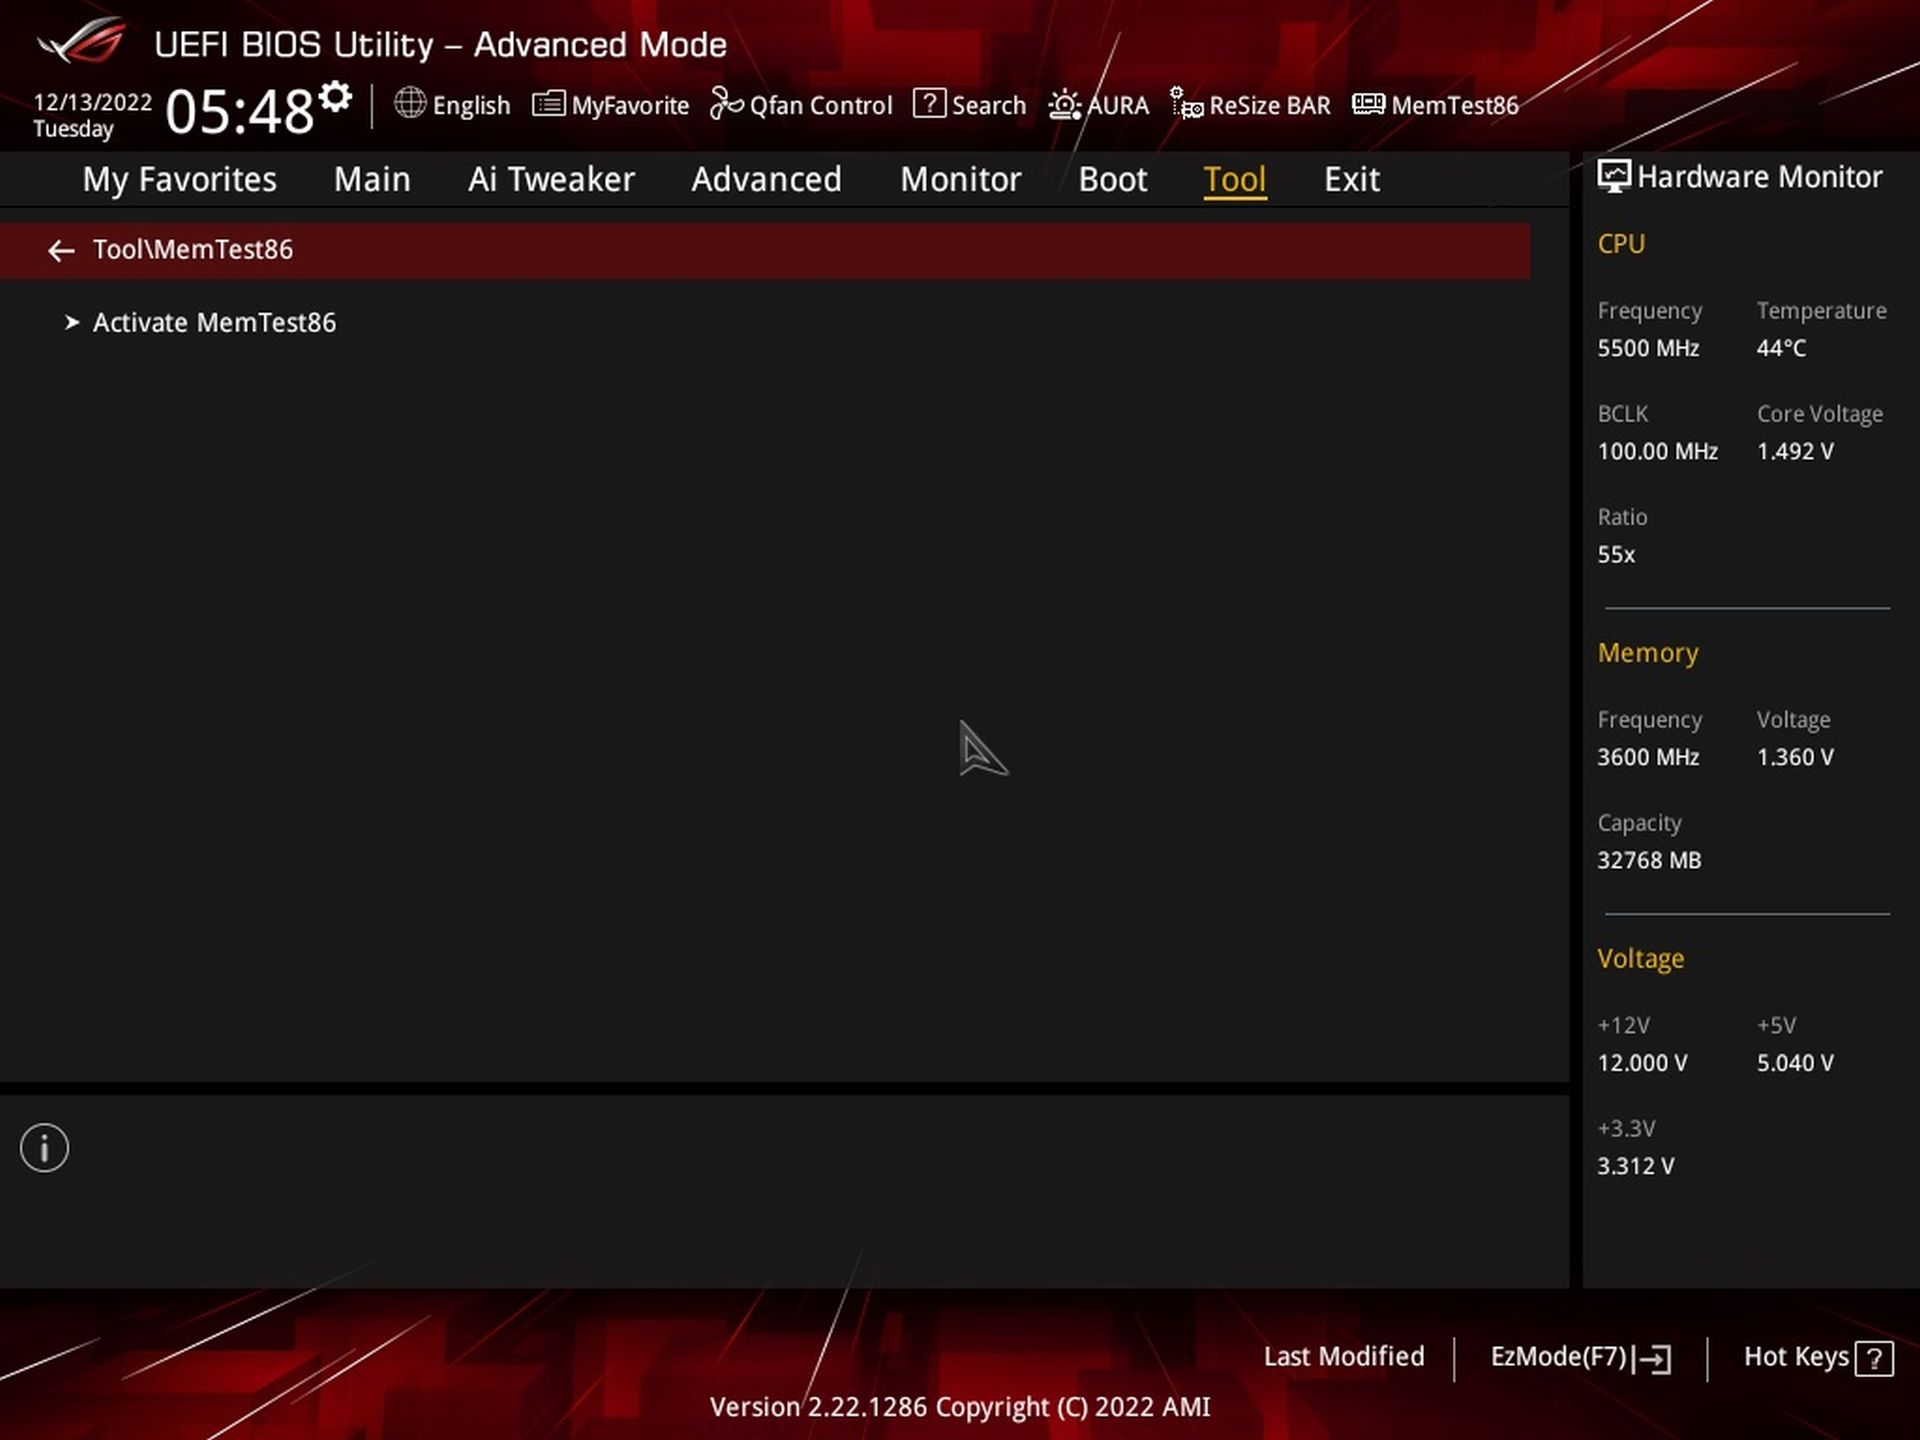
Asus BIOSes also allow for very detailed memory diagnostics, including analysis of potential errors via the built-in MemTest86, which does not need to be booted from a USB memory stick (or optical media) as is common.
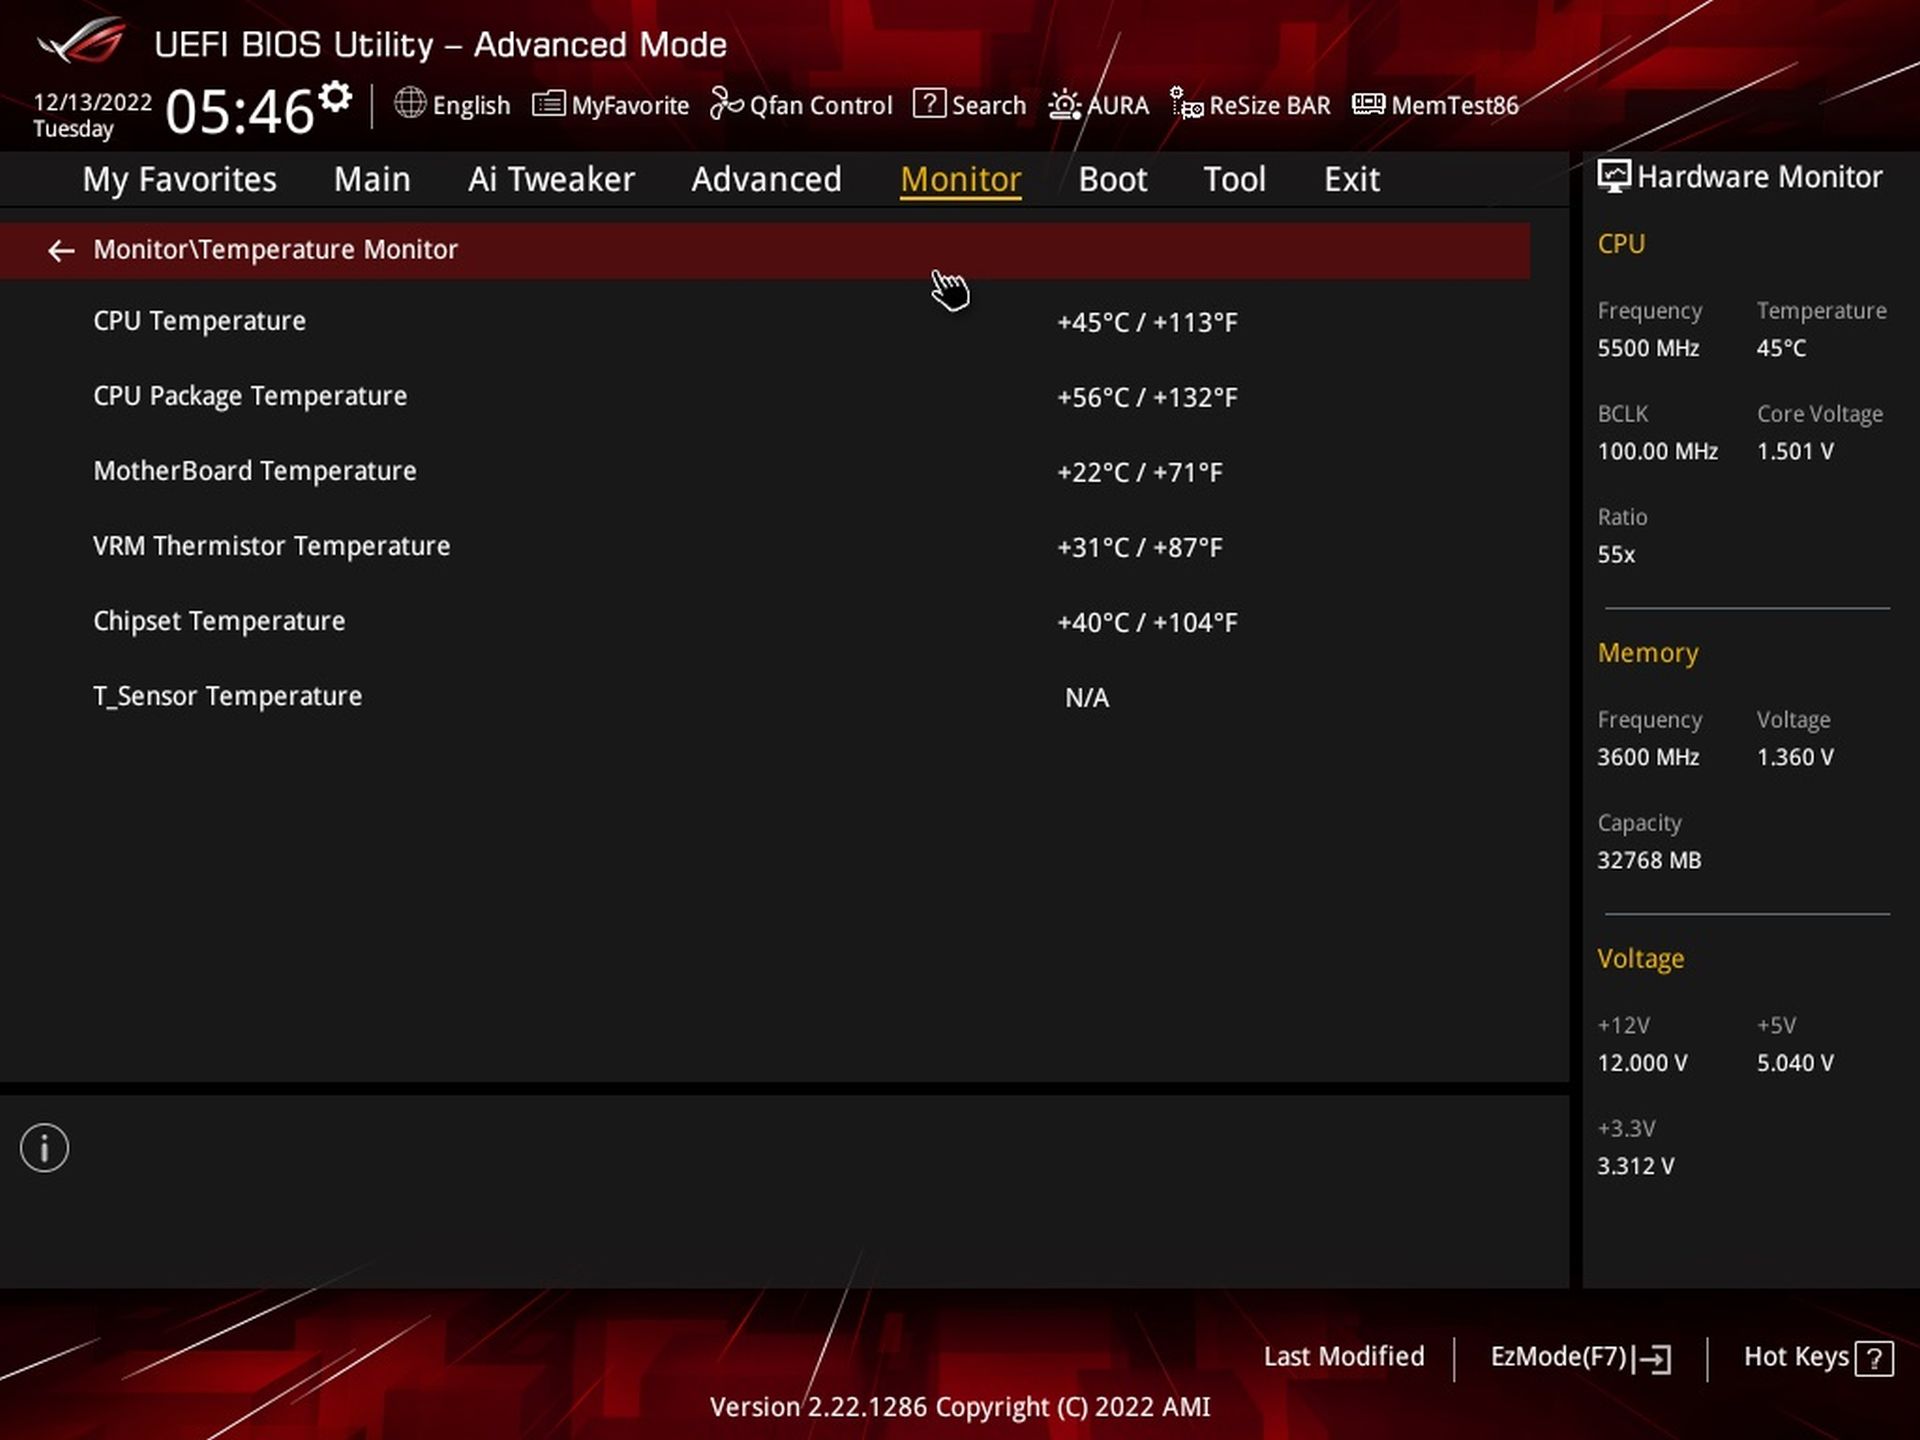
The board can read temperatures from five locations. In addition to the processor, for example also from the VRM thermistor or, after connecting the temperature connector, via a dedicated two-pin connector, from any place you decide.
And now we have to repent. In earlier tests of Asus boards, we pointed out that they don’t allow you to change the temperature source to the fan connectors, which will determine the PWM intensity (or linear voltage for DC regulation). It’s not true, it’s just better hidden. In contrast to how it was on Asus boards just a few years ago (on the main Q-Fan card page), now you have to go all the way down to the “Chassis Fan(s) Control” tab level, where it’s already possible to assign a specific temperature source to a specific connector, based on which the fans will be regulated. With this, I apologize to our readers, as well as to Asus, for the mystification caused by our mistake.
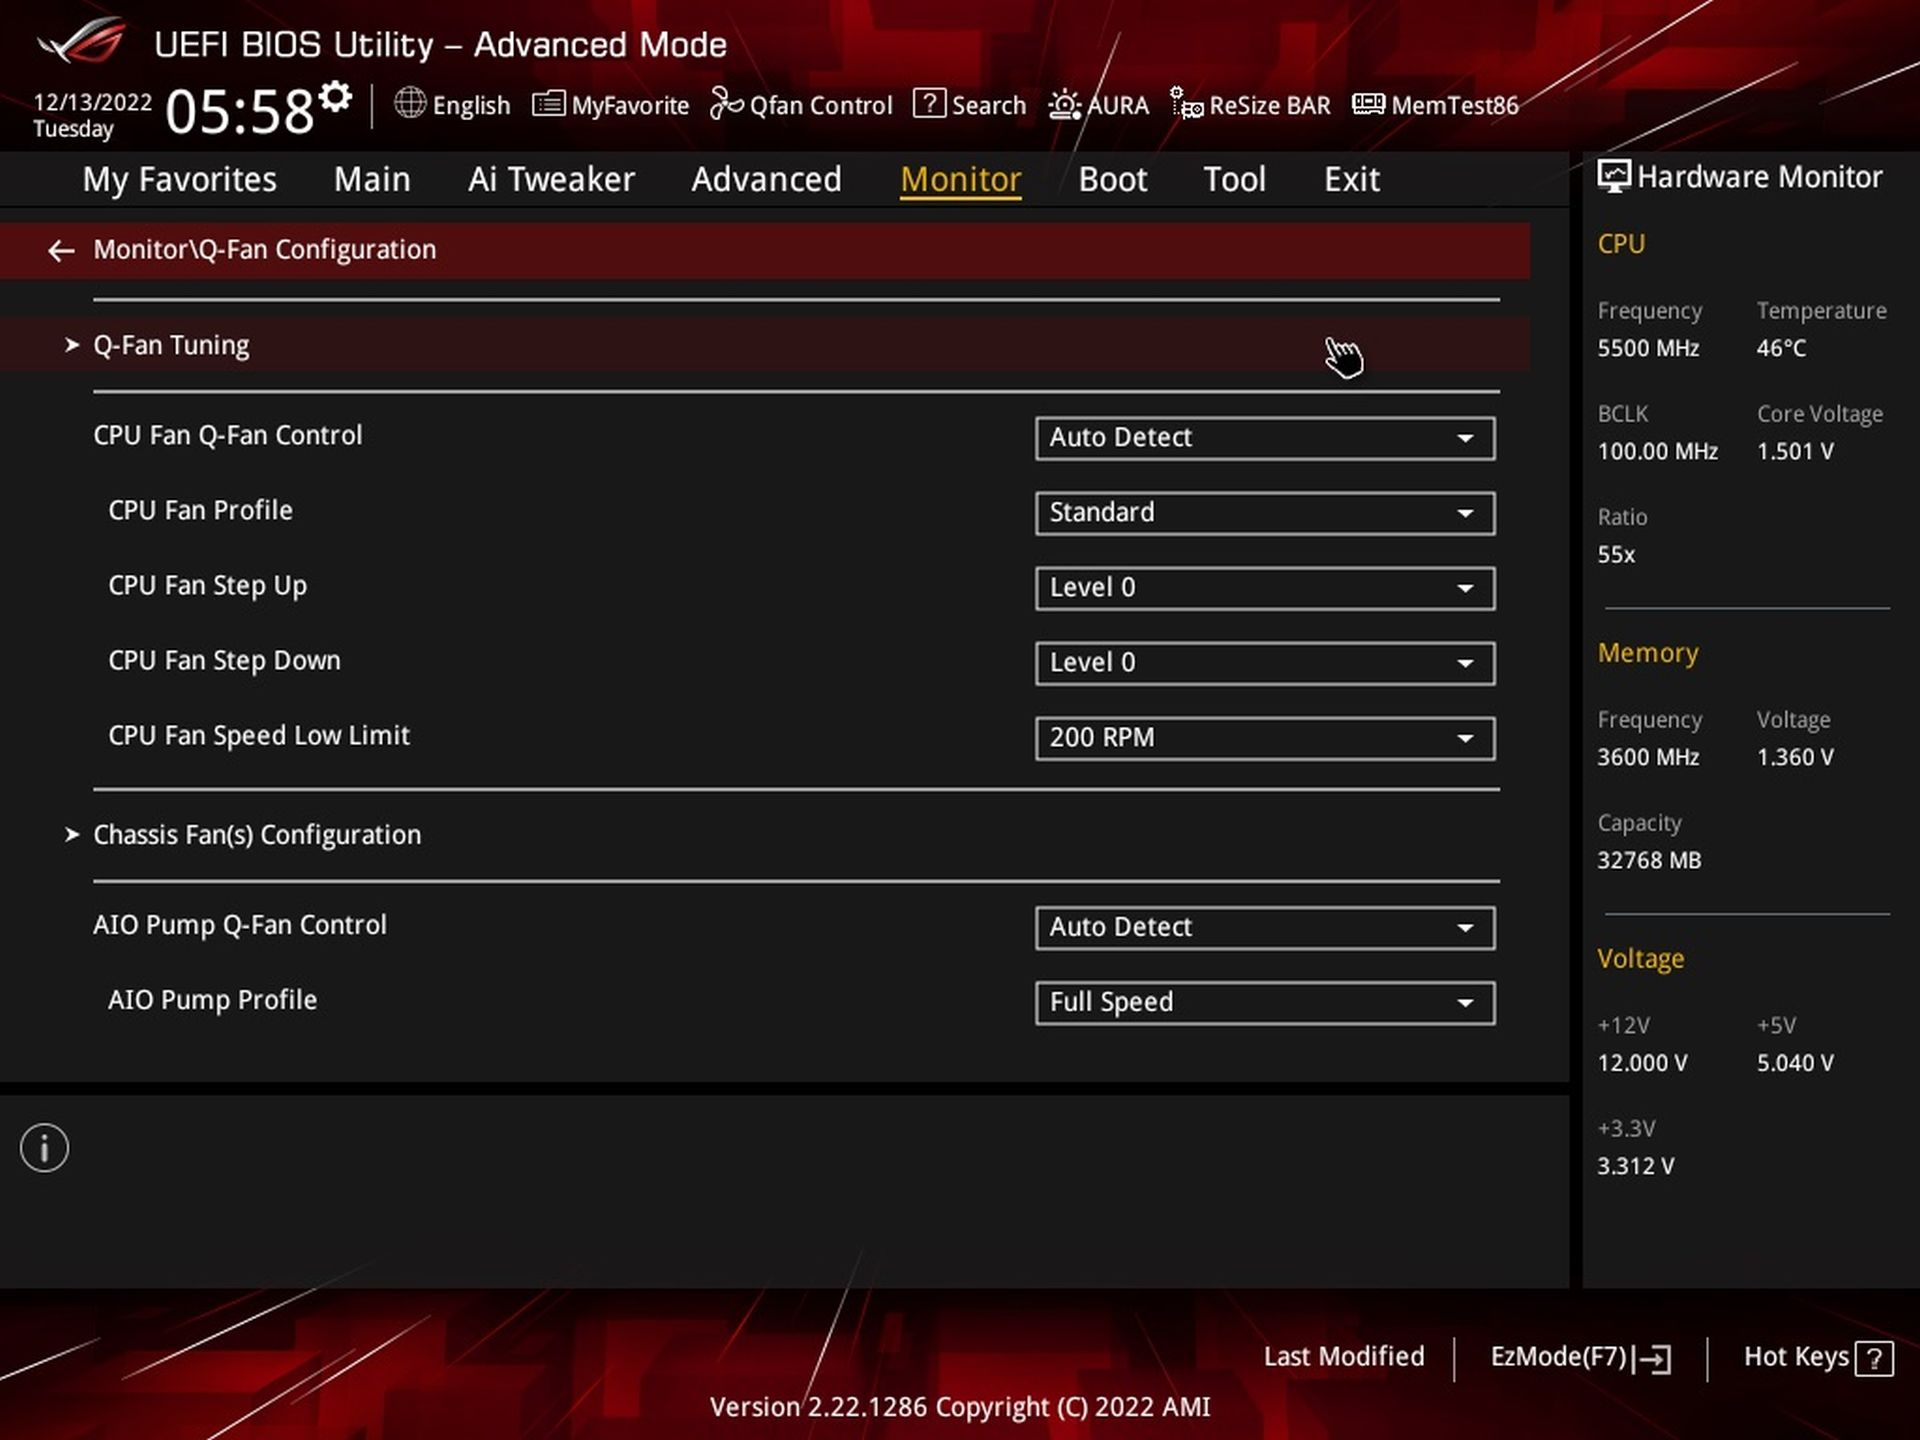
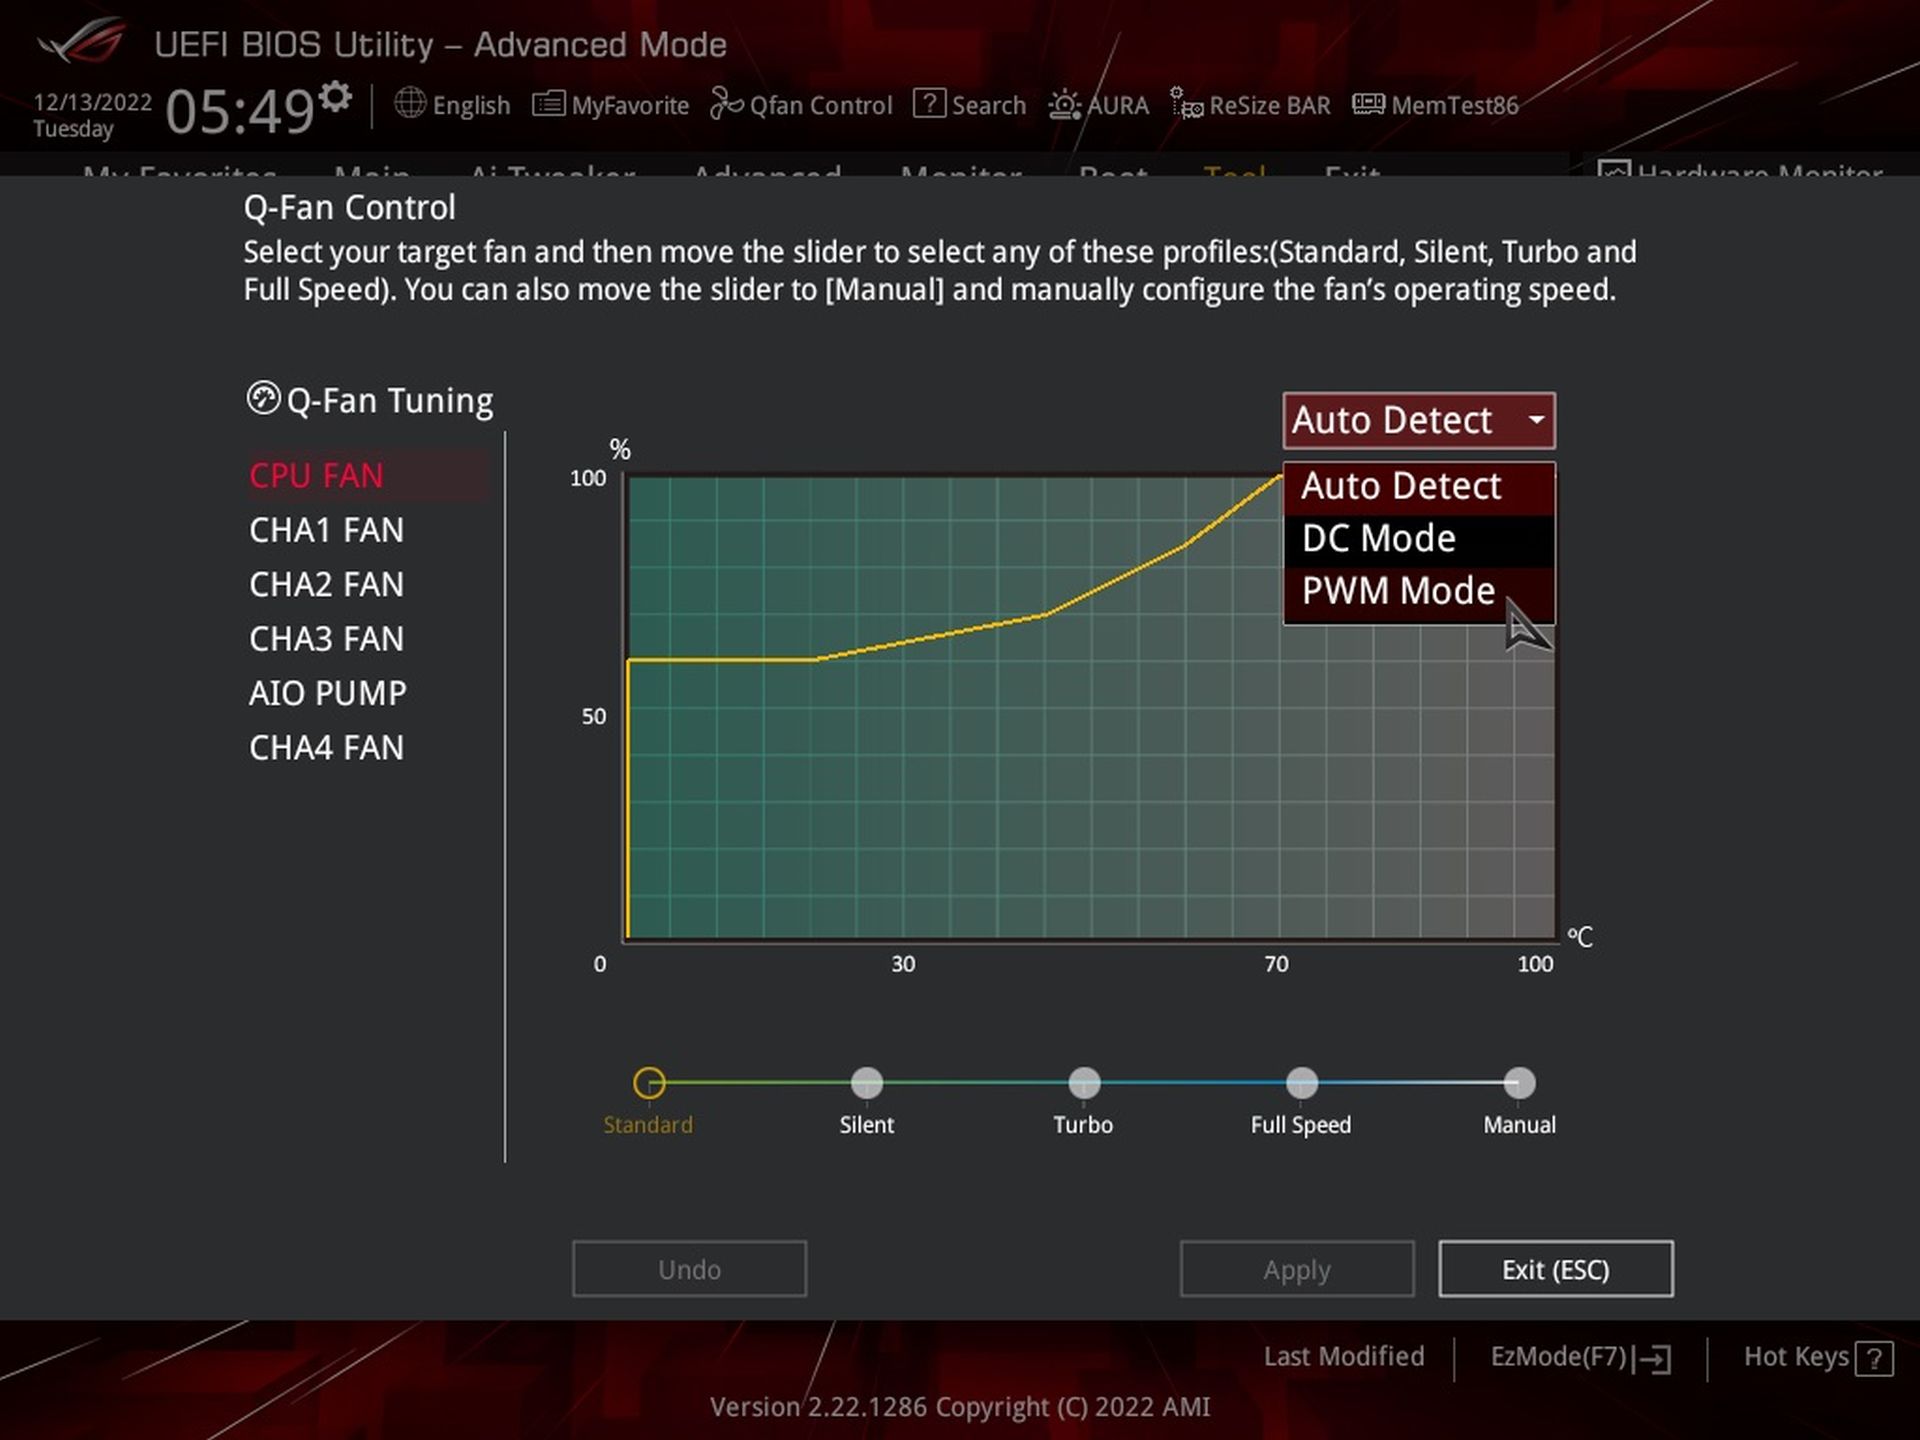
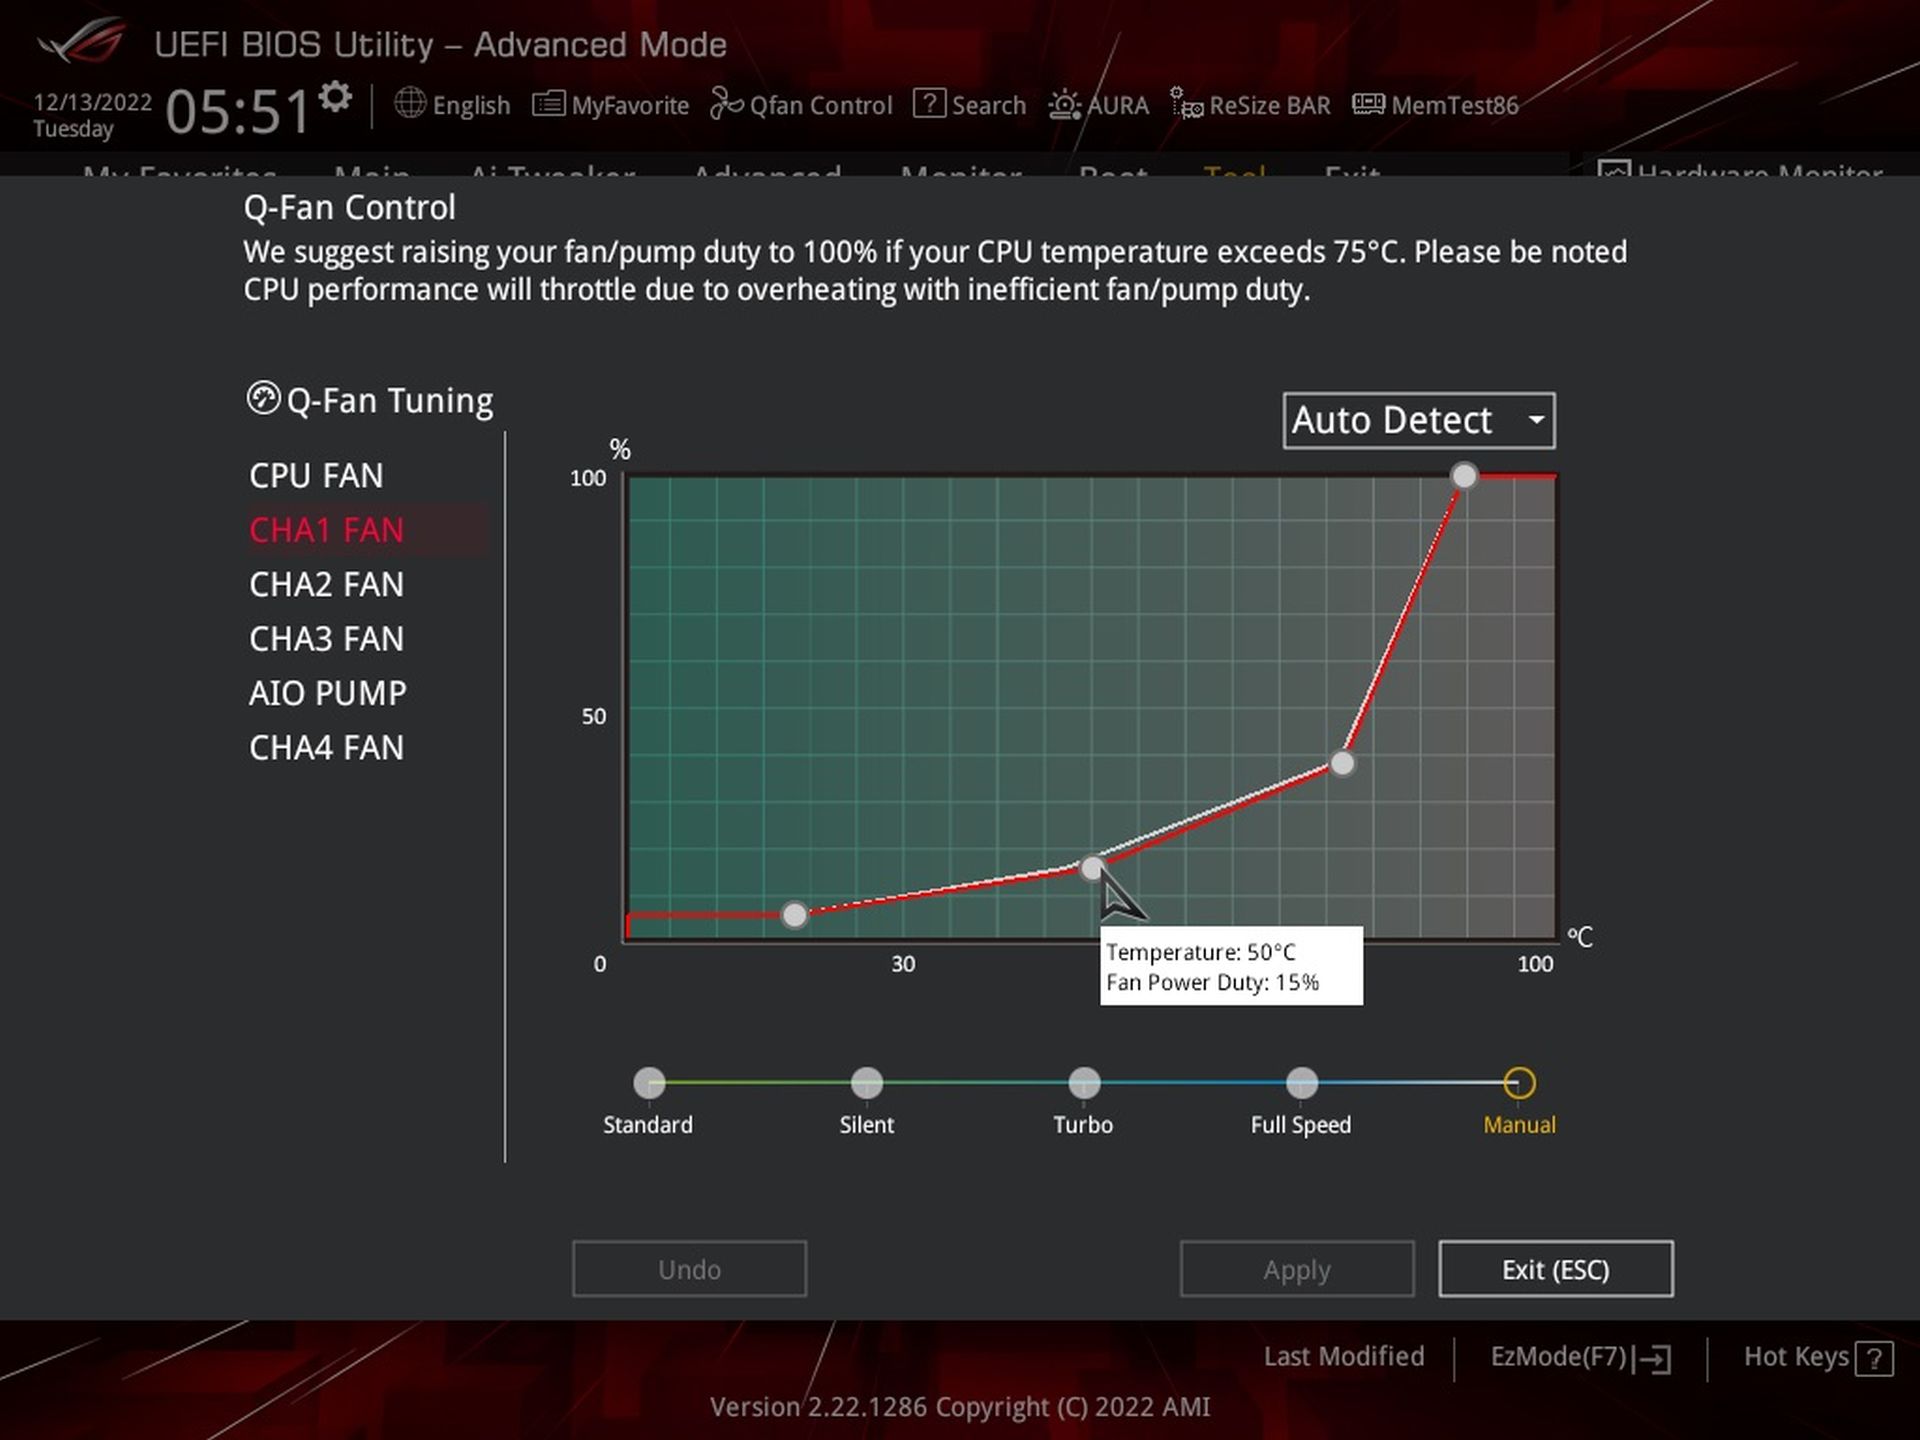
Možno by stálo za zváženie tieto teplotné aj do rozhrania Q-Fan Control, ktoré umožňuje prácu s vývojovými krivkami. This is rather empty compared to competing boards. However, there is still a switch between control types (PWM/DC) and to each connector you can quickly change the profile from the preset modes (Silent, Standard, Turbo, Full Speed) or manual mode where you can set the development curve to your liking.

- Contents
- Asus ROG Strix B760-A Gaming WiFi D4 in detail
- What it looks like in the BIOS
- Methodology: Performance tests
- Methodology: How we measure power draw
- Methodology: Temperature and clock speed measurements
- Test setup
- 3DMark
- Borderlands 3
- F1 2020
- Metro Exodus
- Shadow of the Tomb Raider
- Total War Saga: Troy
- PCMark and Geekbench
- Web performance
- 3D rendering: Cinebench, Blender, ...
- Video 1/2: Adobe Premiere Pro
- Video 2/2: DaVinci Resolve Studio
- Graphics effects: Adobe After Effects
- Video encoding
- Audio encoding
- Photos: Adobe Photoshop, Affinity Photo, ...
- (De)compression
- (De)encryption
- Numerical computing
- Simulations
- Memory and cache tests
- M.2 (SSD) slots speed
- USB ports speed
- Ethernet speed
- Power draw without power limits
- Power draw with power limits by Intel
- Achieved CPU clock speed
- CPU temperature
- VRM temperature – thermal imaging of Vcore and SOC
- SSD temperature
- Chipset temperature (south bridge)
- Conclusion