

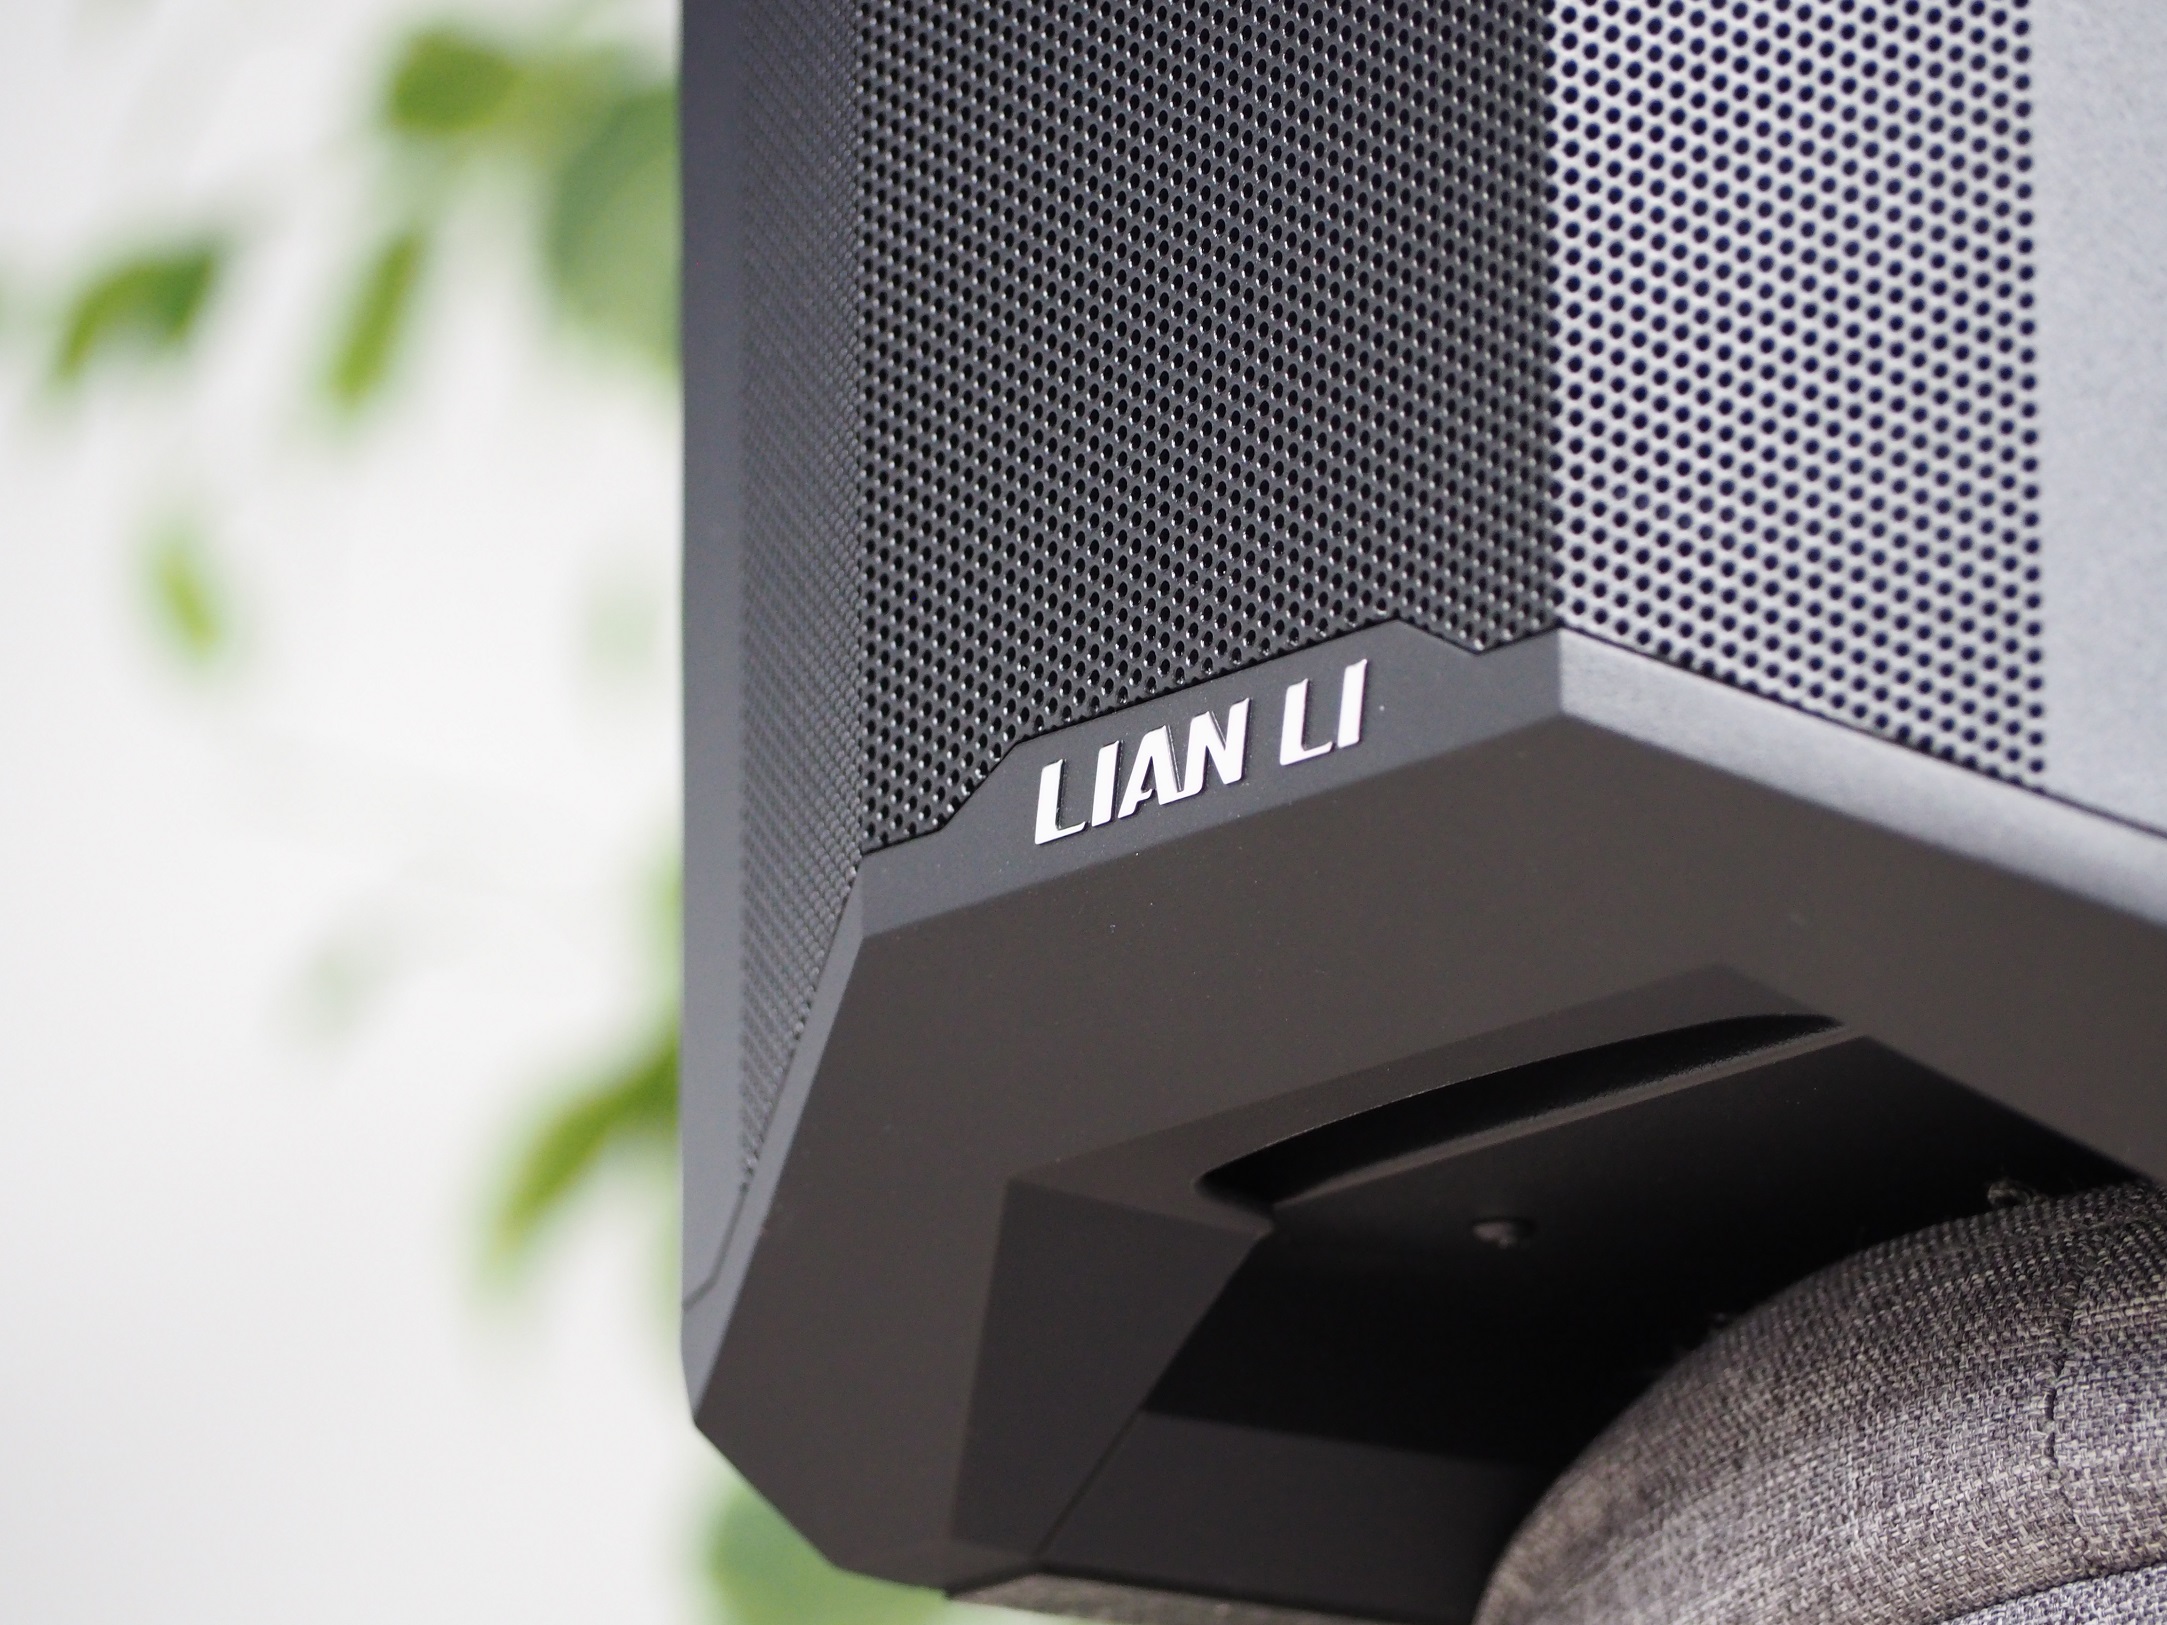
Lian Li Lancool? Lian Li is historically known for using more aluminium than its “steel” competitors. Lancool, on the other hand, was at a time a separate brand for, say, cheaper Lian Li derivatives. But what does a “Lian Li Lancool” Mesh Performance look like? The name promises an emphasis on cooling, but the case is also characterized by the extra modularity of the individual parts.
Everything customizable
The inside of the case is off to a better start than the exterior. It can accommodate motherboards from ITX to M-ATX, ATX to E-ATX formats up to a width of less than 280 mm. The space for the graphics card is reserved in the case to a maximum length of 384 mm. You can fit a tower cooler for the CPU up to 176 mm of height, which gives you a free hand in its selection. All this hardware is held by a tray of extreme thickness of 85 mm. The sheets are solid, they don’t sag even when you try really hard.
The cable grommets are not rubberized, but the main vertical one, through which most of the cables pass, has a removable metal cover. There’s plenty of room for cables, so you don’t have to wonder if you’ll be able to slip a 24-pin cable through to power the board. This is how I imagine the main pass-through if the case doesn’t have room for larger holes.

A 120 mm fan is mounted on the exhaust at the rear under the ceiling. Like the front fans, this one is not further specified beyond the manufacturer’s stated parameters. The speed can be regulated from 600 to 1500 rpm. At the fastest, it has an airflow of just under 93 m³/h.

In Lian Li, they have also adapted the upper part of the tunnel to be used as you would need it. There are two perforated plates at the back, on which you can place 2×2.5″ drives. Of course, it wouldn’t be that interesting if you couldn’t uninstall them and place 2×120 mm fans there instead. There is also a removable platter in the front. This allows you to fit an expansion tank for water cooling.
In addition to the space for a power supply up to 210 mm in length, the tunnel is also equipped with the aforementioned drawer for drives. We’ve already encountered the same lever-based position selection system in a significantly more expensive case, the Sekira 500x from MSI. All three positions are hybrid and can accommodate both 3.5″ and 2.5″ drives. A great advantage is that the entire drawer can be slid forward or backward along the rails. This way you can easily adjust the space for the cables from the power supply.

Opening the right side panel and the bottom panel, you get to one of the most ingeniously done backsides I’ve come across. The two covers for the cabling cover up any imperfections that may arise when managing the cabling. There are two Velcro pull-tabs for cable management and another disposable one in the accessory box. In summary, the case offers 11 positions for cable attachment which is more than sufficient.
Space for additional 2.5″ drives is elegantly designed. Two are mounted directly on the tray and the other two directly on the bottom panel. A beautiful solution to make use of the available space.
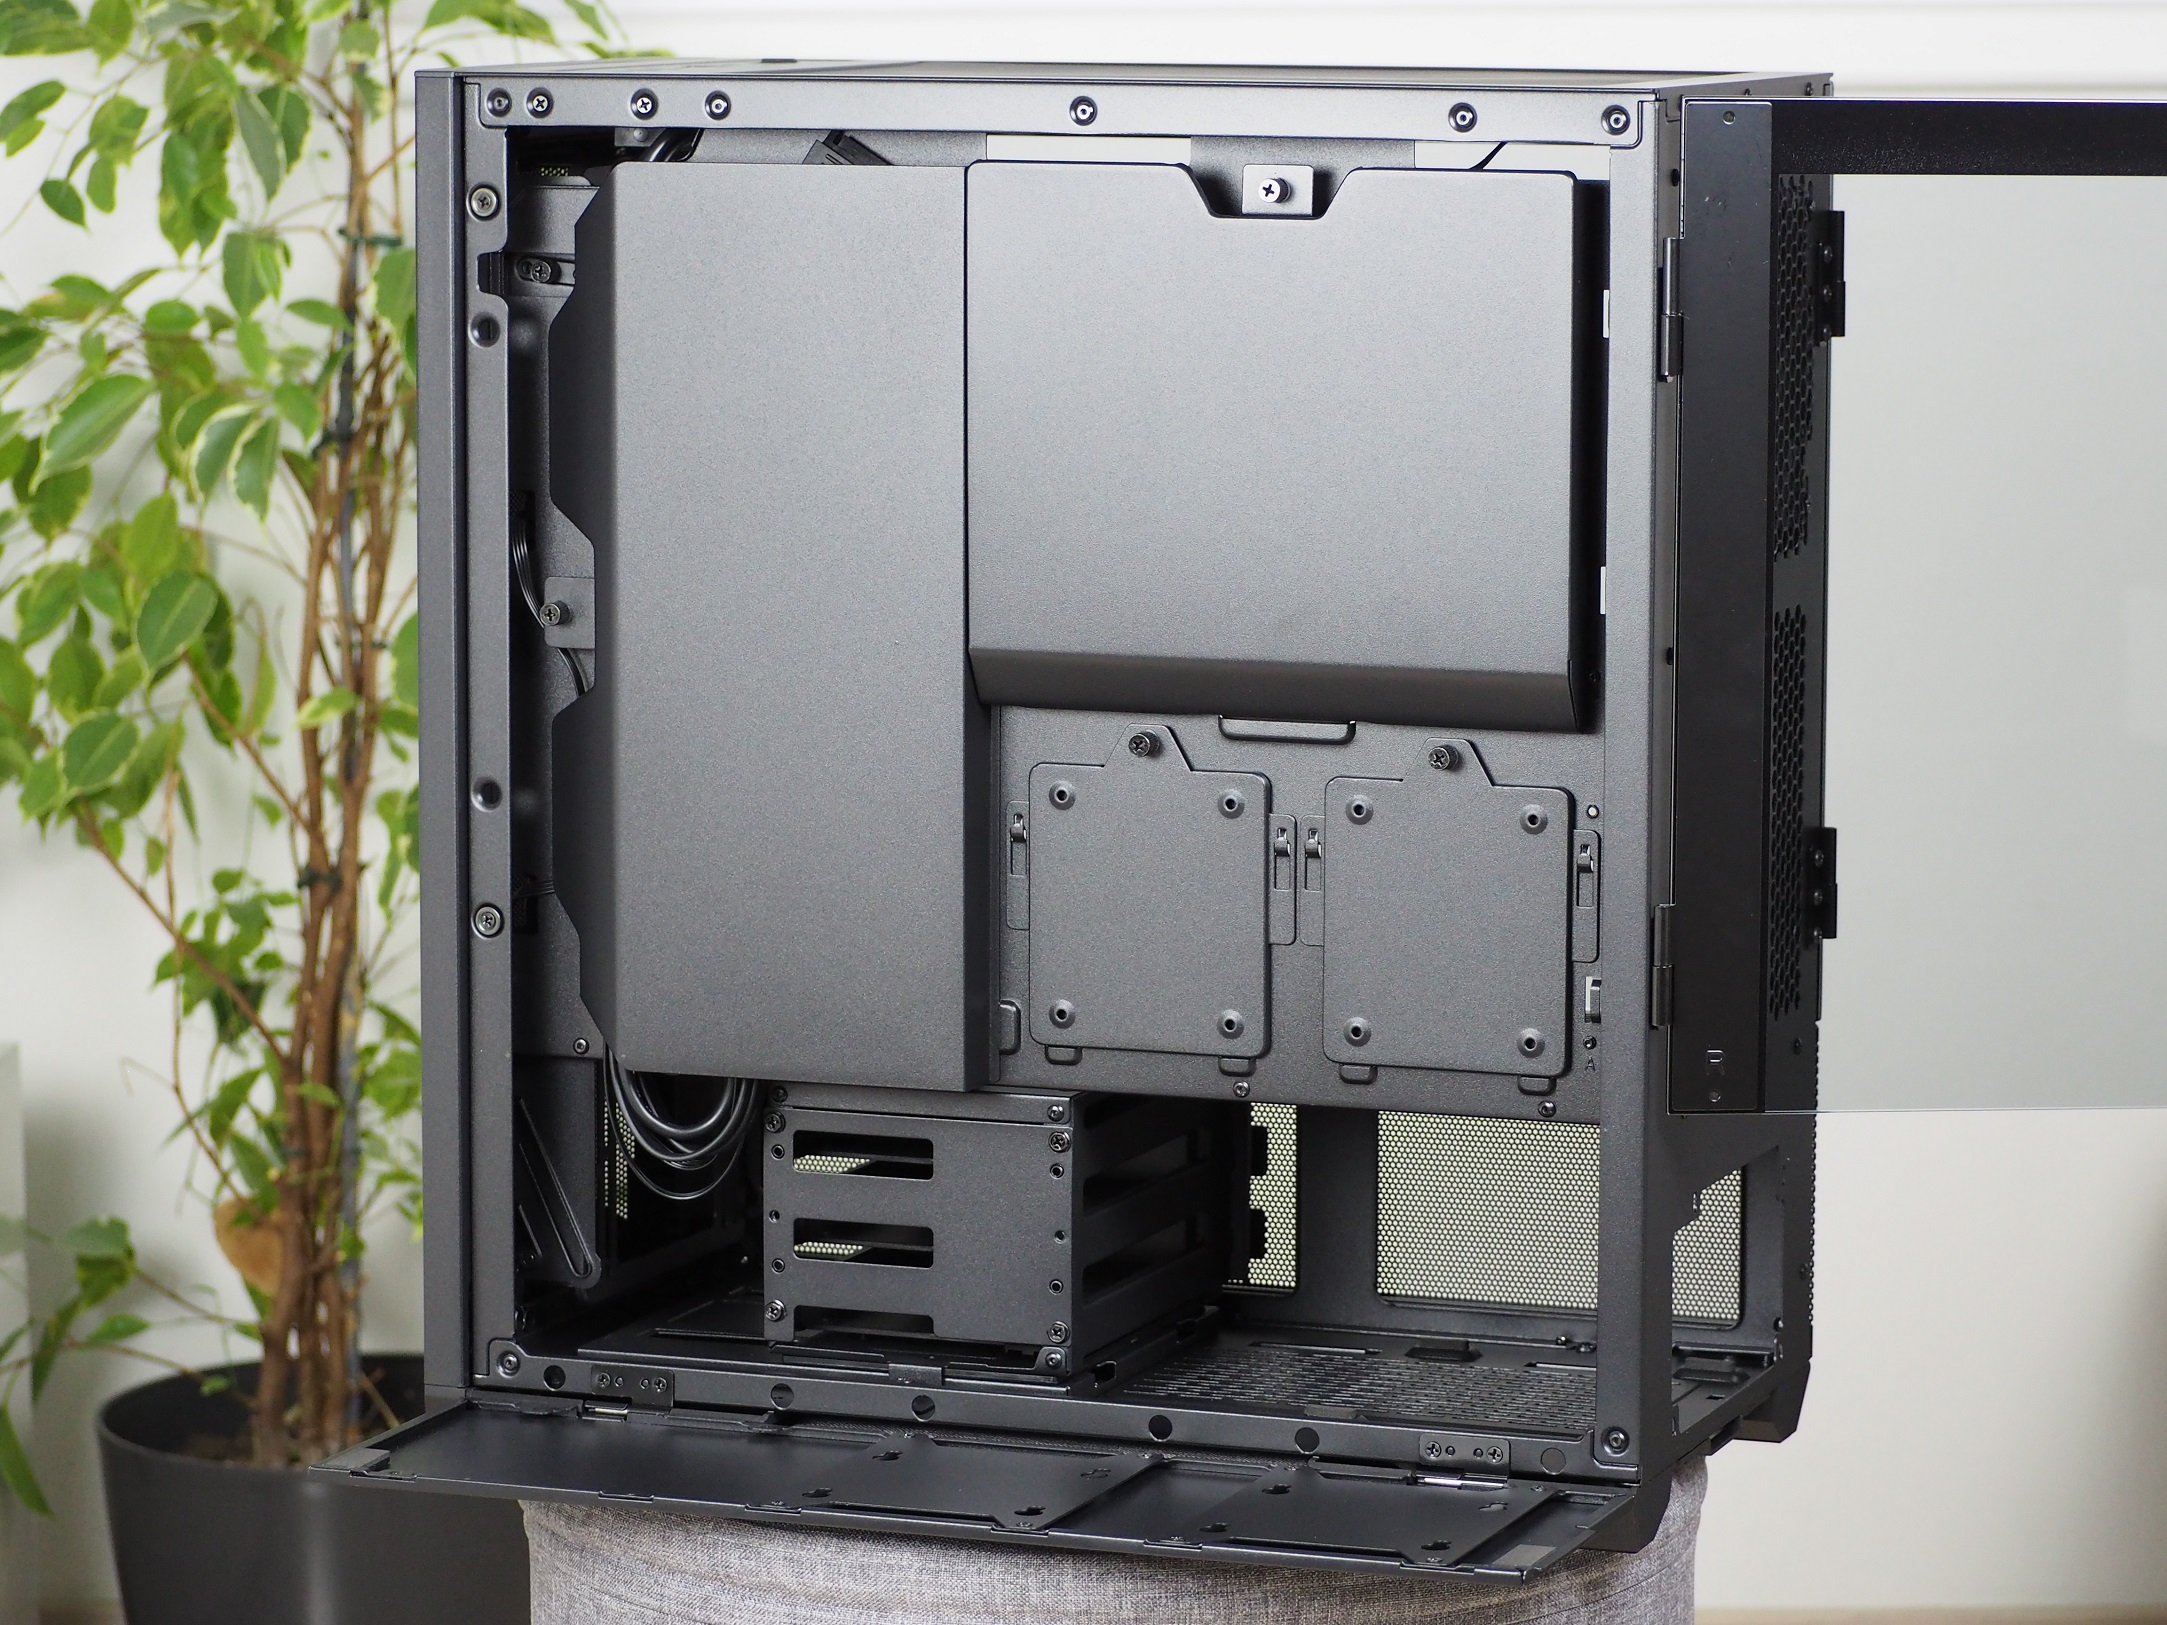


The mechanical controller on top of the I/O panel could not function without the hub that controls everything. The latter is located on a removable panel, in the center of the back of the tray. I like the idea of easily removing this component as well. The hub can control up to six fans at once. However, if you decide to occupy all the fan positions with 120 mm variants, you’ll still have to connect two directly to the motherboard. The case offers you the possibility to fit up to eight of them.

A respectable 25 mm is allocated for cable management. All cables were positioned with ease without the use of disposable tapes. The removable cover for the grommet also helped considerably. In order to keep the cables from being pushed around in the tunnel, I simply slid the drawer with the drive bays forward on the rails. This tends to be a problem with some cases and it has to be taken all the way out.


Covers designed for nicer cable management do their job one hundred percent. If I had used a cable with a black braid for the CPU power supply, none of the cables would have been needlessly shining and everything would have been hidden.

The only thing you should be careful of is that the cables don’t push too hard on each other. If they do, the cable cover will not snap fully into position, which will then push the bottom panel out. It then no longer adheres to the structure as it should.

Everything fit together like a puzzle. The whole installation didn’t take more than half an hour. Lancool II Mesh can forgive a lot of shortcomings.