


Methodology: Temperature and clock speed measurements
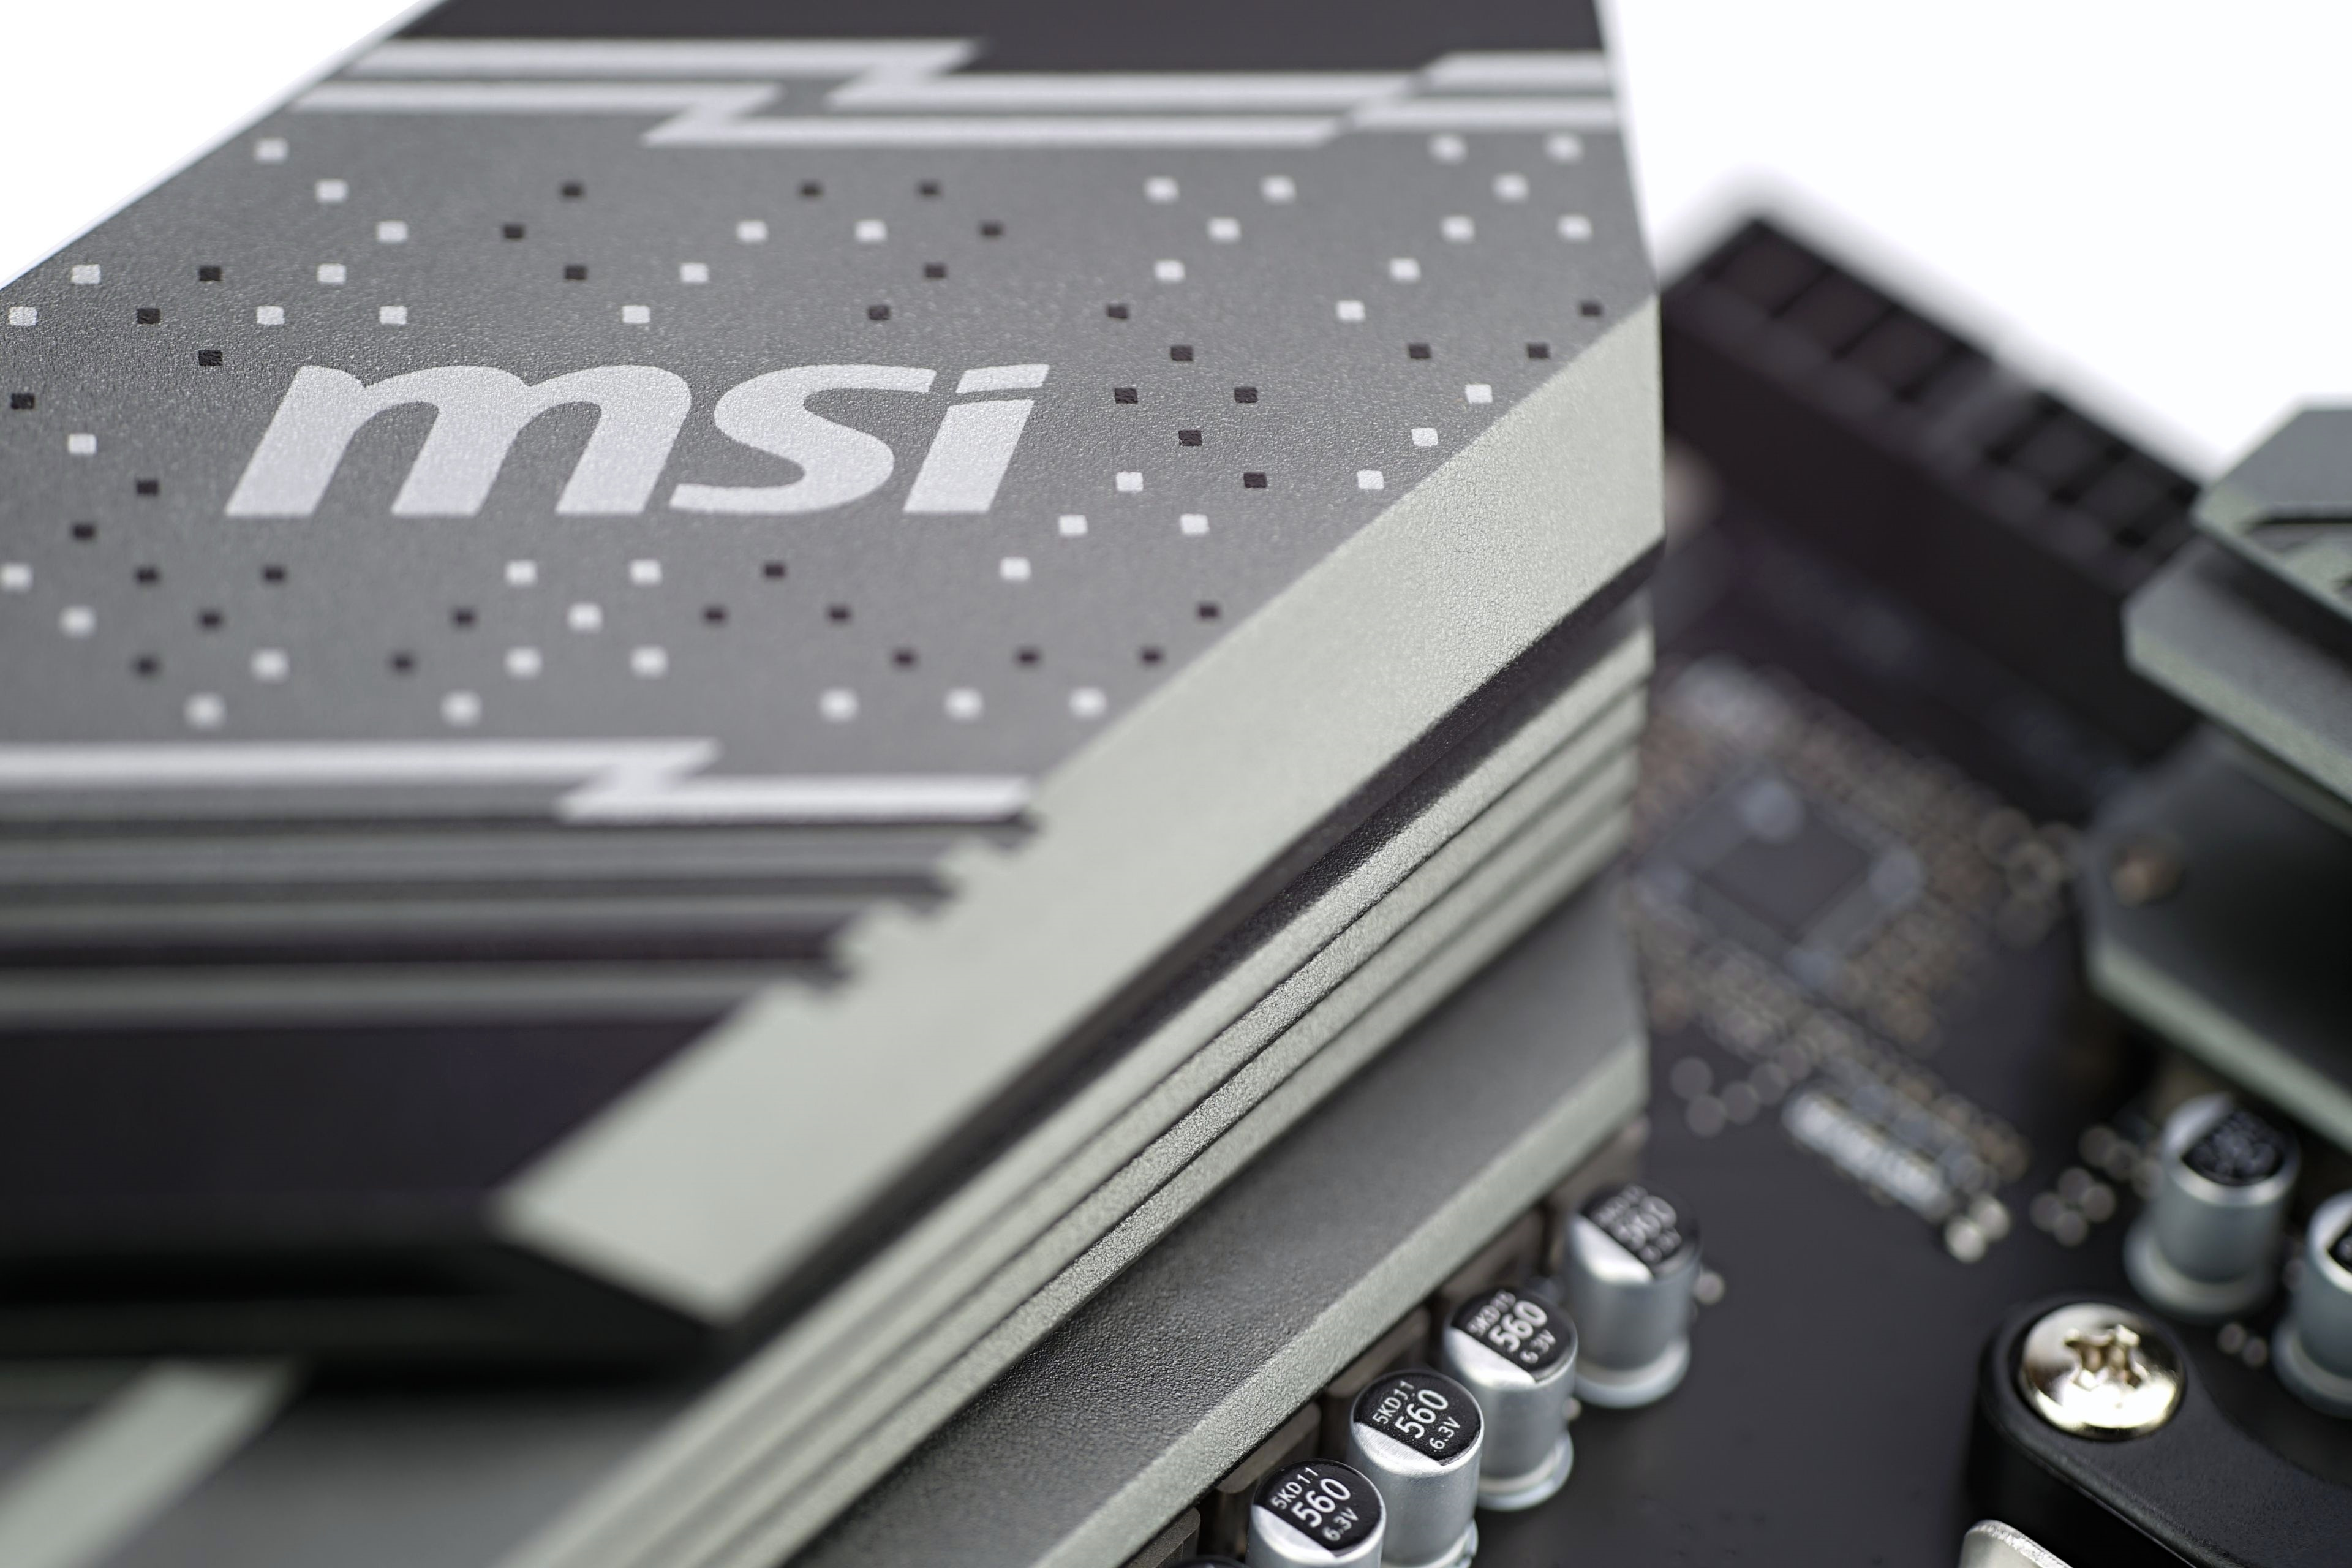
If you don’t want to skimp on a motherboard for an AMD CPU, but also don’t want to pay more than you need to, the MSI B650 Gaming Plus WiFi appears to be an attractive option. The price is well under two hundred euros and yet it can handle even the Ryzen 9 7950X without any power limits. Although there are also things calling for improvement, the cheapest MSI B650 board in ATX format defends its position in a lower-budget gaming build.
Methodology: Temperature and clock speed measurements
By far the most critical part in terms of temperatures on the motherboard is the power delivery (VRM) for the CPU. This is where we return to the Fluke Ti125 thermal imager, which produces temperature maps that can be used to locate the average temperature, as well as the hottest point. We record both these values (average and maximum temperature on the Vcore) in graphs, and we will later evaluate the efficiency of the VRM heatsinks based on the maximum one. However, we lack a suitable thermometer for that yet. Of course, the thermovision is implemented without a heatsink, and a thermocouple needs to be installed on the hottest MOSFET to detect the reduction of temperature with a heatsink. This will be added soon.
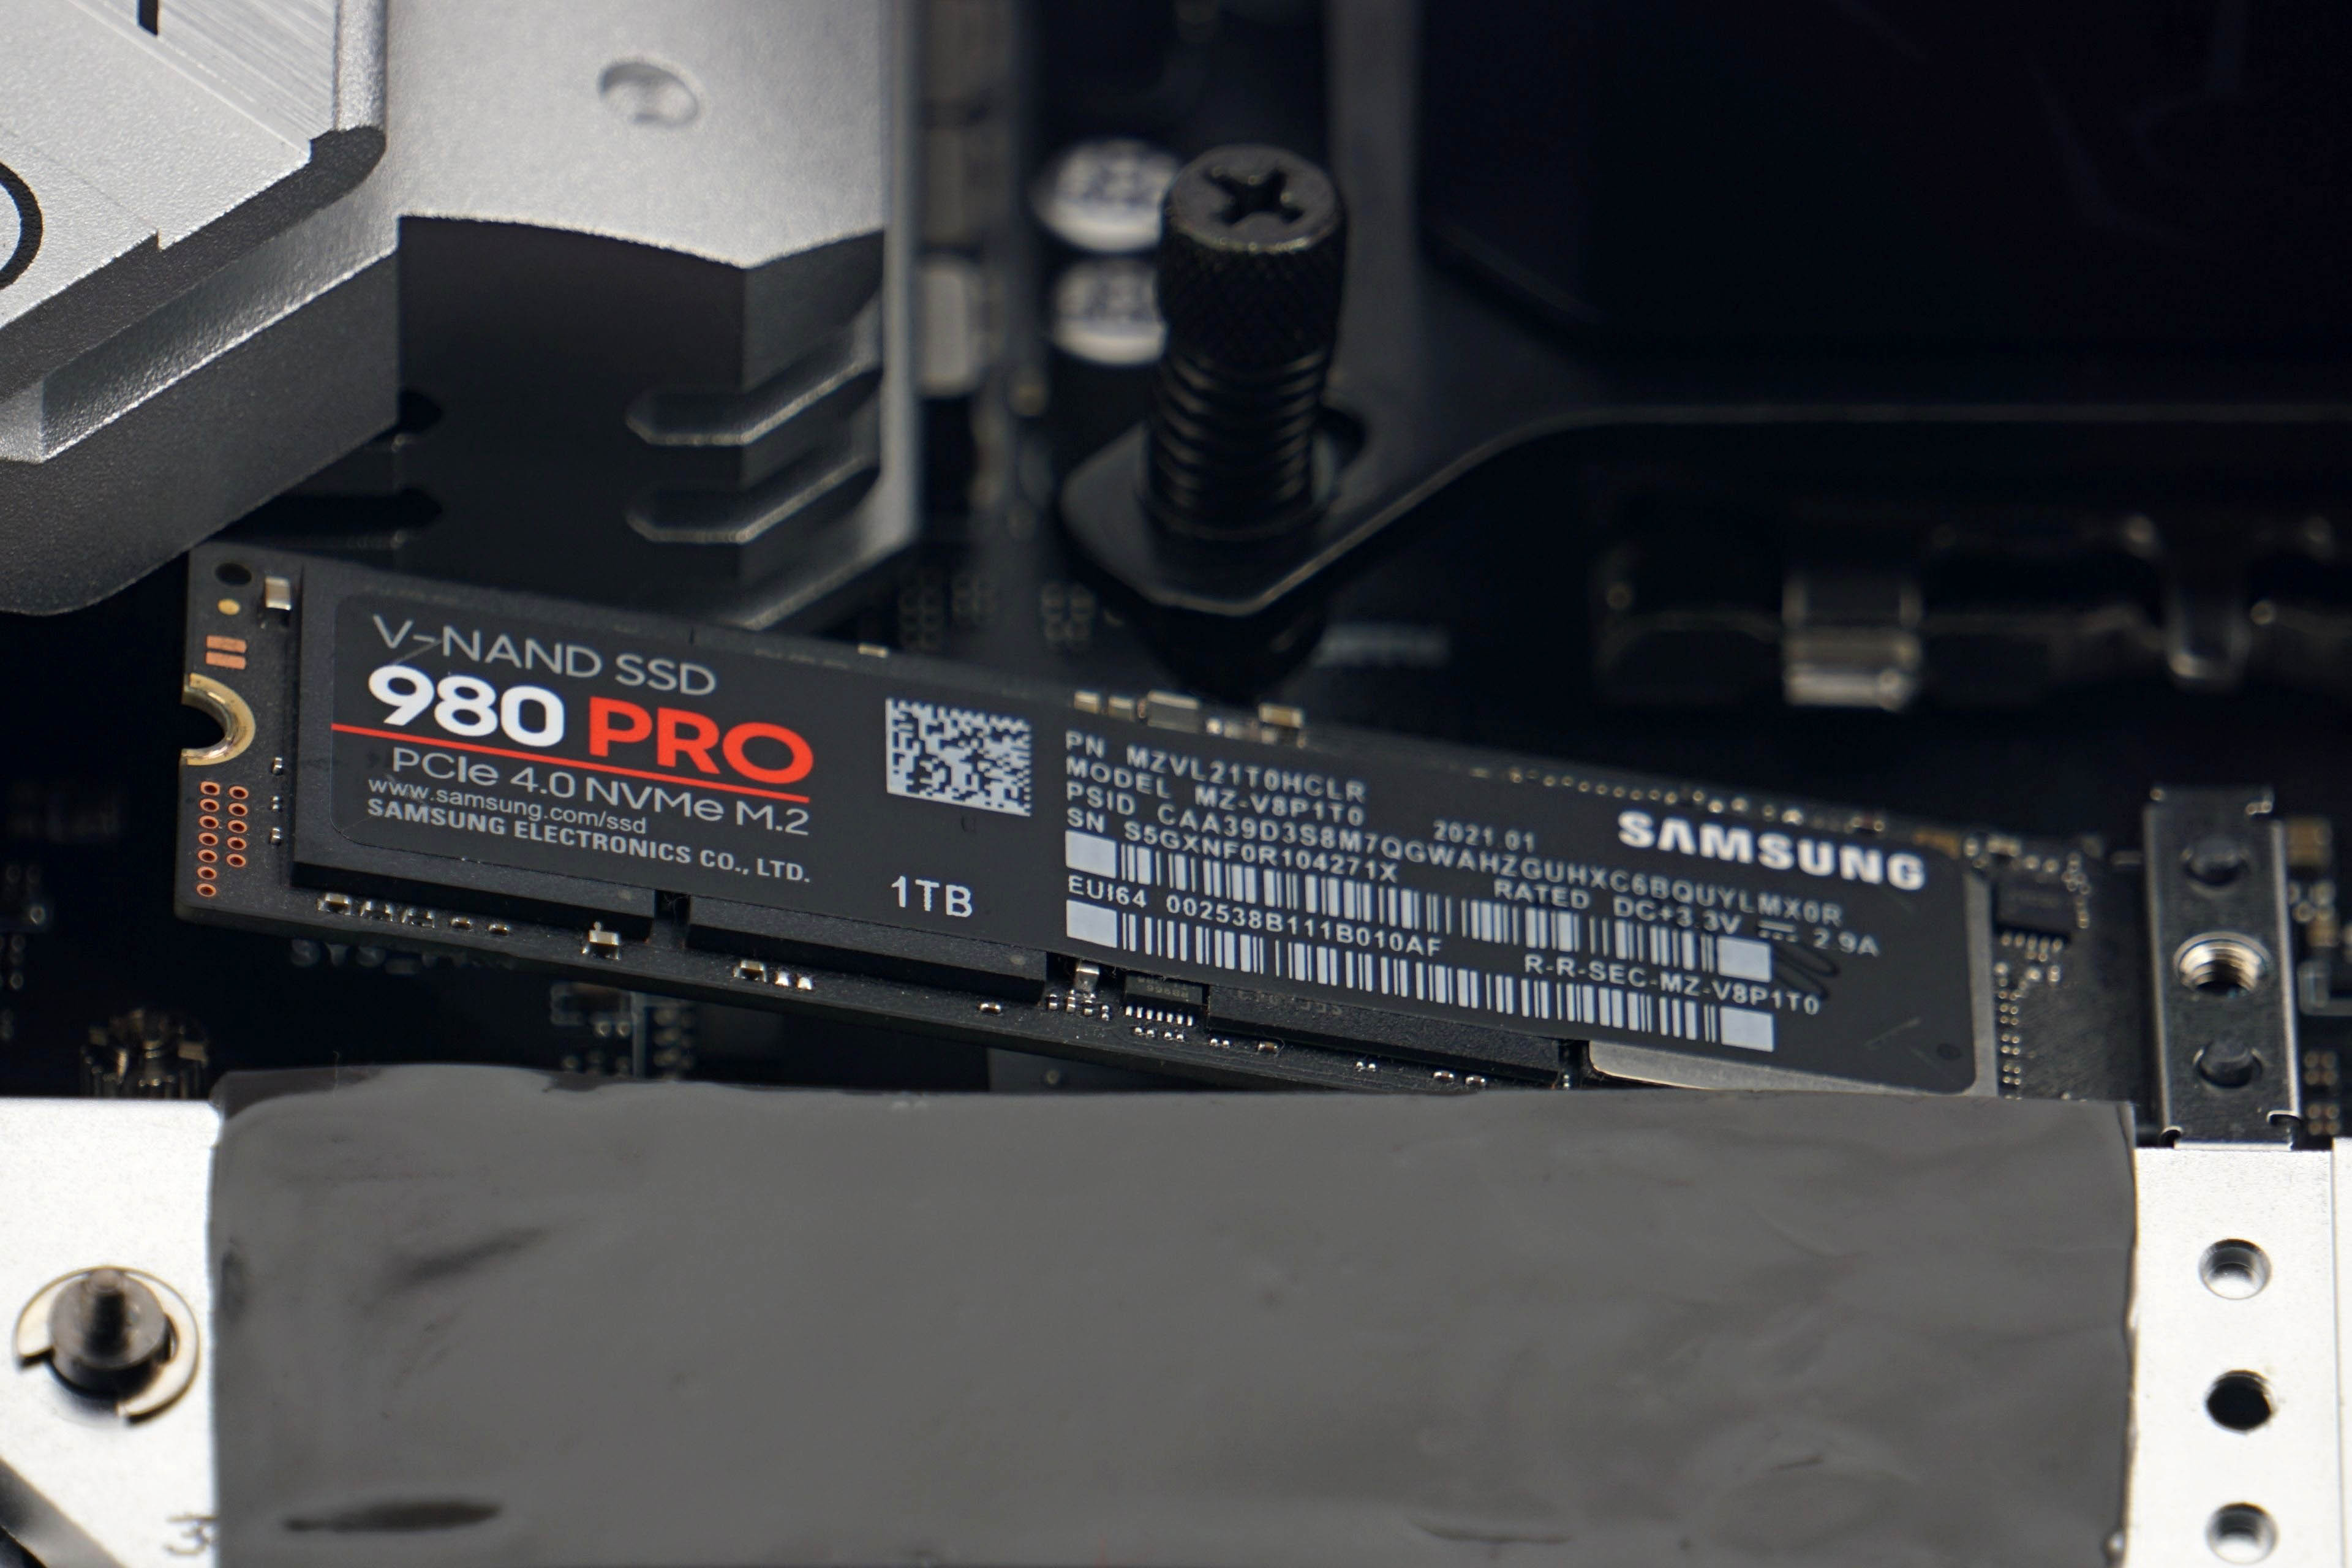
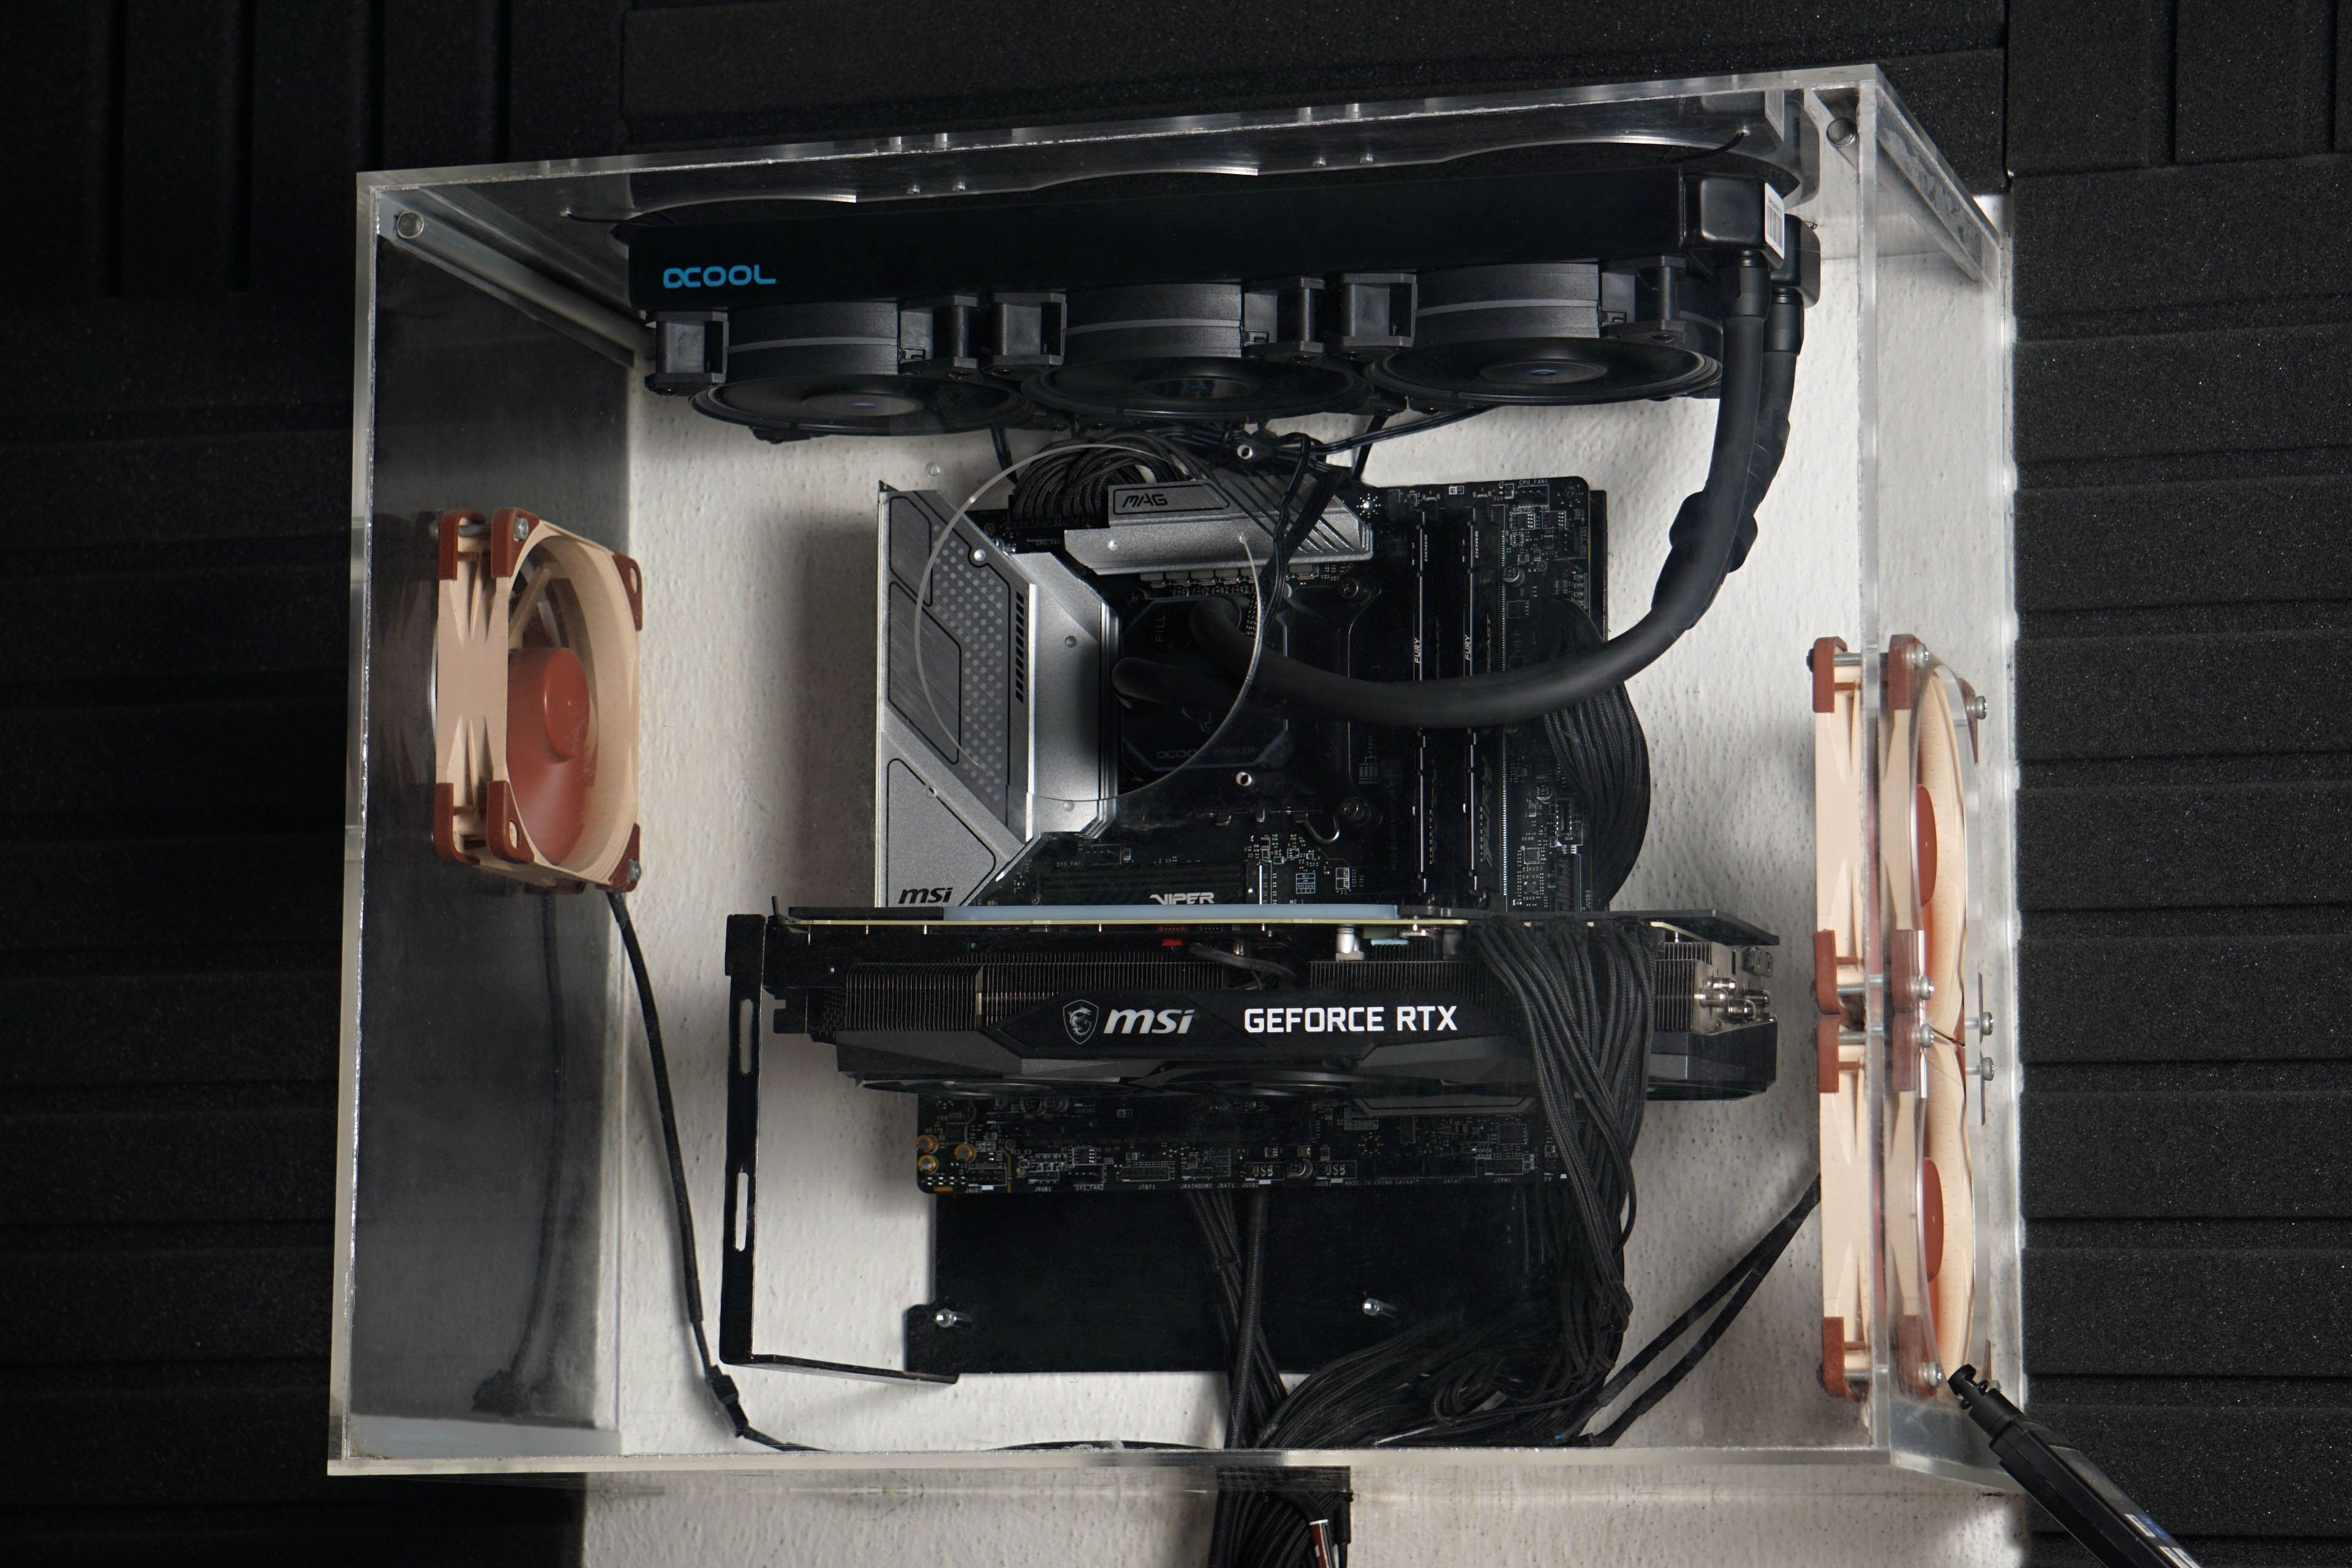
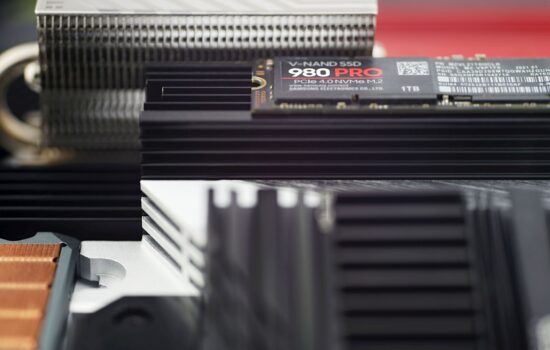
Thermal imaging always relates to operating with the more powerful of the pair of test processors. With it, the differences and possible limitations or impending risks (for example, even from thermal throttling) become more apparent. In order to have a good view of the VRM, we use an Alphacool Eisbaer 360 liquid cooler with the fans fixed at full power (12 V) instead of a tower cooler (from the CPU tests). The temperature tests also include CPU temperatures for completeness, and we also test the efficiency of the supplied SSD heatsinks as part of the motherboard tests. These are already included with virtually all better motherboards, and so the question naturally arises whether to use them or replace them with other, more finned ones. We will test these heatsinks on a Samsung 980 Pro SSD during ten minutes of intense load in CrystalDiskMark. Finally, the temperature of the chipset’s southbridge and the cooling efficiency in this direction is noteworthy as well.
All tests are conducted in a wind tunnel, so full system cooling is provided. This consists of three Noctua NF-S12A PWMs@5V (~550 rpm) . Two of which are intake, one is exhaust. But the three fast AIO fans also function as exhaust fans, so there is underpressure in the case.
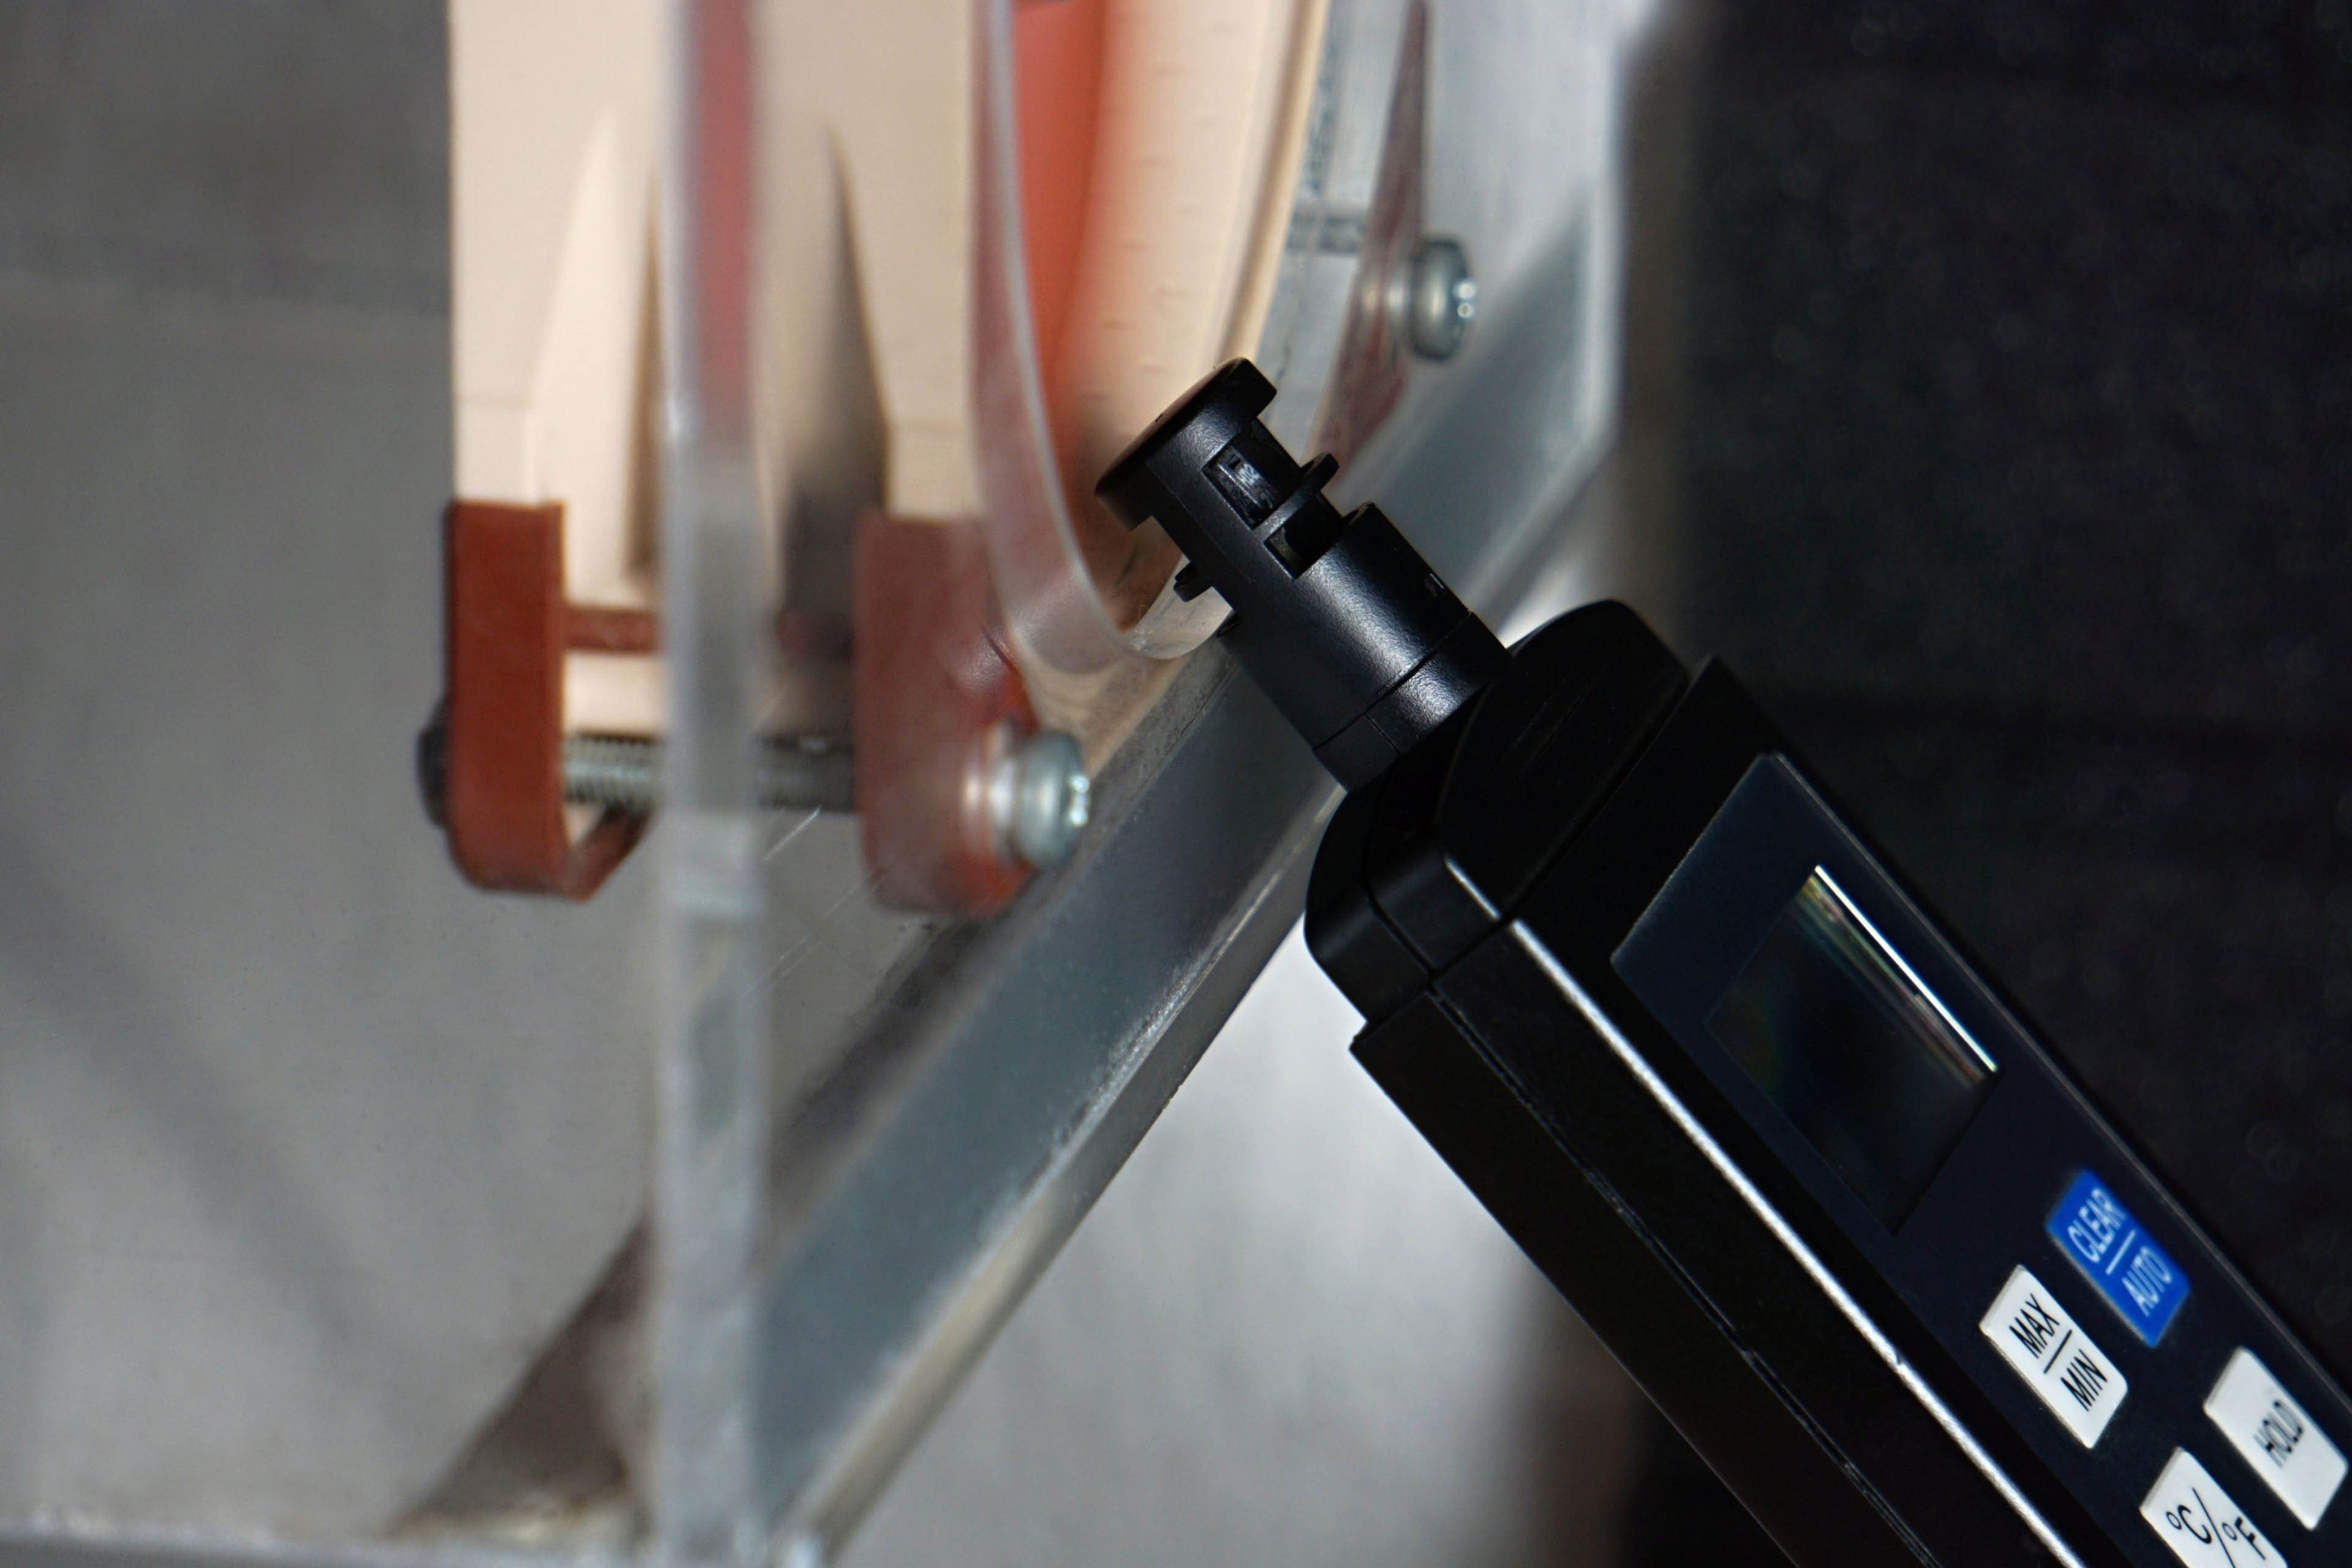
The temperature at the entrance to the tunnel is properly controlled and ranges between 21-21.3 °C. Maintaining a constant temperature at all times during testing is important not only for the accuracy of the temperature measurements, but also because a higher or lower ambient temperature also affects the eventual behaviour of the processors’ boost. And we also properly monitor and compare the clock speeds, whether under all-core load or even single-threaded tasks. We use the HWiNFO application to record the clock speeds and temperatures of the cores (sampling is set to two seconds).
Maintaining a constant temperature at the intake is necessary not only for a proper comparison of processor temperatures, but especially for objective performance comparisons. The clock speed development, and specially the single core boost, is precisely based on the temperature. Typically in summer, at higher temperatures than is normal in living quarters in winter, processors can be slower.
Temperatures are always read as maximum (both from the VRM thermovision and average, but still from the local maximum values at the end of Cinebench R23). For Intel processors, for each test we read the maximum temperature of the cores, usually all of them. These maxima are then averaged and the result represents the final value in the graph. From the single-threaded workload outputs, we extract only the recorded values from the active cores (there are usually two of these, and they alternate between each other during the test). For AMD processors it is a bit different. They don’t have temperature sensors for each core. In order to make the procedure methodically as similar as possible to the one we apply on Intel processors, we define the average temperature of all cores by the highest value reported by the CPU Tdie (average) sensor. However, for single-core workloads we already use the CPU sensor (Tctl/Tdie), which usually reports a slightly higher value that better corresponds to hotspots of one or two cores. However, these values as well as the values from all internal sensors should be taken with a grain of salt, the accuracy of sensors across CPUs varies.
Clock speed evaluation is more accurate, each core has its own sensor even on AMD processors. However, unlike the temperatures, we write the average values of the clock speeds during the tests in the graphs. We monitor the temperatures and clock speed of the CPU cores in the same tests in which we also measure power draw. Thus, sequentially from the lowest desktop idle load in Windows 10, through audio encoding (single-threaded load), gaming load in Shadow of the Tomb Raider to Cinebench R23.
- Contents
- MSI B650 Gaming Plus WiFi in detail
- What it looks like in the BIOS
- Methodology: Performance tests
- Methodology: How we measure power draw
- Methodology: Temperature and clock speed measurements
- Test setup
- 3DMark
- Borderlands 3
- F1 2020
- Metro Exodus
- Shadow of the Tomb Raider
- Total War Saga: Troy
- PCMark and Geekbench
- Web performance
- 3D rendering: Cinebench, Blender, ...
- Video 1/2: Adobe Premiere Pro
- Video 2/2: DaVinci Resolve Studio
- Graphics effects: Adobe After Effects
- Video encoding
- Audio encoding
- Photos: Adobe Photoshop, Affinity Photo, ...
- (De)compression
- (De)encryption
- Numerical computing
- Simulations
- Memory and cache tests
- M.2 (SSD) slots speed
- USB ports speed
- Ethernet speed
- Power draw without power limits
- Power draw with power limits
- Achieved CPU clock speed
- CPU temperature
- VRM temperature – thermal imaging of Vcore and SOC
- SSD temperature
- Chipset temperature (south bridge)
- Conclusion


Why did you test VRM heating without heatsinks?
It’s simple – to get an overview of which motherboards’ voltage regulators heat up more and which ones less. With a heatsink you would not get relevant results, because its higher surface temperature does not necessarily mean higher temperature of the VRM, but that it dissipates heat faster.
This can be seen well in thermalpad tests, where there are lower temperatures for VRMs with a lower surface temperature of the heatsink. The best would be to locate (by thermal imaging) hotspots without heatsinks, then apply a thermocouple to them, return the heatsink and measure like that. Such a measurement procedure would also take into account the efficiency of the coolers and we plan to implement it in the future.
Hello, Merry Christmas to all.
I just bought this mobo, which comes with bios ver. E7E26AKB.1M2. However, when I go to official website, cannot find this bios version. I also tried to update this mob with the latest 7E26v17, but my m-flash is not reading it at all from my usb stick. I tried Fat 32 and NTFS format, but without success. Can your team give me some advice what to do? Thank you.
It is possible that the version the mobo came with has not been released separately for download and has been replaced by a newer/fixed build on the download page.
Sometimes the mobo maker releases several point releases of certain bigger version of the BIOS and the newer ones replace the previous ones, until something like a final version appears that will be kept in the downloads section permanently.
If you want to keep this older BIOS for backup purposes, you can dump it to disk for keeping.
As for why the update tool can’t read your USB stick – not sure, but it can happen. It is recommended to use USB 2.0-only drives, and also drives of lower capacity (under 32 GB), sometimes USB 3.0 etc can cause problems with detection.
Sometimes the UEFI supports reading the image from a SSD or HDD attached to SATA port too (Gigabyte does IIRC, although not sure it supports NTFS, dunno about MSI now).
Thank you Jan for a quick reply. I must mention that I also tried to update bios from M-flash going directly to hard disk and finding bios file. Unfortunately, it didn’t see my bios file at all. Dunno know what to do and how to update to the latest one version.
When you read the USB disk, can you see the directories and files at all, or is the drive entirely unreadable?
Assuming you didn’t make a mistake like not unzipping the contents of the zip (I don’t think any of the uefi updaters can read inside zips…), not sure what else could be wrong. Besides unzipping, try double checking if your motherboard really matches the file (but you likely did that…)
If you can’t get this to work from the BIOS, you could use the BIOS Flash button procedure (with PC turned off), described here https://www.youtube.com/watch?v=iTkXunUAriE
Hei Jan,
Thank you for assisting me. However, I tried to contact store (one of the biggest in Norway) where I live, and they said to me that it is custom bios (made be its company). So, I am still waithing answer from them, how can I put the latest original bios version. Best regards,
Dean
That makes sense. I googled this issue and the replies also mentioned that some system builders use customised BIOSes (could even be just custom logo added to the image to show say, “Puget Systems” instead of MSI) and such a board won’t recognize the stock BIOS.
In theory, as a last resort it is possible that these custom boards could be flashed to stock BIOS using tools like Flashrom or external flashers (those CH341 adaptors). But once you use these methods where signatures and CRCs are not checked, it can get dangerous, so I would recommend against doing this unless it is the last resort and the BIOS update is critically needed.
And even so, you would have to be extremely careful with checking that the board is the proper revision that has the exact same components everywhere. If the borad has not just custom BIOS, but also hardware customizations, that could cause problems, potentially fatal problems.
I have bad experience with this, because I accidentaly flashed a corrupt image, bricking a board without a BIOS flashback ability, and it cost me a lot of time and related hassles before I managed to repair it.
Also, nice post. Keep going a good work. Thank you once again.
very informative article and very good job. thank you