


Mounting and vibration measurement
The introduction to this article has been rewritten several times. The original versions resorted to describing the adverse events that caused the long-announced fan testing to be so dramatically delayed. But the text was always dreadfully boring… the important thing is that everything managed to make it to the start. But before the starting gun, come take a thorough walk around the track where the measurements will take place.
Mounting and vibration measurement
Naturally, each tested fan must first be properly mounted. With all that we want to measure, and with the kind of precision that is required for relevant measurements, even the smallest details matter. The whole mounting system is quite complex and we are happy to have fine-tuned it to maximum satisfaction. Even if it meant hundreds of hours of tinkering. What’s so complicated about it? There’s more.
The fans are installed to the multi-purpose bracket. The substrate is a 2 mm thick metal plate to which the fan is attached, or the fan is attached together with an obstacle (e.g. a filter, hexagonal grille or liquid cooler radiator).
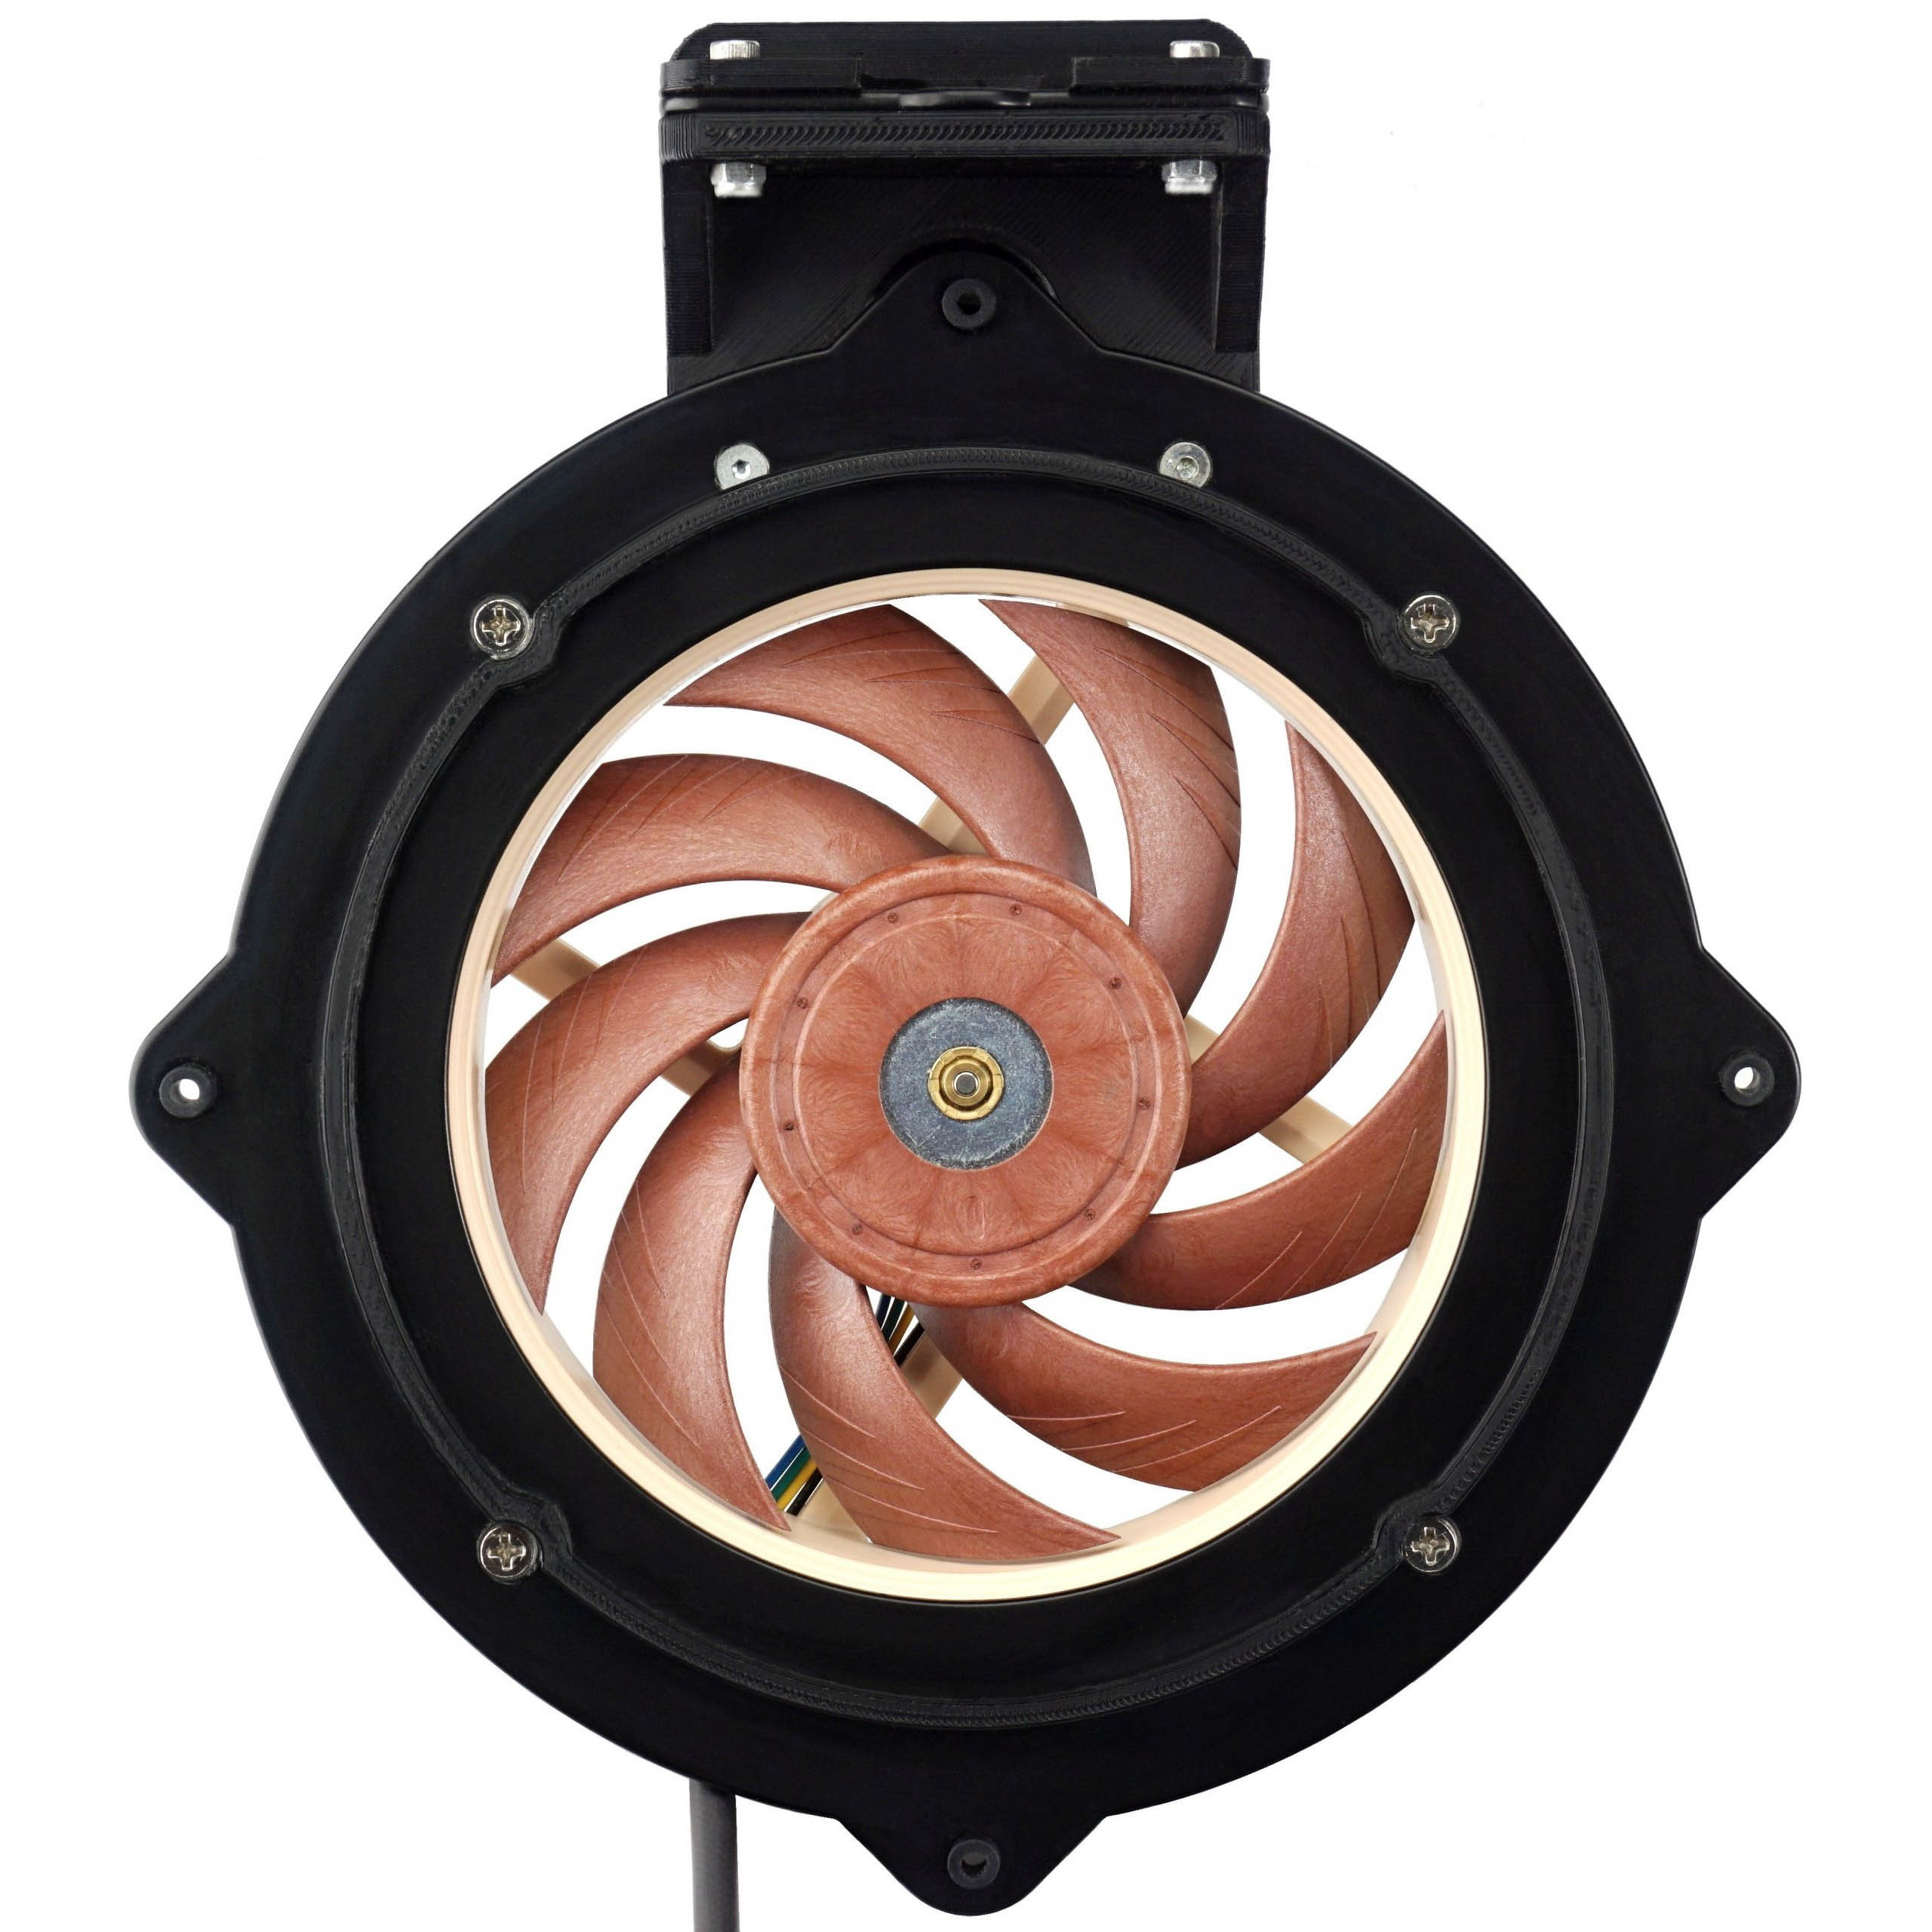
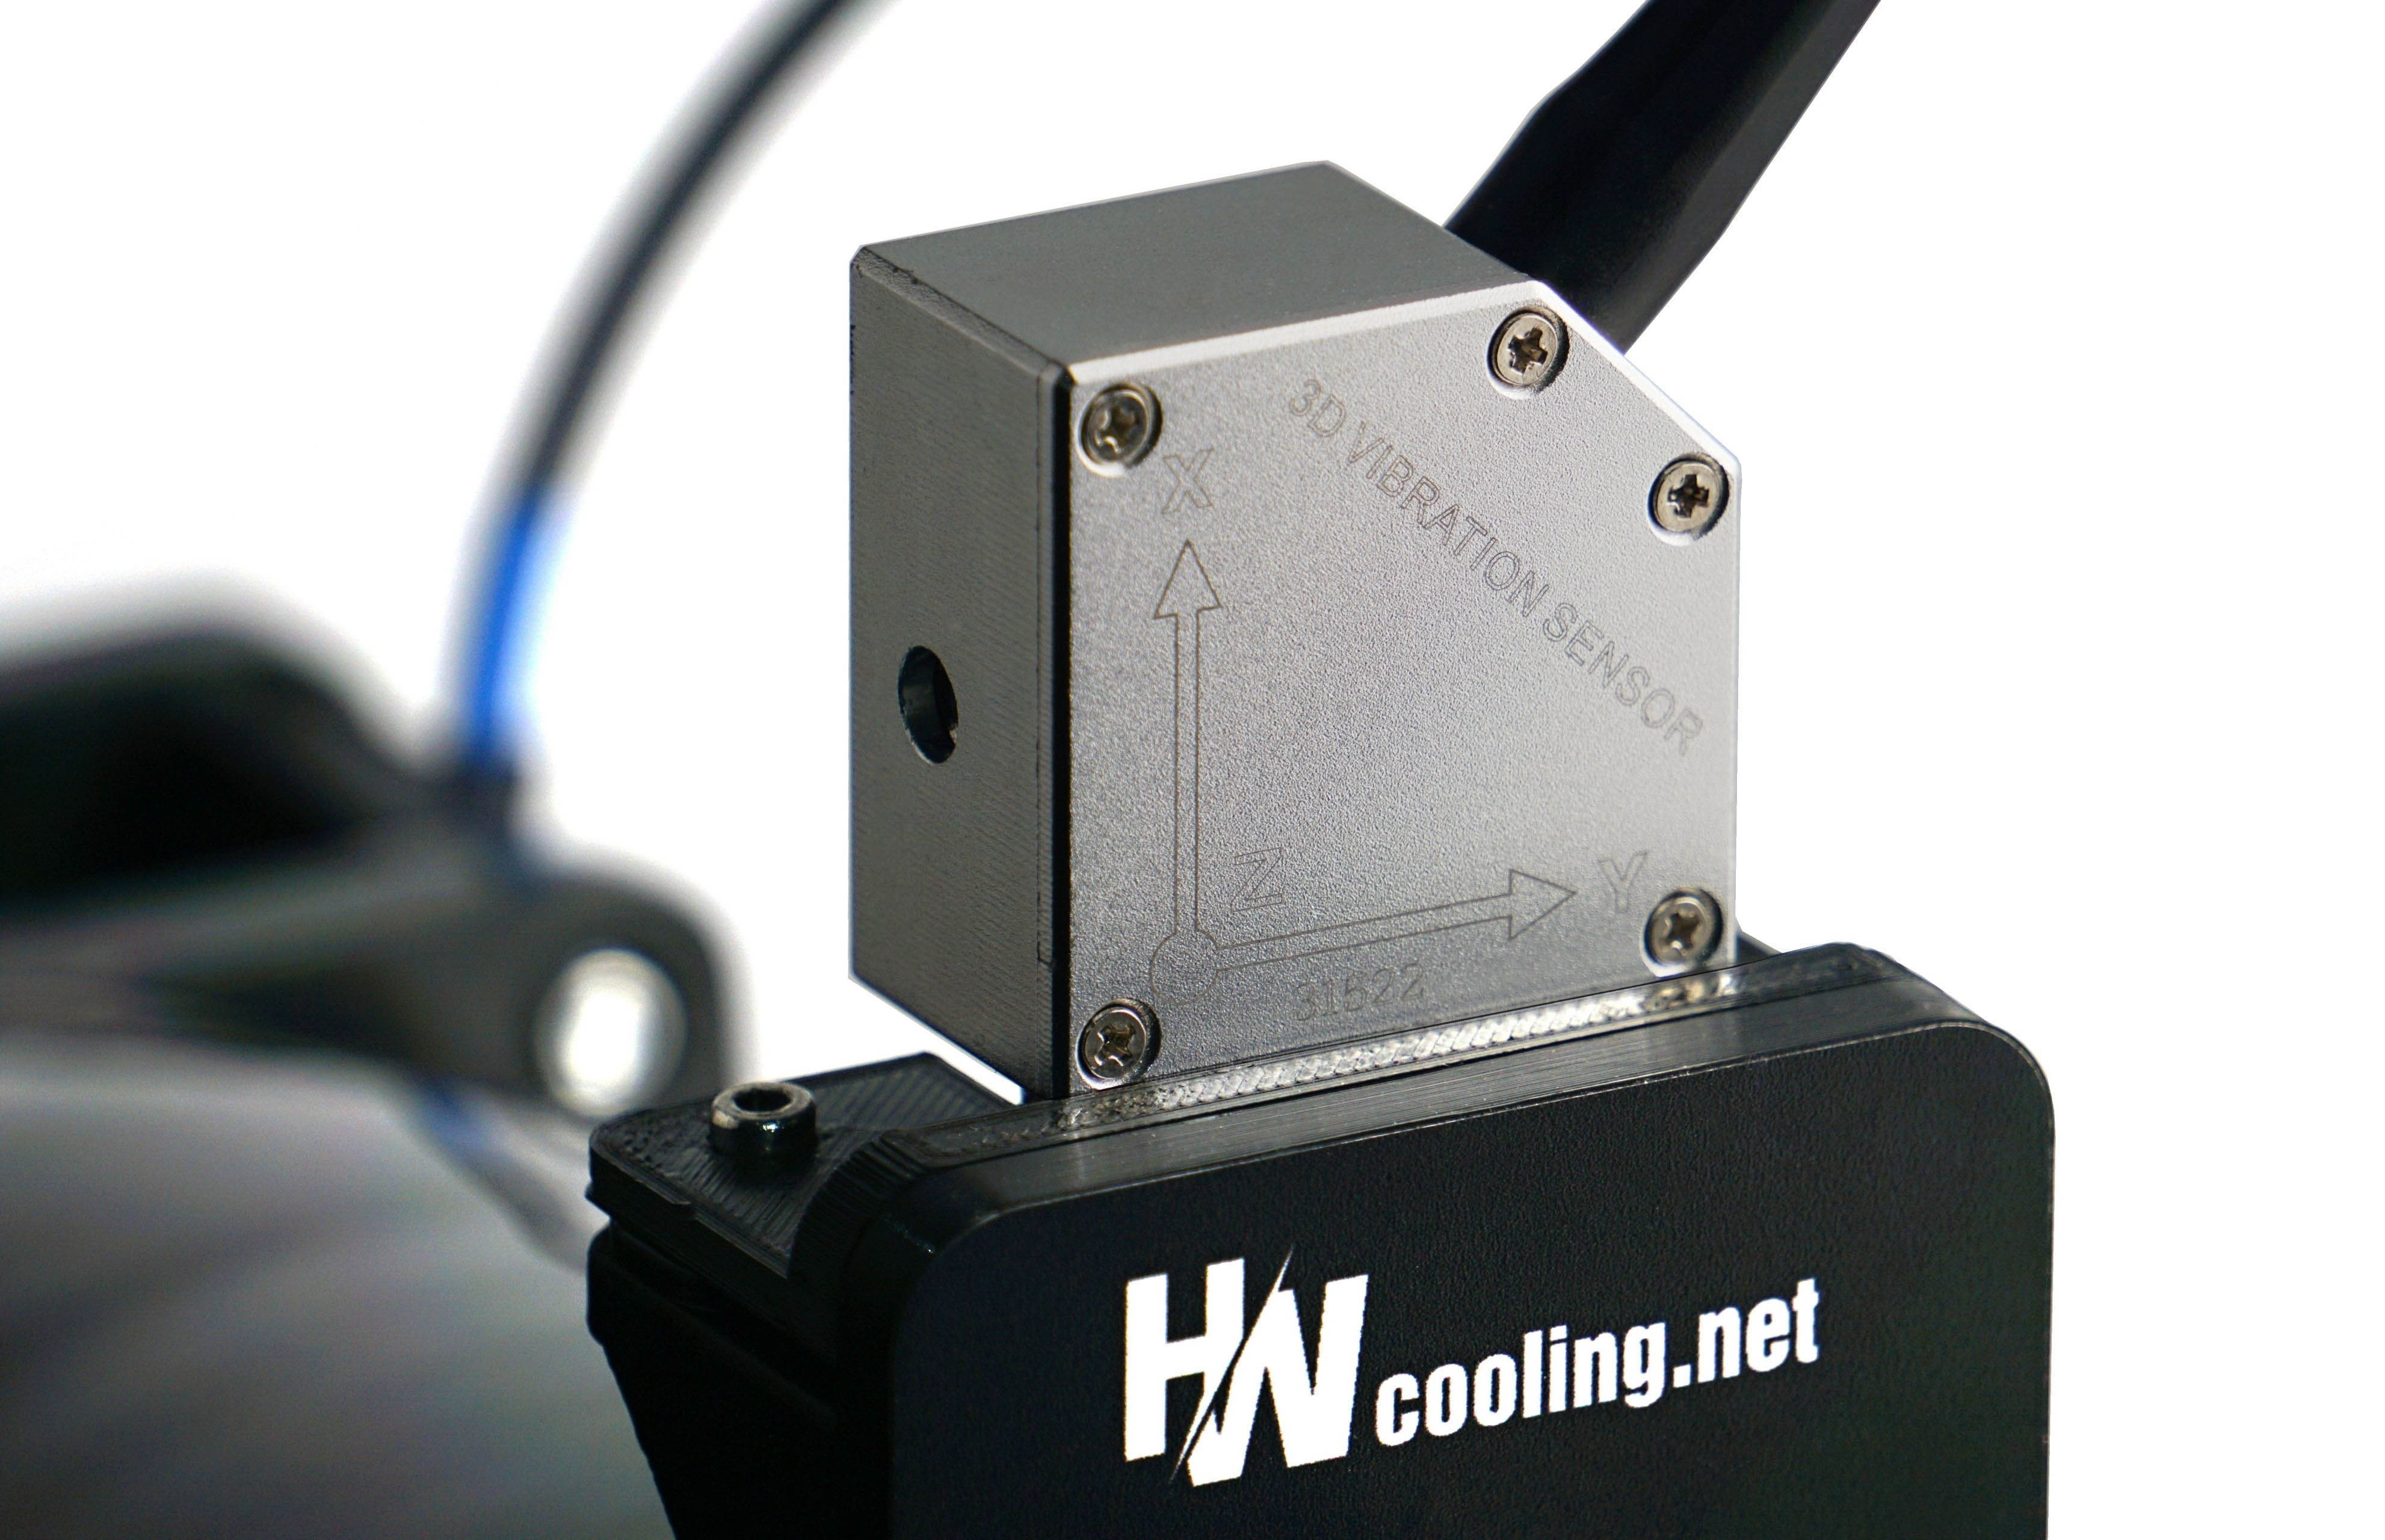
For correct and always equal pressure, the fans are always tightened with the same force with a torque screwdriver. If this were not the case, joints and clearances in the assembly could arise, in short, uneven conditions with undesirable distortion. For example, also for vibration measurement. On top of the fan mount there is also a bracket for the three-axis vibrometer sensor. The latter is magnetically attached via a steel insert, on which the sensor exerts a force of one kilogram and, thanks to the stop, is also always in the same place and in the same contact with the rest of the structure. These are the basics in terms of repeatability of measurements.
In order to capture the intensity at the highest possible resolution, the tray of the holder cannot be too heavy and at the same time it must be strong enough not to twist. This would again cause various distortions. Therefore, we used a hard (H19) aluminium (AL99.5) plate for the construction of the holder, whose weight is just enough so that free movement is not significantly restricted.
To achieve the finest possible resolution for vibration measurement, soft rubber inserts are provided in the mounting holes through which the bracket is installed to the tunnel. And just behind these inserts are silent blocks with a very low hardness of 30 Shore. These are also used so that the vibrations of the fans don’t spread to the tunnel skeleton. If this were to happen, then for fans with more intense vibrations, this secondary noise component, which is not related to the aerodynamic sound of the fan, would also be reflected in the noise measurement results.

This is where it is good to have ideal conditions, even though they are unattainable in practice, because fan vibrations will always be transmitted to the case skeleton to some degree. But each cabinet will react differently to them, or rather the final noise level will depend on a number of factors, starting with the materials used. Therefore, it is a good idea to filter out this extra noise component in tests and in practice take into account the measured vibration intensities. The higher these vibrations are, the higher the noise addition has to be taken into account.
The silent blocks are naturally formatted to offset the bracket a bit from the rest of the tunnel, otherwise they wouldn’t make sense. This creates a gap that is sealed across the entire surface with a soft foam seal with closed cell structure (i.e., it’s airtight).

To properly center the fan rotor in relation to the other elements, the bracket includes a protruding frame that follows the inner contour of the seal. And to make matters even more complicated, the frame with the tested fan is pressed against this seal by a small force of compression springs, which in turn is set with the highest possible resolution for vibration measurement in mind and at the same time so that sufficient pressure is generated to maintain a flawless seal.
Vibration is measured with a Landtek VM-6380 vibration meter. It records the vibration speed (in mm) per second in all axes (X, Y, Z). For quick orientation, we calculate a 3D vector from the measured values and graph the “total” vibration intensity. But you can also find your results if you are only interested in a specific axis.
The most complicated part of the tunnel is behind us, and we’ll move on in the next chapter. But we will still stay at the beginning of the tunnel, we will just turn to the peripheries on the sides.
- Contents
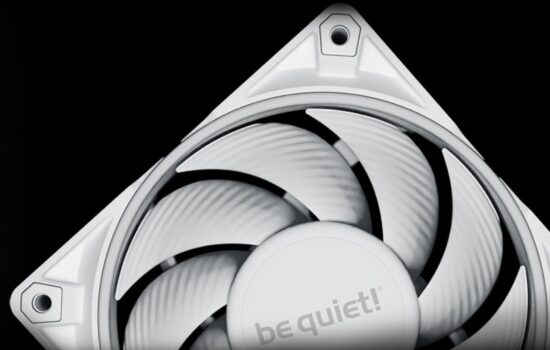
- BeQuiet! Silent Wings 3 (BL066) in detail
- The basis of the methodology, the wind tunnel
- Mounting and vibration measurement
- Initial warm-up and speed recording
- Base 7 equal noise levels…
- .. and sound color (frequency characteristic)
- Static pressure measurement…
- … and airflow
- Everything changes with obstacles
- How we measure power draw and motor power
- Measuring the intensity (and power draw) of lighting
- Results: Speed
- Results: Airlow w/o obstacles
- Results: Airflow through a nylon filter
- Results: Airflow through a plastic filter
- Results: Airflow through a hexagonal grille
- Results: Airflow through a thinner radiator
- Results: Airflow through a thicker radiator
- Results: Static pressure w/o obstacles
- Results: Static pressure through a nylon filter
- Results: Static pressure through a plastic filter
- Results: Static pressure through a hexagonal grille
- Results: Static pressure through a thinner radiator
- Results: Static pressure through a thicker radiator
- Results: Static pressure, efficiency by orientation
- Reality vs. specifications
- Results: Frequency response of sound w/o obstacles
- Results: Frequency response of sound with a dust filter
- Results: Frequency response of sound with a hexagonal grille
- Results: Frequency response of sound with a radiator
- Results: Vibration, in total (3D vector length)
- Results: Vibration, X-axis
- Results: Vibration, Y-axis
- Results: Vibration, Z-axis
- Results: Power draw (and motor power)
- Results: Cooling performance per watt, airflow
- Results: Cooling performance per watt, static pressure
- Airflow per euro
- Static pressure per euro
- Results: Lighting – LED luminance and power draw
- Results: LED to motor power draw ratio
- Evaluation


I have this fan as a part of the Dark Rock Pro 4 cooler – the front one. The inner fan is disabled for now. Unfortunately, I am thinking about replacing it. What’s driving me completely nuts is the fan start that gives a sound resembling powerful rubbing against a rough surface. It’s okay for folks who want to have the fan running constantly and encounter it only during boot but I want to have a fanless idle – 0 noise, no vibrations, extended fan life, and lower power draw. I wish such behavior was stressed in this and other reviews so that one can find safe alternatives for such requirements.
It’s a pity to encounter such an unexpected drawback, as this fan is much quieter than Arctic P12. At 700 RPM, it’s barely audible in my Nanoxia Deep Silence 8 in the night, and below 500 RPM basically inaudible.
What you are describing is happening with several fans. To an excessive degree with the Strix XF120 as well, where we also mentioned it. I have thought about how to measurably grasp those starts in the context of the interpretation of the results so that a simple comparison across fans is possible, but I don’t know yet.. anyway, it will probably be an initial phase with rotor centering, which is accompanied by higher vibrations in addition to the acoustic expression.
Perhaps the evaluation page can be divided into several labelled subsections, one being dedicated to observations like this for example.
My P14 Slim rev.1 does this initially too, but it’s gone now after I have mounted it tight. Perhaps quality control and tolerance also play a role here?
Maybe we are each talking about a slightly different phenomenon. The initial, let’s say start-up sound of Strix XF120 will certainly not be influenced by the strength of the mounting. With this fan, it’s just that it takes some time (be it very short, in the lower units of seconds) to get centered, and the operational sound is probably a bit different after, let’s say, warming up. I would attribute this purely to the influence of the motor and the bearings. In this case, I would not talk about an issue of a single unit in serial production. Sure, within lower manufacturing tolerances some minor differences in behaviour can be present, but if that feature disappeared completely, I assume it would be due to larger, targeted changes in the design, which for example are solved by various revisions. Unfortunately, most manufacturers don’t talk about them, with a few exceptions (Arctic, for example). So sure, a Silent Wings 3 from the early batches may behave differently than the latest pieces from the current sales. And while we’re on the subject of fan differences from piece to piece, we’ll release one unconventional test in September that will be of interest to you. 🙂
I would rather attribute the different sound after tightening the P14 rev. 2 to vibrations and the fact that with a different mounting there may not be such significant resonance frequencies of the case.