Measurement of static pressure…
Venturi fans have some of the softest mounting corners. The transmission of vibrations from moving parts further away to anything (case plates, heatsink fins, …) is thus very significantly damped. Compared to other (even more modern Fractal Design models), these fans have more robust blades, which are both thicker and wider, and as a result, higher static pressure is also achieved at comparable speeds.
Measurement of static pressure…
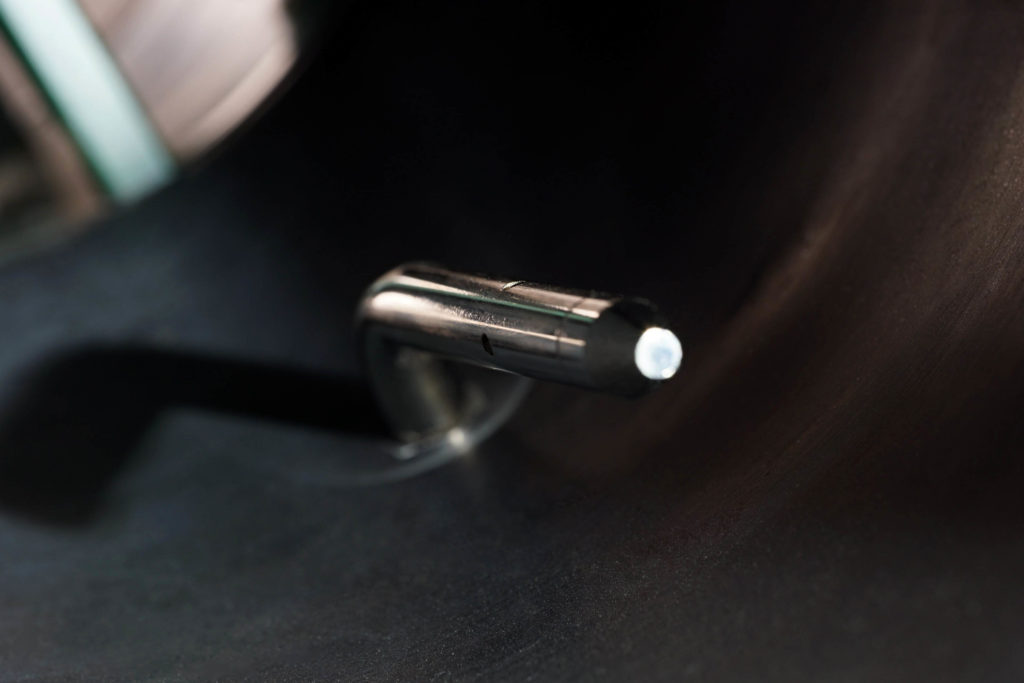
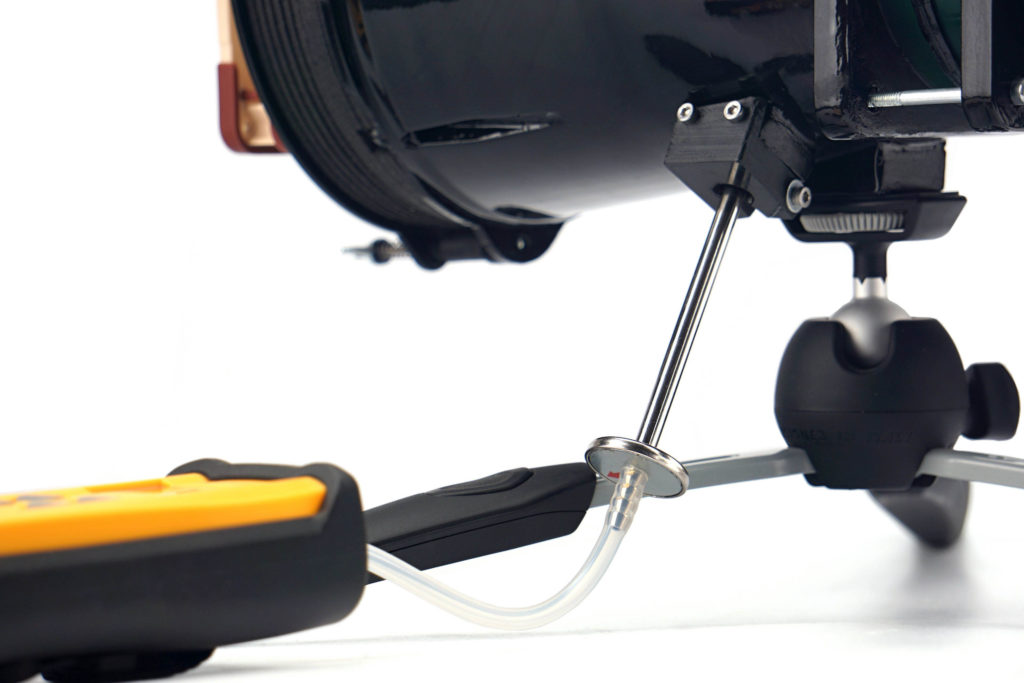
Finally, it is time to move further down the tunnel a bit. Just behind the fan is a static pressure sensing probe. Its position has been chosen with maximum measurement efficiency in mind. In other words, the sensors are placed at the points of highest pressure (although this is virtually the same everywhere in the unconstrained part of the tunnel).
The Fieldpiece ASP2, which is connected to the Fieldpiece SDMN5 manometer, is used to measure the static pressure in the tunnel. The latter also allows measurements in millimetres of water column, but we measure in millibars. This is a more finely resolved base unit for this meter. And only from there we convert the measured values into mm H2O to allow easy comparison with what the manufacturers state.

While we wrote when measuring noise levels that our results could not be compared with the parameters, that is no longer the case here. As long as the fan manufacturers do not embellish the parameters, they should quote approximately the same pressure values as our tests show. The most significant deviations can only arise at the level of varying accuracy of the measuring instruments, but these are negligible percentages.

The greater the difference between the manufacturer’s claimed values and ours, the less the specifications correspond to reality. If the claimed values are significantly higher, it is certainly an intention to artificially give an advantage to the fans on the market. However, if the manufacturer quotes a lower pressure value than we do, it points to something else. Namely, a weaker tightness of the measuring environment. The less tight the tunnel is, the lower the pressure you naturally measure. This is one of the things we tuned for an extremely long time, but in the end we ironed out all the weak spots. Whether it’s the passage for the probe itself, the flanges around the anemometer, even the anemometer frame itself, which is made up of two parts, needed to be sealed in the middle. Finally, the flap at the tunnel outlet must also be perfectly tight. That’s because static pressure has to be measured in zero airflow.

But there is one thing that often lowers the pressure of the fans a bit. And that’s protruding anti-vibration pads in the corners or otherwise protruding corners. In other words, when the fan doesn’t fit perfectly to the mounting frame at the inlet, and there are small gaps around the perimeter, that also affects what you measure. But we have not gone into this because it is already a quality feature of the fan. In the same way, it will “stand out” and perform a bit weaker than it has the potential to do with better workmanship, even after application by the end user.
- Contents
- Details of the Fractal Design Venturi HP-14 PWM
- Overview of manufacturer specifications
- Basis of the methodology, the wind tunnel
- Mounting and vibration measurement
- Initial warm-up and speed recording
- Base 6 equal noise levels…
- ... and sound color (frequency characteristic)
- Measurement of static pressure…
- … and of airflow
- Everything changes with obstacles
- How we measure power draw and motor power
- Measuring the intensity (and power draw) of lighting
- Results: Speed
- Results: Airlow w/o obstacles
- Results: Airflow through a nylon filter
- Results: Airflow through a plastic filter
- Results: Airflow through a hexagonal grille
- Results: Airflow through a thinner radiator
- Results: Airflow through a thicker radiator
- Results: Static pressure w/o obstacles
- Results: Static pressure through a nylon filter
- Results: Static pressure through a plastic filter
- Results: Static pressure through a hexagonal grille
- Results: Static pressure through a thinner radiator
- Results: Static pressure through a thicker radiator
- Results: Static pressure, efficiency depending on orientation
- Reality vs. specifications
- Results: Frequency response of sound w/o obstacles
- Results: Frequency response of sound with a dust filter
- Results: Frequency response of sound with a hexagonal grille
- Results: Frequency response of sound with a radiator
- Results: Vibration, in total (3D vector length)
- Results: Vibration, X-axis
- Results: Vibration, Y-axis
- Results: Vibration, Z-axis
- Results: Power draw (and motor power)
- Results: Cooling performance per watt, airflow
- Results: Cooling performance per watt, static pressure
- Airflow per euro
- Static pressure per euro
- Results: Lighting – LED luminance and power draw
- Results: LED to motor power draw ratio
- Evaluation


I wonder the reason why these type of corners, despite being so effective, are uncommon. Is it a lack of necessity due to inherent low vibrations, rubber pads/mounts being good enough/better, or some kind of cost or mechanical concerns?
It’s hard to say anything for sure. But I will dare to speculate.
Let’s assume that higher vibrations characterize mainly the cheaper fans, where the goal was to make them as cheap as possible. All-rubber corners don’t fit into this scheme (lowest cost) (such Arctic P12 don’t even have rubber pads), so they are usually not used. And again, when there is a bigger budget for fans, the funds can be put into things that suppress vibrations more effectively than perfect anti-vibration corners. Whether it’s a stiffer material (just with a larger thickness or a different composition, for example LCP instead of PBT) or a less vibrating motor etc.