
What it looks like in the BIOS
New motherboards for Intel Raptor Lake processors are again a bit more expensive in the same class than the previous generation Z690, but they are also better equipped. This also applies to the ROG Strix Z790-E Gaming WiFi, which now has more M.2 slots than SATA ports. What’s also neater is the mechanism for removing graphics cards from underneath the big tower coolers and overclocking the CPU using machine learning. That’s also an option.
What it looks like in the BIOS
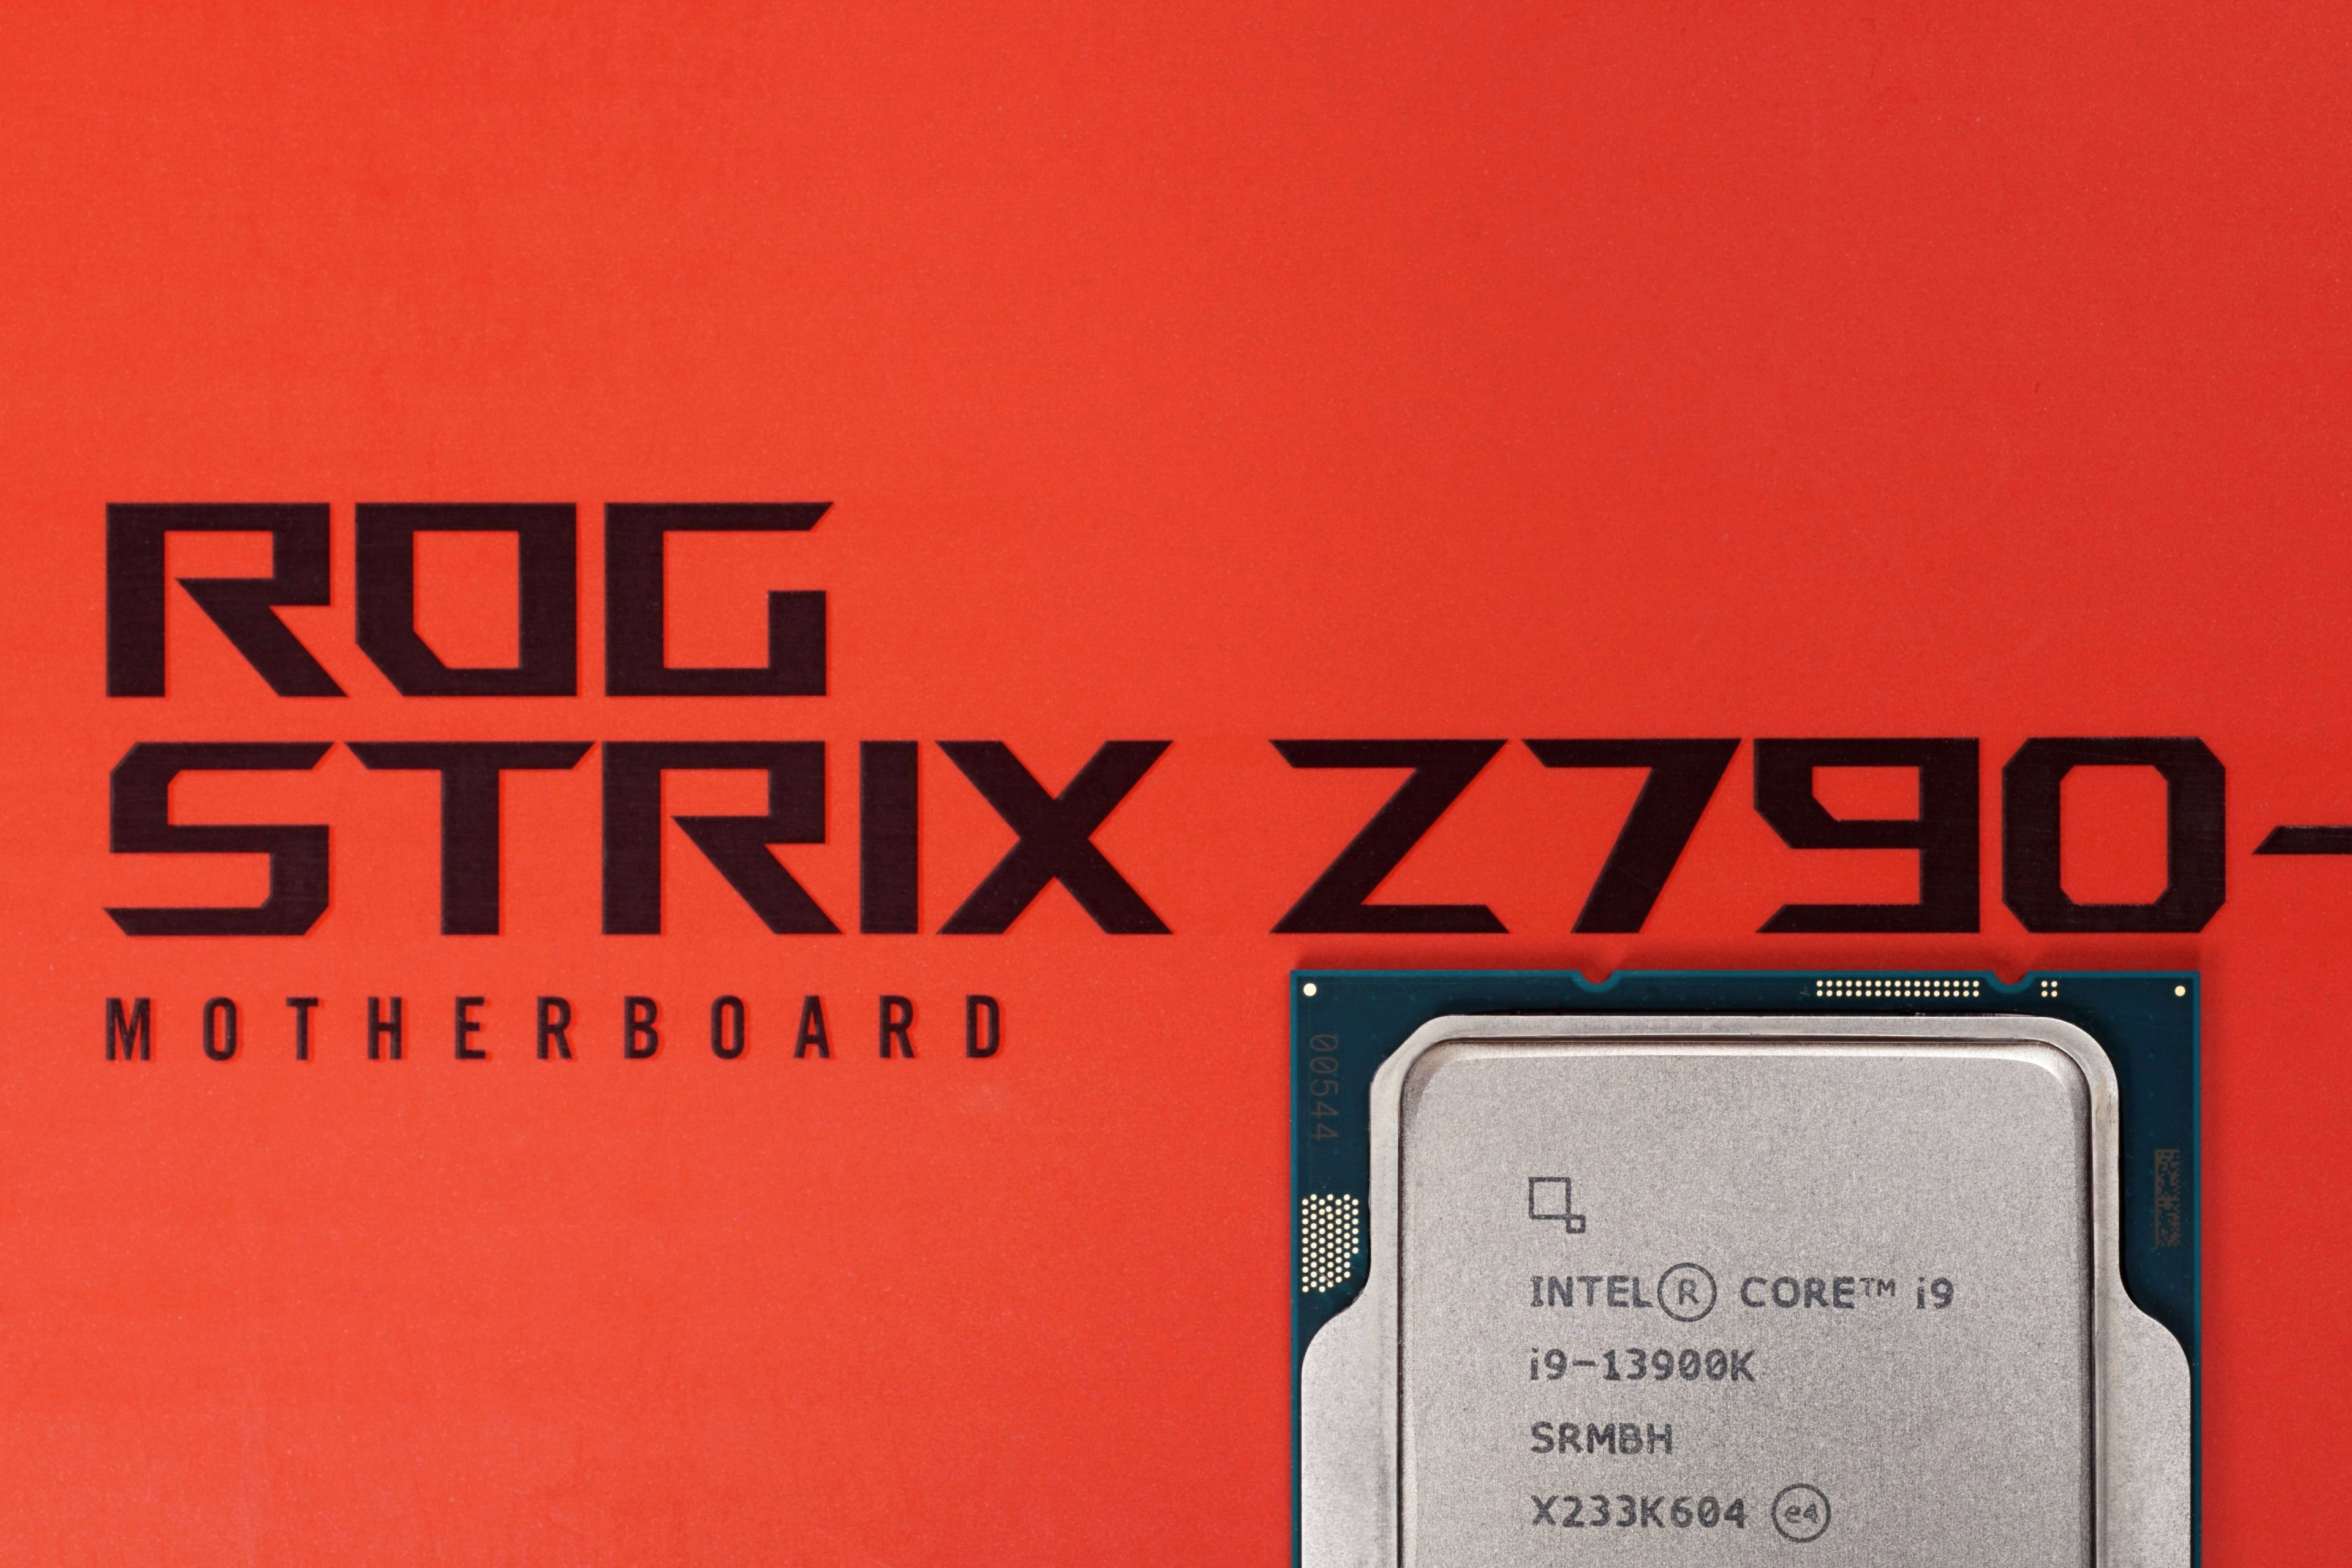
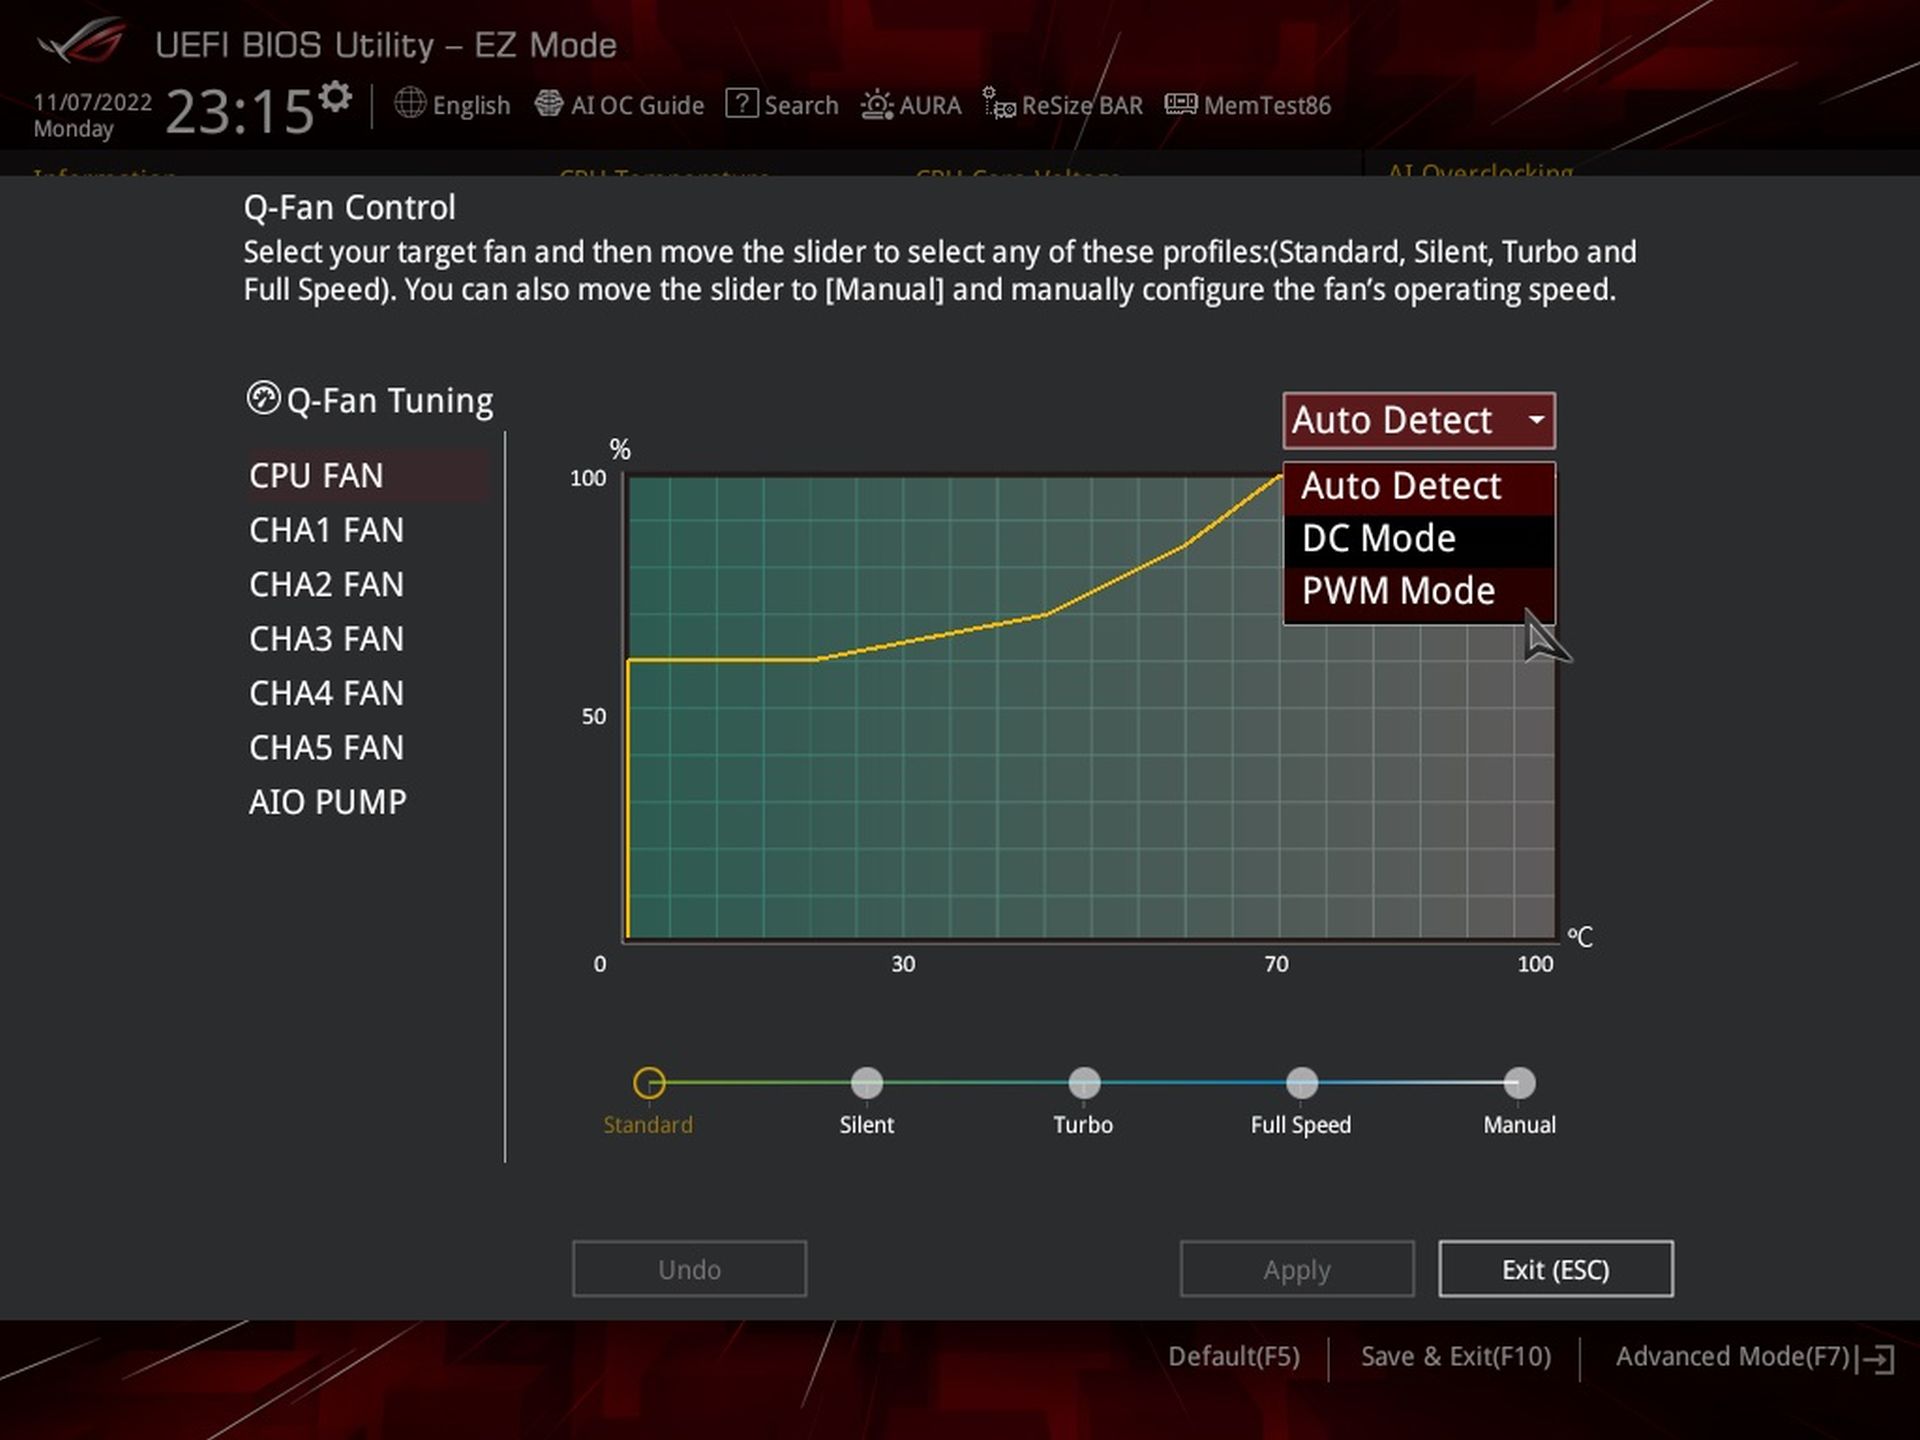
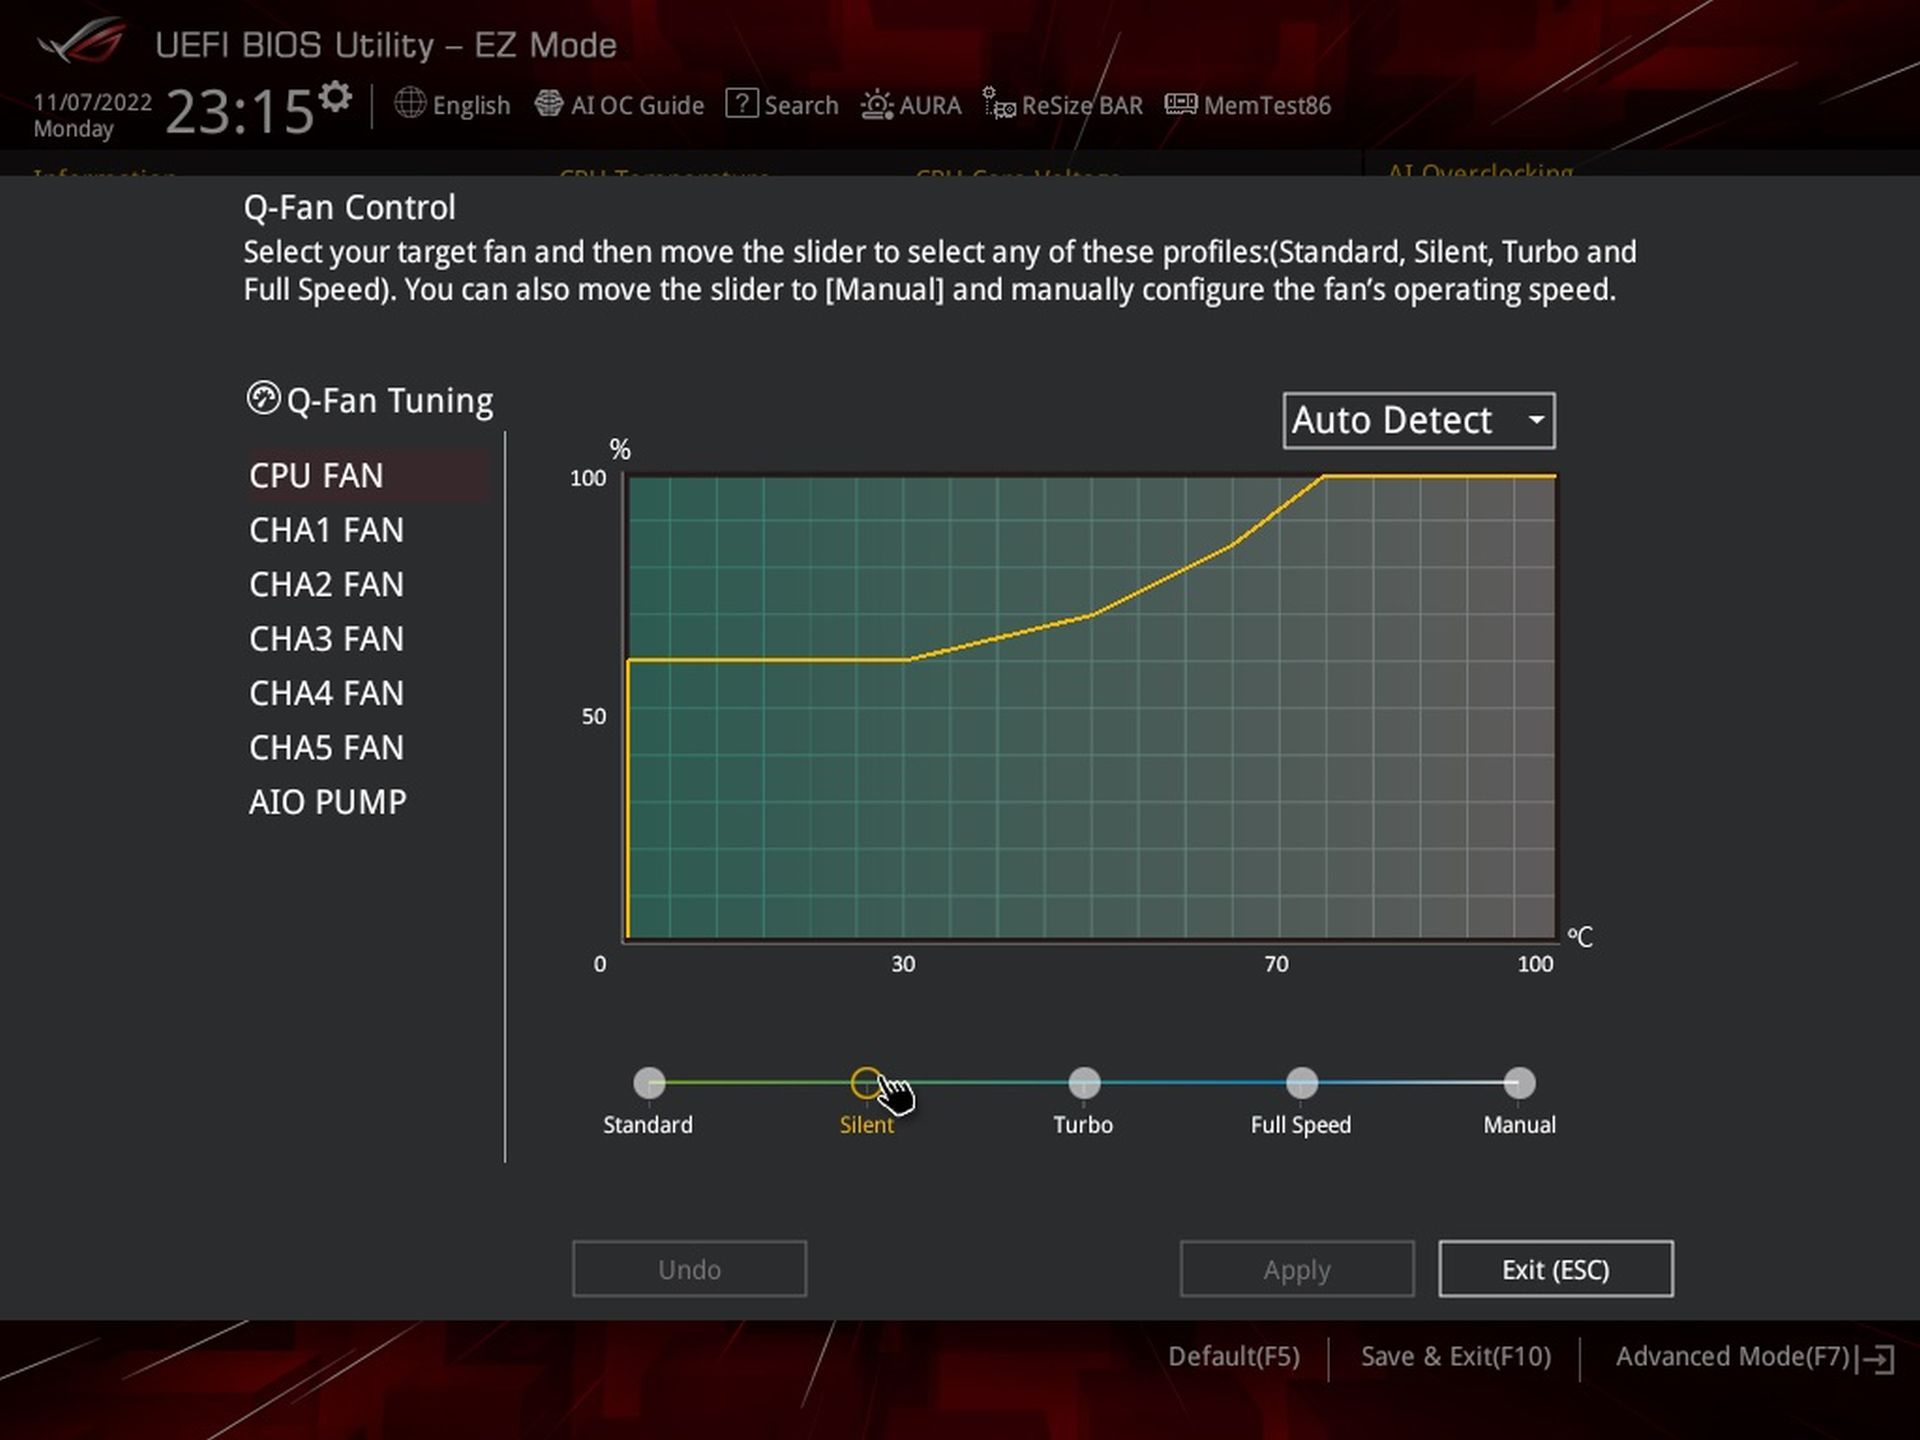
Nothing surprises you at first on the start screen. There’s all that you are familiar with – a basic overview of the connected components (processor, memory, fans) and their settings. There are also some buttons (e.g. to activate XMP, Intel Rapid Storage or to the Q-Fan control interface to manage fans) on the top navigation for example to adjust ARGB LED (Aura) or ReSizable BAR.
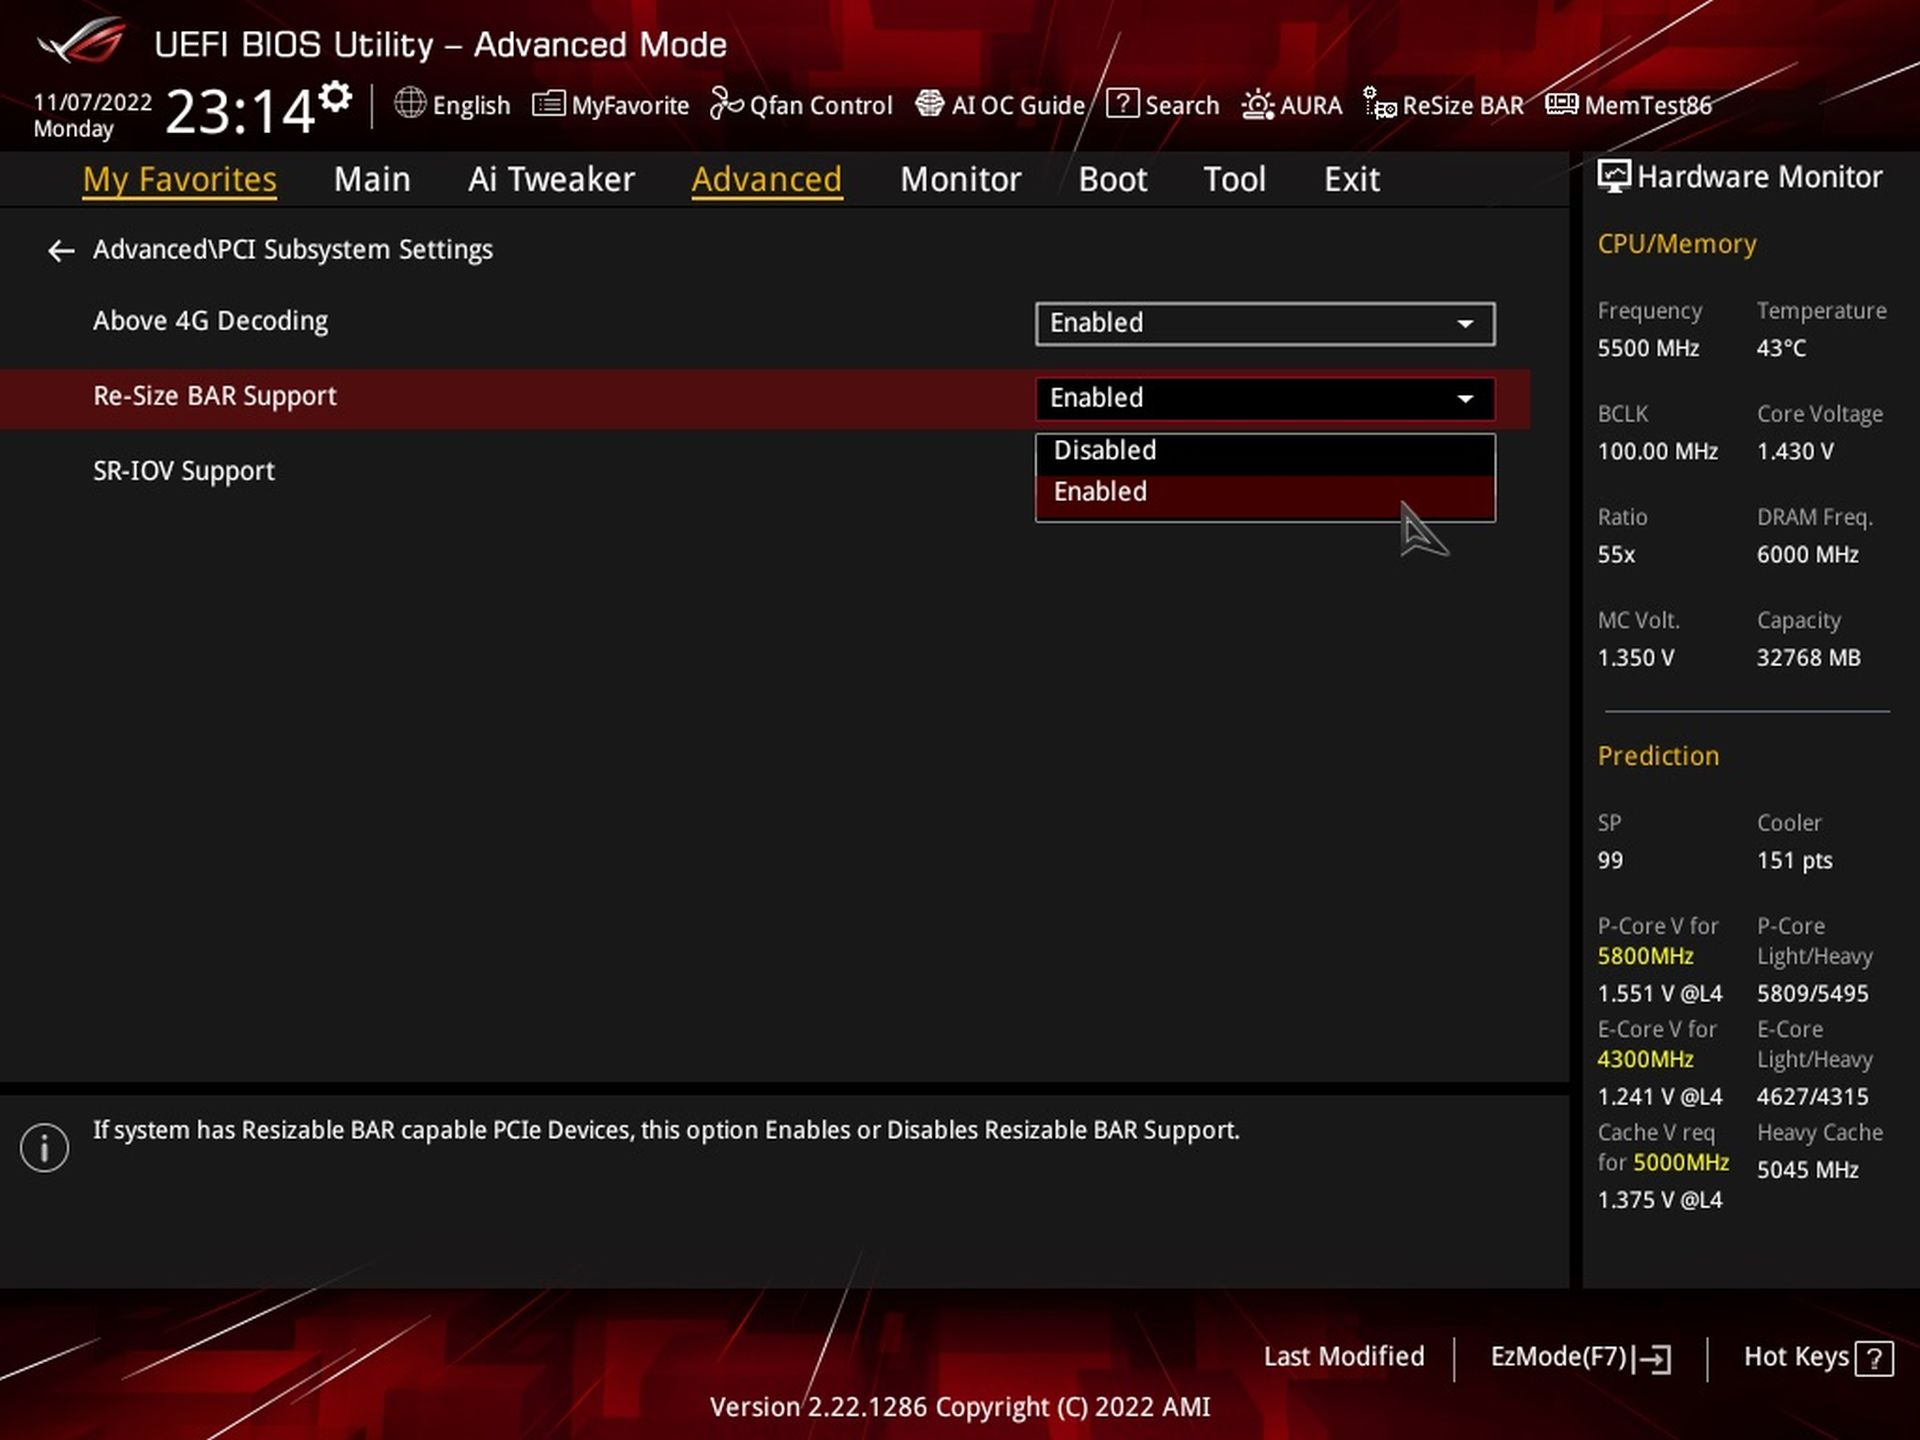
We’ll stick with ReBAR for a while. It is, like on the latest AMD boards, enabled by default. This was not the case on older boards (the technology was turned off and turning it on required manual enforcement with the exception of Biostar). So now you only come to the BIOS for ReBAR when you want to disable it for some reason. For example, because it is decreasing performance rather than increasing it in some application of yours.
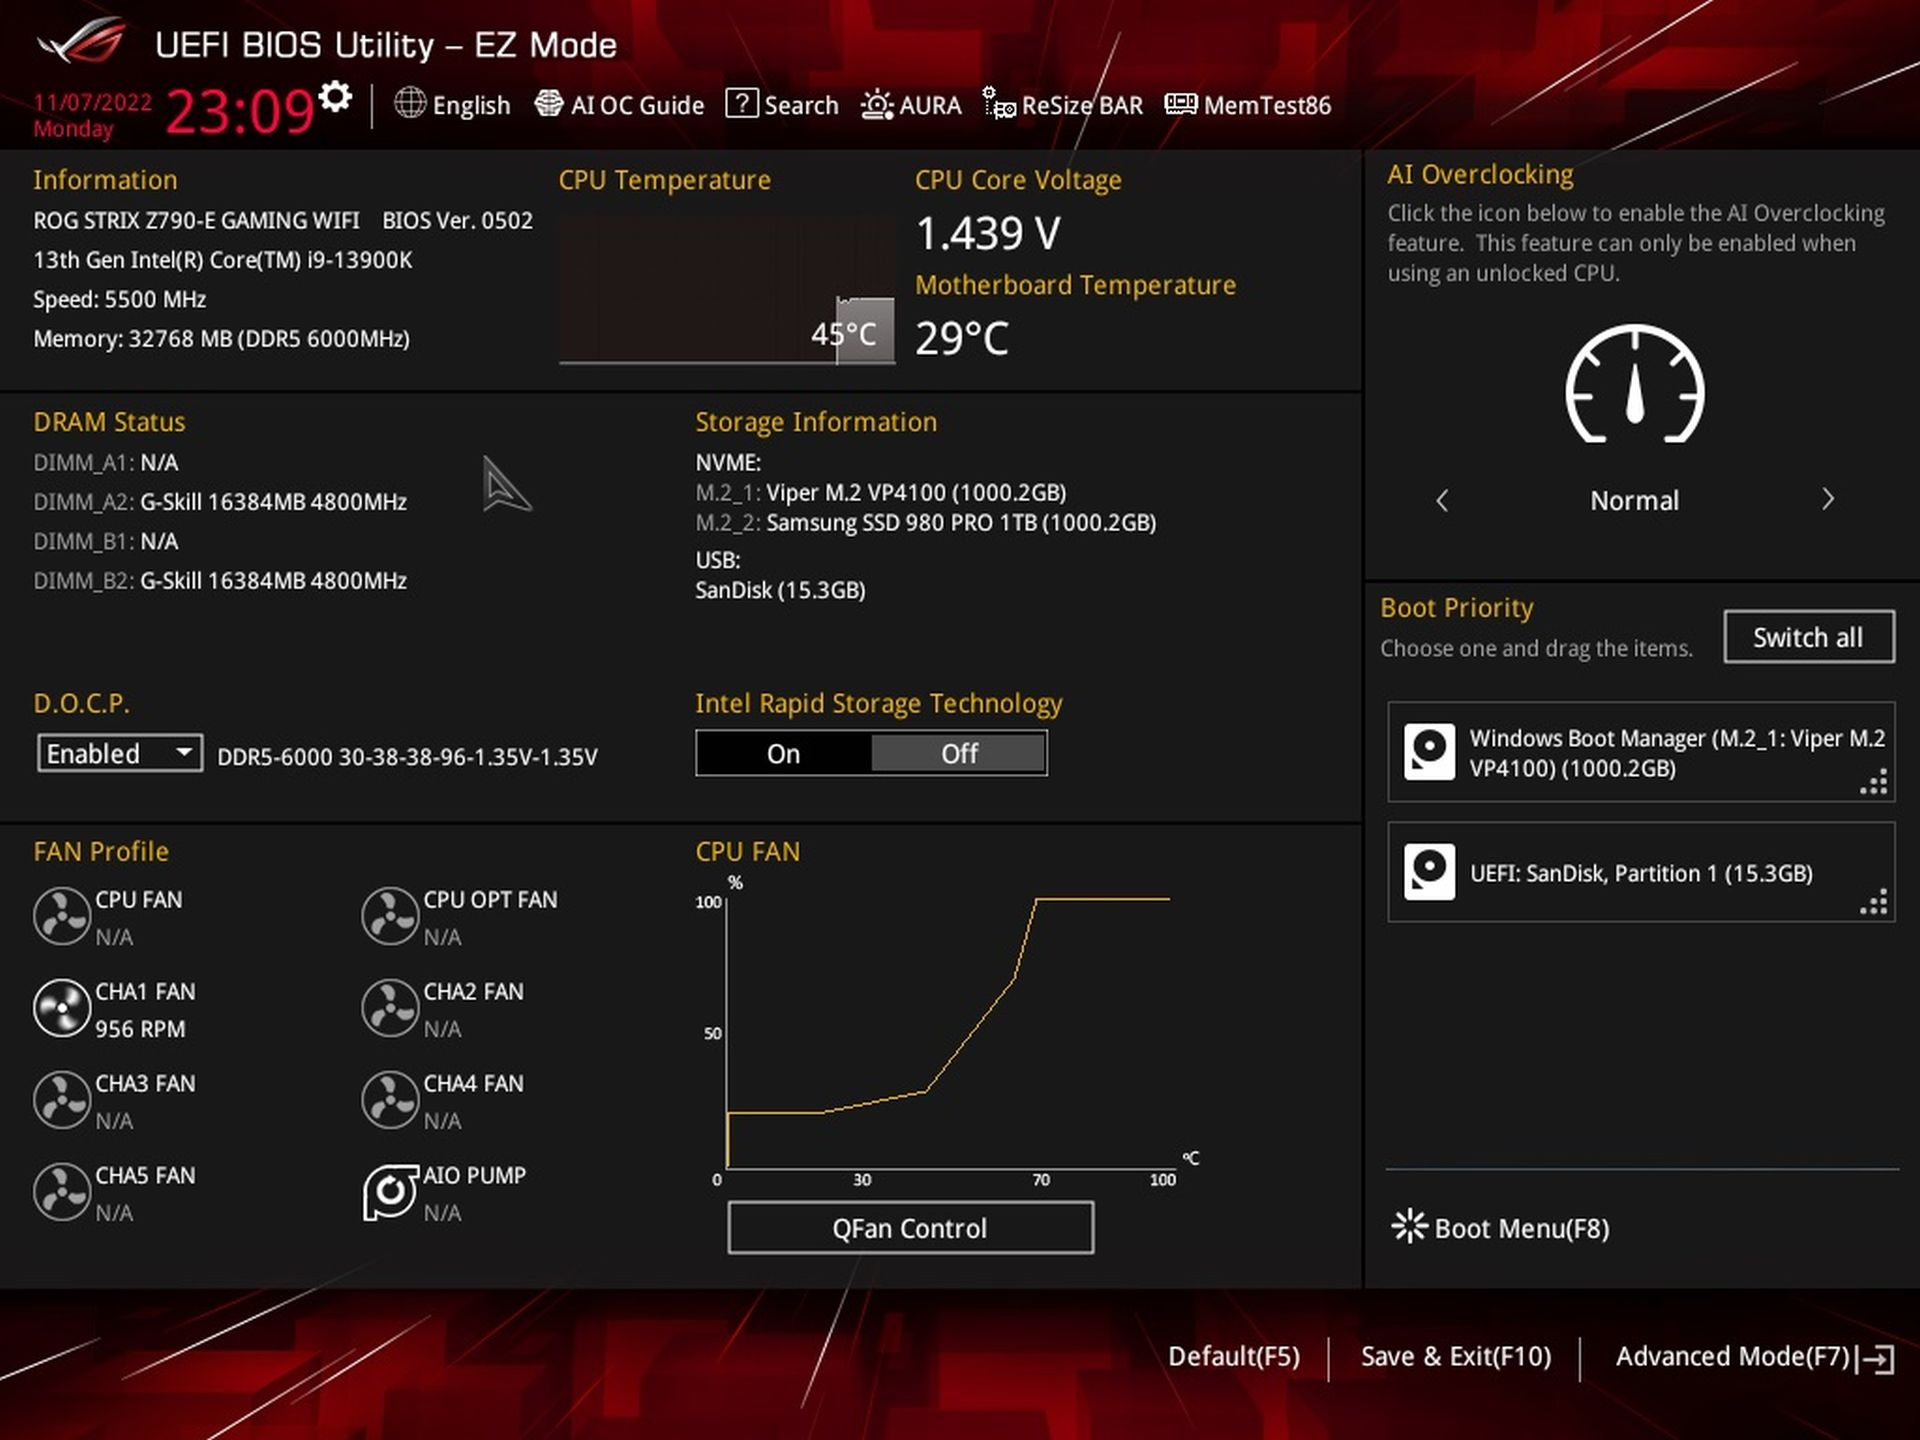
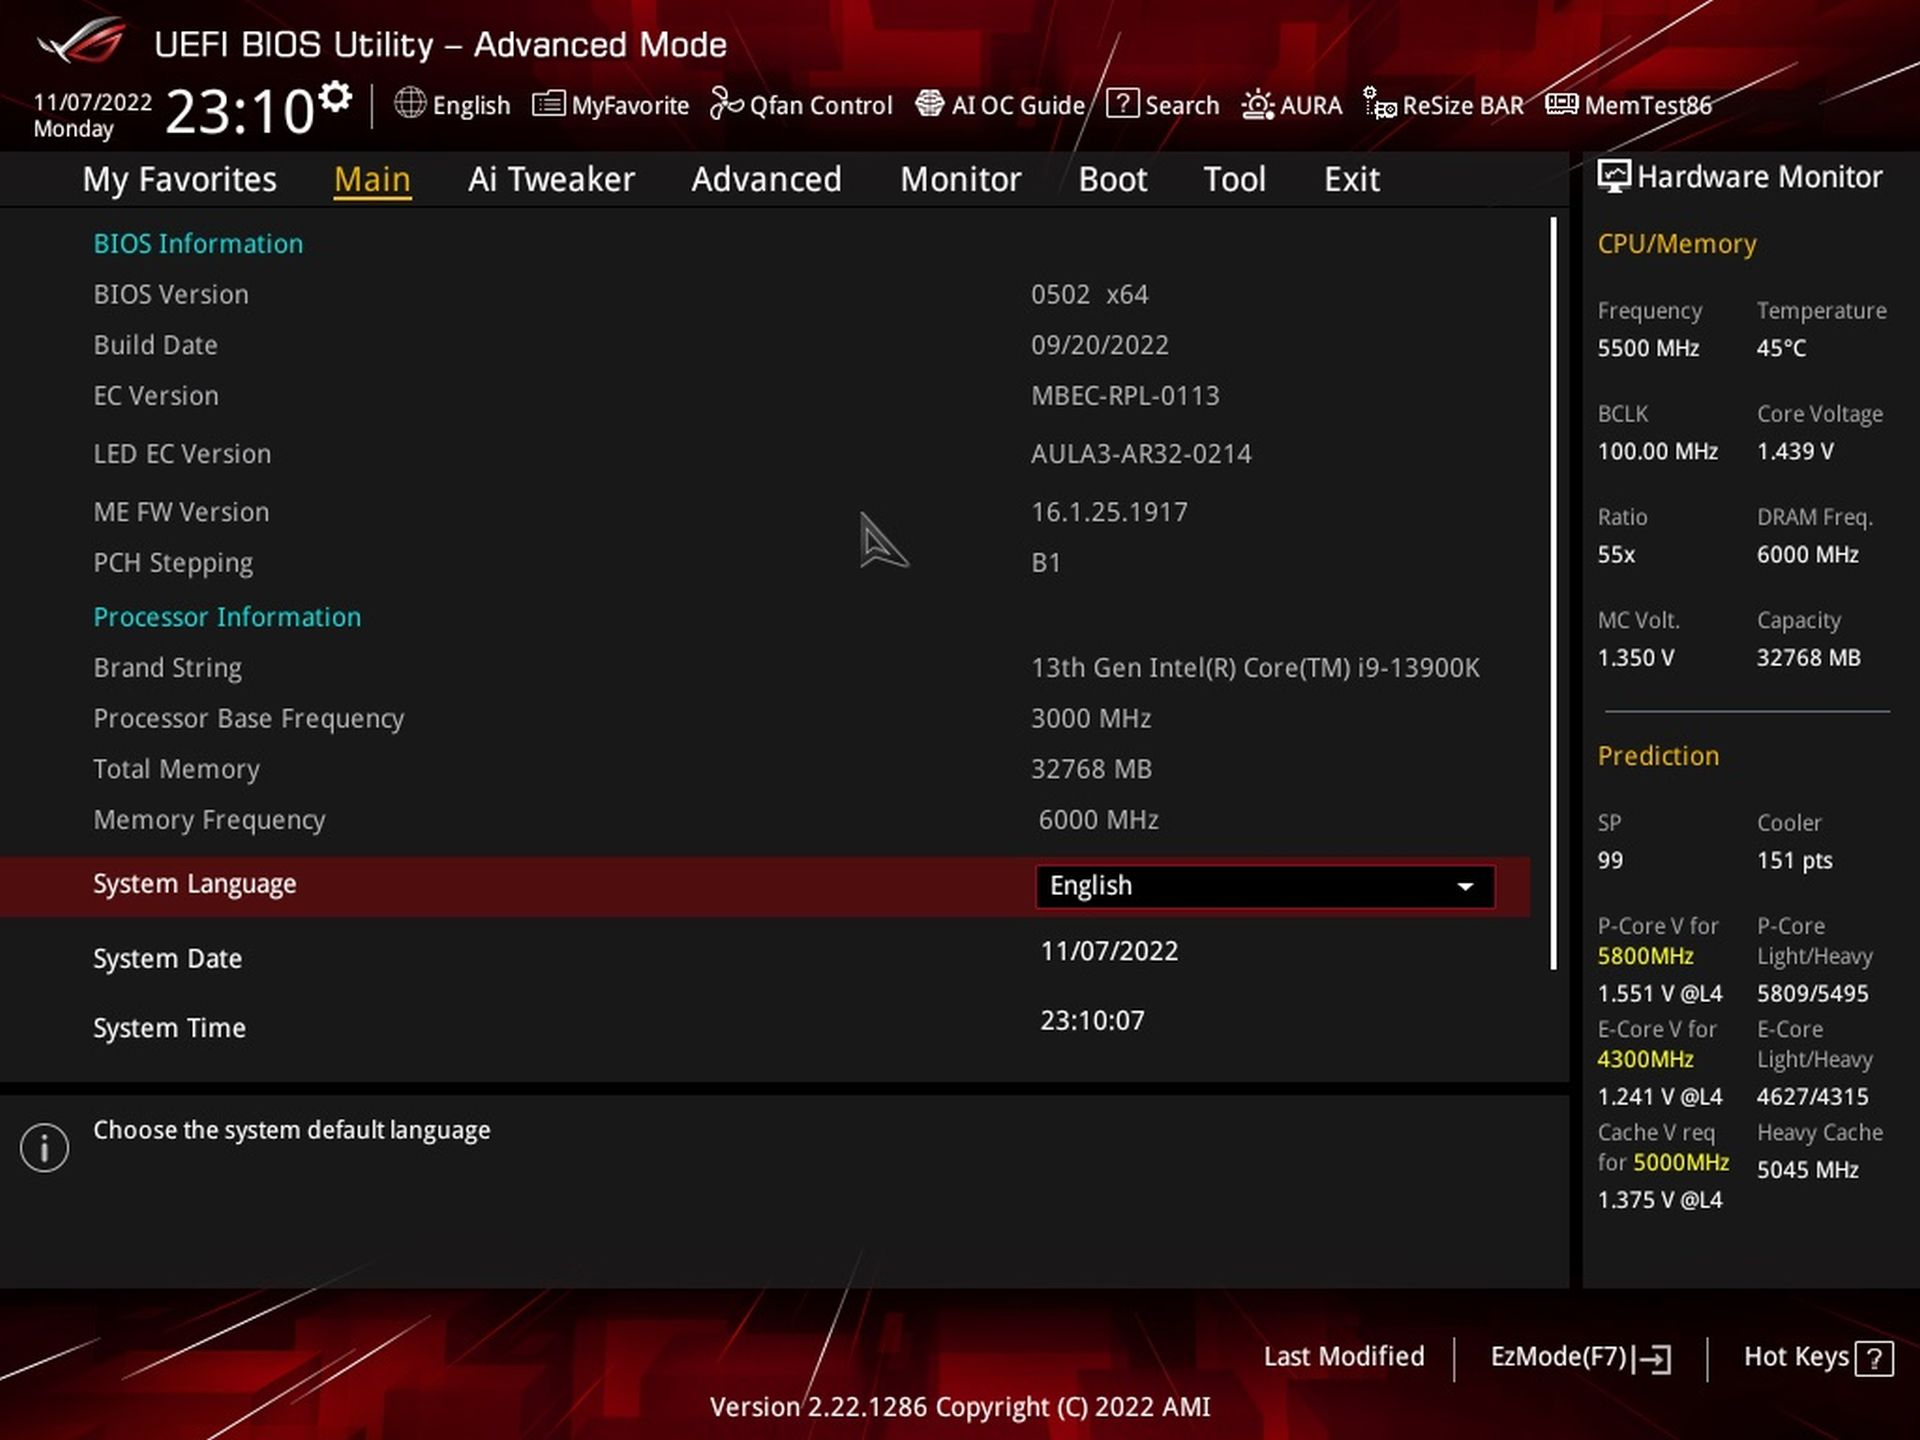
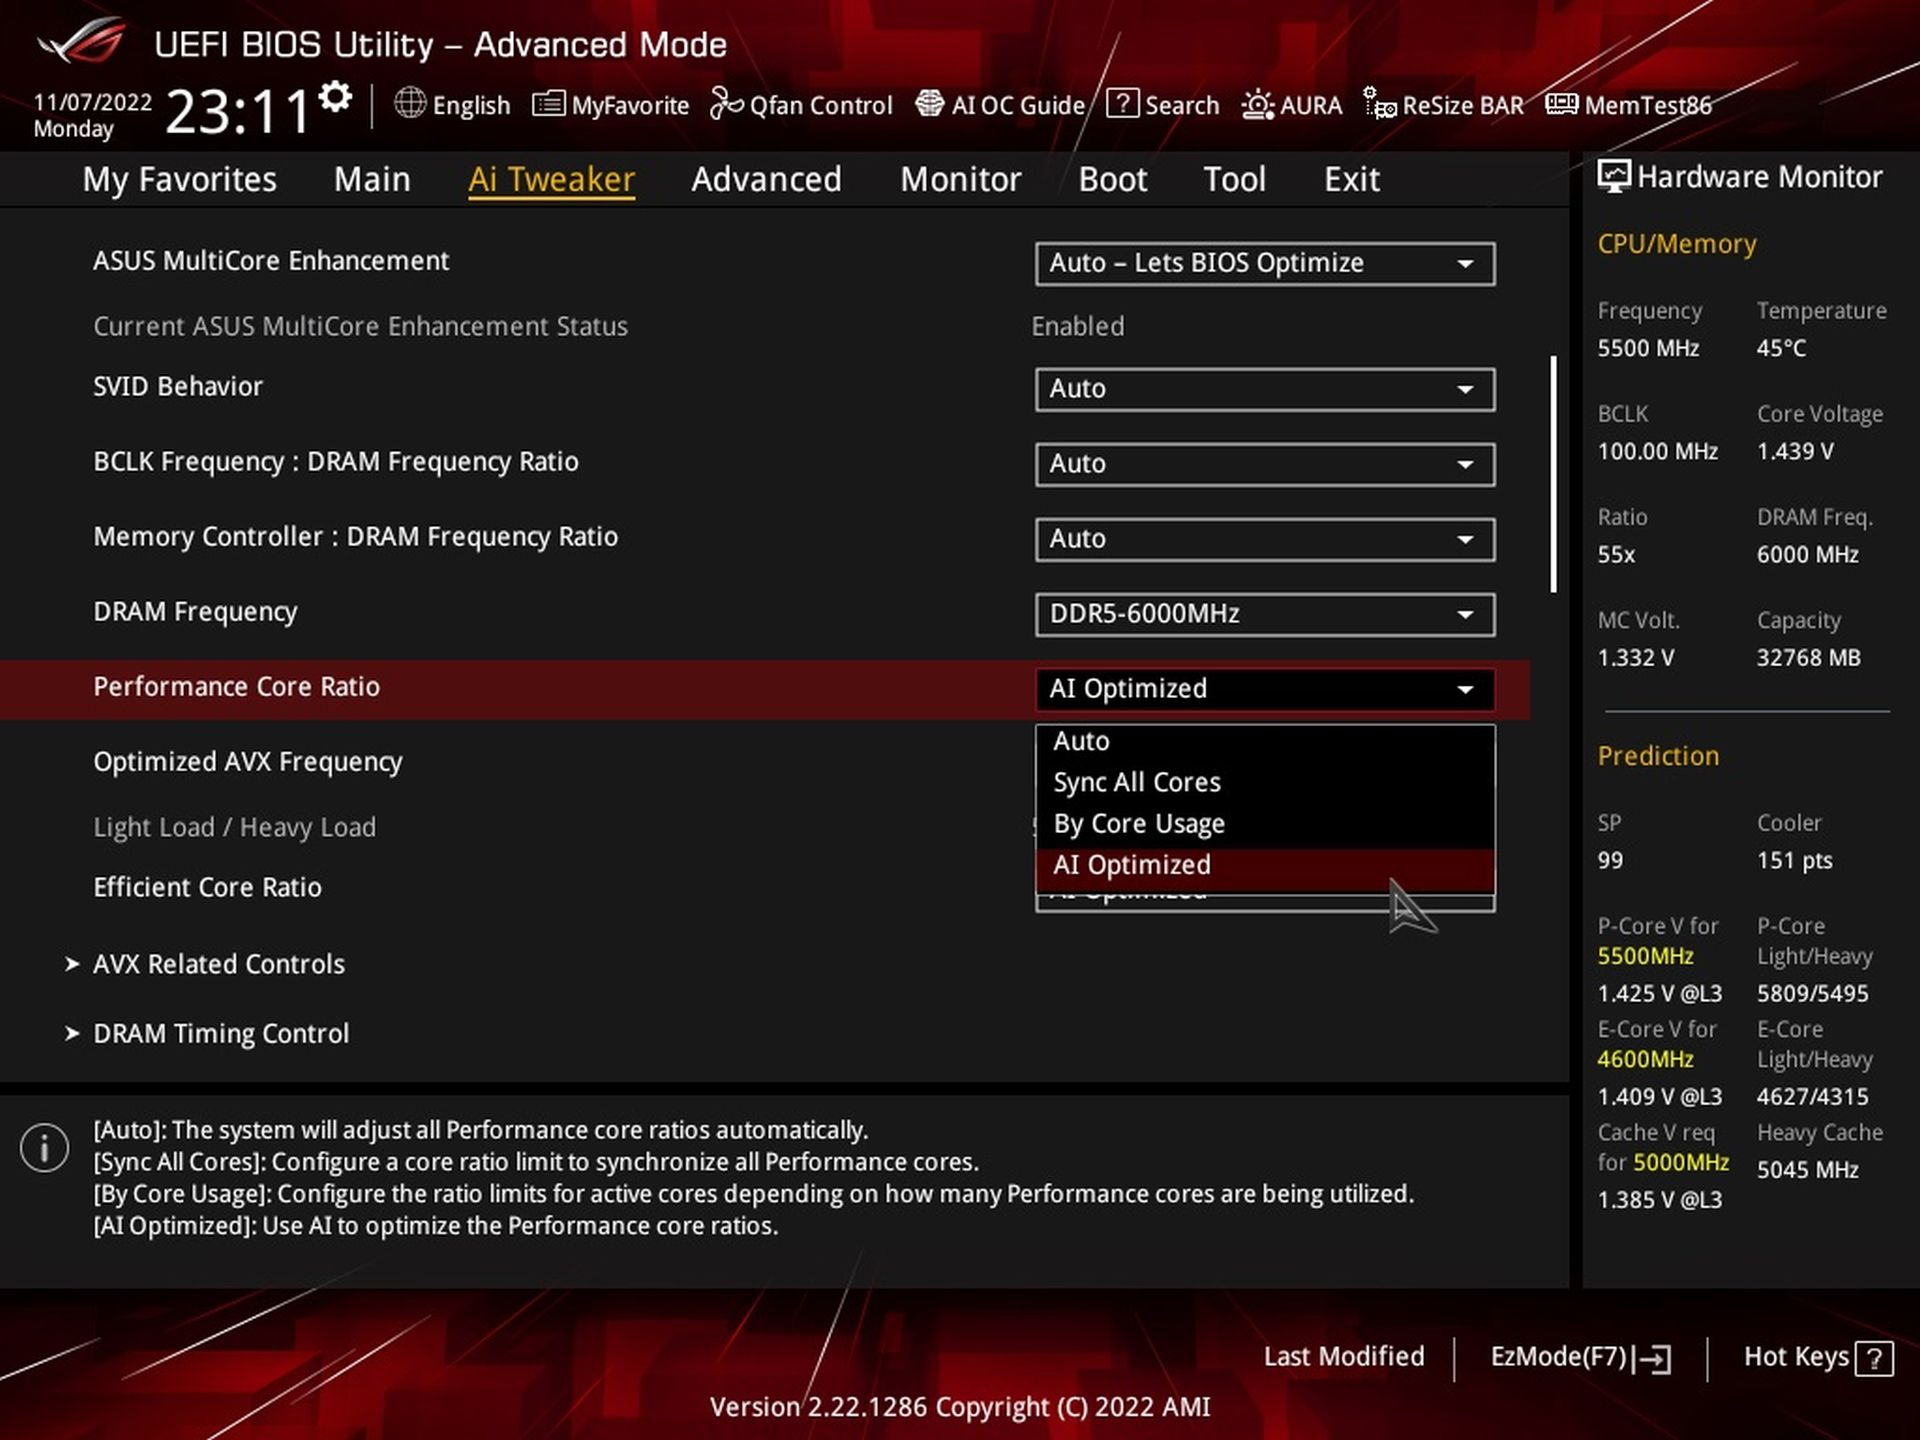
This board also supports “AI Overclocking”. This should qualitatively overclock the best cores based on machine learning in used applications to up to 6 GHz. However, no matter how hard we tried to achieve this, we couldn’t get it where we needed to. We only saw 6 GHz on two cores under very low load. Even in single-threaded applications, it was “only” 5.9 GHz (i.e., 100 MHz above the single-core boost).
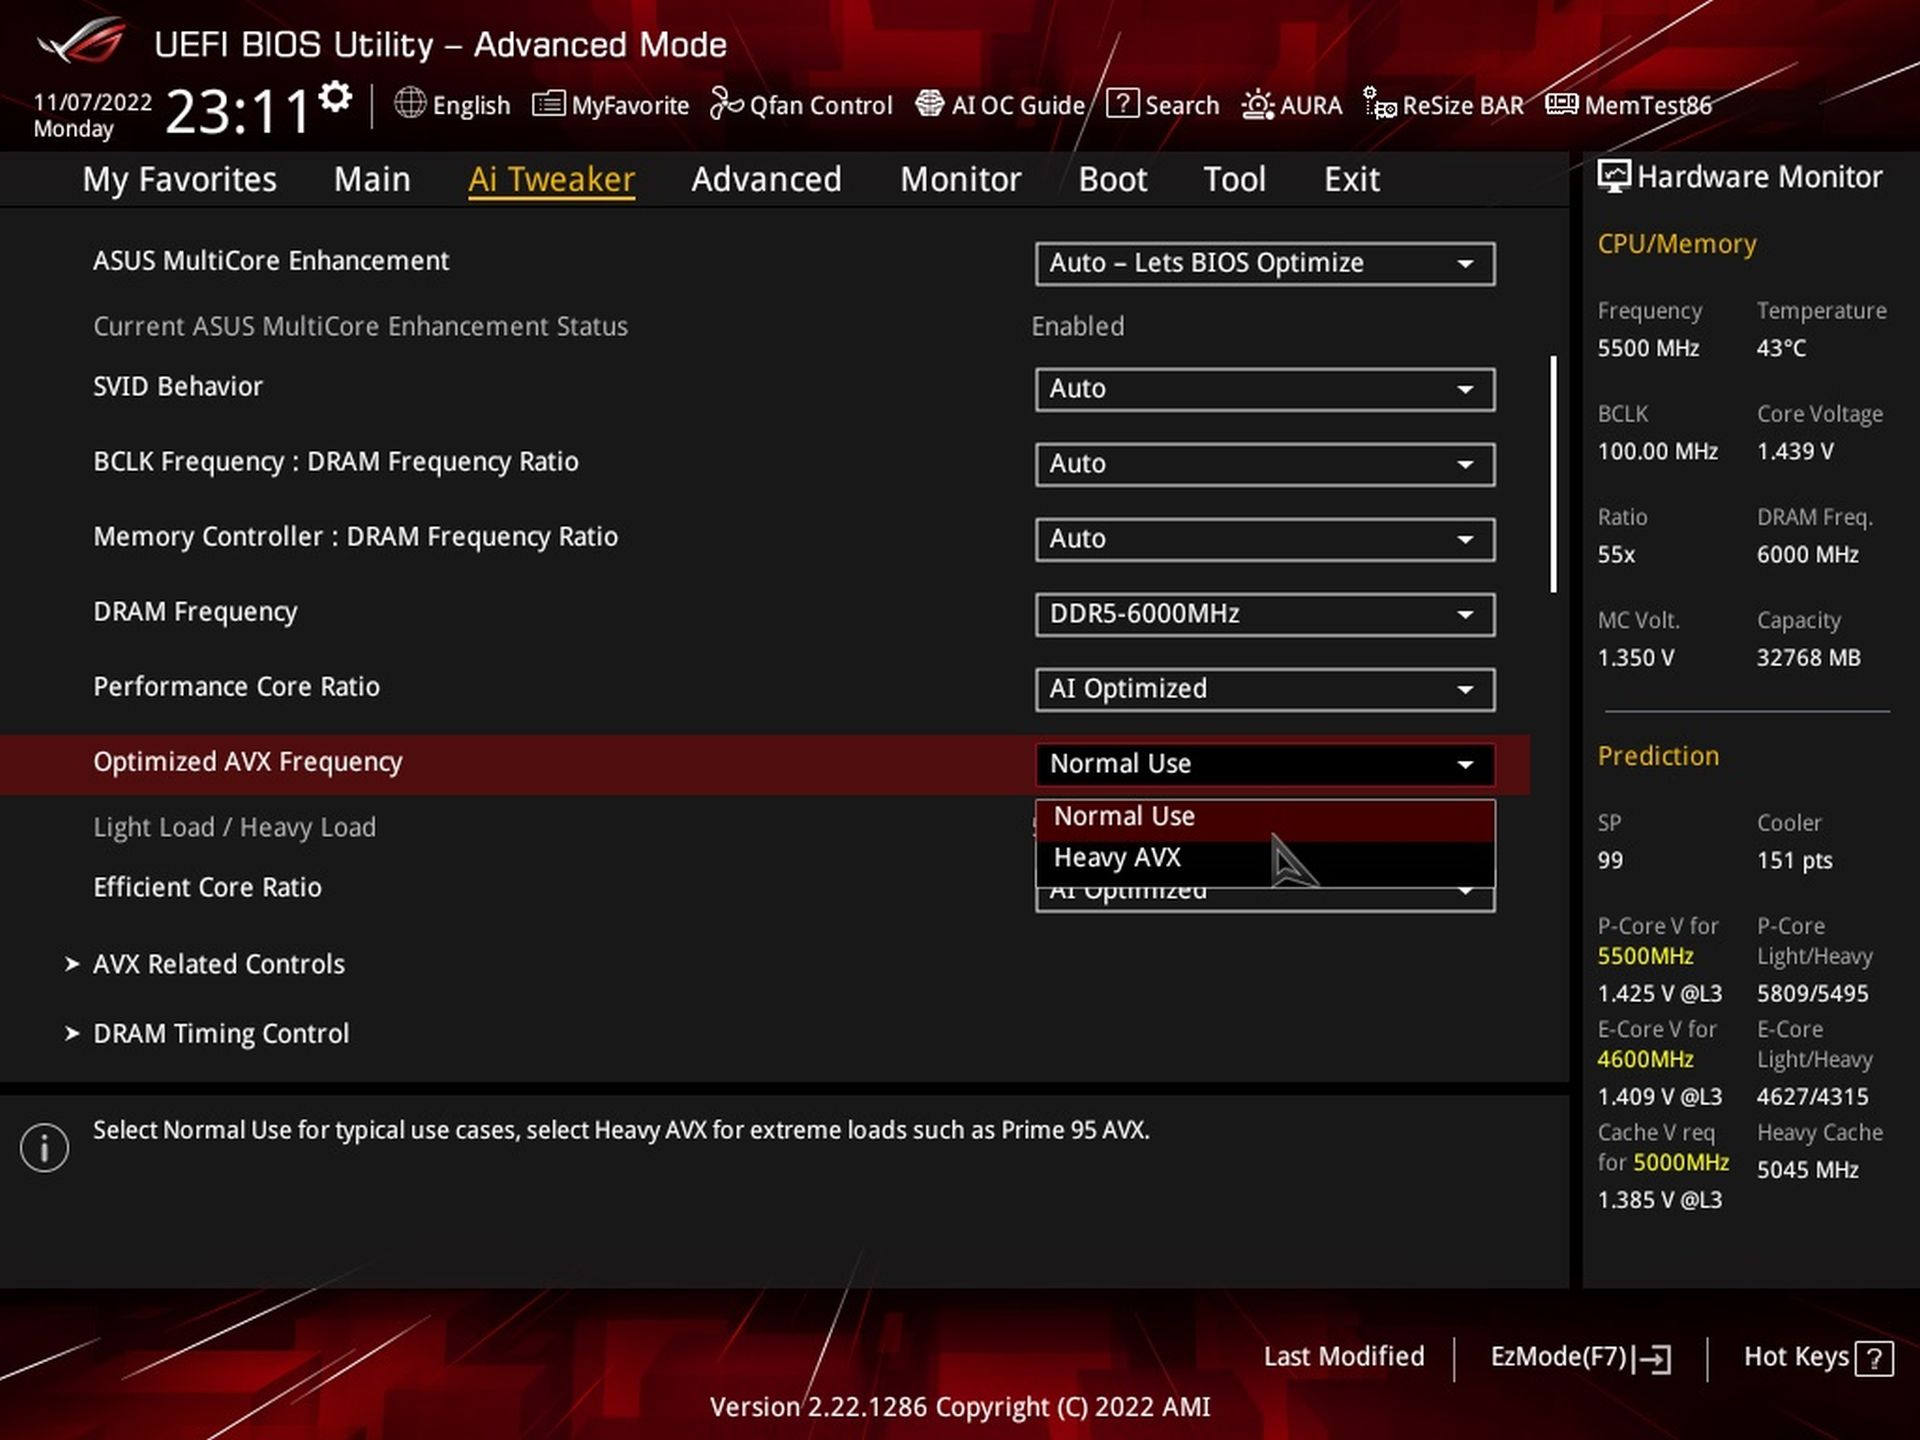
For systems with the most powerful custom loops, this overclocking can also be set to applications with AVX instructions. We didn’t even try to do that (we wouldn’t have a way to keep it from overheating). We didn’t even get to 6 GHz in games (and the silicon quality of our SP99 processor should be capable of that), where although the clock speeds sometimes jumped to 5.7 GHz, but on other cores it again dropped to below 5.5 GHz (that’s the “gaming” clock speed, which the processor without AI OC keeps stable on all P cores), down to 5.3 GHz. Significantly worse with this type of overclocking was also the repeatability of the measurements, for which we eventually discarded the idea of dedicating a separate article to this topic.
You can also increase the clock speeds of all processor cores “the old-fashioned way”, via MultiCore Enhancement with the “Remove all limits” option, including the power ones.

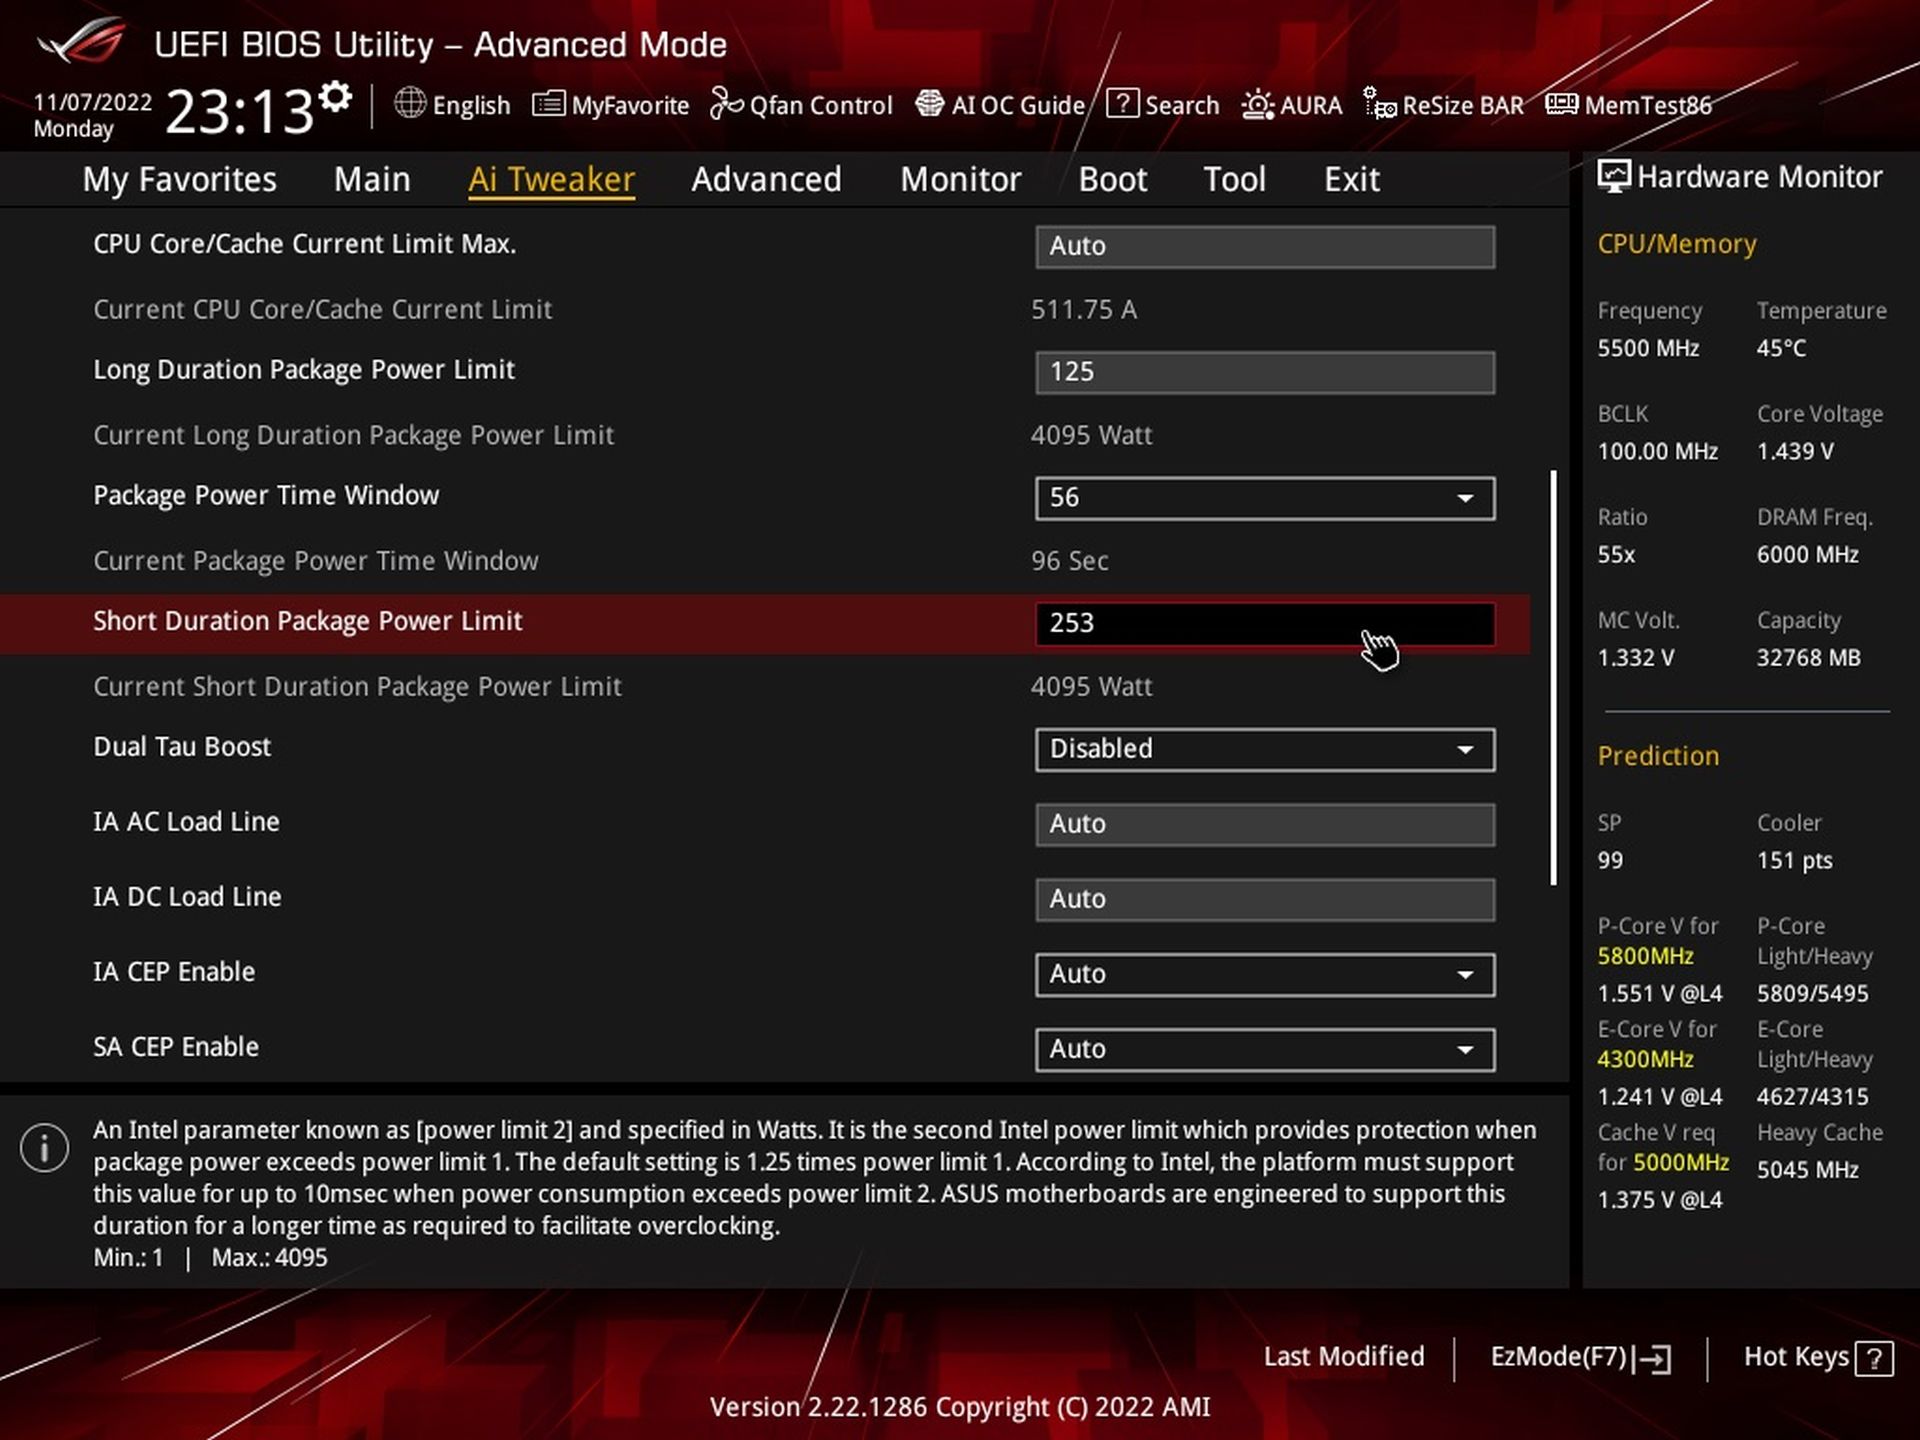
We test without these proprietary features. In order to be able to objectively compare each board with each other, we also ignore the default power limit settings. We cancel these or (for selected tests) set the short-term load (with Tau timeout at 56 seconds) to the official value for PL2 – 253 W. However, we do not interfere with other settings.
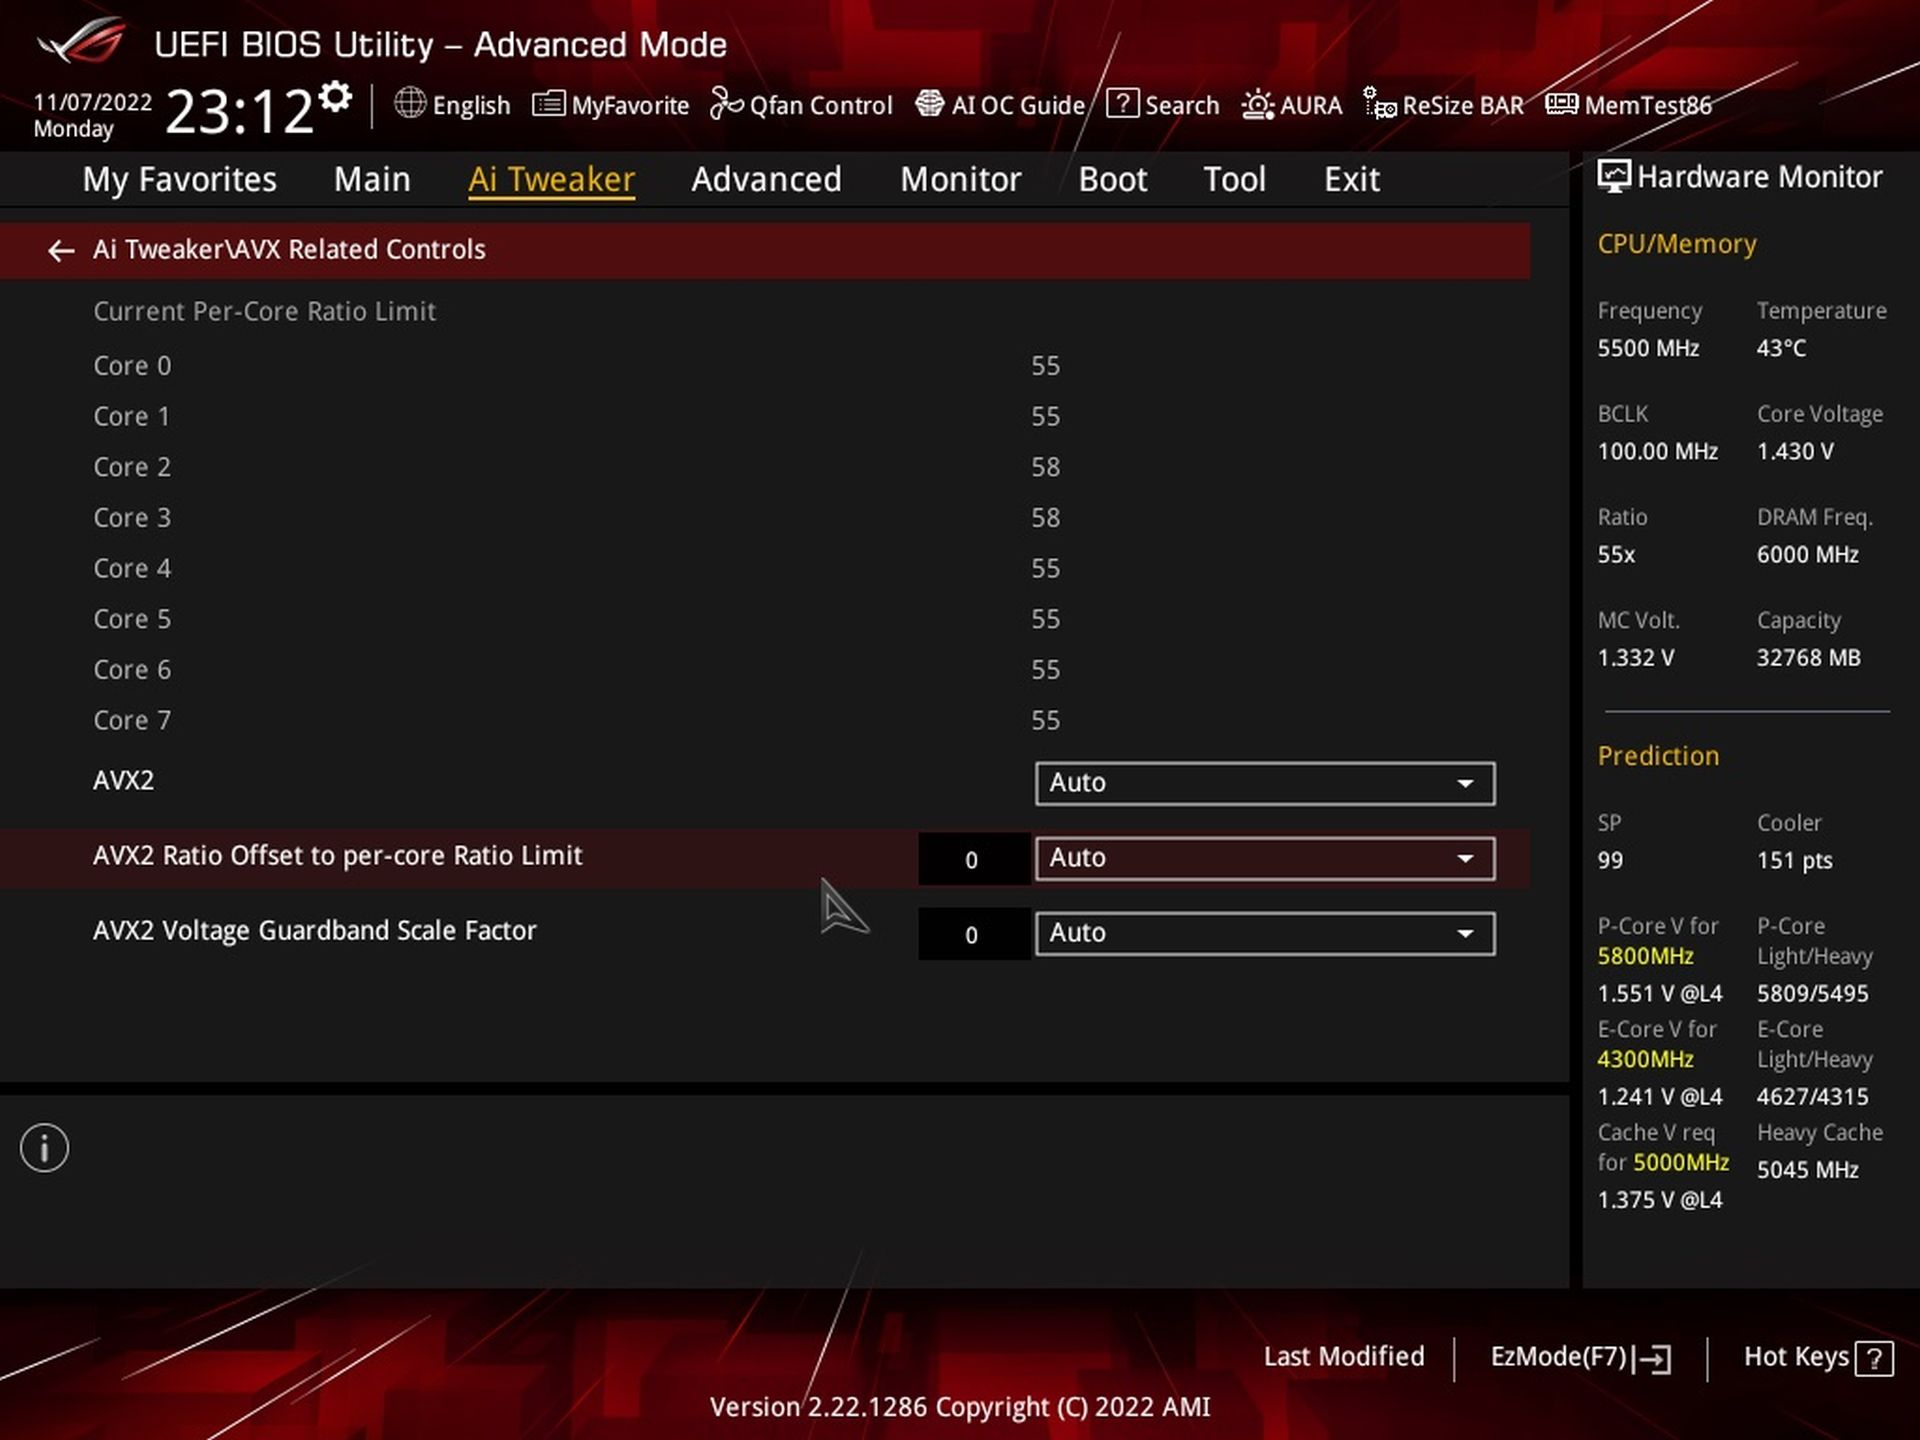
In the default settings there is also LLC and also a negative offset for applications using AVX instructions. In the case of this board, however, it is automatically set to “0”, which means that the multiplier is not reduced due to the presence of these instructions.

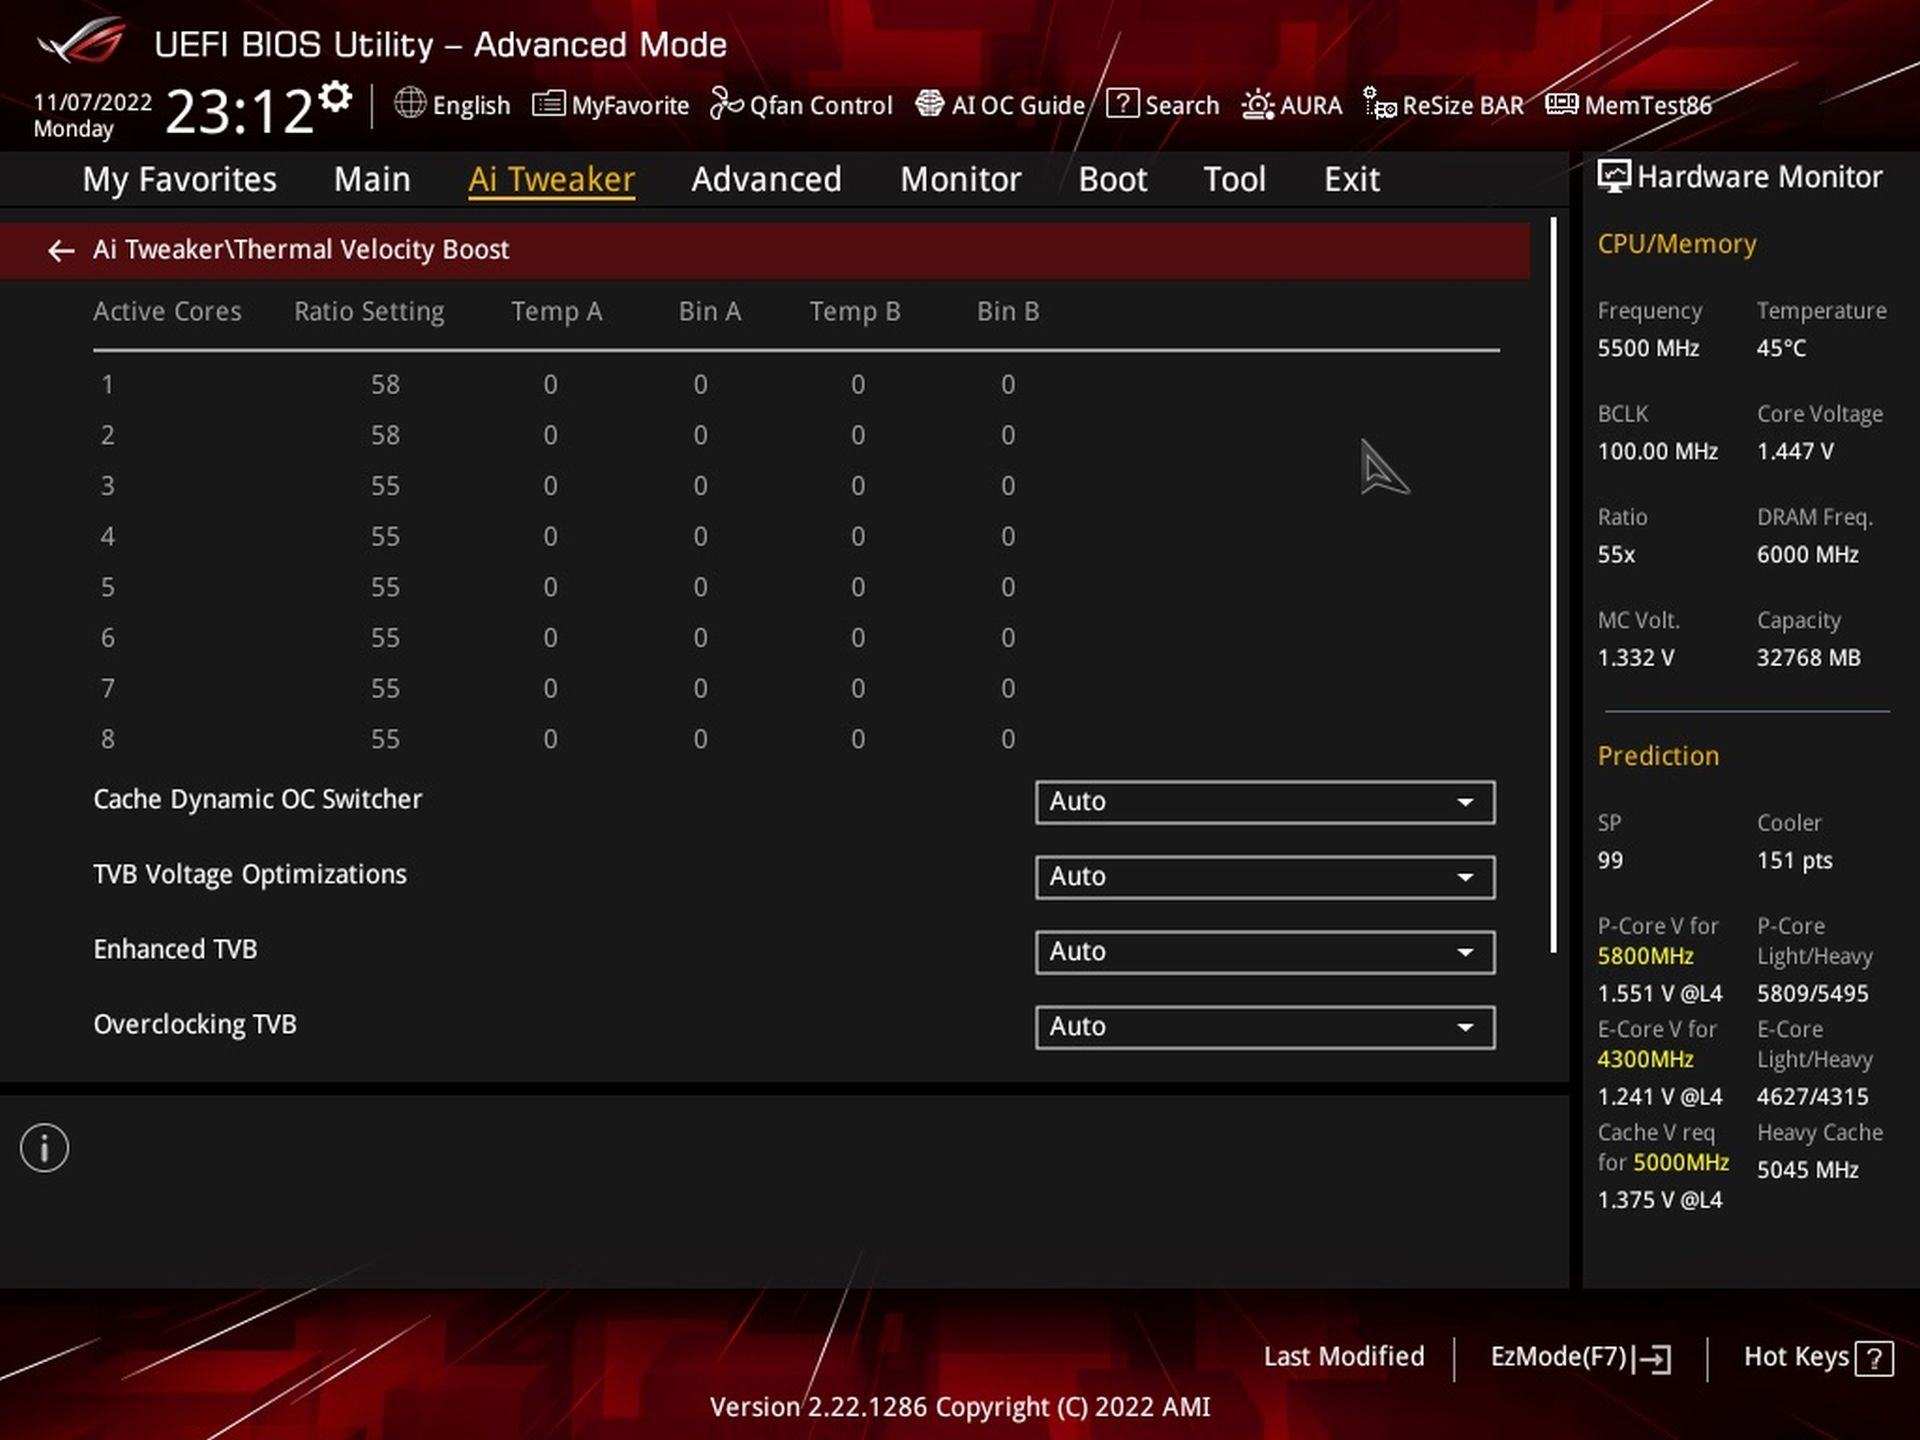
We also retain Thermal Velocity Boost, which determines the clock speed of the single-core boost. It decreases with higher temperatures.
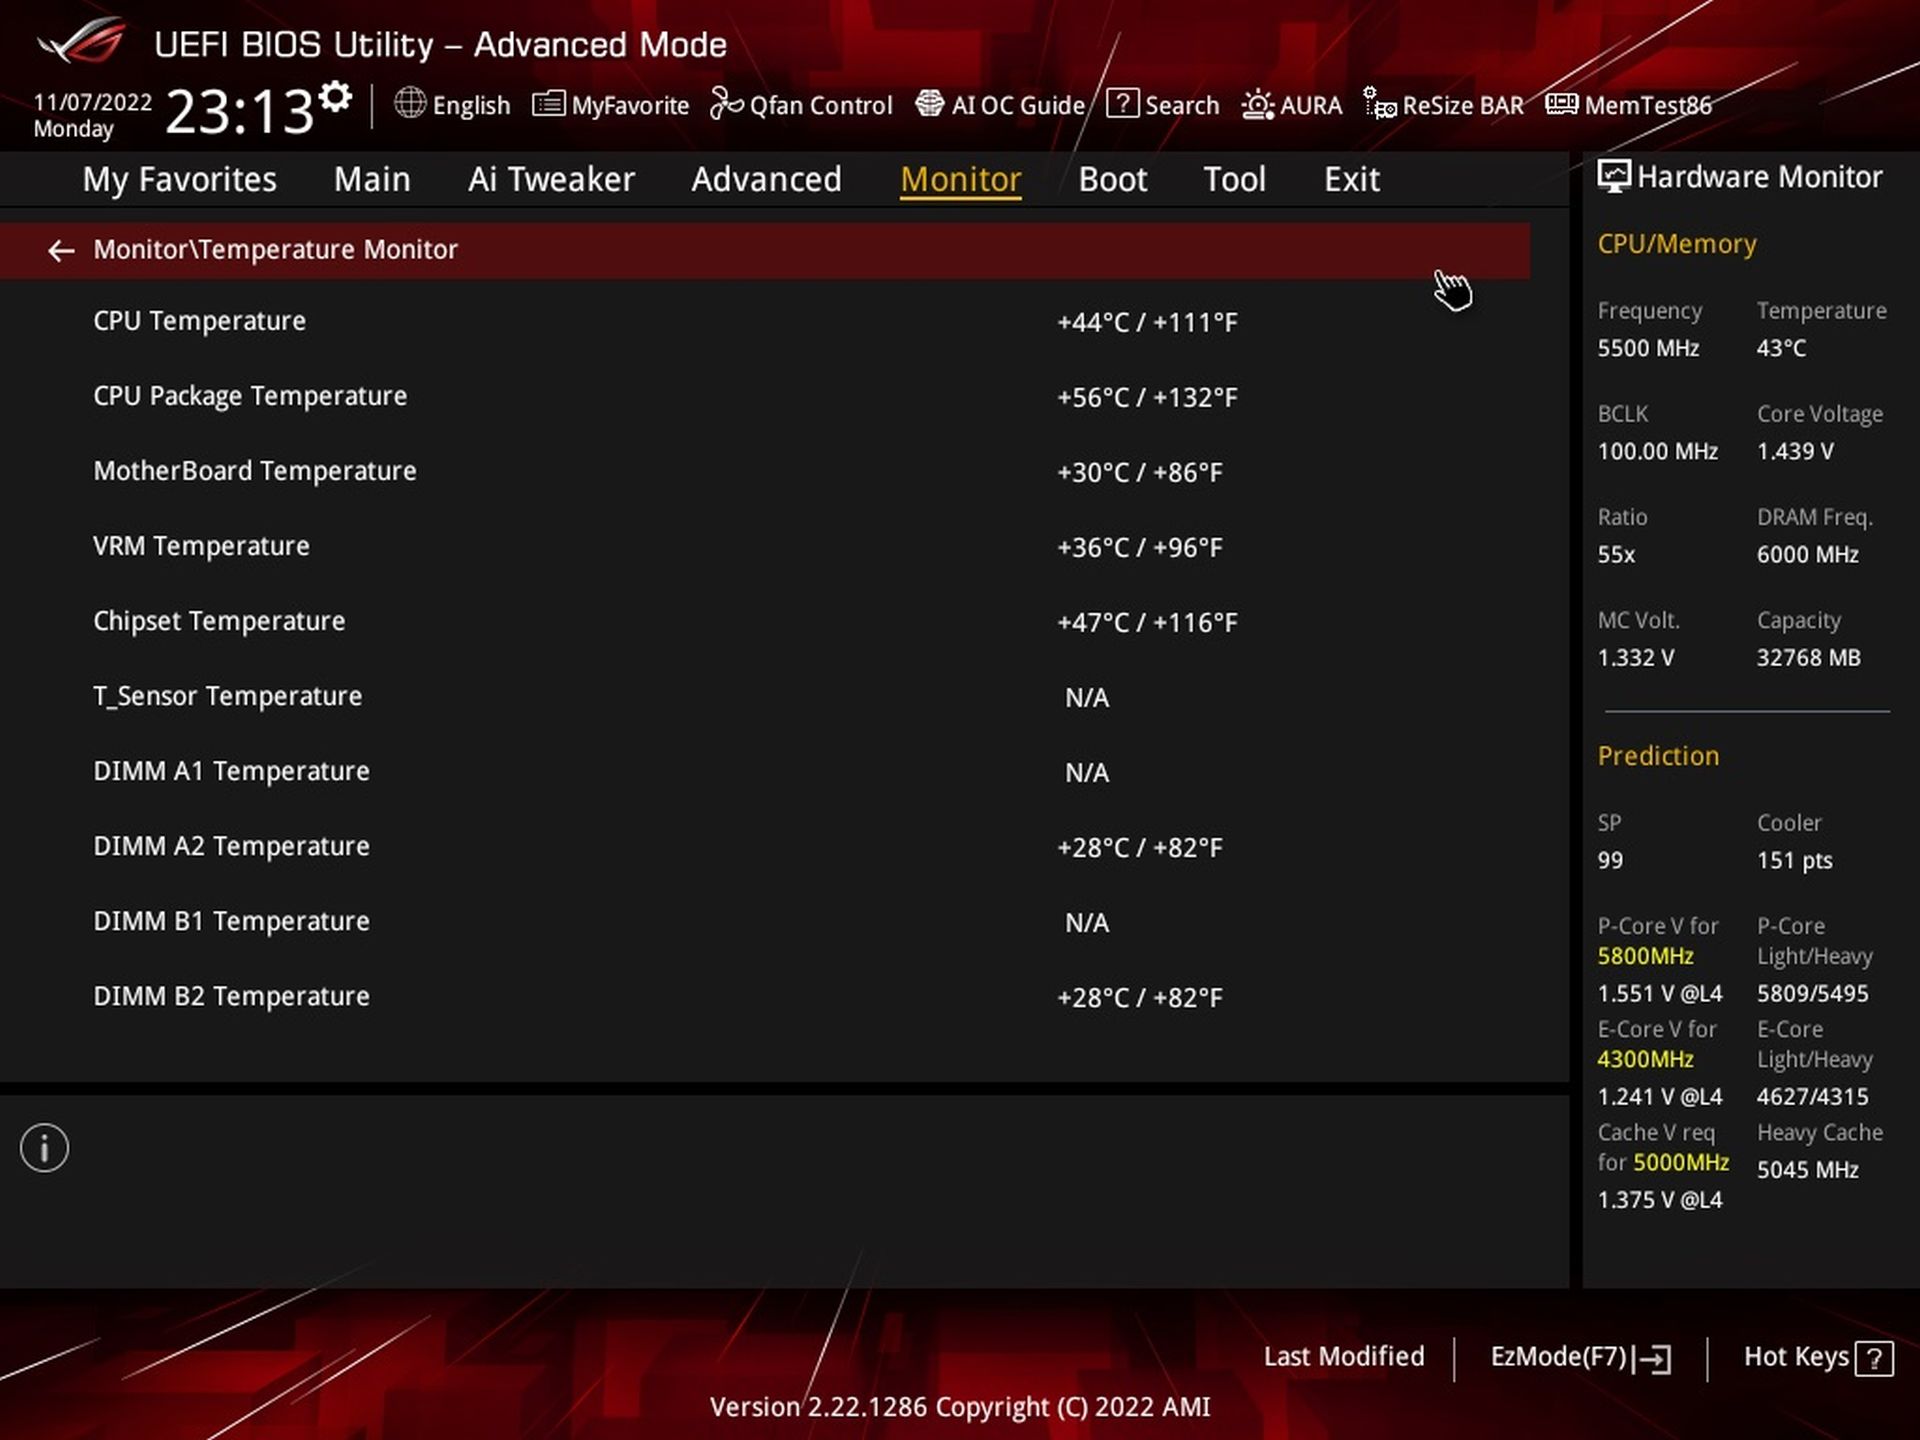
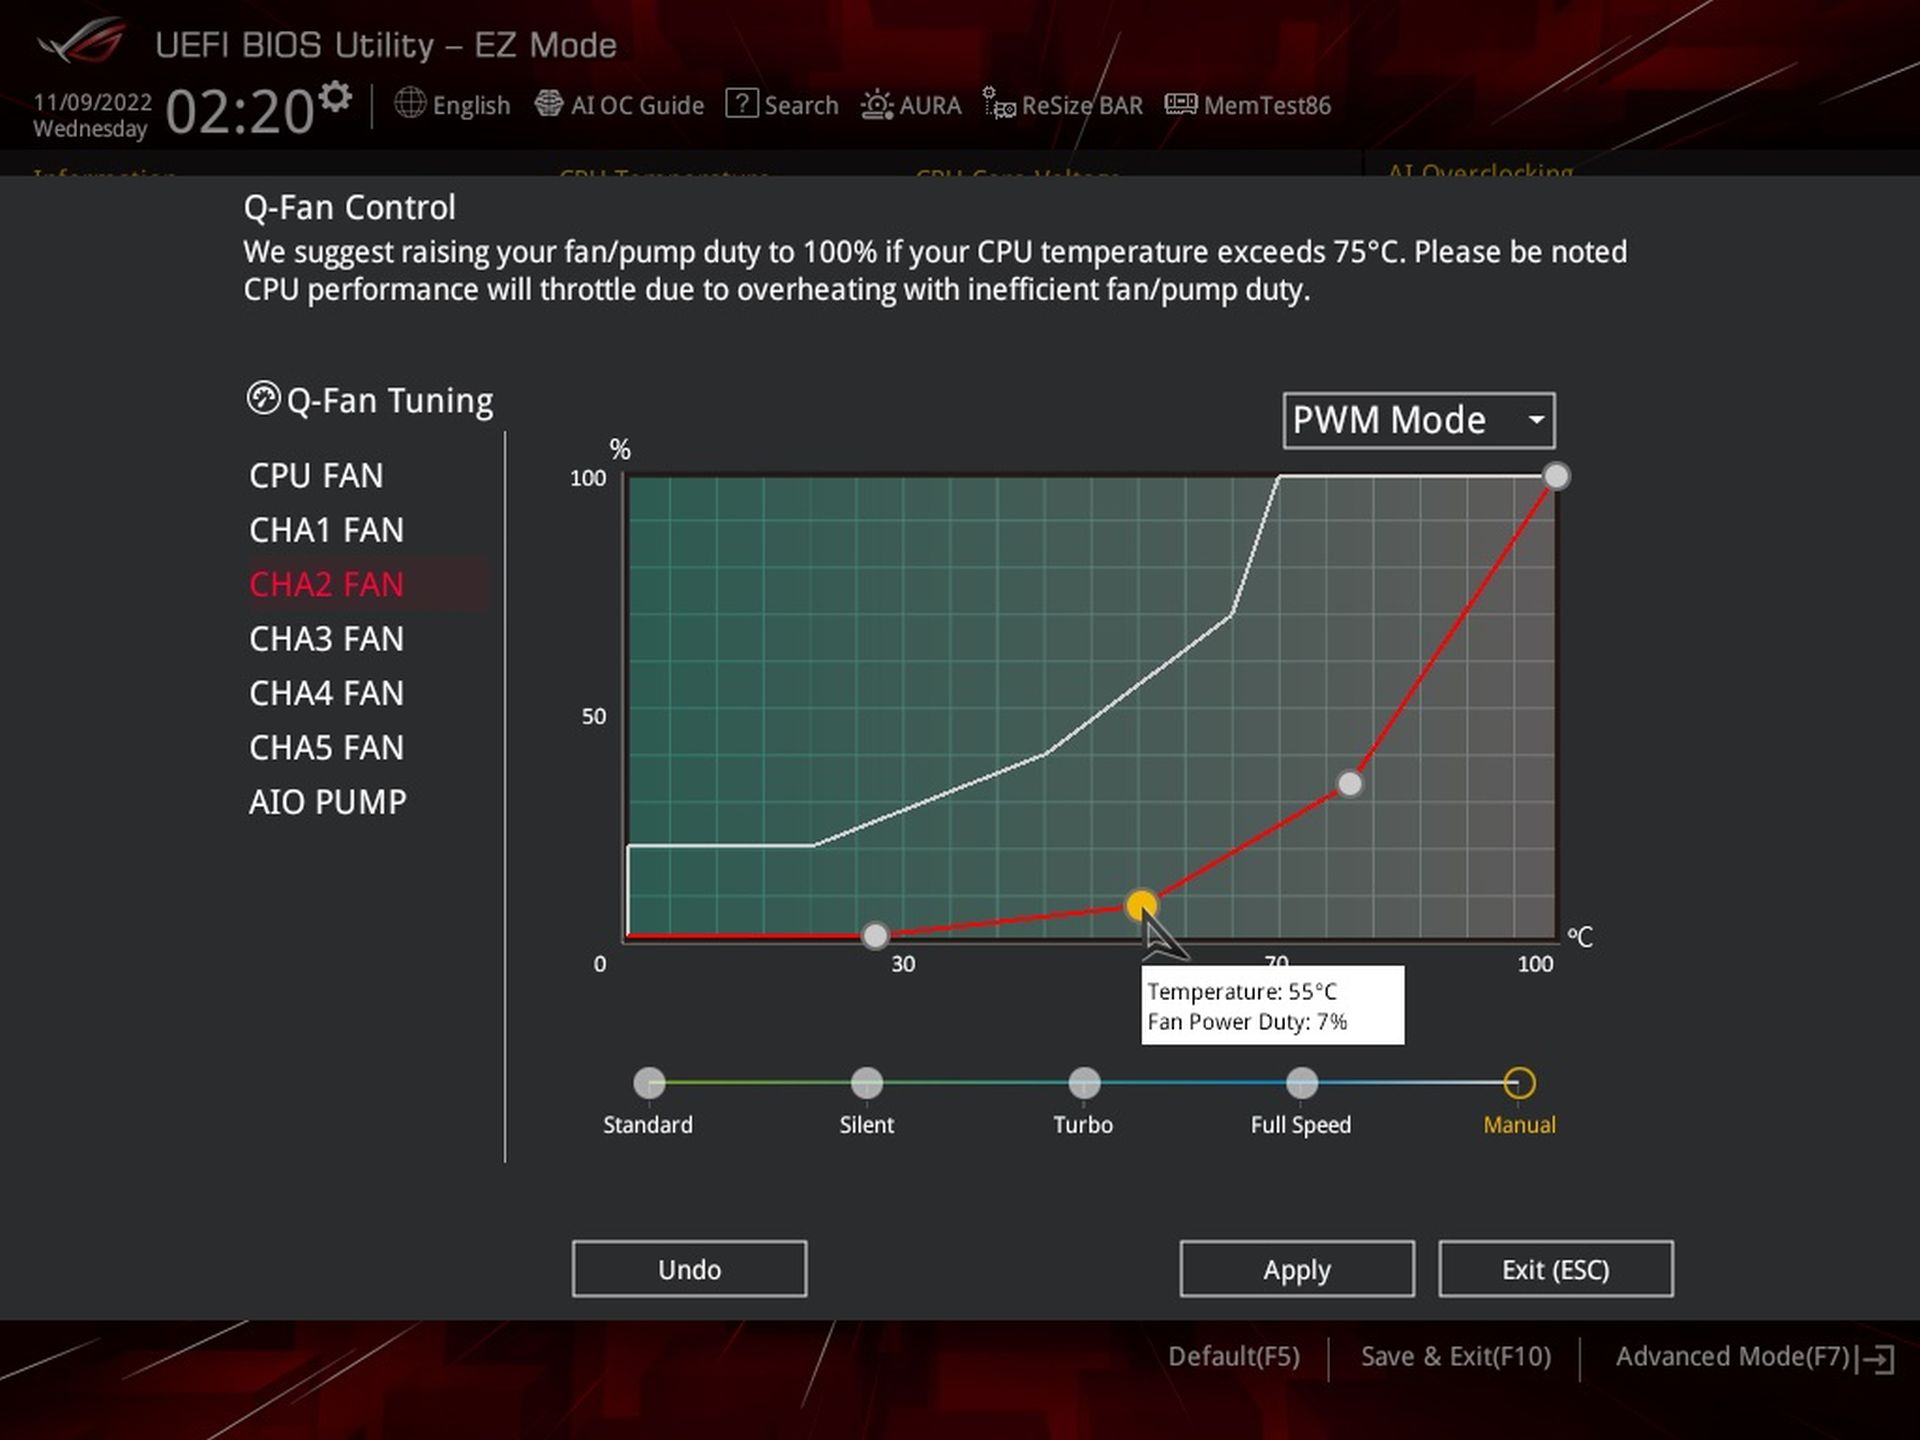
The board has quite a lot of built-in temperature sensors, including the VRM, but Q-Fan again fails to make use of them. The PWM curve to control the fans cannot be related to any other sensor than CPU temperature. With older boards, at least with older BIOSes, this was possible.
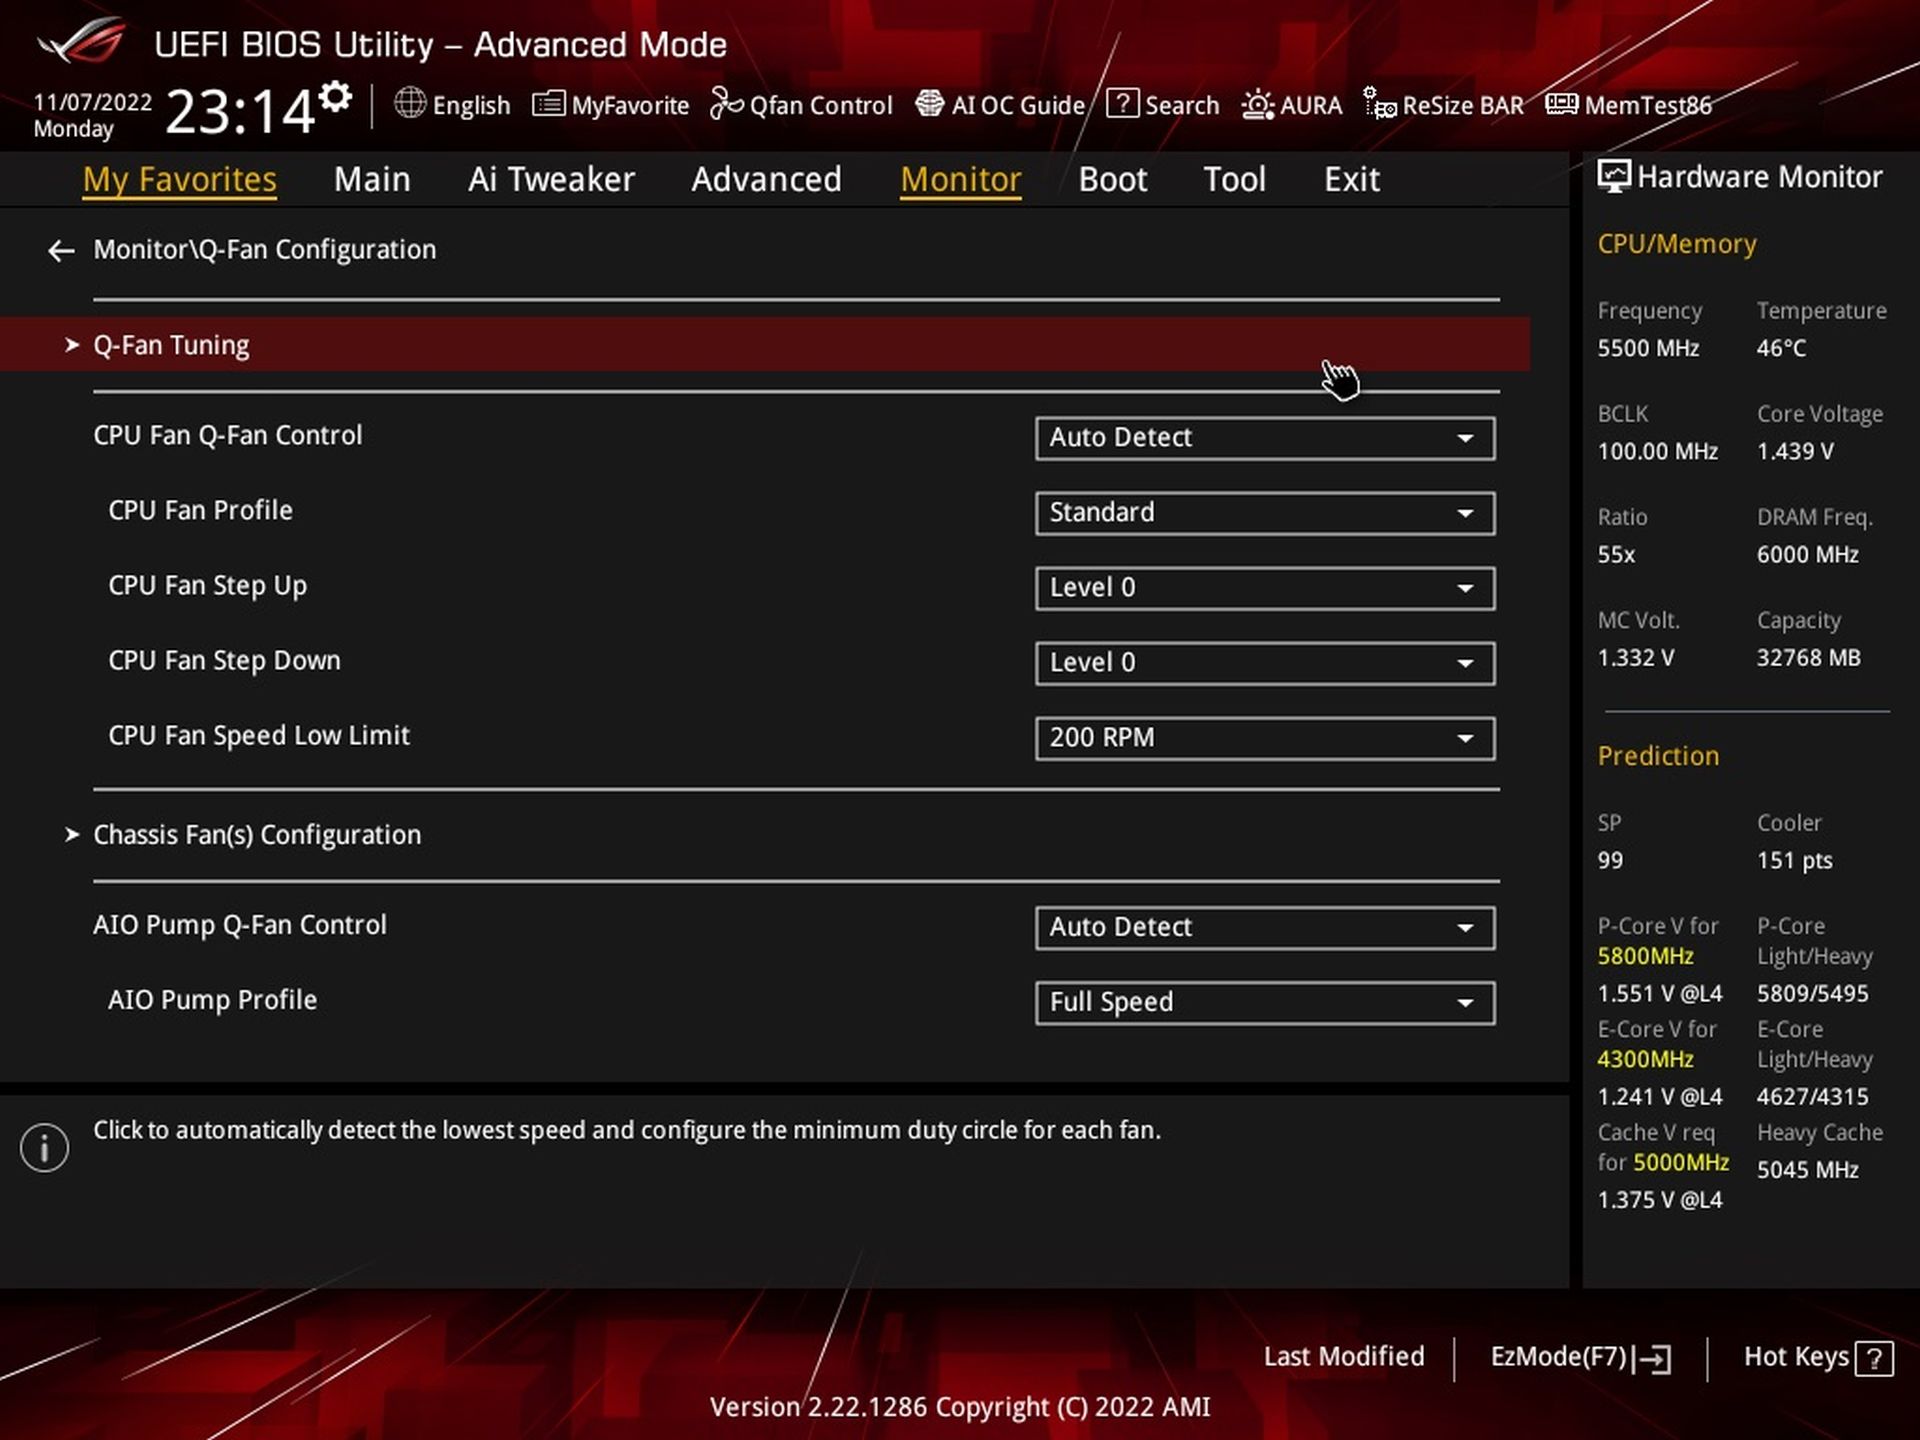
However, all connectors are well customizable, and importantly, the system ones can handle very low PWM intensities. Thus, in terms of minimum speed, the bottleneck is not the motherboard (as it was, for example, with the Gigabyte Z690 Gaming X DDR4), but the fan itself. Only the connector through which a liquid cooler pump is to be fed can’t be set below 20 % PWM for safety reasons.
- Contents
- Asus ROG Strix Z790-E Gaming WiFi in detail
- What it looks like in the BIOS
- Methodology: Performance tests
- Methodology: How we measure power draw
- Methodology: Temperature and frequency measurements
- Test setup
- 3DMark
- Borderlands 3
- F1 2020
- Metro Exodus
- Shadow of the Tomb Raider
- Total War Saga: Troy
- PCMark and Geekbench
- Web performance
- 3D rendering: Cinebench, Blender, ...
- Video 1/2: Adobe Premiere Pro
- Video 2/2: DaVinci Resolve Studio
- Graphics effects: Adobe After Effects
- Video encoding
- Audio encoding
- Fotky: Adobe Photoshop, Affinity Photo, ...
- (De)compression
- (De)encryption
- Numerical computing
- Simulations
- Memory and cache tests
- M.2 (SSD) slots speed
- USB ports speed
- Ethernet speed
- Power draw without power limits
- Power draw with power limits by Intel
- Achieved CPU clock speed
- CPU temperatures
- VRM temperatures – thermal imaging of Vcore and SOC
- SSD temperatures
- Chipset temperatures (south bridge)
- Conclusion