Gigabyte also offers more affordable motherboards (compared to Z890 models) featuring the B860 chipset. While the specifications in this class are relatively modest, they are reflected in the lower price, making the B860 Aorus Elite WiFi7 (Ice) an attractive choice for builds. This is especially true for the tested Ice variant if you’re looking for motherboards with a white PCB. Such models do exist, but they are relatively rare.
What it looks like in the BIOS
The graphical interface is bright. It’s not exactly white (nor is the motherboard’s PCB), but rather a gray color. In hexadecimal, it’s #e4e4e4. In any case, this also aligns with the overall design of the B860 Aorus Elite Ice.
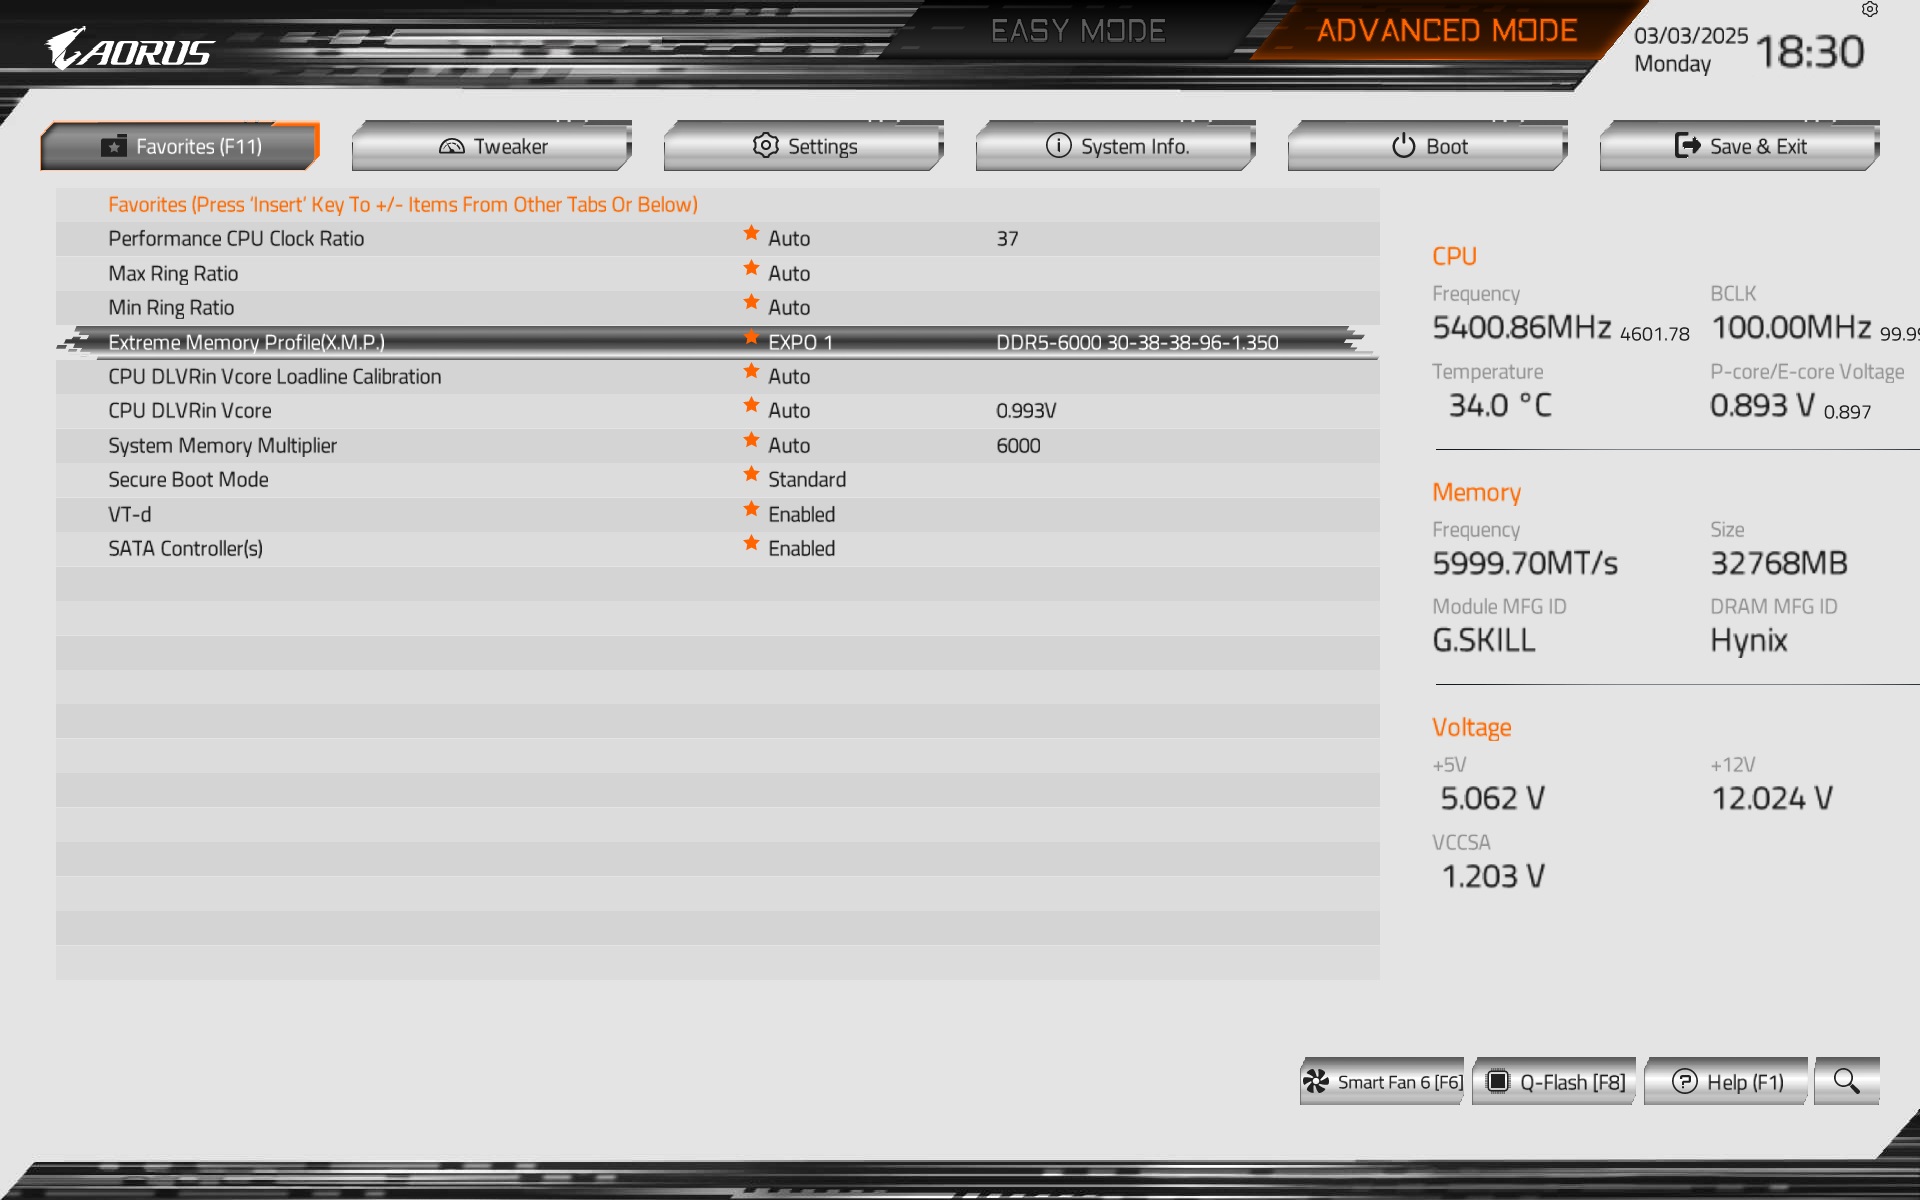
The layout of the Easy Mode elements is otherwise as you know it. First and foremost, it’s highly intuitive, where, in addition to monitoring basic parameters (such as CPU clock speed, temperature, or voltage), there are buttons for adjusting settings. For example, activating a memory profile (EXPO), the ReSizable BAR switch, buttons for predefined CPU profiles, or the largest button for entering the fan management interface (Smart Fan 6). And many more, including information about the occupied DIMM slots and the like. It can be said that nothing essential is missing here.
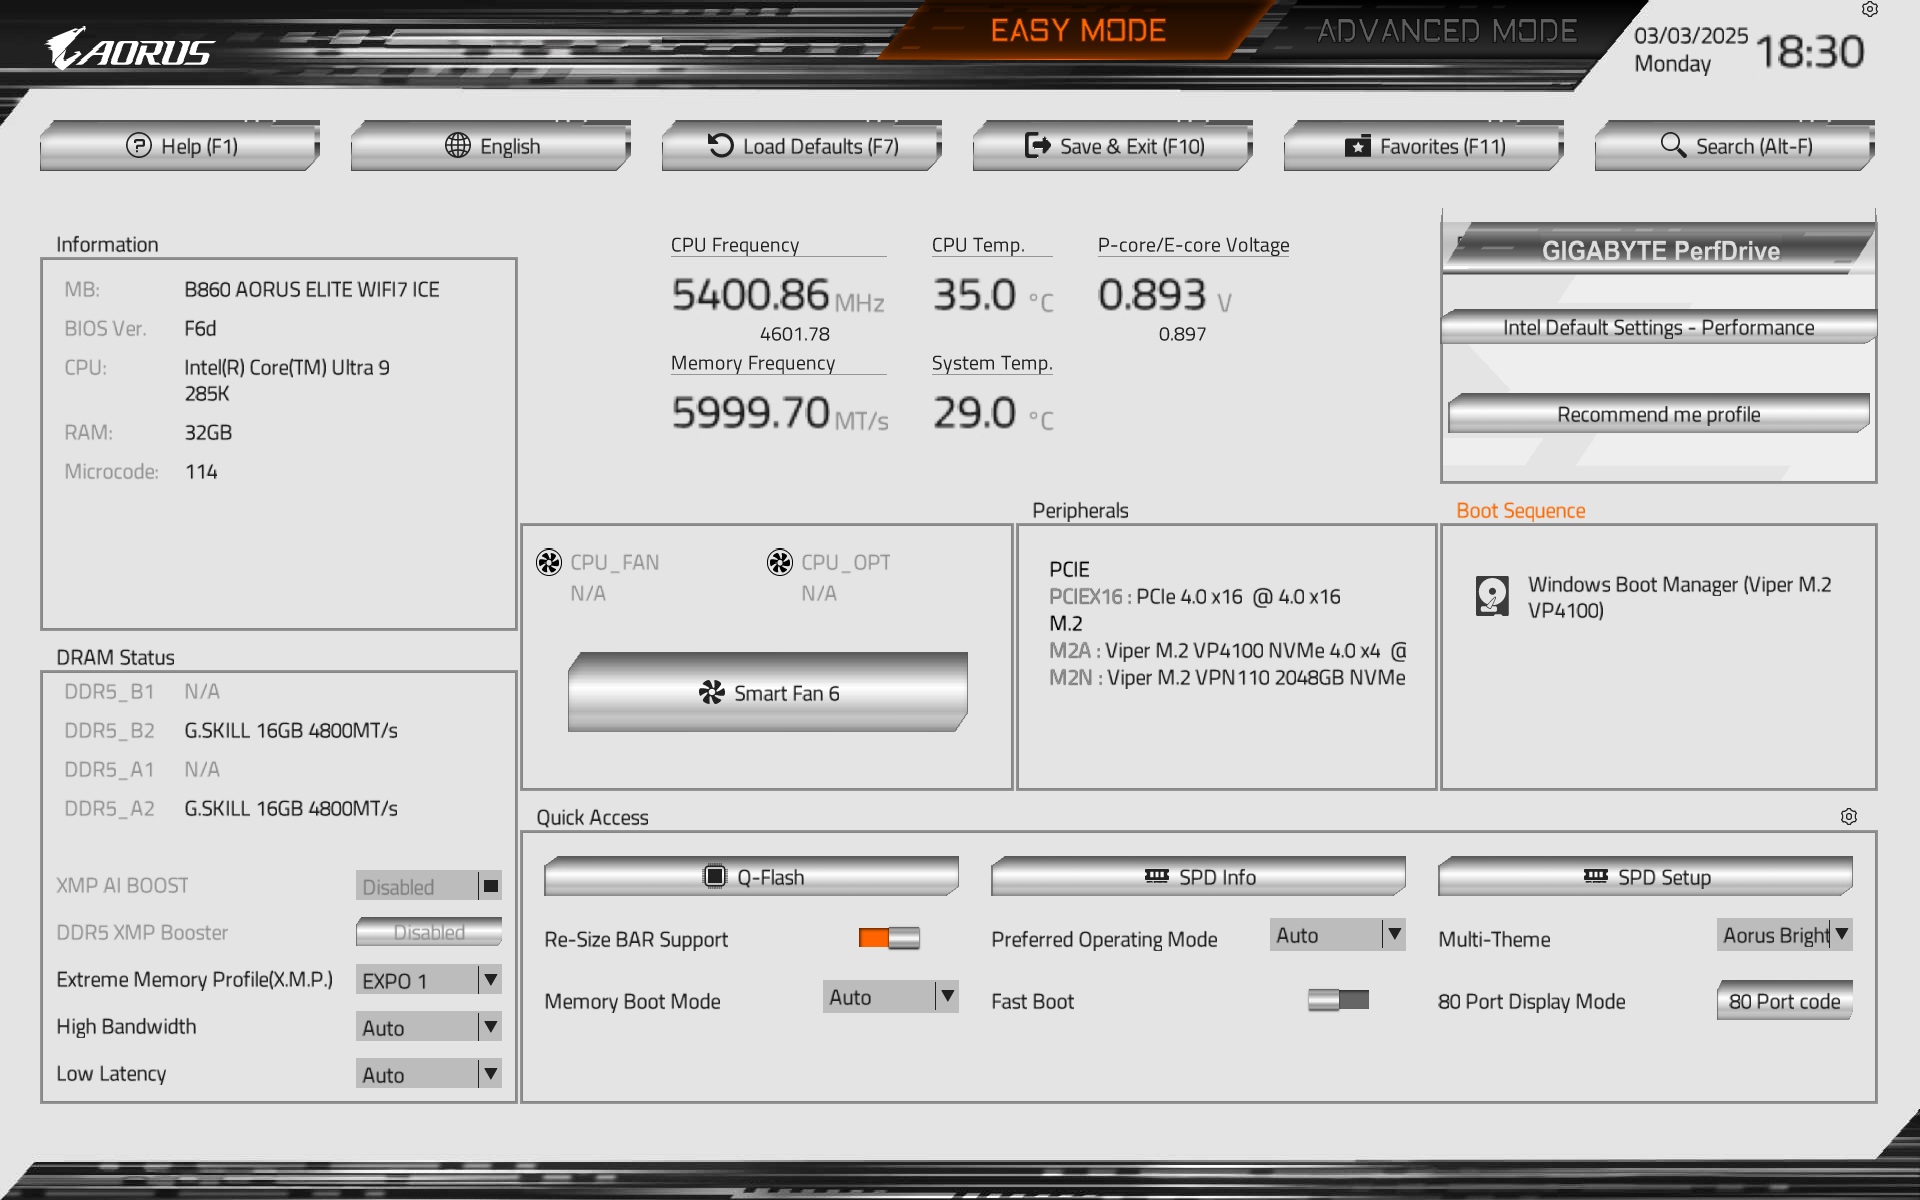
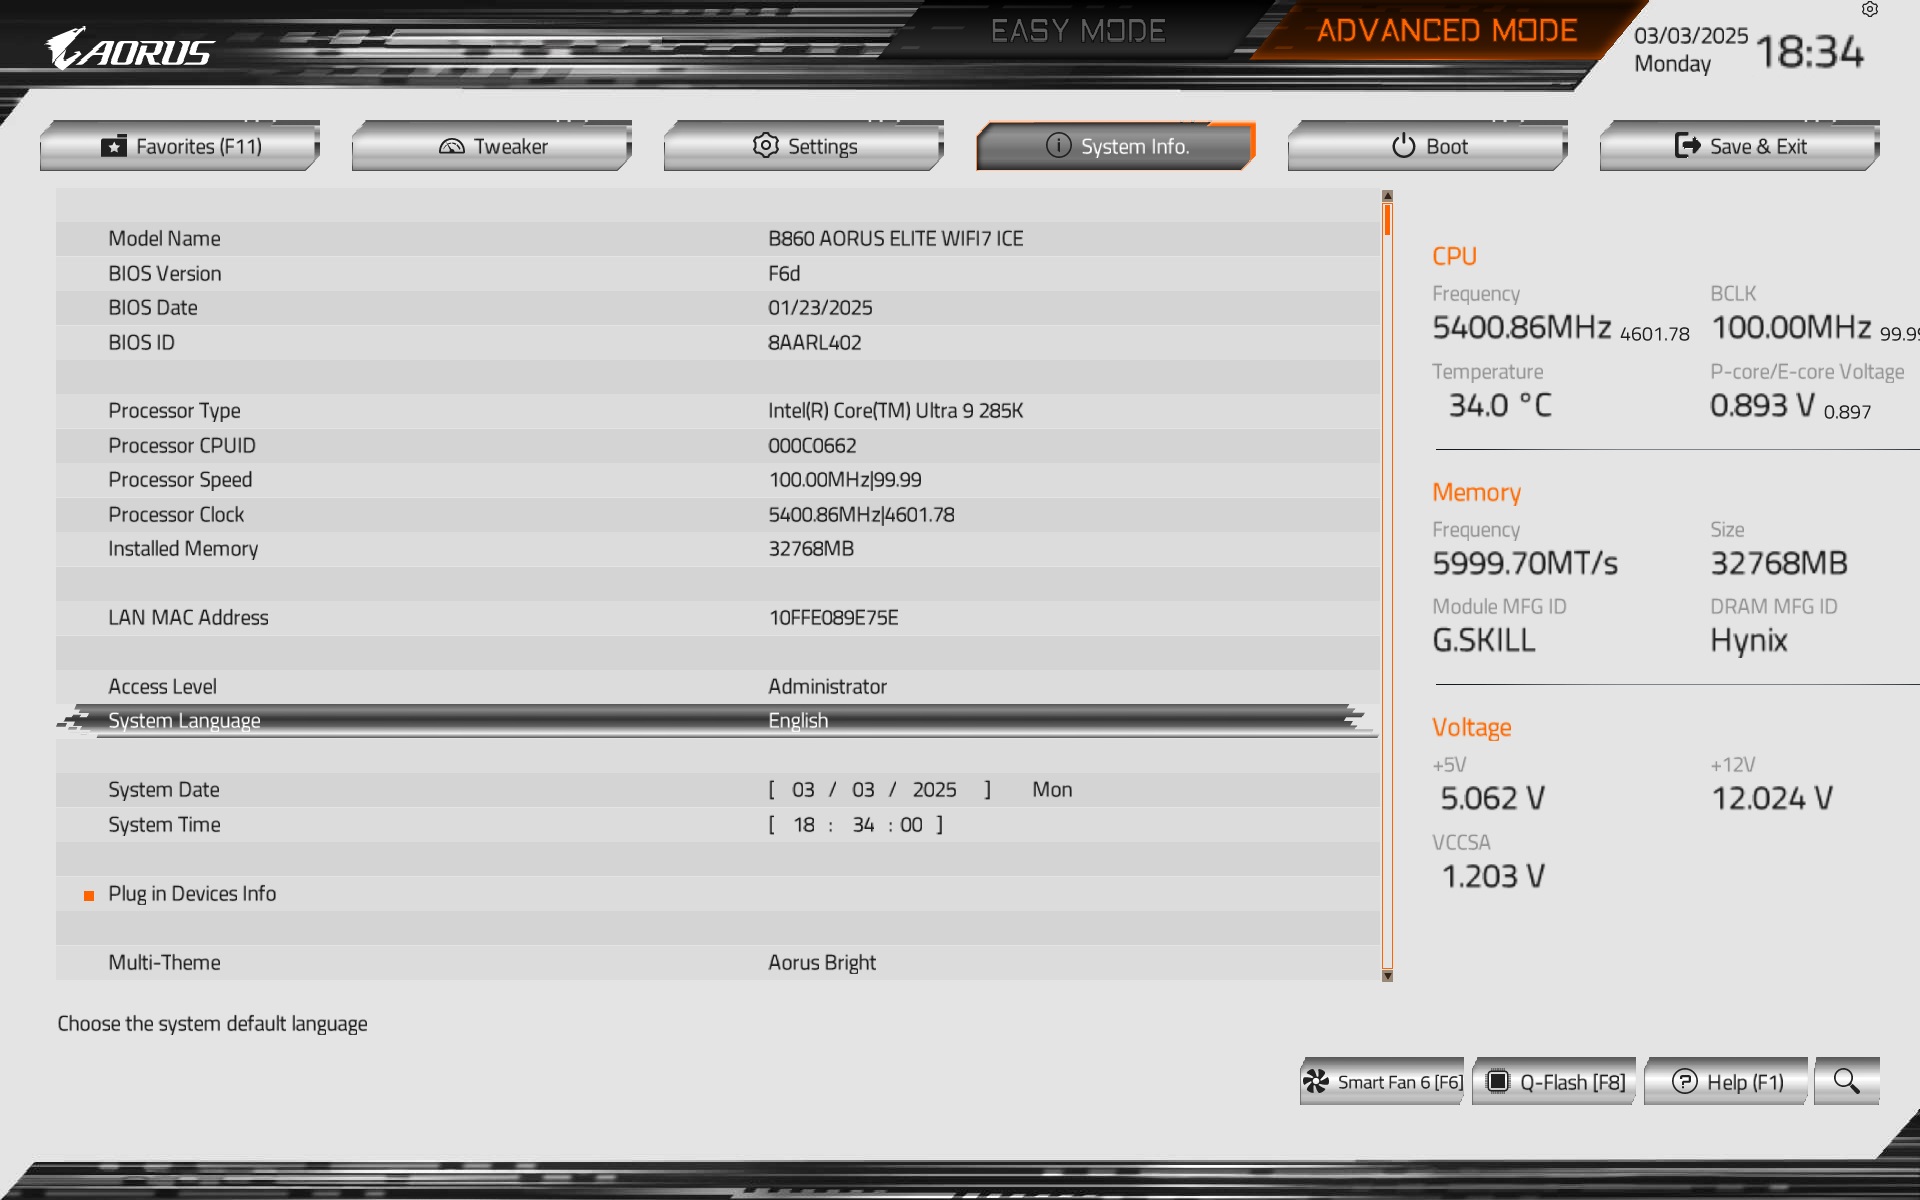
A detailed overview of the motherboard’s CPU parameters is available on the System Info tab. Here, for example, you can see the BIOS used, labeled F6d. This is the latest available BIOS at the time of testing (with microcode 0x114, by the way).
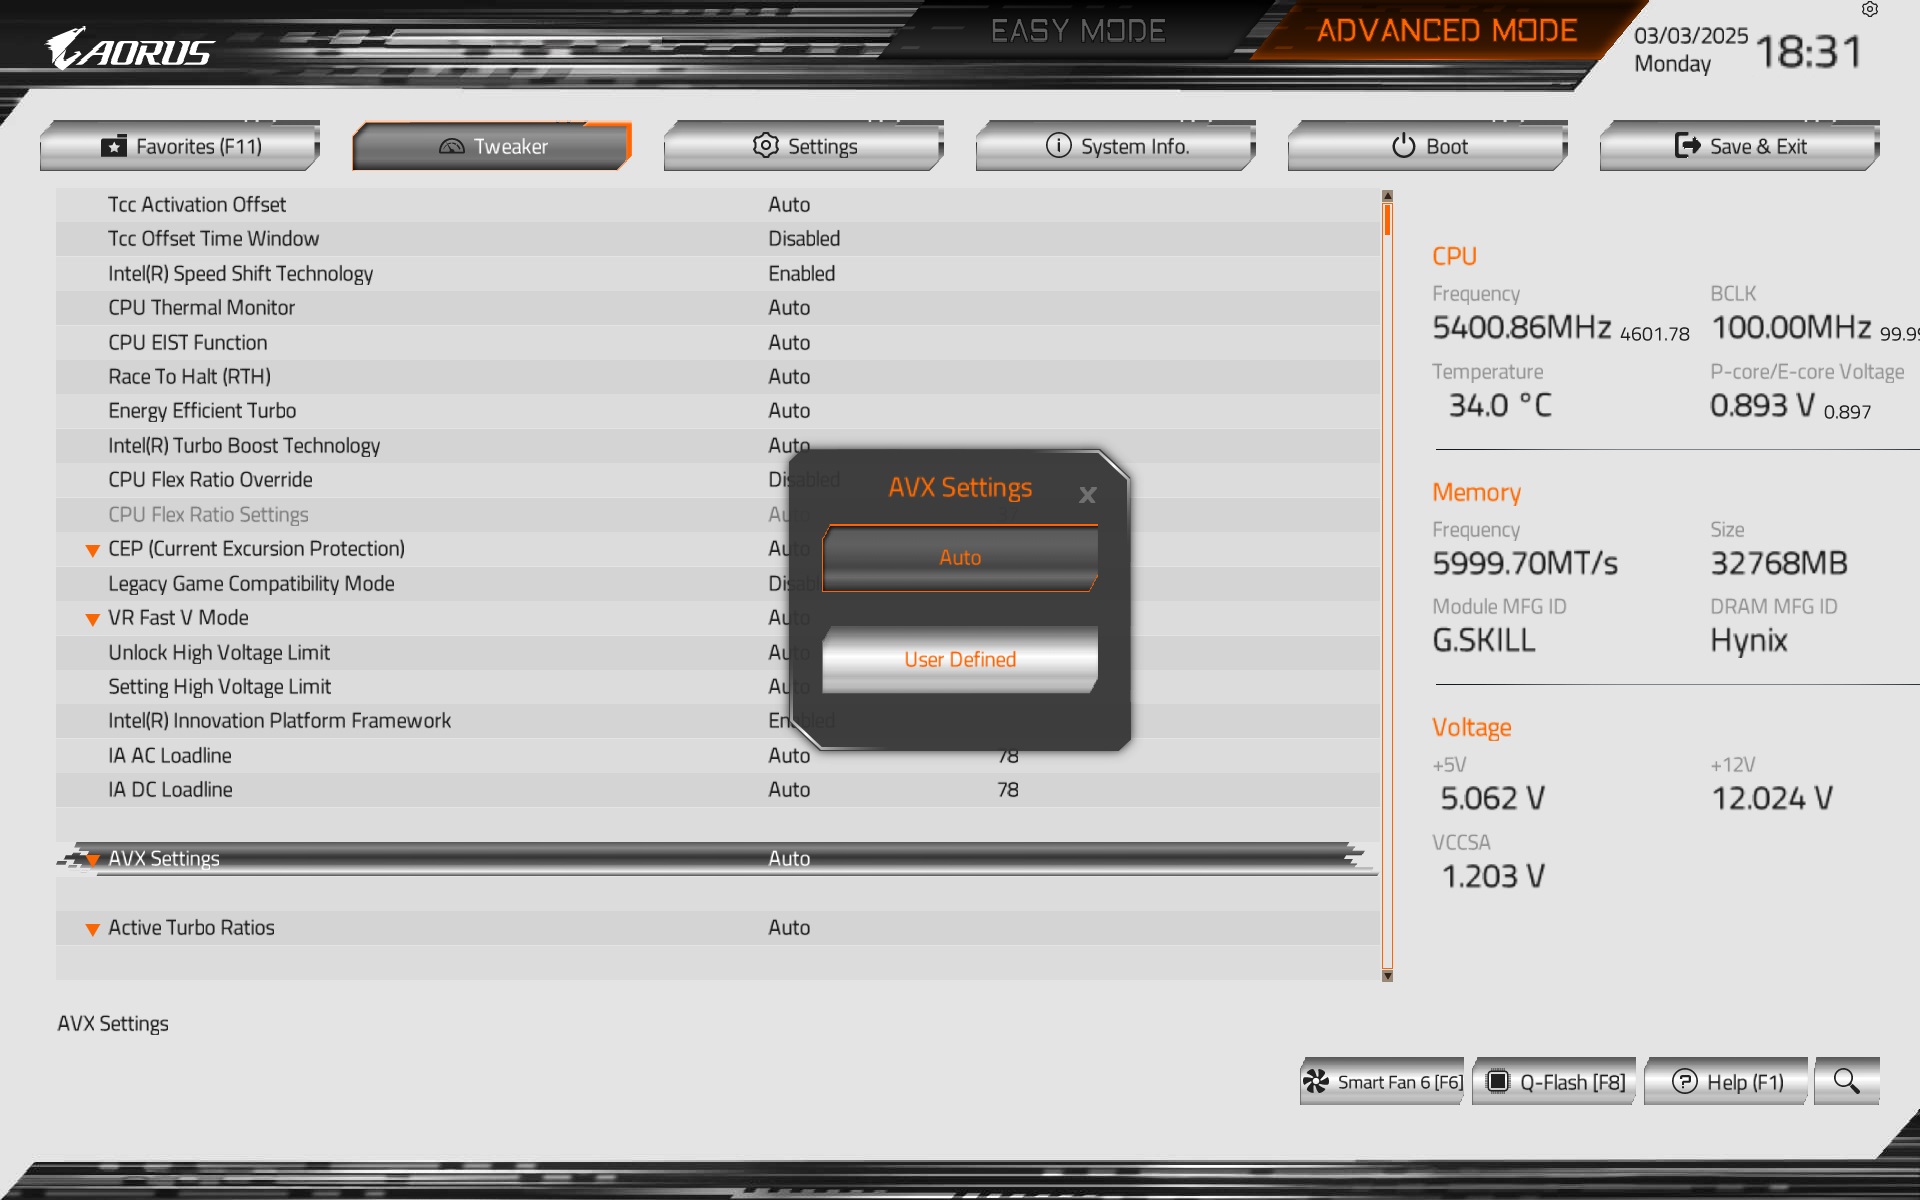
The Tweaker tab contains many options for adjusting CPU and memory settings. While you can’t manually change the CPU multiplier, you can manage its offset under AVX load.
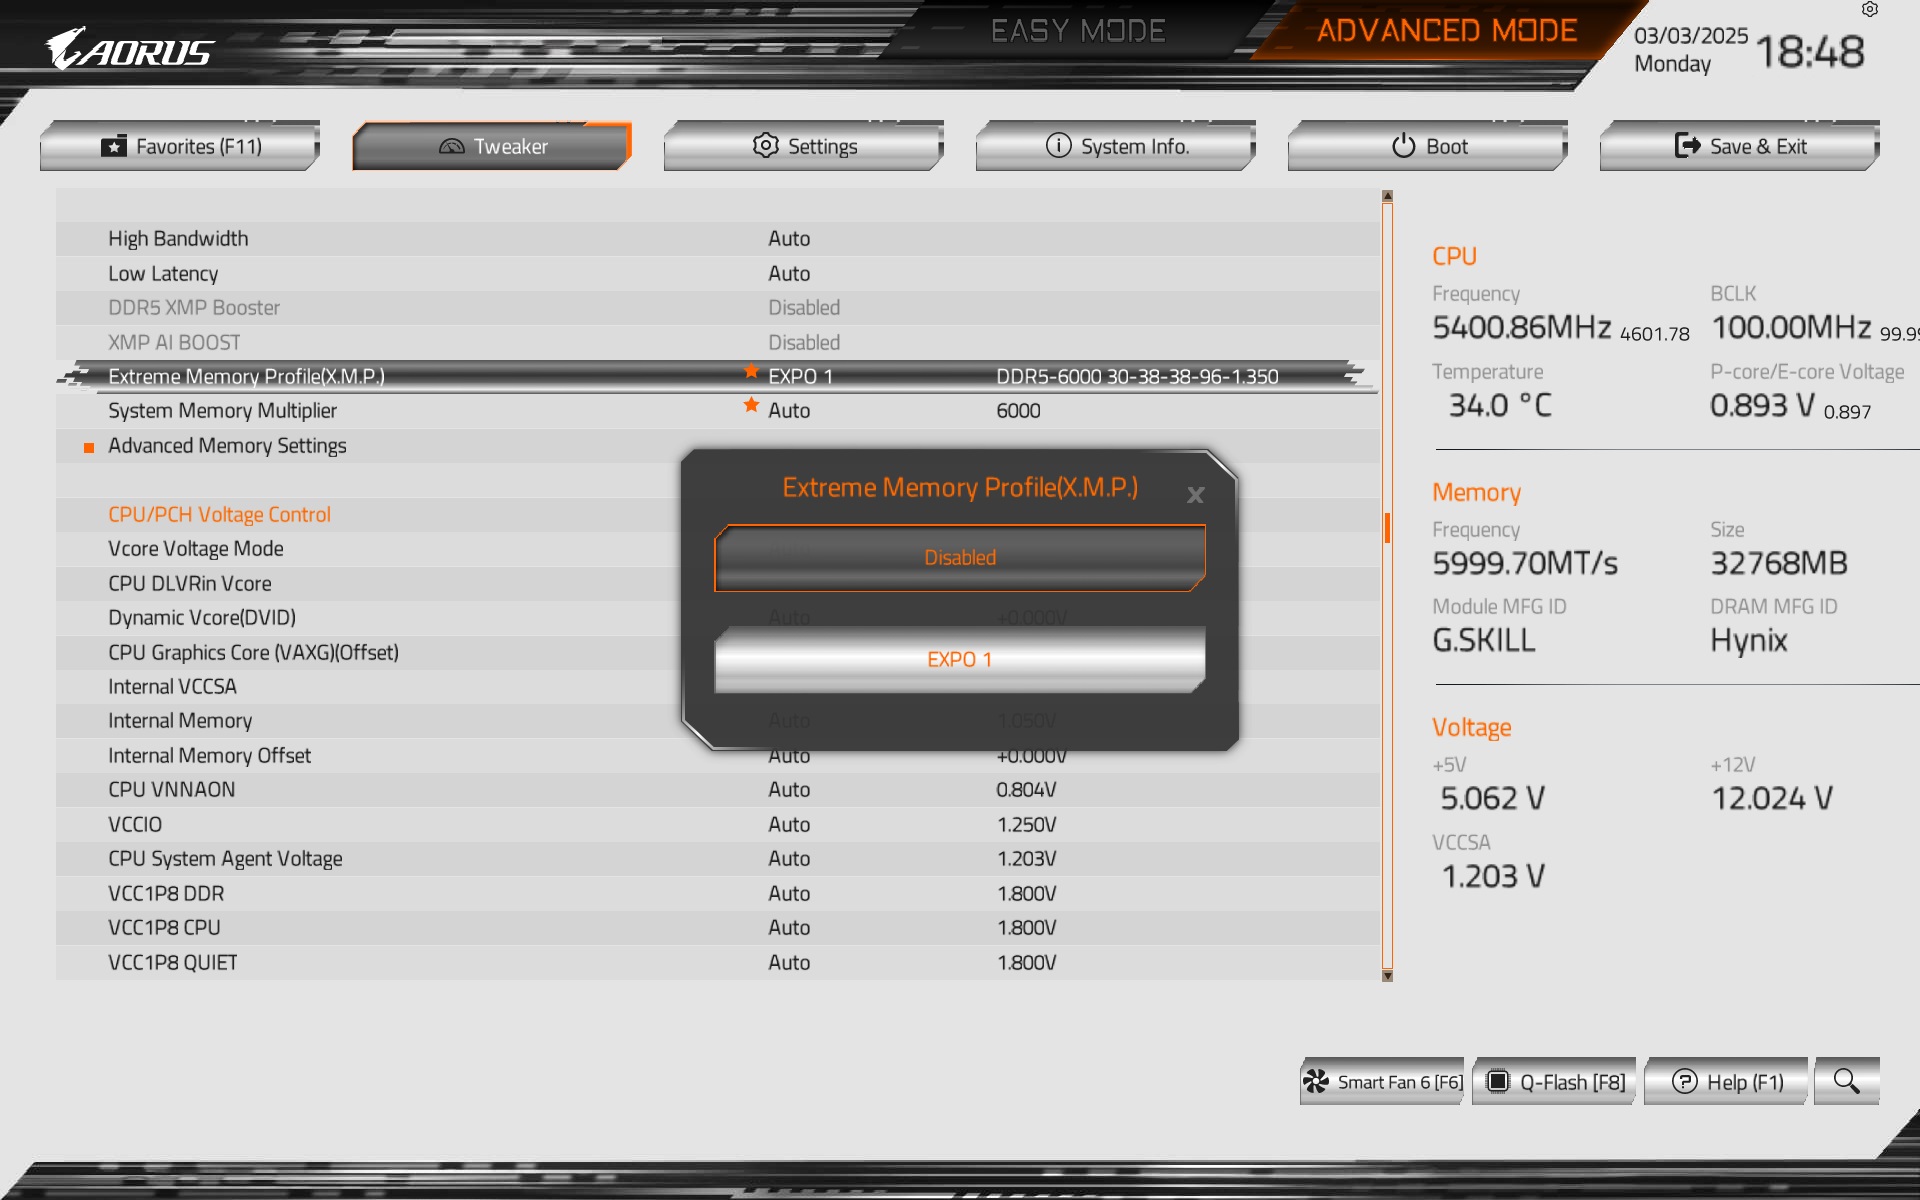
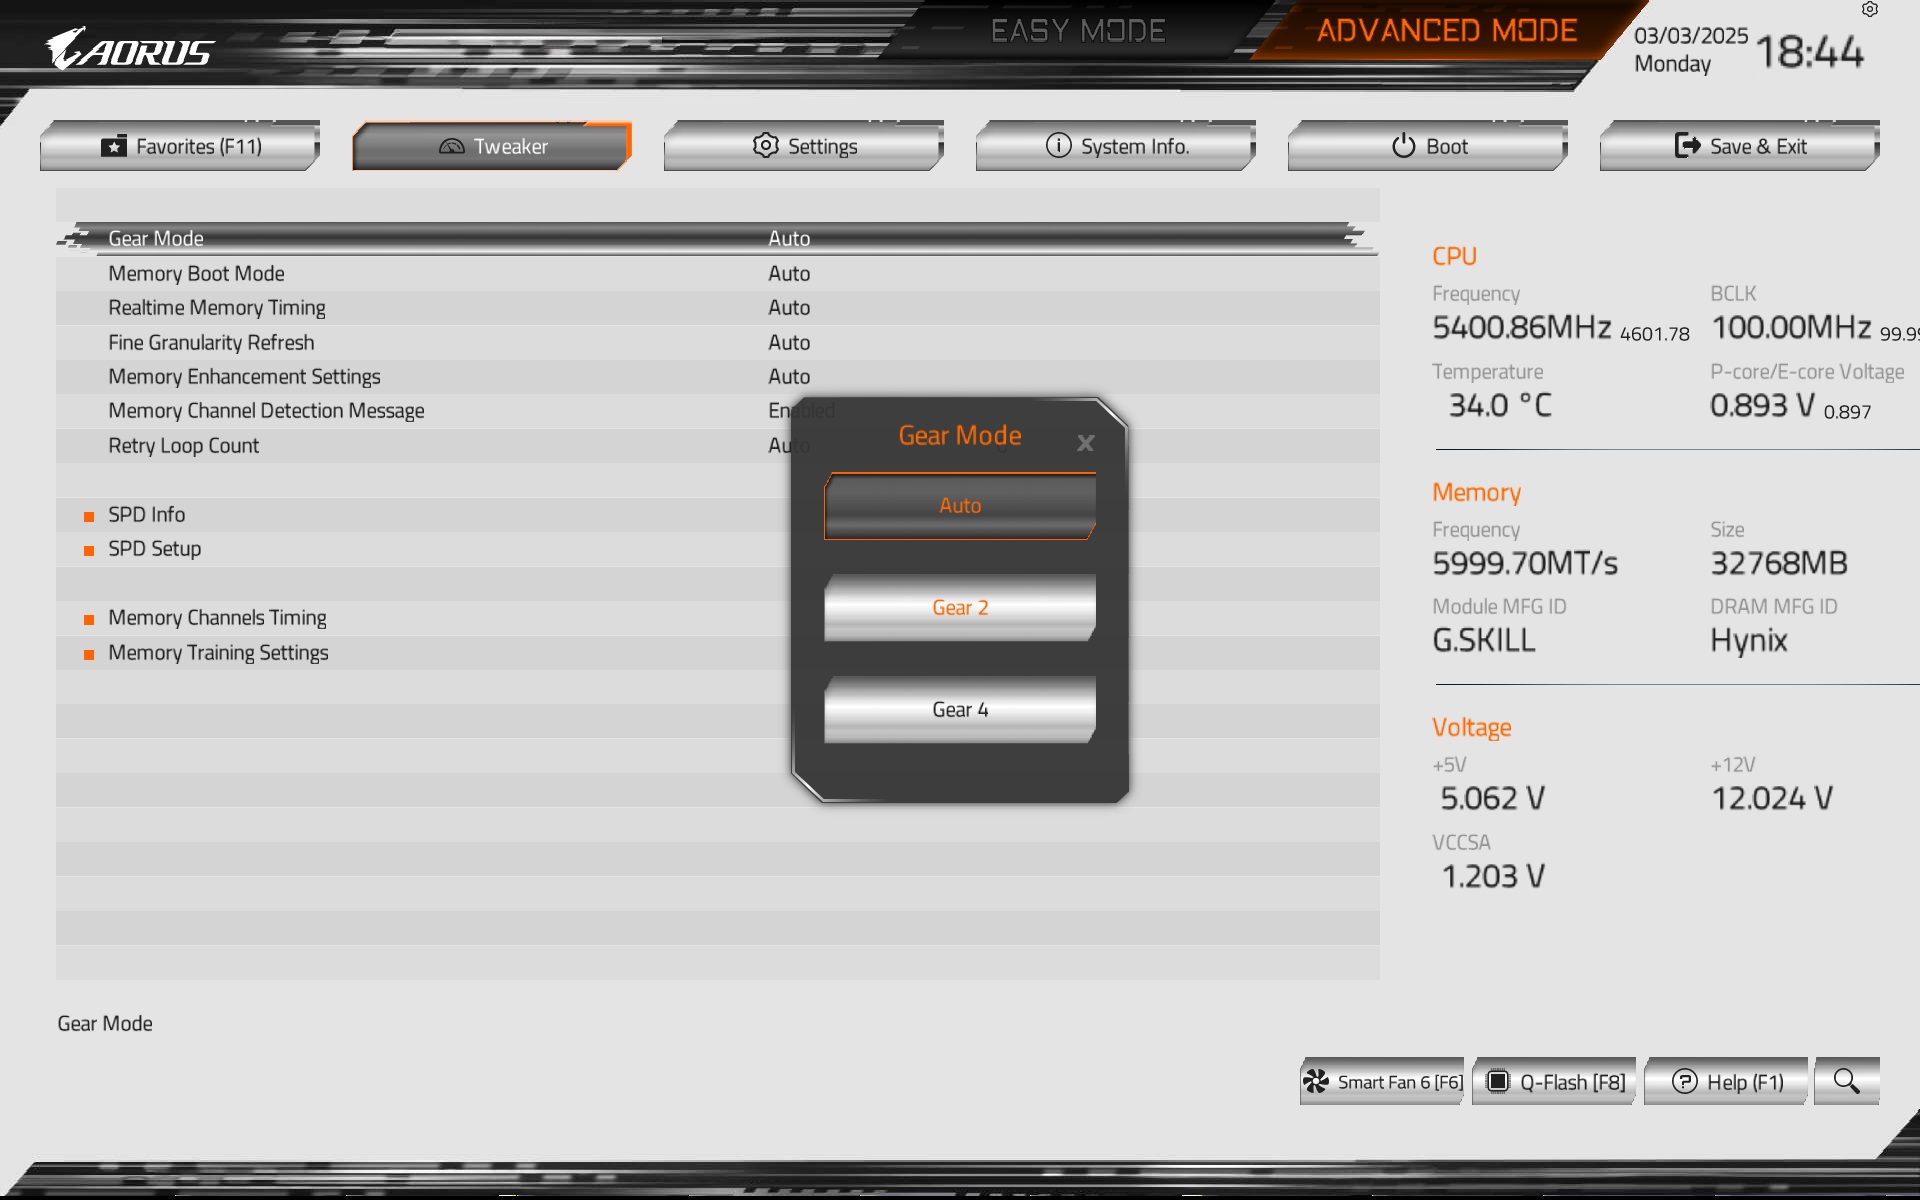
You can also activate a RAM profile or adjust the memory controller bandwidth in the CPU (IMC). However, do not tamper with these settings unless you have complete control over the situation and understand the implications for other settings or components used. Otherwise, system instability could occur, potentially preventing the system from even passing POST.
Power limits for the CPU can be adjusted on the Tweaker tab, in the Turbo Power Limits section. Enabling TPL unlocks several options for entering numerical values (you input them in units). PL1 is for long-term loads (e.g., 125 W), while PL2 is for short-term loads (250 W for the Core Ultra 9 285K, if you follow the official specifications). The value “4095 W” represents a no-limit power setting. If you also set the Core Current Limit to 512 A, you can be sure that you’ve pushed the processor to its absolute maximum. While energy efficiency can still be fine-tuned in various ways, that’s a slightly different matter.

ReBAR can be activated or deactivated (in factory settings, this technology is usually already enabled) on the Settings tab.

CPU Thermal Monitor? This is another item (on the Tweaker tab) worth noting, especially from the perspective of our primary focus. From the perspective of HWCooling.

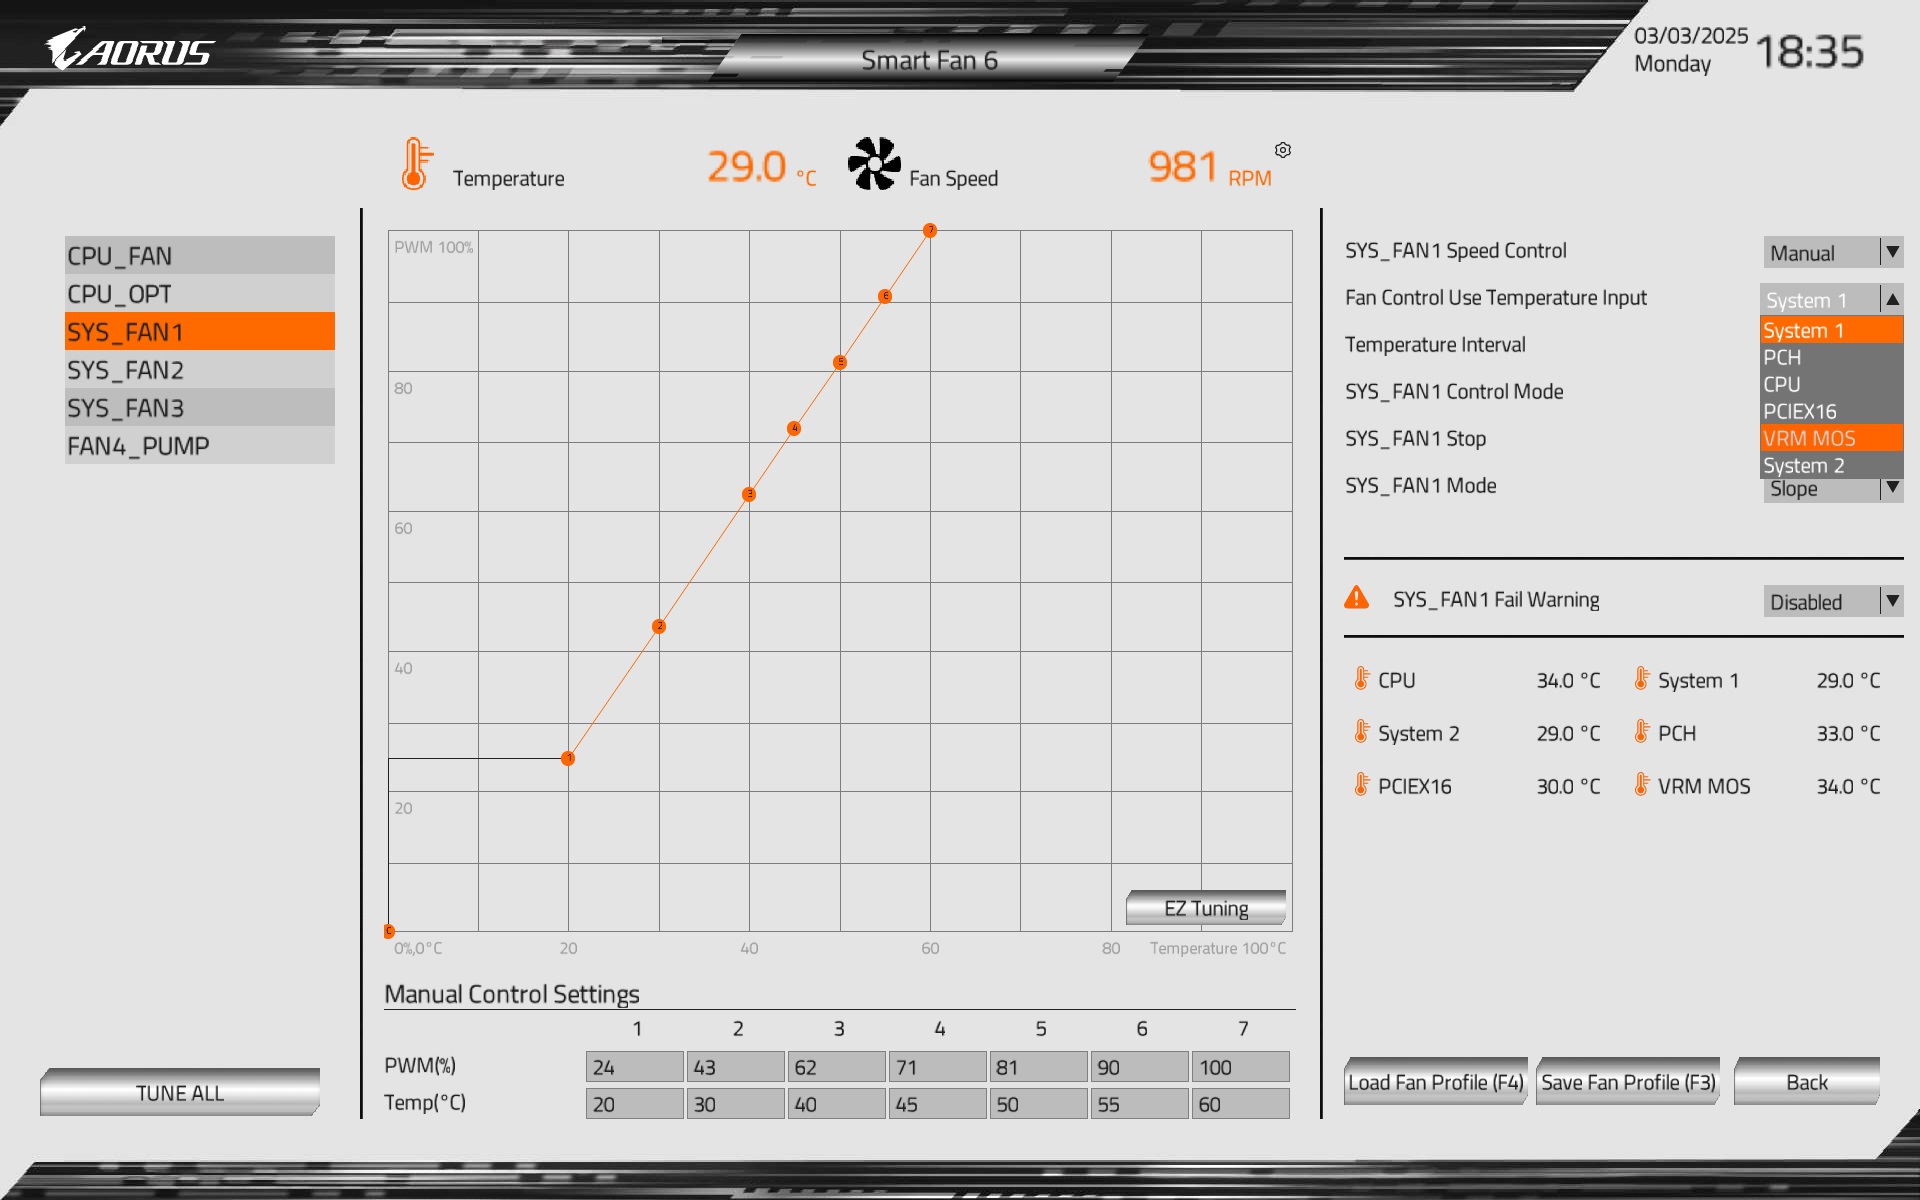
The fan management interface, as is typical for Gigabyte, is exceptionally detailed, offering truly comprehensive customization options for each header.
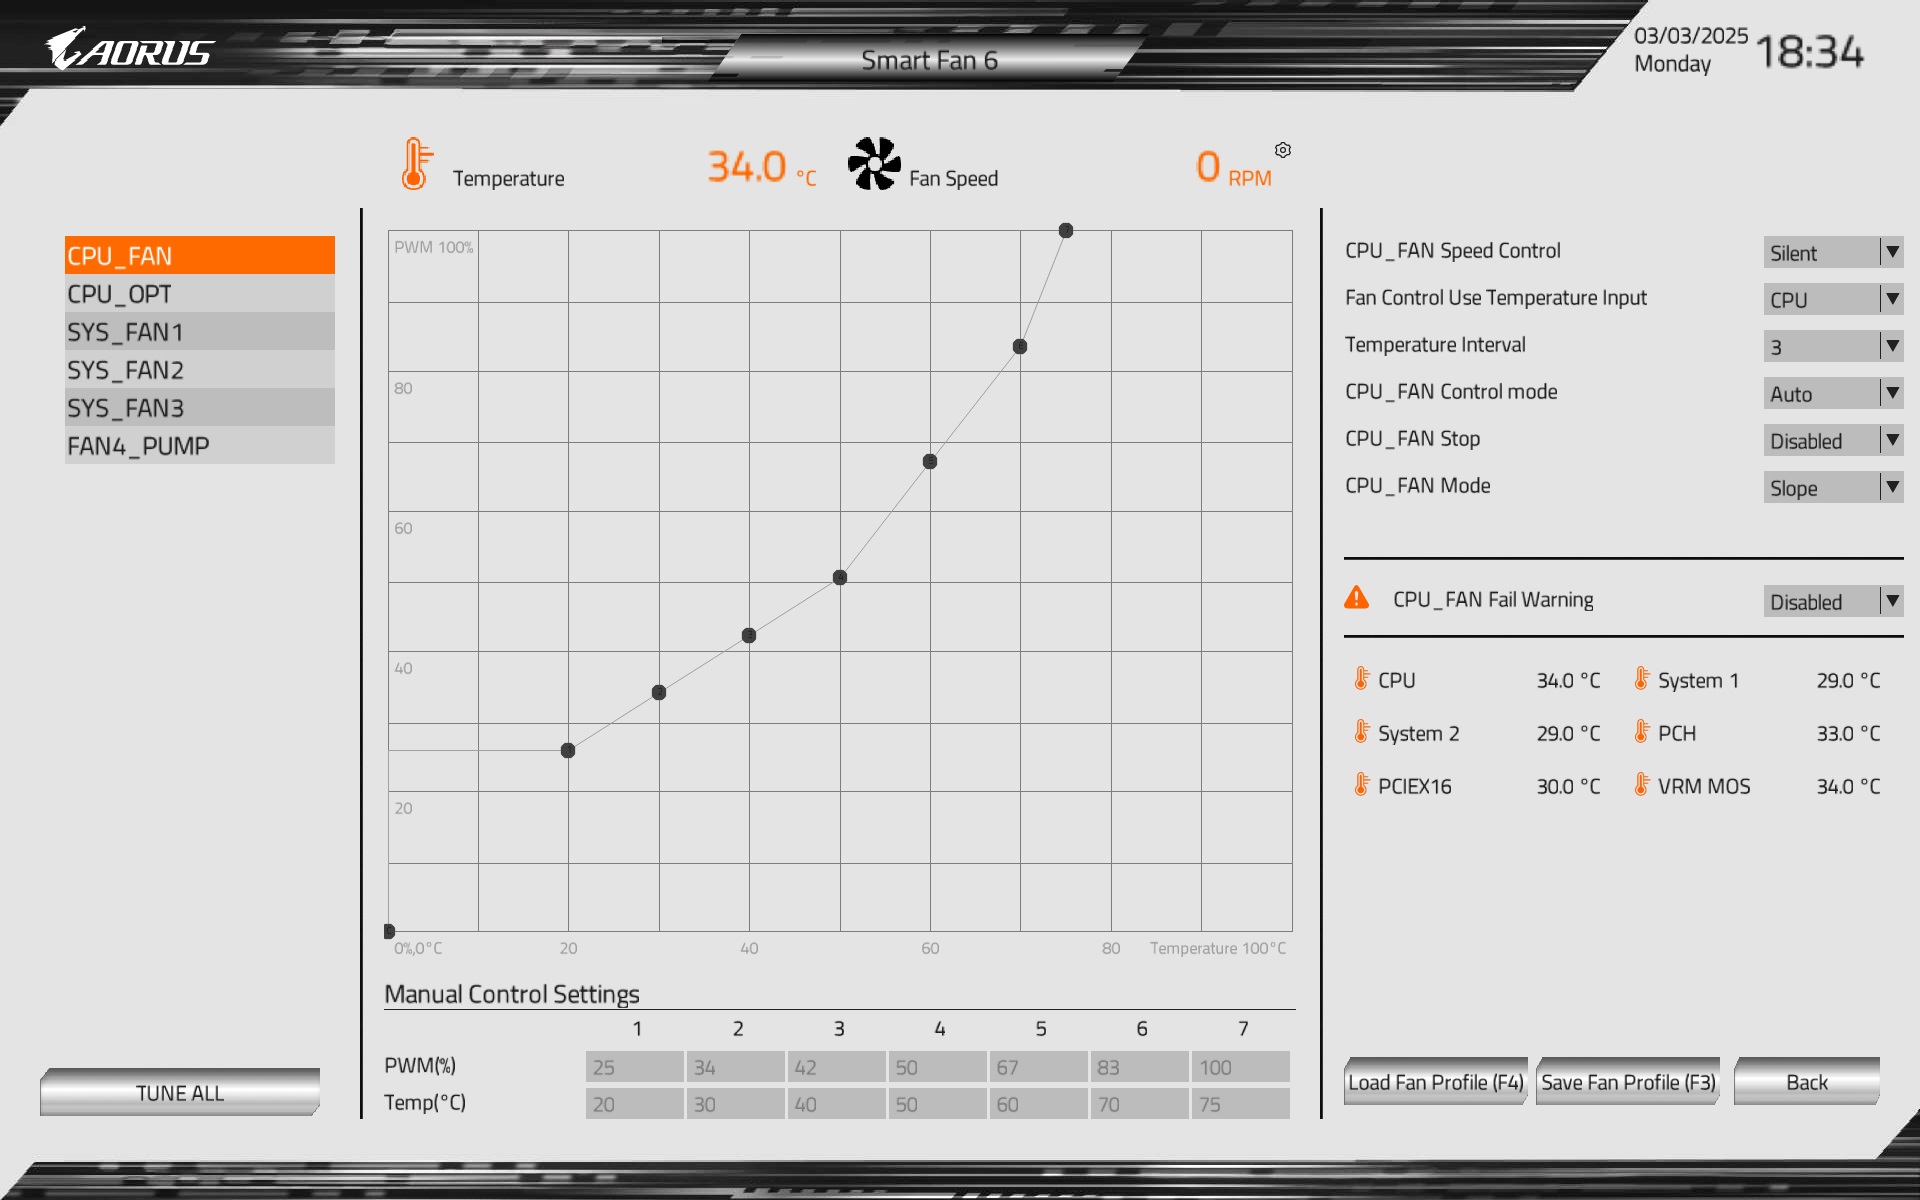
There are six headers available, and their control can be based on one of the predefined profiles or set manually. This can be done using a drag-and-drop technique or by entering numerical values in a 2D table for control intensity (in % for PWM or in volts for DC regulation).

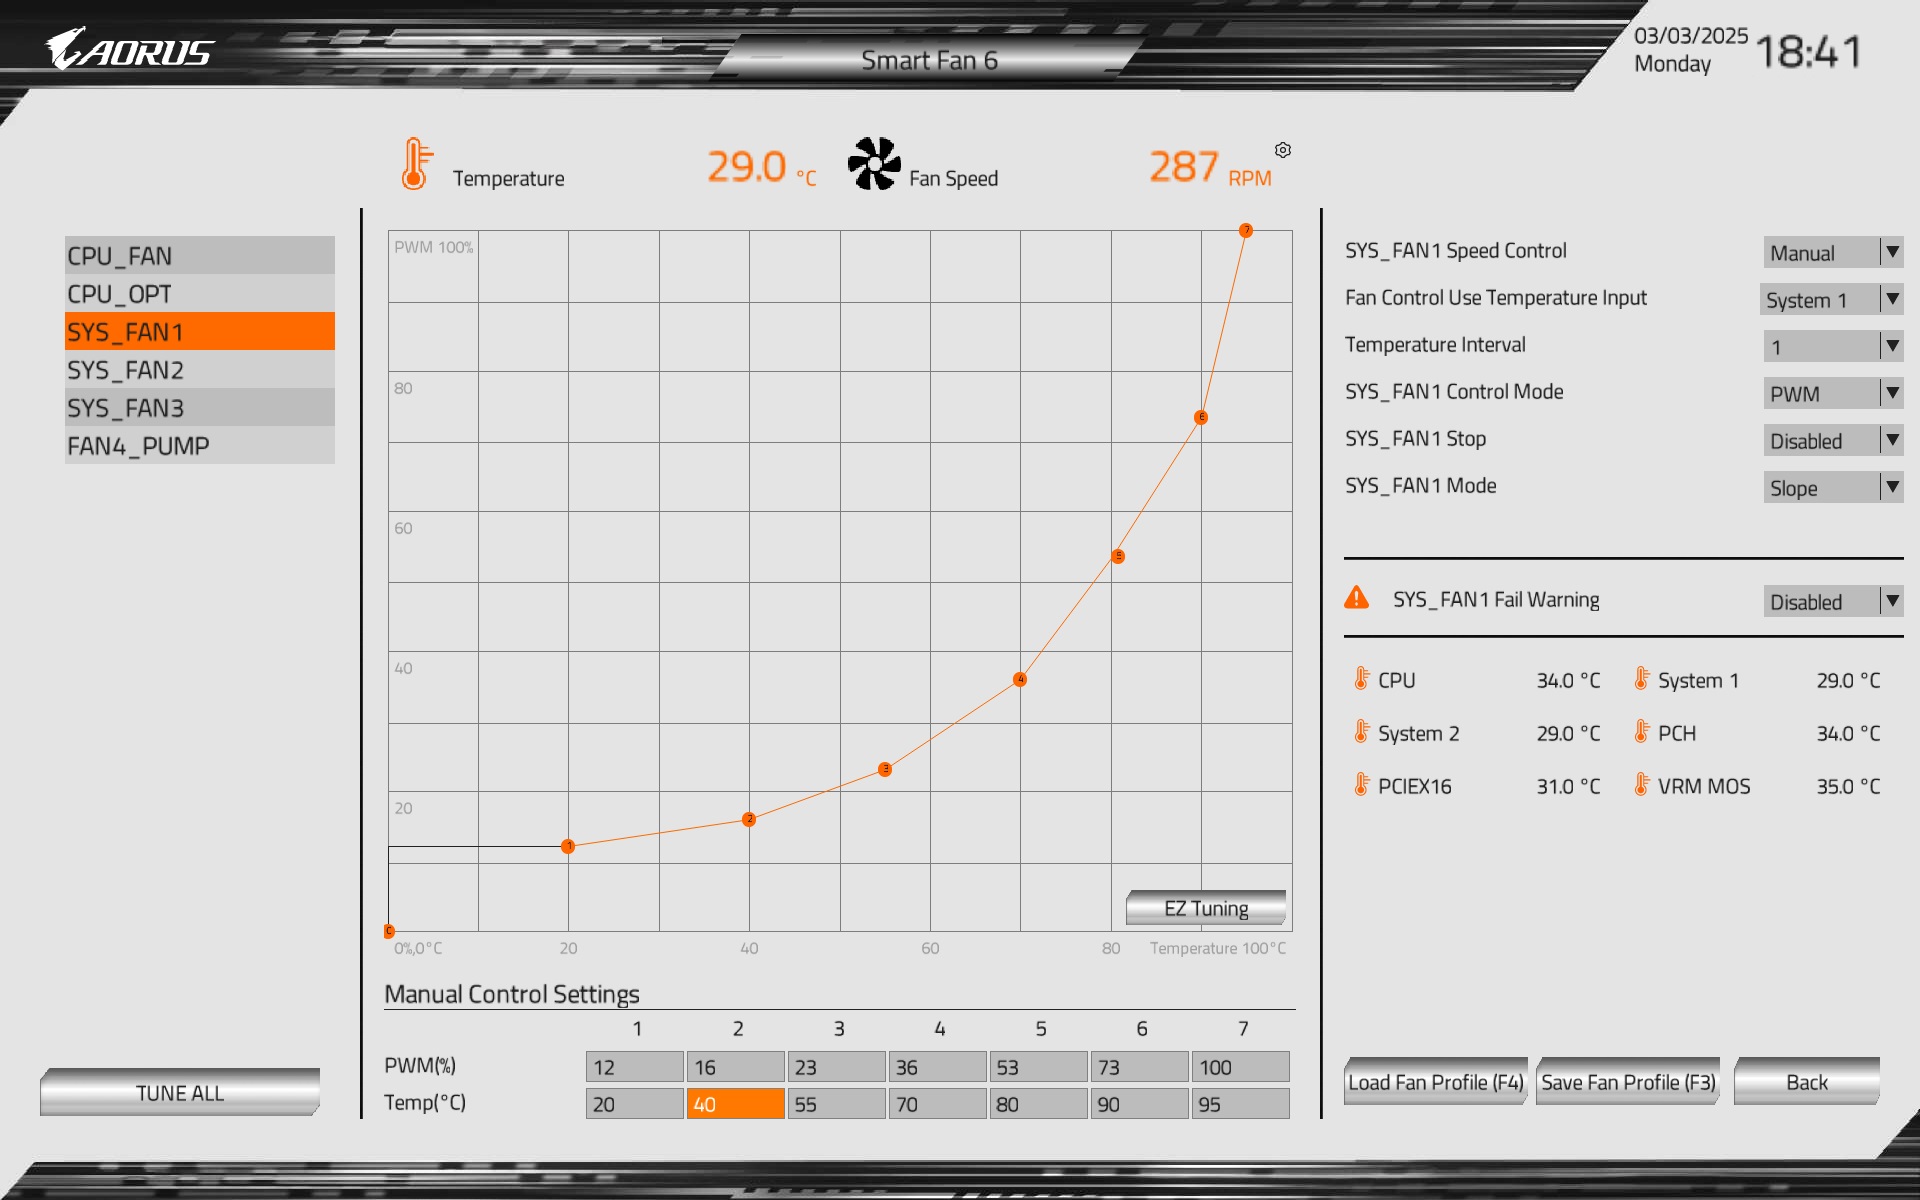
The temperature to which the curve responds is adjustable based on five different sensors.