Frame rate has been the only metric for comparing performance in games. Even at smooth frame rates, however, gaming can be uncomfortable if there is a significant amount of input lag – the game responds to controls with noticeable lag. There are countless tools for measuring frame rates, but unfortunately not for testing responsiveness. Here we introduce the specialized Frame Latency Meter recently made available by AMD.
The measurement approach is similar to that of latency testing equipment. These typically support multiple measurement modes. One is measuring the response via mouse button press, another is measuring the response to mouse movement. The button press measurement usually records the difference in time between the mouse button press and the muzzle flash of a gun.
When measuring the response to mouse movement, you need to find a scene that has a sufficiently contrasty transition to move the mouse over. This means standing in front of a solid dark area in front of a light background or vice versa to get contrast vertical transition. The software then simulates side-to-side mouse movement and moves back and forth across the transition, measuring how long it takes the game to change the color in that area under the surface the sensor is scanning in response to mouse movement.
An example with the hardware OSLLT (Open Source Latency Tool) box is in the photo below. The software starts moving the mouse left and right when the measurement is started and the scene moves between the dark column and the brighter road under the sensor.
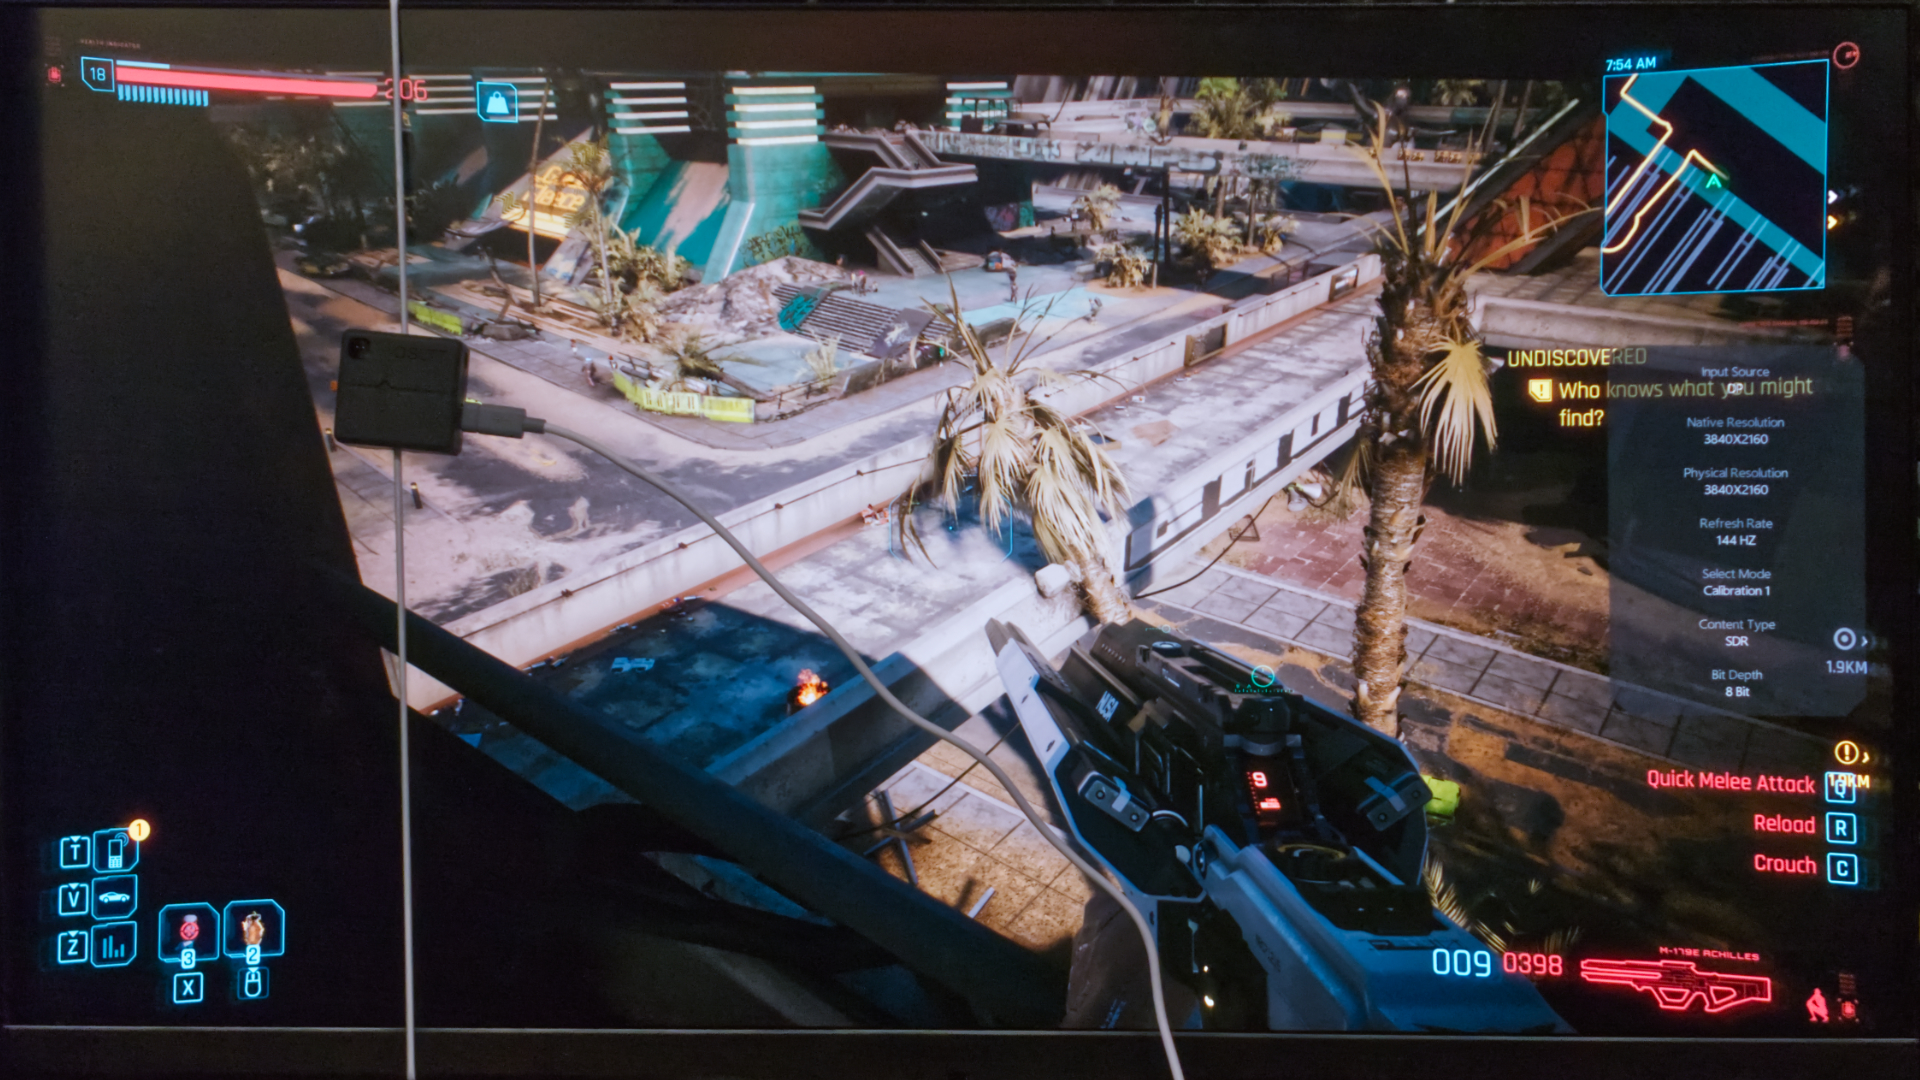
Frame Latency Meter works in a similar way, but instead of a box with a sensor, you set an area where the application will capture the images.
AMD recommends running the application from the command line with administrator privileges. In the command line, you start the application with the flm.exe command with the appropriate parameter. You should use the -AMF parameter on Radeons, -DXGI on other cards, and add the -FG parameter for tests with frame generation active.
Once started, right-click in the command line console and a window will open to set additional parameters. In it, the key setting is the region to capture.

Then just launch the game, load the scene for testing, set the color vertical transition near the region and start testing with the keyboard shortcut (Alt+t by default). And after some time, stop the measurement. You can find the results in the file c:\flm\FLMlatency.csv.


Copy it right away, because the utility overwrites it with each new measurement.
The data are in a classic CSV, which you can open in any spreadsheet editor, for the localized ones you have to make sure that the separators are set correctly.
I was planning to do a some tests on Radeon RX 7700 XT using AMD Frame Latency Meter and compare it with the values measured using OSLTT. But when I started comparing the results from OSLTT and from AMD FLM, for some reason the FLM measurements didn’t seem to reflect the Antilag+ state in the drivers, while the OSLTT measurements did. So I’ll have to spend more time on this, and if I get results corresponding to OSLTT values, we’ll come back to Frame Latency Meter with some comparative measurements and experiences with tool.
And for GeForce owners, I like to remind that they have a solution that is not as universal, but works easier and better in games with the Reflex API integrated. In these, you can measure latency with Nvidia’s FrameView. Maybe we can take a deeper look at it another time.
English translation and edit by Jozef Dudáš