
Tuning and test procedures
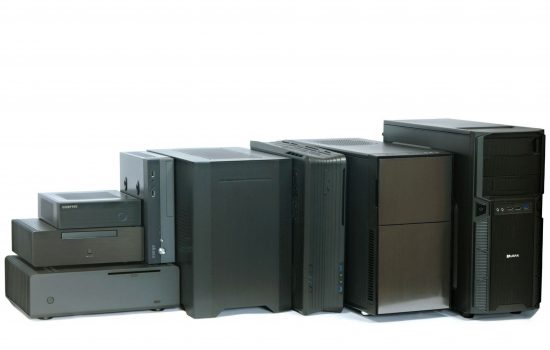
It’s strange, but desktop computers have been stagnant for over twenty years. In most cases, they are still built on the ATX standard in “oversized“ towers. From a rational point of view, however, such a concept should be marginal and replaced by SFF. A traditional PC can be tiny, powerful, and silent at the same time. And its equipment does not have to limit you.
Tuning and test procedures
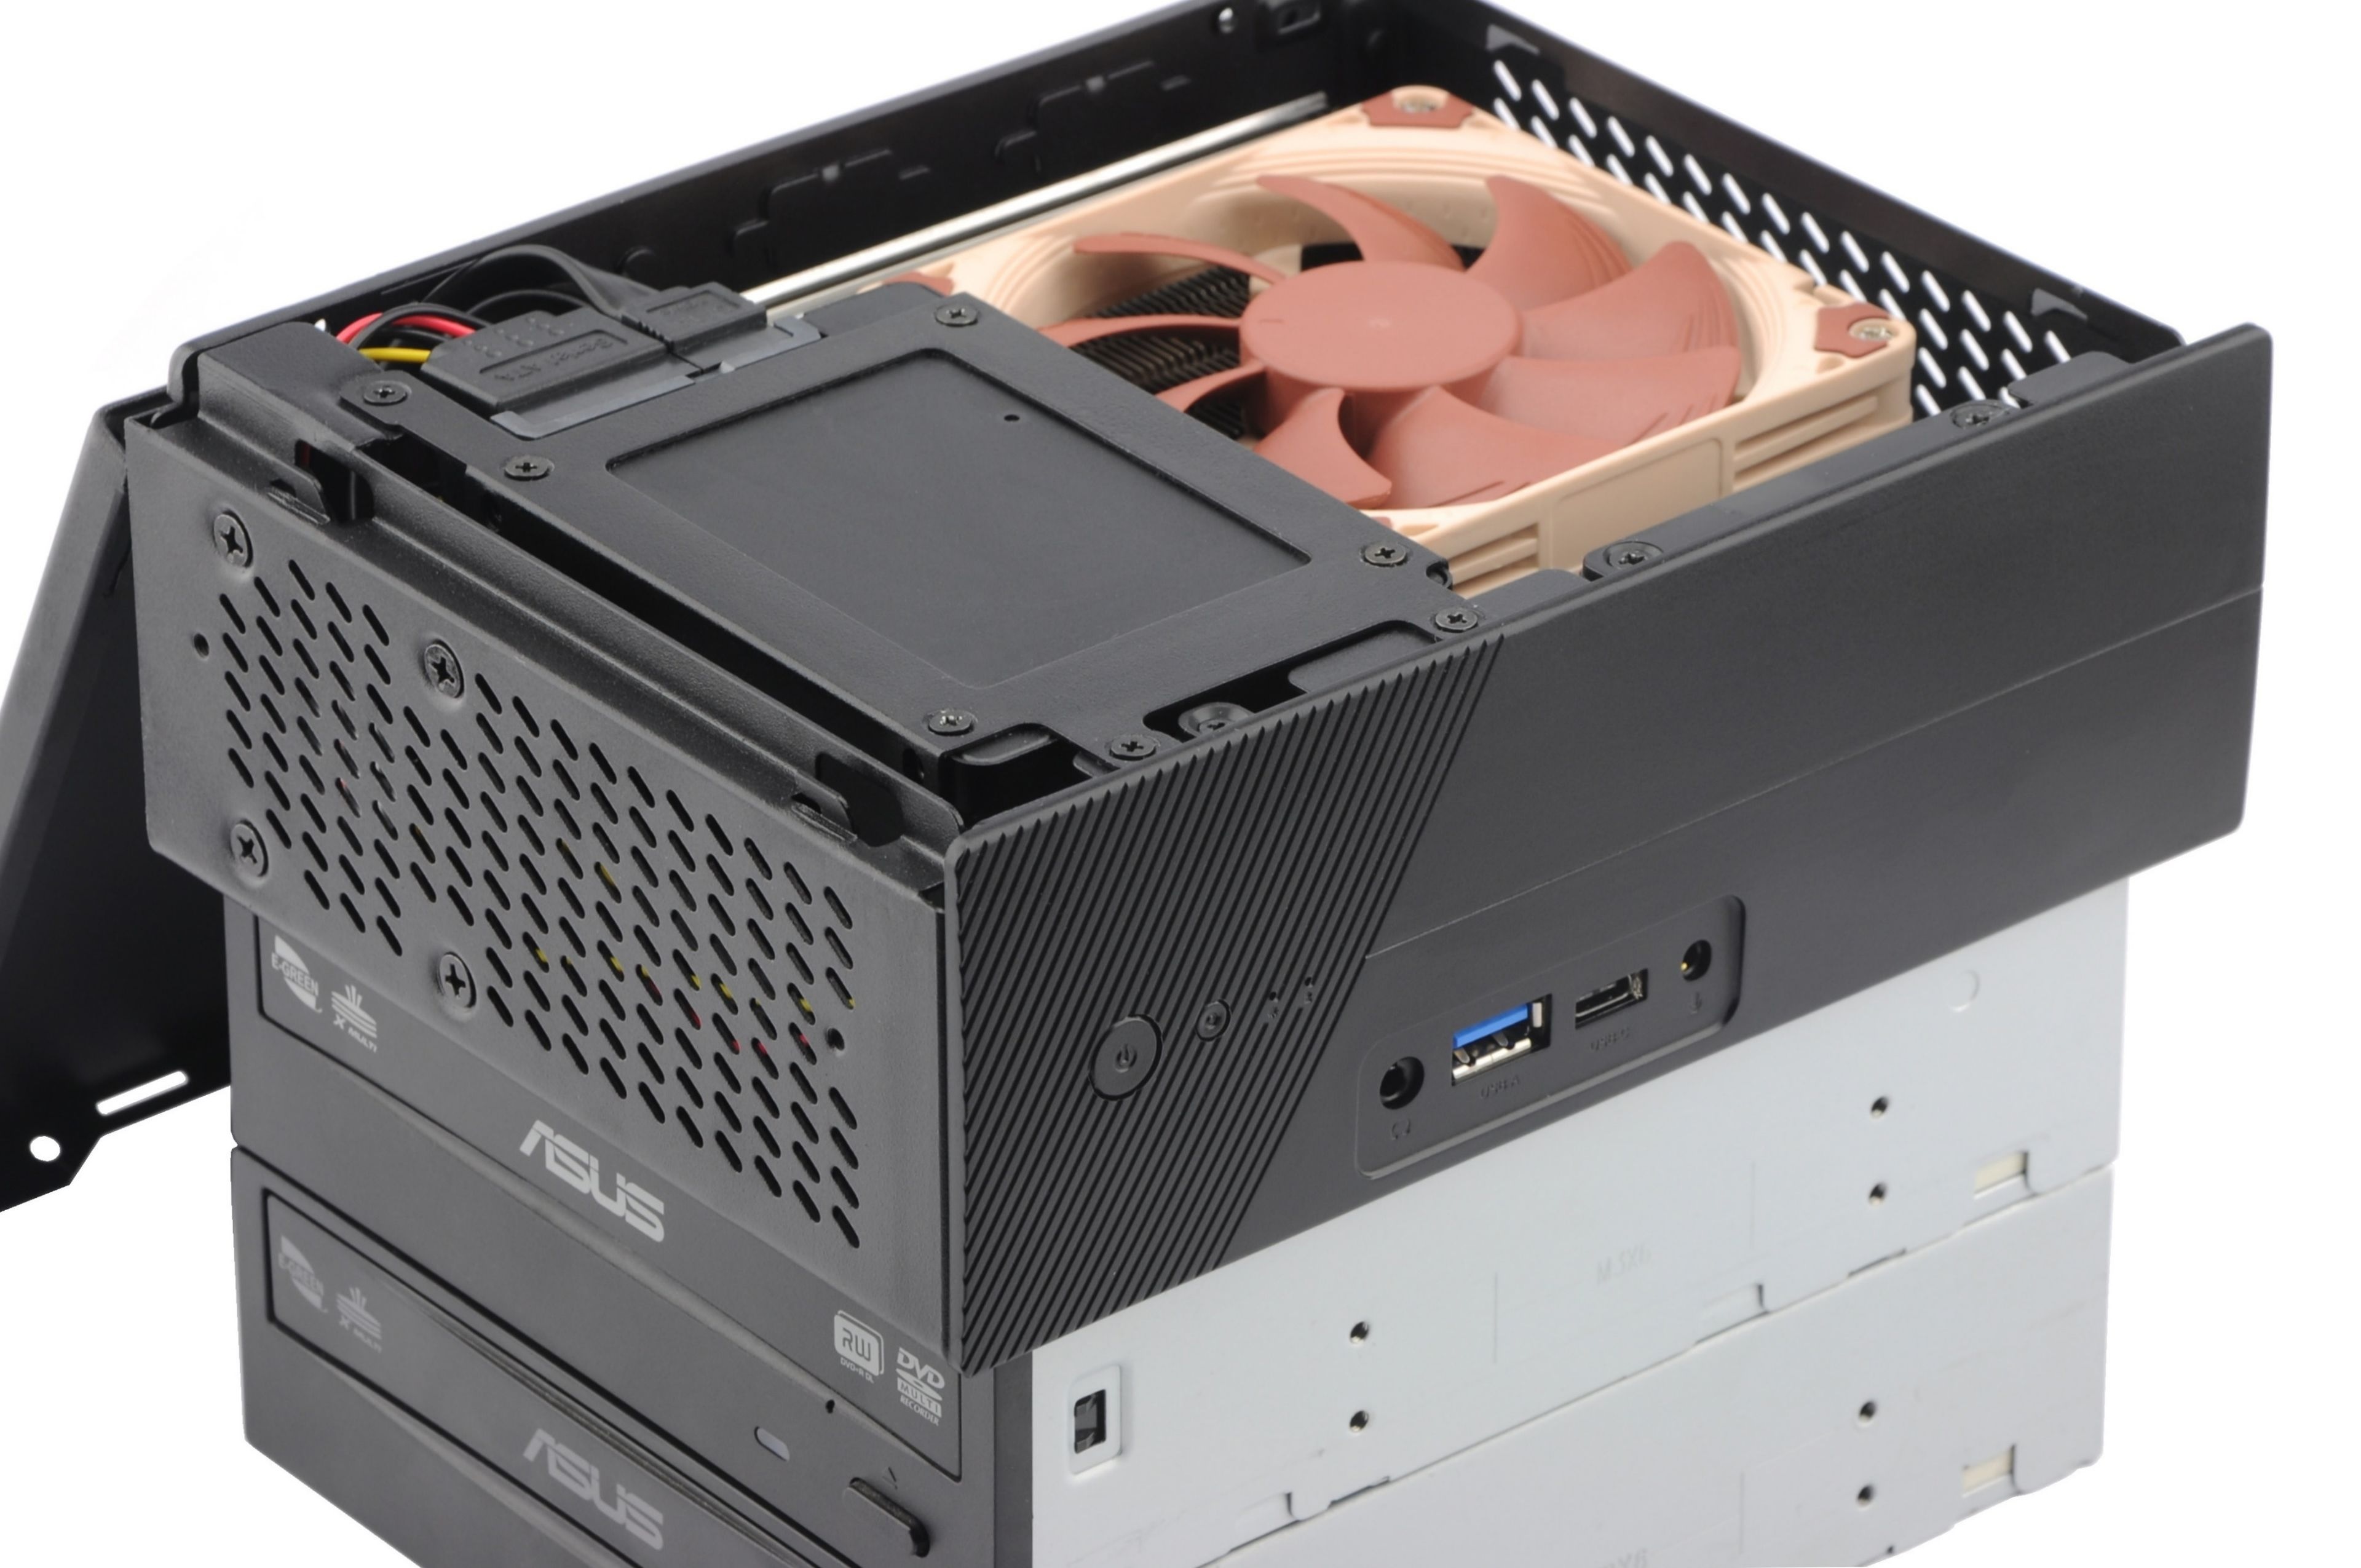
A bit more challenging was to optimize the cooling system to make it as efficient as possible (means decent performance at a tolerable noise level). Especially if you want your computer to work at maximum power.
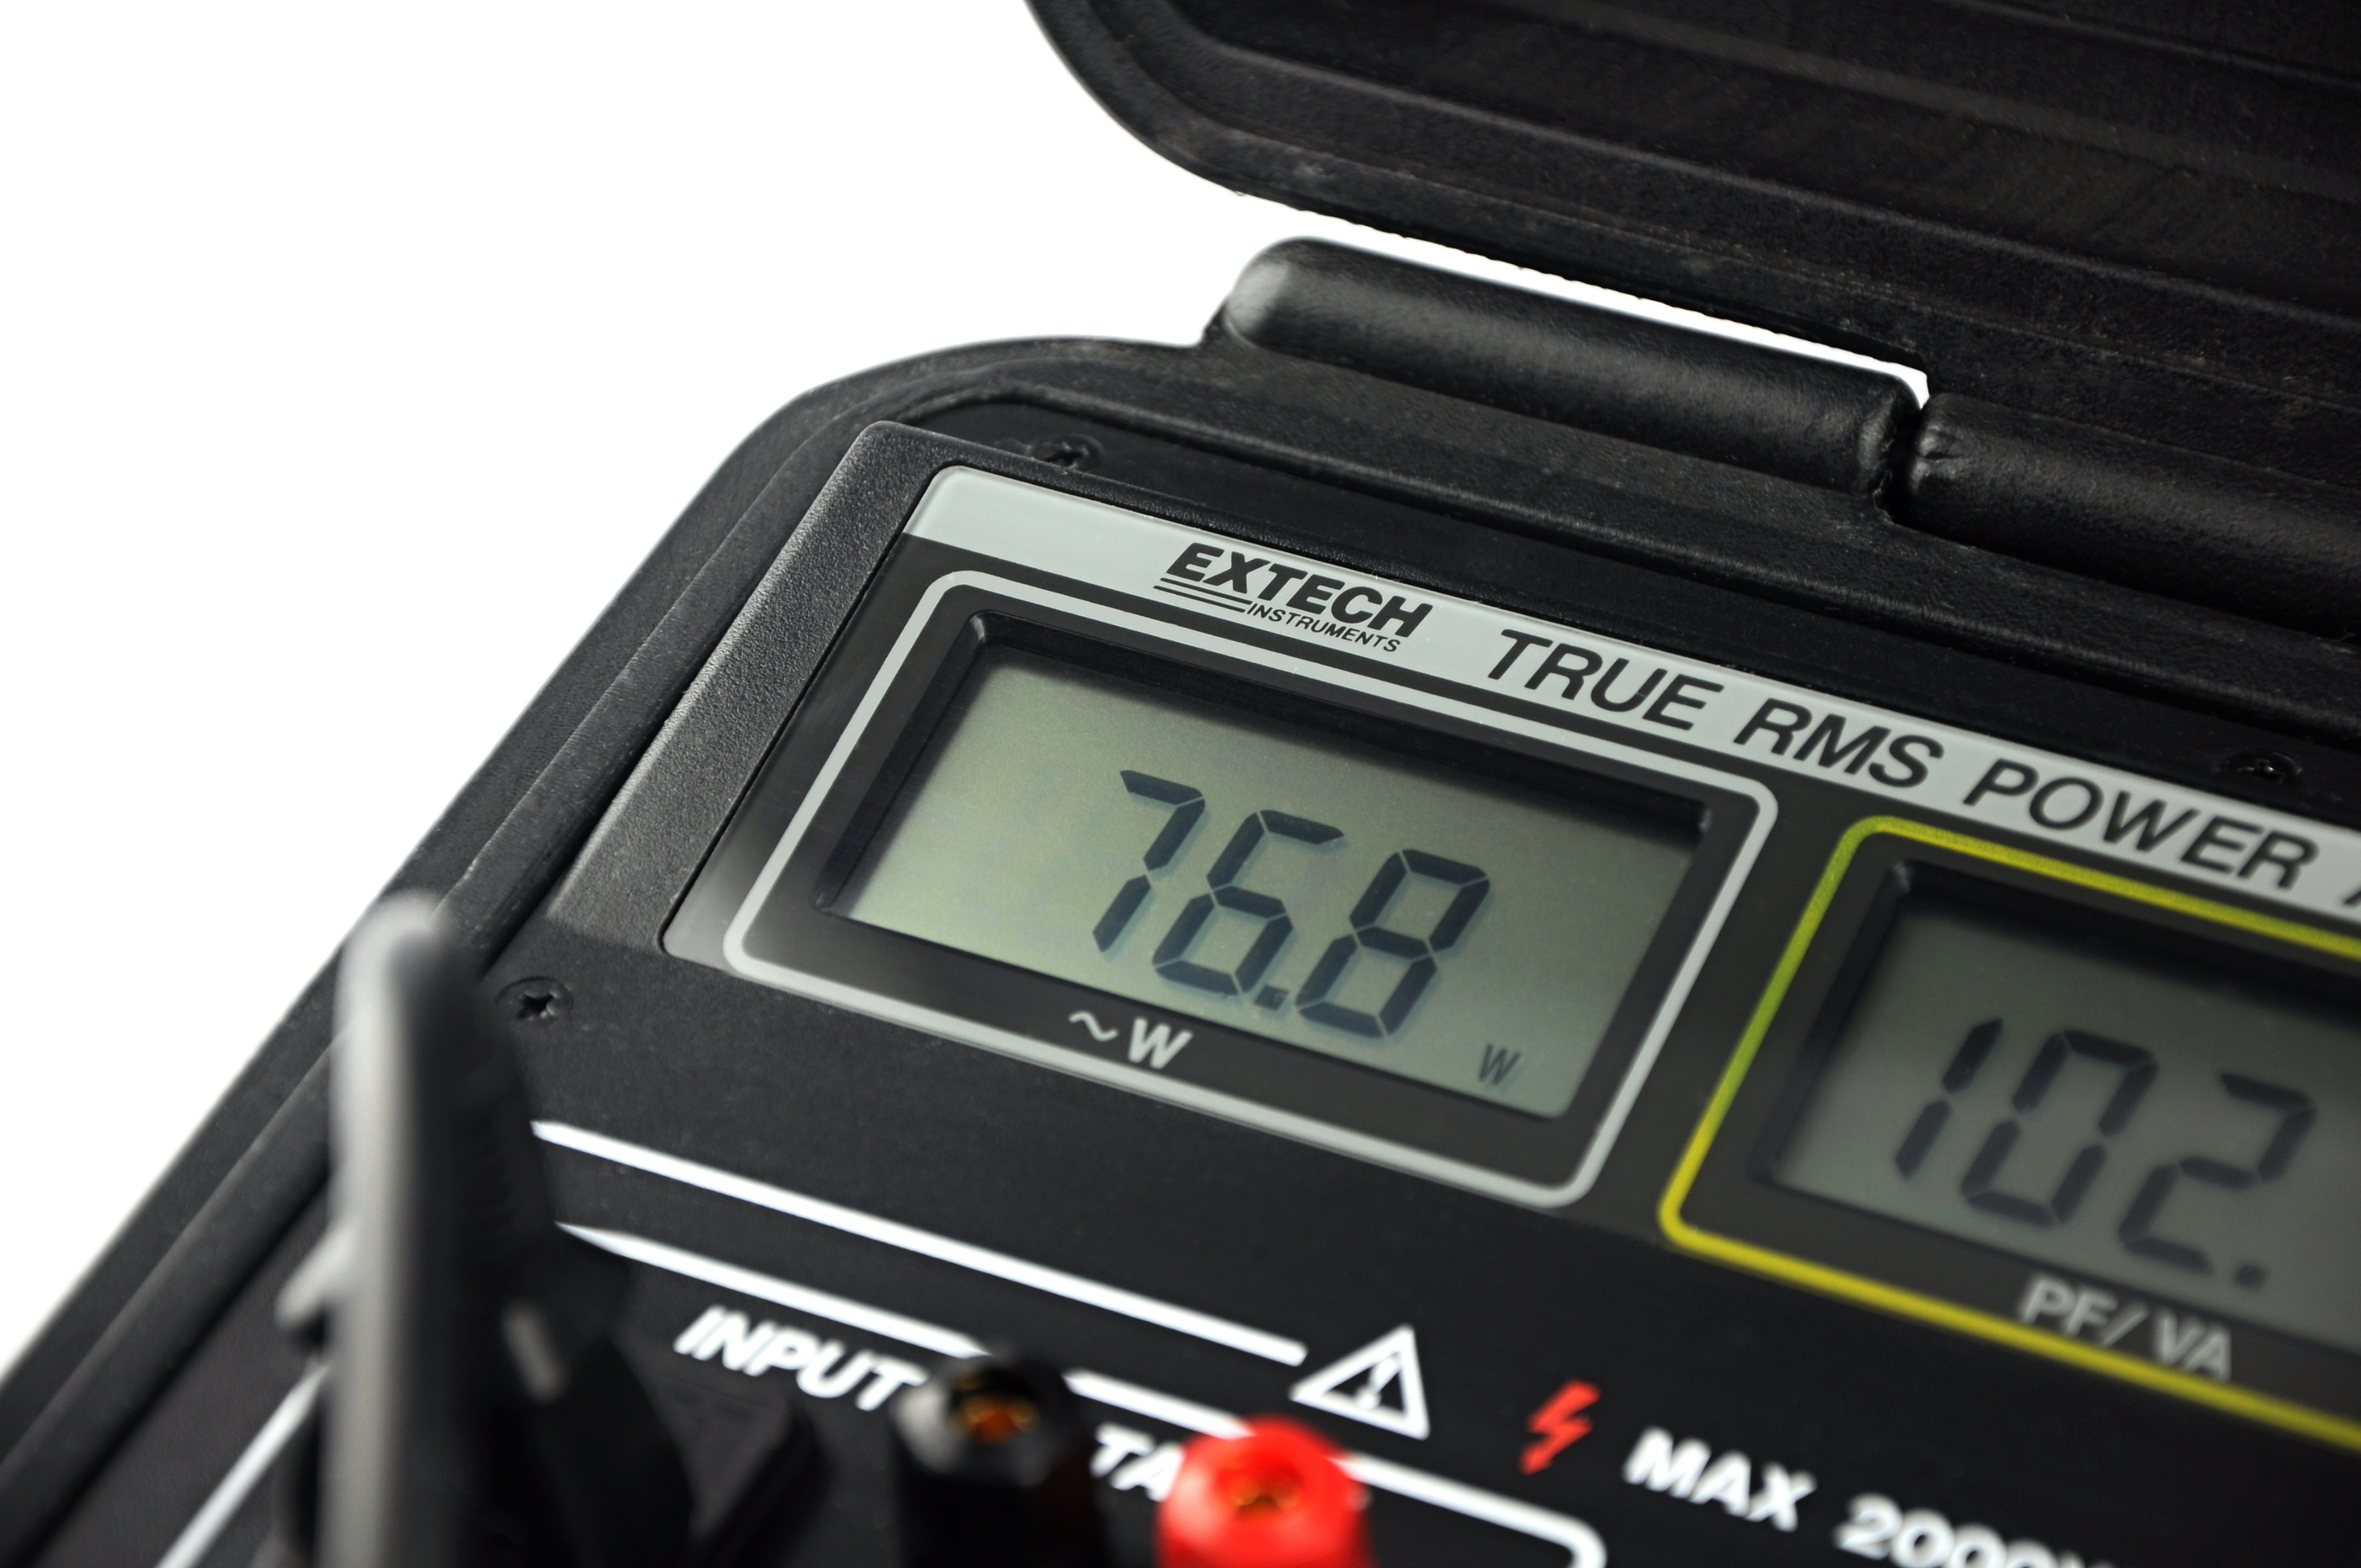
With the exception of XMP memory settings, we started to test with factory settings, and the power meter subtracted around 81 W. However, this was too much for the power supply circuit. While the CPU (no delid) was fine, VRM reached its limits. Upon reaching 97 °C, the system drastically decreased the multiplier to 8 (ie from 3300 MHz to 800 MHz) and even a maximum flow did not help. Some VRM heatsink would come in handy, but as far as we know only Asrock H110M-STX has it (the only STX with VRM heatsink?). In our case, the most reasonable solution was undervolting of the core. The lowest fully-stable voltage was 0.9 V – 20 watts less and lower VRM temperatures. Now, let’s take a look at how orientation of the case affects cooling efficiency. The fan of the CPU cooler was set to 7 V (~ 1663 rpm) as well as system cooling (~ 2330 rpm). At such speed, the system fan raised the overall noise level by only 0.2 dBA. Of course, we analysed how much it influenced the cooling performance and if it is necessary in the first place. You can find the results (in every possible position) in the charts:
The results show that it is most effective to choose the horizontal position and that the system fan is “useless“. It would certainly be more useful with higher flow, but it would also be the loudest part of the configuration and we do not want that. All other tests were therefore carried out with the case horizontally and without the system fan.
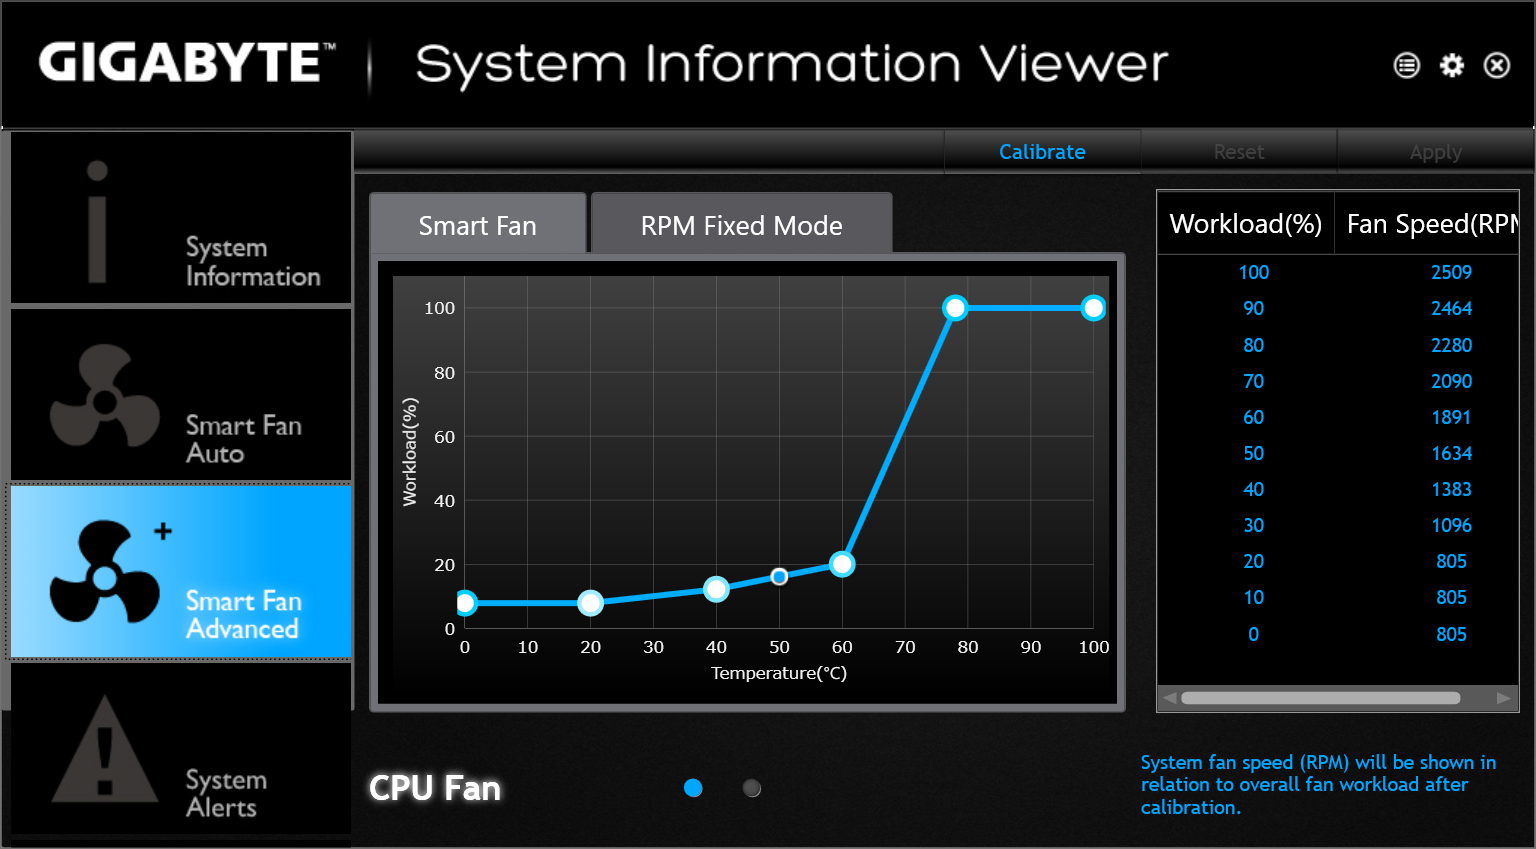
The PWM control curve was a compromise between the lowest noise possible and such MOSFETs heating that would allow stable performance of the computer even in environment with a higher ambient temperature, up to 28 °C (we tested with 21 – 21.3 °C).
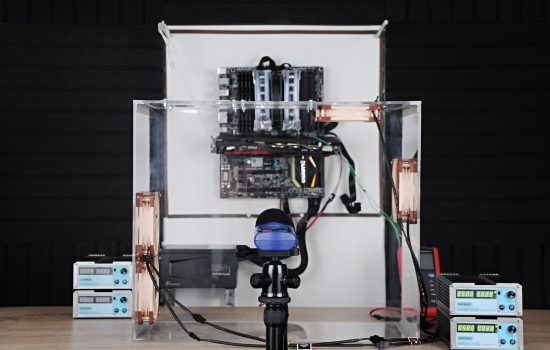
We measured the noise level from a distance of approximately 25 cm. The noise level meter Reed R8080 was pointed diagonally to the cooling grid. For more accuracy, we took 30 samples and put the average value to the charts.

The third to seventh chapters capture CPU, chipset and VRM temperatures, noise levels, and power consumption with different load levels. From the extreme load of LinPack with AVX in IntelBurnTest, through the compression of photos in Zoner Photo Studio 18, playing a video with DXVA in Media Player Home Cinema (v1.7.13), to idle stage on Windows 10 desktop. Each of the tests lasted for 900 seconds – the time needed to stabilize the temperatures. We subtracted the consumption values during the last 5 minutes, and the final number in the charts is the average value of 150 samples.
We used Shuttle NC03U5 in the tests to have something to compare our configuration to. It should be emphasized, however, that our build is two times larger. Performance tests were carried out also only for a better orientation because of different memory modules and different graphics drivers (in our configuration we used 23.20.16.4877 WHQL that was released on December 1). For detailed info about performance tests (8th – 9th chapter), check this stand-alone article.
- Contents
- Which components and why
- Assembly: tight but fast
- Tuning and test procedures
- In burn
- Image conversion from RAW to JPEG
- Video decoding, 120Mb HEVC
- Idle (W10 desktop)
- Practical performance tests: transcoding and Mafia II
- Synthetic performance tests: Cinebench and 3DMark
- Conclusion