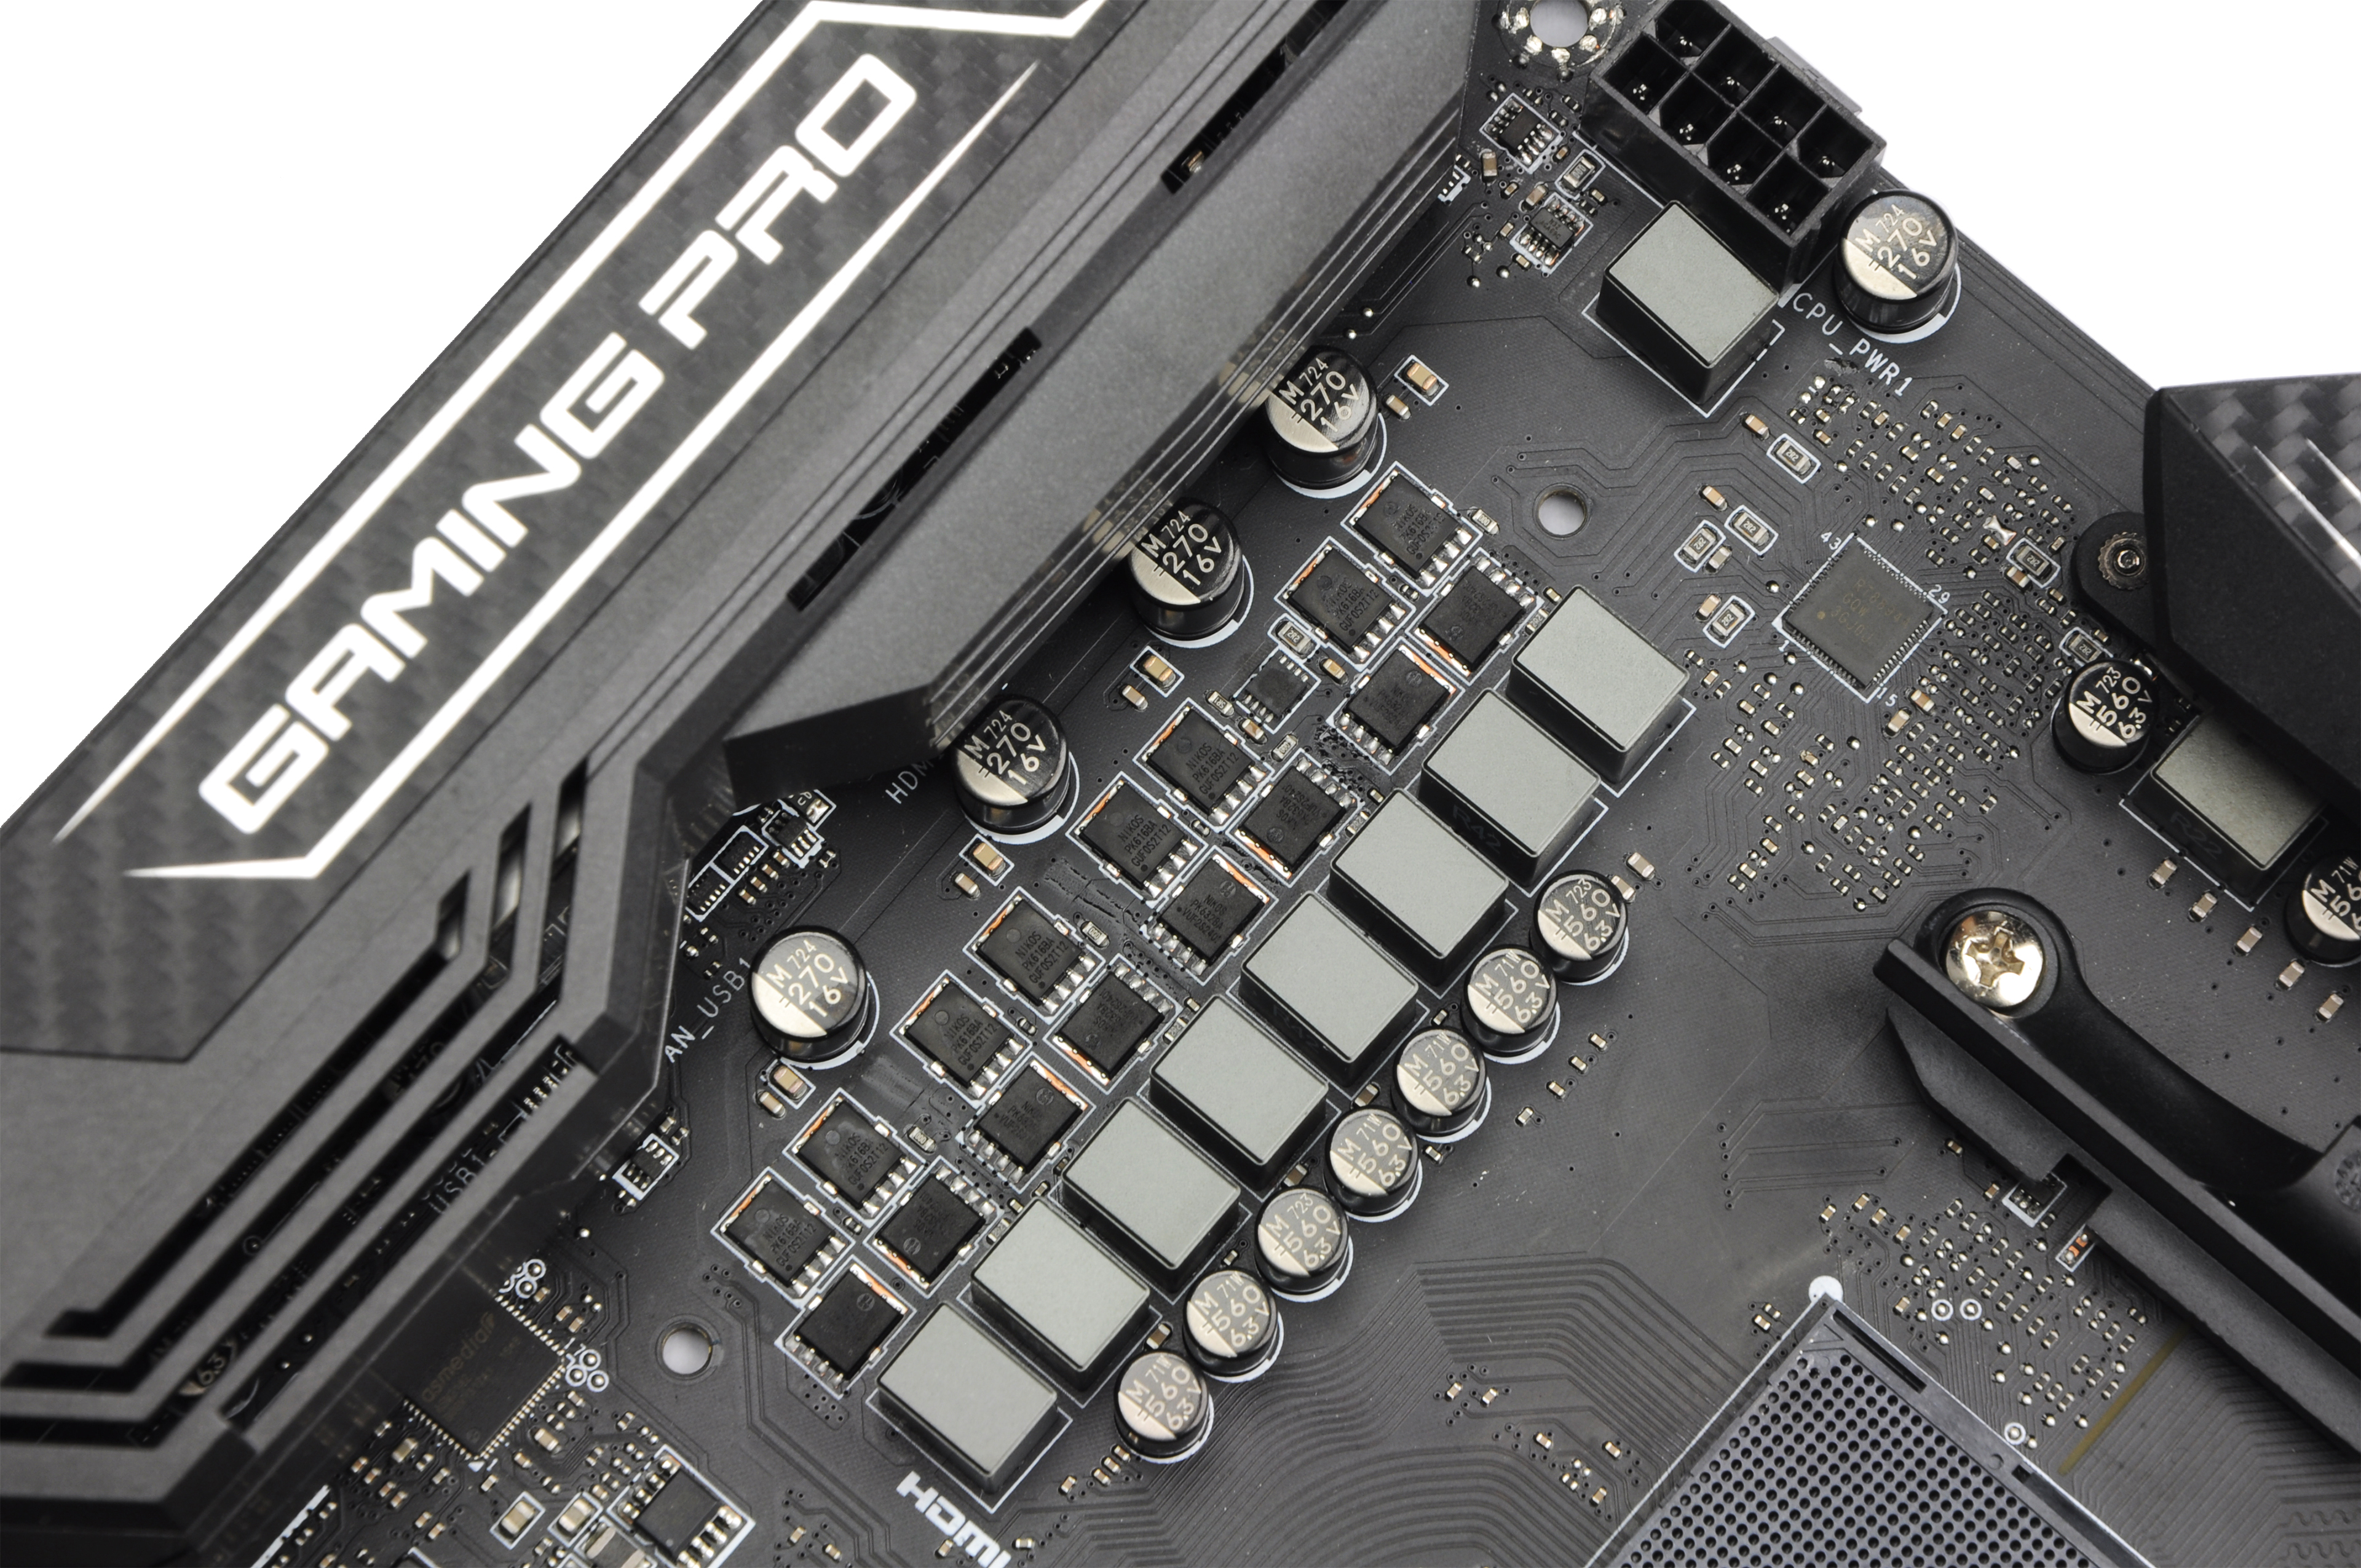
We have added the third major manufacturer to our tests of X370 boards – MSI. The X370 Pro Carbon is about thirty euros cheaper than its opponents from Gigabyte and Asus, so it will be interesting to watch how these savings are reflected in overall quality and design. We don’t want to give away too much, but we can say that it is definitely worth checking.
Test procedures
We analyzed heat and consumption in idle, with processor (AMD Ryzen 7 1800X) in burn with factory settings, and after overclocking.
Used G.Skill Flare X memory had XMP enabled all the time, which is the only change in UEFI for the first two modes compared to the original settings. In overclocking mode, constant 3.95 GHz was set for all cores, including the active SMT (with C’n’Q off). Although this frequency does not hit the limits of the processor, it will be possible to operate with it on cheaper boards too, which makes it easier to compare models from all categories. The Vcore CPU was tuned to the lowest possible value, which makes the process stable even at high load. Vcore SOC was manually regulated to fixed 1.1 V, other settings (including LLC) were left in “auto” mode.
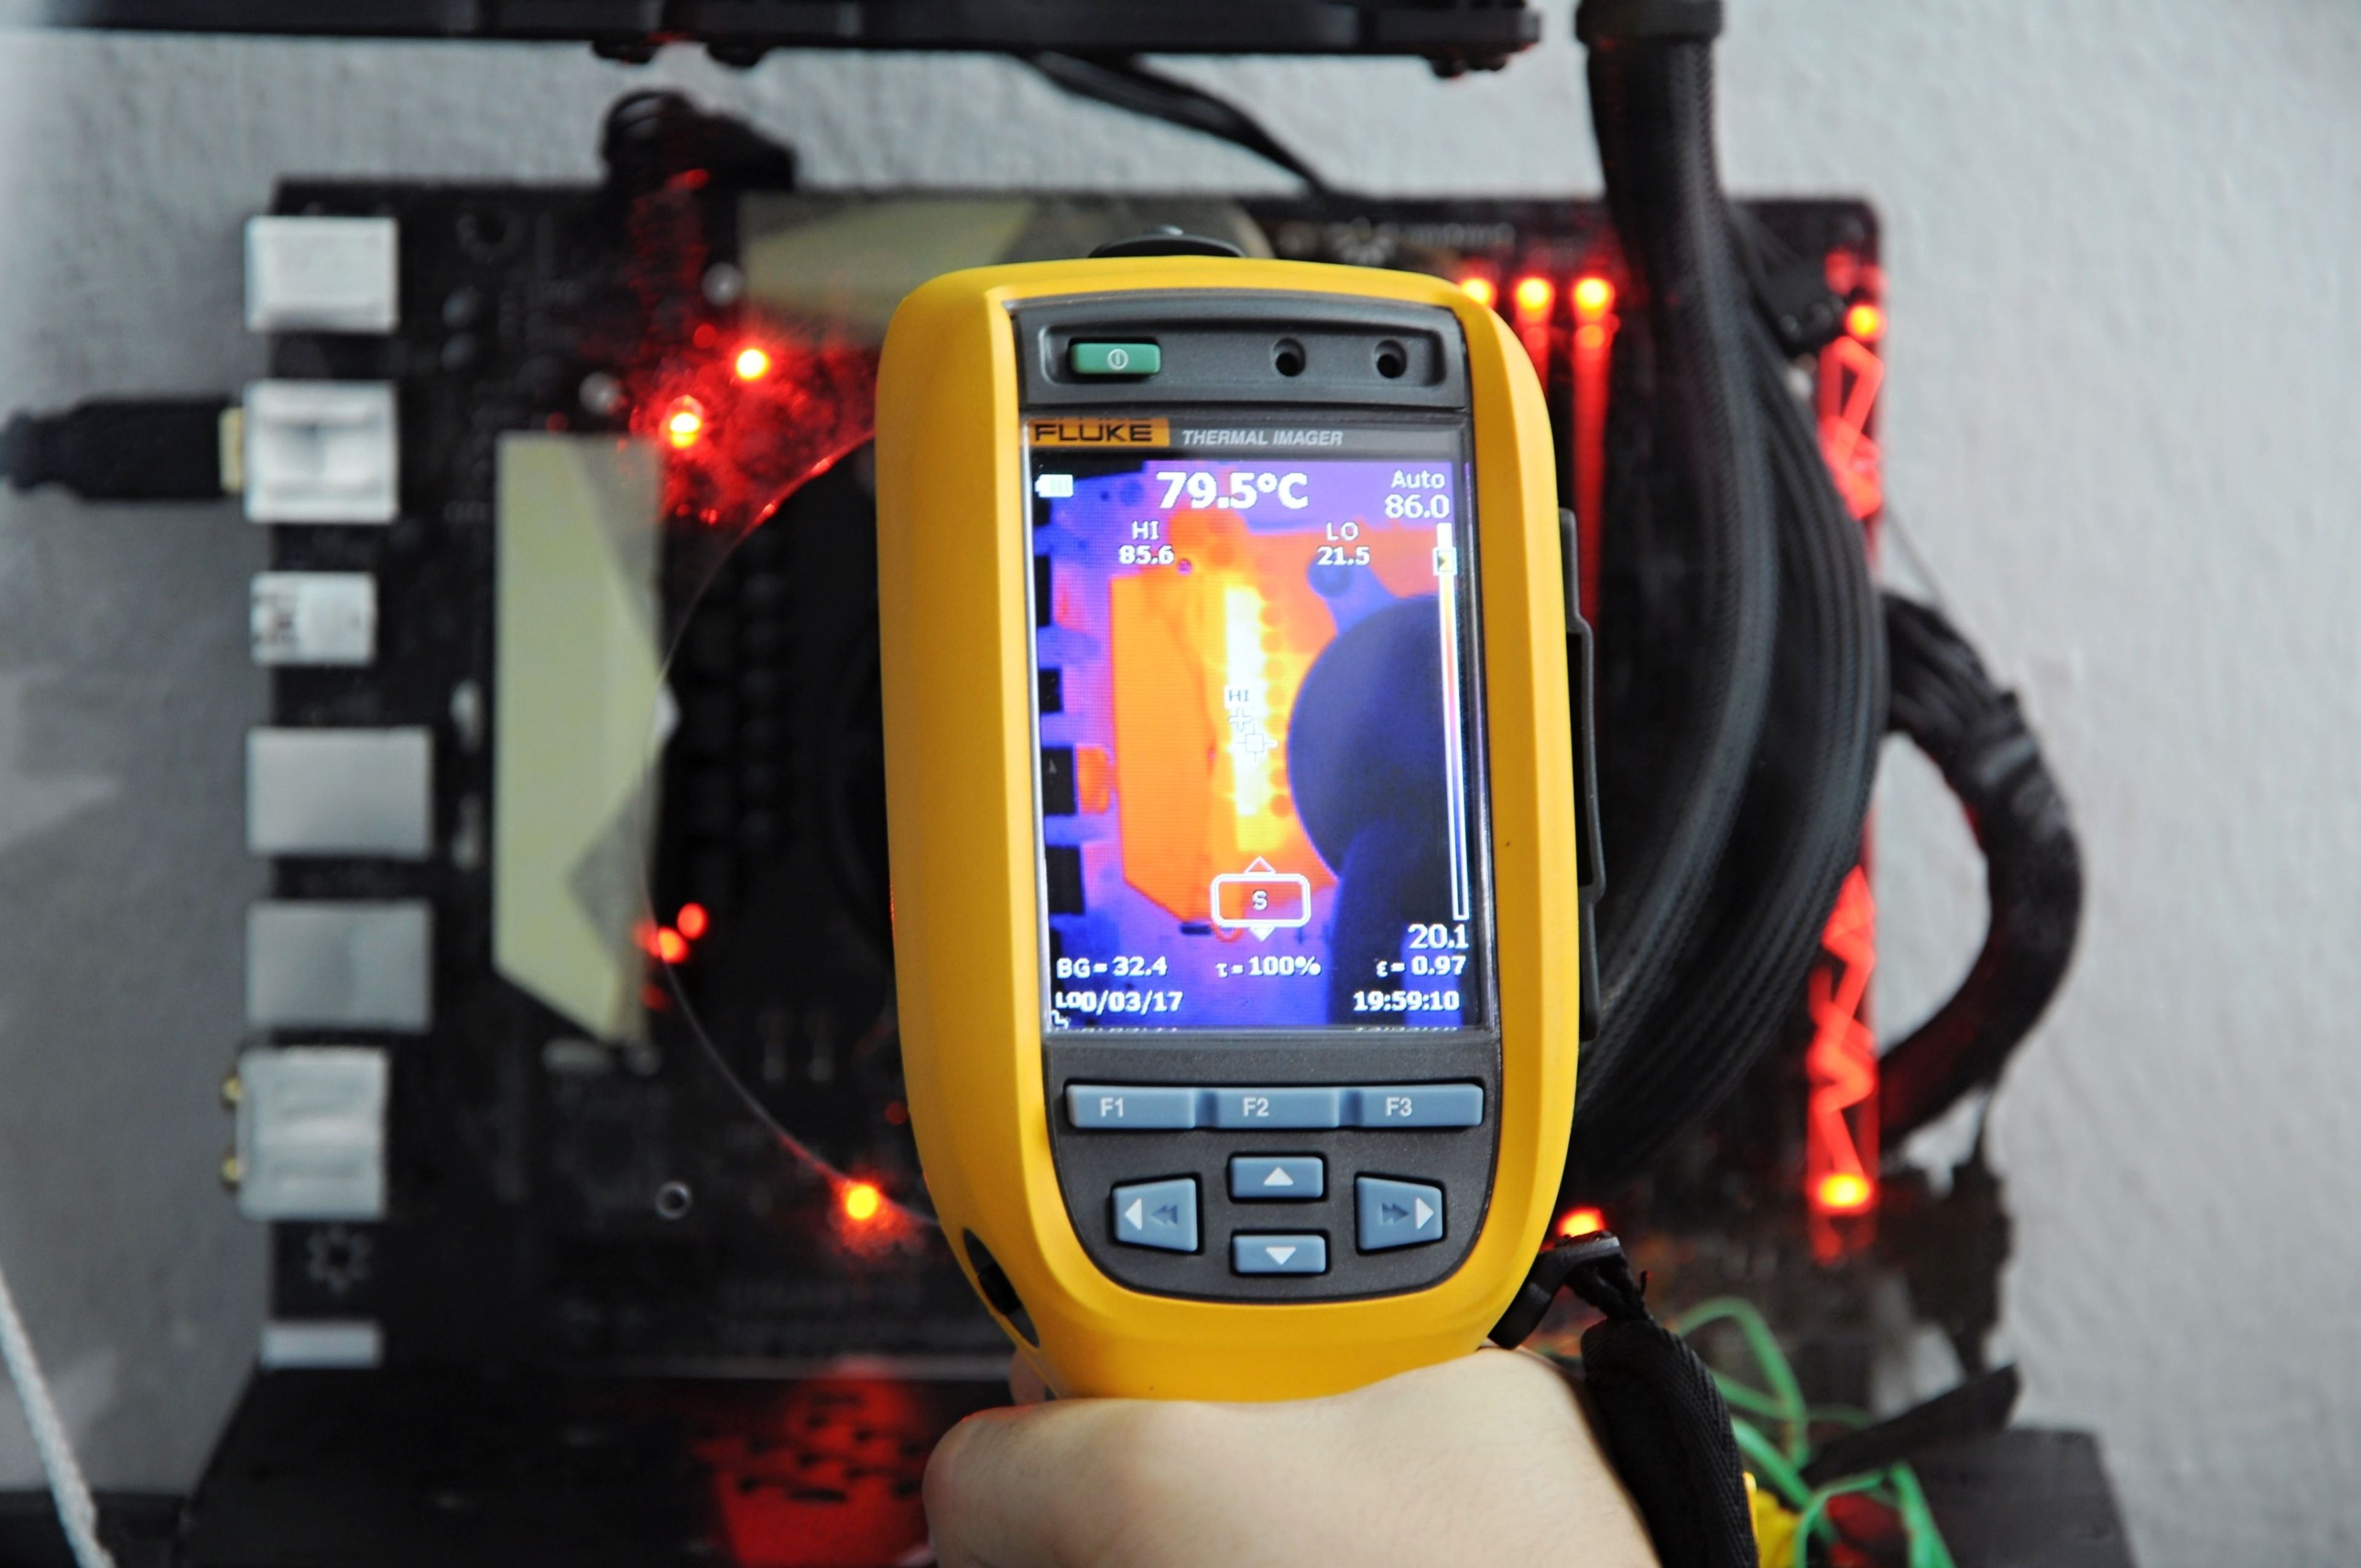
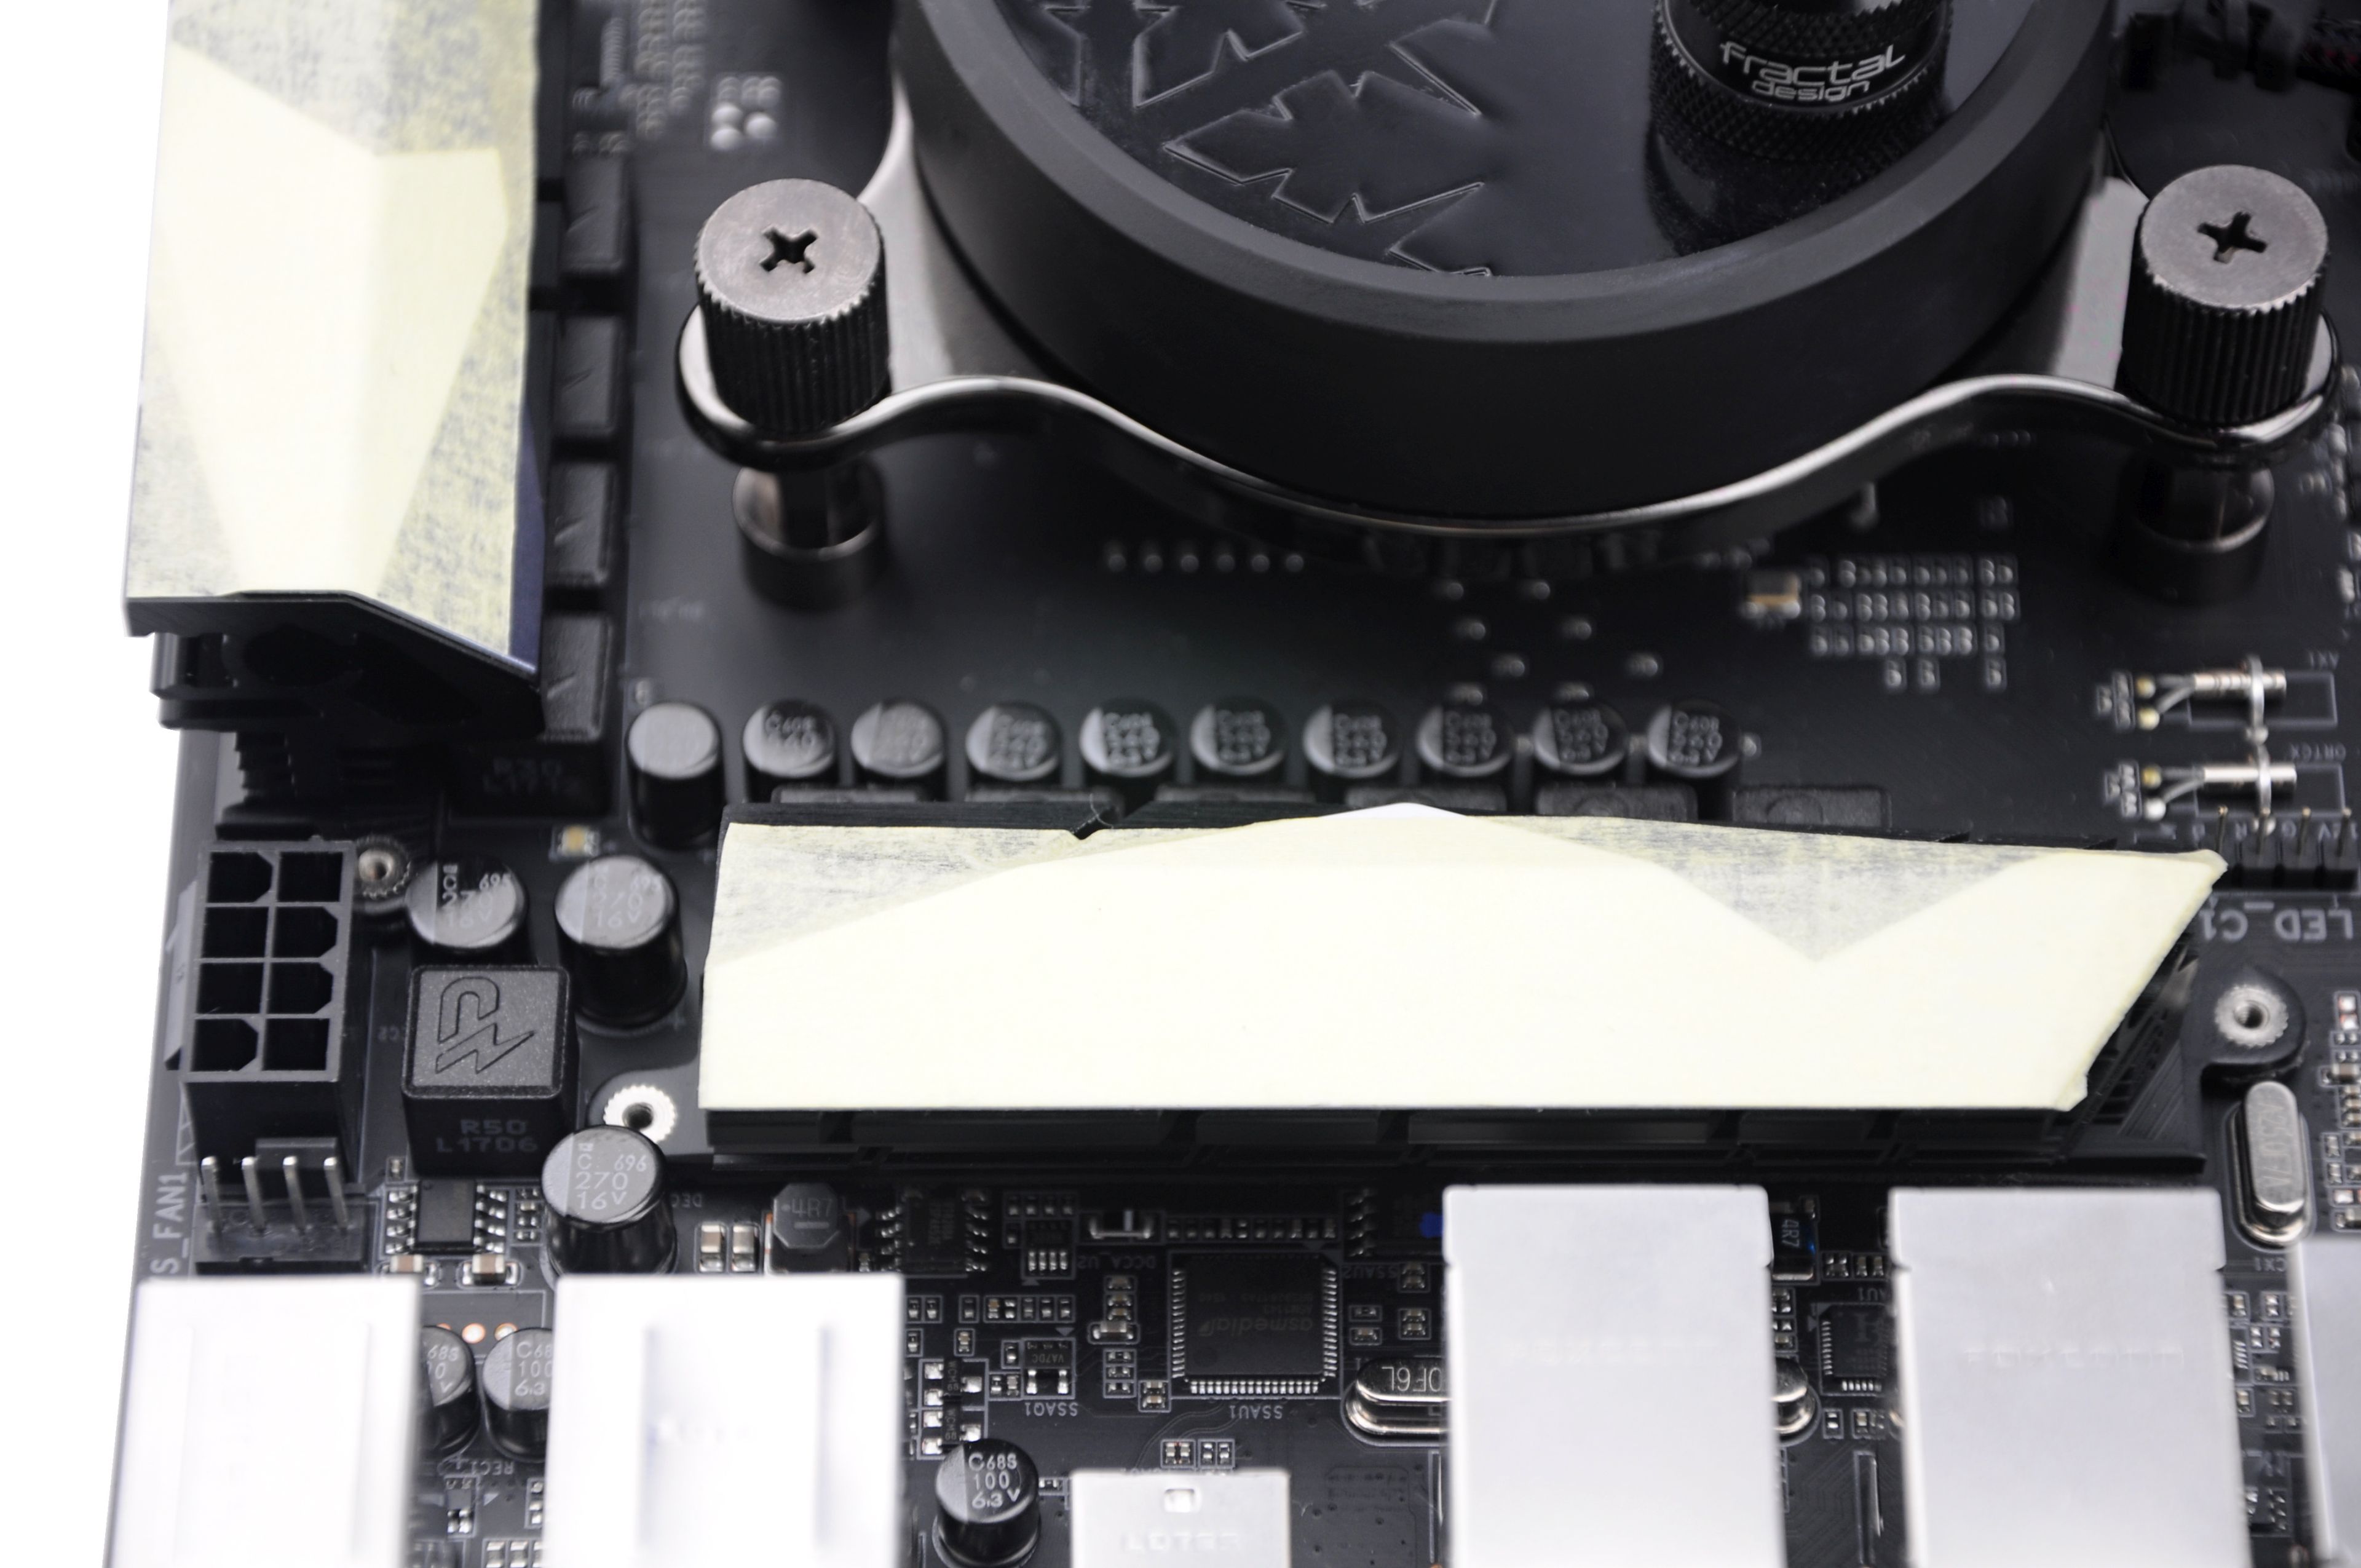
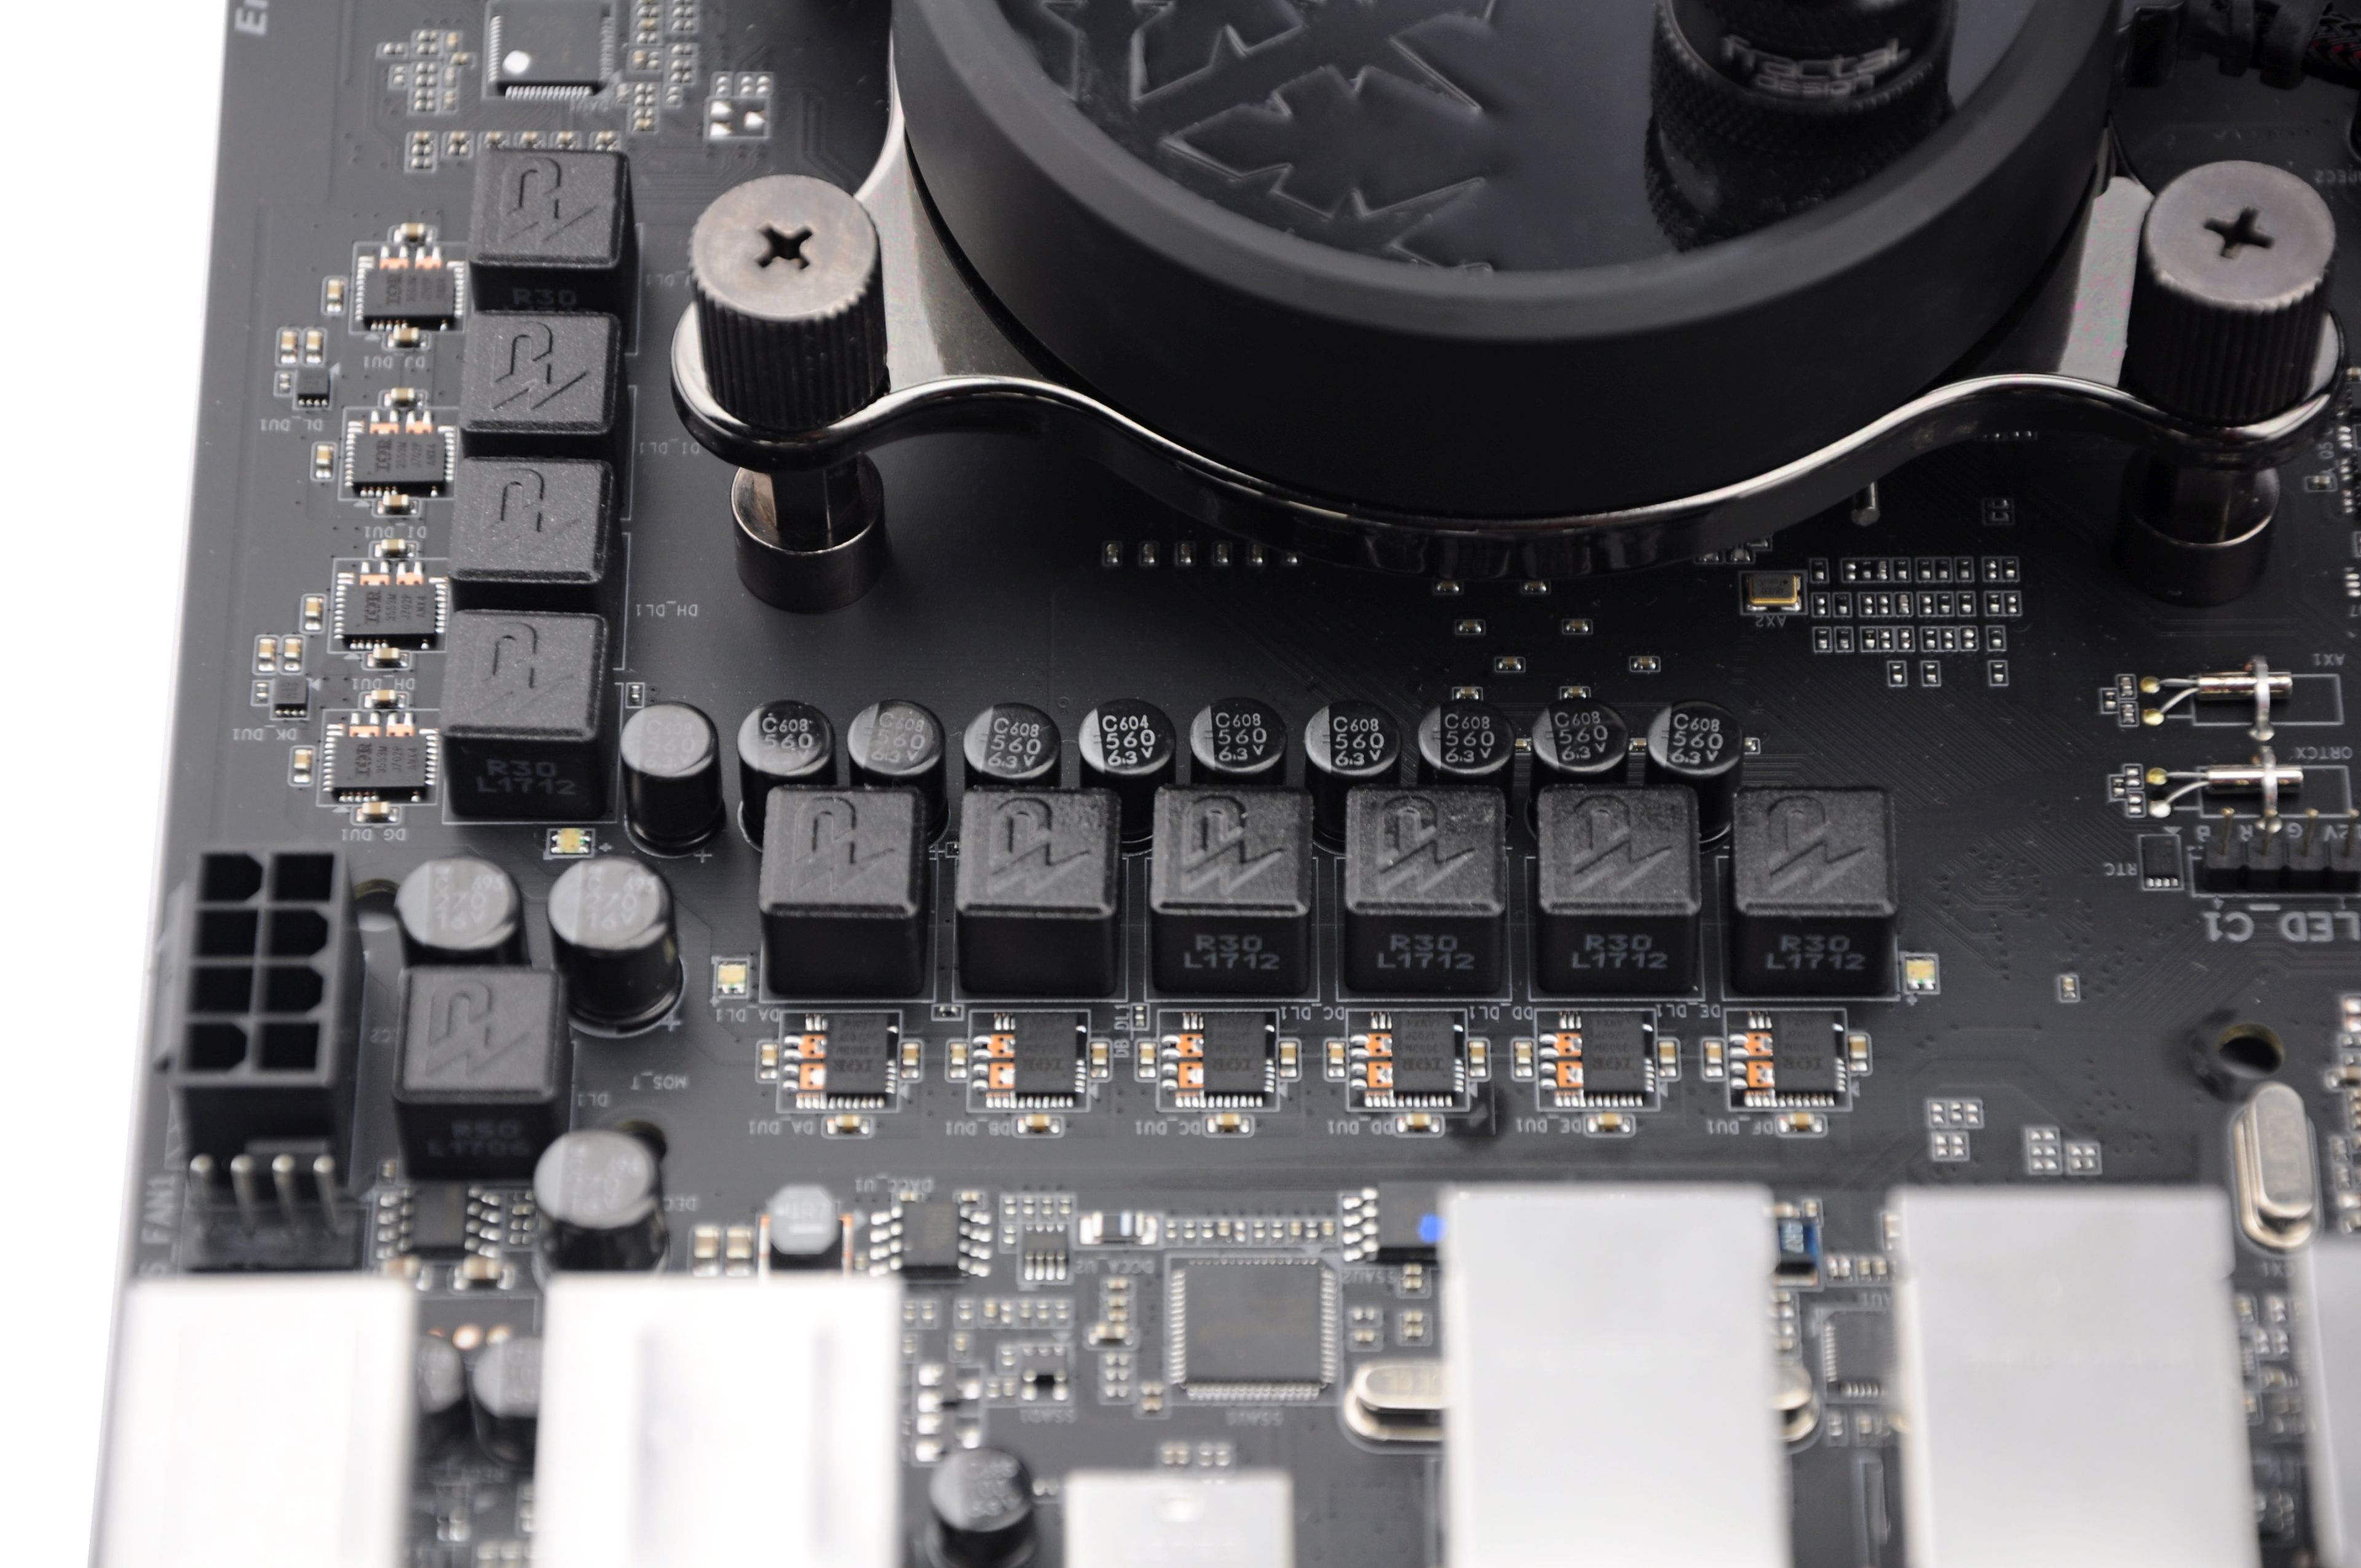
We simulated the burn in IntelBurnTest (12 GB) for 15 minutes. In the first chapter, you can find the results from the internal chipset sensor and VRM. The second sensor, however, is not included in all boards, so this value will often be missing in the results. We captured the image of the heat around the socket with the thermal imager Fluke Ti125. Specifically, the maximum surface temperature of the coil casing, the MOSFET heatsink, and also the MOSFET casing (with heatsink removed, but for safety reasons, we did not include these measurements in overclocking mode). Through thermalvision, it is easy to see the temperature of MOSFETs and how efficient their coolers are. We put a strip of a thin paper tape on them before taking the pictures to ensure that the thermal imager reads temperatures from the same surface – eliminating distortions caused by combinations of different materials.
Tests were conducted in a well ventilated wind tunnel fitted with four Noctua NF-A12S fans decelerated to 550 rpm: two for the input and two for the output.
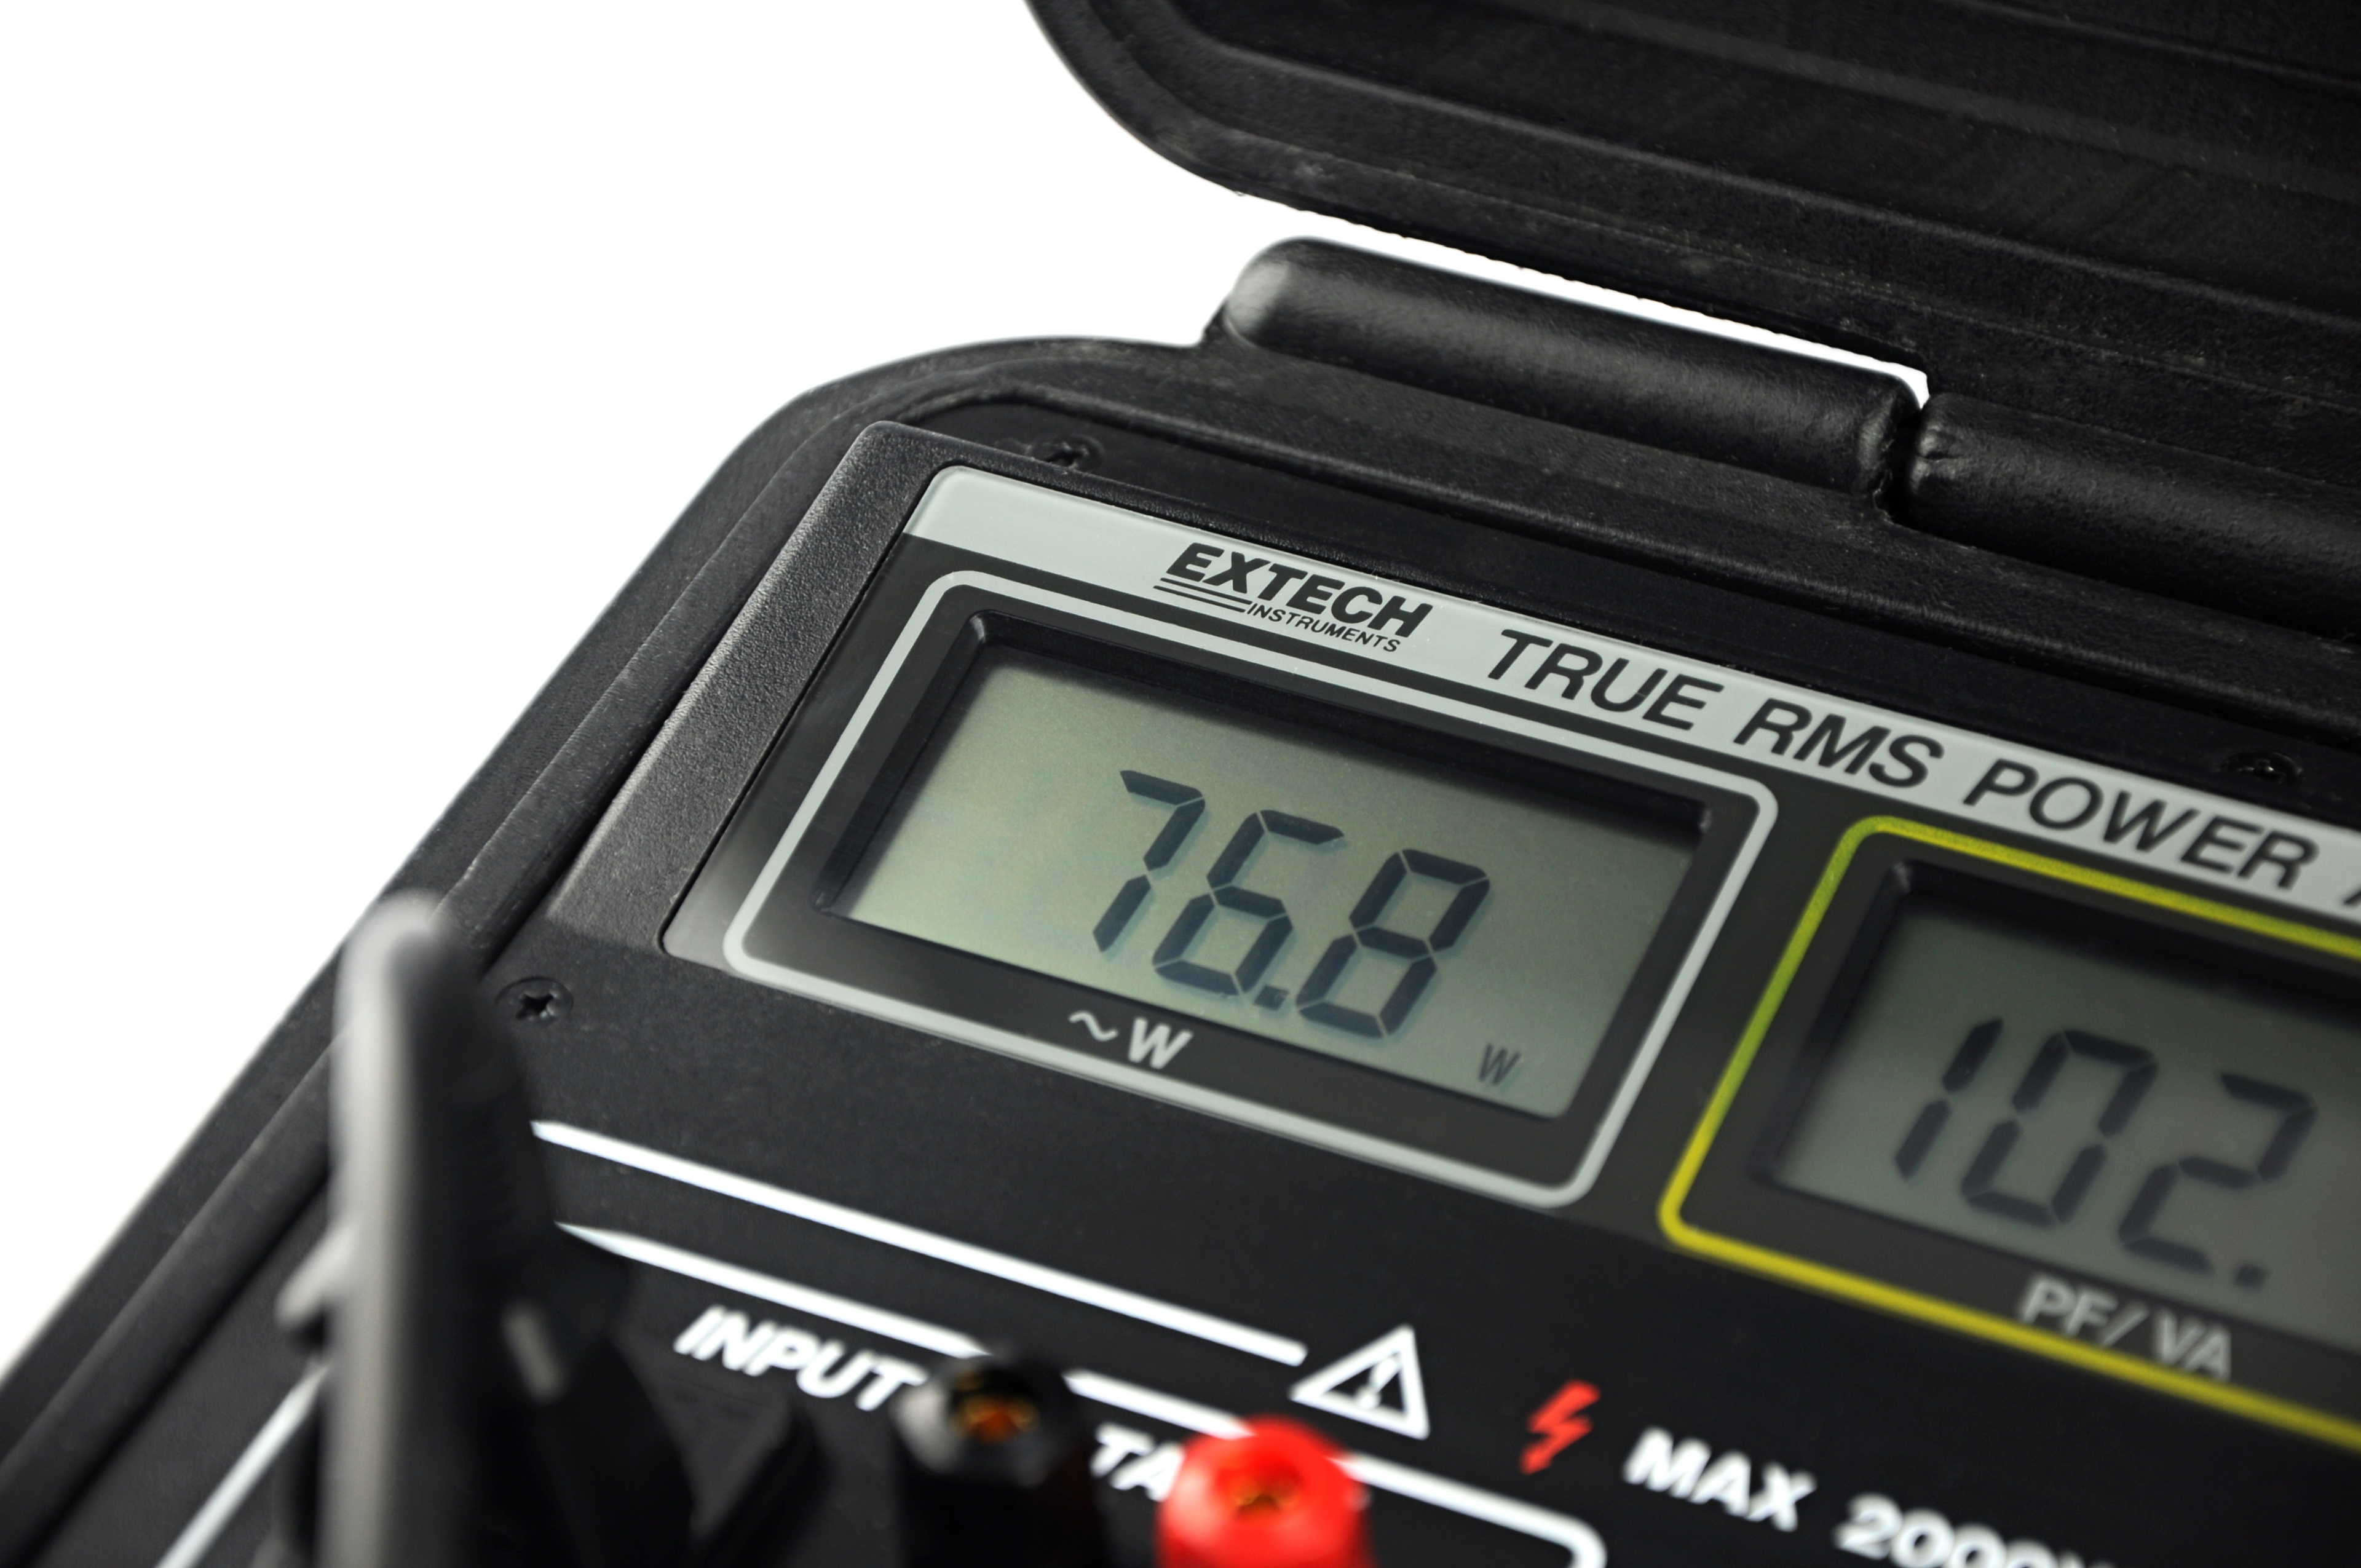
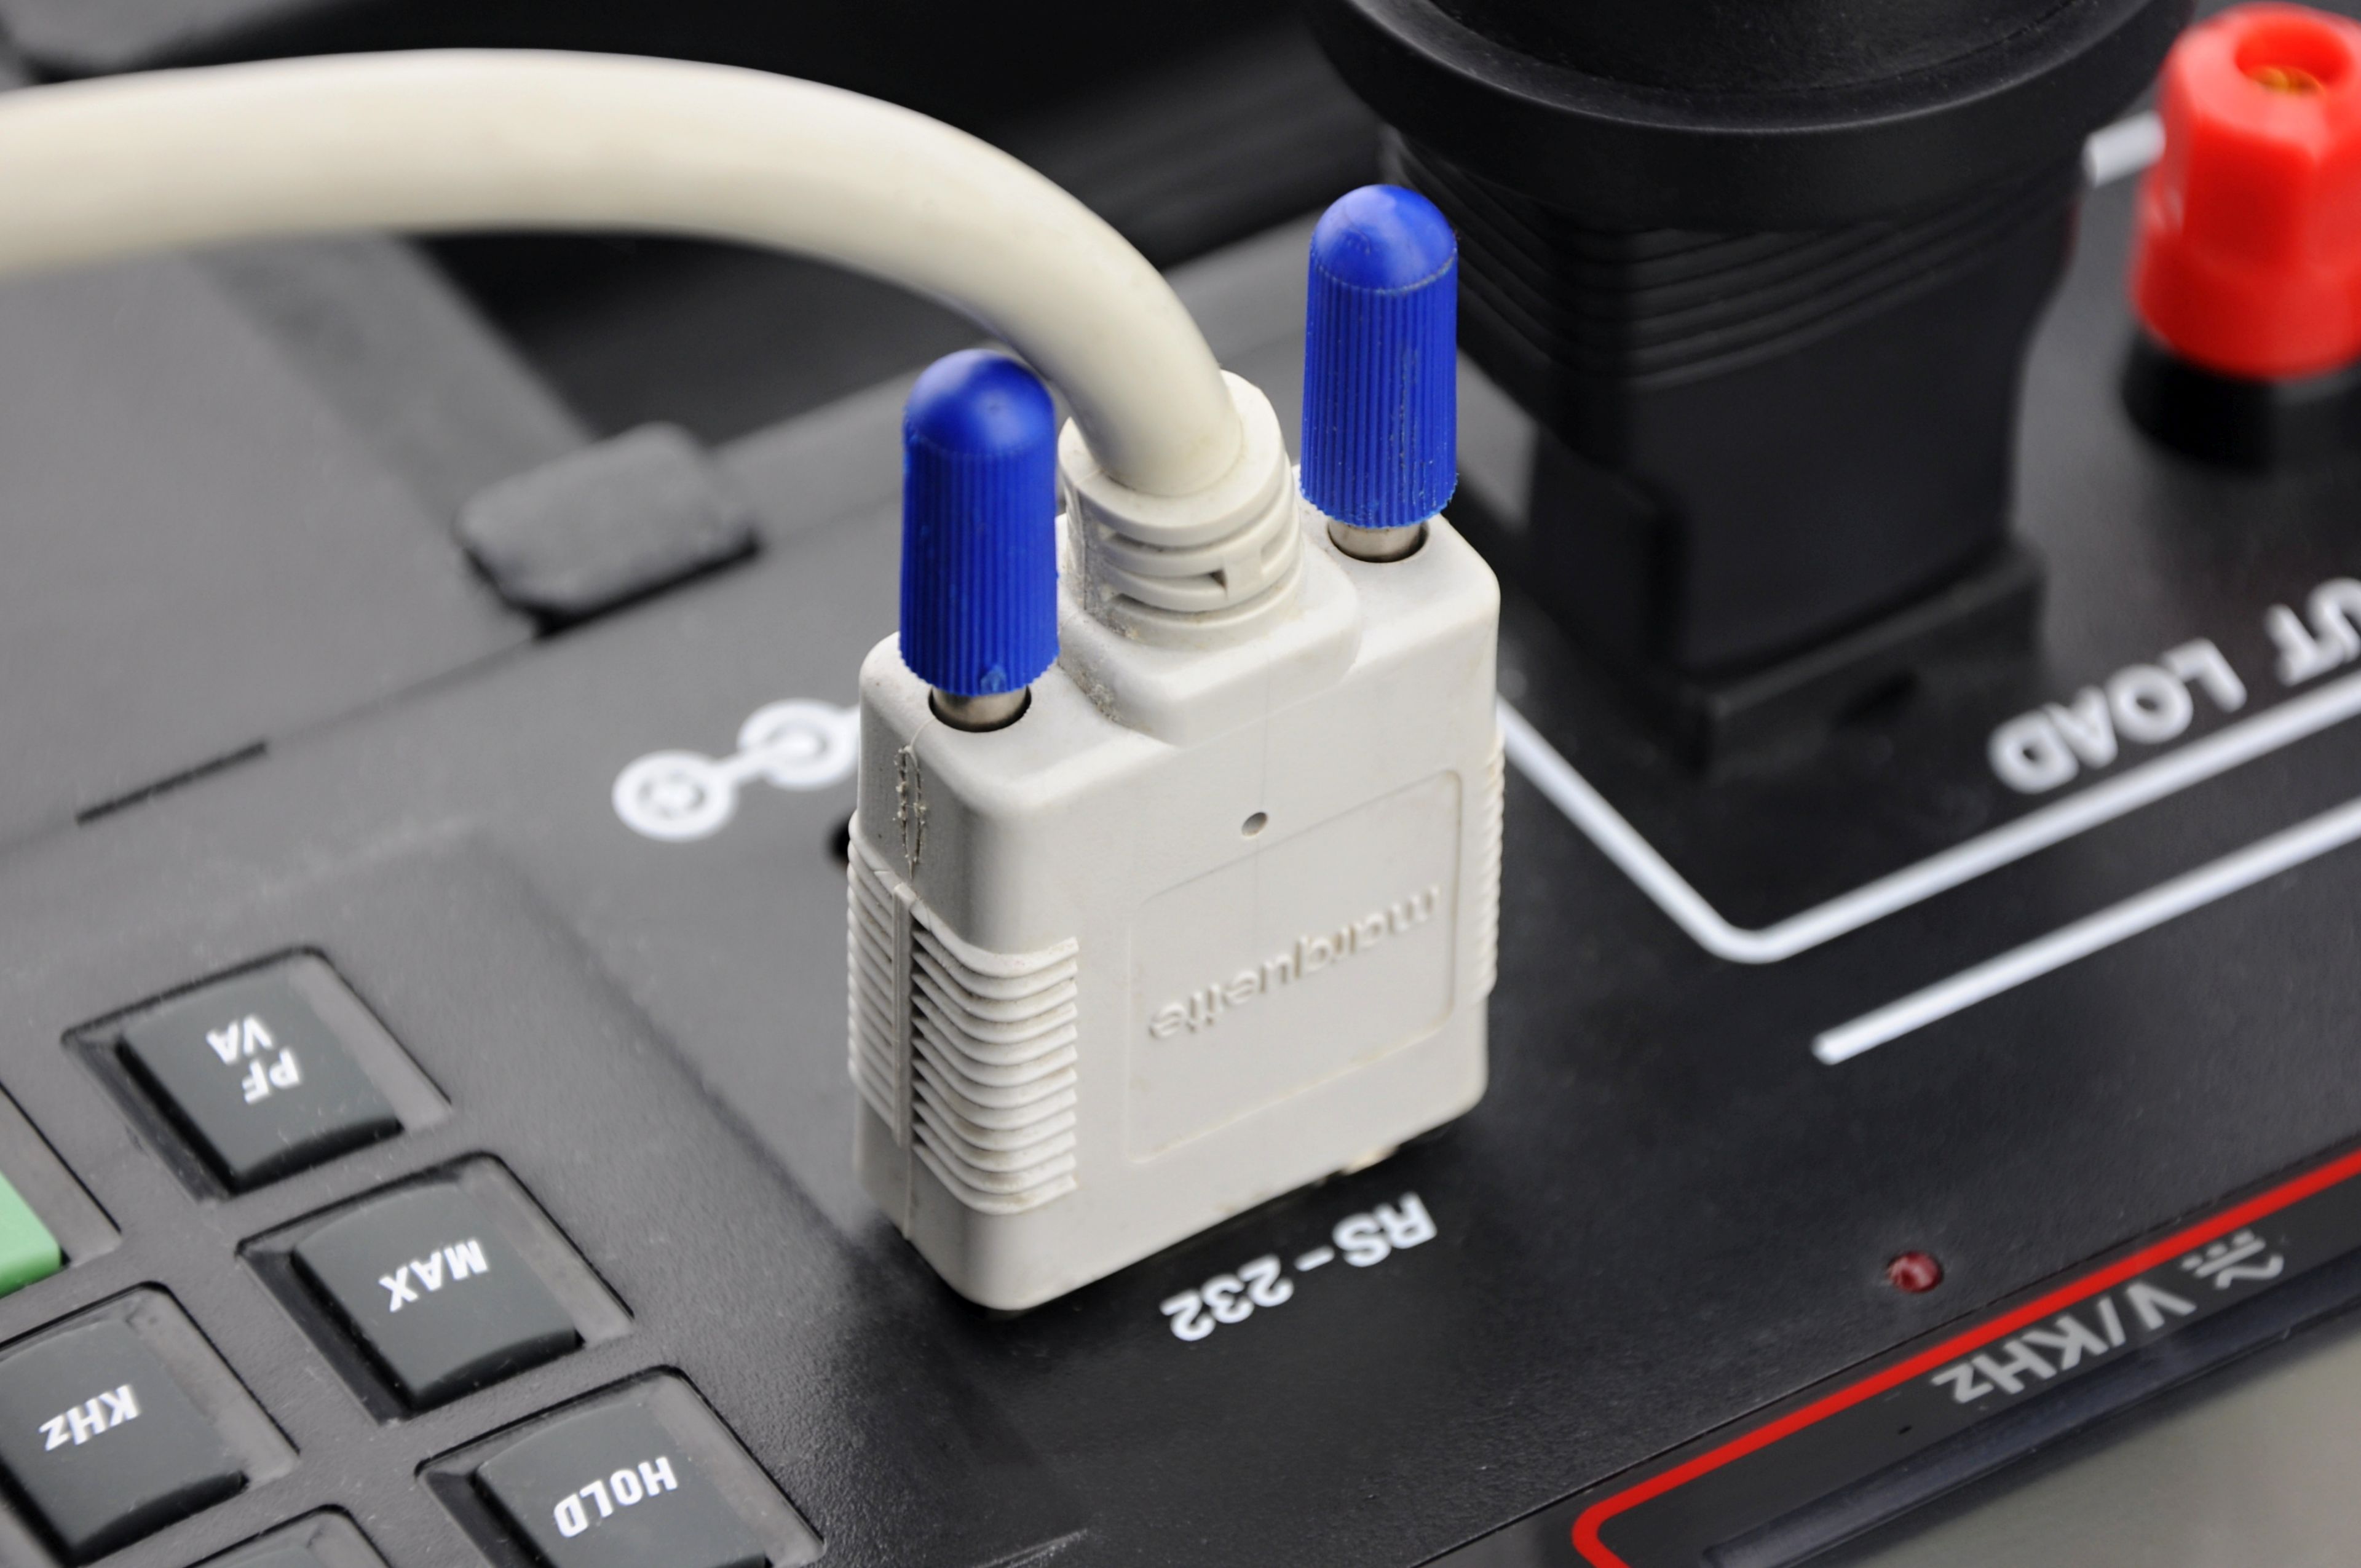
Consumption of the configuration was recorded for 600 – 900 seconds using the Extech 380801 powermeter which sent data via RS232. We put the average values from approximately 150 measured samples to the charts. Fluctuations that occurred from time to time by random system activity, or just by mouse movement, were removed during post-processing. Used peripherals (mouse and keyboard) were the same in all tests. To bring the results as close to real consumption as possible, we used power supply SeaSonic Prime 650 W with 80Plus Titanium (ie with high efficiency 90+ %).
| Test configuration | |
| BIOS version | 7A32v19 |
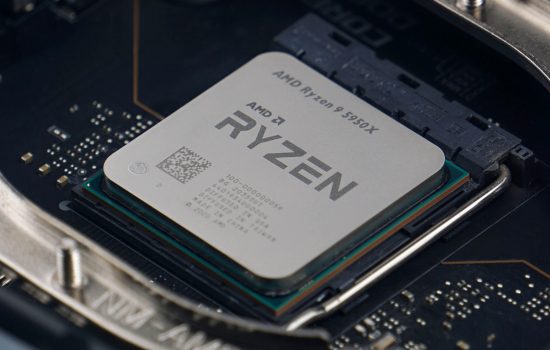
| Processor | AMD Ryzen 7 1800X |
| CPU cooler | Fractal Design Kelvin S24@max. |
| Thermal paste | Noctua NT-H1 |
| RAM | G.Skill Flare X, 2× 8 GB, 3200 MHz/CL14 |
| Graphics card | MSI GeForce GTX 1060 Gaming X (6 GB) |
| SSD | Patriot Flare (120 GB) |
| Power supply | SeaSonic Prime 650 W (80Plus Titanium) |