What it looks like in the BIOS
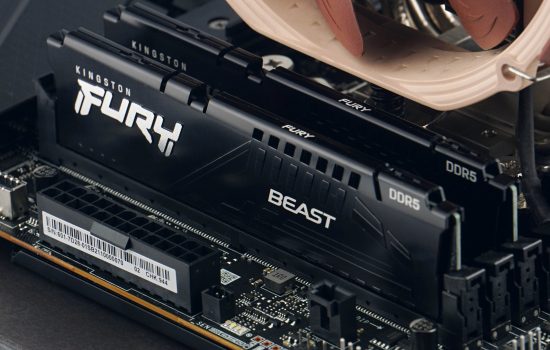
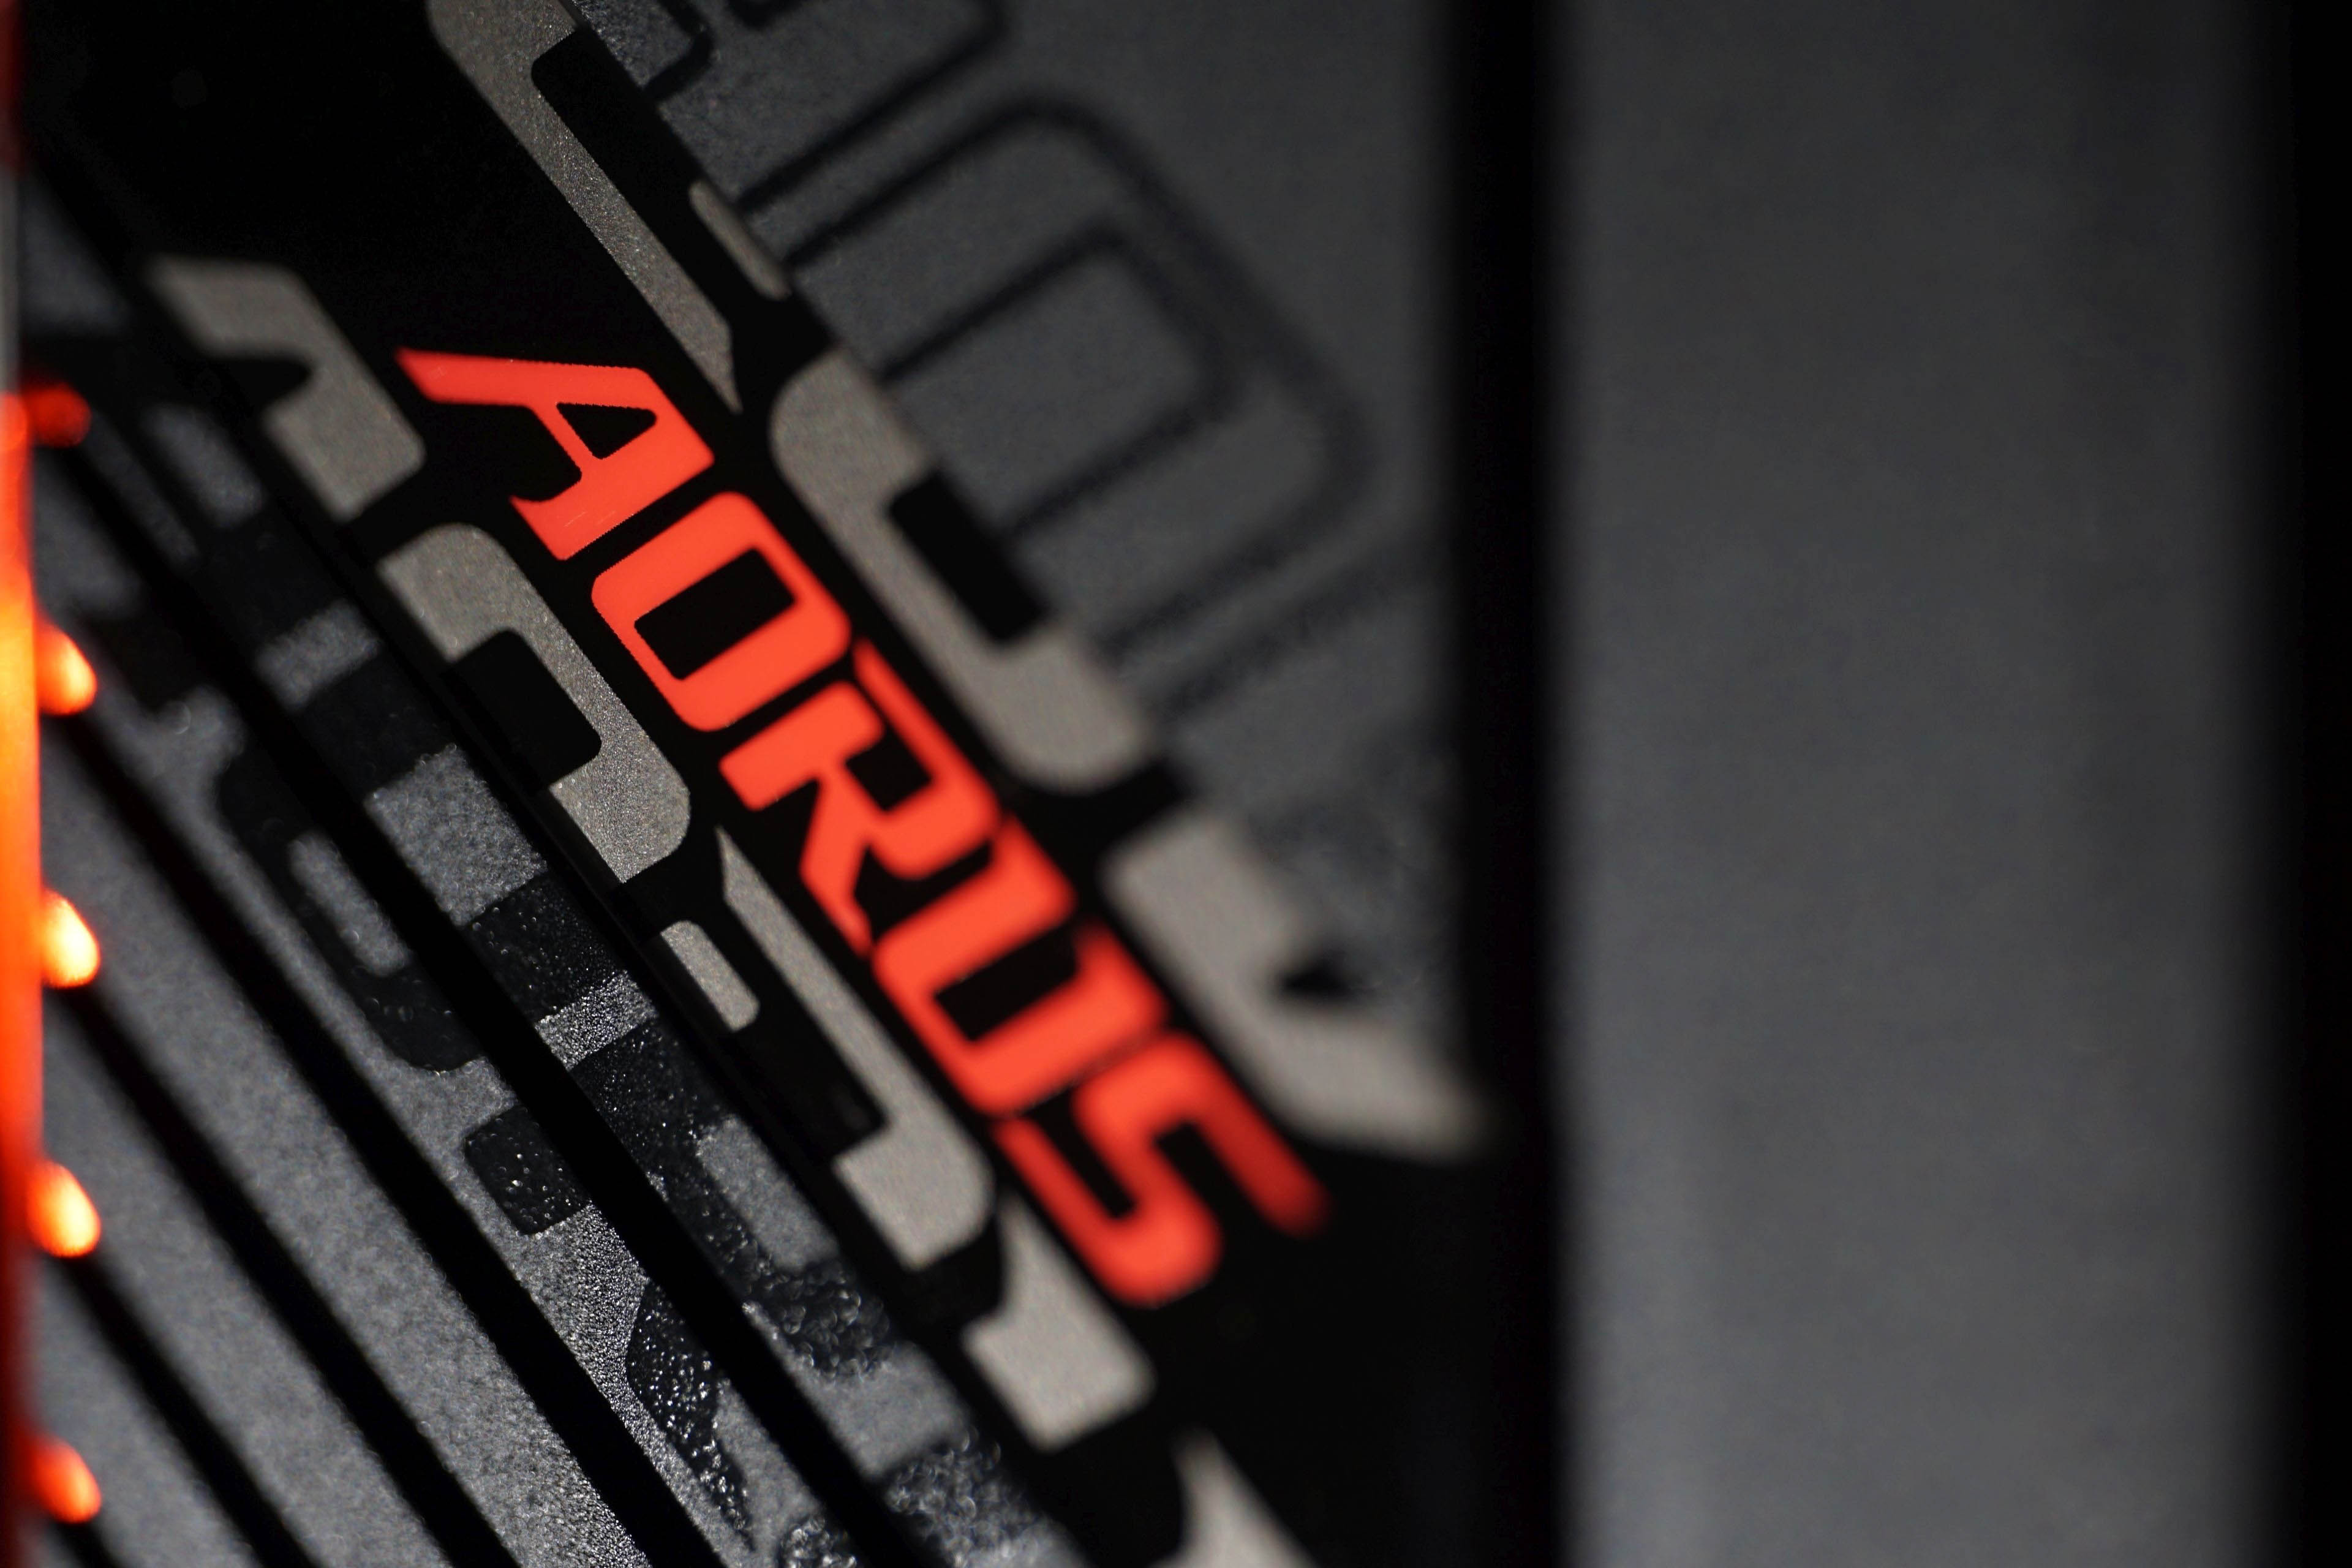
Last time, we looked at a motherboard that is suitable for use with cheaper processors thanks to its lower price. Now we have the roughly 50 EUR more expensive Gigabyte B660 Aorus Master DDR4. The premium here has a clear justification and reflects on the better features. The power delivery is significantly more efficient, the heatsinks are more effective, and the features are richer overall, including illumination.
What it looks like in the BIOS
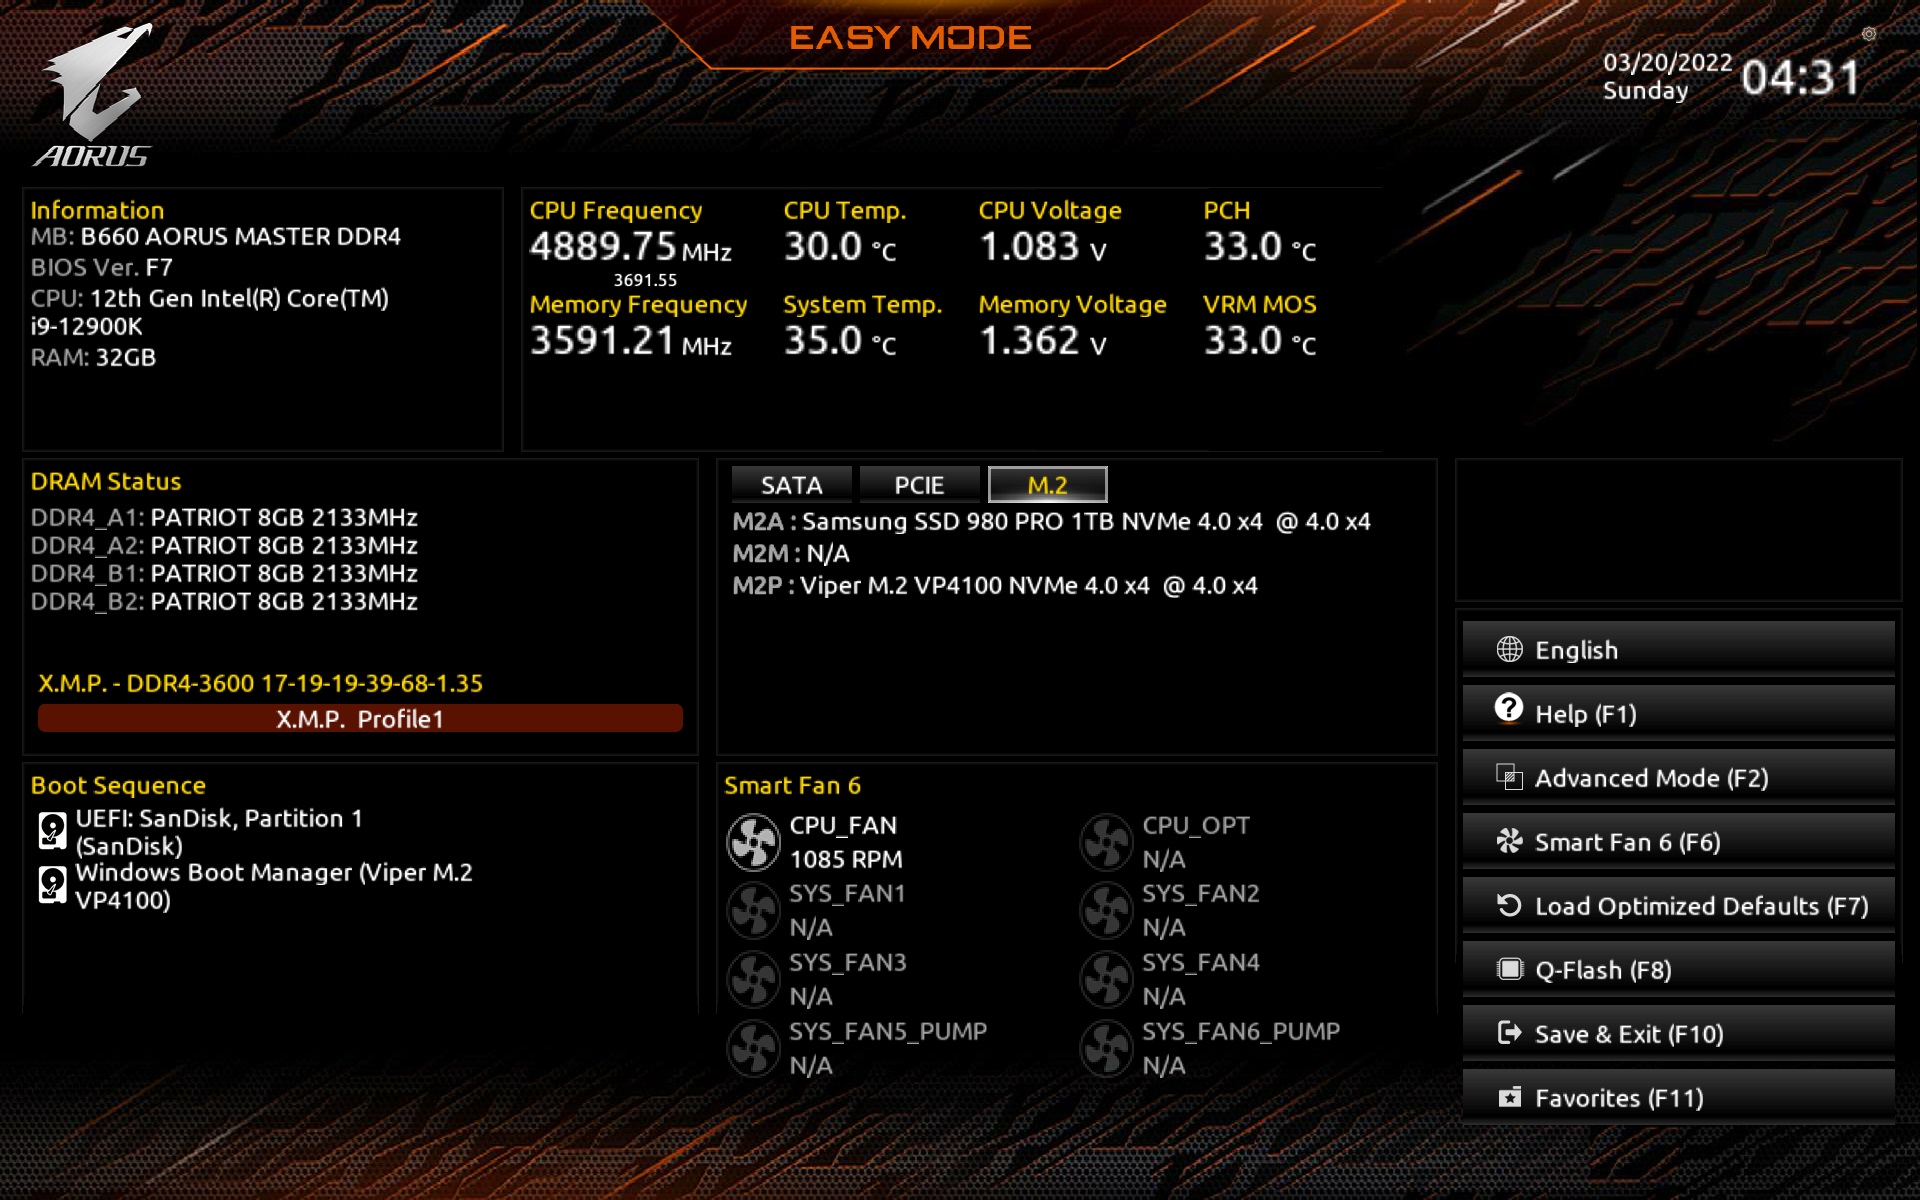
Traditionally, the home screen gives an overview of the basics, which are also of interest to the casual user. Apart from detecting connected components (SSD, fan, memory) and monitoring clock speeds, power supply voltage and key component temperatures, you don’t even need to delve deeper into the BIOS to activate XMP.
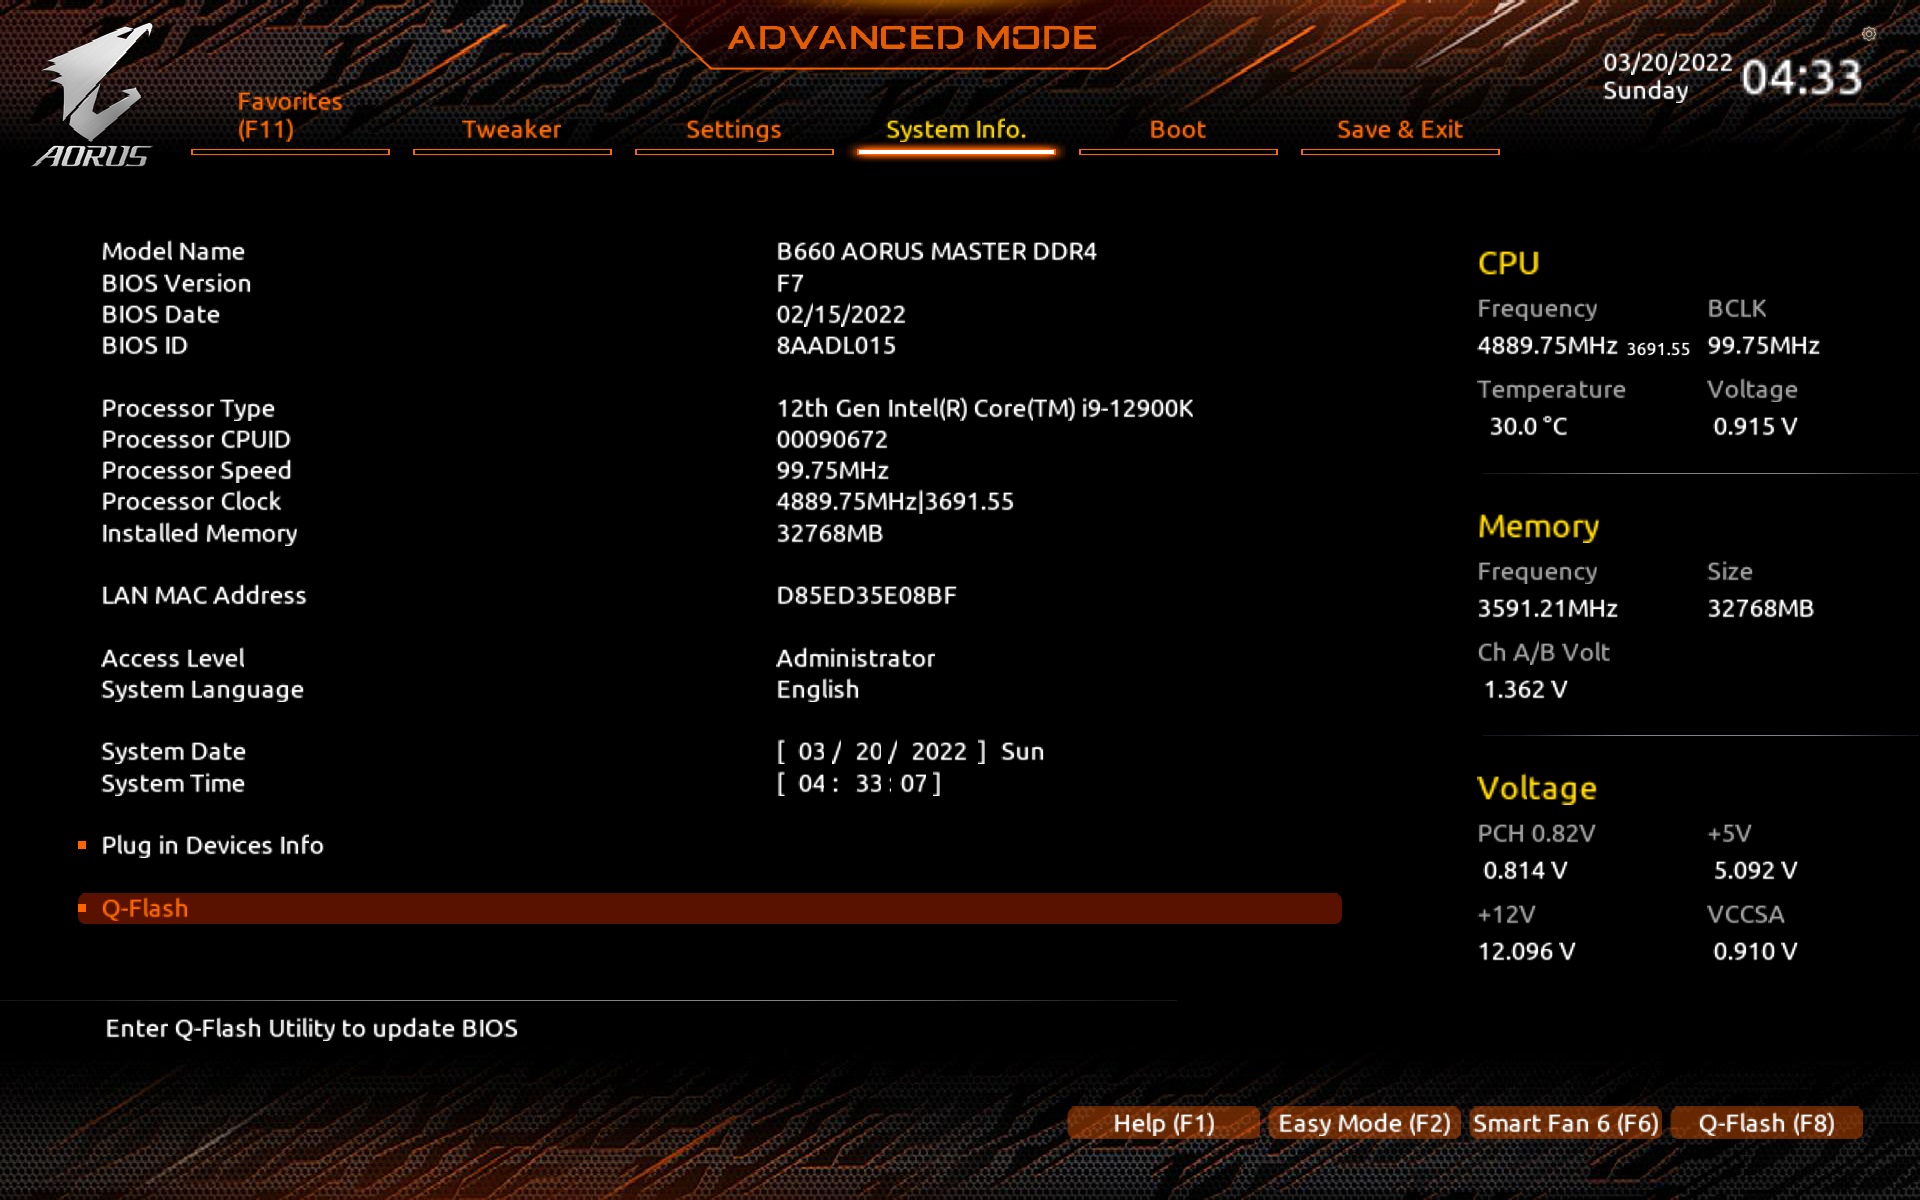
For more details, of course, you need to go to the advanced mode (this is what the F7 key is for). Details about the processor or BIOS version are available on the System info tab, from where it is also possible to update the BIOS. This via Q-flash. Its interface is intuitive, pleasant and in short one doesn’t have the feeling that something could “go wrong”.

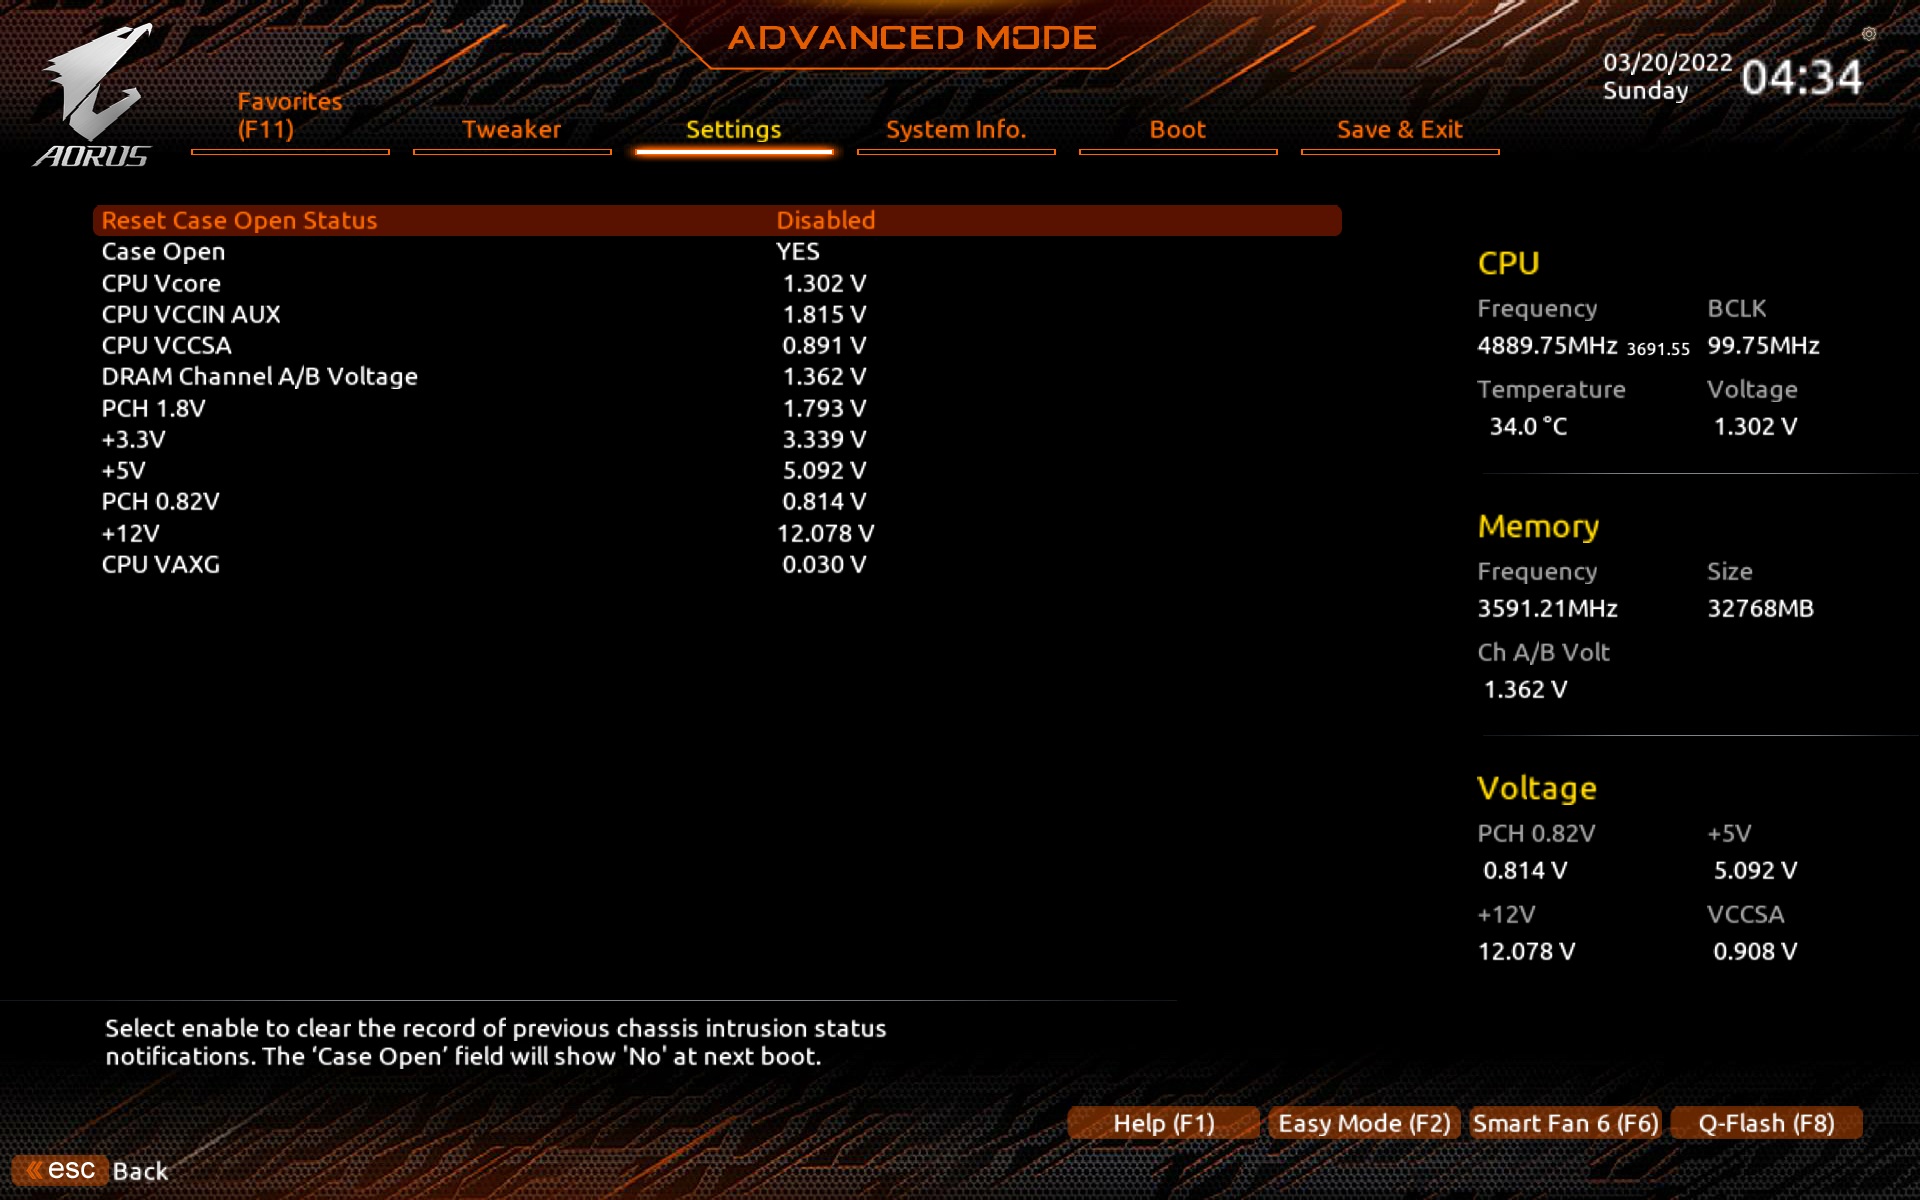
In the Settings tab, you can play around with the LED settings, for example. Not the brightly coloured ones, but the status ones. Furthermore, there are settings for the security module (TPM) and you can also manually adjust the PCI Express interface standard, separately for the CPU and the chipset. The default settings are on “Auto”, naturally with PCIe 4.0 functioning. PCI Express 5.0 support is not available on this board.


What we are most interested in before each test are the advanced CPU settings and power limit management. The default settings with the Core i9-12900K are unrestricted according to the power and frequency curves. But for all tests we still set it manually, at “4096 W” for both PL1 and PL2.
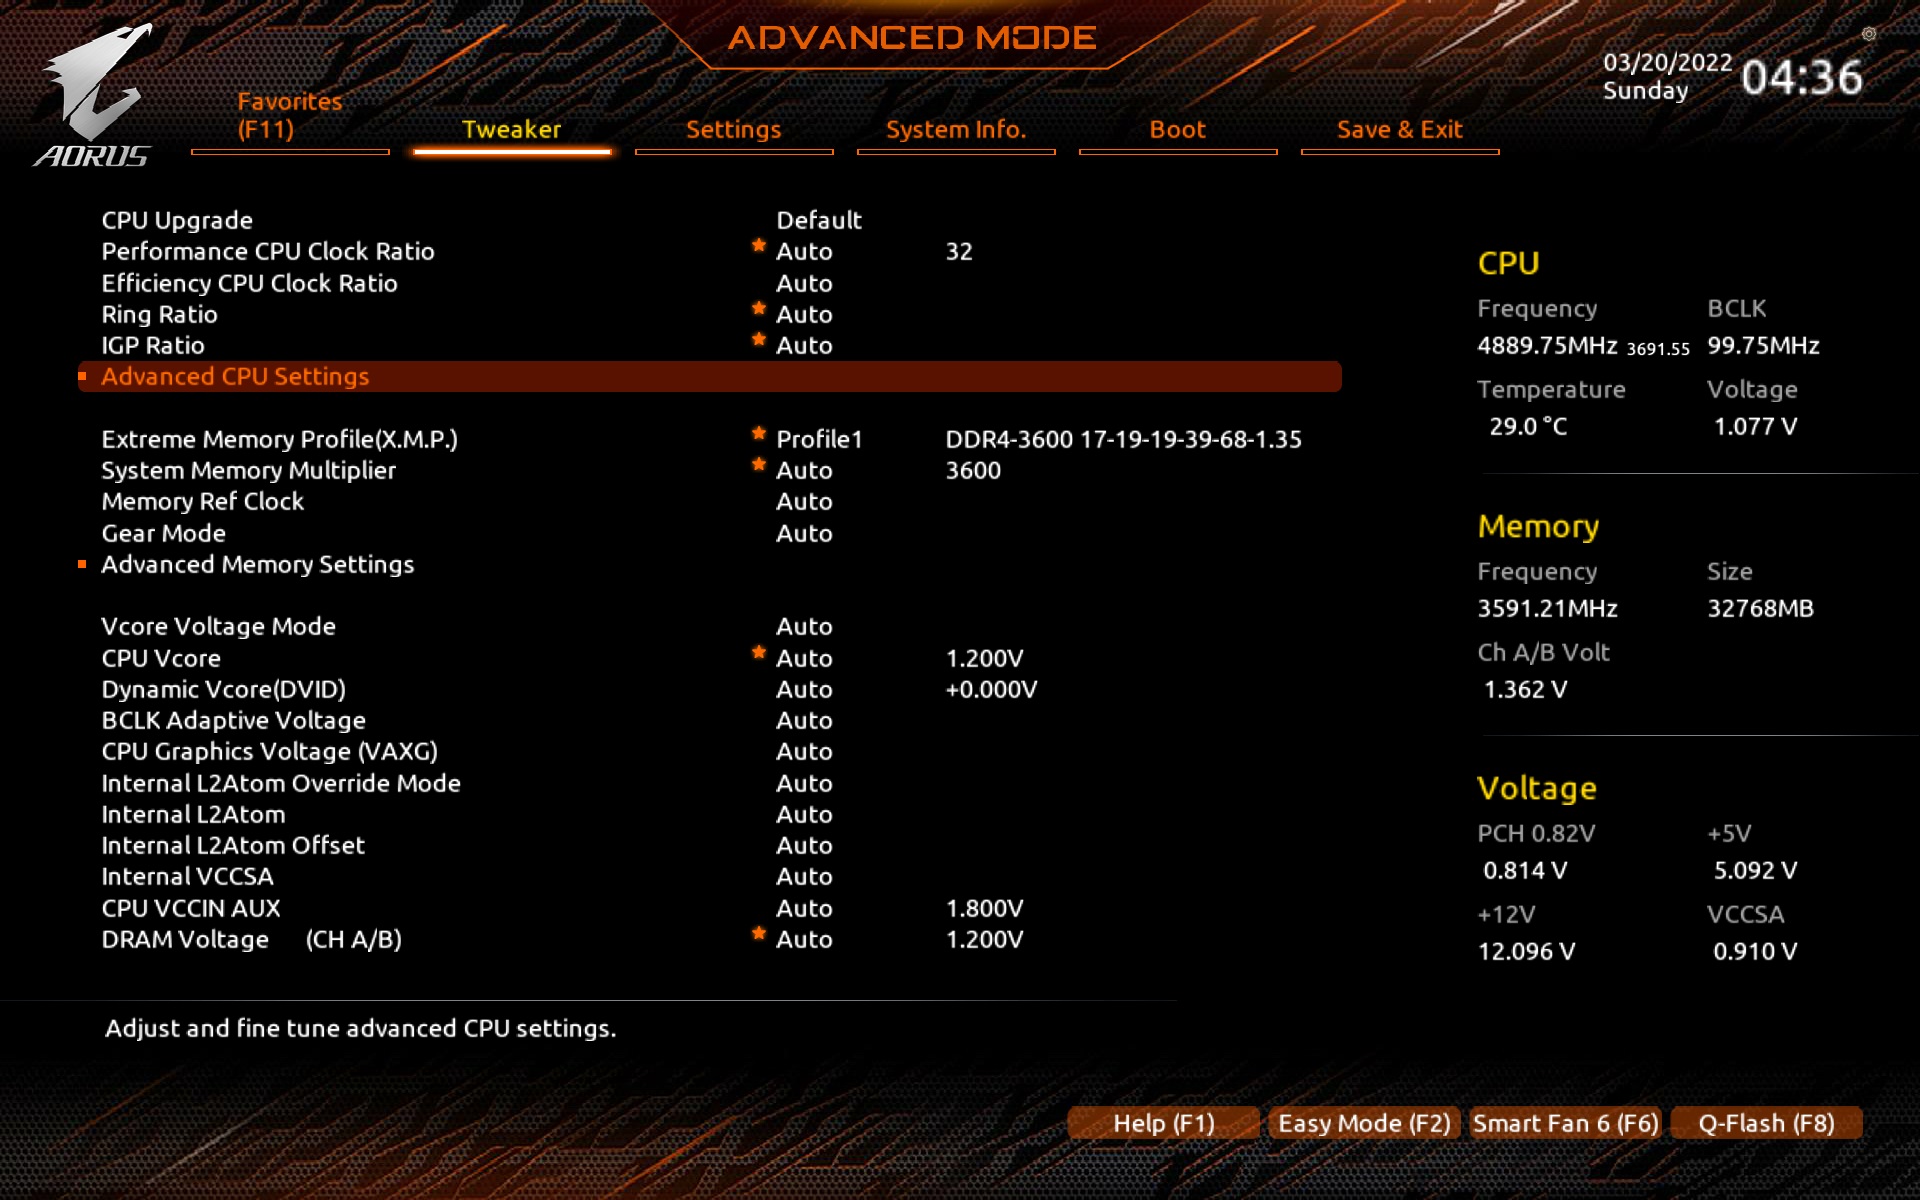
This setting means that you do not limit the processor in any way, even in terms of high long-term load. Thus, it achieves maximum all-core boost frequencies unless your application uses AVX instructions. In that case, the board preemptively reduces the multiplier by 2. This option can naturally be turned off. But we don’t do it, so that the tests reflect Gigabyte’s intentions here and how the manufacturer envisions it, and ultimately how it will work for the vast majority of users.

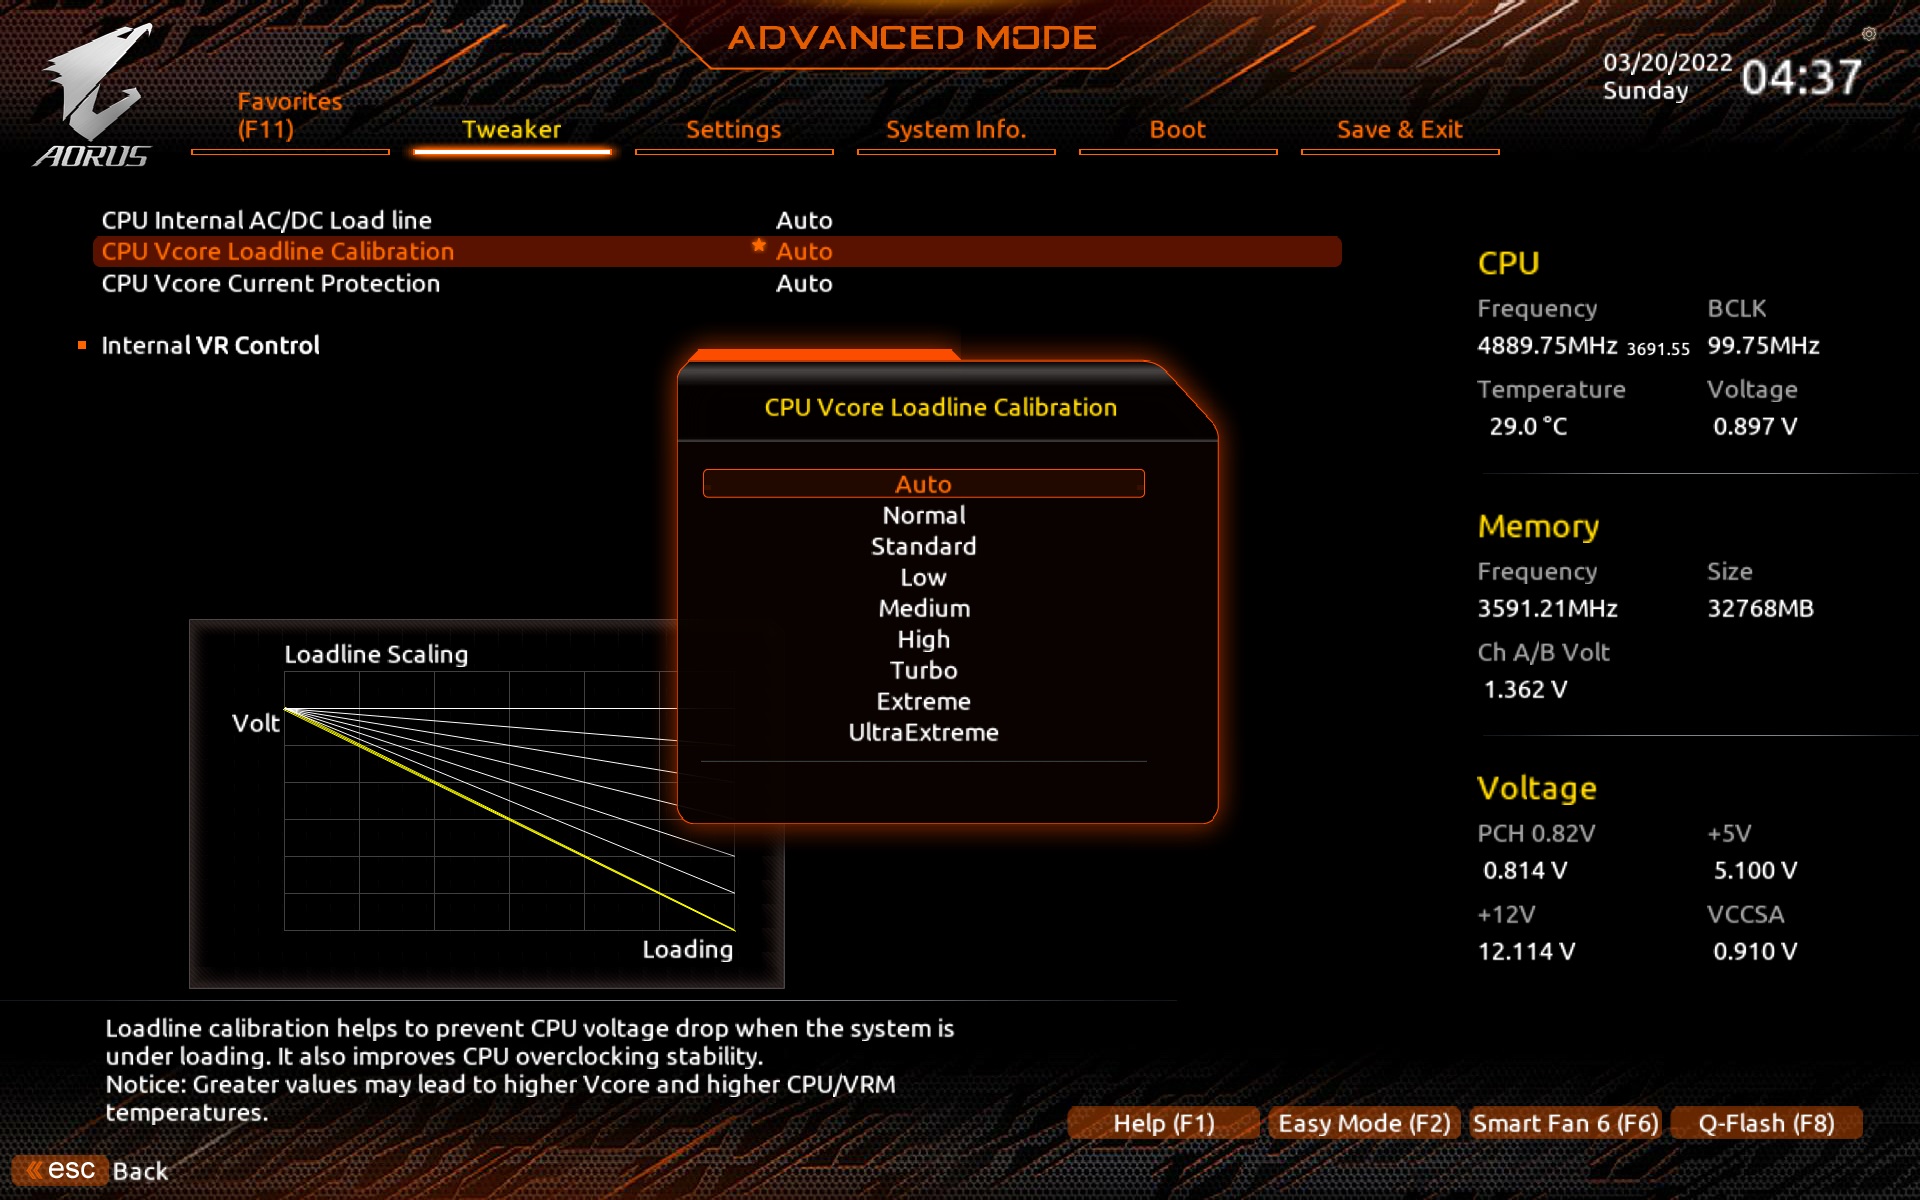
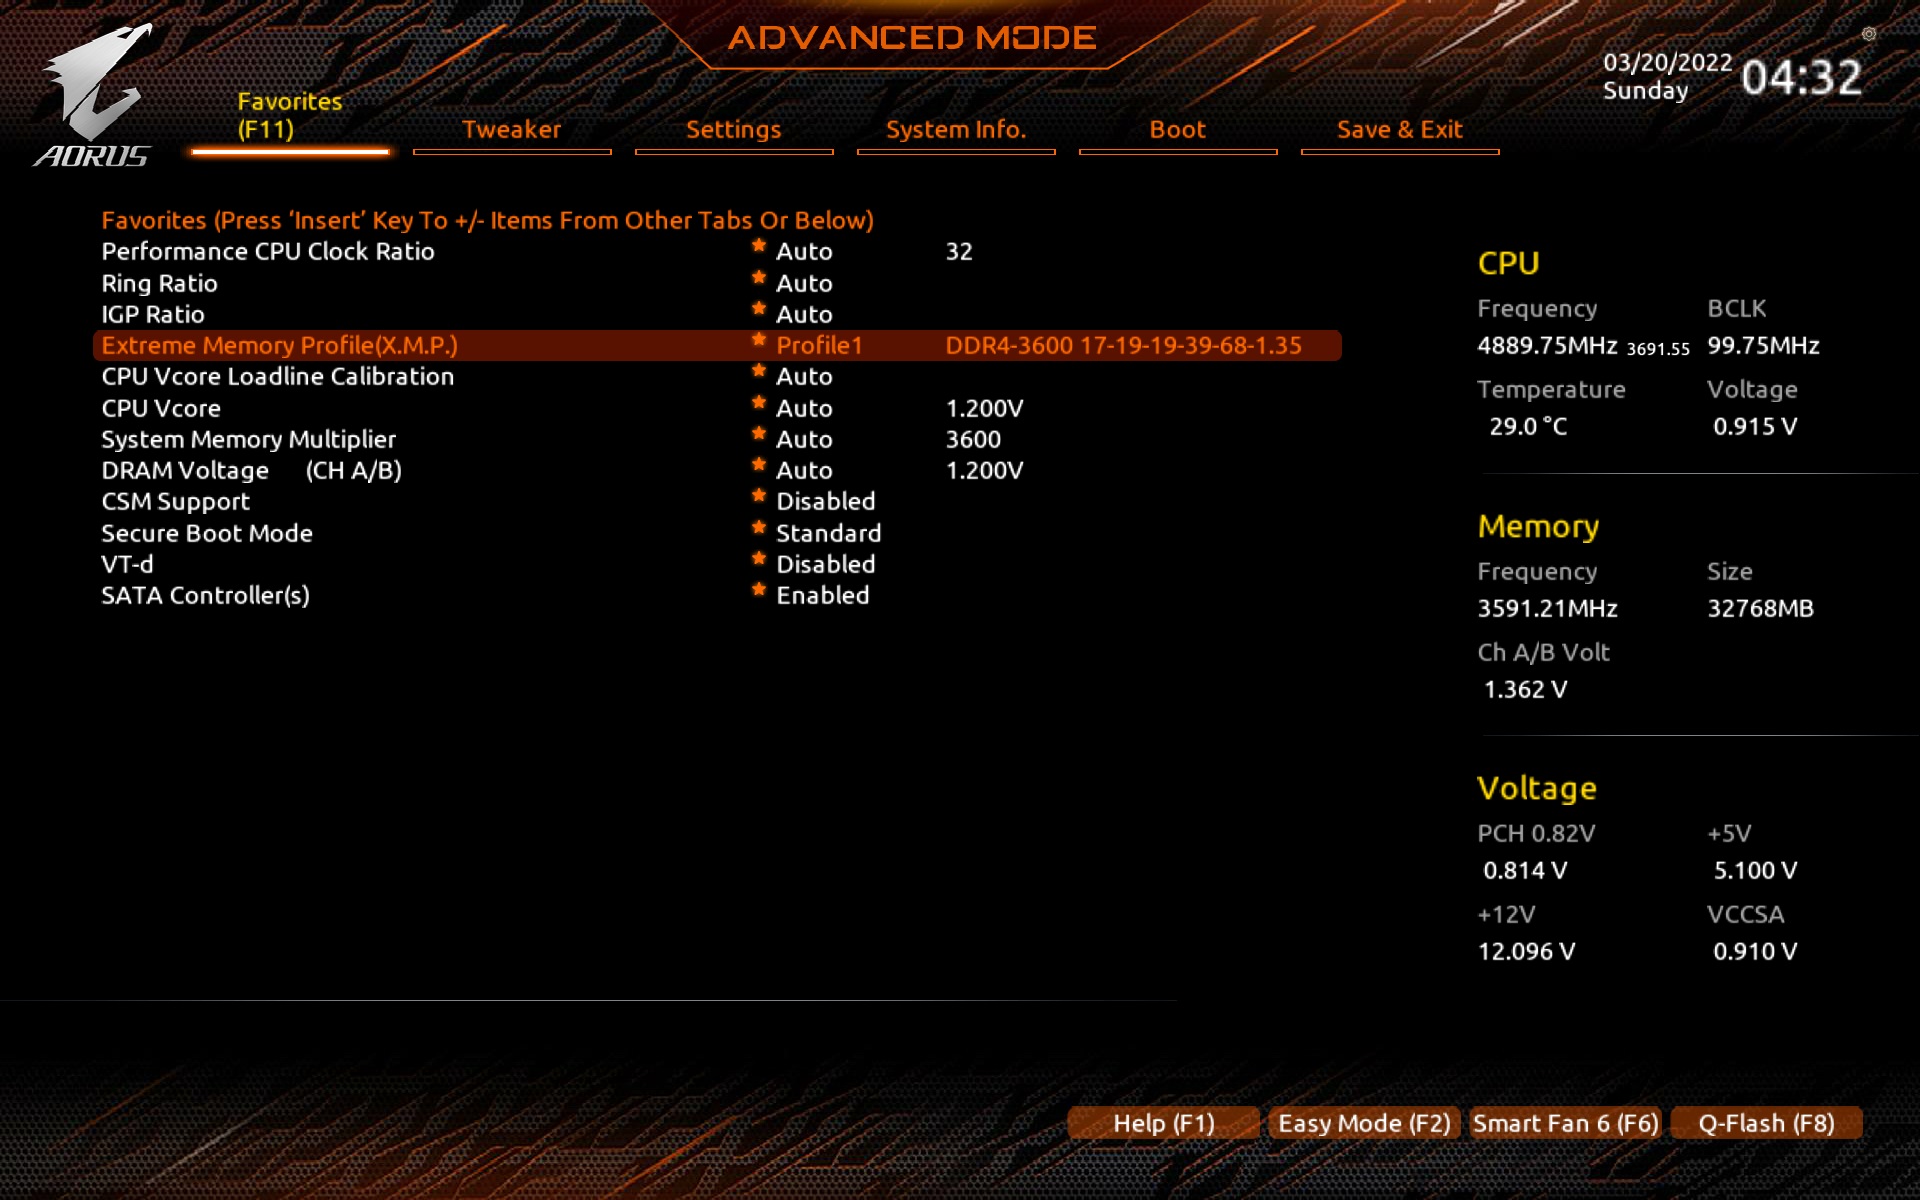
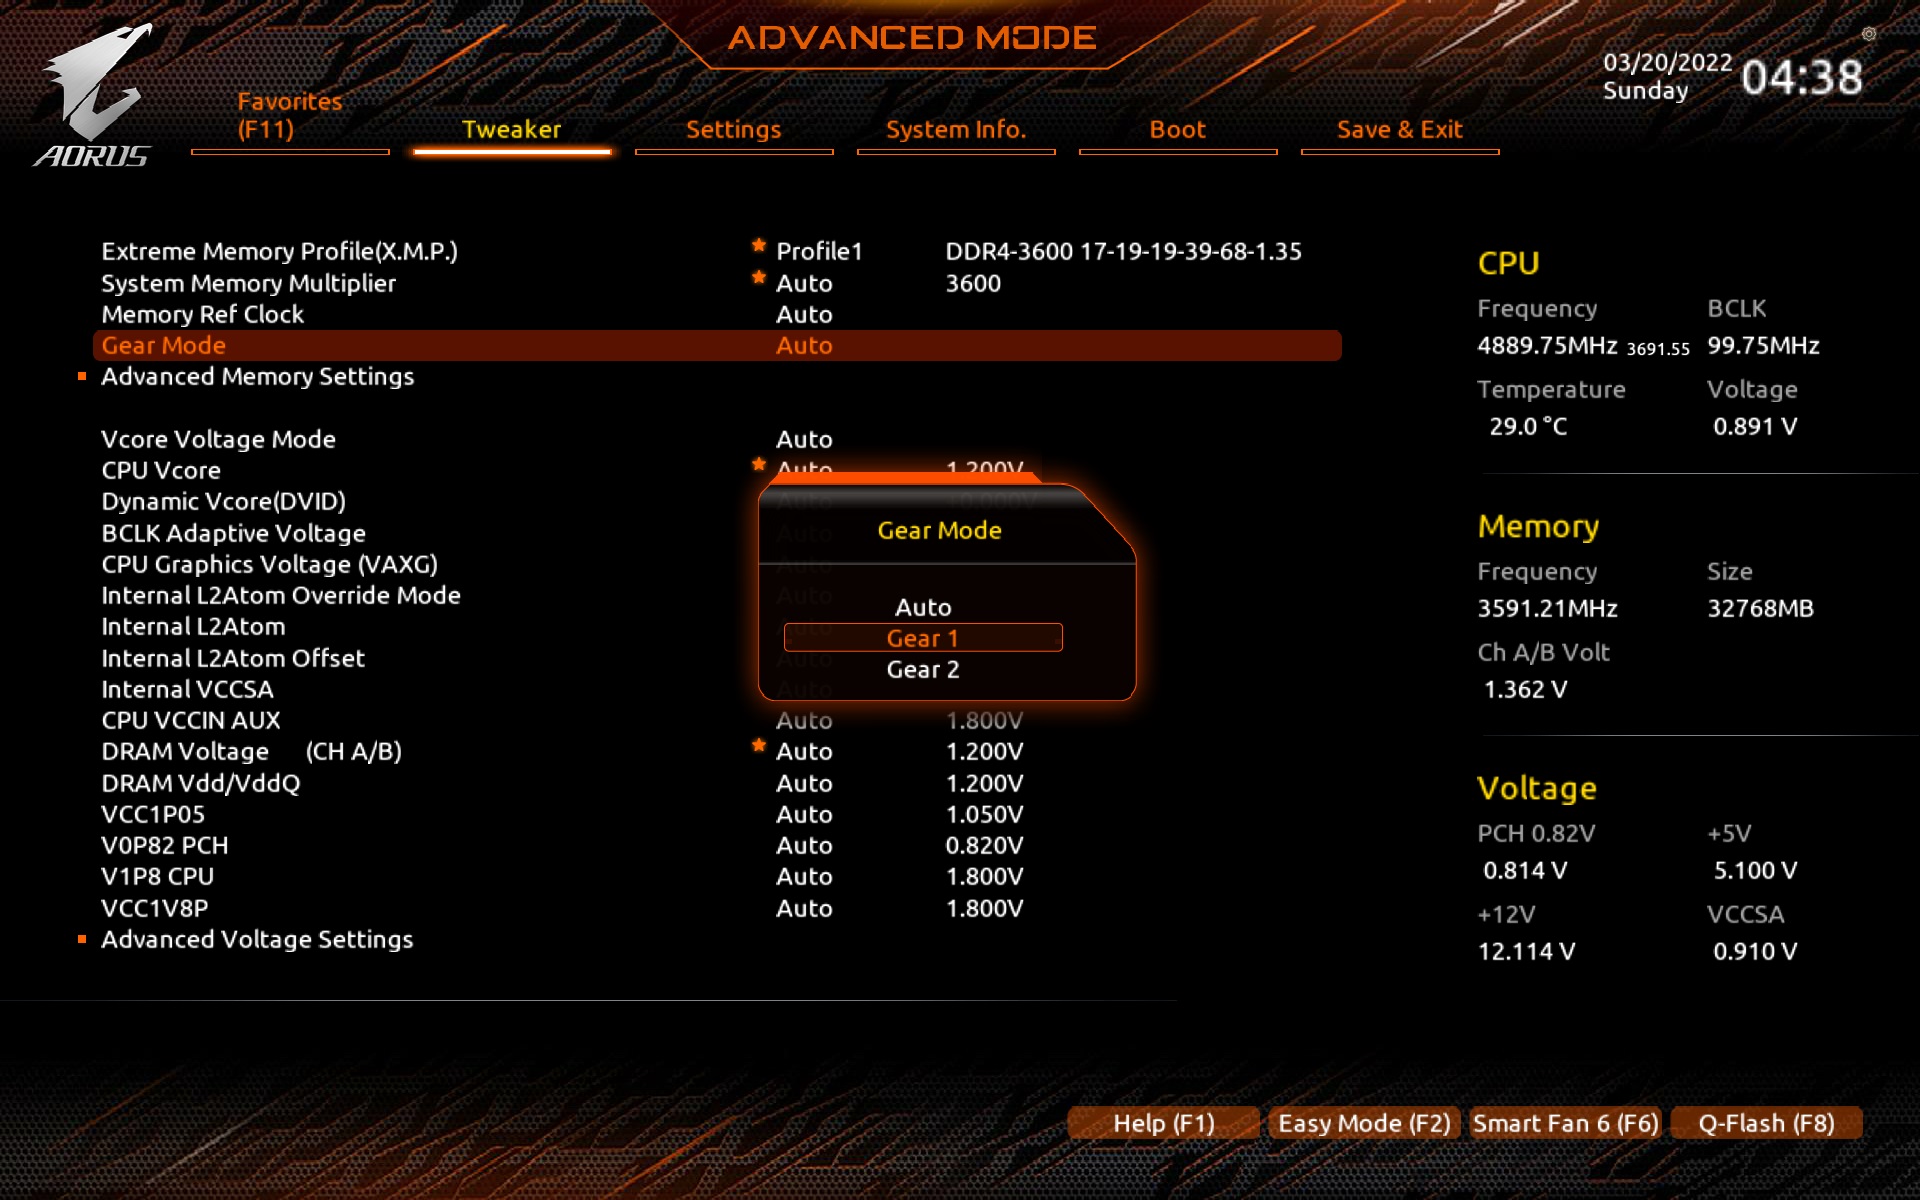
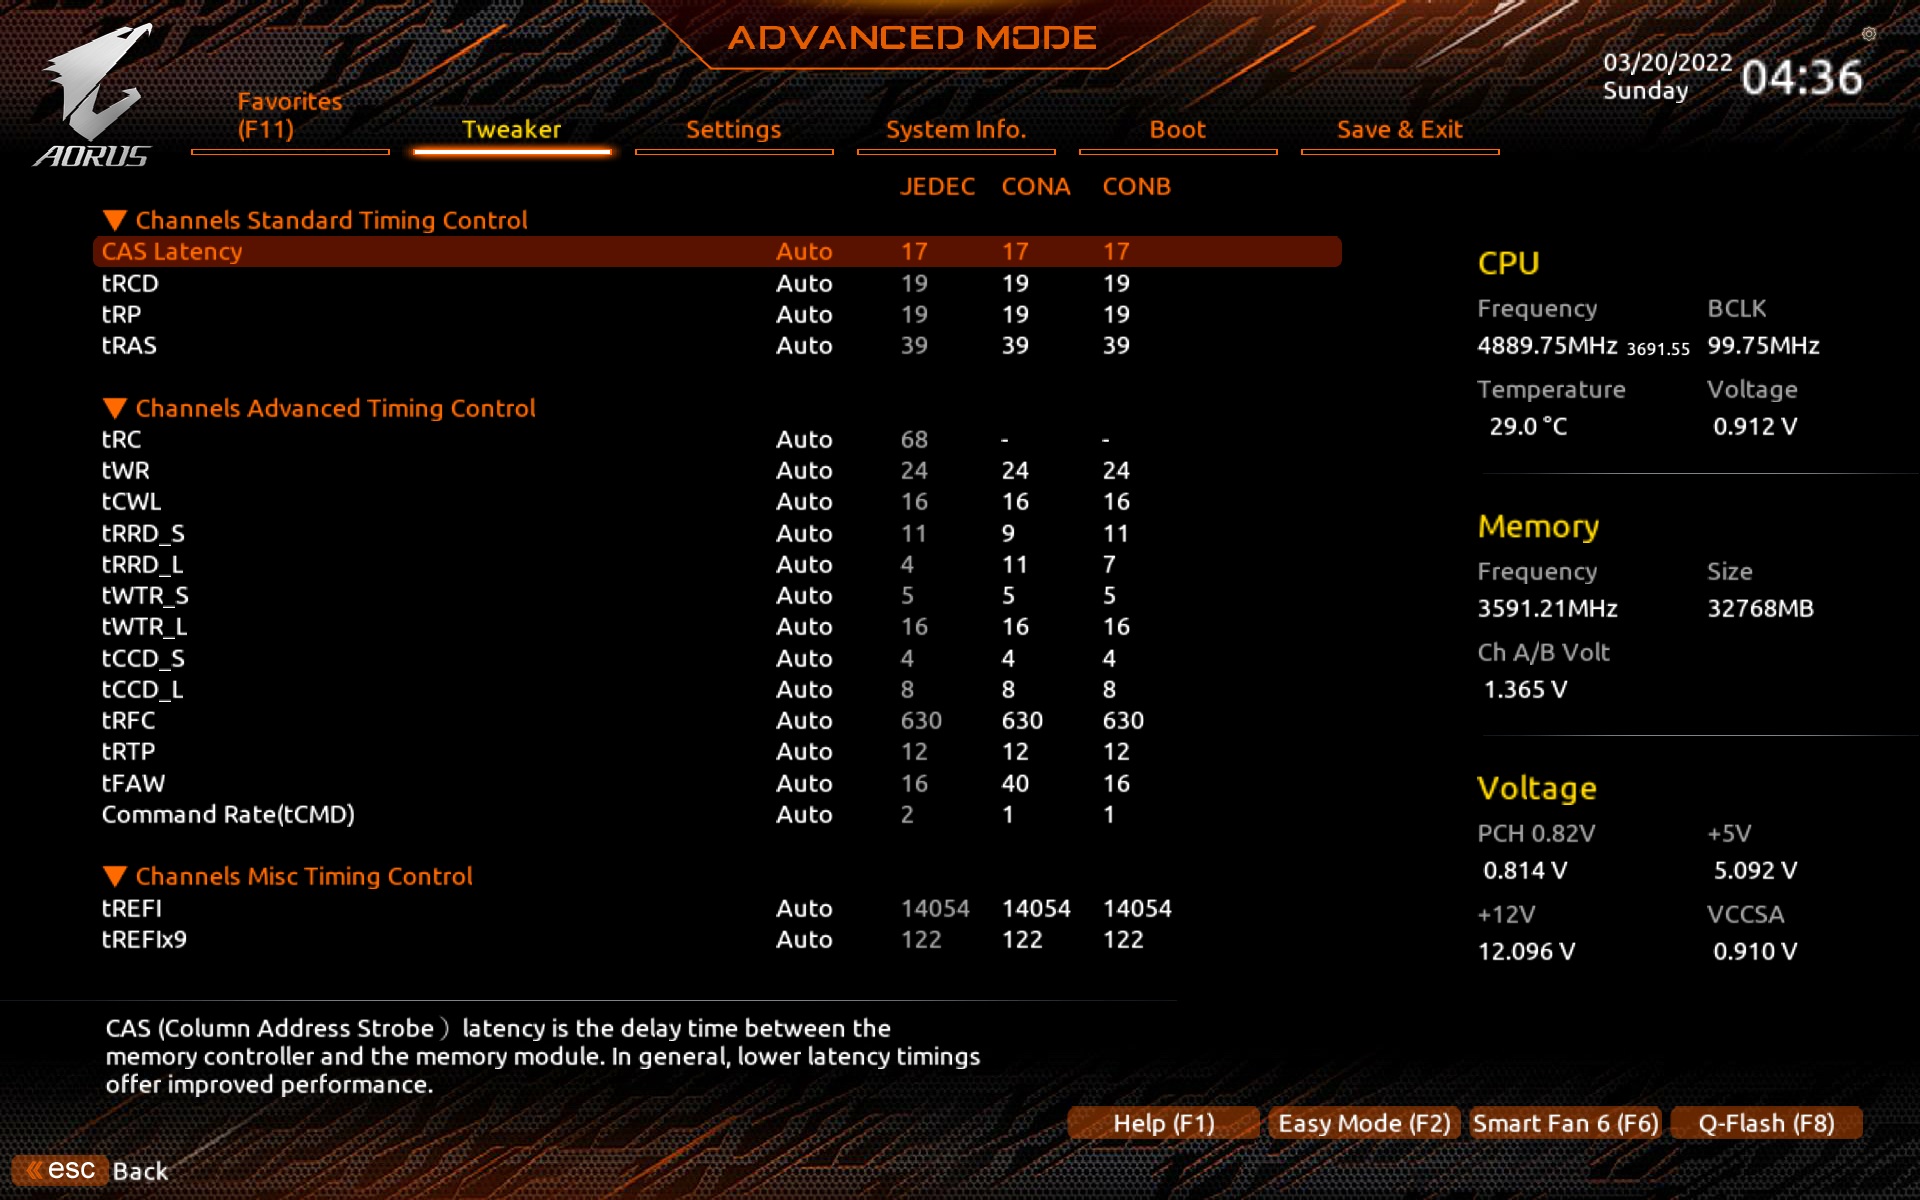
The memory profile (XMP) can only be enabled from the Favorites tab. For more advanced users, however, there is a Tweaker tab. Gear mode can be set according to individual needs as well, and Gigabyte doesn’t deprive you of detailed memory timing tuning either.
The user interface for setting up the connectors for the fans is also more detailed than usual. Detailed profile editing is provided for all connectors (including those for the pump, whose PWM intensity is preset more aggressively for obvious reasons). The (pulse/PWM, but also linear/DC) control curve bends and correlates with CPU temperature, on all boards, but there are more of those temperature sensors here. Seven built-in and you can add two by adding thermocouples.
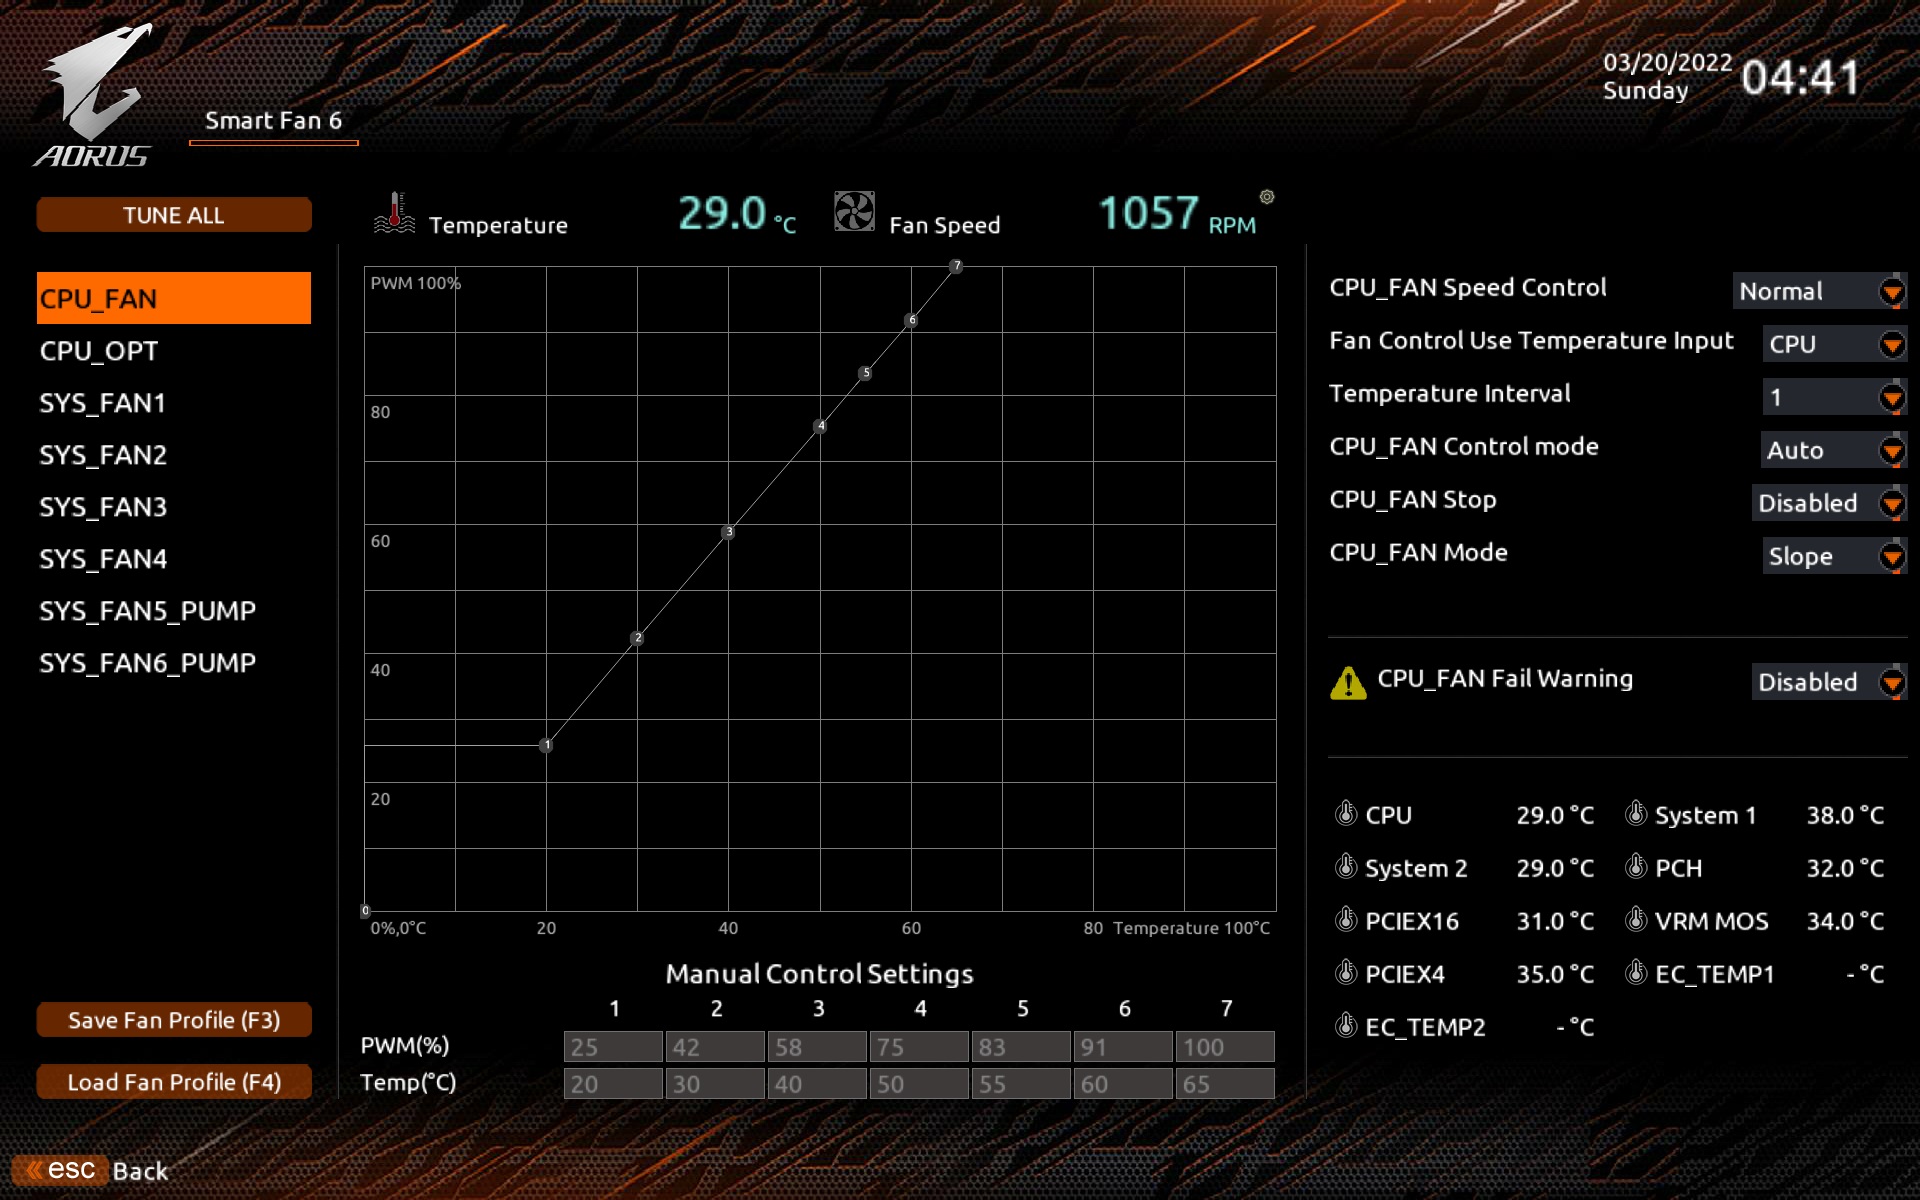
So you can adjust the system fans according to the temperature sensing from around the PCIe ×16 slot. While we won’t tell you what location this temperature reading comes from, it’s certainly the closest to the graphics card whose cooling (by the fans in the case) you can adjust in this way. In addition to manually adjusting the speed, Gigabyte also gives you a choice of preset profiles (Silent, Normal, Full Speed).
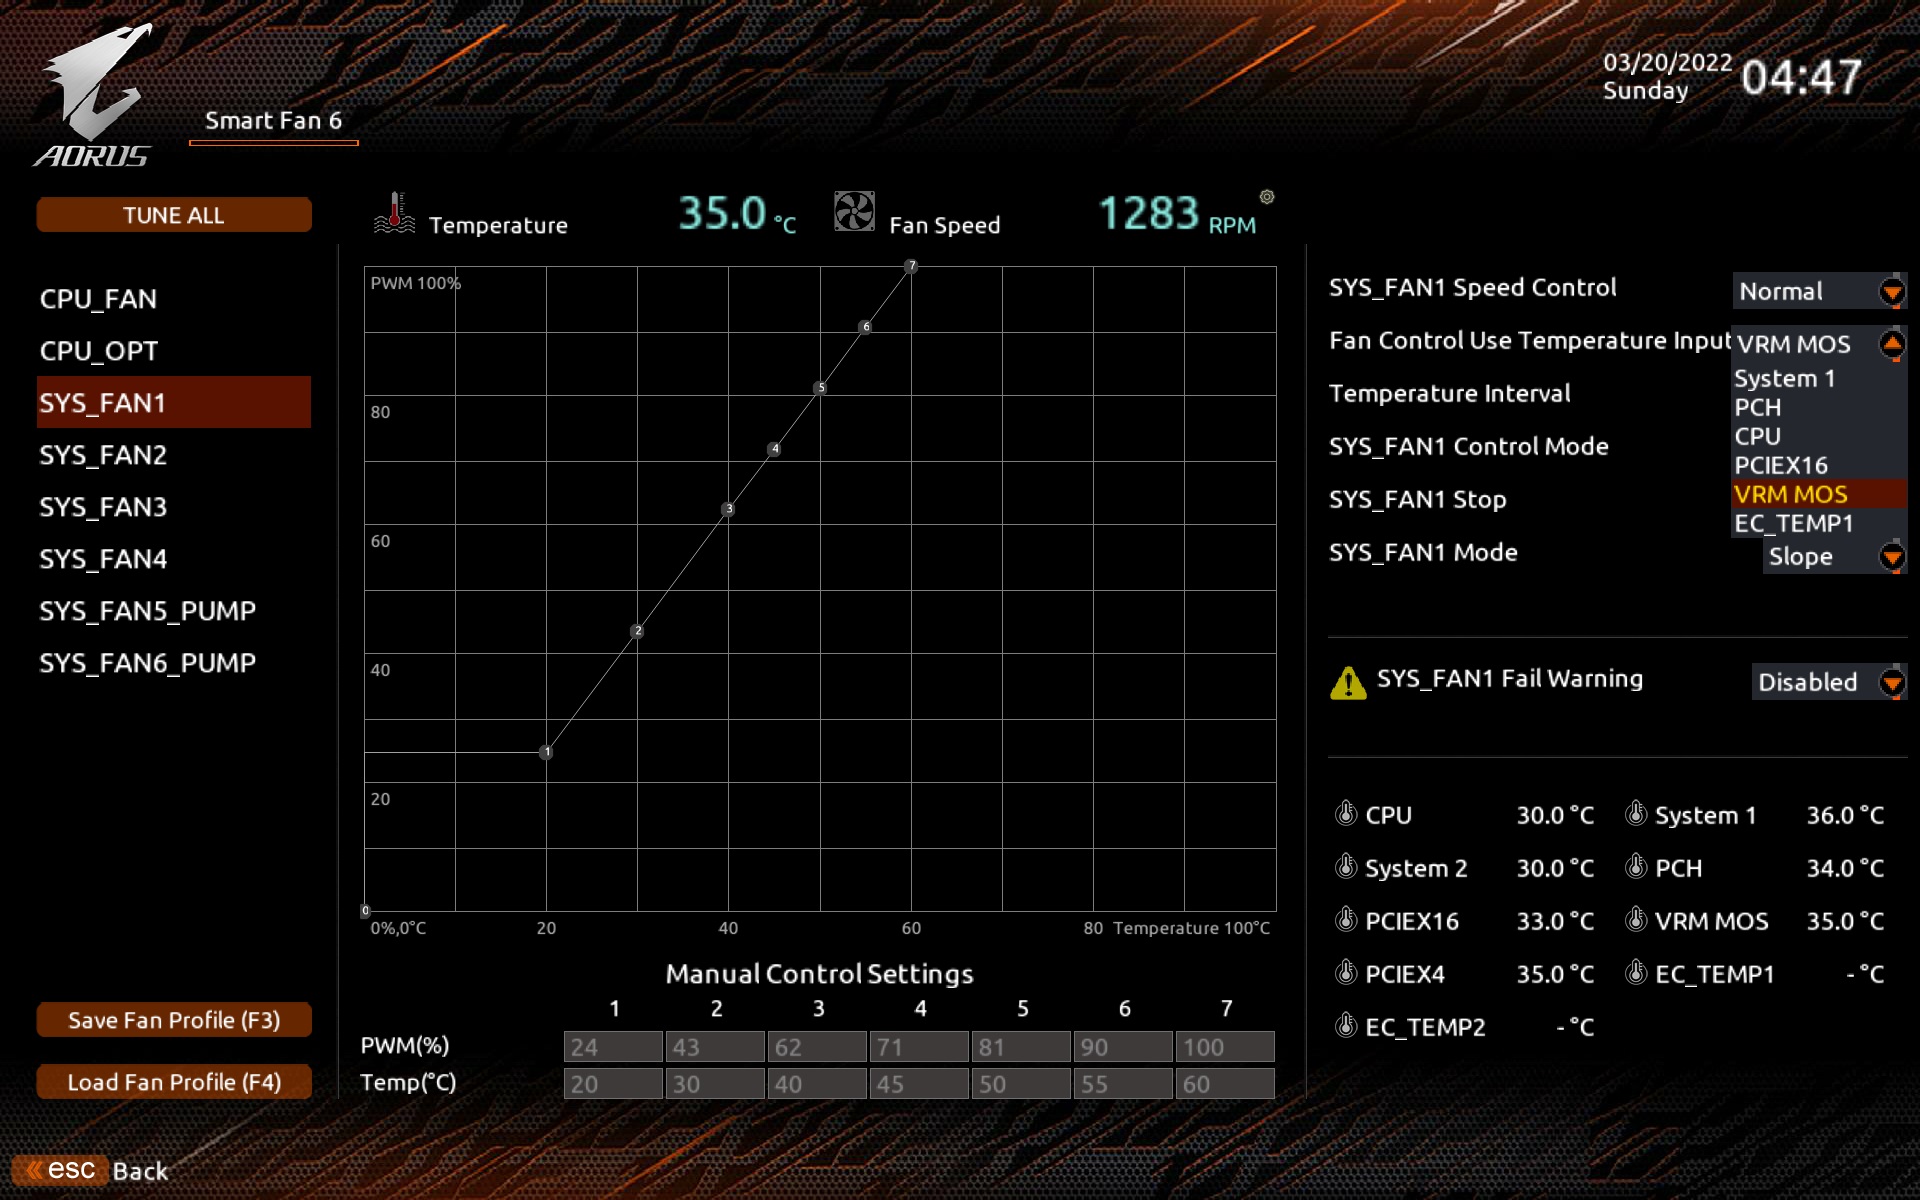
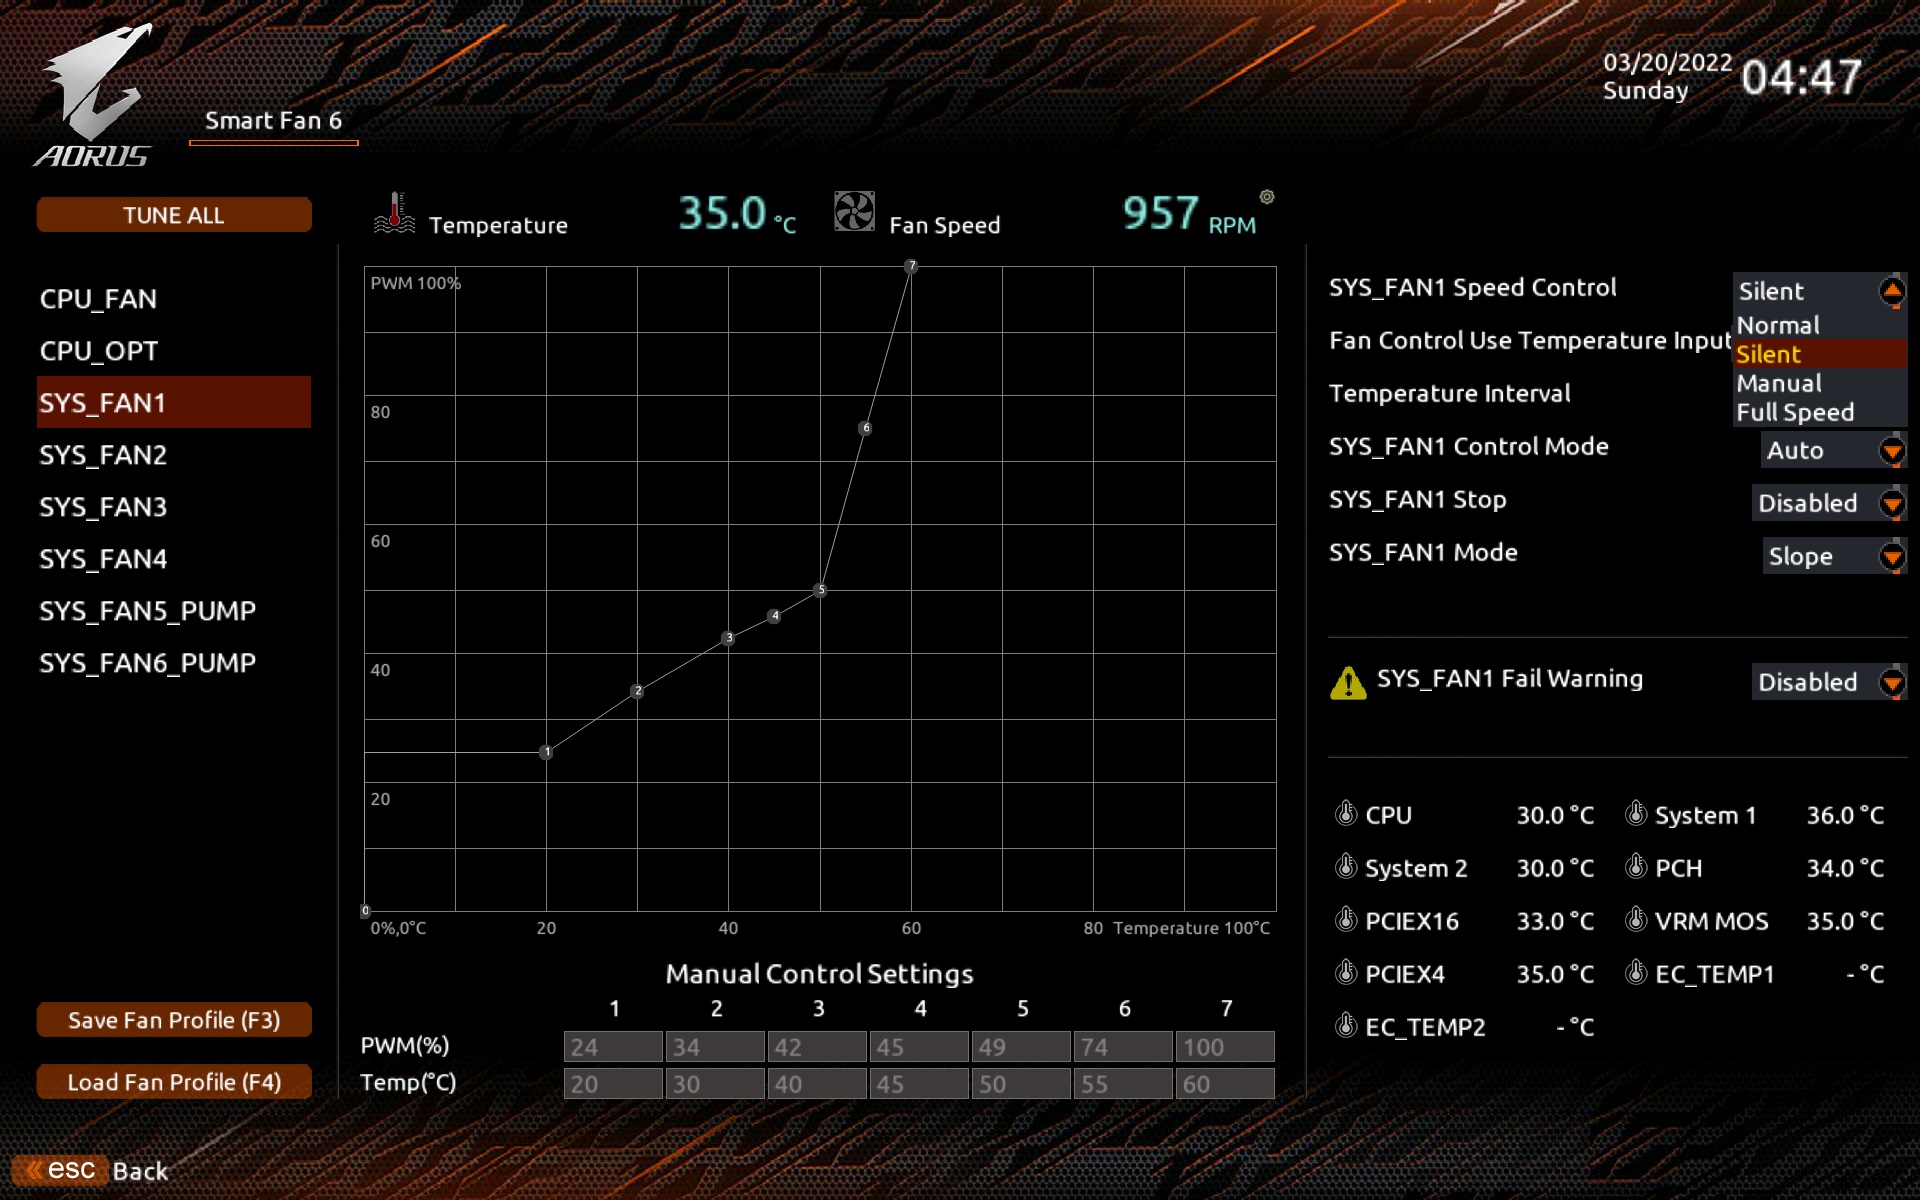
All connectors support the so-called “fan stop”, which is also interesting from the point of view of DC regulation, for which they stop switching from a certain level. And in case of a fault, it is again possible to enable a warning for a non-functioning fan. However, unlike the Asus boards, this is disabled in the factory settings also for the CPU_fan connector so that POST doesn’t stop on a fan “fault” that you don’t have connected and it”s intentional.
- Contents
- Gigabyte B660 Aorus Master DDR4 in detail
- What it looks like in the BIOS
- Methodology: Performance tests
- Methodology: How we measure power draw
- Methodology: Temperature and frequency measurements
- Test setup
- 3DMark
- Borderlands 3
- F1 2020
- Metro Exodus
- Shadow of the Tomb Raider
- Total War Saga: Troy
- PCMark and Geekbench
- Web environment
- 3D rendering: Cinebench, Blender, ...
- Video 1/2: Adobe Premiere Pro
- Video 1/2: DaVinci Resolve Studio
- Graphics effects: Adobe After Effects
- Video encoding
- Audio encoding
- Photos: Adobe Photoshop, Affinity Photo, ...
- (De)compression
- (De)encryption
- Numerical computing
- Simulations
- Memory and cache tests
- M.2 (SSD) slots speed
- USB ports speed
- Ethernet speed
- Power draw curve (EPS + ATX connector) w/o power limits
- Power draw curve (EPS + ATX connector) with Intel's power limits
- Total power draw (EPS + ATX connector)
- Achieved CPU clock speed
- CPU temperatures
- VRM temperatures – thermovision of Vcore and SOC
- SSD temperatures
- Chipset temperatures (south bridge)
- Conclusion