The purpose of a CPU cooler is to transfer enough heat away from the processor so that it can operate within its optimal parameters, for example clock speeds. These are only achieved within the expected range if the processor, in combination with the cooler being used, does not heat up more than is desirable for achieving attractive performance. Yes, everything usually revolves around speed, but that is also associated with factors such as power consumption.
How a cooler is installed
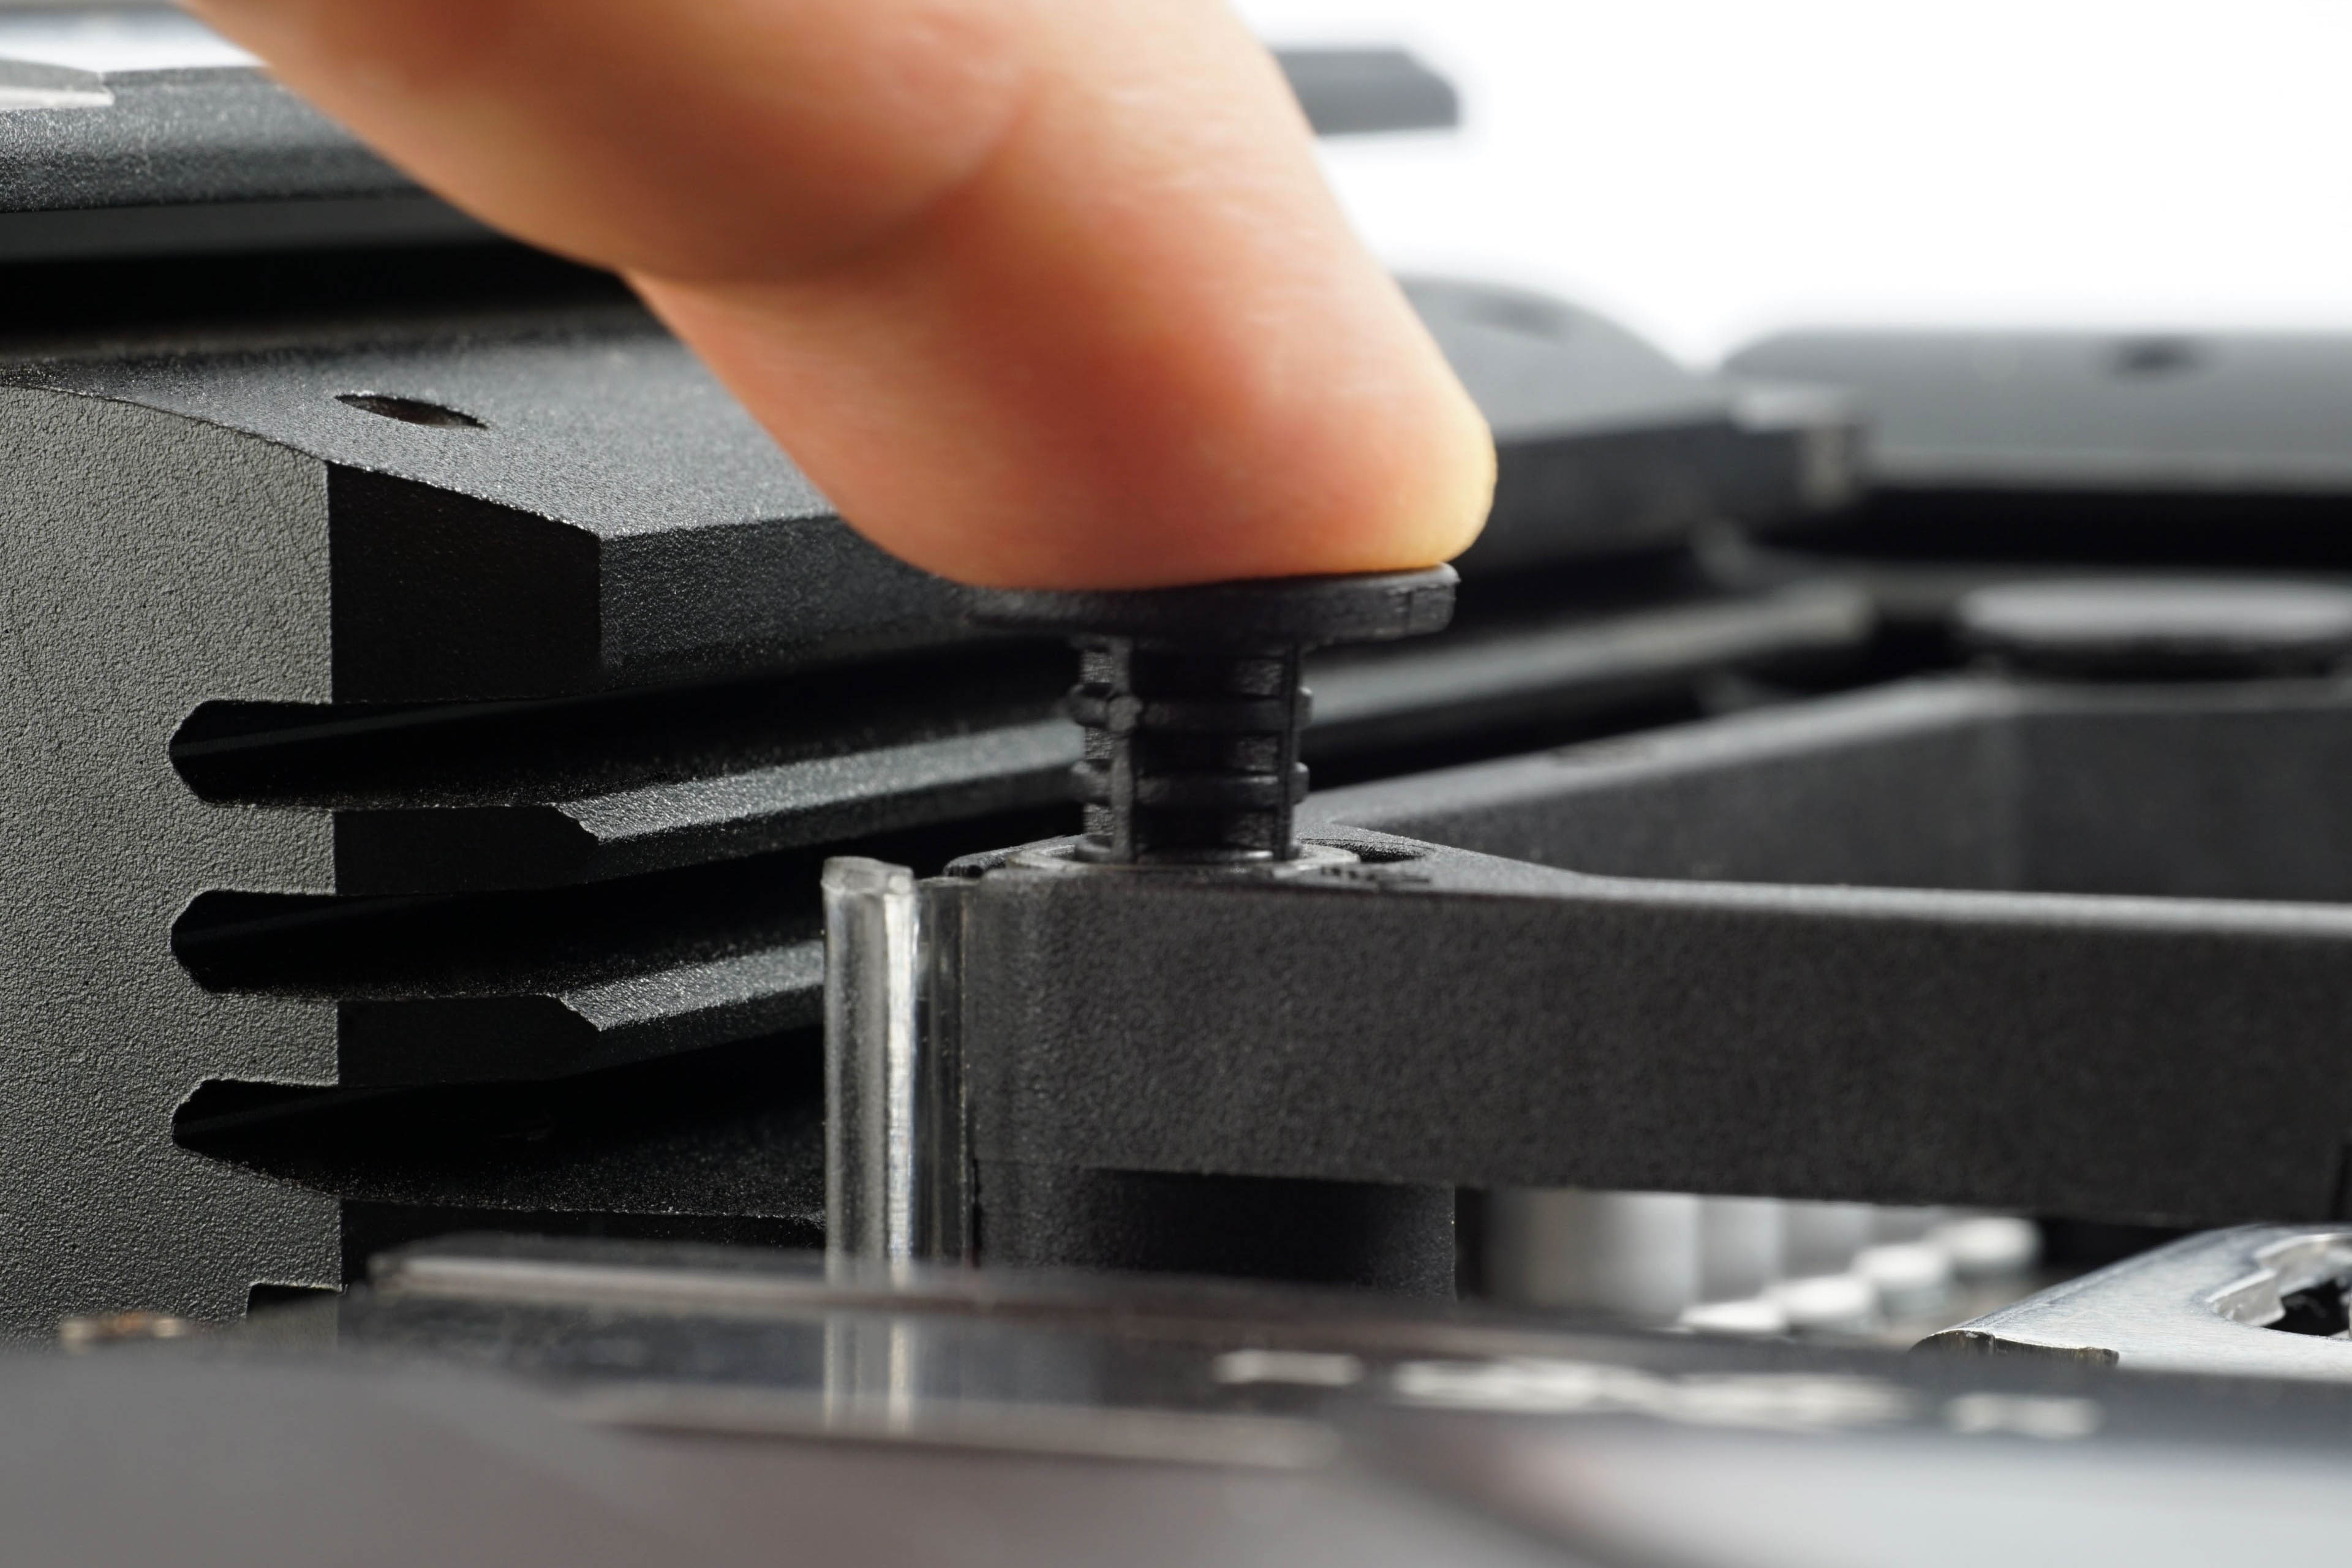
CPU cooler installation is performed in various ways. In every case, it involves attaching the cooler to the motherboard. The processor being cooled sits between the motherboard and the cooler. One installation method uses so-called “push pins.” These plastic pins pass through the mounting holes around the processor socket, expand at the end, and thereby secure themselves to the motherboard. This technique is used primarily for lightweight coolers, where the mounting system is more likely to withstand higher mechanical stress—for example, when a computer is being transported and subjected to impacts.
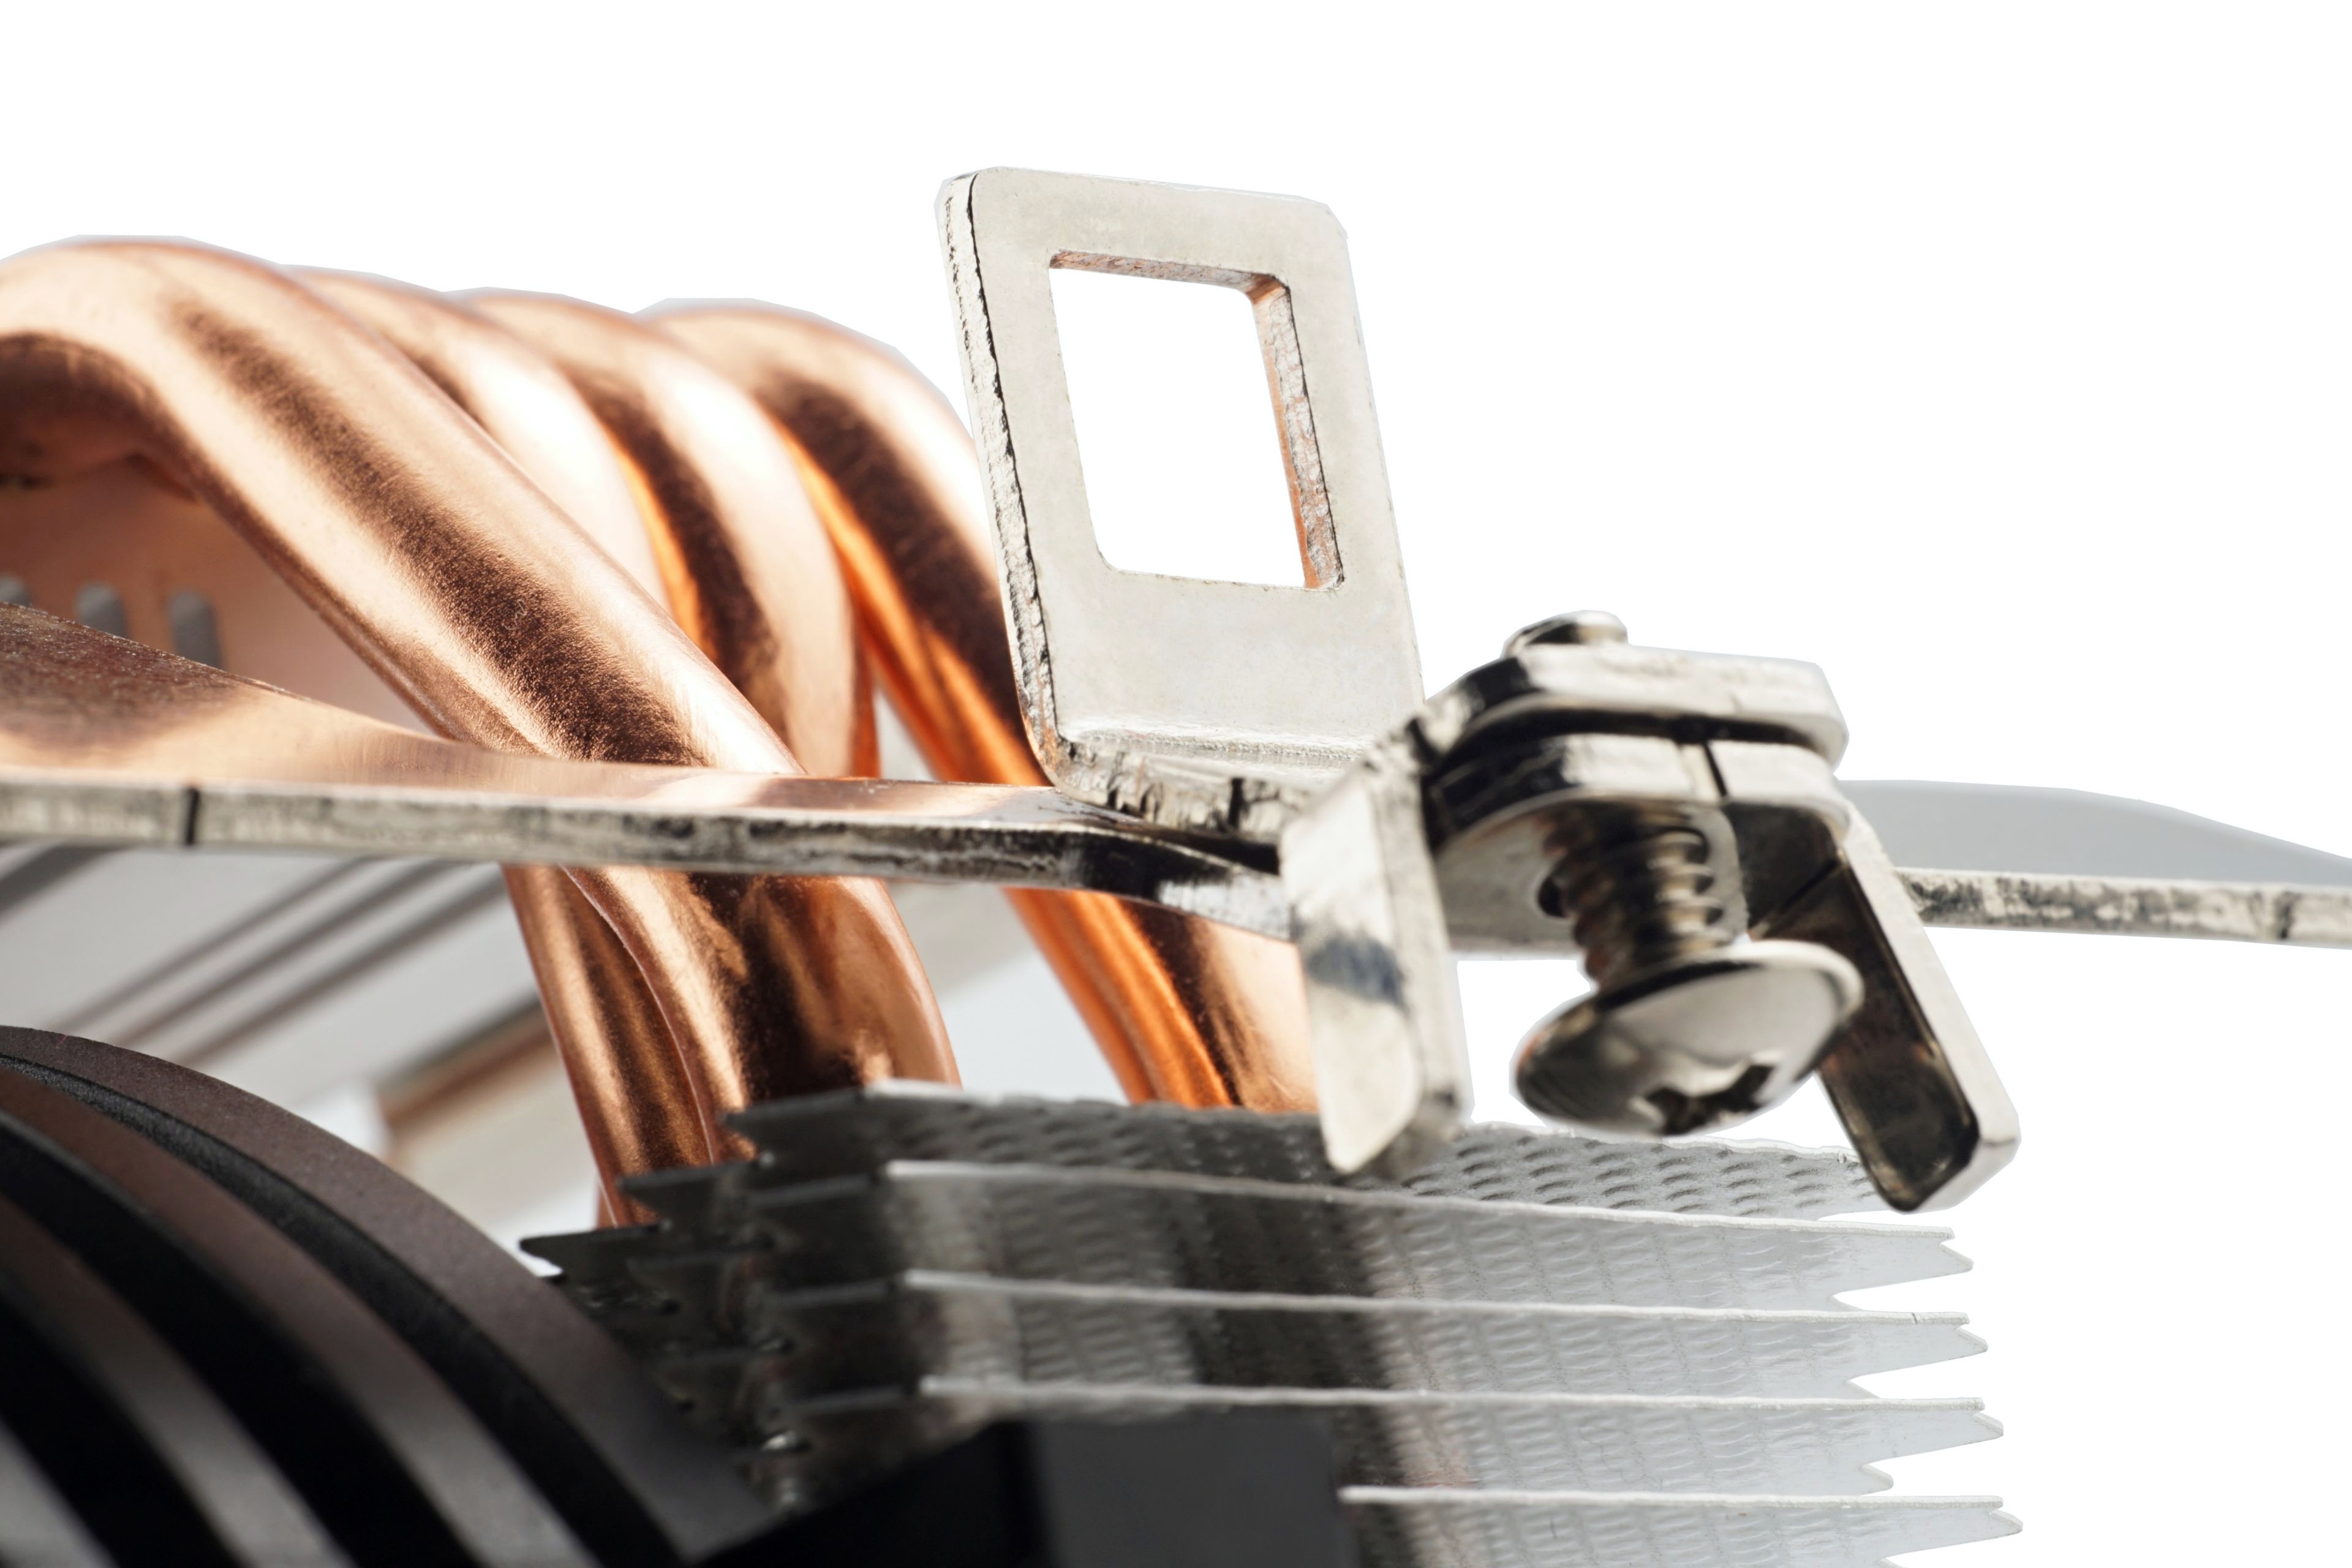
Then there are coolers—primarily for AMD platforms—that use the retention brackets located on either side of the socket. These are the plastic brackets that come preinstalled on every motherboard. The cooler’s metal retention clip hooks onto them, and once the mechanism that applies pressure to the processor is tightened, the installation is complete. Naturally, thermal paste must first be applied to the base of the cooler. In some cases it is pre-applied, while in others you must apply it yourself by squeezing it from the supplied tube. What is the proper way? We tested various application techniques and different amounts, so you can judge the results for yourself.
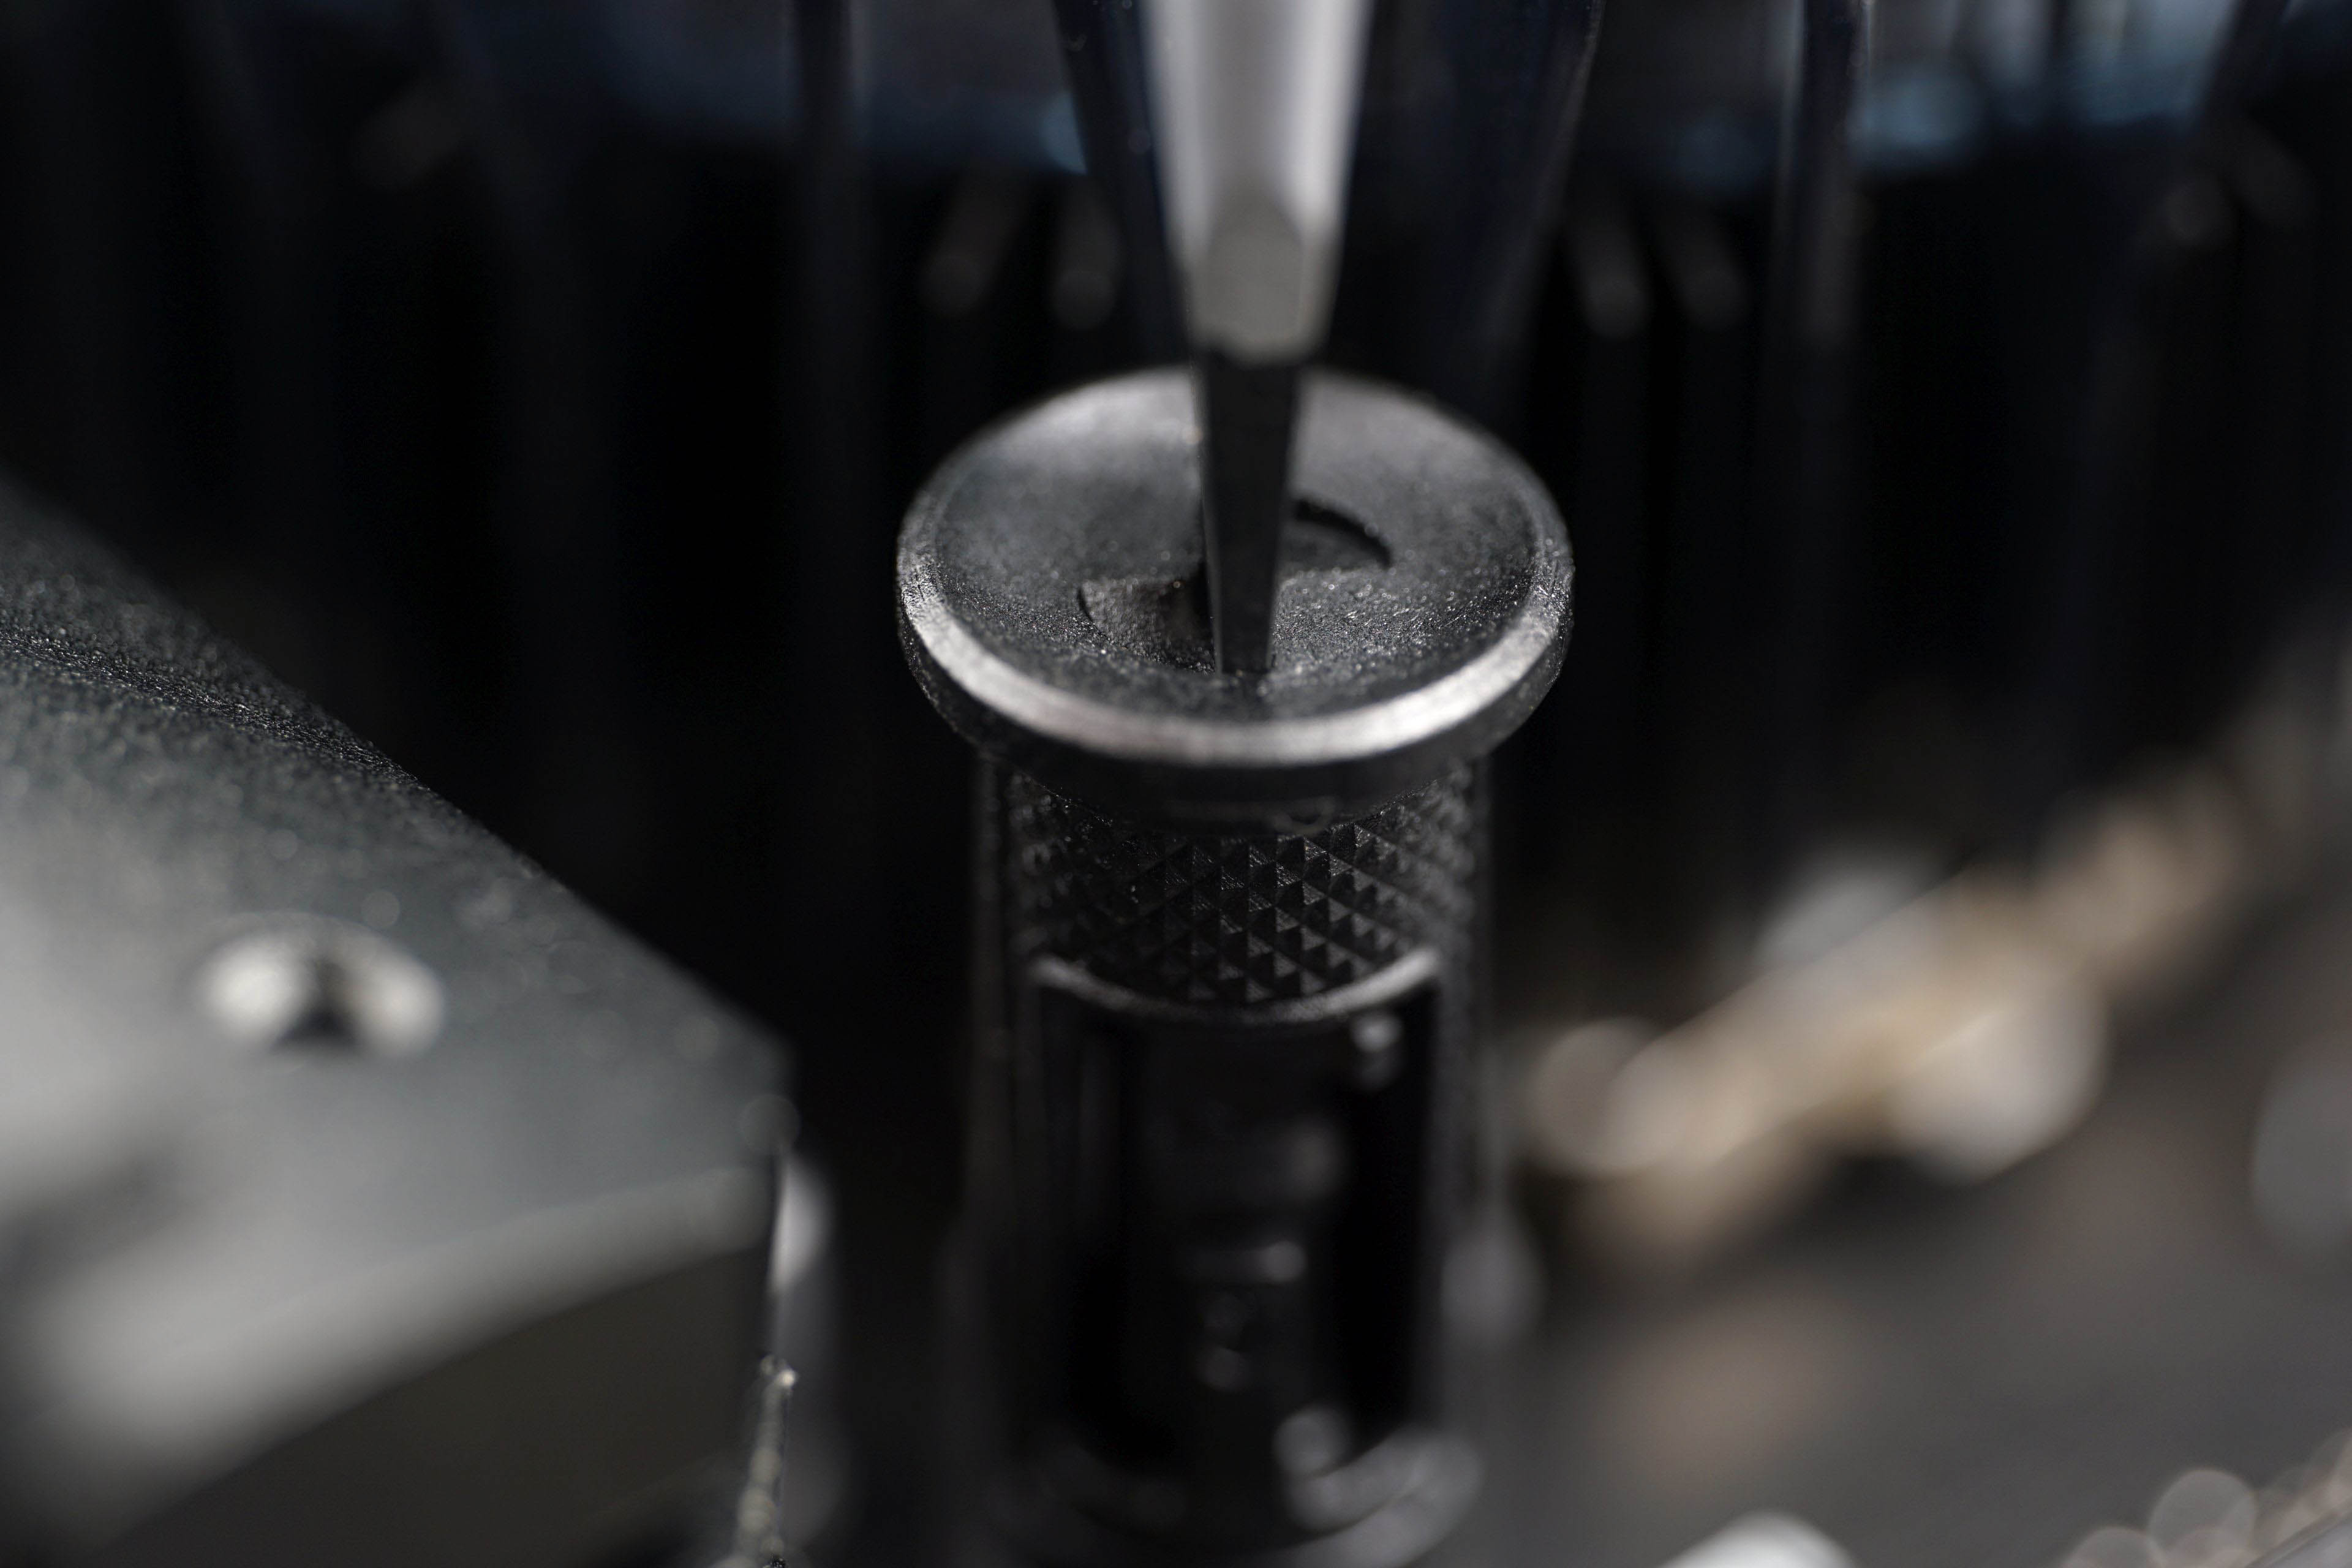
Many coolers use a component called a “backplate.” Structurally, it is a cross-shaped bracket installed on the back of the motherboard. It has threads in its corners which pass through the motherboard’s mounting holes. From there, the installation procedure depends on the specific cooler you own. The backplate is typically secured using standoffs, which also determine the spacing and the required mounting pressure applied to the processor. Mounting brackets are then attached to these standoffs, and finally the cooler itself is fastened to the brackets. Before that, of course, thermal paste must be applied.

Some coolers do not use standoffs, and instead the cooler itself (typically the water block of a liquid cooler) is attached directly to the backplate, for example using springs. These springs ensure even mounting pressure. And since we are discussing mounting pressure, it is worth noting that the greater the mounting pressure, the better the heat transfer (and ultimately cooling performance) can be. It is similar to touching a radiator lightly with your finger versus pressing firmly against it. Greater pressure increases the contact area here as well. However, excessive pressure carries the risk of bending or even permanently damaging the processor or motherboard, typically by cracking or breaking something, so moderation is essential. Cooler manufacturers—and particularly the designers of their mounting systems—generally strive to ensure that everything is set up in an optimal way.
As the need to dissipate larger amounts of heat increases—typically with higher-performance processors—CPU cooler manufacturers strive to improve thermal transfer by bringing the part of the cooler base with the highest thermal conductivity closer to the areas of the processor that generate the most heat. Various techniques are used to achieve this. In some cases, it’s as simple as introducing a slight local convexity to the base so that higher mechanical pressure—and therefore greater contact pressure—is applied exactly where it’s needed most.
Please note: The article continues in the following chapter.