


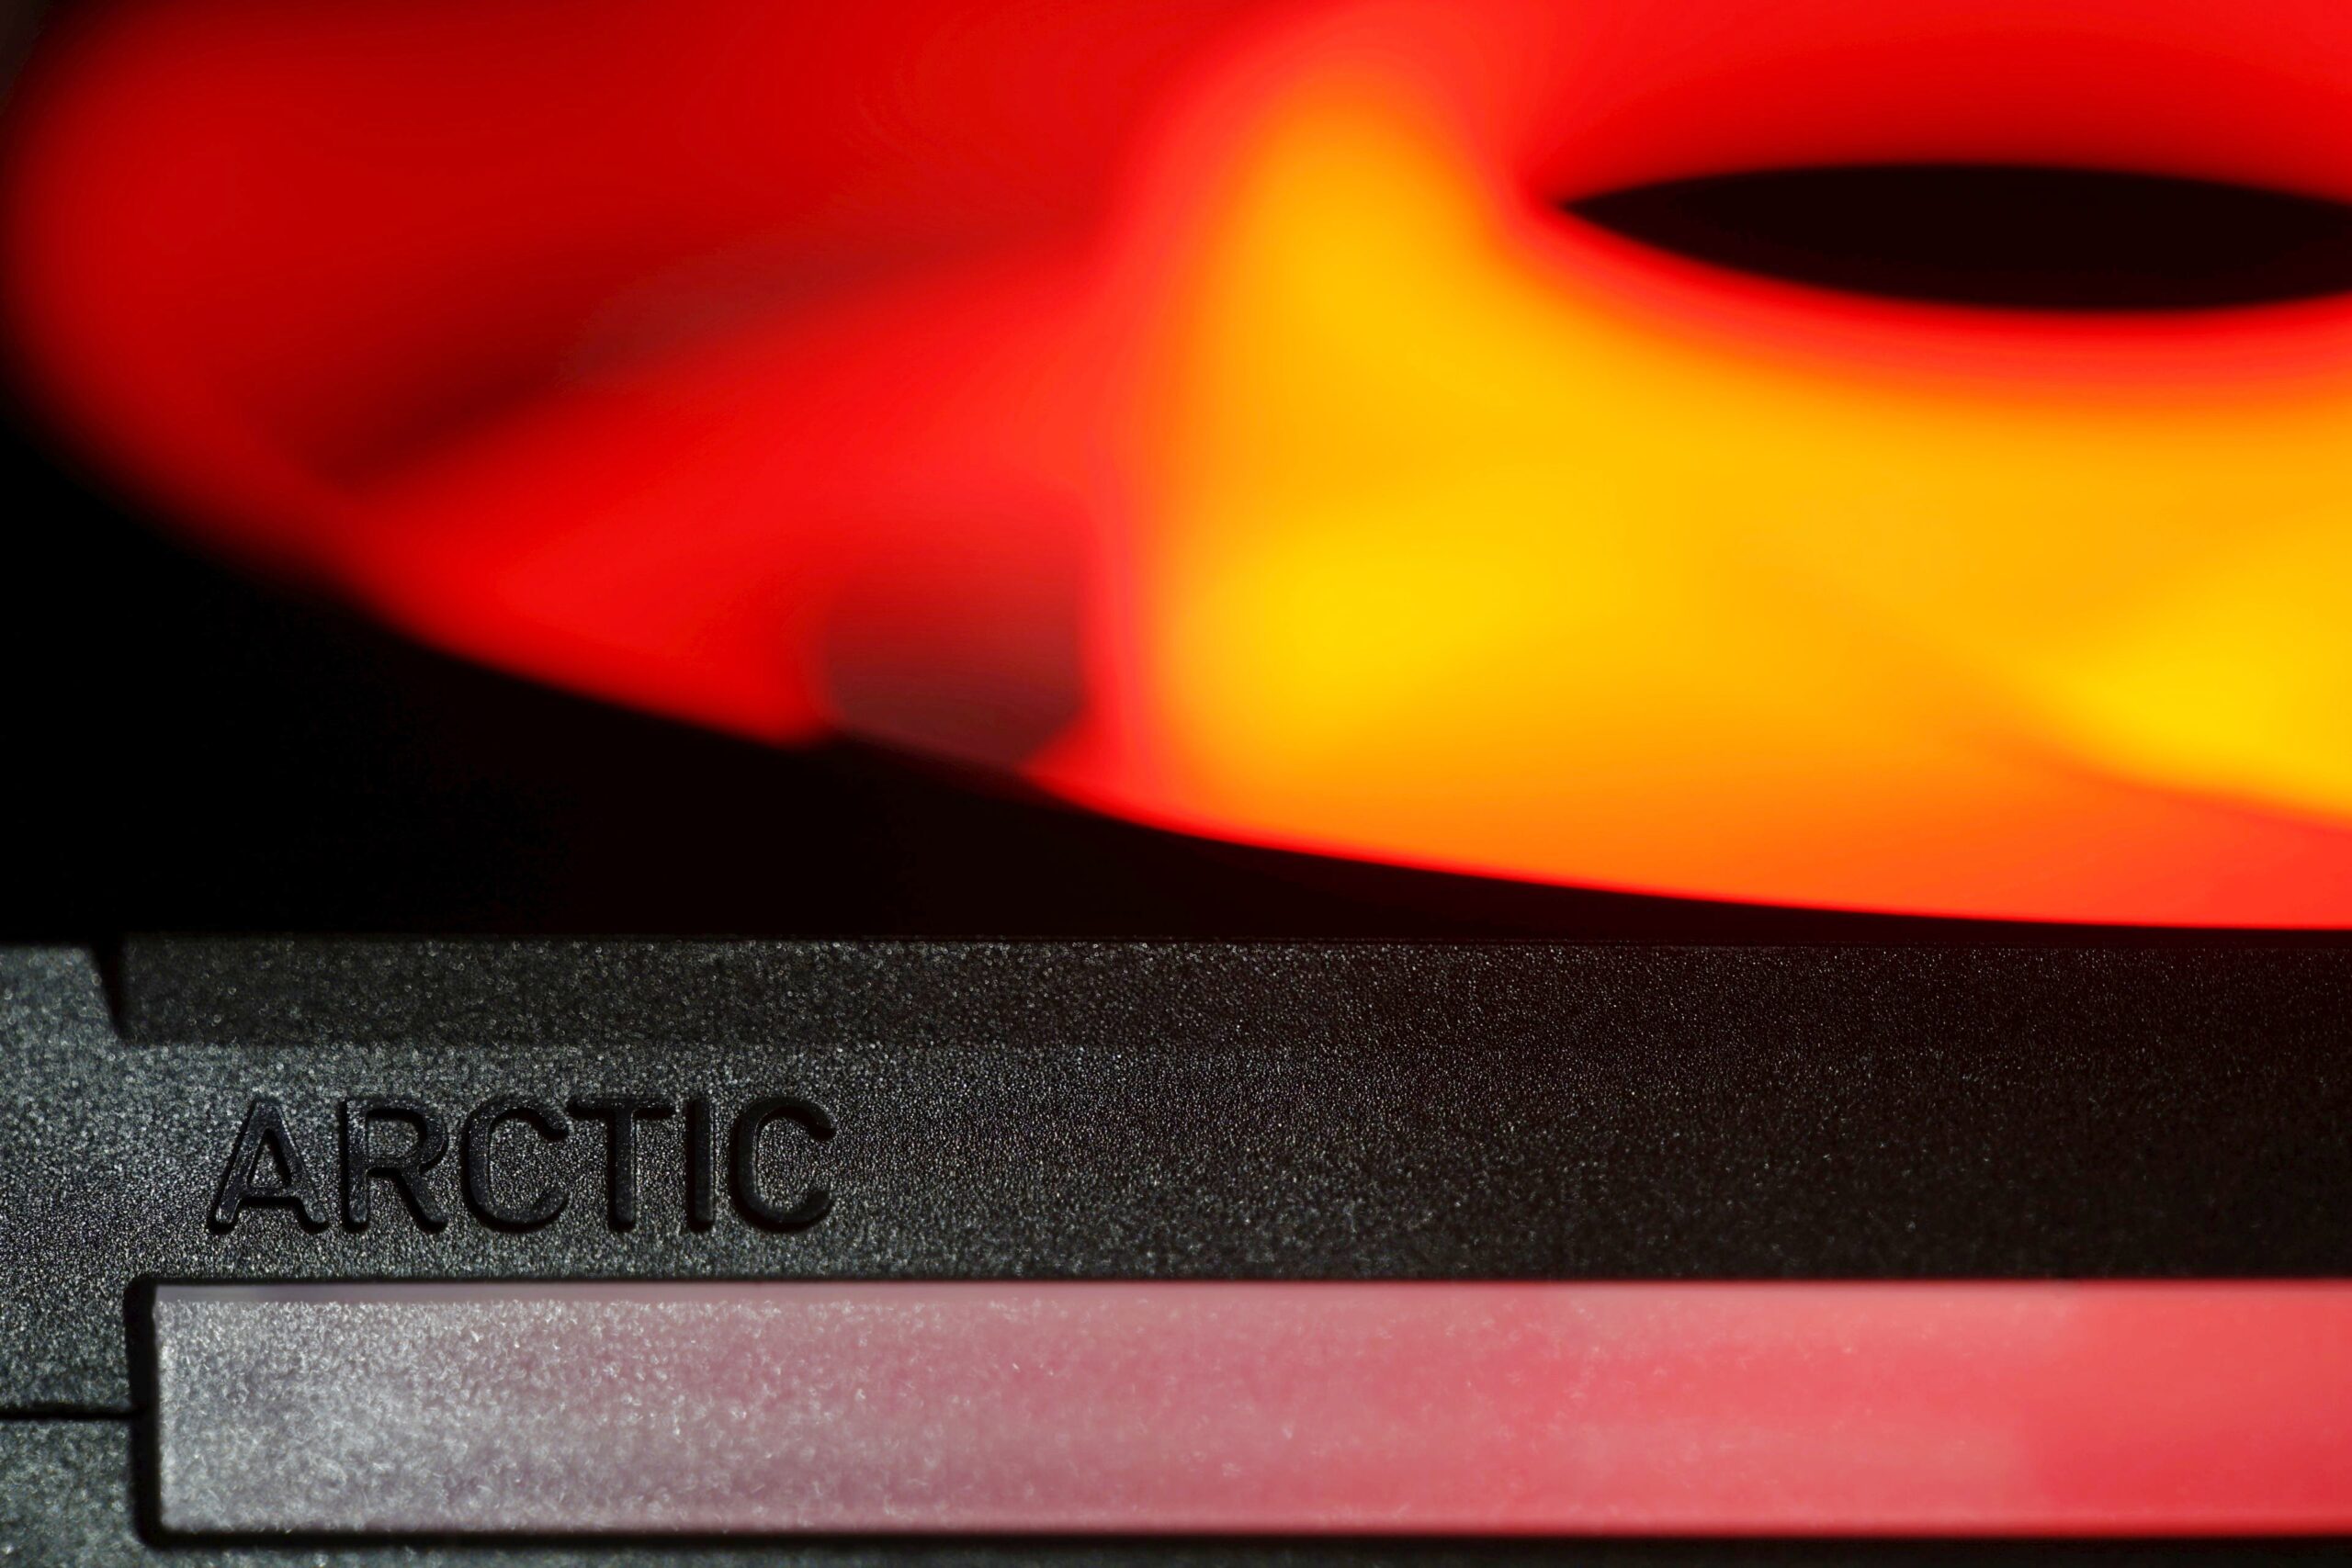
High cooling efficiency is the foundation, but with the BioniX P14 A-RGB fans, Arctic has also made efforts on other fronts. In addition to the clever daisy-chaining method (with the aim of reducing cabling to a minimum), this includes, for example, illumination as intense as possible. The light is guided not only through the entire impeller, but also through the surface of the frame, from the side. There are light guides in these areas as well.
Measurement of static pressure…
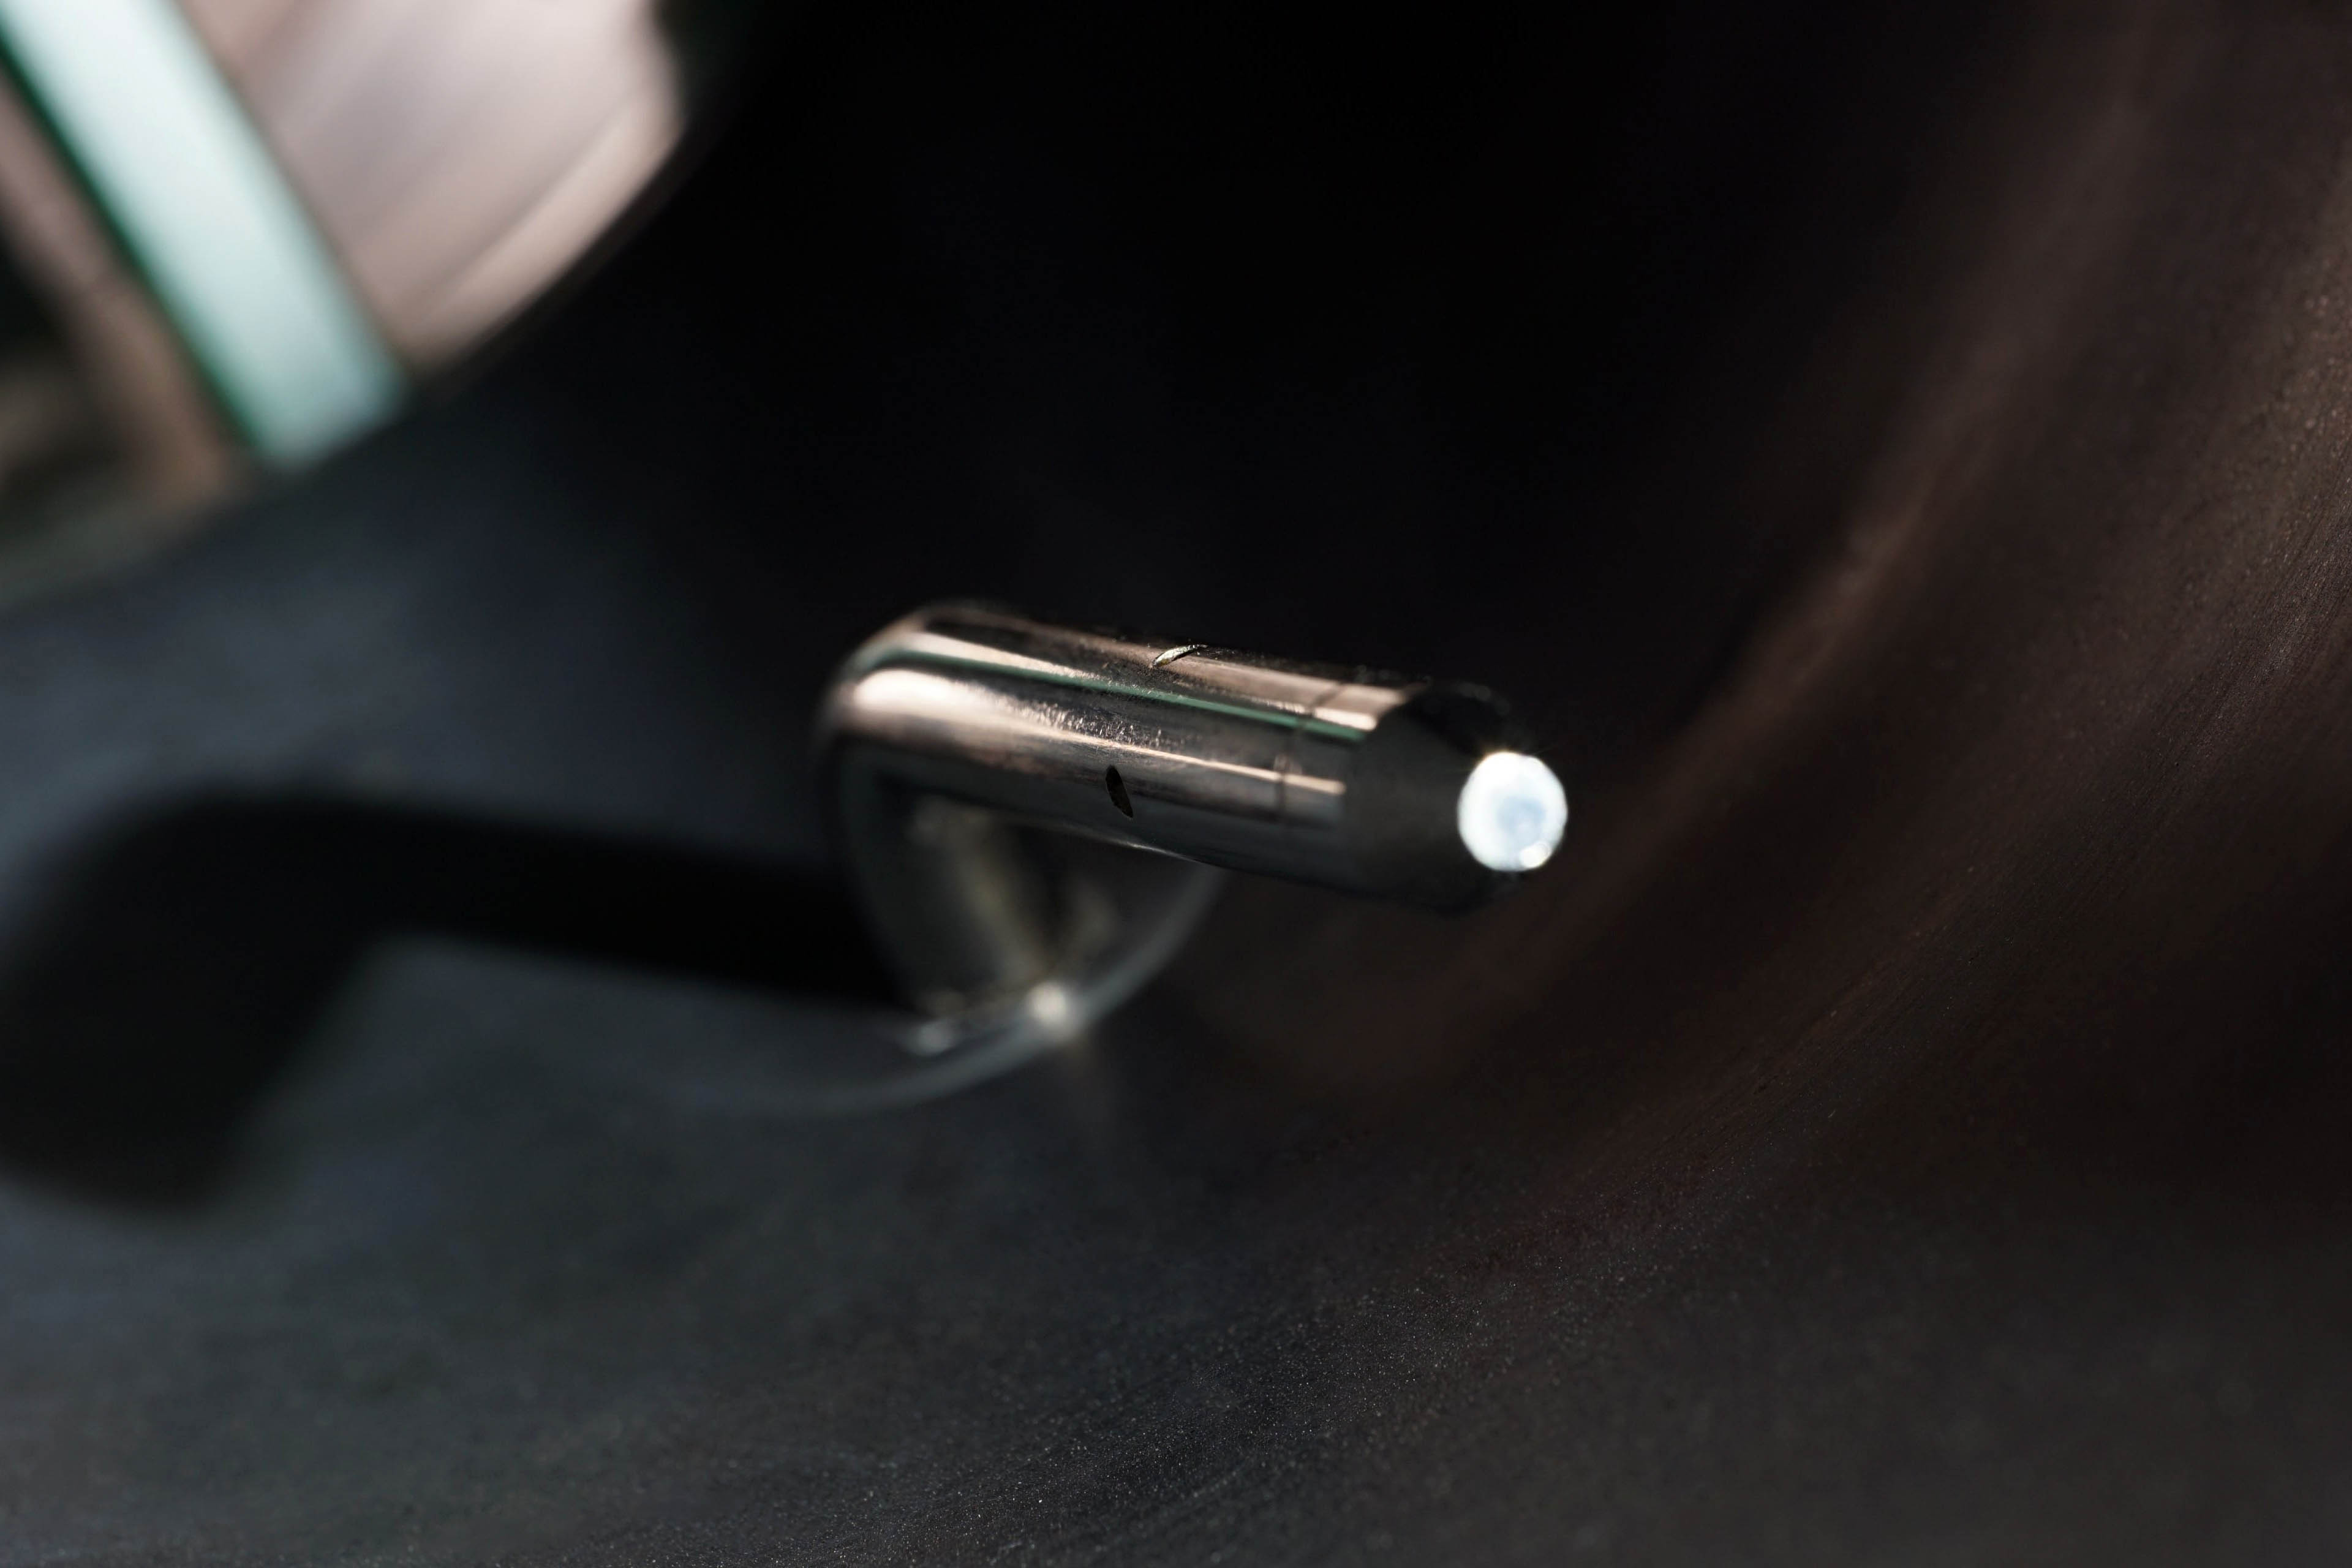
Finally, it is time to move further down the tunnel a bit. Just behind the fan is a static pressure sensing probe. Its position has been chosen with maximum measurement efficiency in mind. In other words, the sensors are placed at the points of highest pressure (although this is virtually the same everywhere in the unconstrained part of the tunnel).
The Fieldpiece ASP2, which is connected to the Fieldpiece SDMN5 manometer, is used to measure the static pressure in the tunnel. The latter also allows measurements in millimetres of water column, but we measure in millibars. This is a more finely resolved base unit for this meter. And only from there we convert the measured values into mm H2O to allow easy comparison with what the manufacturers state.
While we wrote when measuring noise levels that our results could not be compared with the parameters, that is no longer the case here. As long as the fan manufacturers do not embellish the parameters, they should quote approximately the same pressure values as our tests show. The most significant deviations can only arise at the level of varying accuracy of the measuring instruments, but these are negligible percentages.
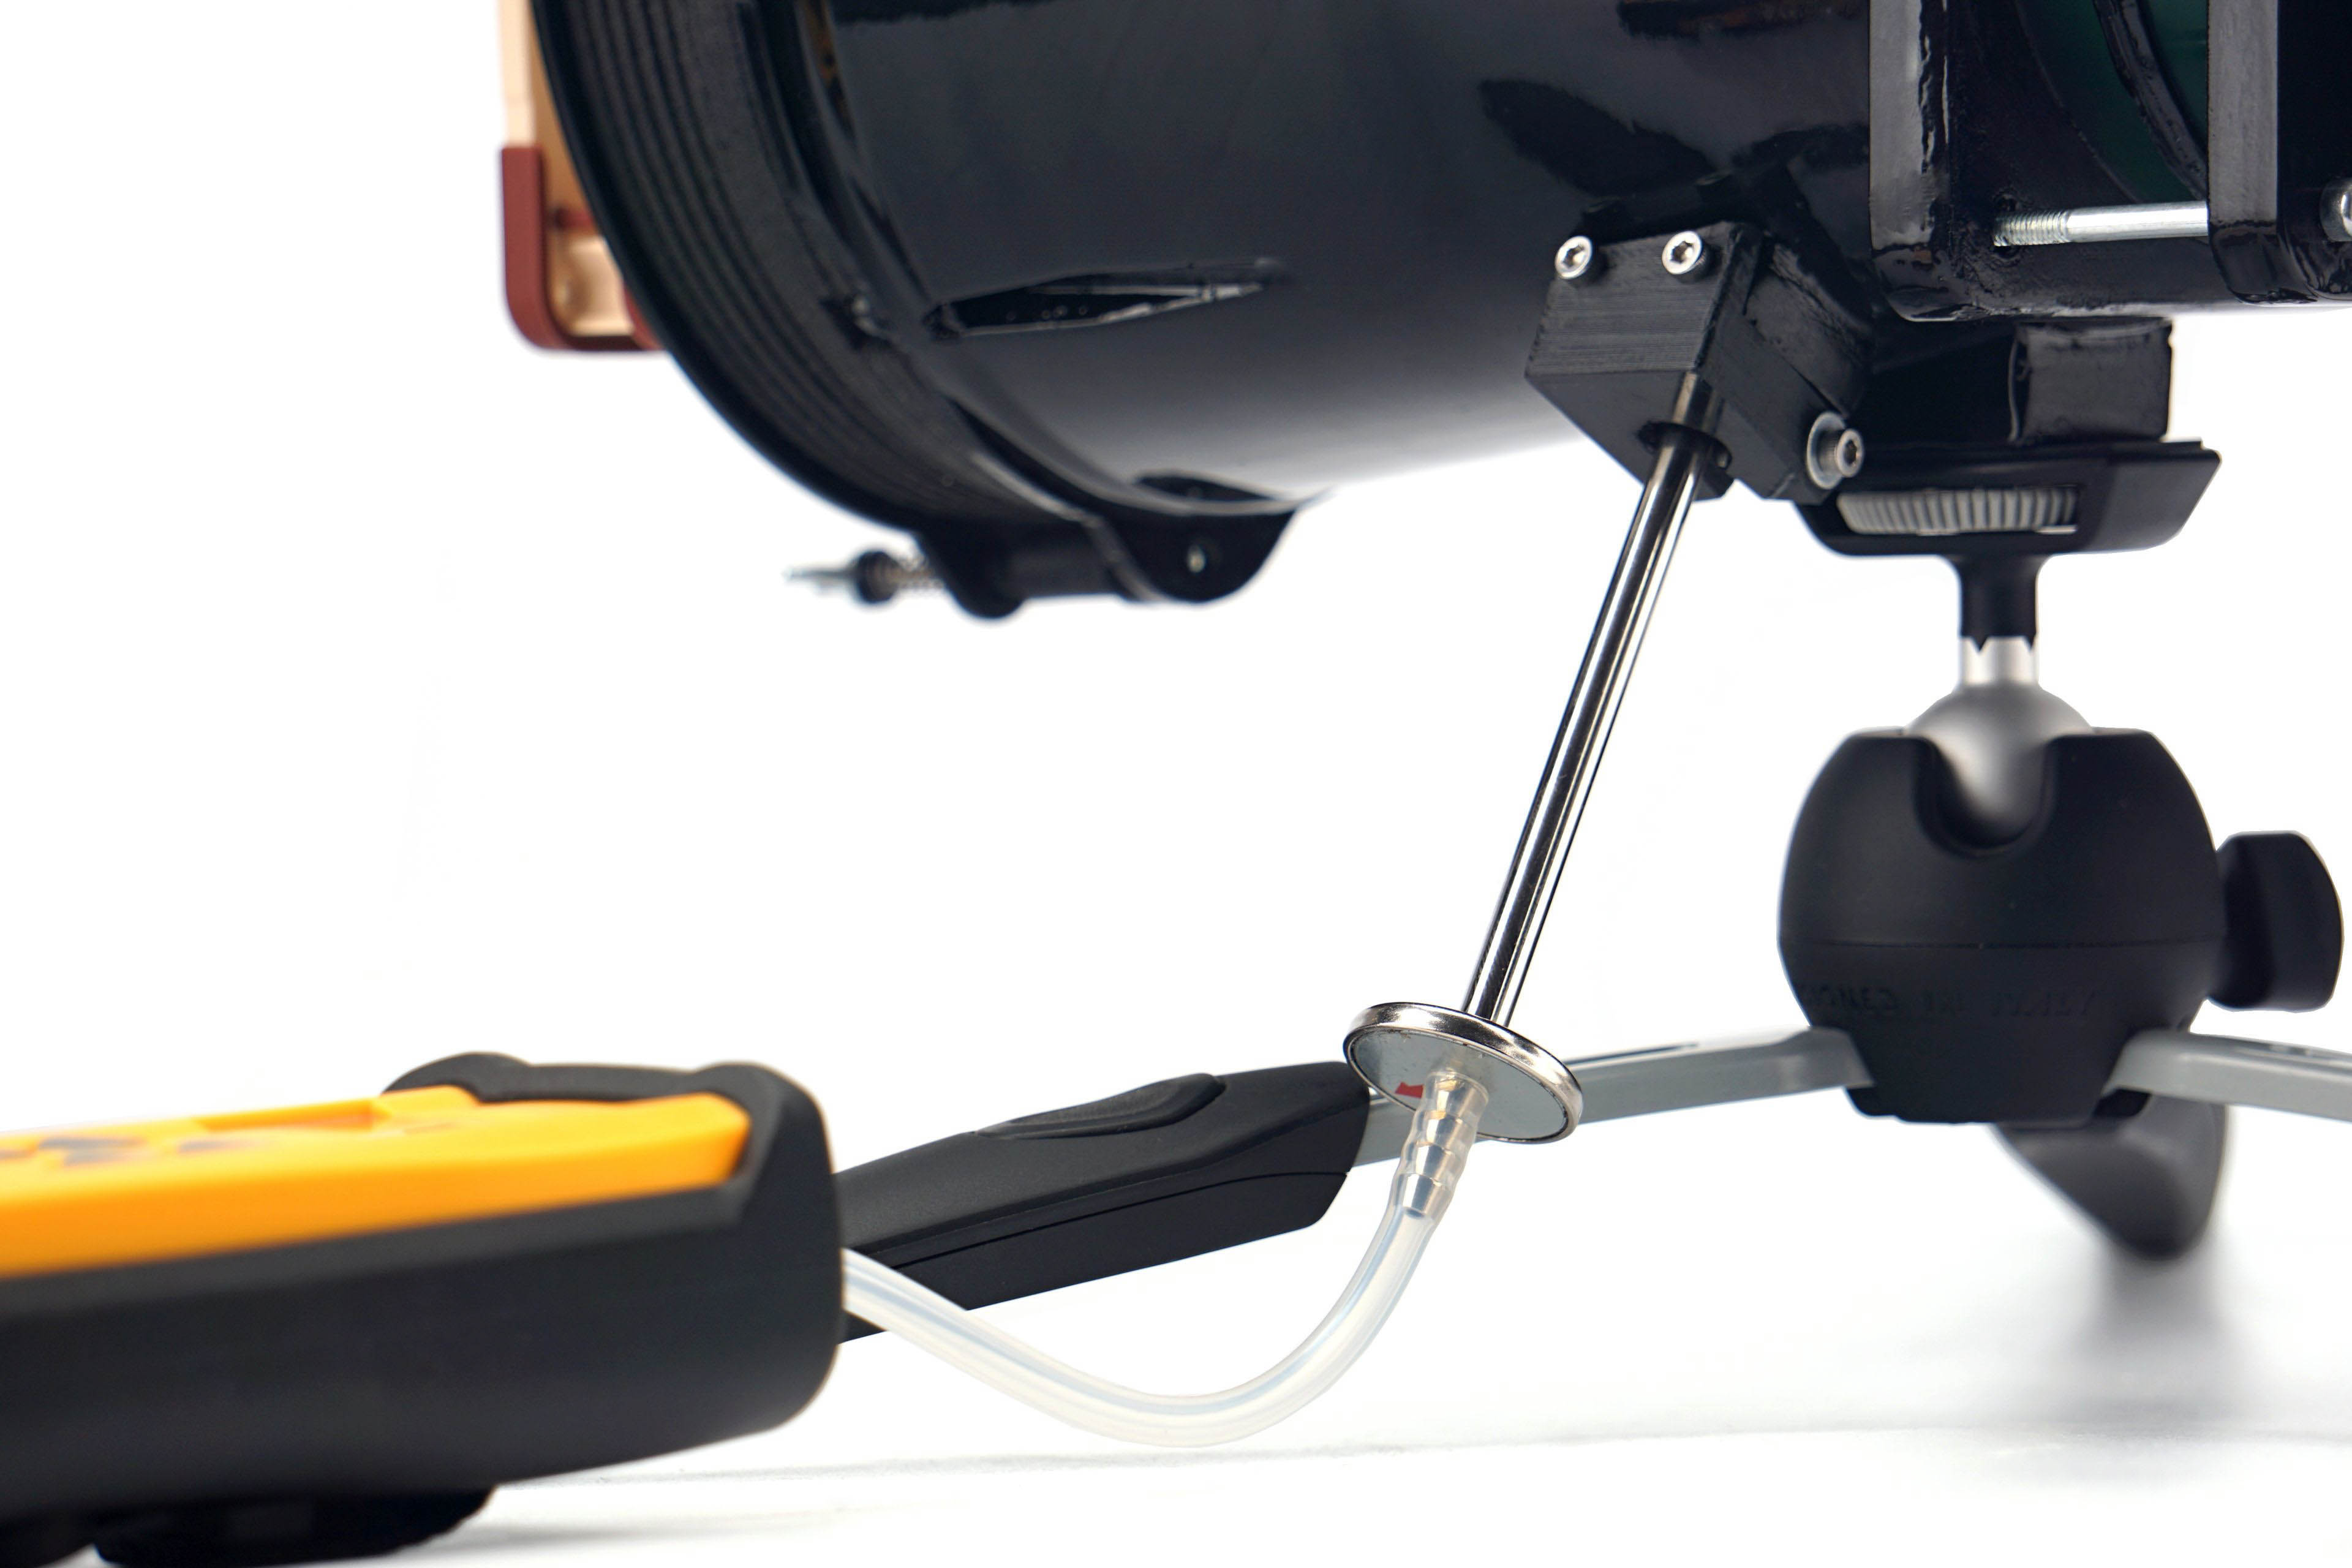
The greater the difference between the manufacturer’s claimed values and ours, the less the specifications correspond to reality. If the claimed values are significantly higher, it is certainly an intention to artificially give an advantage to the fans on the market. However, if the manufacturer quotes a lower pressure value than we do, it points to something else. Namely, a weaker tightness of the measuring environment. The less tight the tunnel is, the lower the pressure you naturally measure. This is one of the things we tuned for an extremely long time, but in the end we ironed out all the weak spots. Whether it’s the passage for the probe itself, the flanges around the anemometer, even the anemometer frame itself, which is made up of two parts, needed to be sealed in the middle. Finally, the flap at the tunnel outlet must also be perfectly tight. That’s because static pressure has to be measured in zero airflow.
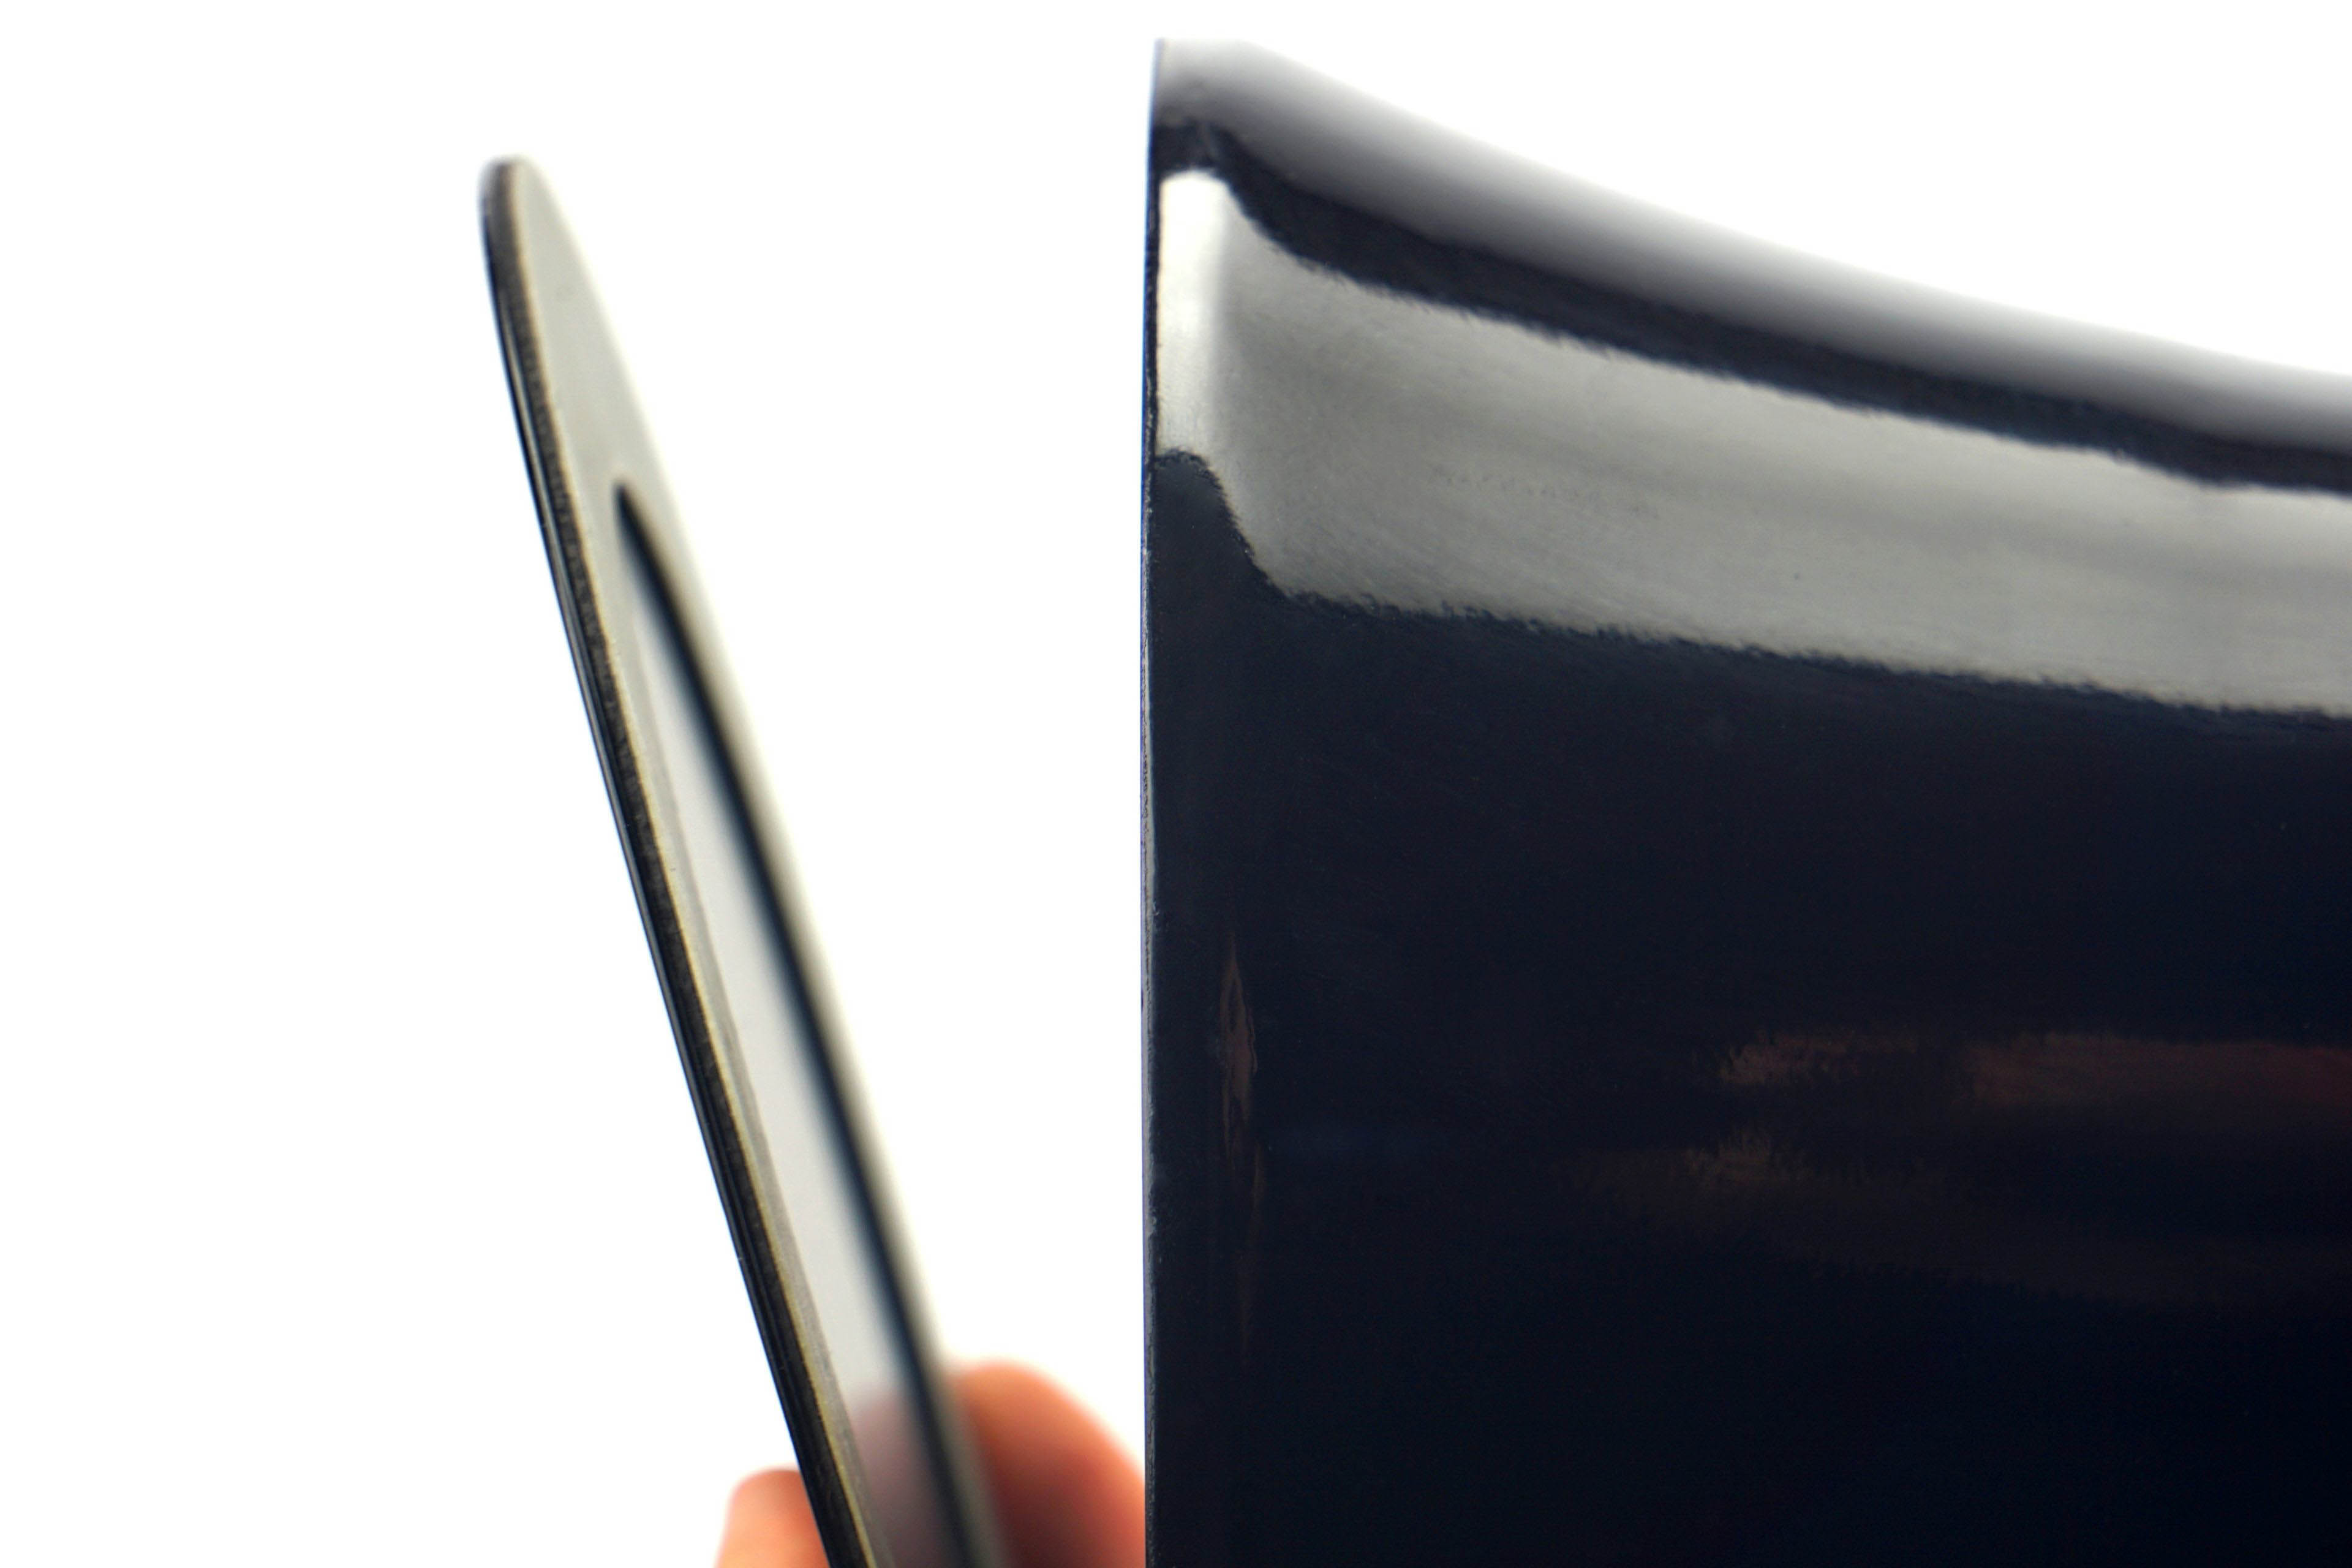
But there is one thing that often lowers the pressure of the fans a bit. And that’s protruding anti-vibration pads in the corners or otherwise protruding corners. In other words, when the fan doesn’t fit perfectly to the mounting frame at the inlet, and there are small gaps around the perimeter, that also affects what you measure. But we have not gone into this because it is already a quality feature of the fan. In the same way, it will “stand out” and perform a bit weaker than it has the potential to do with better workmanship, even after application by the end user.




And next time, shall we do the Seasonic MaxFlow fan? 🙂
Me again. Still none of tables do show up. Instead only error messages show. I did check using three devices and two different browsers. Only your newest Arctic BioniX test is affected.
Could you please give me some examples of pages where the charts aren’t displaying correctly? I’ll take a look afterwards and we’ll incorporate the fix—I’ll fix them. Thanks! 🙂
Hey, it might be an issue on my end but several pages of this test don’t load correctly on two devices of mine. Apart from that, thanks a lot for the test. It did perform exceptionally well in the hwbusters-test, too.
Personally, I would like to see a test of the “Noiseblocker NB-eLoop X B14-P ARGB”, since I own several of them. However, testing them probably wouldn’t be interessting to you, since they are really old and I know only of one vendor still selling them
https://www.caseking.de/search?q=eloop+B14&search-button=&lang=de_DE
They used to cost 25 or even 30€ per fan, if I remember correctly. I think, the noiseblocker fans were one of the first to use an outer ring on the impeller.
Thanks for the contribution. Yeah, there were a few charts that weren’t displaying correctly, or weren’t showing up at all. If you spot anything like that, please let me know. Everything should be there completely now, but…
The NB-eLoop X B14-P ARGB is definitely worth testing, of course, but our capacity… Anyway, one Noiseblocker fan will definitely appear in our tests down the line, as it has been planned for quite some time and we already have the samples. 🙂
The issue regarding the results pages not loading is still ongoing – even without VPN and no ad blocker.
The div-container usually containing the result tables shows:
“Oops! That page can’t be found.
It looks like nothing was found at this location. Maybe try one of the links below or a search?”
Everything should be fine now. The issue was on our end. The charts were being linked to URLs with the wrong month in them, which we’ve corrected (from 08 to 09), and they’re working now, haha. 🙂
Just a small addition: In the case of the three-pack, you can connect only one fan separately to a single motherboard header. But, of course, you can connect all three if the fans are daisy-chained with the tokens. 🙂