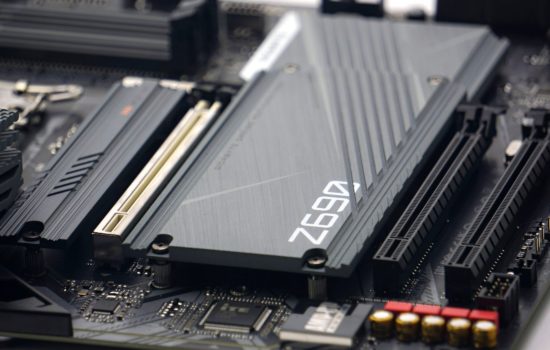
We’re concluding the tests of B850 motherboards with the MSI Tomahawk Max WiFi. In terms of price, it sits between the already tested B850 Aorus Elite WiFi7 and Asus ROG Strix B850-F Gaming WiFi, with its features leaning closer to the latter. In some aspects, it even surpasses it. The word “Max” in its name is well justified – three PCIe 5.0 slots, 5-gigabit Ethernet, more USB ports…
What it looks like in the BIOS
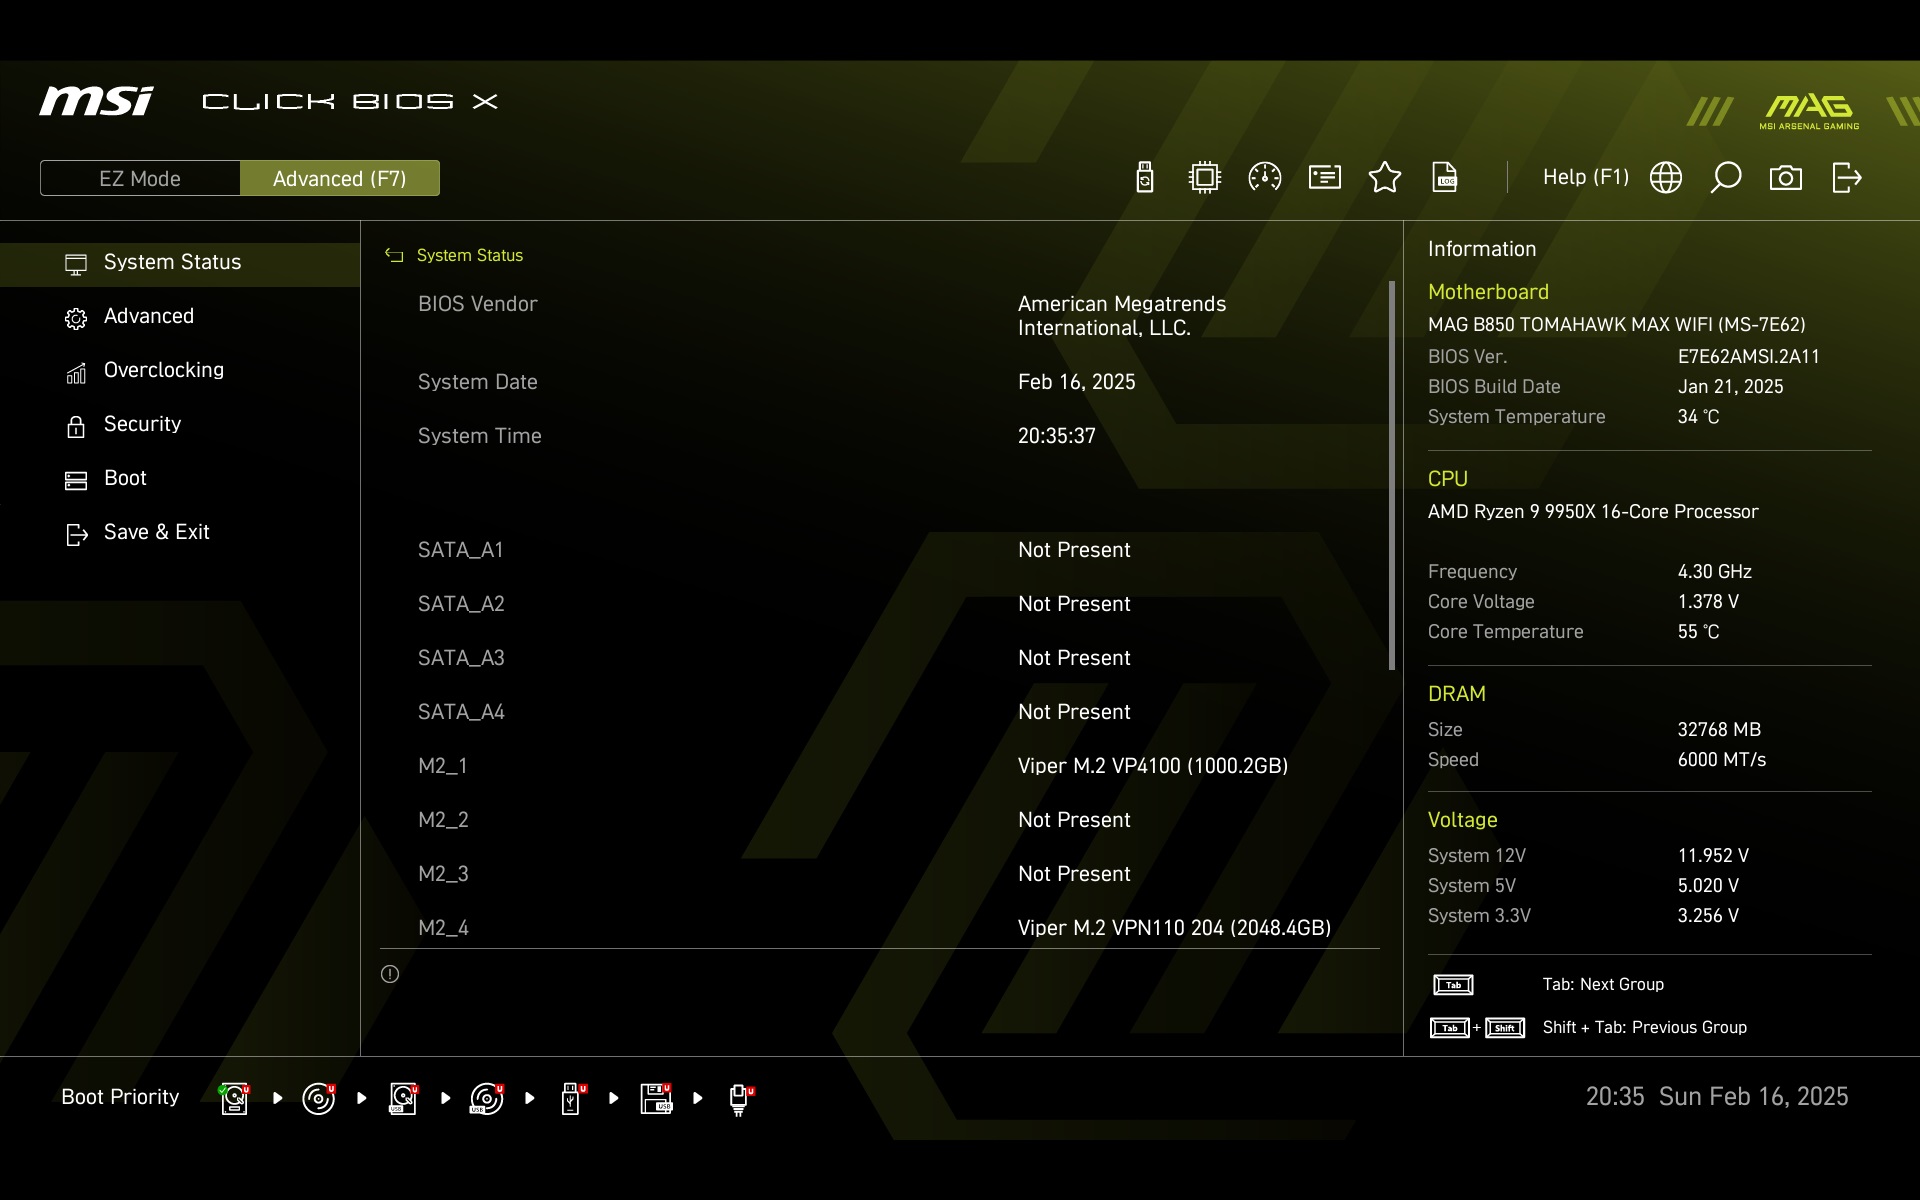
MSI uses a modernized GUI, which now includes buttons for PBO or X3D Gaming Mode for processors with 3D V-Cache. Overall, the range of options – choices and settings – in EZ Mode is richer, compared to how it used to be. At the same time, the basic, commonly used options, such as the switch to activate the AMD Expo memory profile, remain. Notably, there’s now a feature to warn of fan failure. This is disabled by default, unlike Asus motherboards, which won’t POST without a fan connected to the CPU_fan header (until you manually disable the fan detection feature for this header).

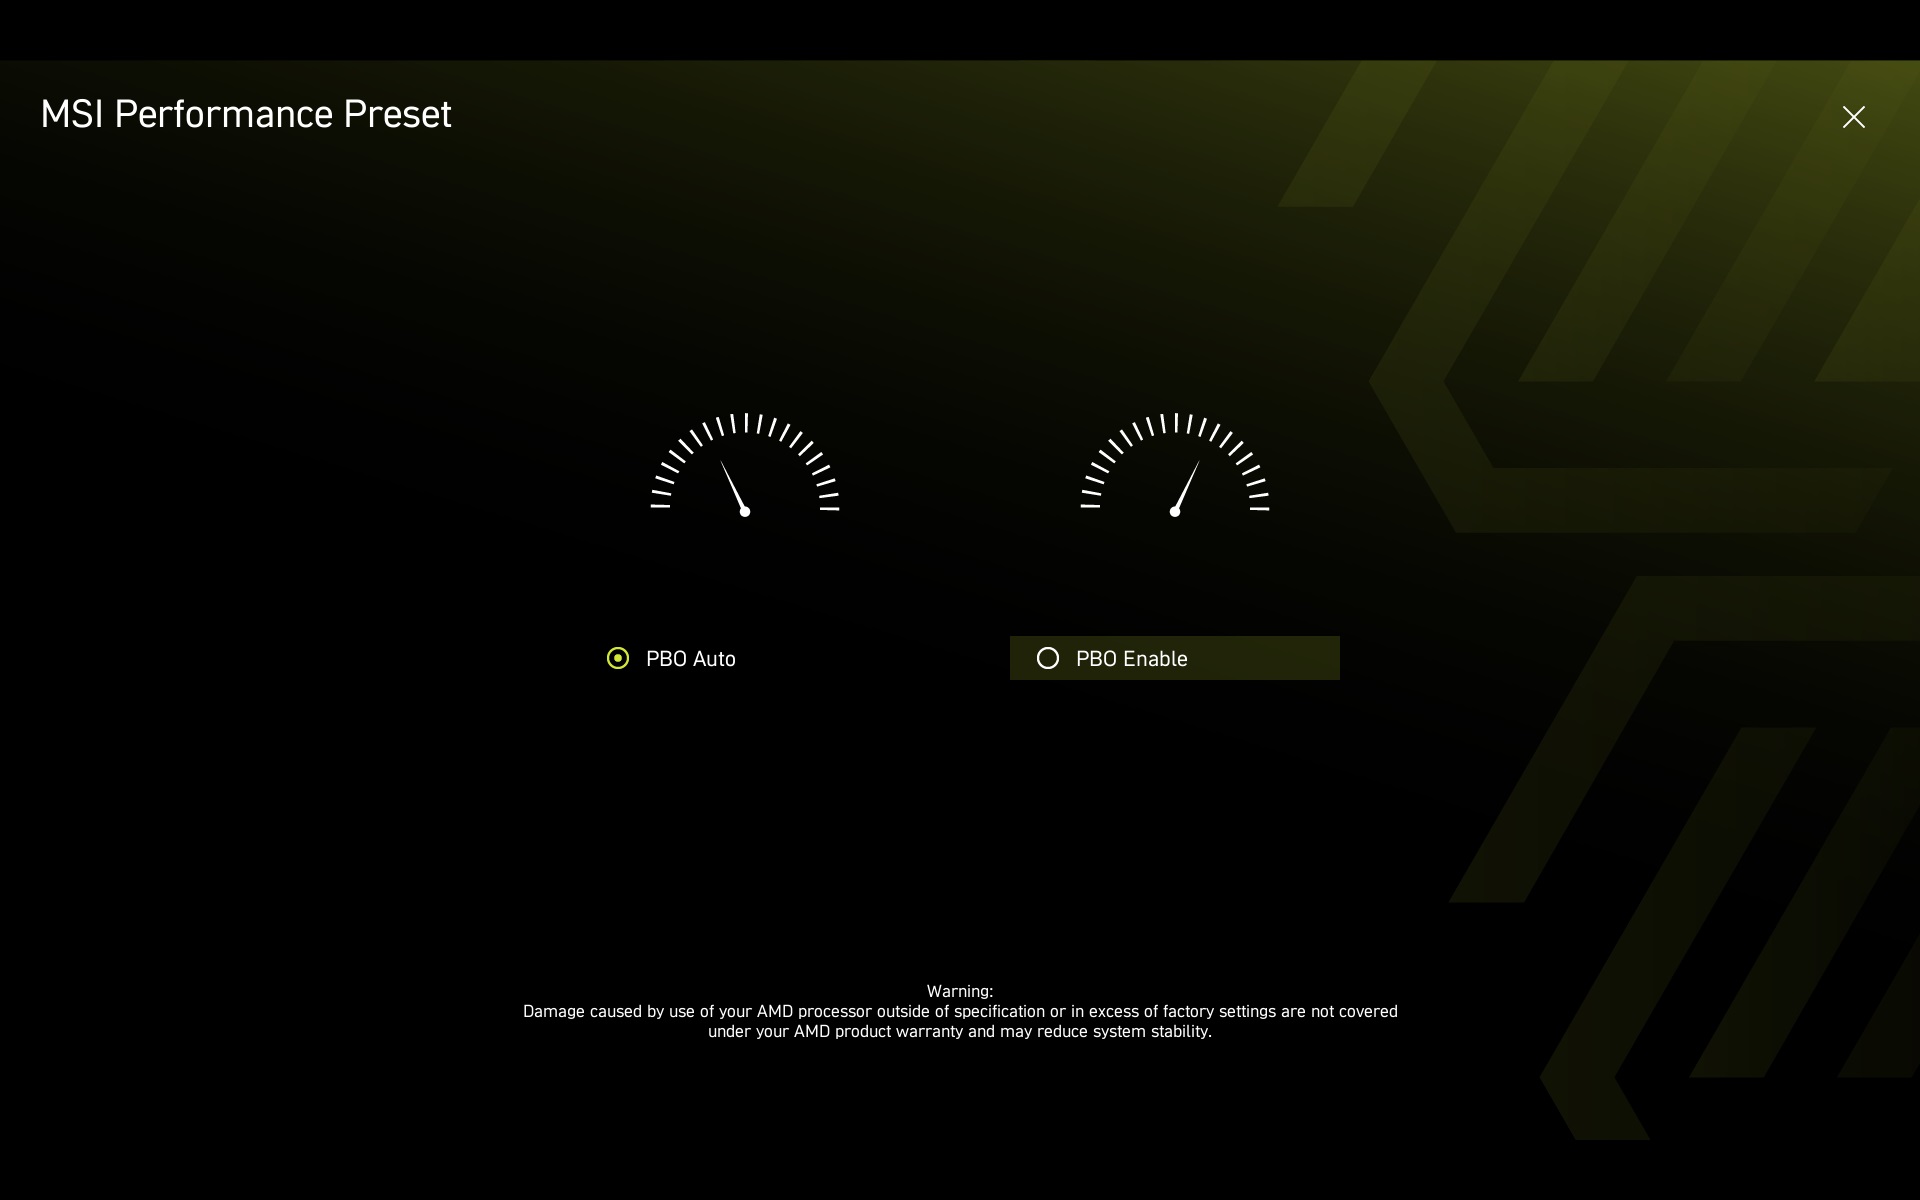
The initial screen, even before EZ Mode, is dedicated to central PBO settings. You can leave it on “Auto,” or you can enable it directly and manually configure the power management settings.
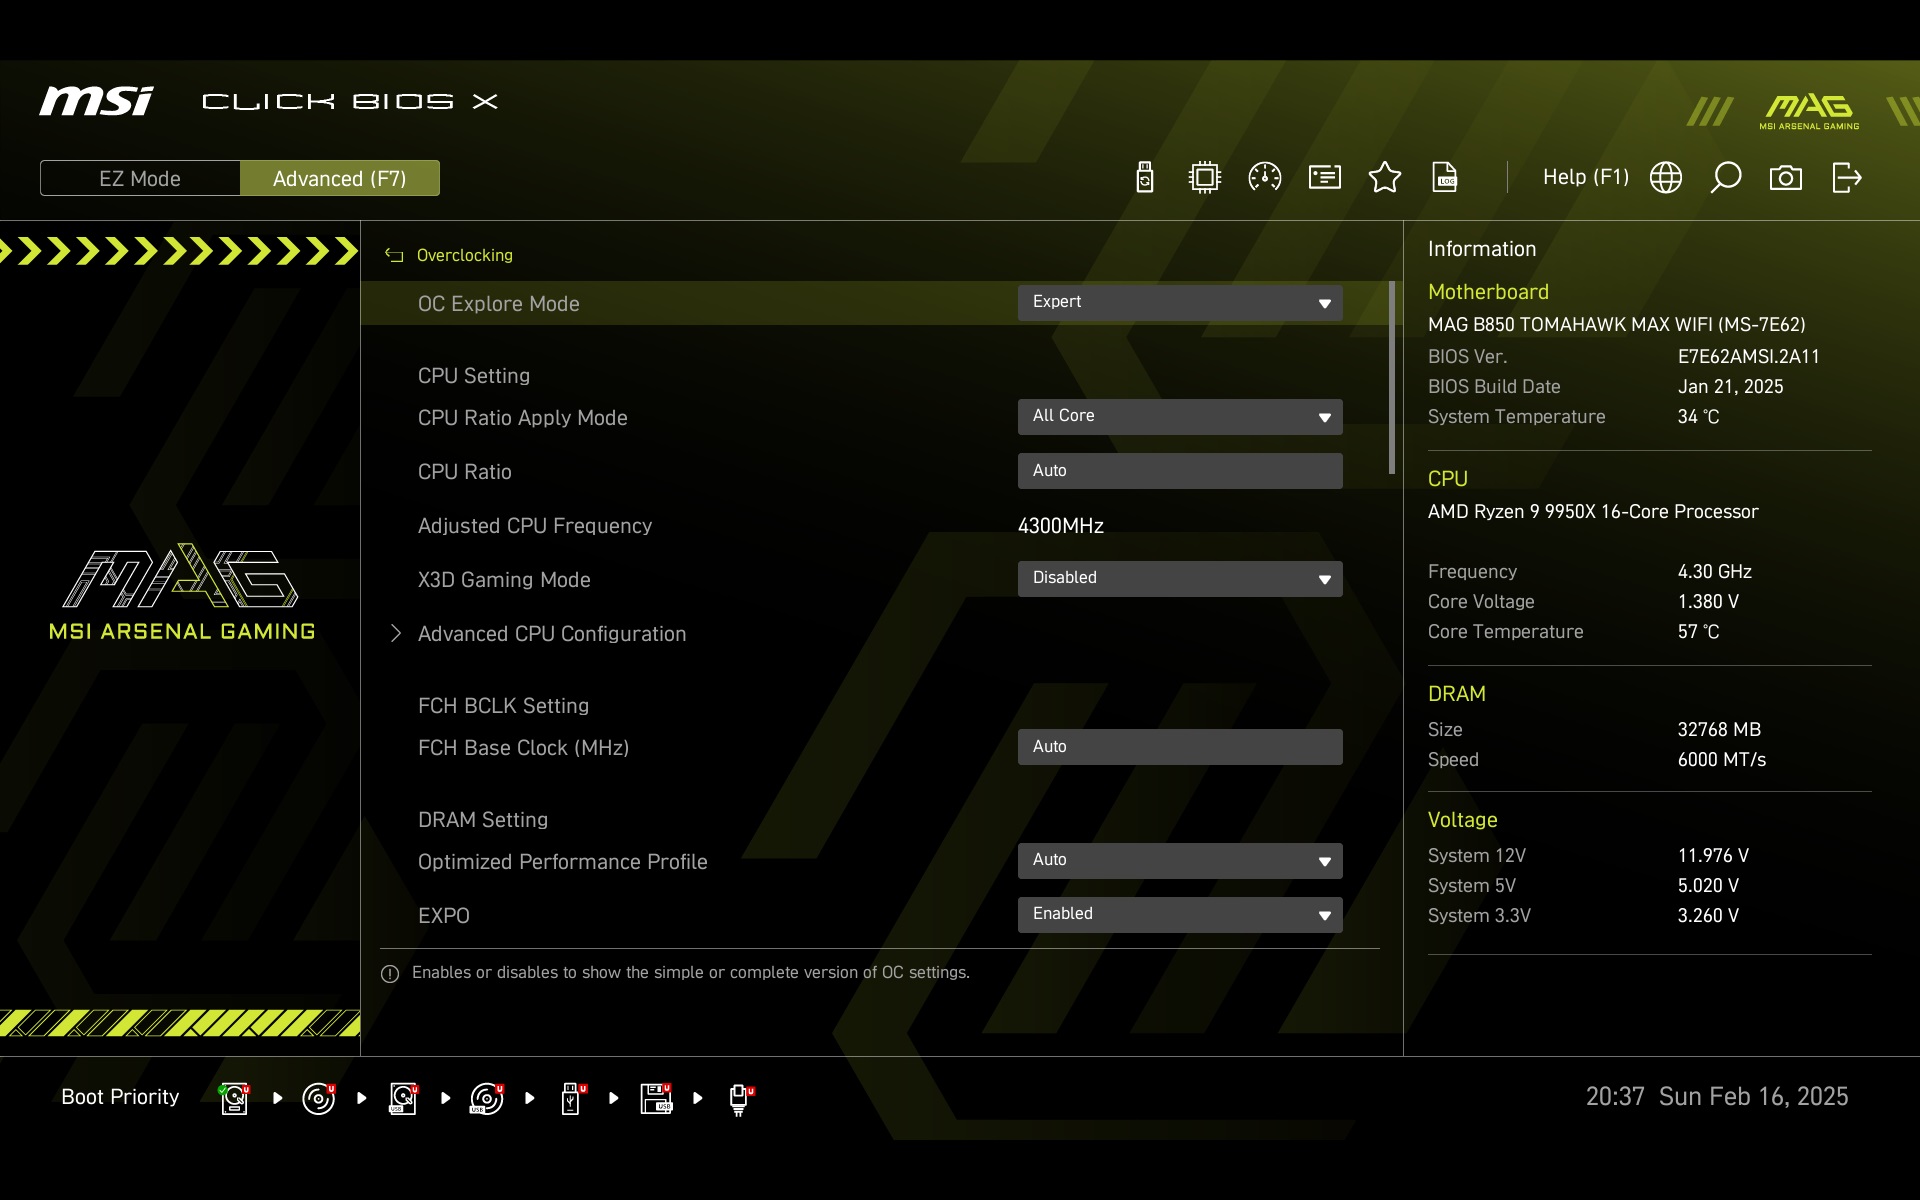
Beyond EZ Mode, broader tuning options are available, as always, in Advanced Mode.
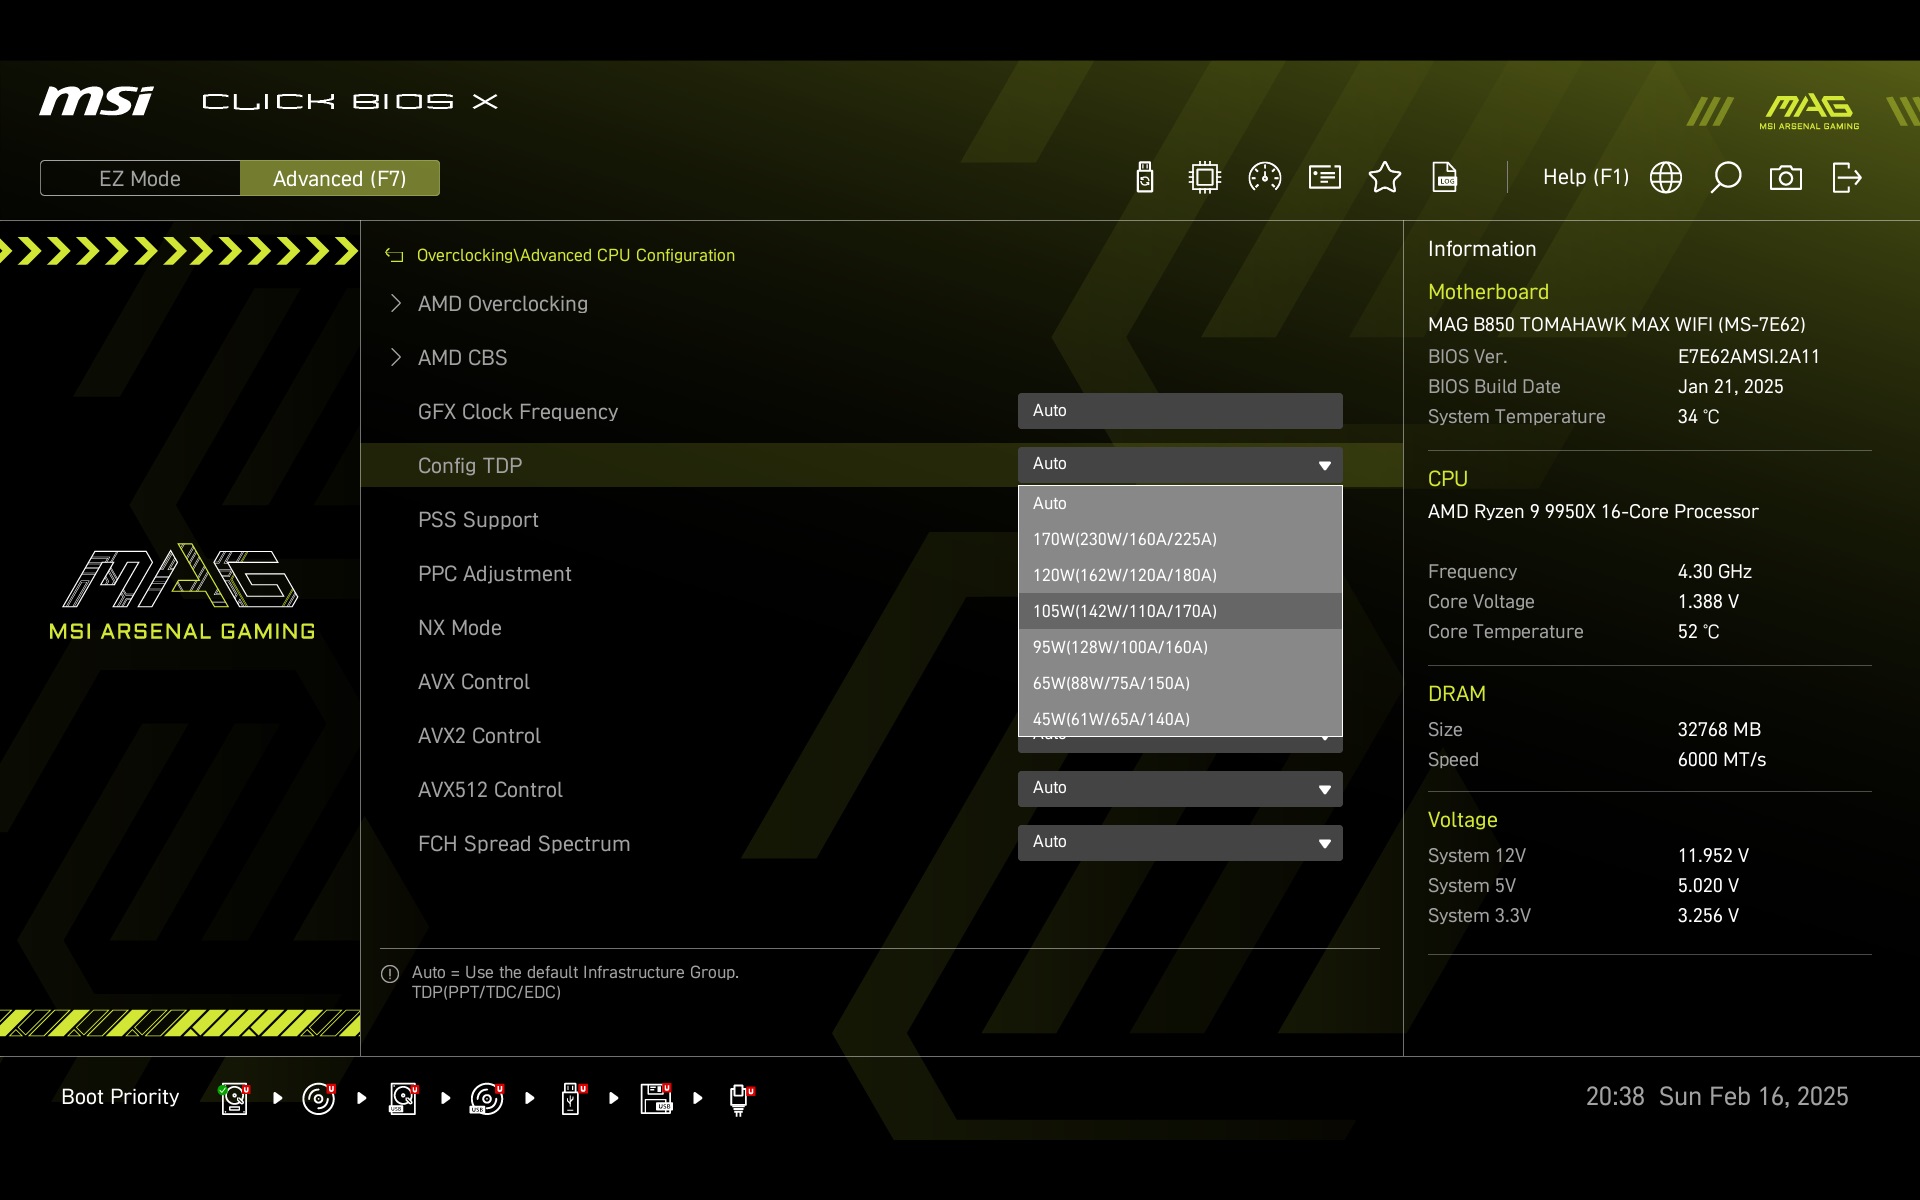
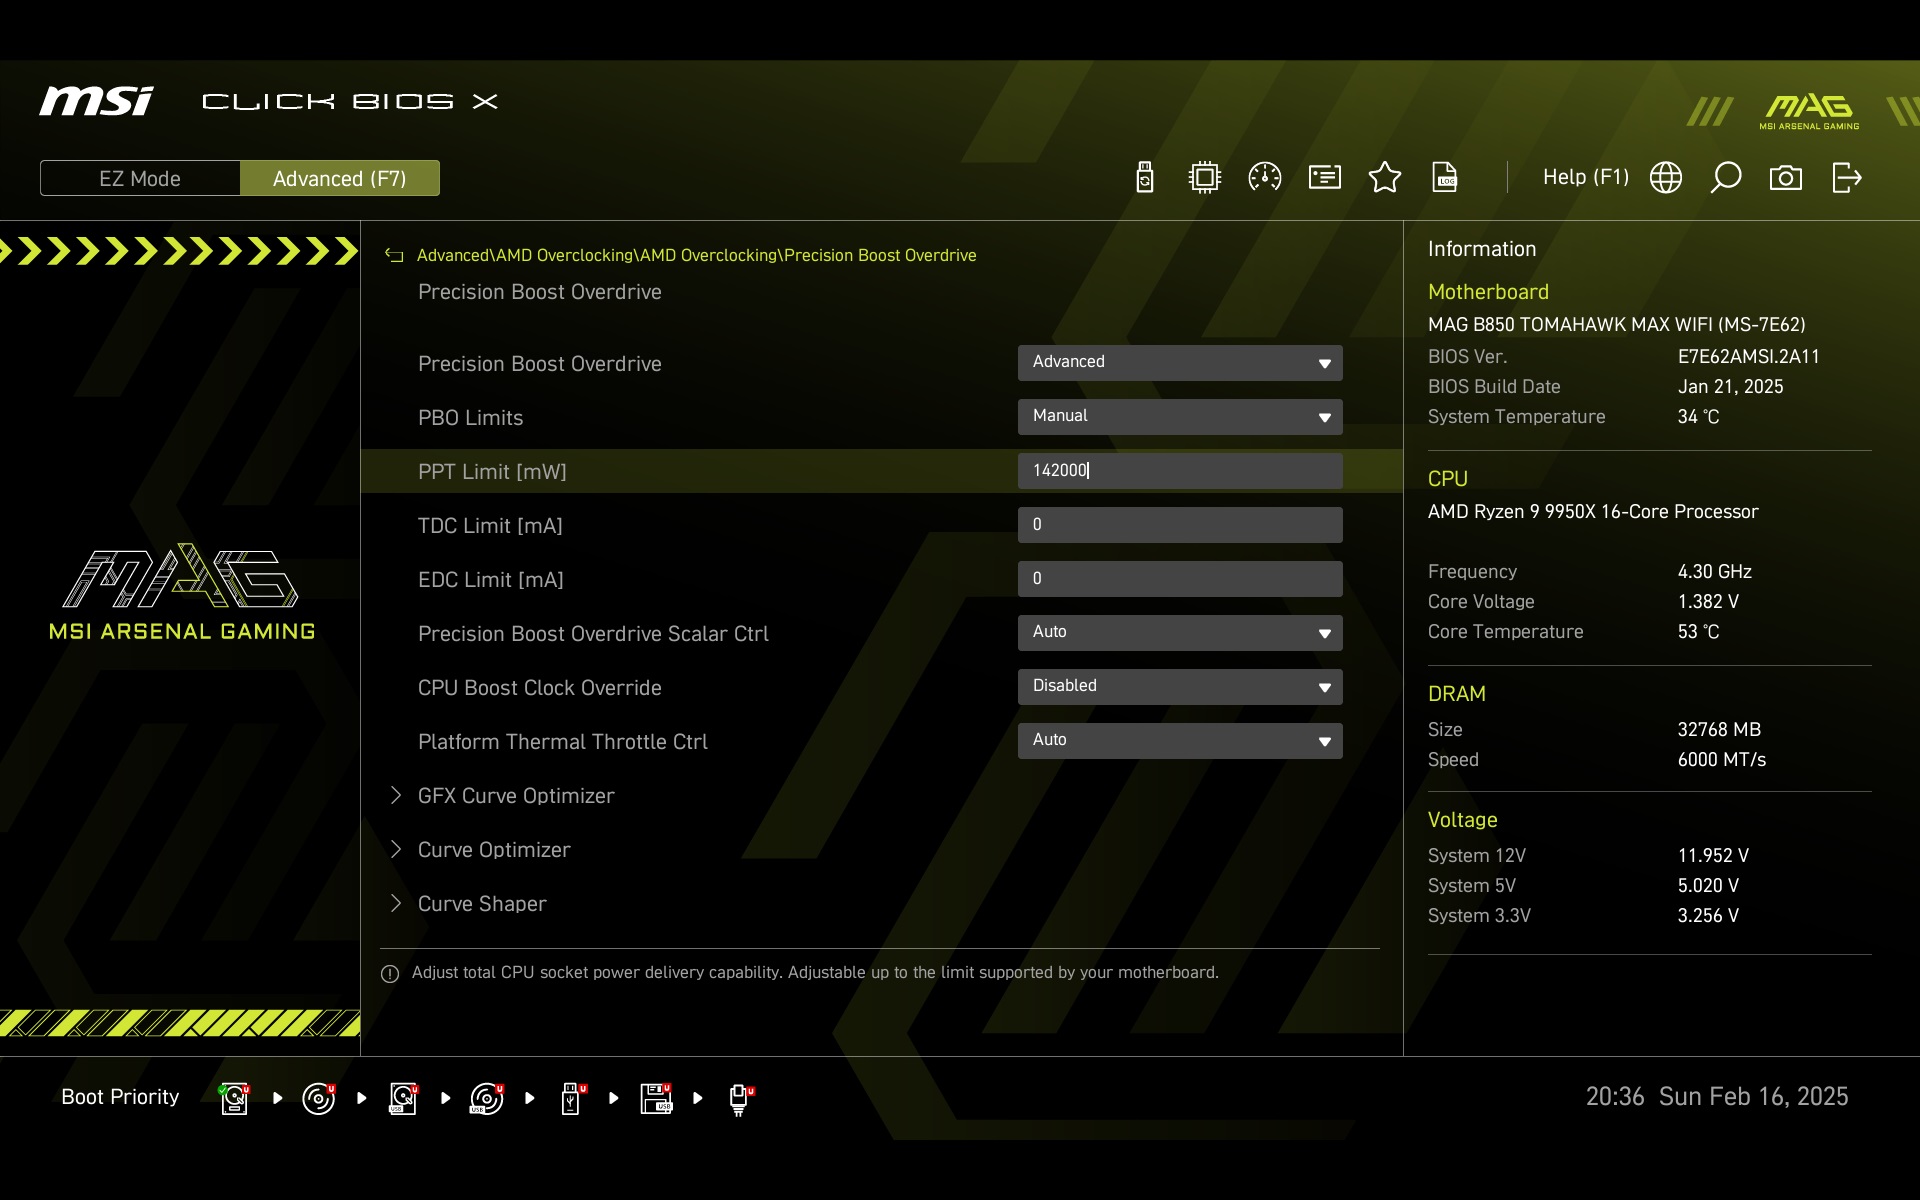
The TDP selection is available, for example, on the CPU Configuration submenu, where several levels are offered. These range from 45 to 170 W (for Ryzen 9 processors). The PPT limit is always 1.35 times the TDP, so for a TDP of 105 W, the PPT is 142 W. The PPT limit can then be manually set in the advanced PBO settings by entering a numerical value in mW. For example, 142 W equals 142,000 mW. Current limits (in mA) can also be precisely set, or restricted.
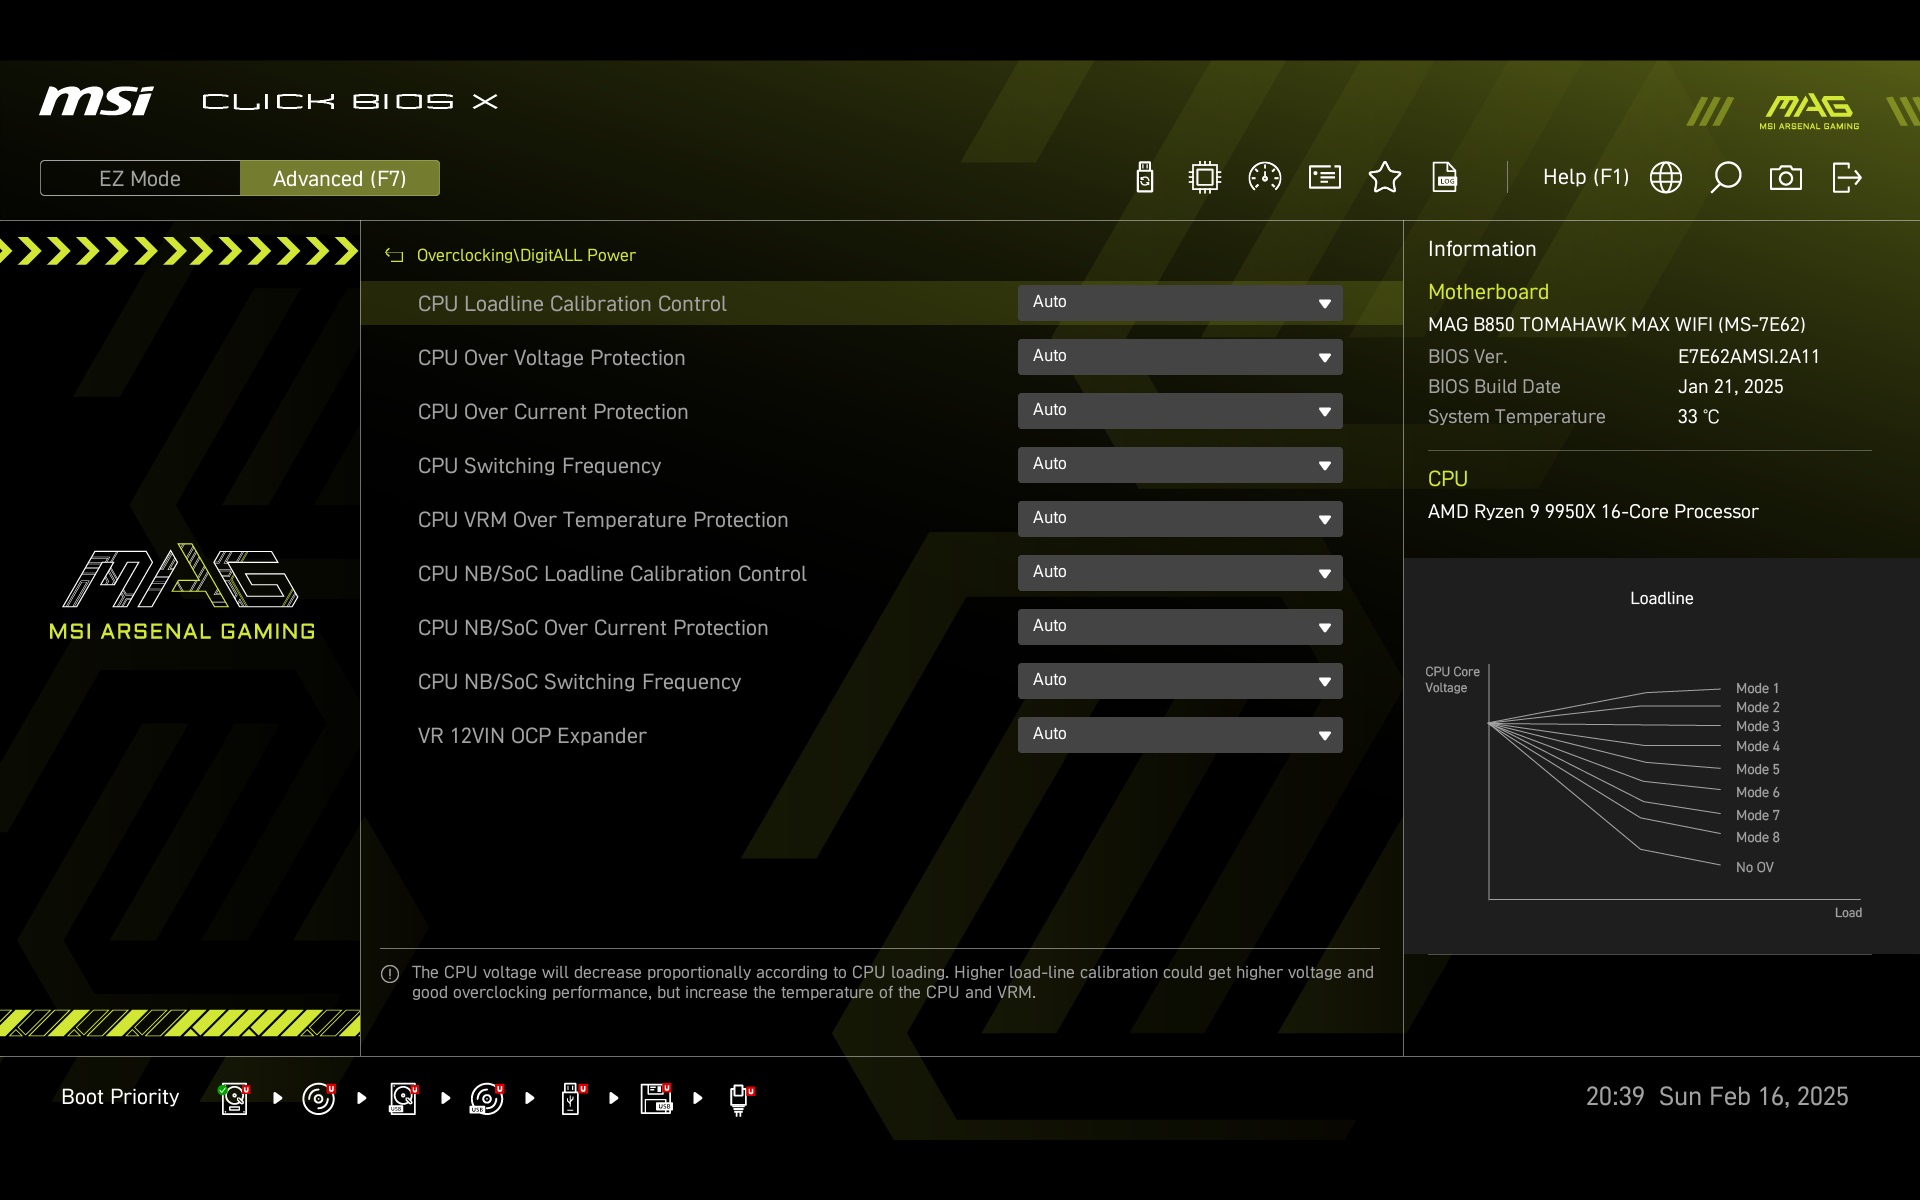
We do not interfere with the power delivery settings during testing, and settings like LLC (Load Line Calibration Control) remain on “auto,” preserving the motherboard’s factory identity. In other words, these settings are in line with what MSI considers optimal for the given BIOS, motherboard, and processor. It’s worth noting that these settings may vary depending on the processor used. Naturally, the default parameters will differ for the Ryzen 5 9600X (with one CCD) compared to the test Ryzen 9 9950X.
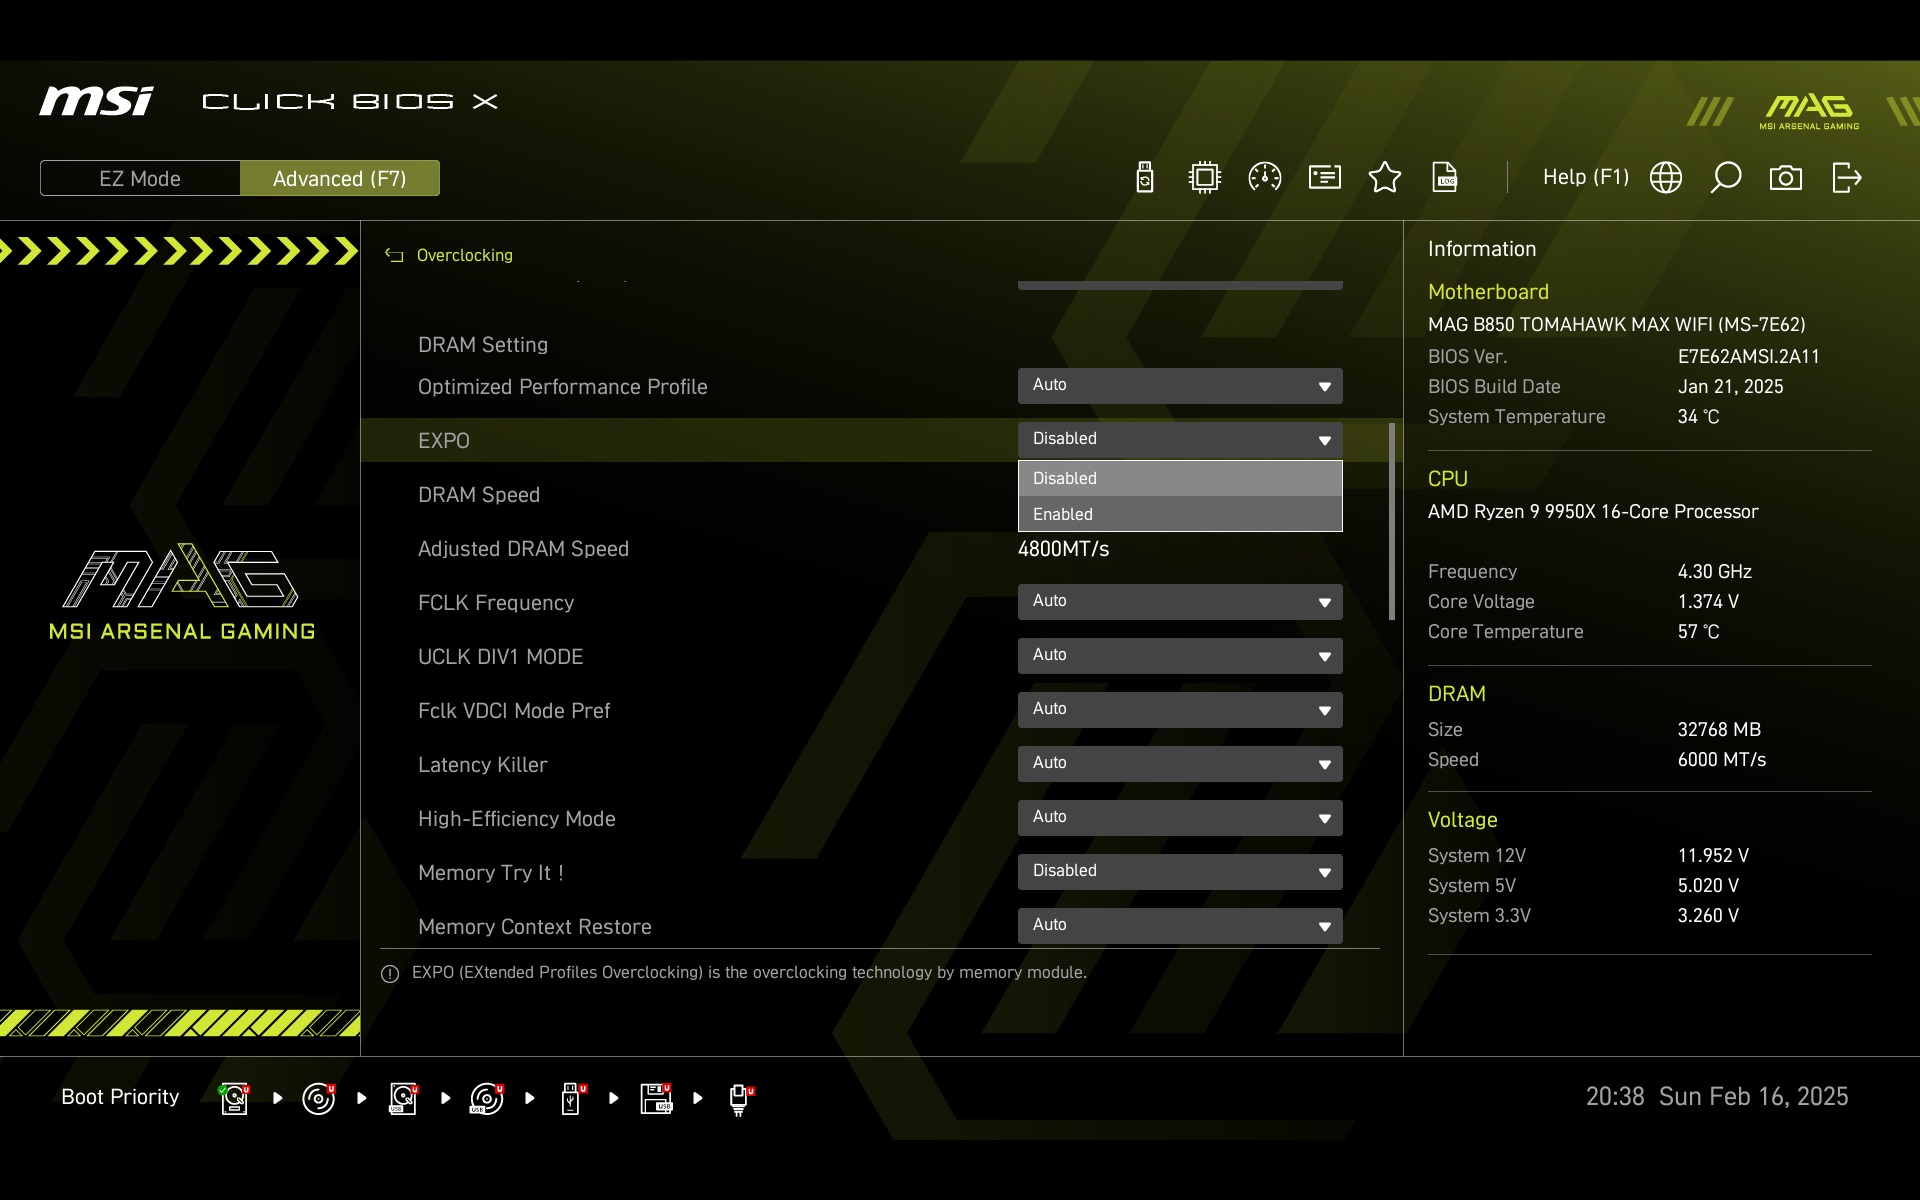
If the quick activation of the memory profile on the EZ Mode screen doesn’t suit you, you can also access it in the advanced settings. There, you can adjust the memory controller bandwidth or go even further into tuning, such as manually setting timings and similar parameters. However, only tweak these settings if you have a good understanding of what you’re doing. Otherwise, the result could be that the motherboard fails to POST.

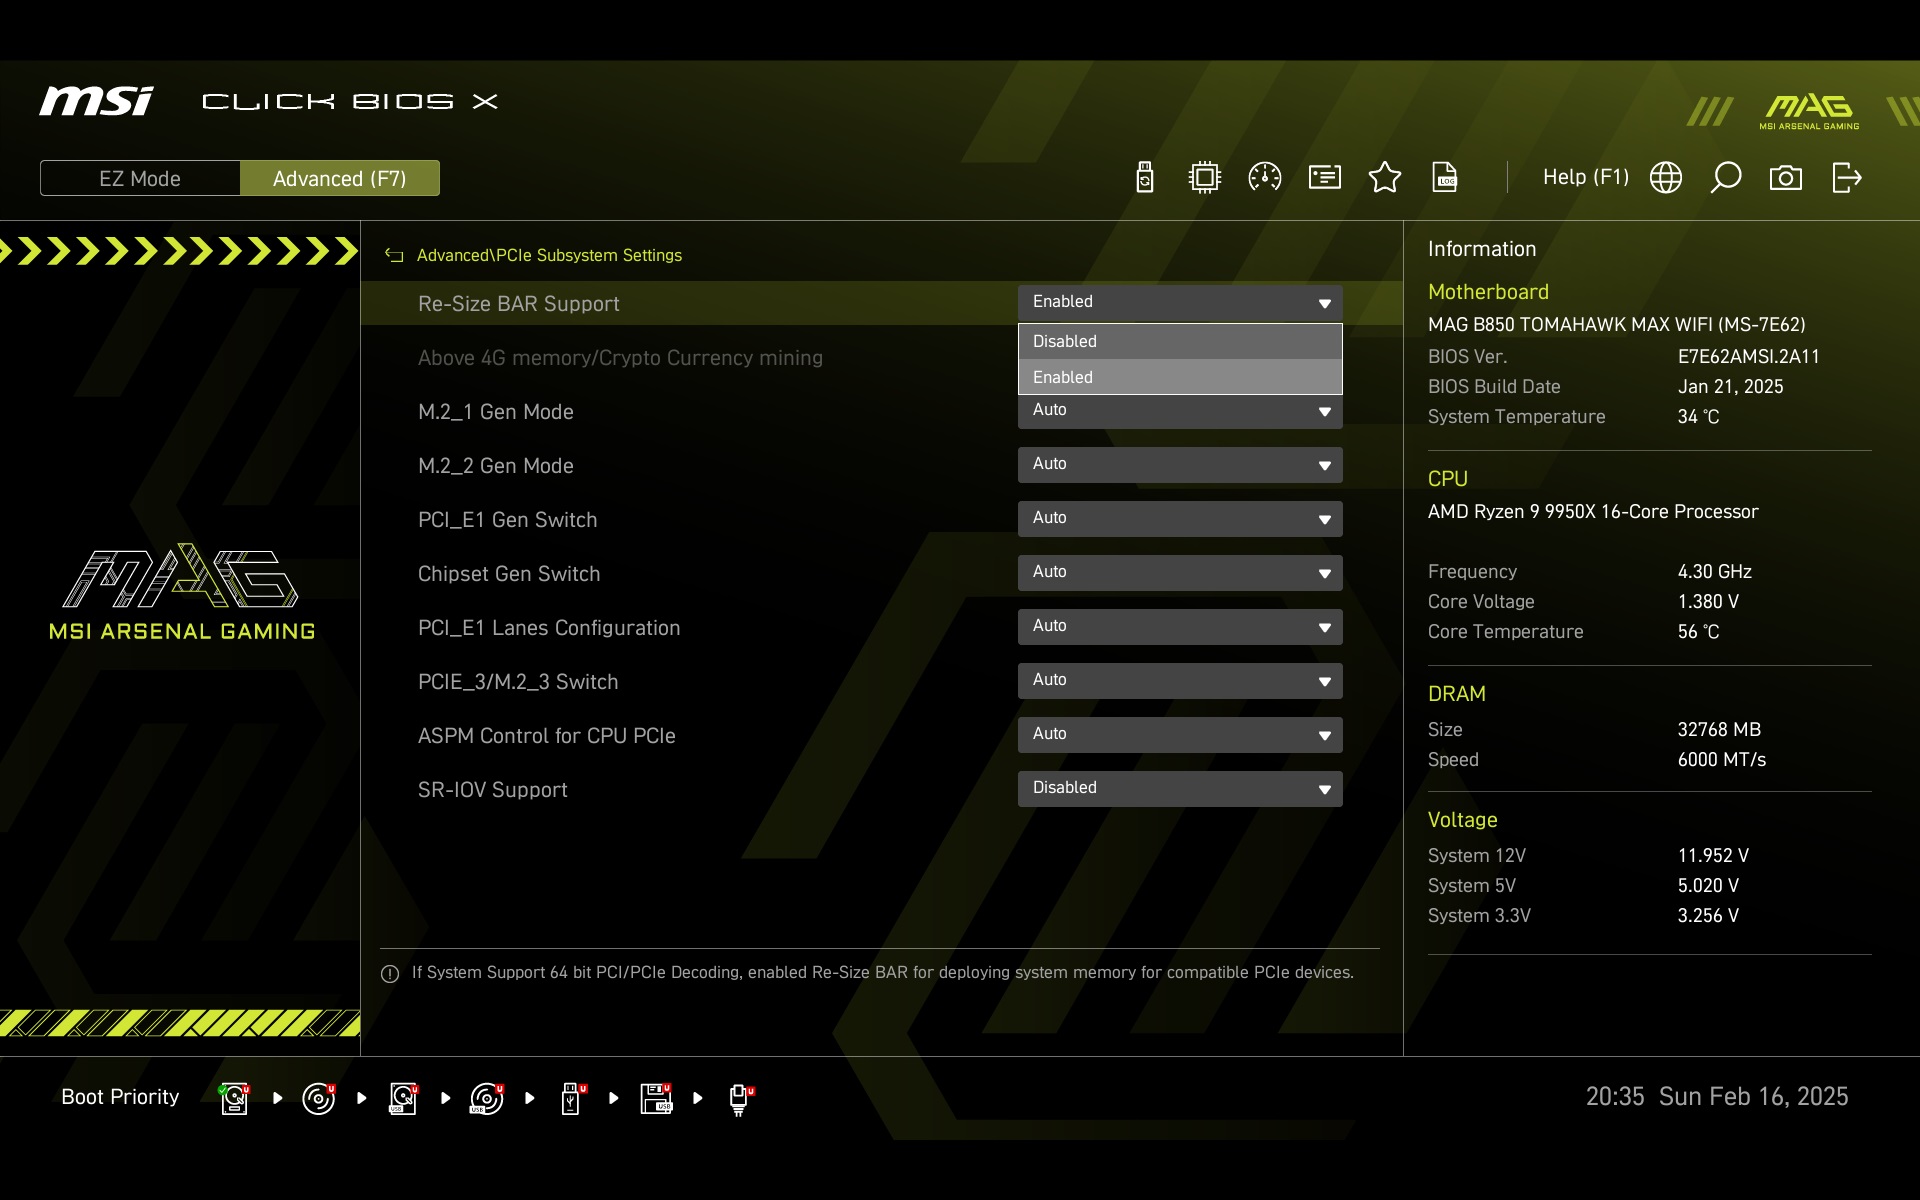
Deactivating ReSizable BAR technology is done in the PCIe subsystem settings. In factory settings, ReBAR is enabled, and for most applications, there’s no reason to disable it (since it doesn’t reduce performance but rather enhances it…). However, if it causes a performance drop, this is the way to address the issue.
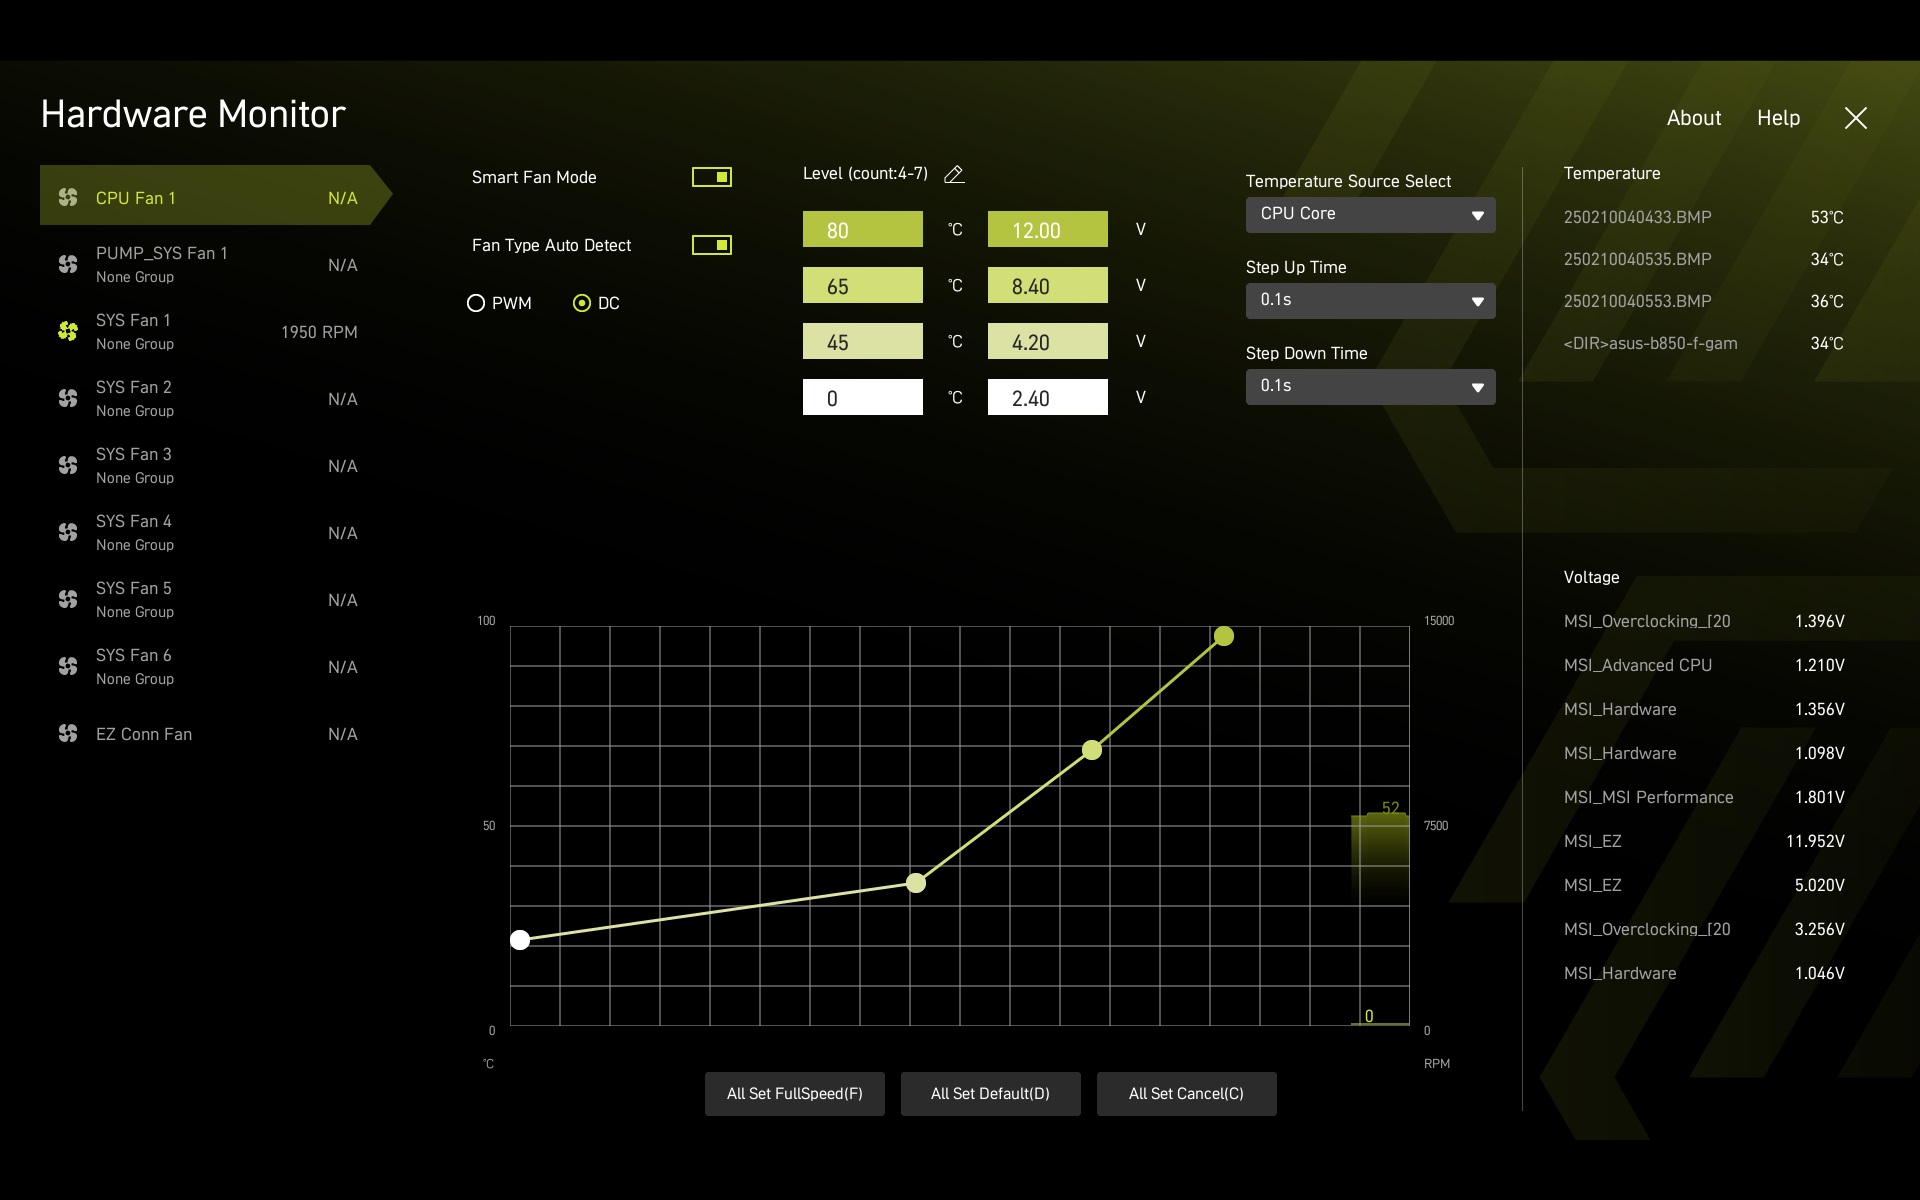
The fan management interface (Hardware Monitor) allows detailed settings for all (8) connectors. For each, the primary choice is between PWM and DC control. In our case, with the Noctua NF-A12x25 PWM test fan, DC control was preset, which we recommend manually switching to PWM control. With PWM, it’s usually possible to achieve lower fan speeds, or if the speeds are comparably low, there may also be a difference (in favor of PWM control) in the acoustic profile.
The fan speed curve for each header can depend on multiple temperature sources monitored by the motherboard. If you don’t change the temperature source from “CPU Core,” the curve will respond to the processor’s temperature. However, it can also be based on the temperature of the power delivery system (MOS), the chipset, or the “system” temperature.
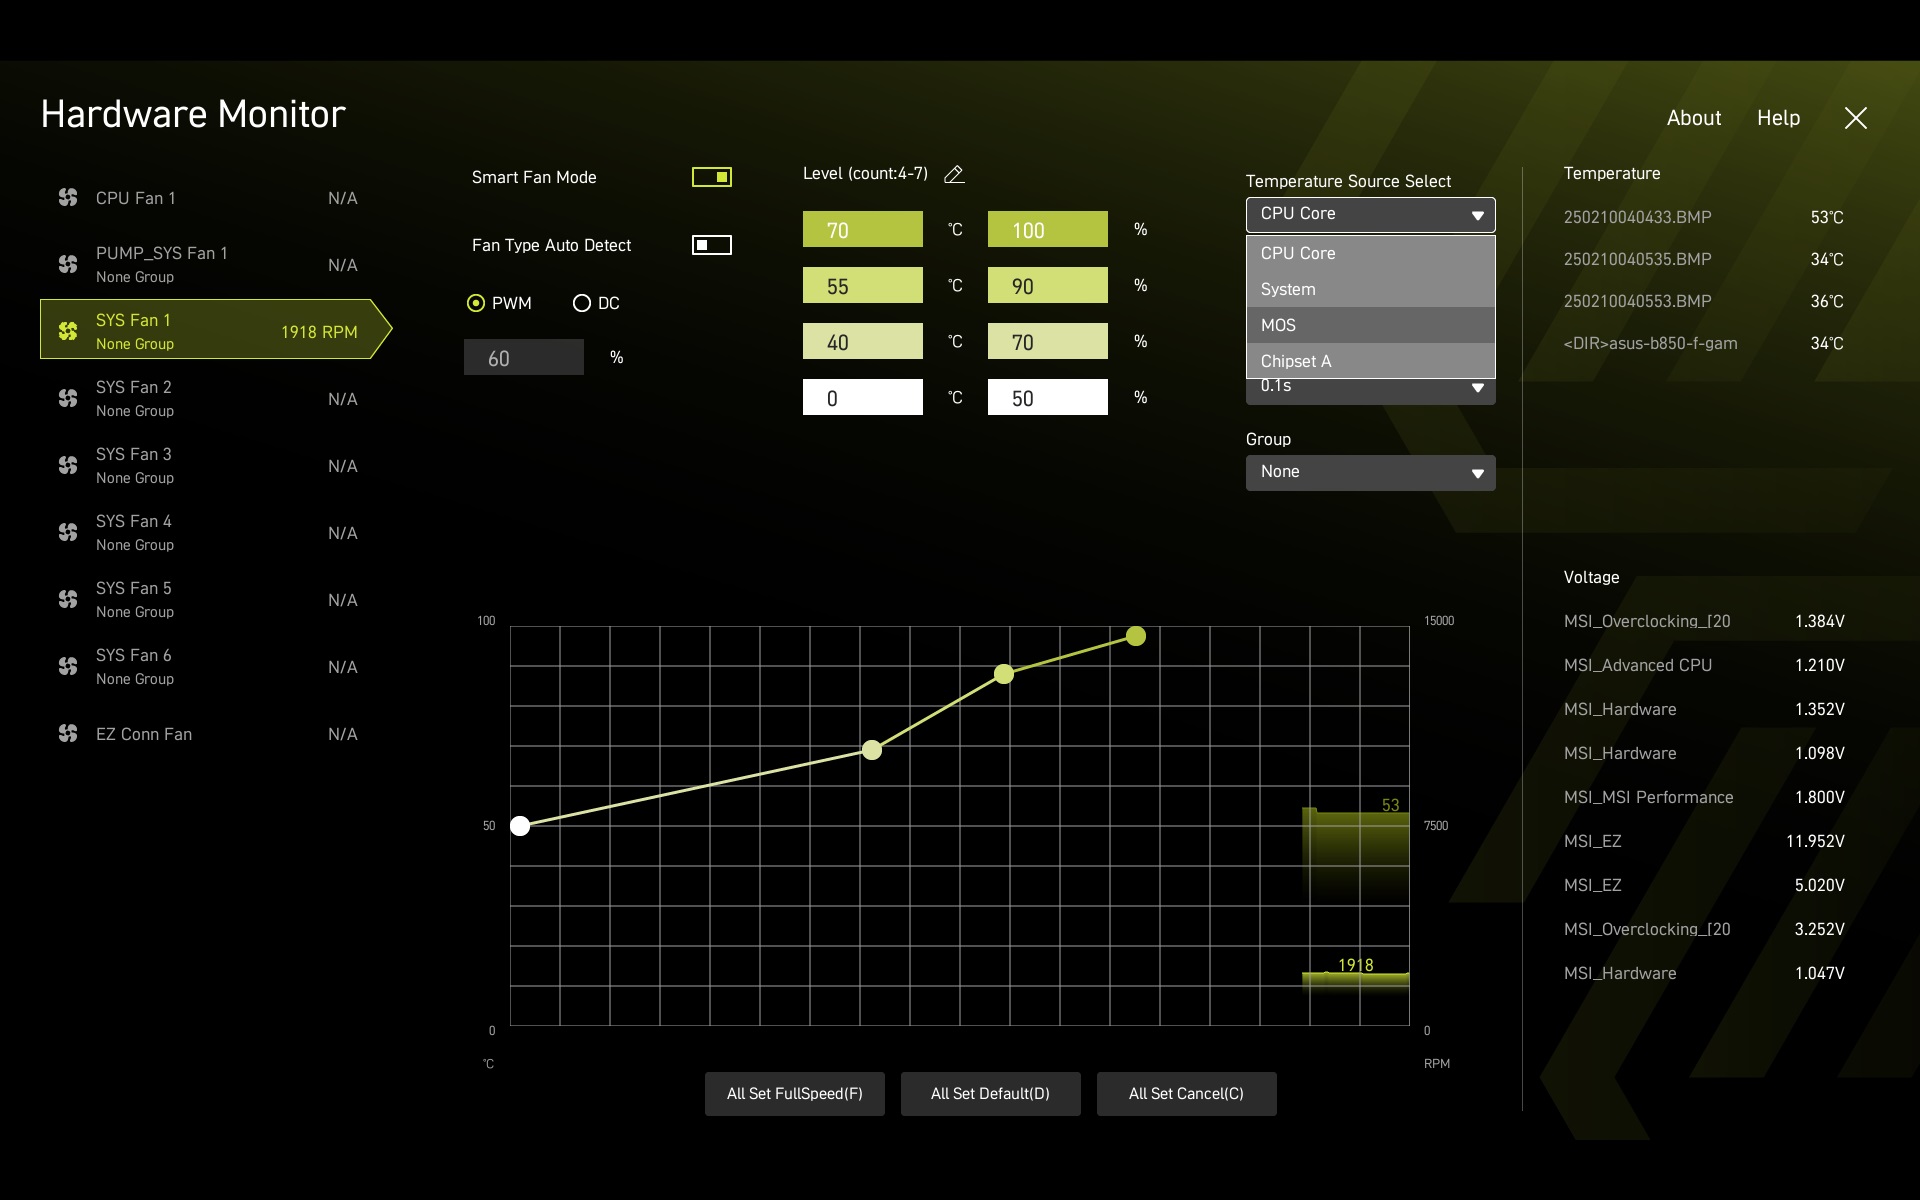
The aggressiveness of the fan curve can also be adjusted manually by entering specific numerical values for PWM or DC control into a two-dimensional table or by using the “drag and drop” method with four points on the visual graph, which is part of the graphical interface.