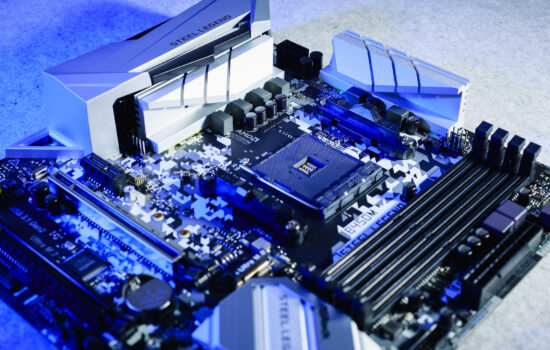
Configurations on the LGA 1851 platform have been possible for some time even on motherboards with the Intel B860 chipset. These are cheaper and primarily aimed at lower-power processors, but they also have headroom for high-performance CPUs. This is the case with the Tomahawk WiFi variant by MSI. A lower price, yet still a high standard, includes support for the future-proof PCI Express 5.0 interface, among other features.
What it looks like in the BIOS
MSI has elegantly integrated power management options into the new graphical interface, offering multi-level control. Otherwise, the individual segments are intuitive and logically well-organized.
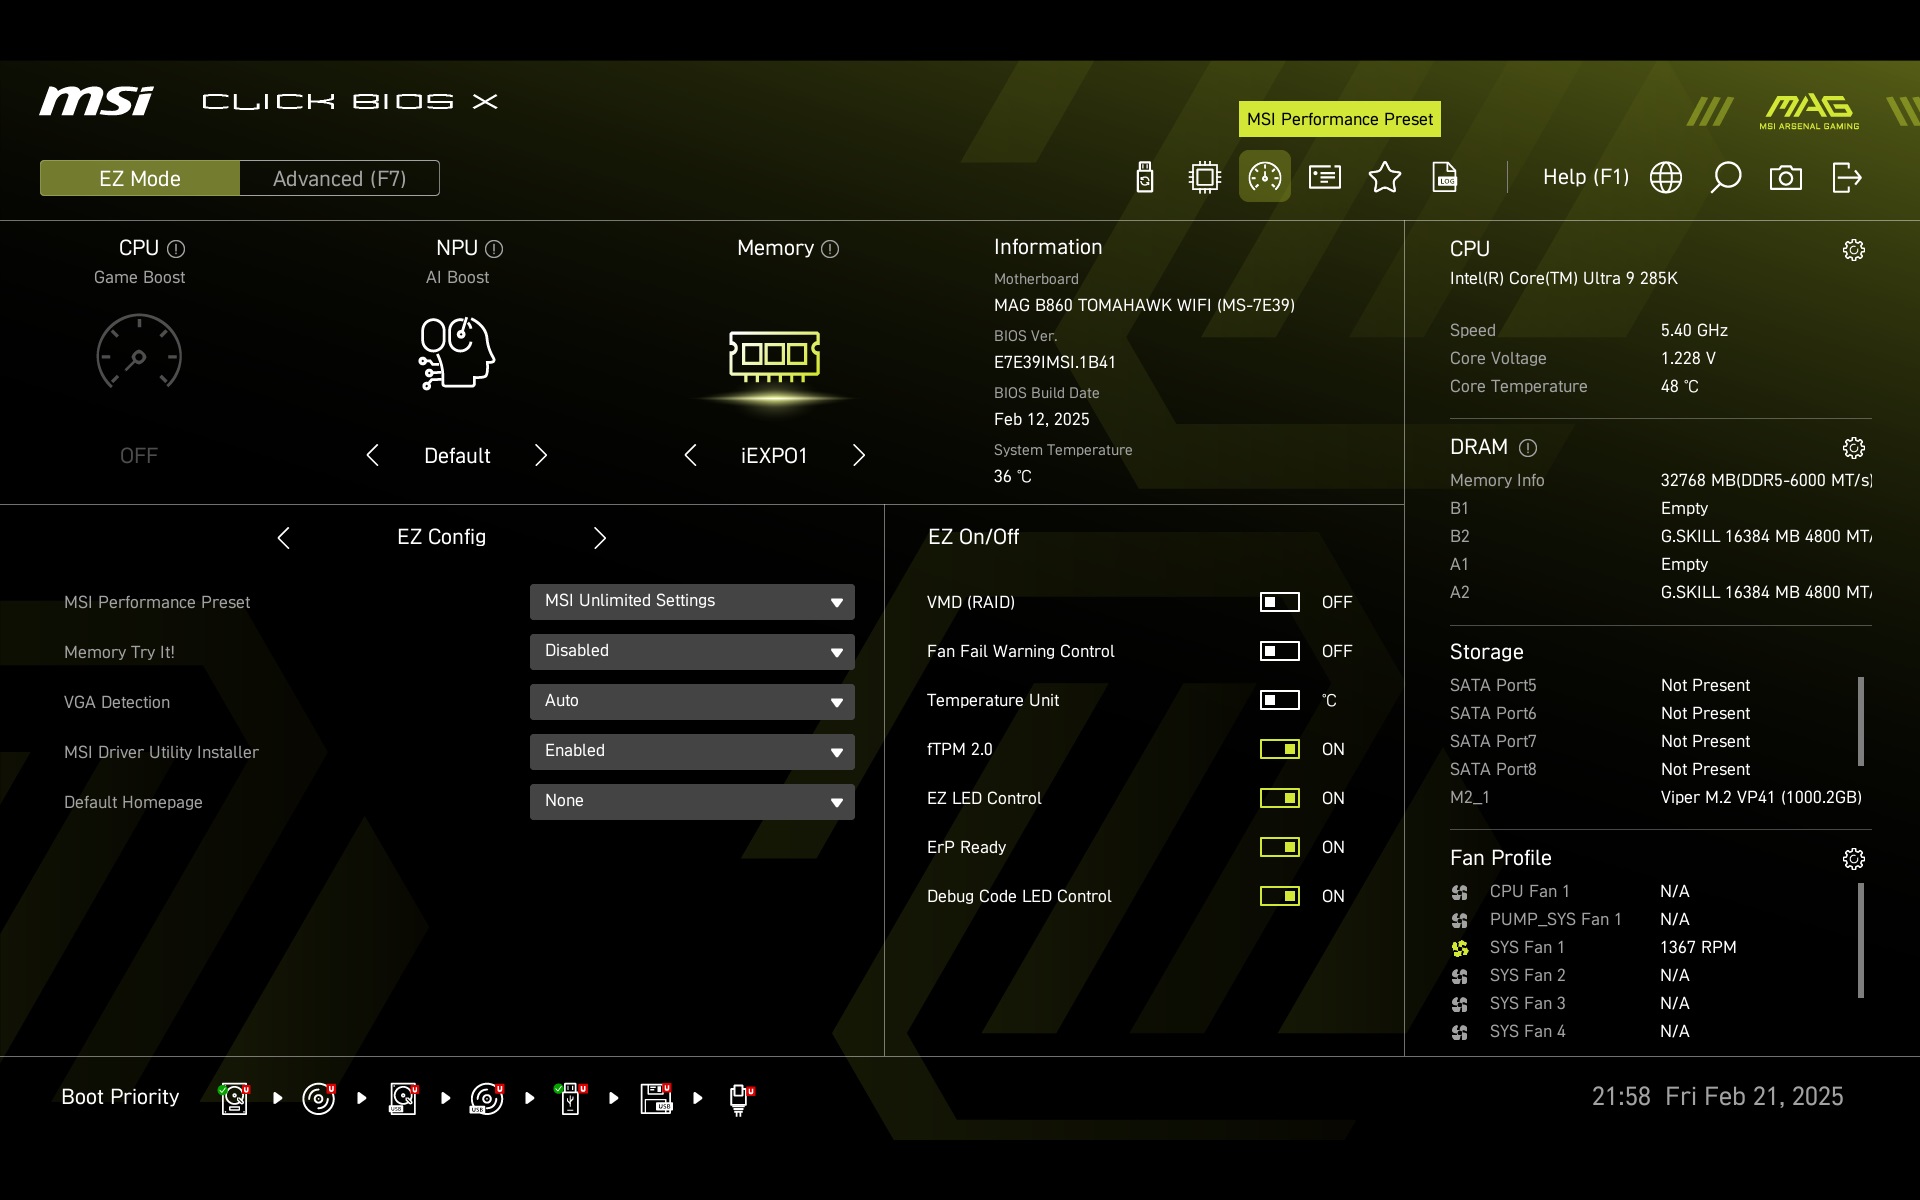

There are four preset power profiles, each with its own window and icon. The PL1 and PL2 values vary depending on the processor used. With the Intel Core Ultra 9 285K, it looks as you can see in the image below. At least with BIOS version 1.B41, which was the latest during motherboard testing, with microcode 0x114.
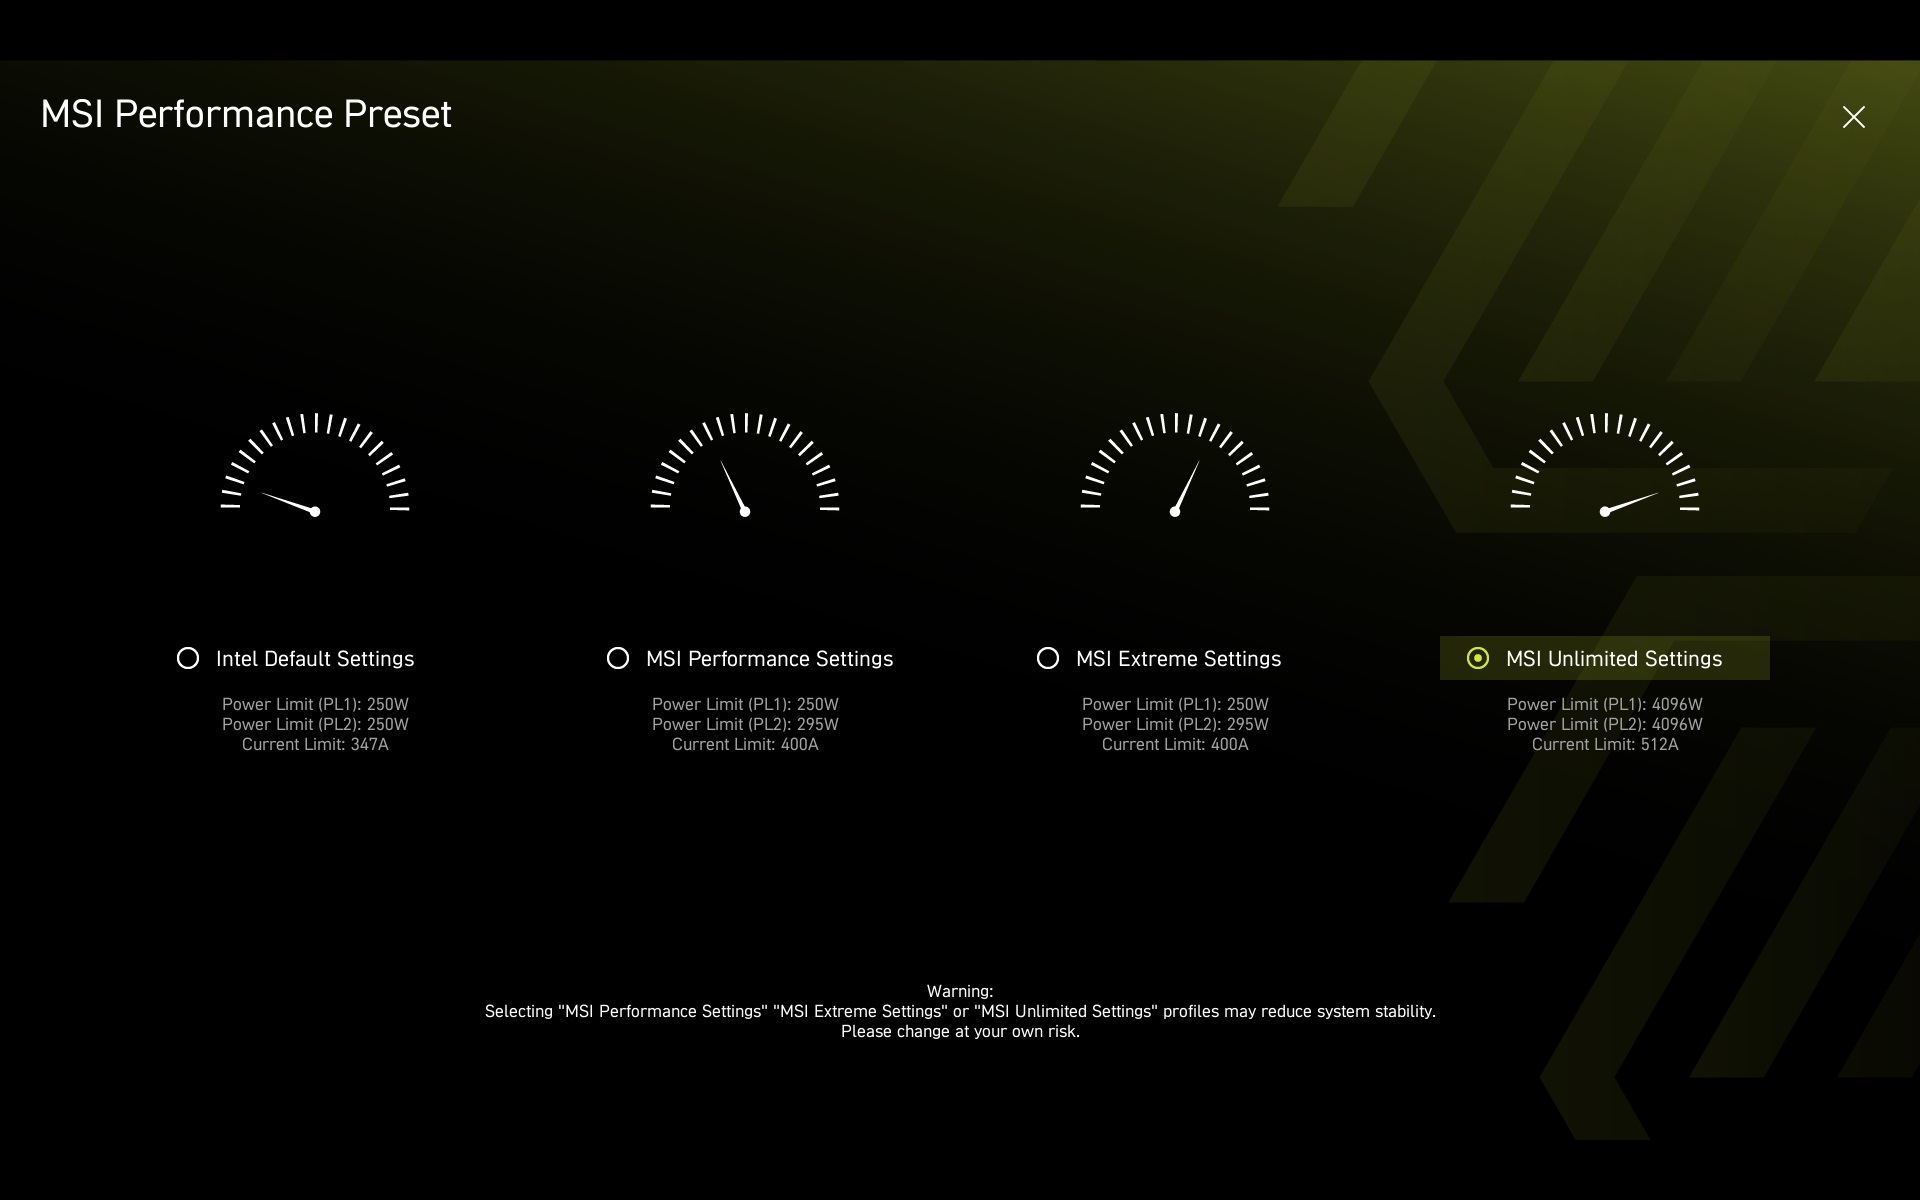
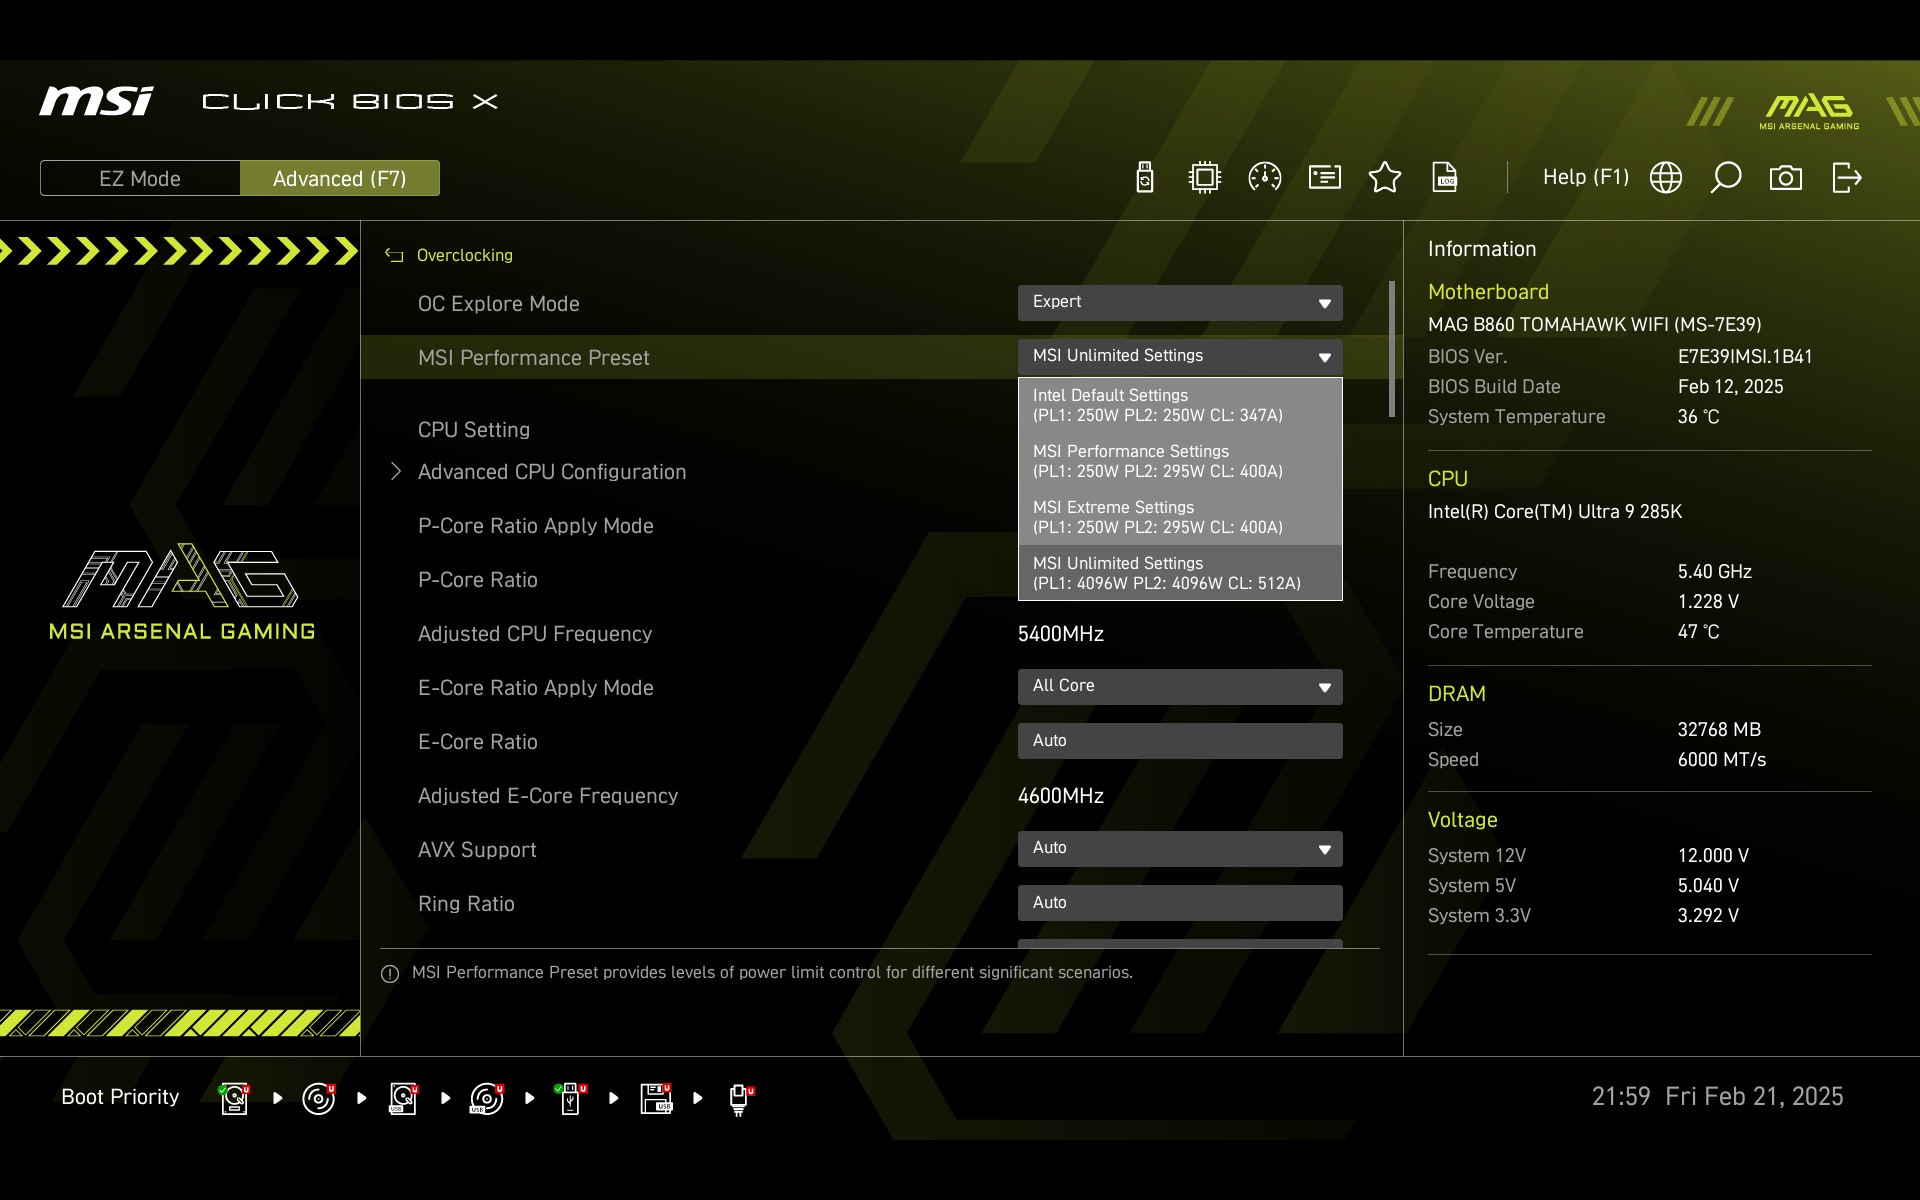
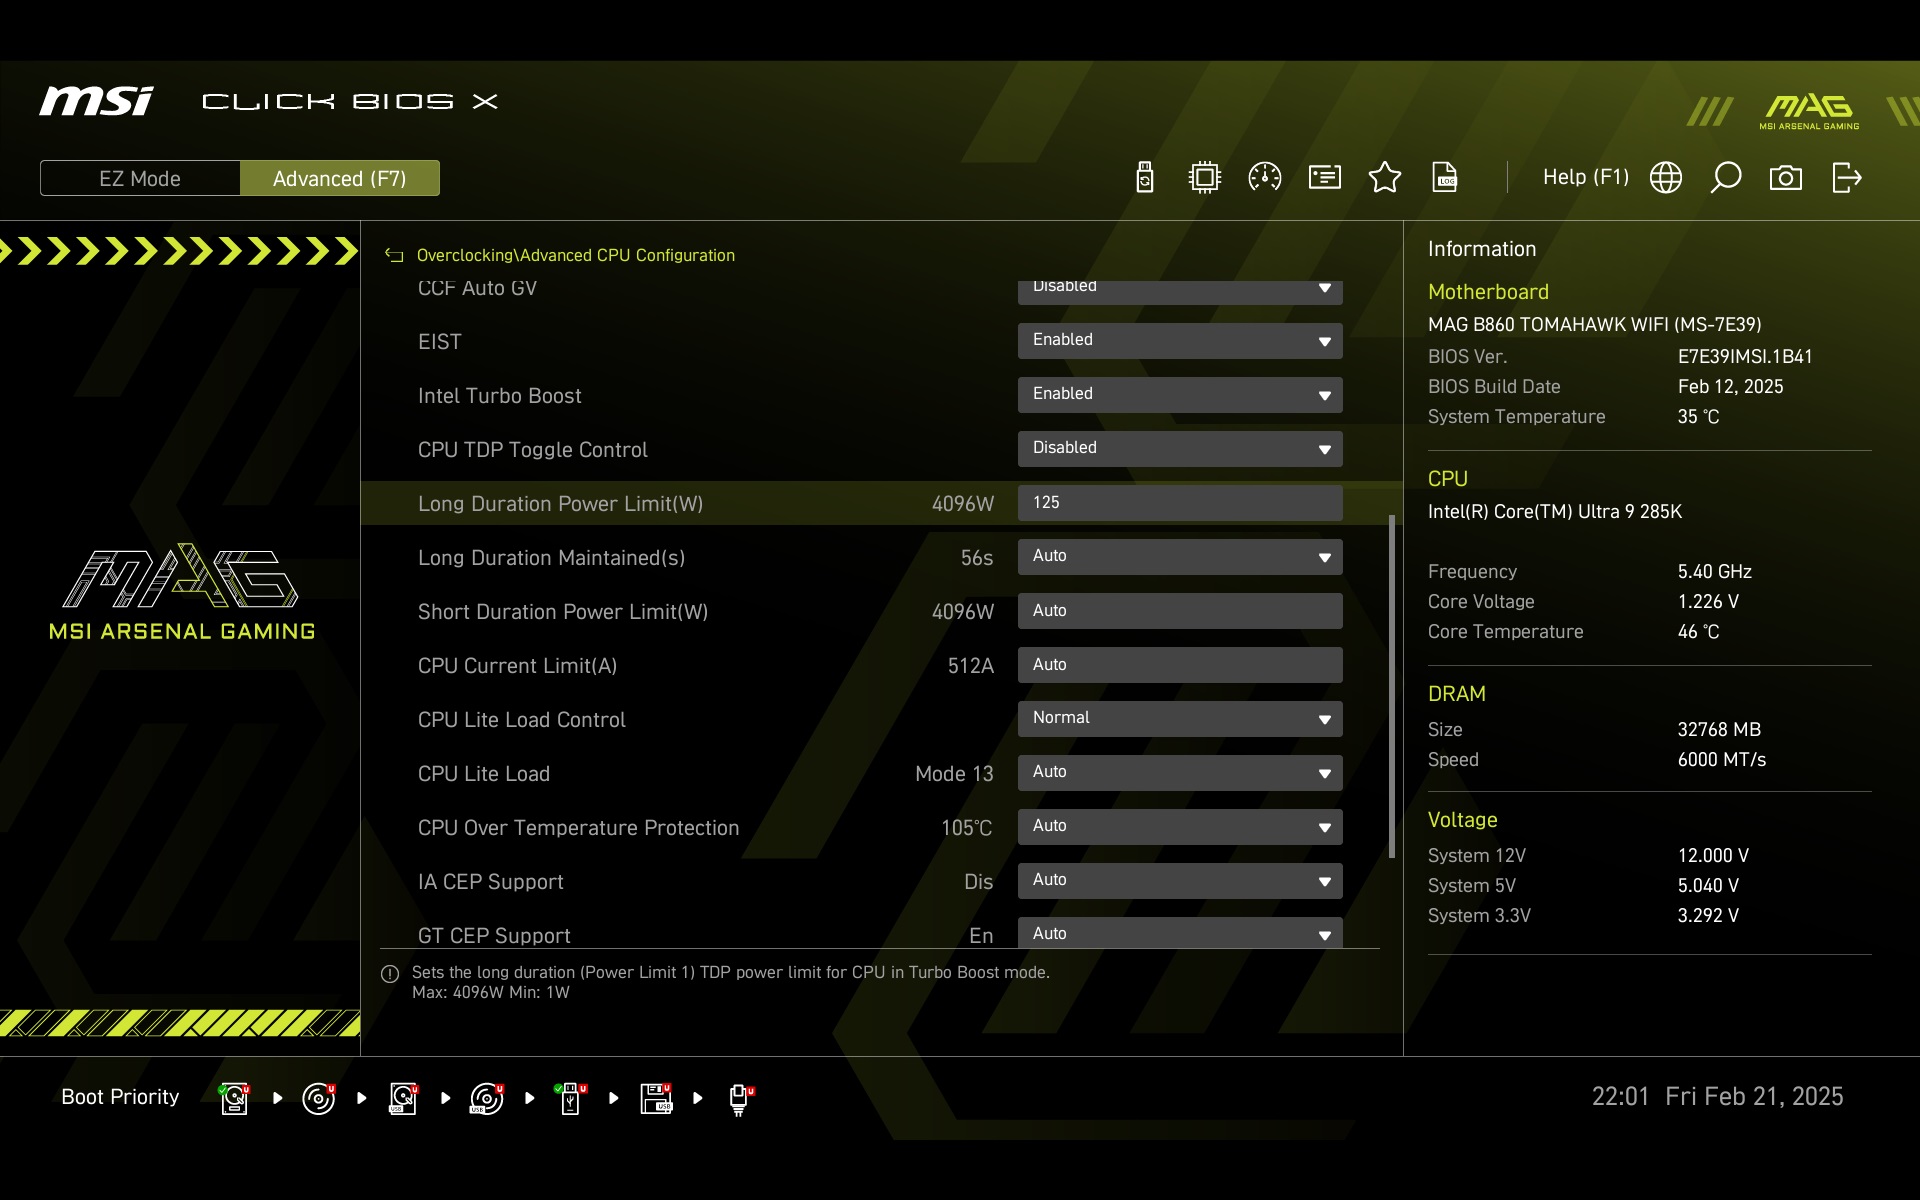
In addition to the preset power profiles, available in both EZ Mode and the advanced mode pop-up window under the Overclocking tab, these (power) limits can also be set manually. This is done by entering precise values in the Advanced CPU Configuration submenu (also under the Overclocking tab). For both long-term and short-term loads, including the Tau time limit. Appropriately, depending on your needs, you can also set current limits here.

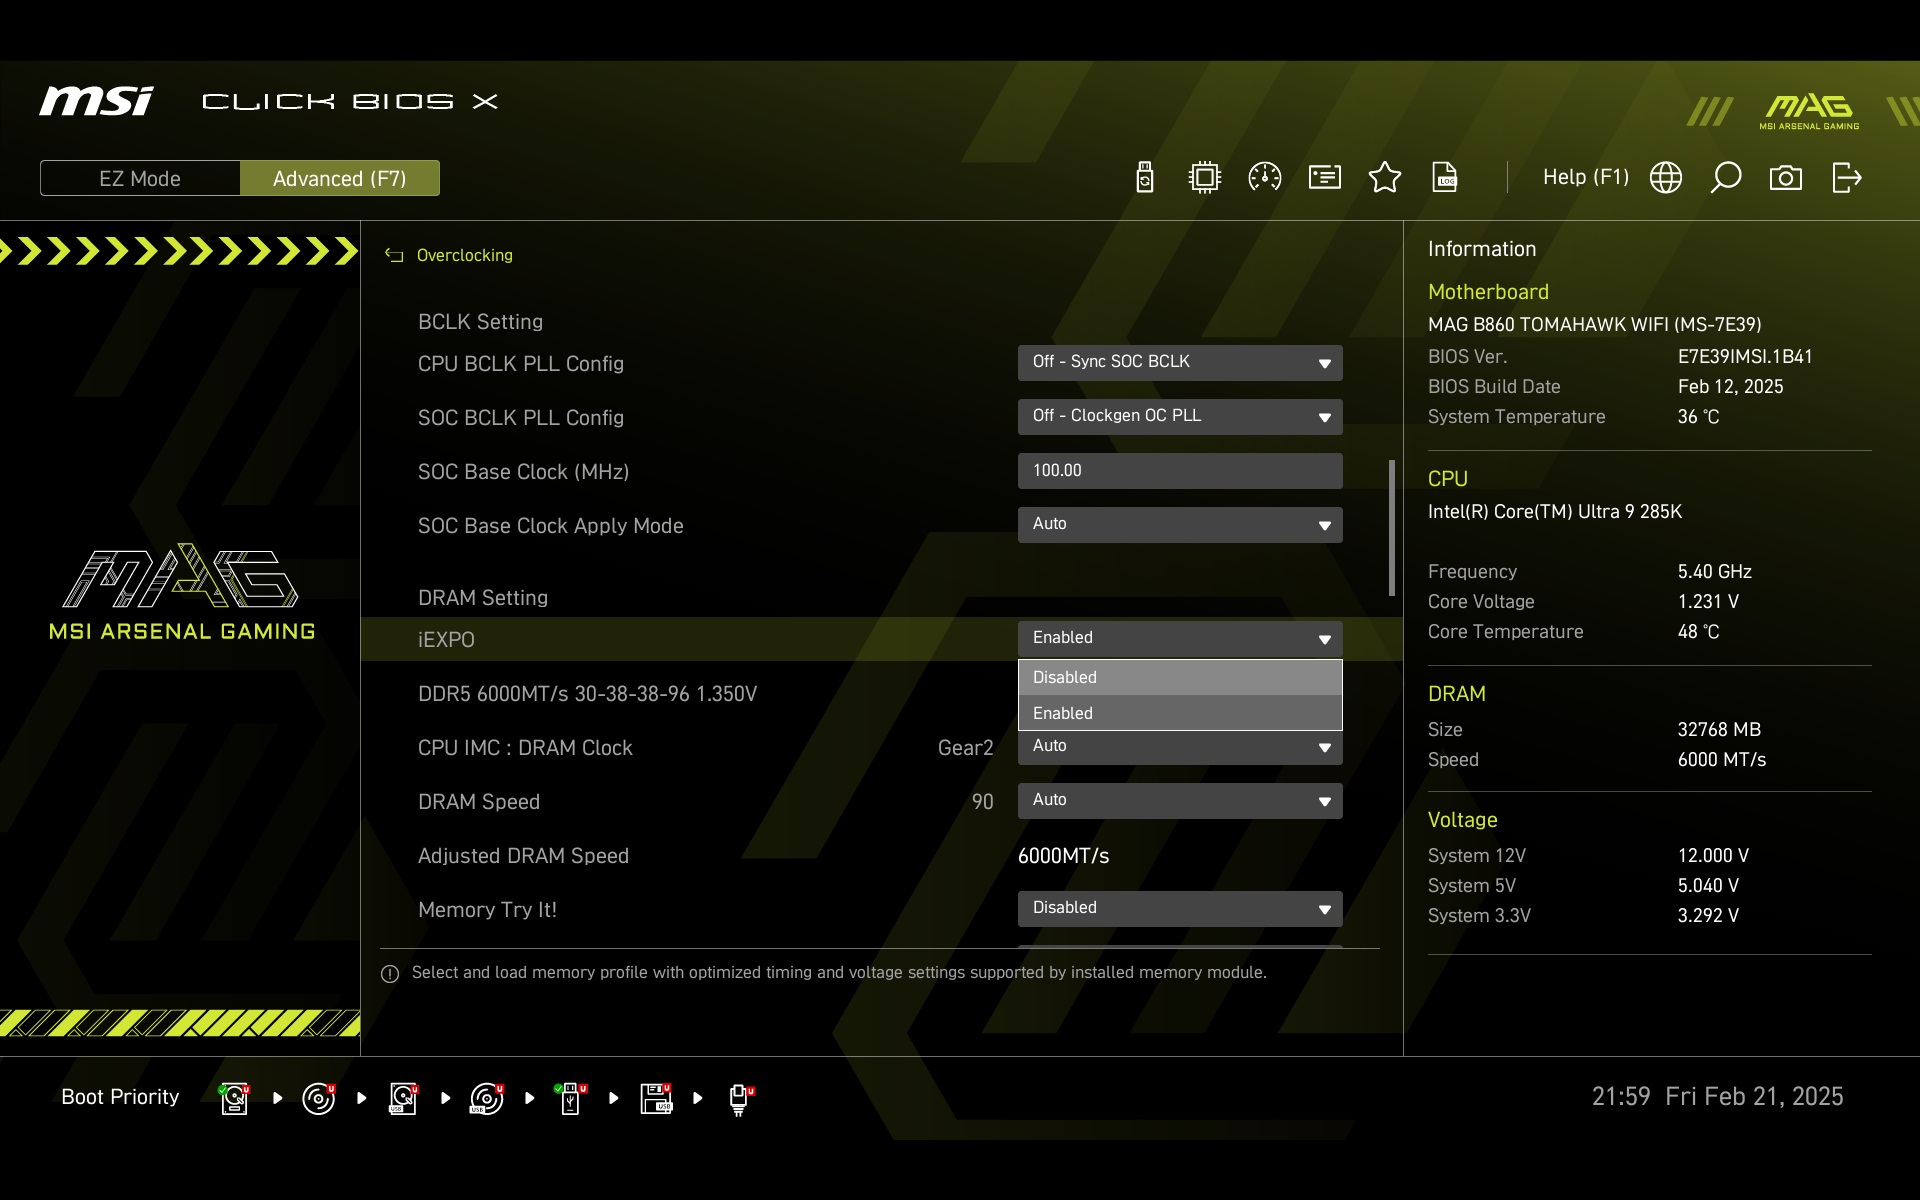
Among the basic settings on the Overclocking tab is the (de)activation of the memory profile (EXPO) or memory controller bandwidth settings (Gear 1/2). These also contribute to the final results.

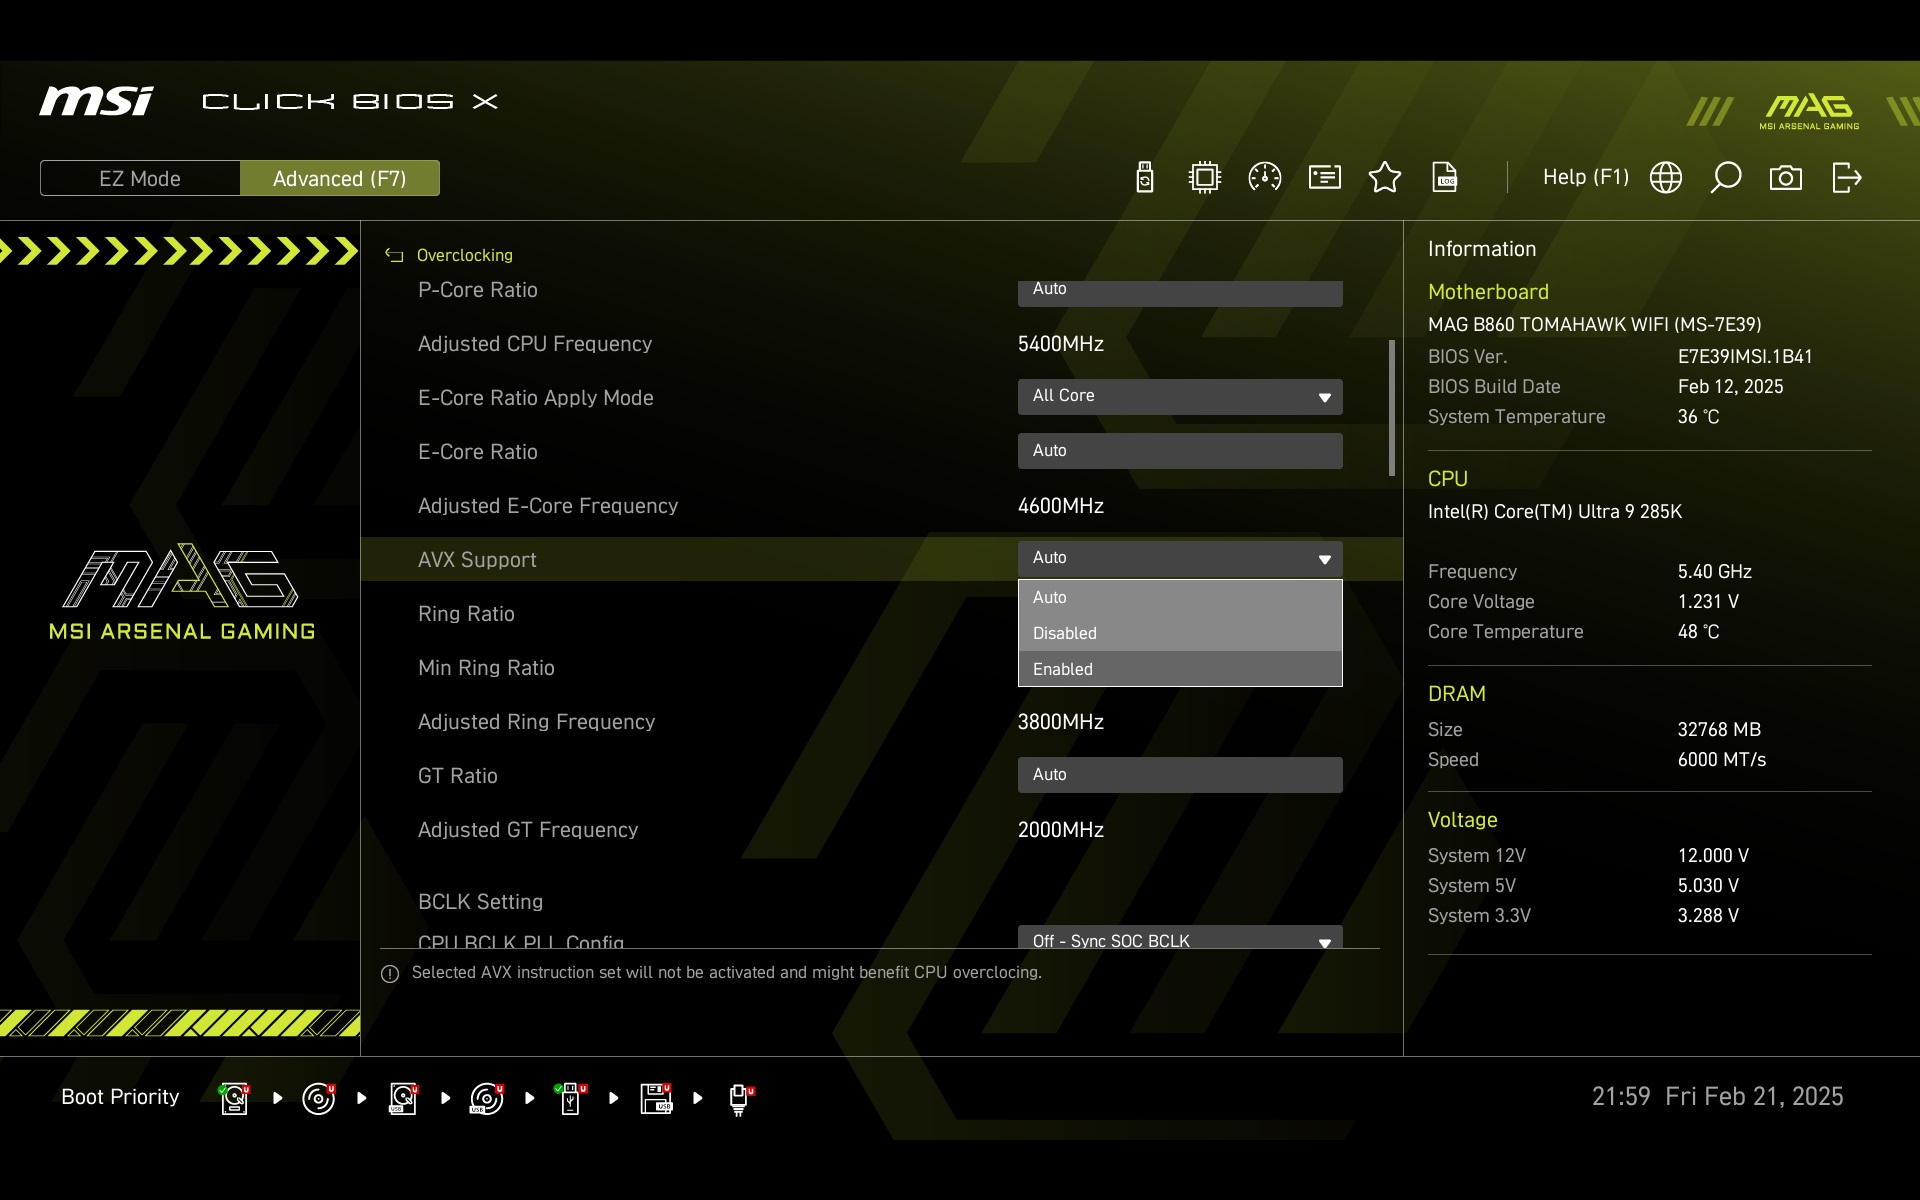
AVX instructions can also be disabled if needed. Why? For example, to limit performance with the goal of reducing power consumption in specific applications. Naturally, this also reduces cooling demands, which are indeed high for more powerful Intel Arrow Lake processors without power limits.
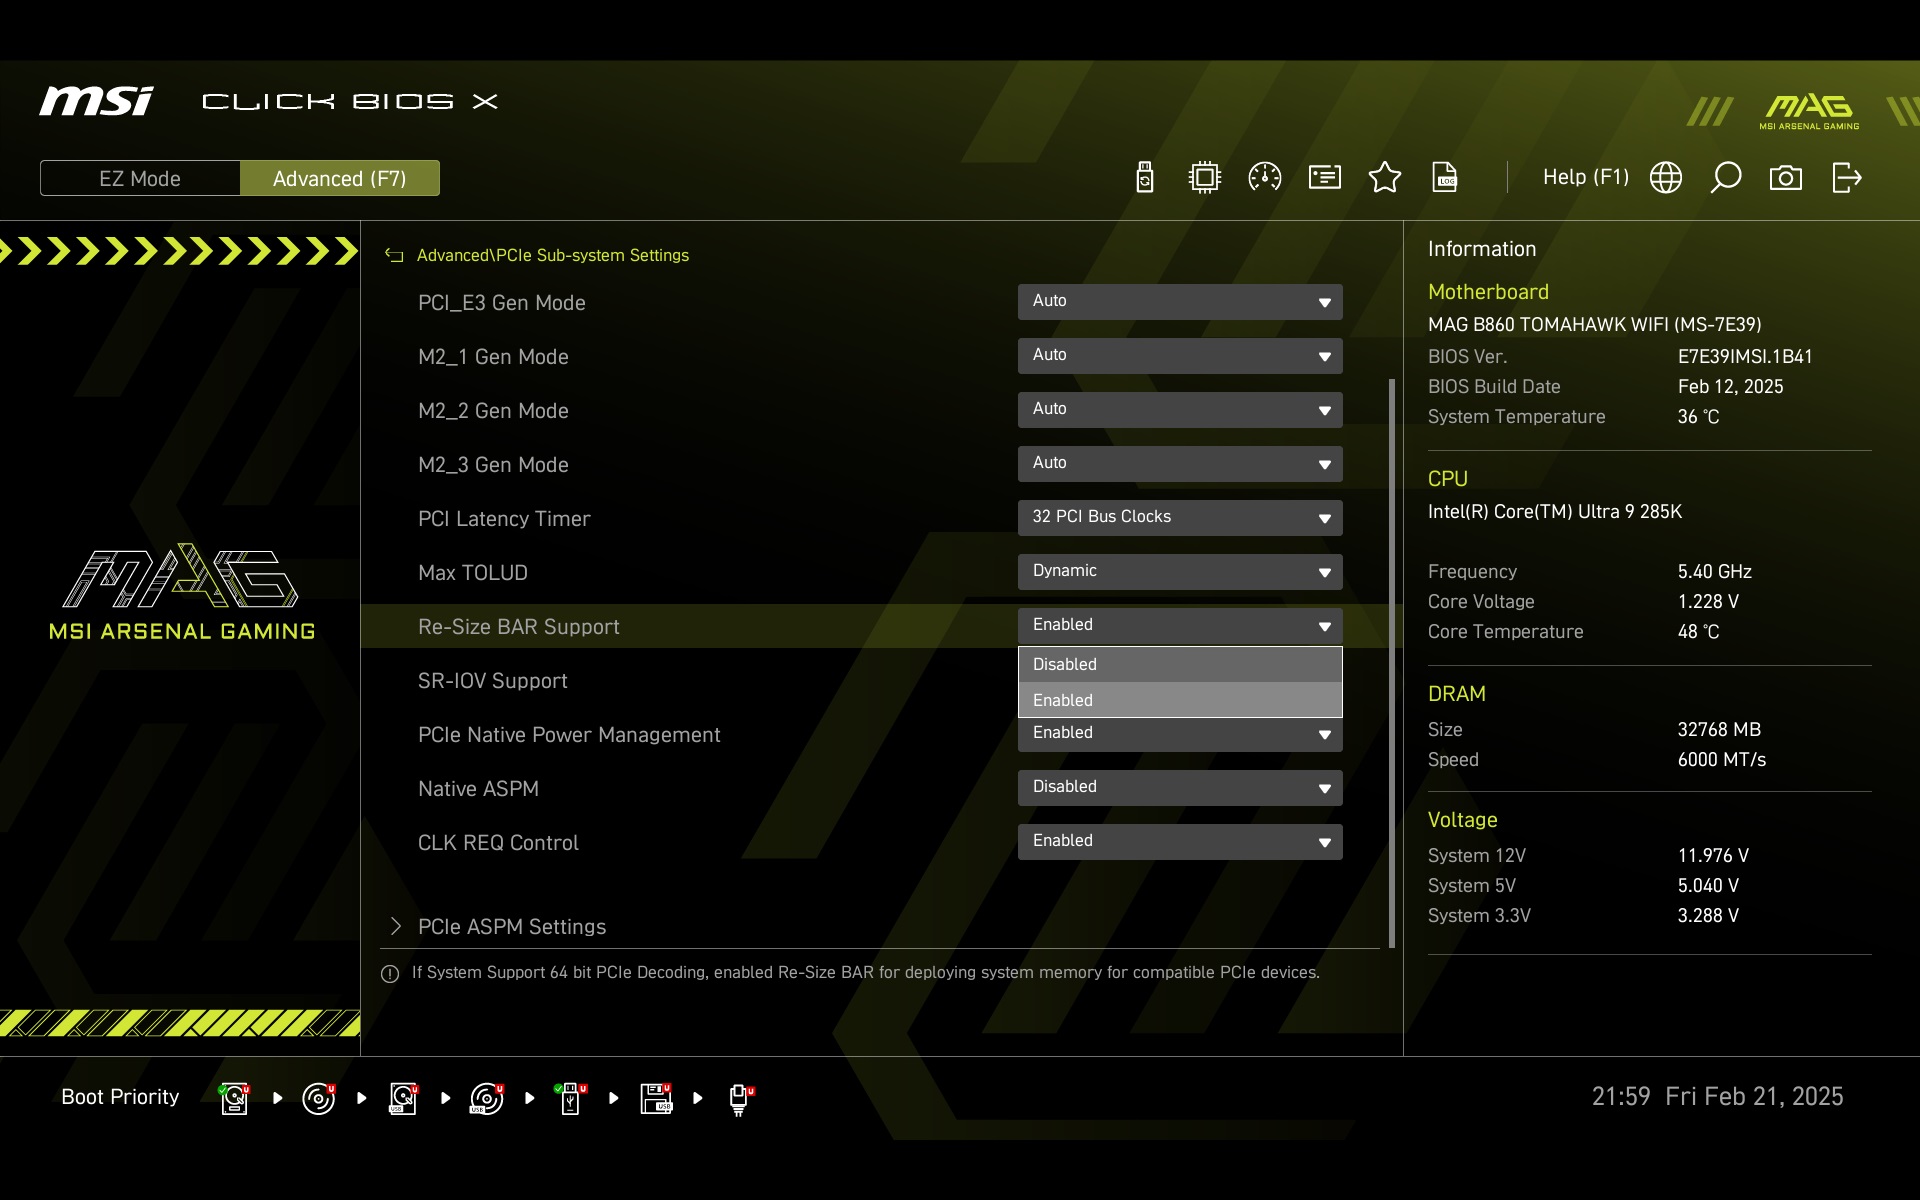
And then there’s ReSizable BAR. MSI still hasn’t integrated a button or switch for this technology into EZ Mode, so you’ll need to dive into the advanced PCIe subsystem settings for any changes in this regard. Disabling ReBAR can, in some cases, mean lower performance (dramatically so with Intel graphics cards, accompanied by stuttering…), but there are likely still cases where the opposite is true. That is, disabling ReBAR results in higher, typically application-specific performance. We once came to such conclusions in the Blender application (using Radeon ProRender) while testing graphics cards.
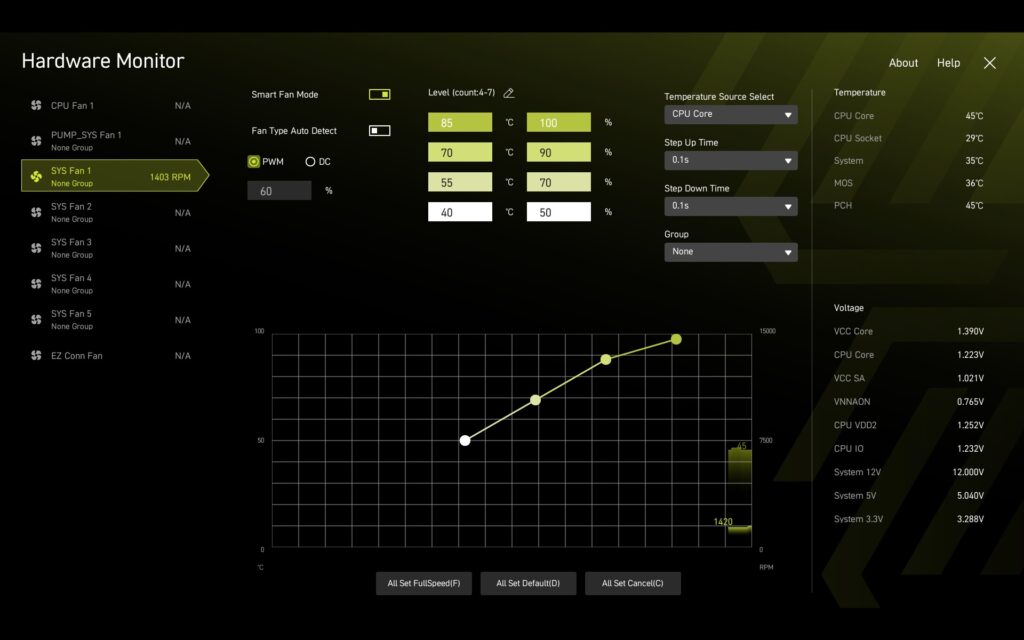
The fan management interface – Hardware Monitor – is exceptionally detailed. All seven fan headers are customizable.
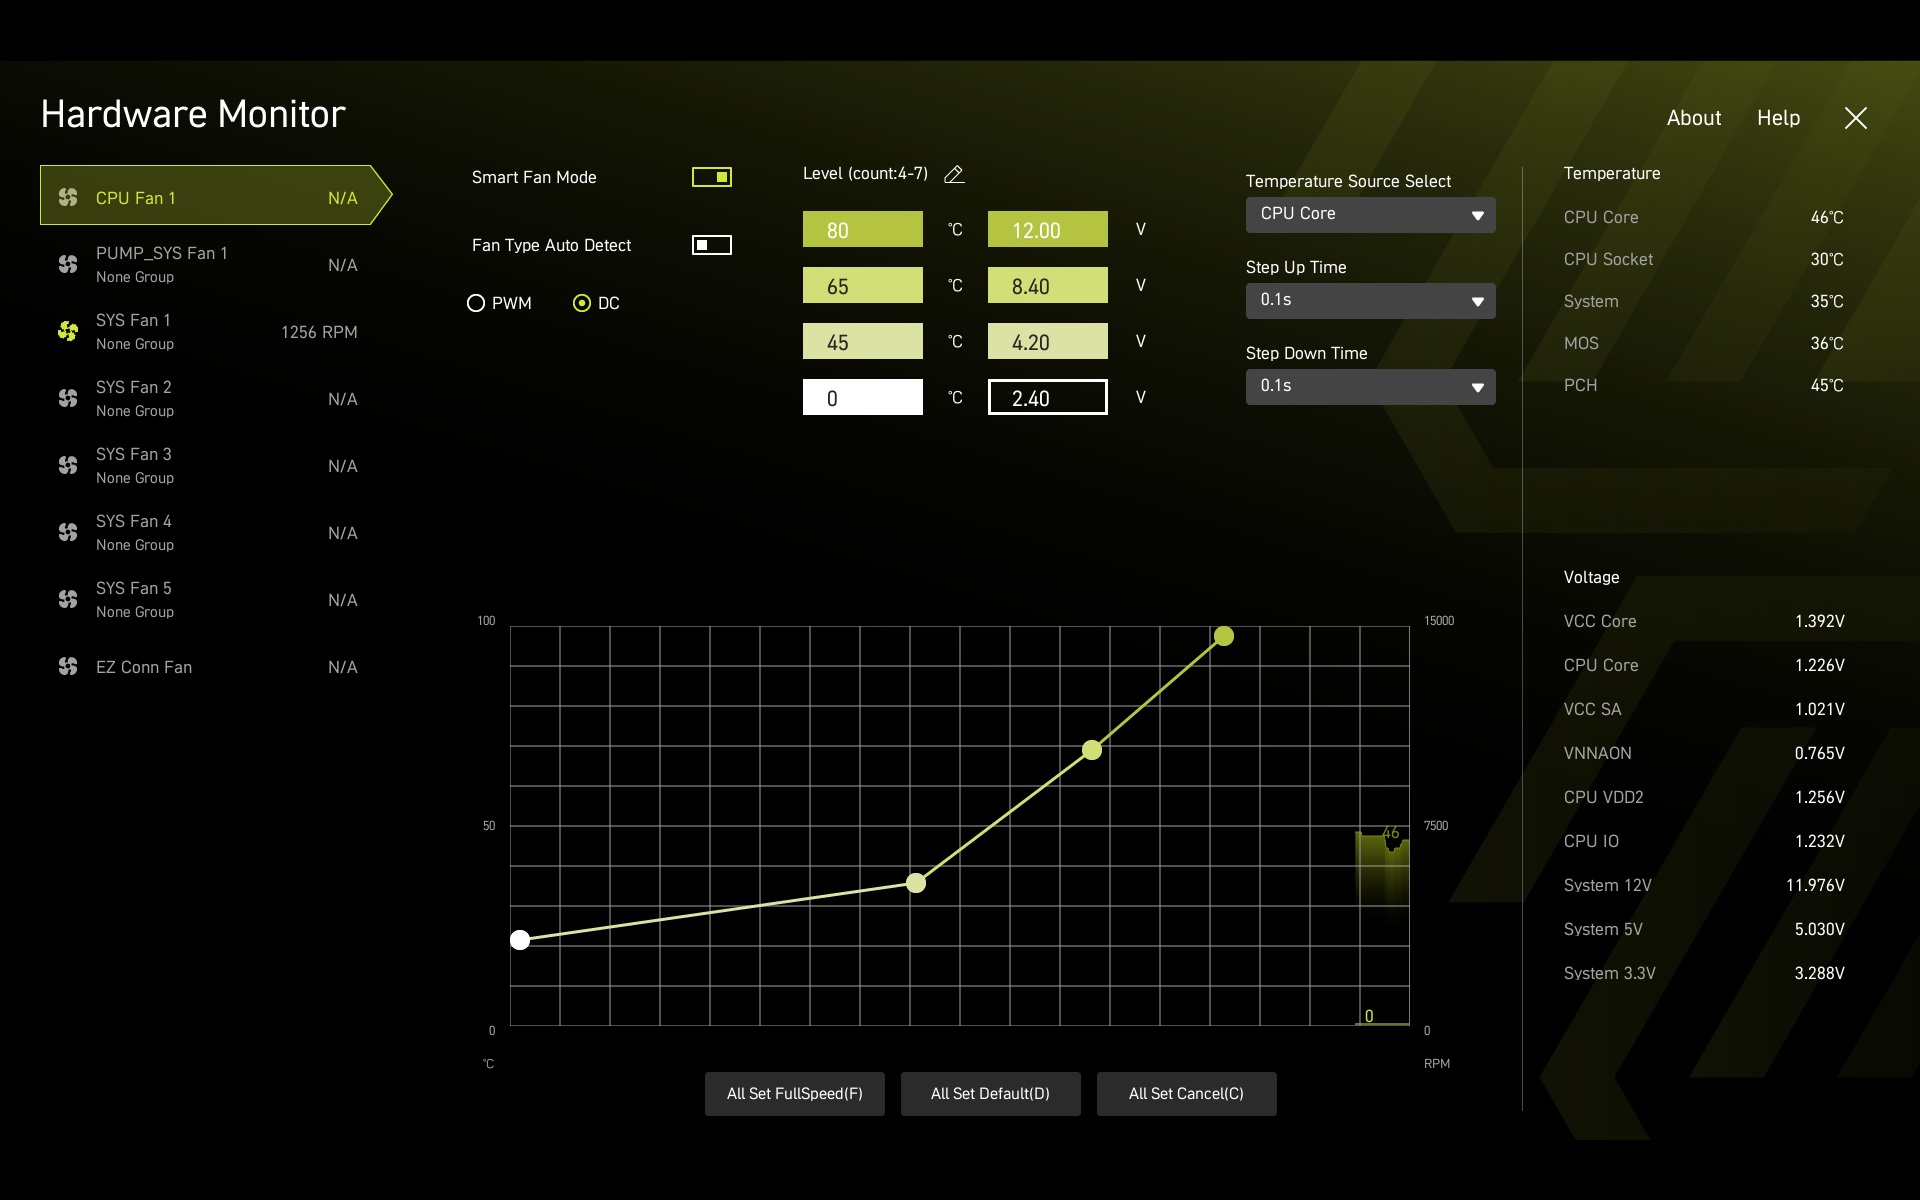
For each connector, you can create custom curves based on temperature. However, for some reason, only CPU temperature is available – other temperature sources couldn’t be selected, at least in BIOS version 1.B41. Diagnostic tools, meanwhile, read various sensors that can typically be selected in the Hardware Monitor settings.