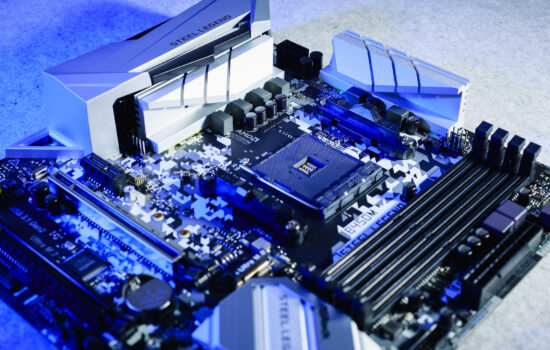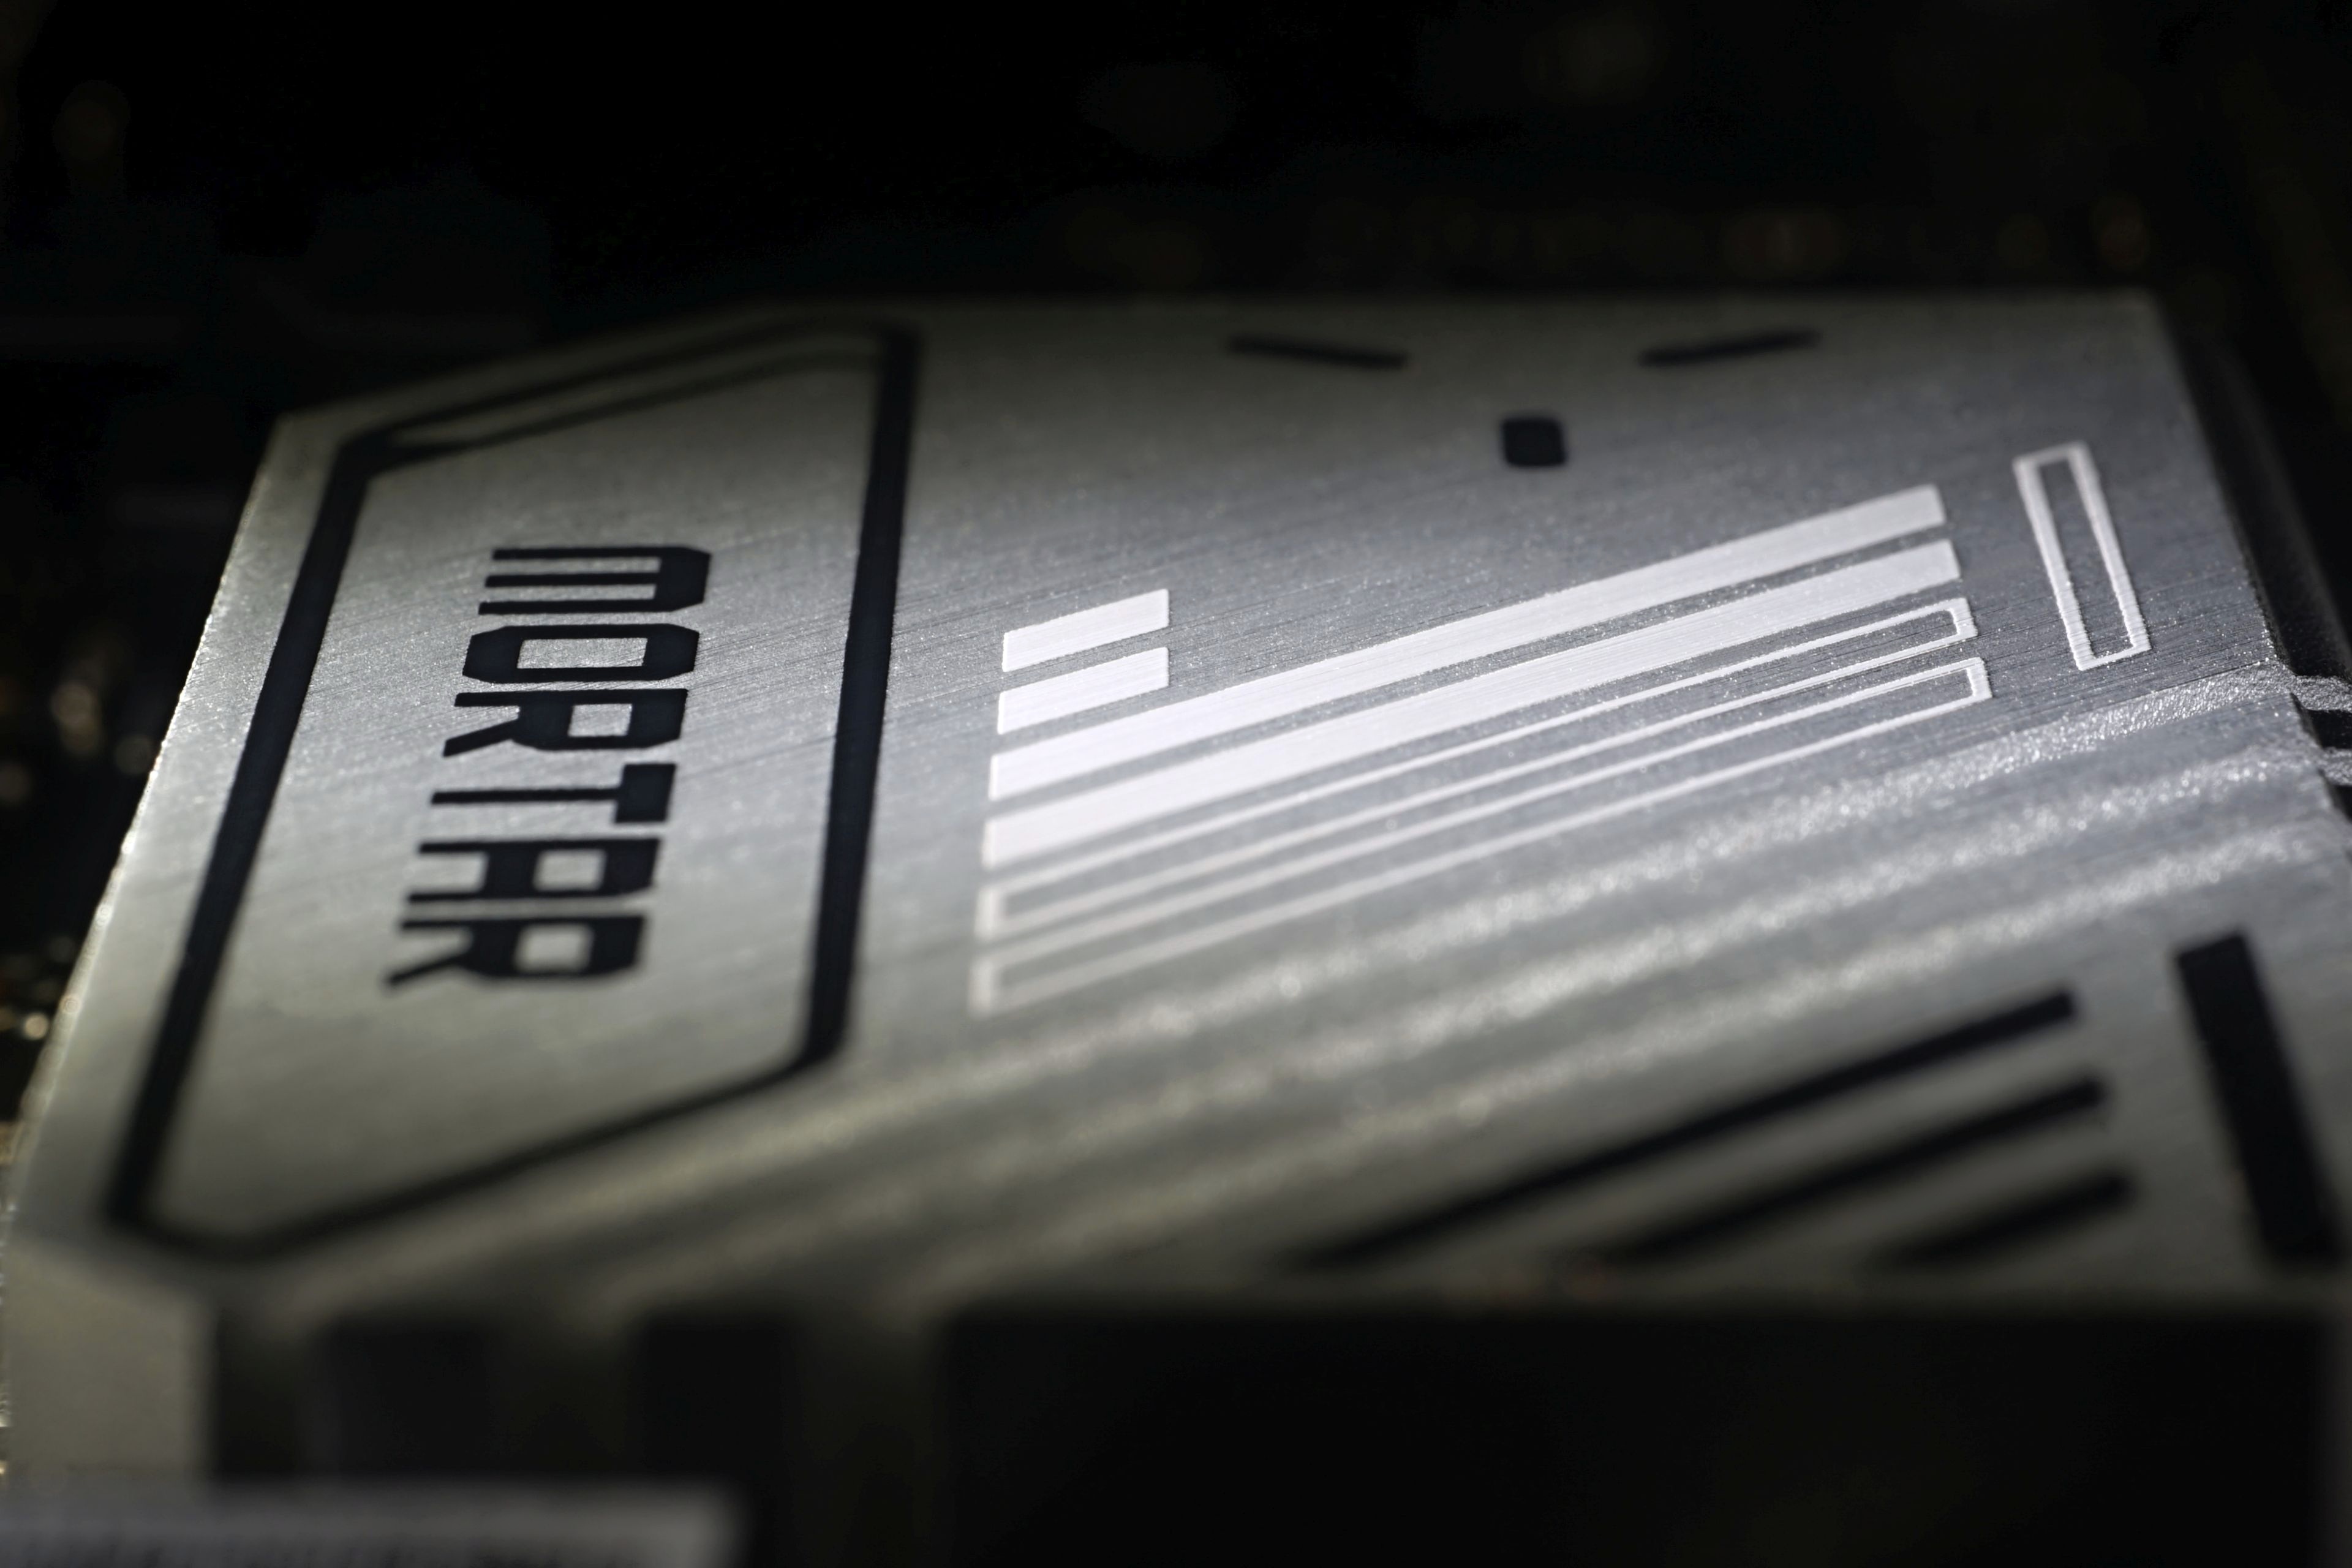
When building a relatively cheaper Intel-based desktop, you’ll probably choose a “B” chipset motherboard. One of those is the B760M Mortar WiFi. Because of the use of the Micro ATX format, this motherboard is also attractive for smaller computer cases. The cross-generational comparison with the B660M Mortar WiFi is also striking. What direction is MSI taking this?
What it looks like in the BIOS
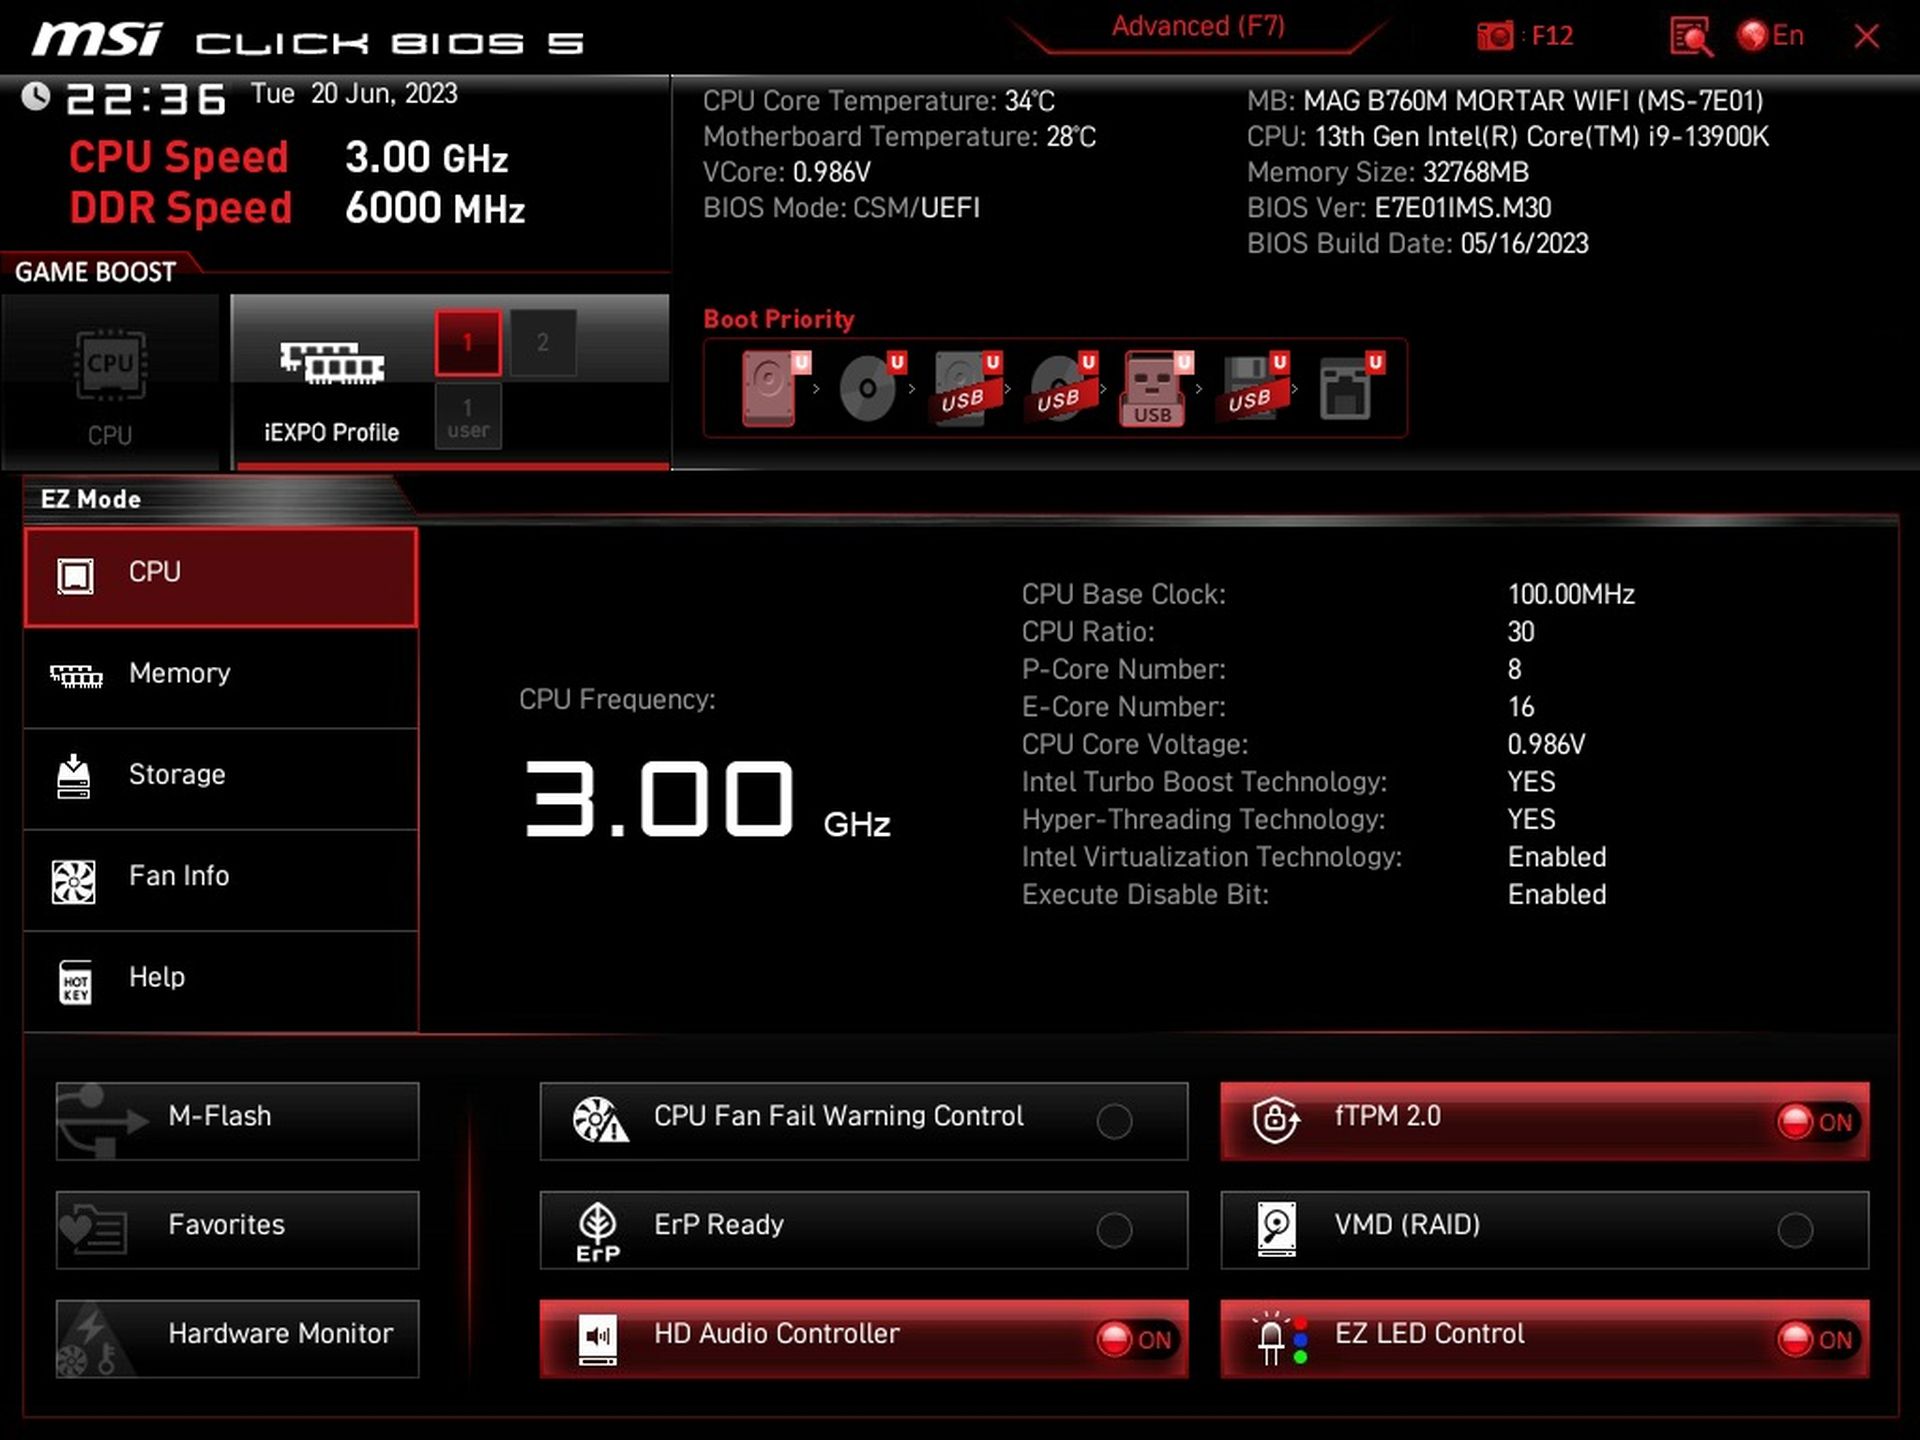
The user interface is as you’ve long known it on MSI boards. In Advanced Mode, the navigation is made up of thematic tiles, and EZ Mode (you switch between these views with the F7 key) contains a few extra tabs for entering basic settings or buttons to (de)activate basic functions right from this screen.

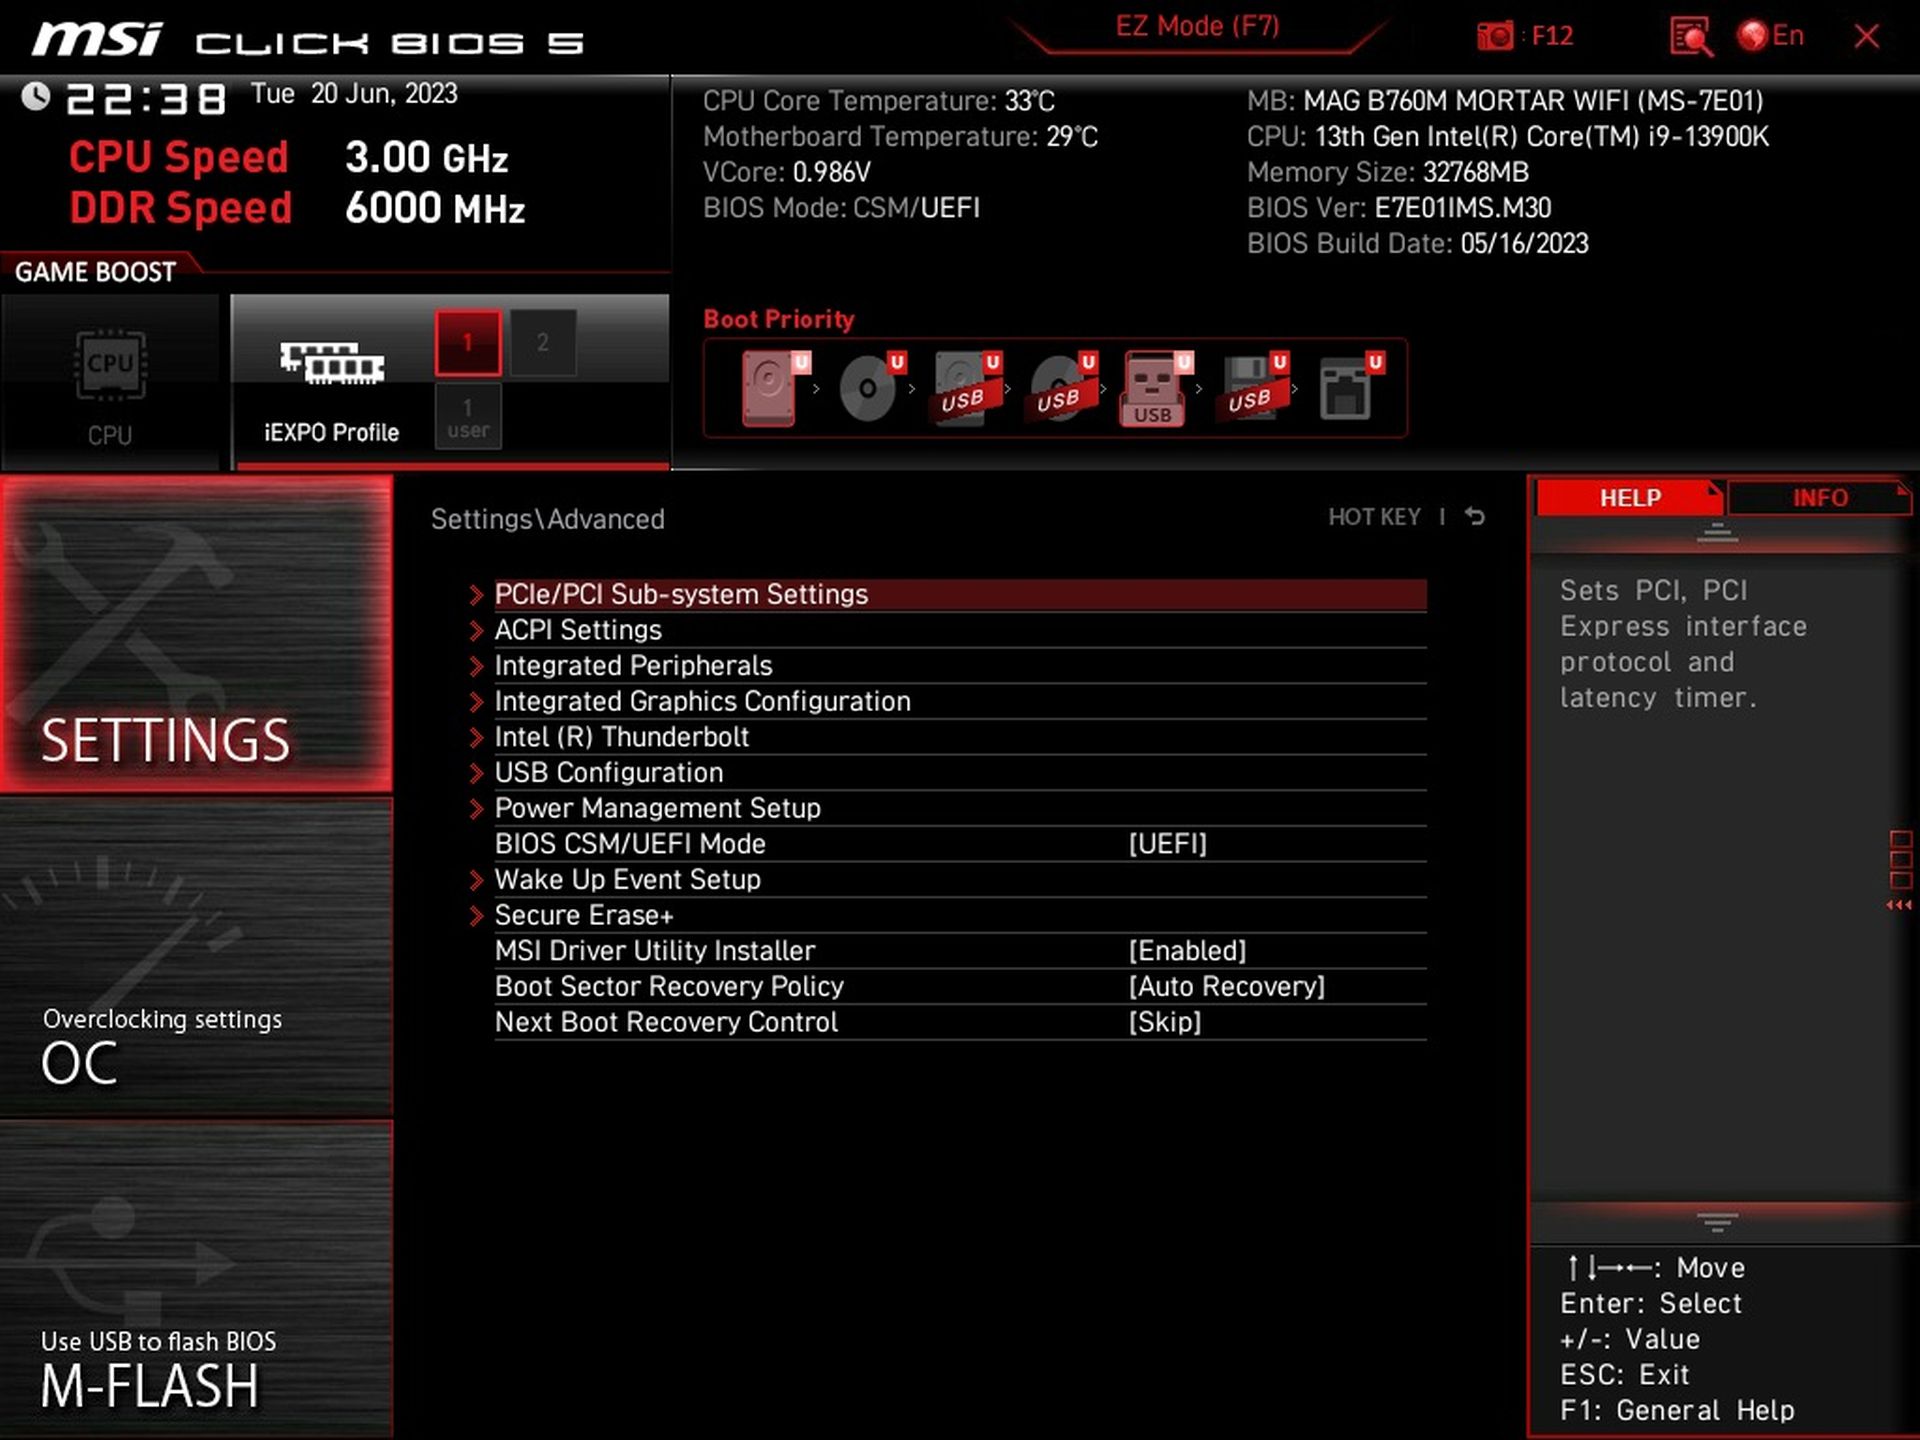
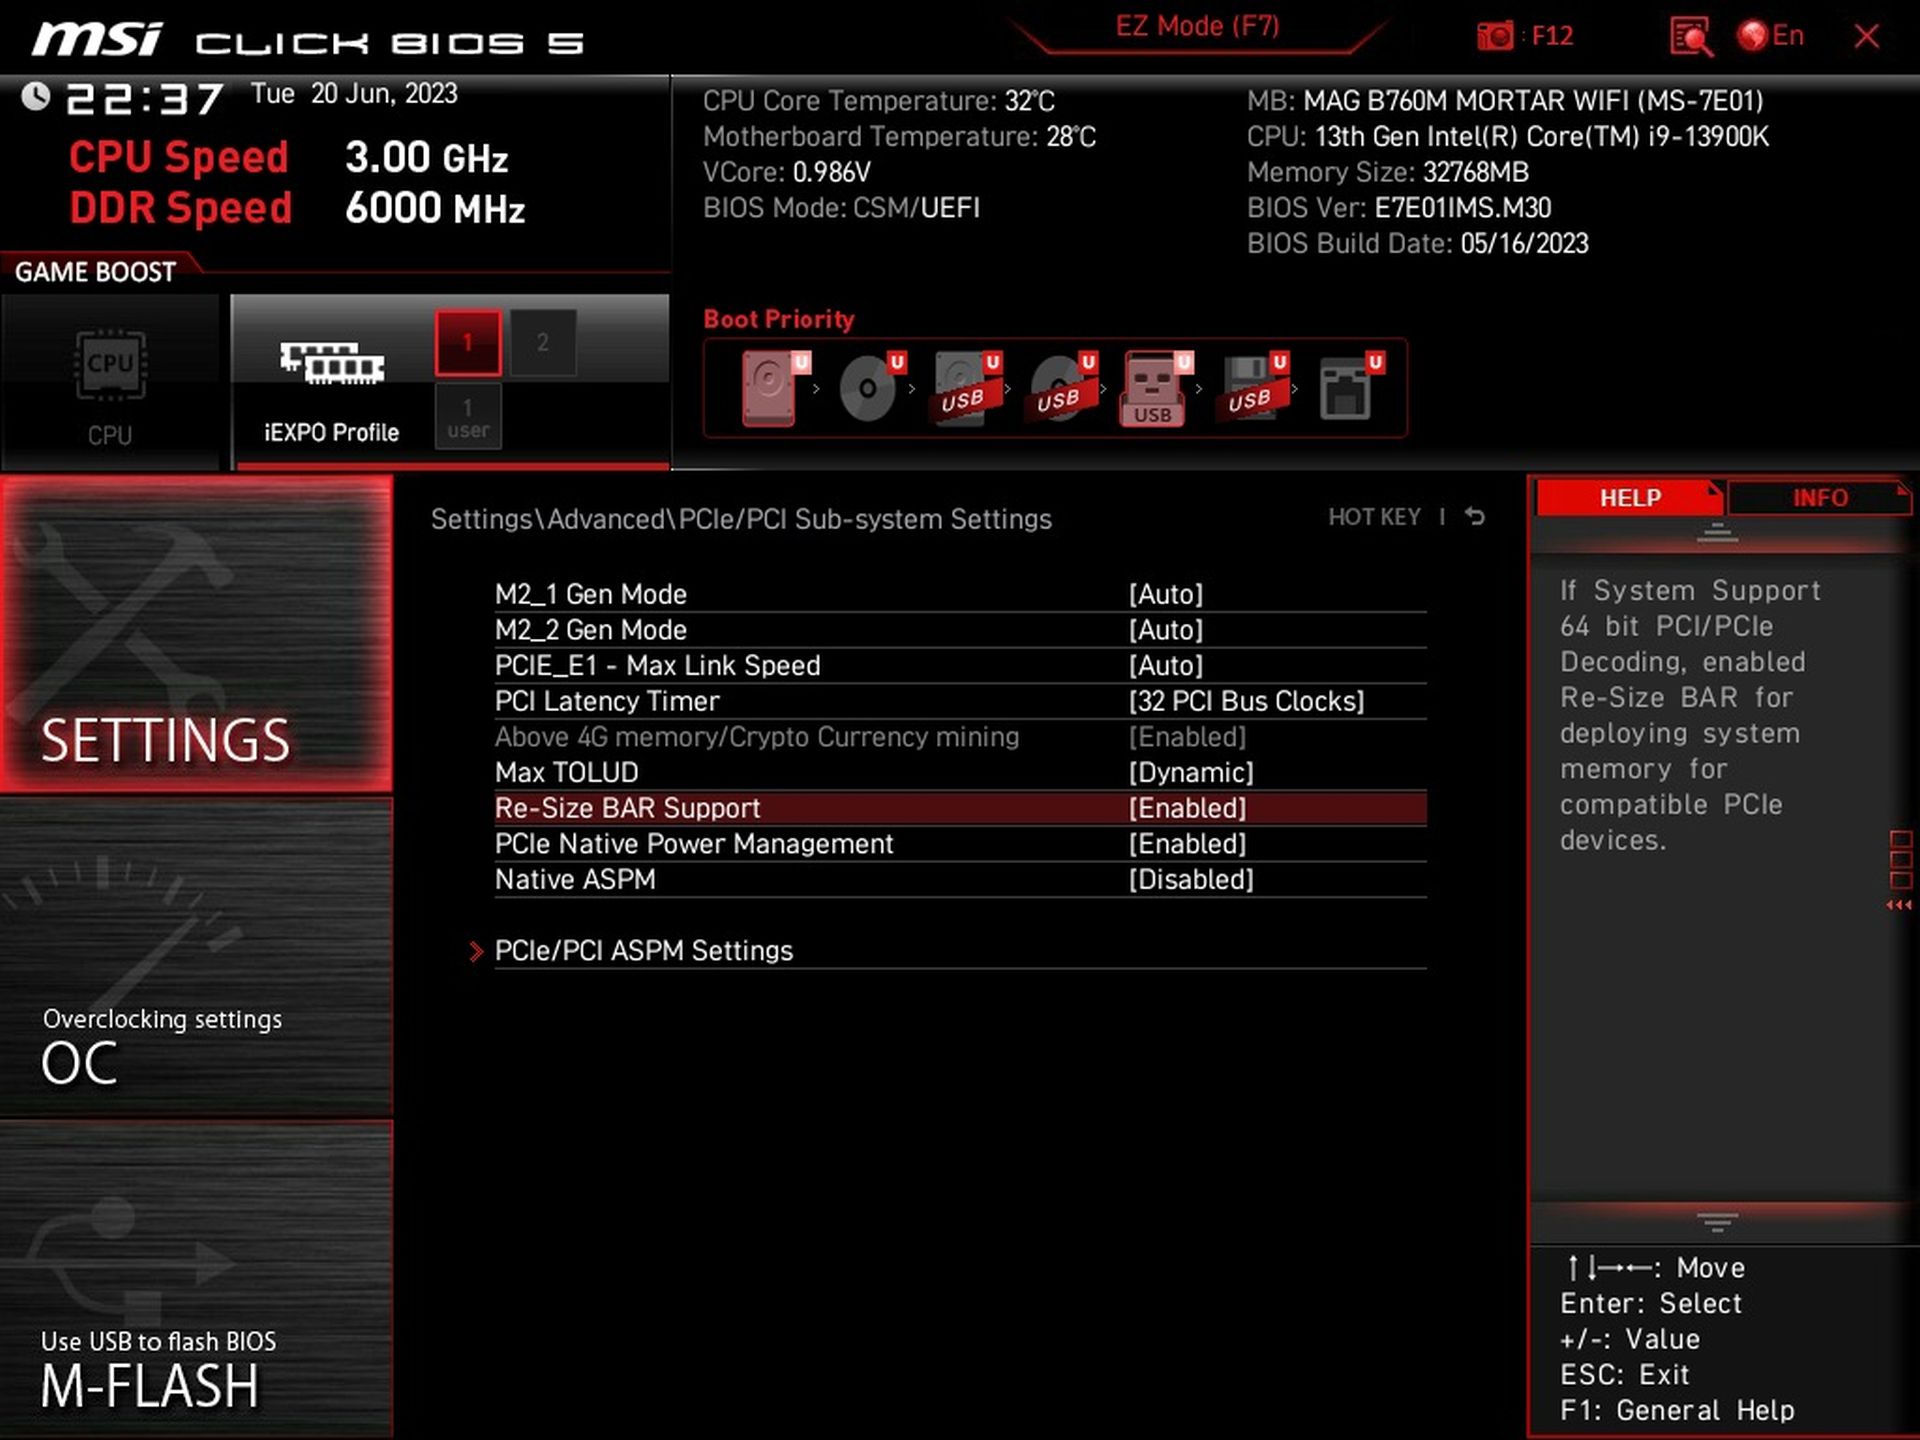
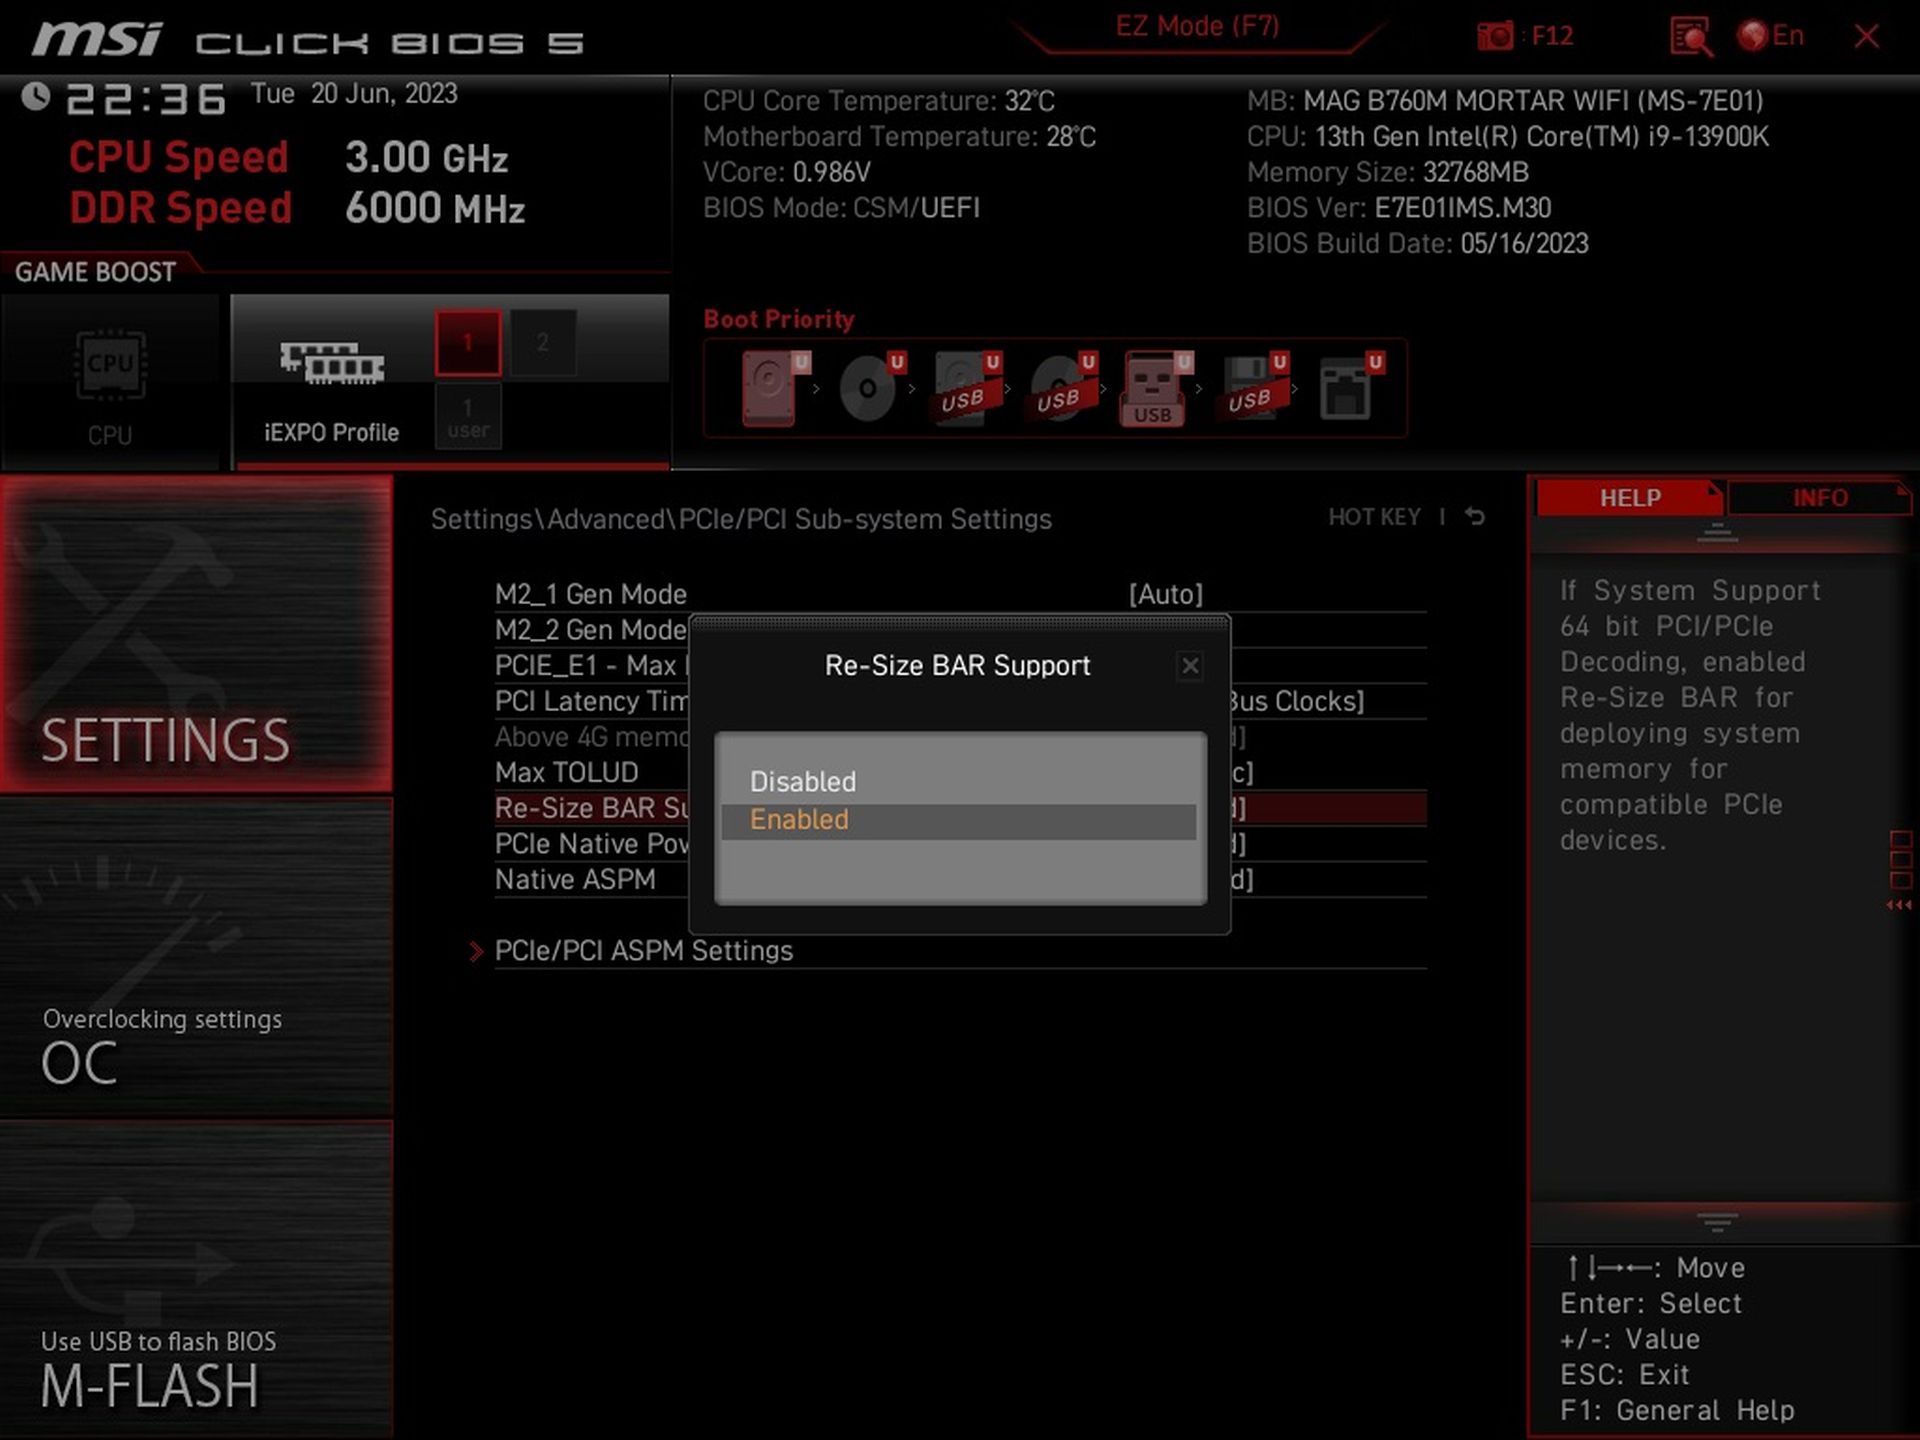
However, to configure Resizabe BAR, you will need to go through the advanced settings to the PCIe/PCI subsystem settings. In the factory settings, ReBAR is enabled, which is one of the key changes compared to older generation boards (in general, not just MSI). In the past, ReBAR used to be off and there’s practically not much reason to avoid it. Despite this, you can still run into situations where it does more harm than good to the graphics card.
These will now be very rare instances (especially if there are any significant differences), but they can occur. Dramatic performance degradations with active ReBAR occur with Radeon graphics cards, for example in Blender using the Radeon Pro Renderer (OpenCL).
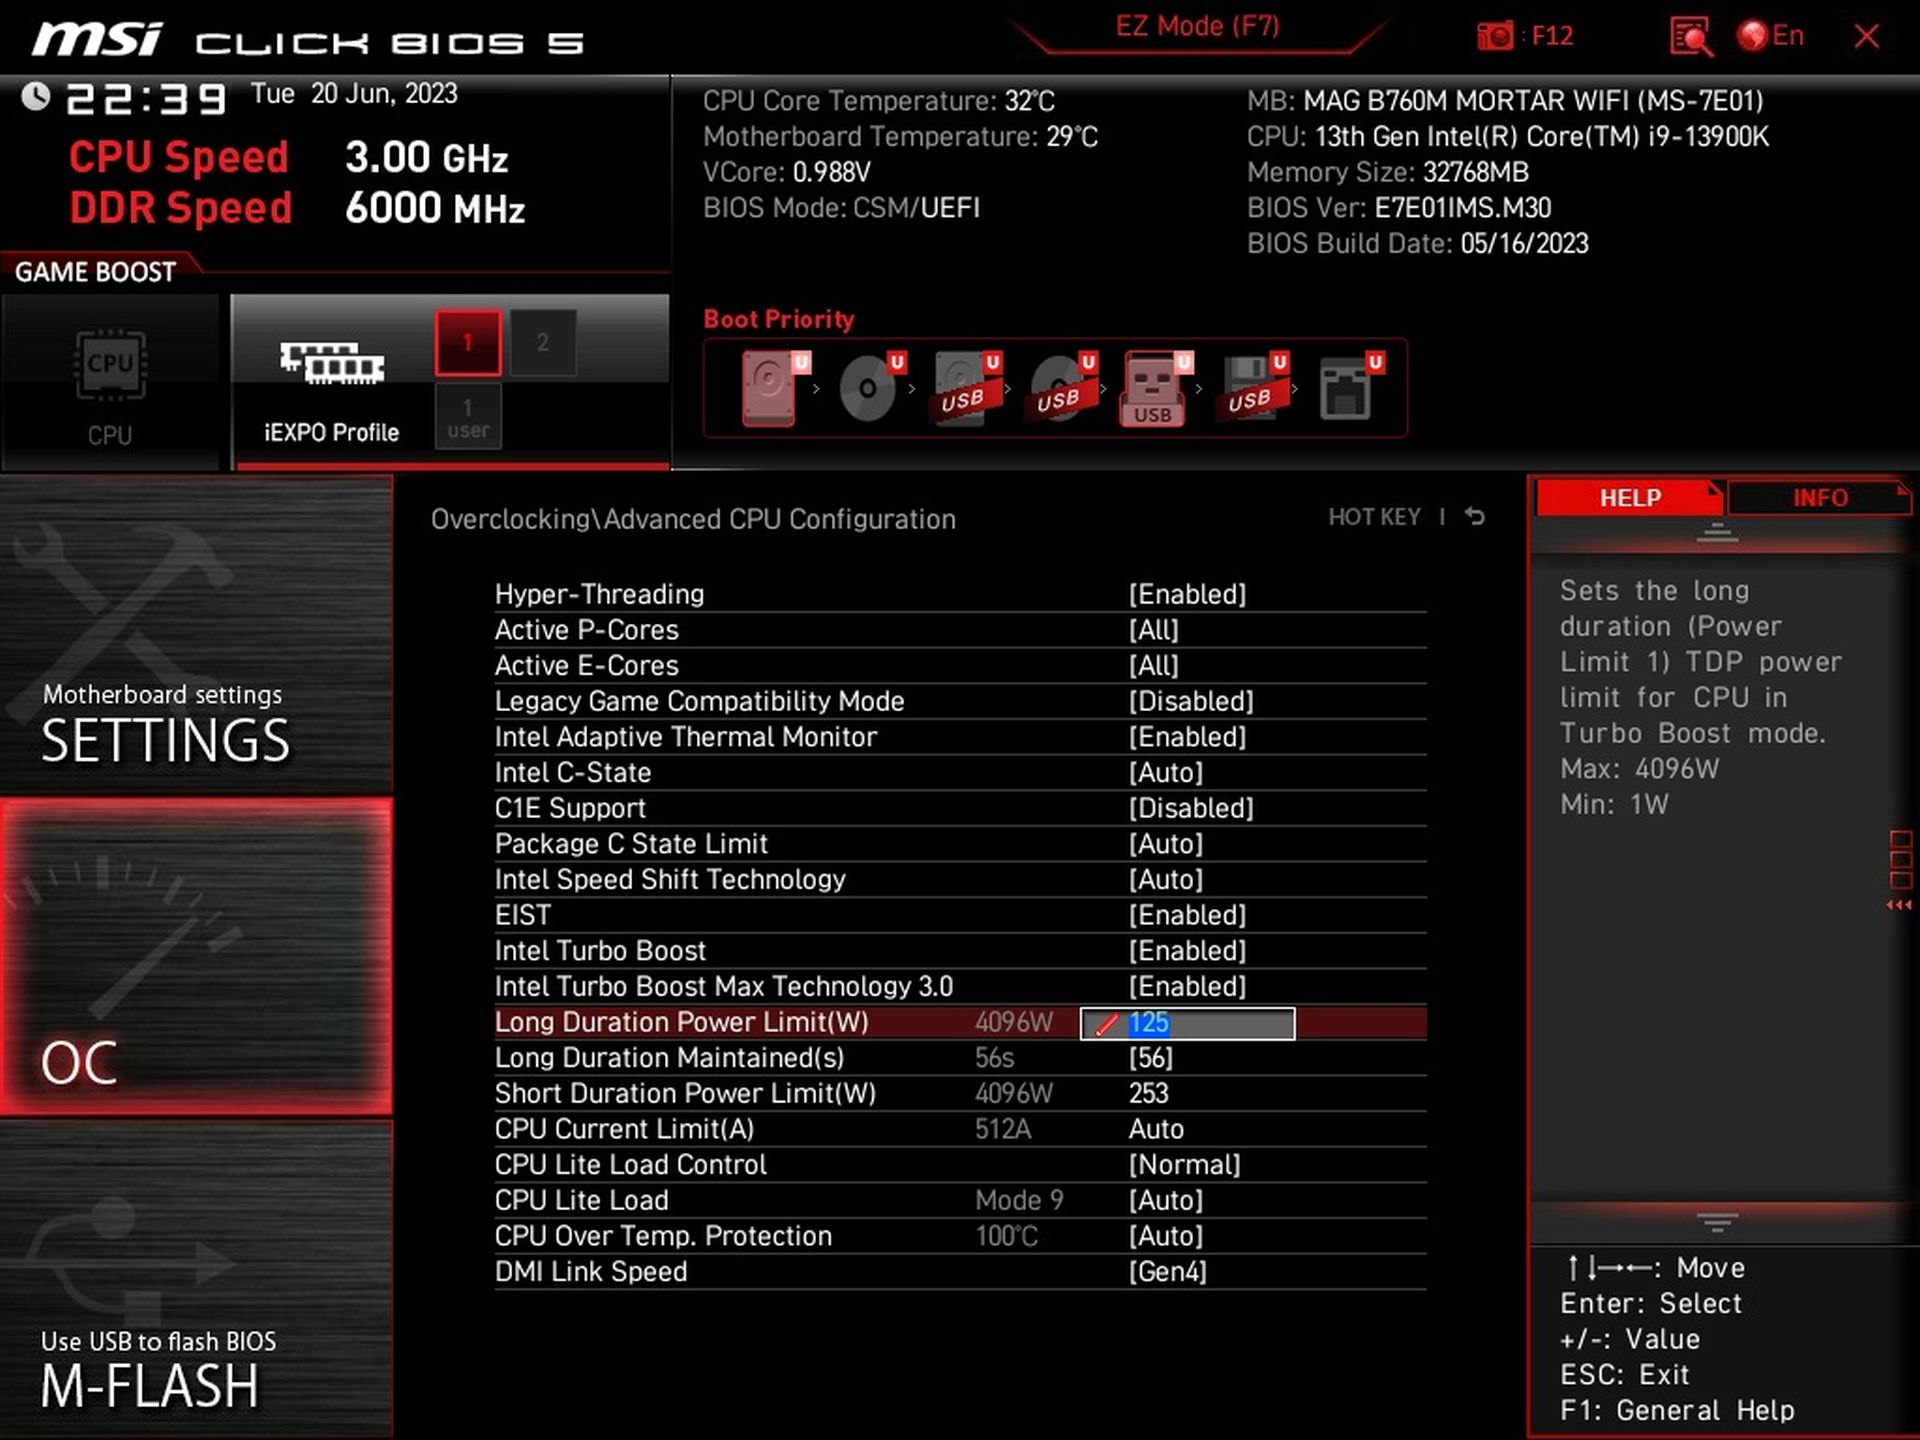
For CPU power management, MSI has three profiles labeled according to the type of cooler you have. This assumes that a liquid cooler will have a higher TDP than a tower cooler, which of course may not be the case. They’ve simplified it a bit at MSI in order to get closer to the majority. The best-selling liquid coolers are likely to have higher cooling performance than the best-selling Arctic Freezer 34 or Endorfy Fera 5 tower coolers.

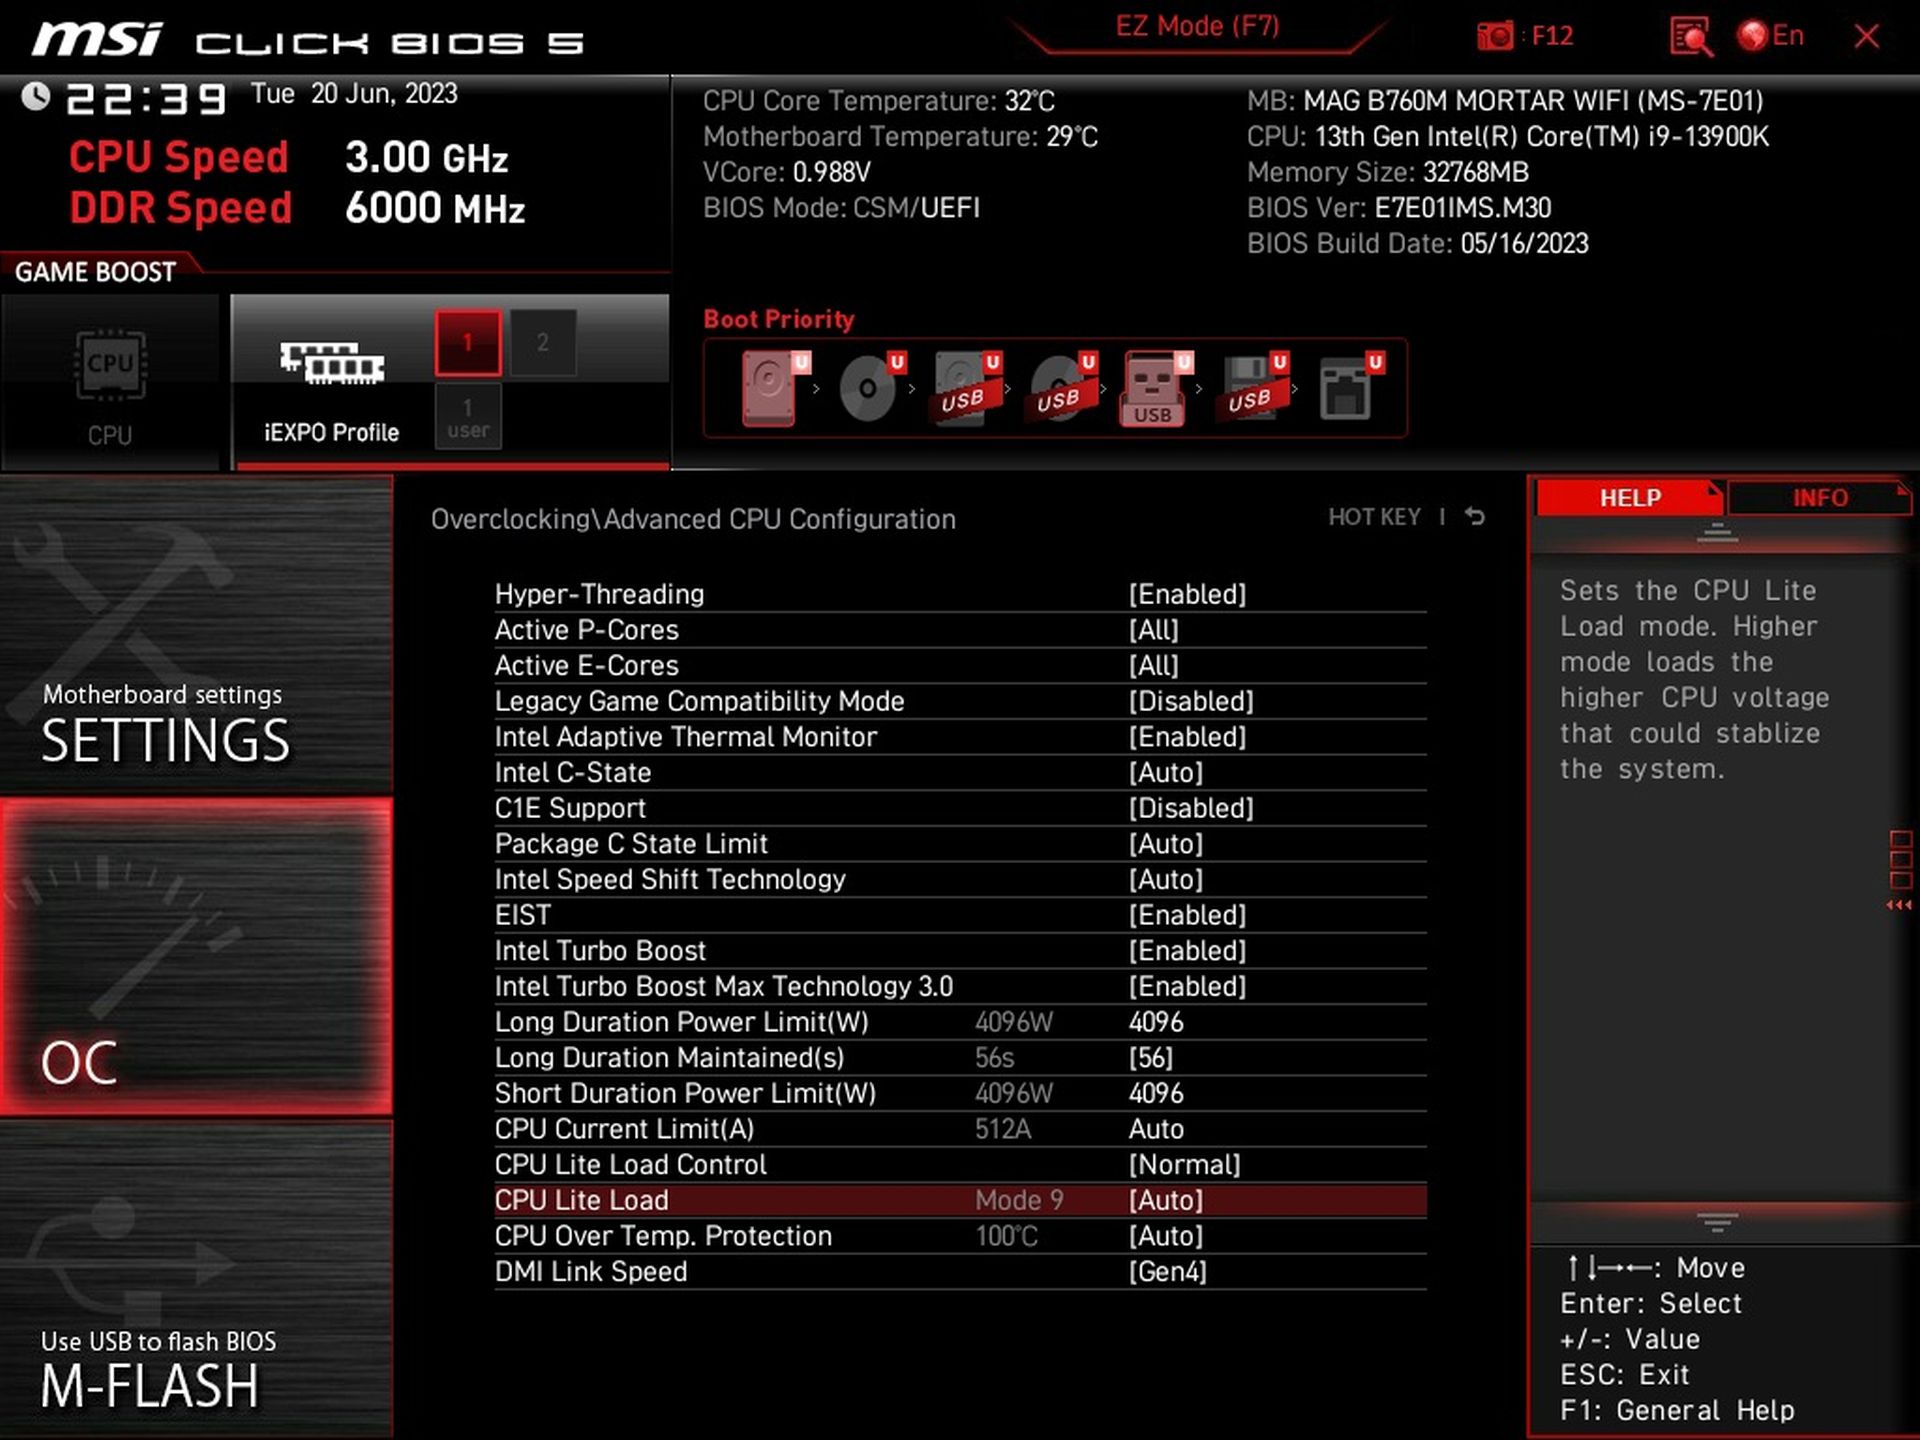
With the Core i9-13900K processor, for all preset modes, PL1 equals PL2, so the Tau timeout during which higher performance is achieved is not applied. This is, unless you manually change it, always constant. For the “Water Cooler” profile the power limit is completely unlocked, for the “Tower Air Cooler” it is capped at 288 W and for the “Boxed Cooler” it corresponds to 253 W. Depending on the processor used, of course, the settings for these profiles will vary, and with lower-power models (than the “Ks”) there will likely already be a difference between the PL1 and PL2, similar to the B660M Mortar WiFi, which we tested with two more processors (and one of them was a 65-watt processor with a locked multiplier).
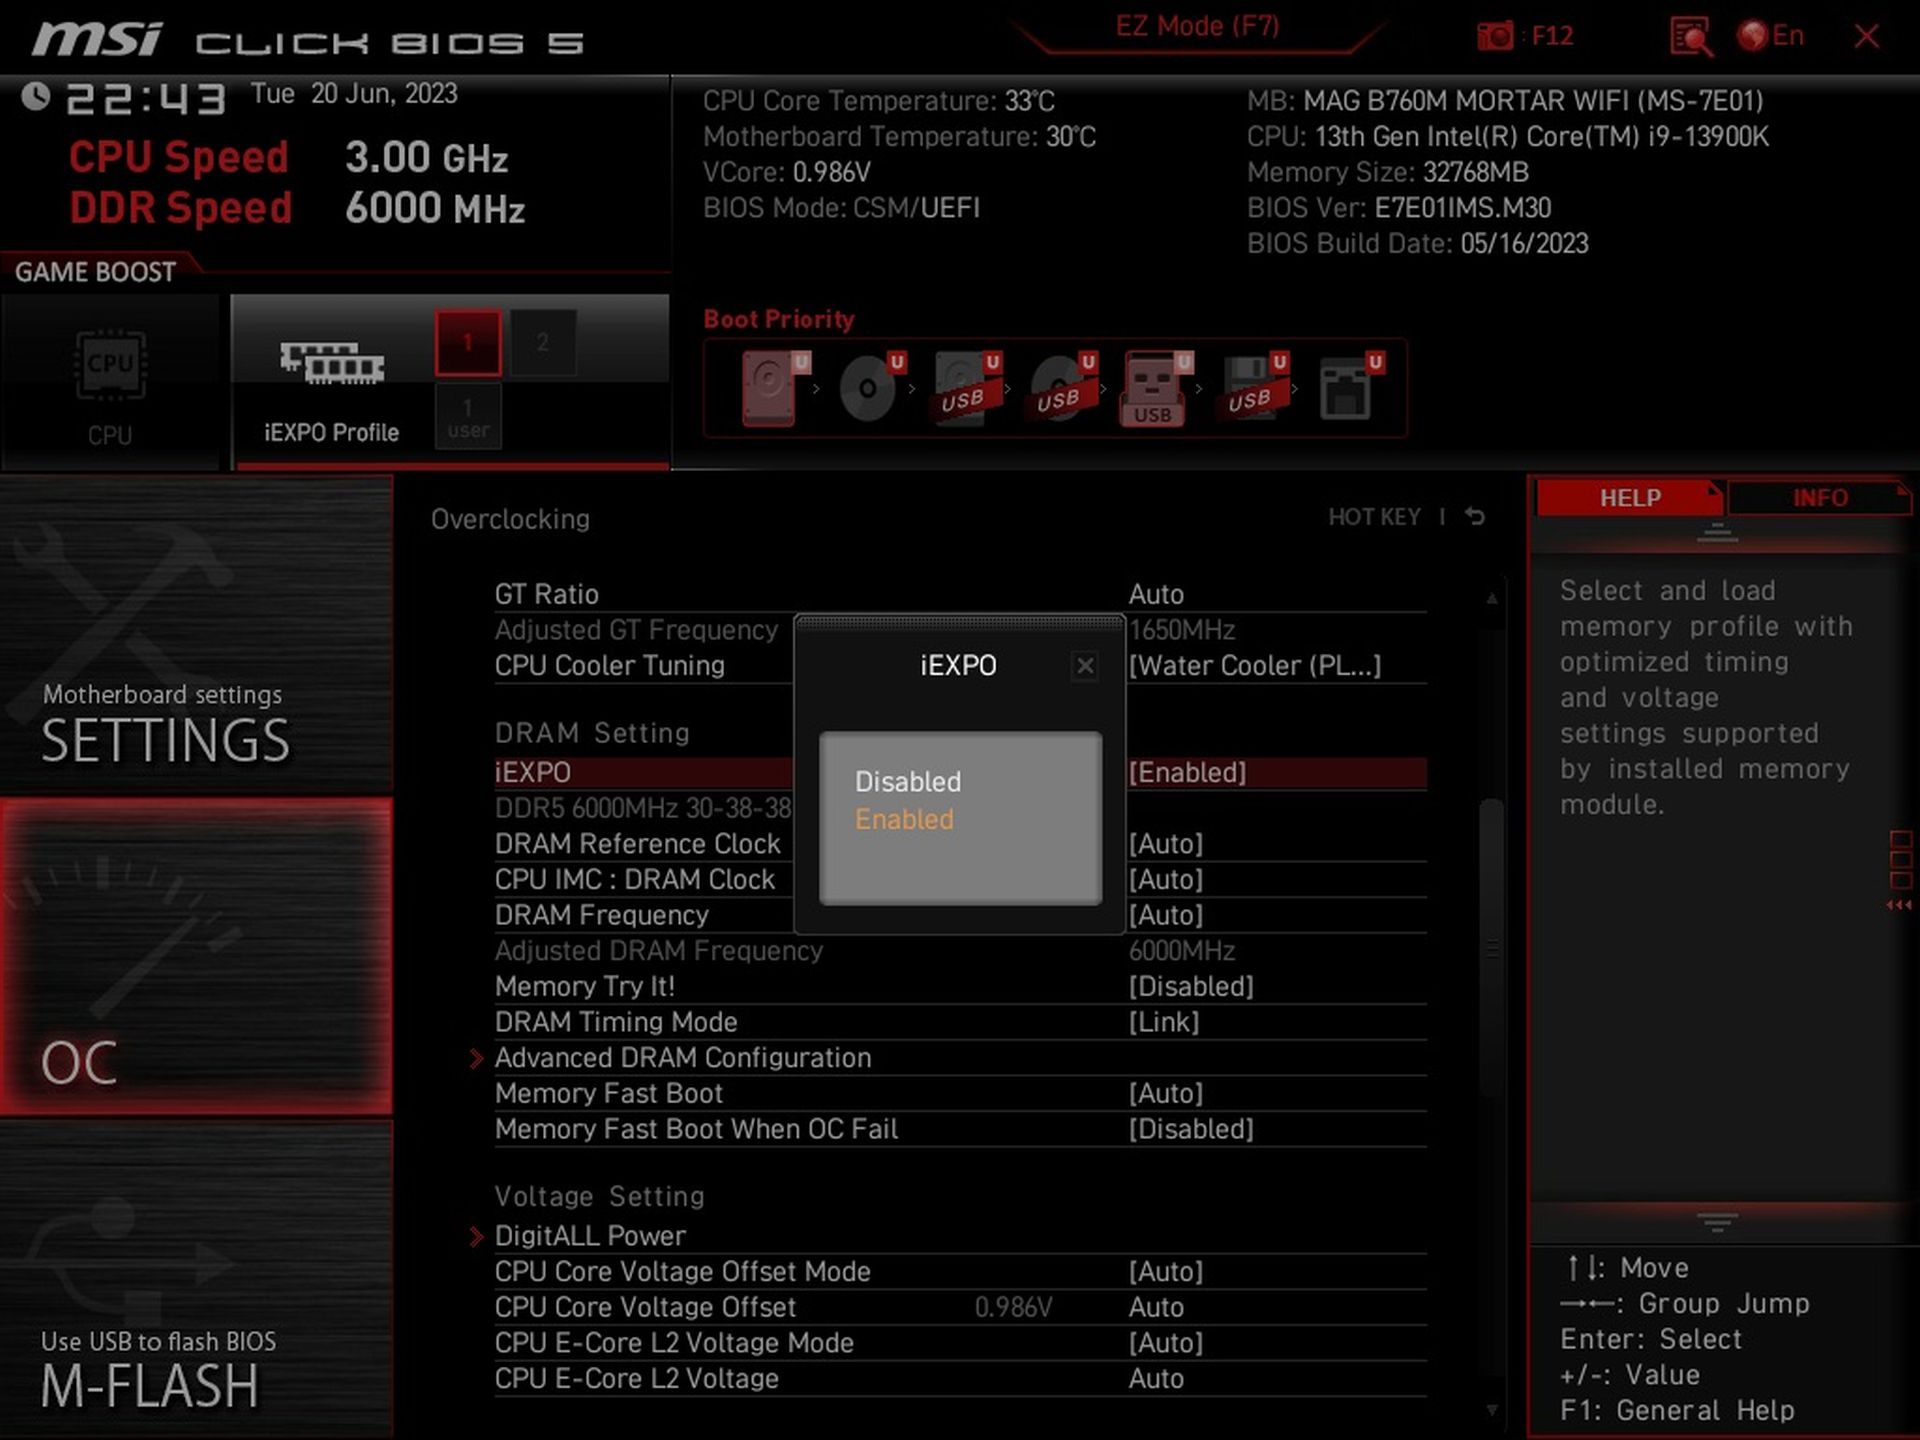
Activating the memory profile is easy, you can find it under the iExpo (Intel Expo) option with AMD Expo-enabled modules.
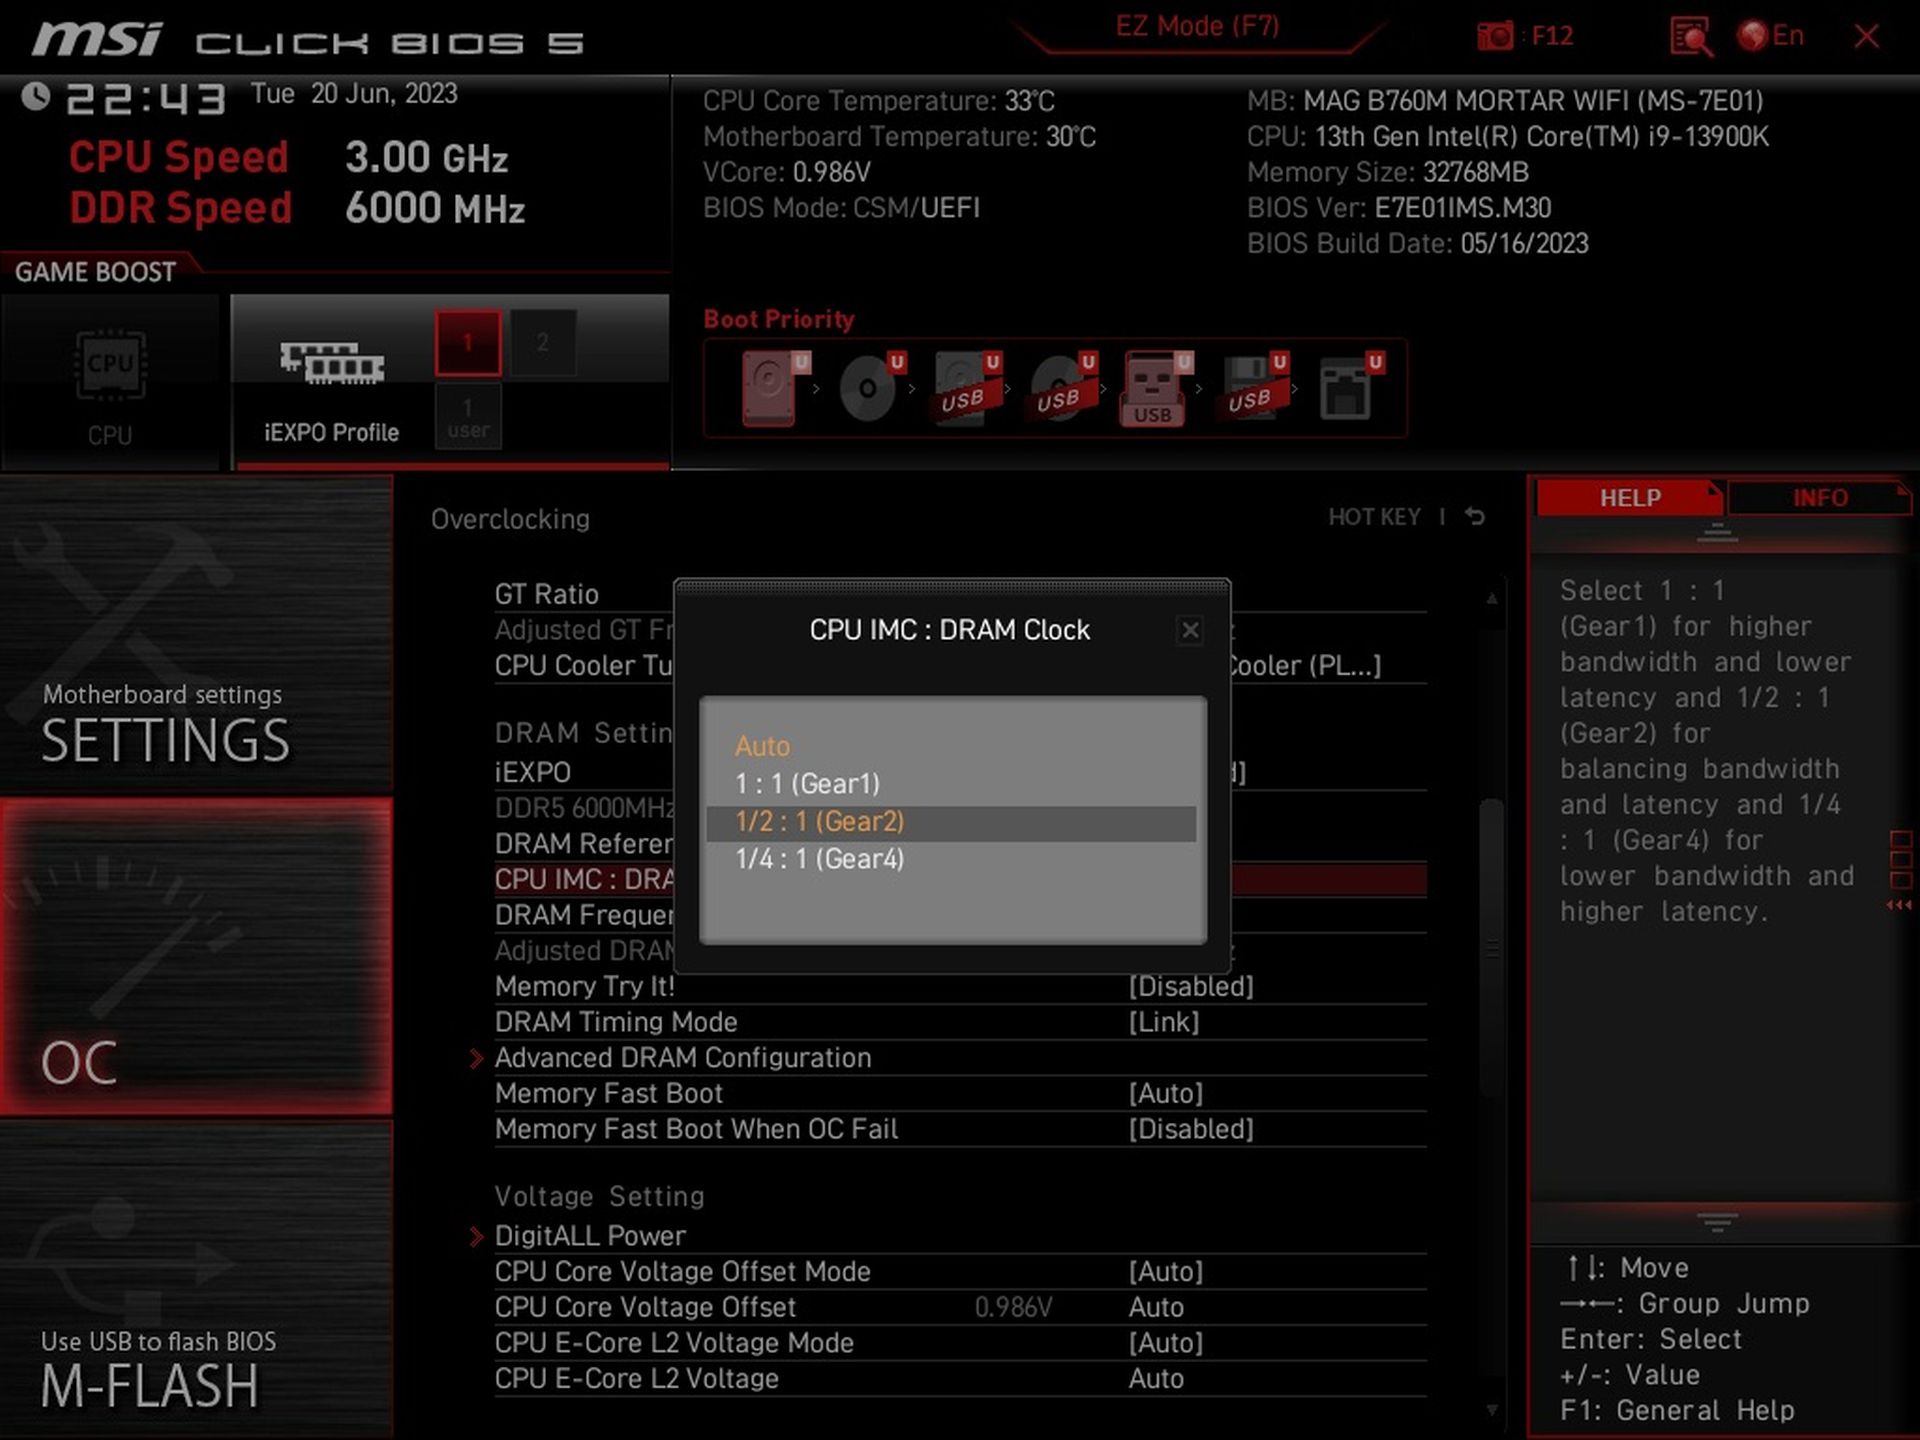
In combination with memory with higher bandwidth (6000 MHz modules are already considered as such), the memory divider is set to 1:2 (Gear 2).

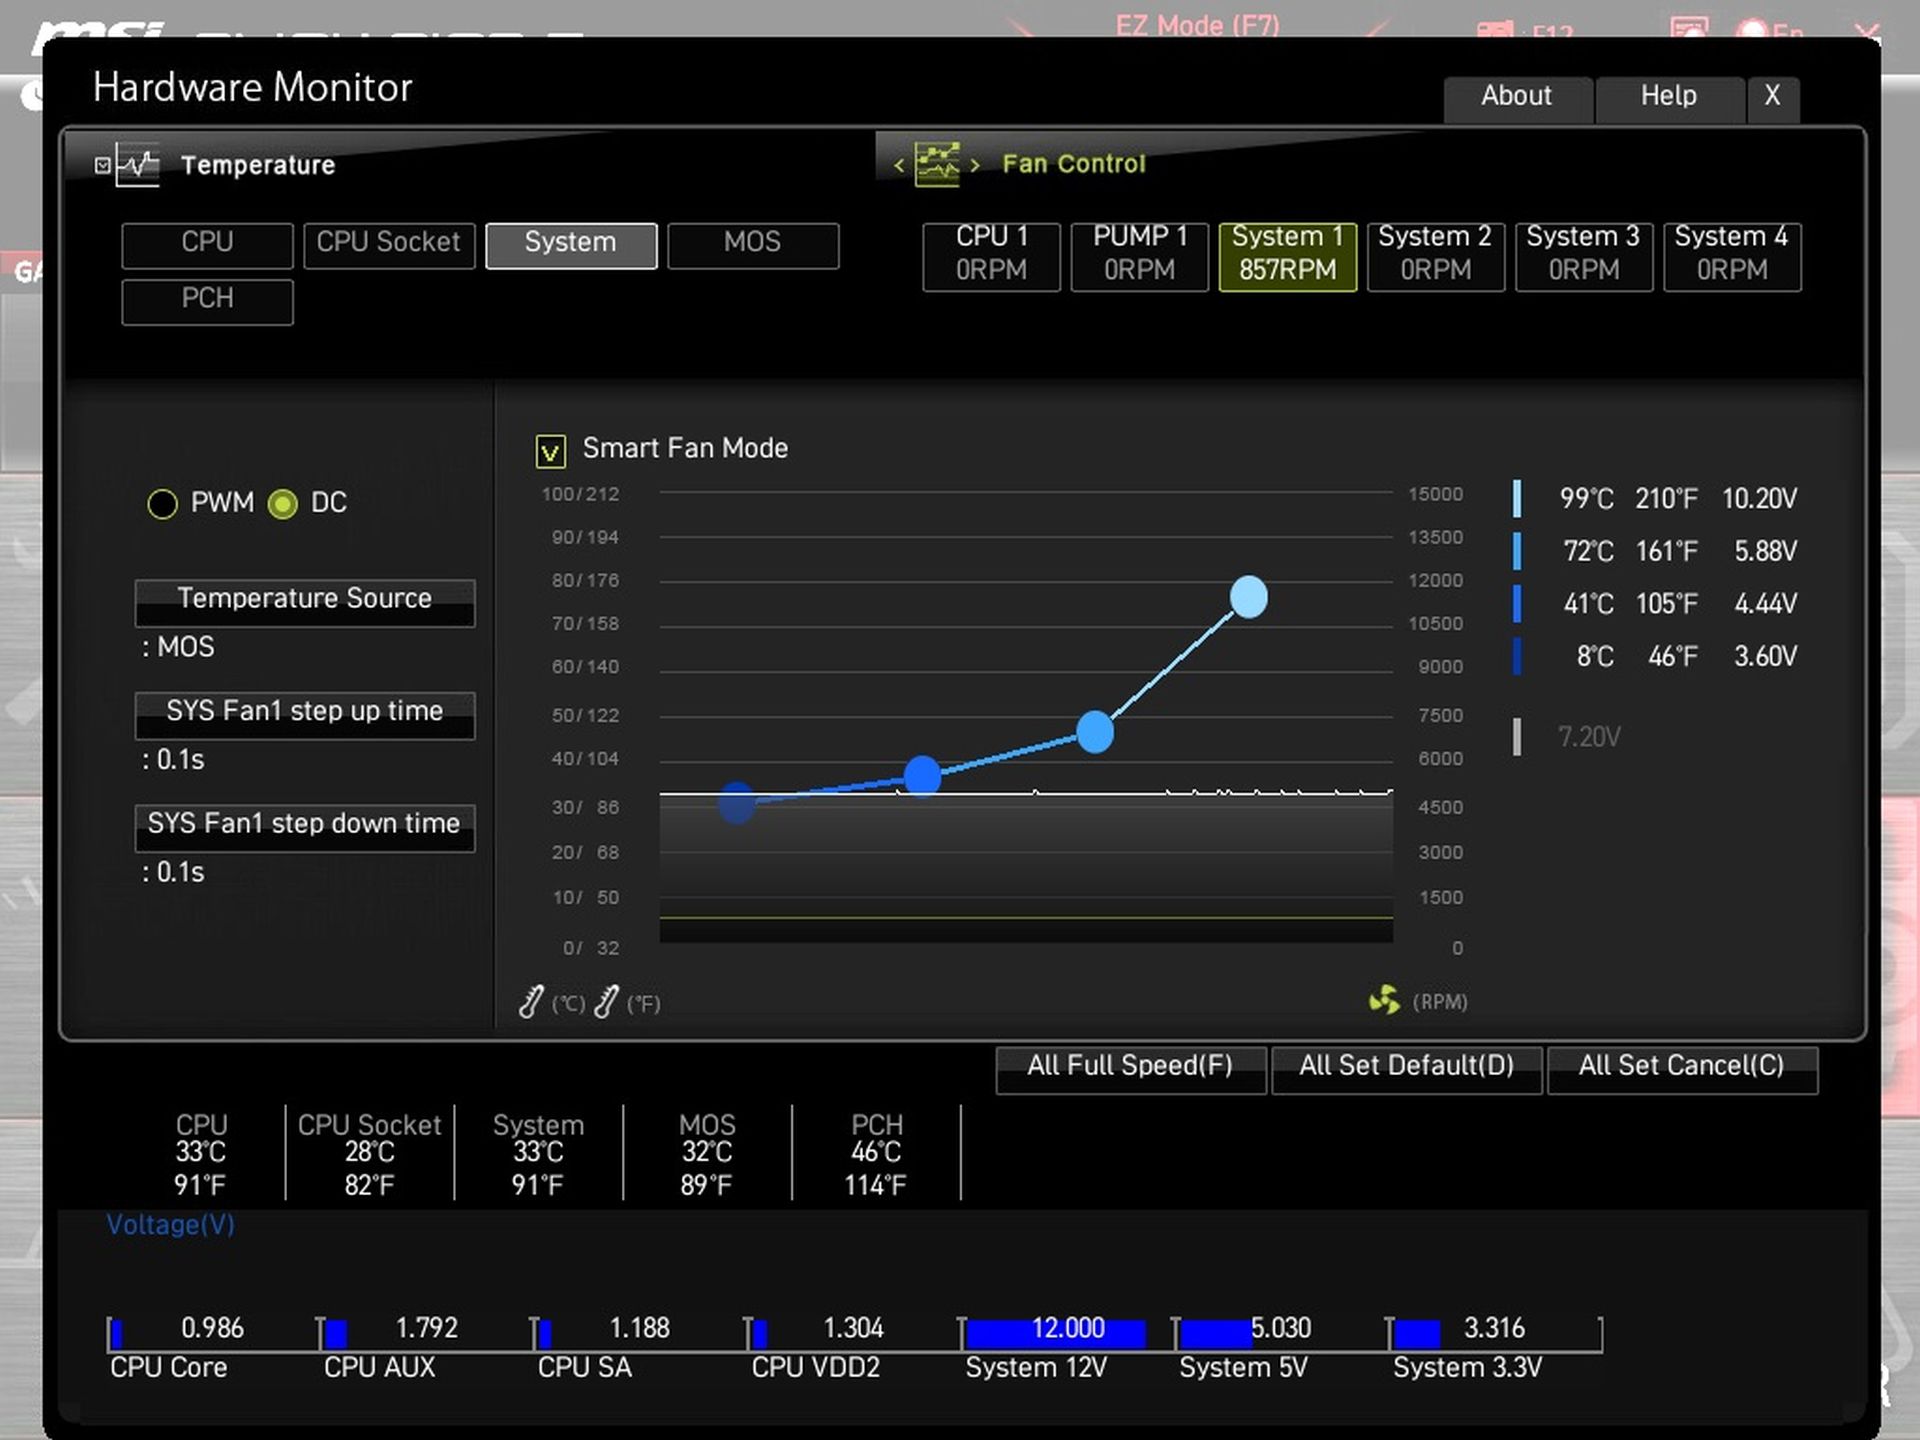
“Hardware Monitor” provides everything you expect from a modern fan control management interface. You can create an individual speed curve for each connector based on any temperature source. The B760 Mortar WiFi has five sensors. In addition to the CPU, it also takes temperature readings from somewhere around the socket (CPU socket sensor), the chipset (PCH sensor), the VRM (MOS sensor), or a selected location on the motherboard (System sensor).
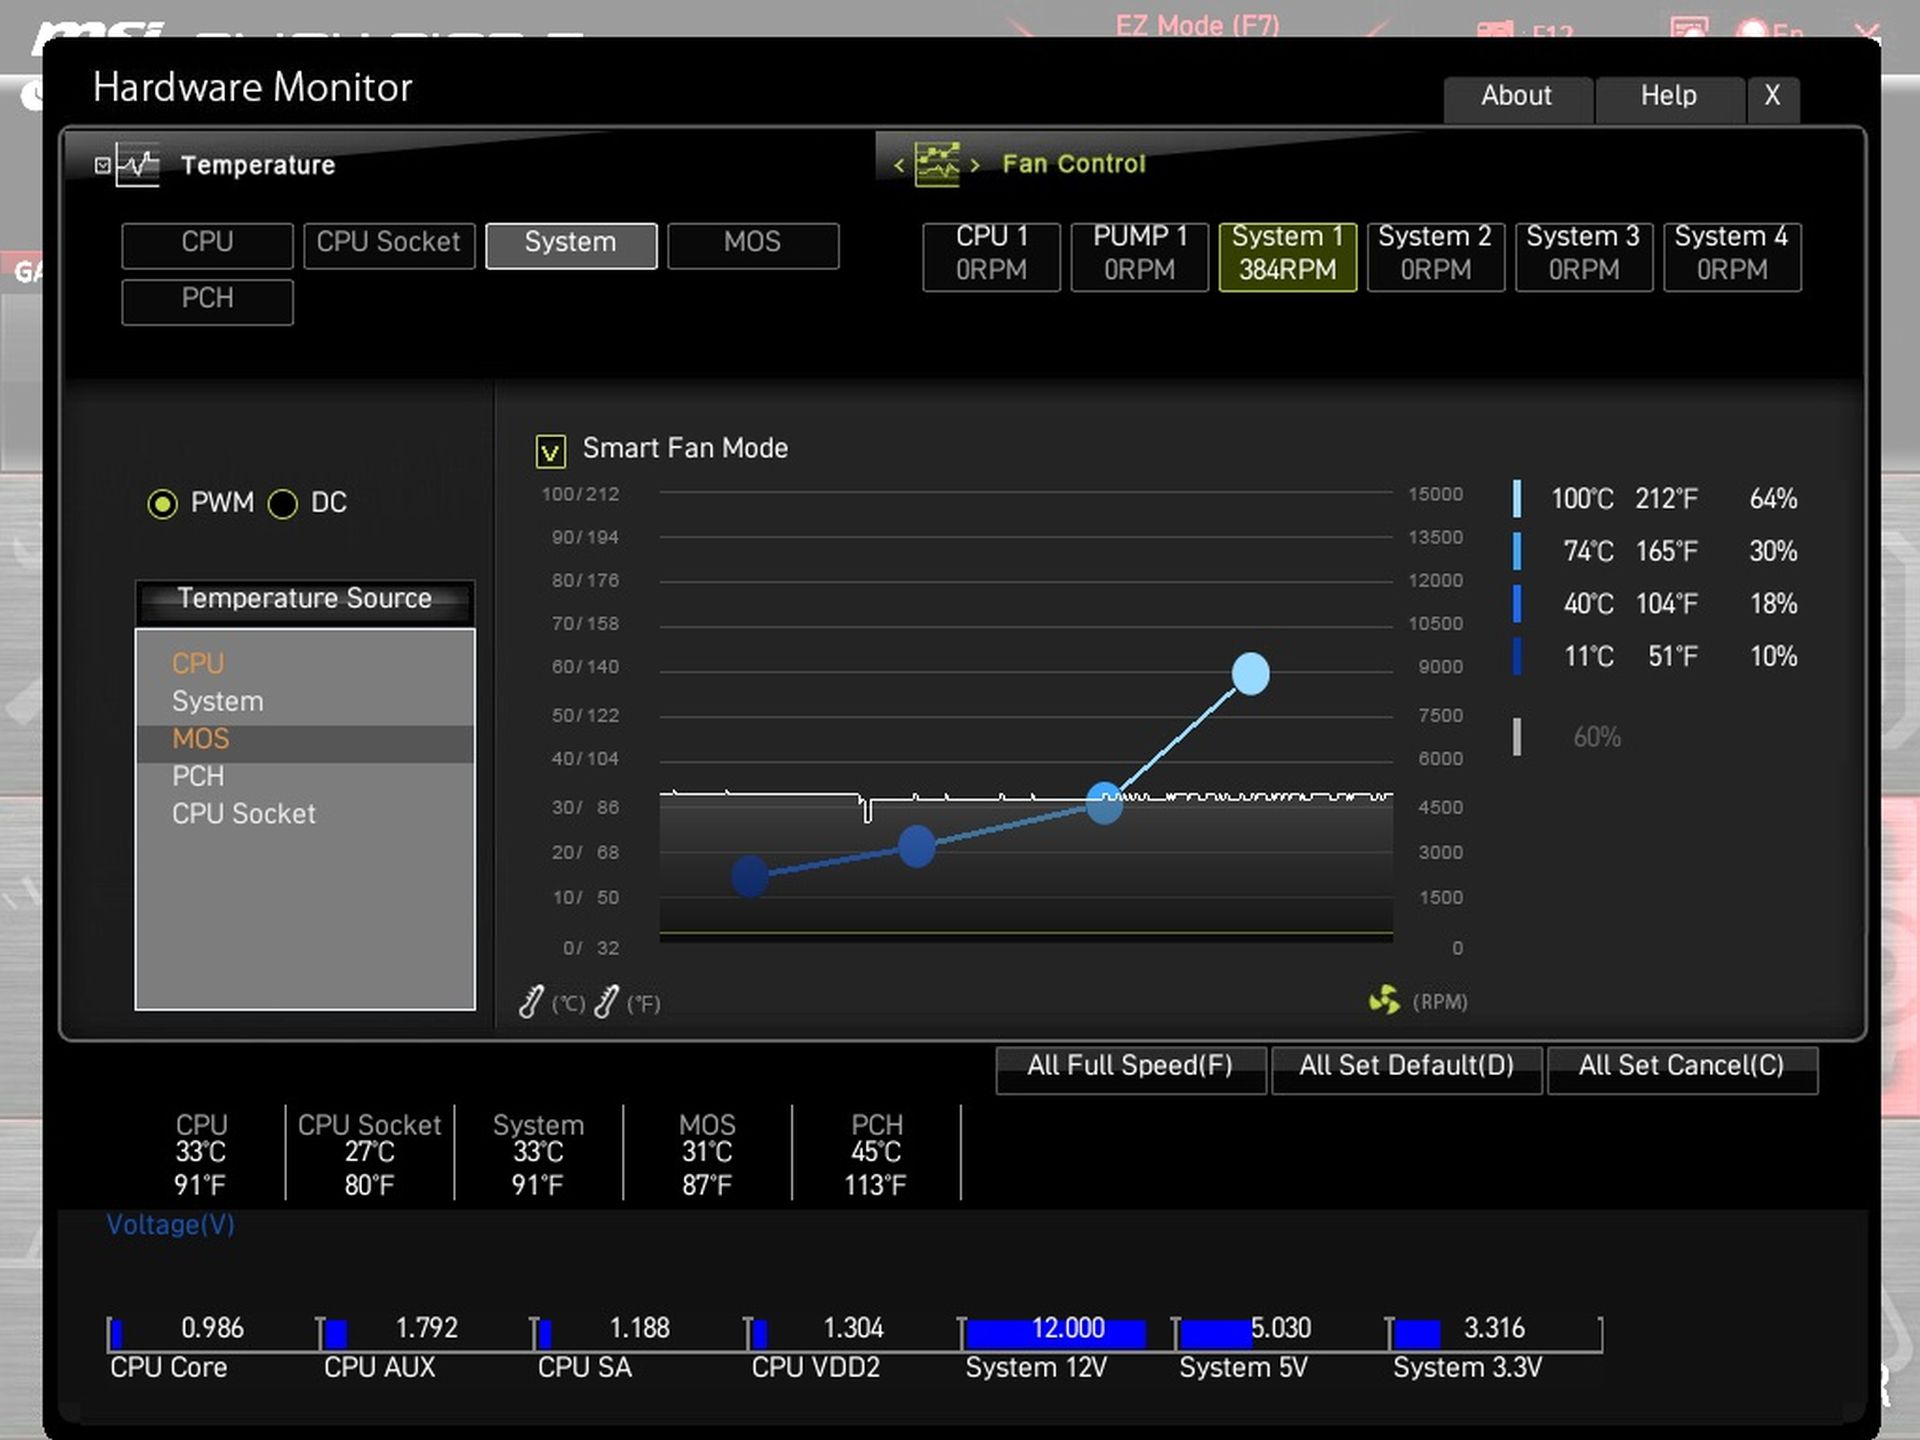
Traditionally, you can also switch from PWM control to linear control (DC). However, expect a higher minimum voltage with it and thus the fan may not start from as low a speed as you see with 3-pin fans in our tests, where we use a lab power supply with a range starting at 0.01 V to regulate it. For motherboard headers, this limit is pushed significantly higher and typically more expensive fans, which also have decent DC control, start from higher speeds.