


Philips has long focused more on professional and multimedia monitors, but it seems to be getting serious about gaming monitors as well. After the console-focused 329M1RV, we have the 32M1N5800, which offers the same 32-inch 4K 144 Hz HDR display, but in a slightly more aggressive design. The aim of the test will be to compare the two models and find the differences between them, as the paper specs are very similar.
Basic parameters
| Parameters | Philips |
| Momentum 32M1N5800 | |
| Alfa Gamer Pro 60S | |
| Display | 31,5" IPS, 16:9, flat, matte |
| Resolution | 3840 × 2160 px |
| Refresh rate | 144 Hz |
| Colors | 10-bit |
| AMD FreeSync Premium Pro | yes, Premium, 48–144 Hz, G-Sync Compatible |
| Response time | 1 ms (GTG a MPRT) |
| Brightness | 500 nits |
| Contrast | 1000:1 |
| Color spaces | sRGB: 124 %, AdobeRGB: 87,5 %, NTSC: 113 % |
| Outputs | 2× HDMI 2.1, 2× DisplayPort 1.4 |
| USB hub | yes |
| Audio input/output | no/yes |
| Speakers | yes, 2× 5W |
| VESA | yes (100 × 100) |
| Approximate price | € 900 |
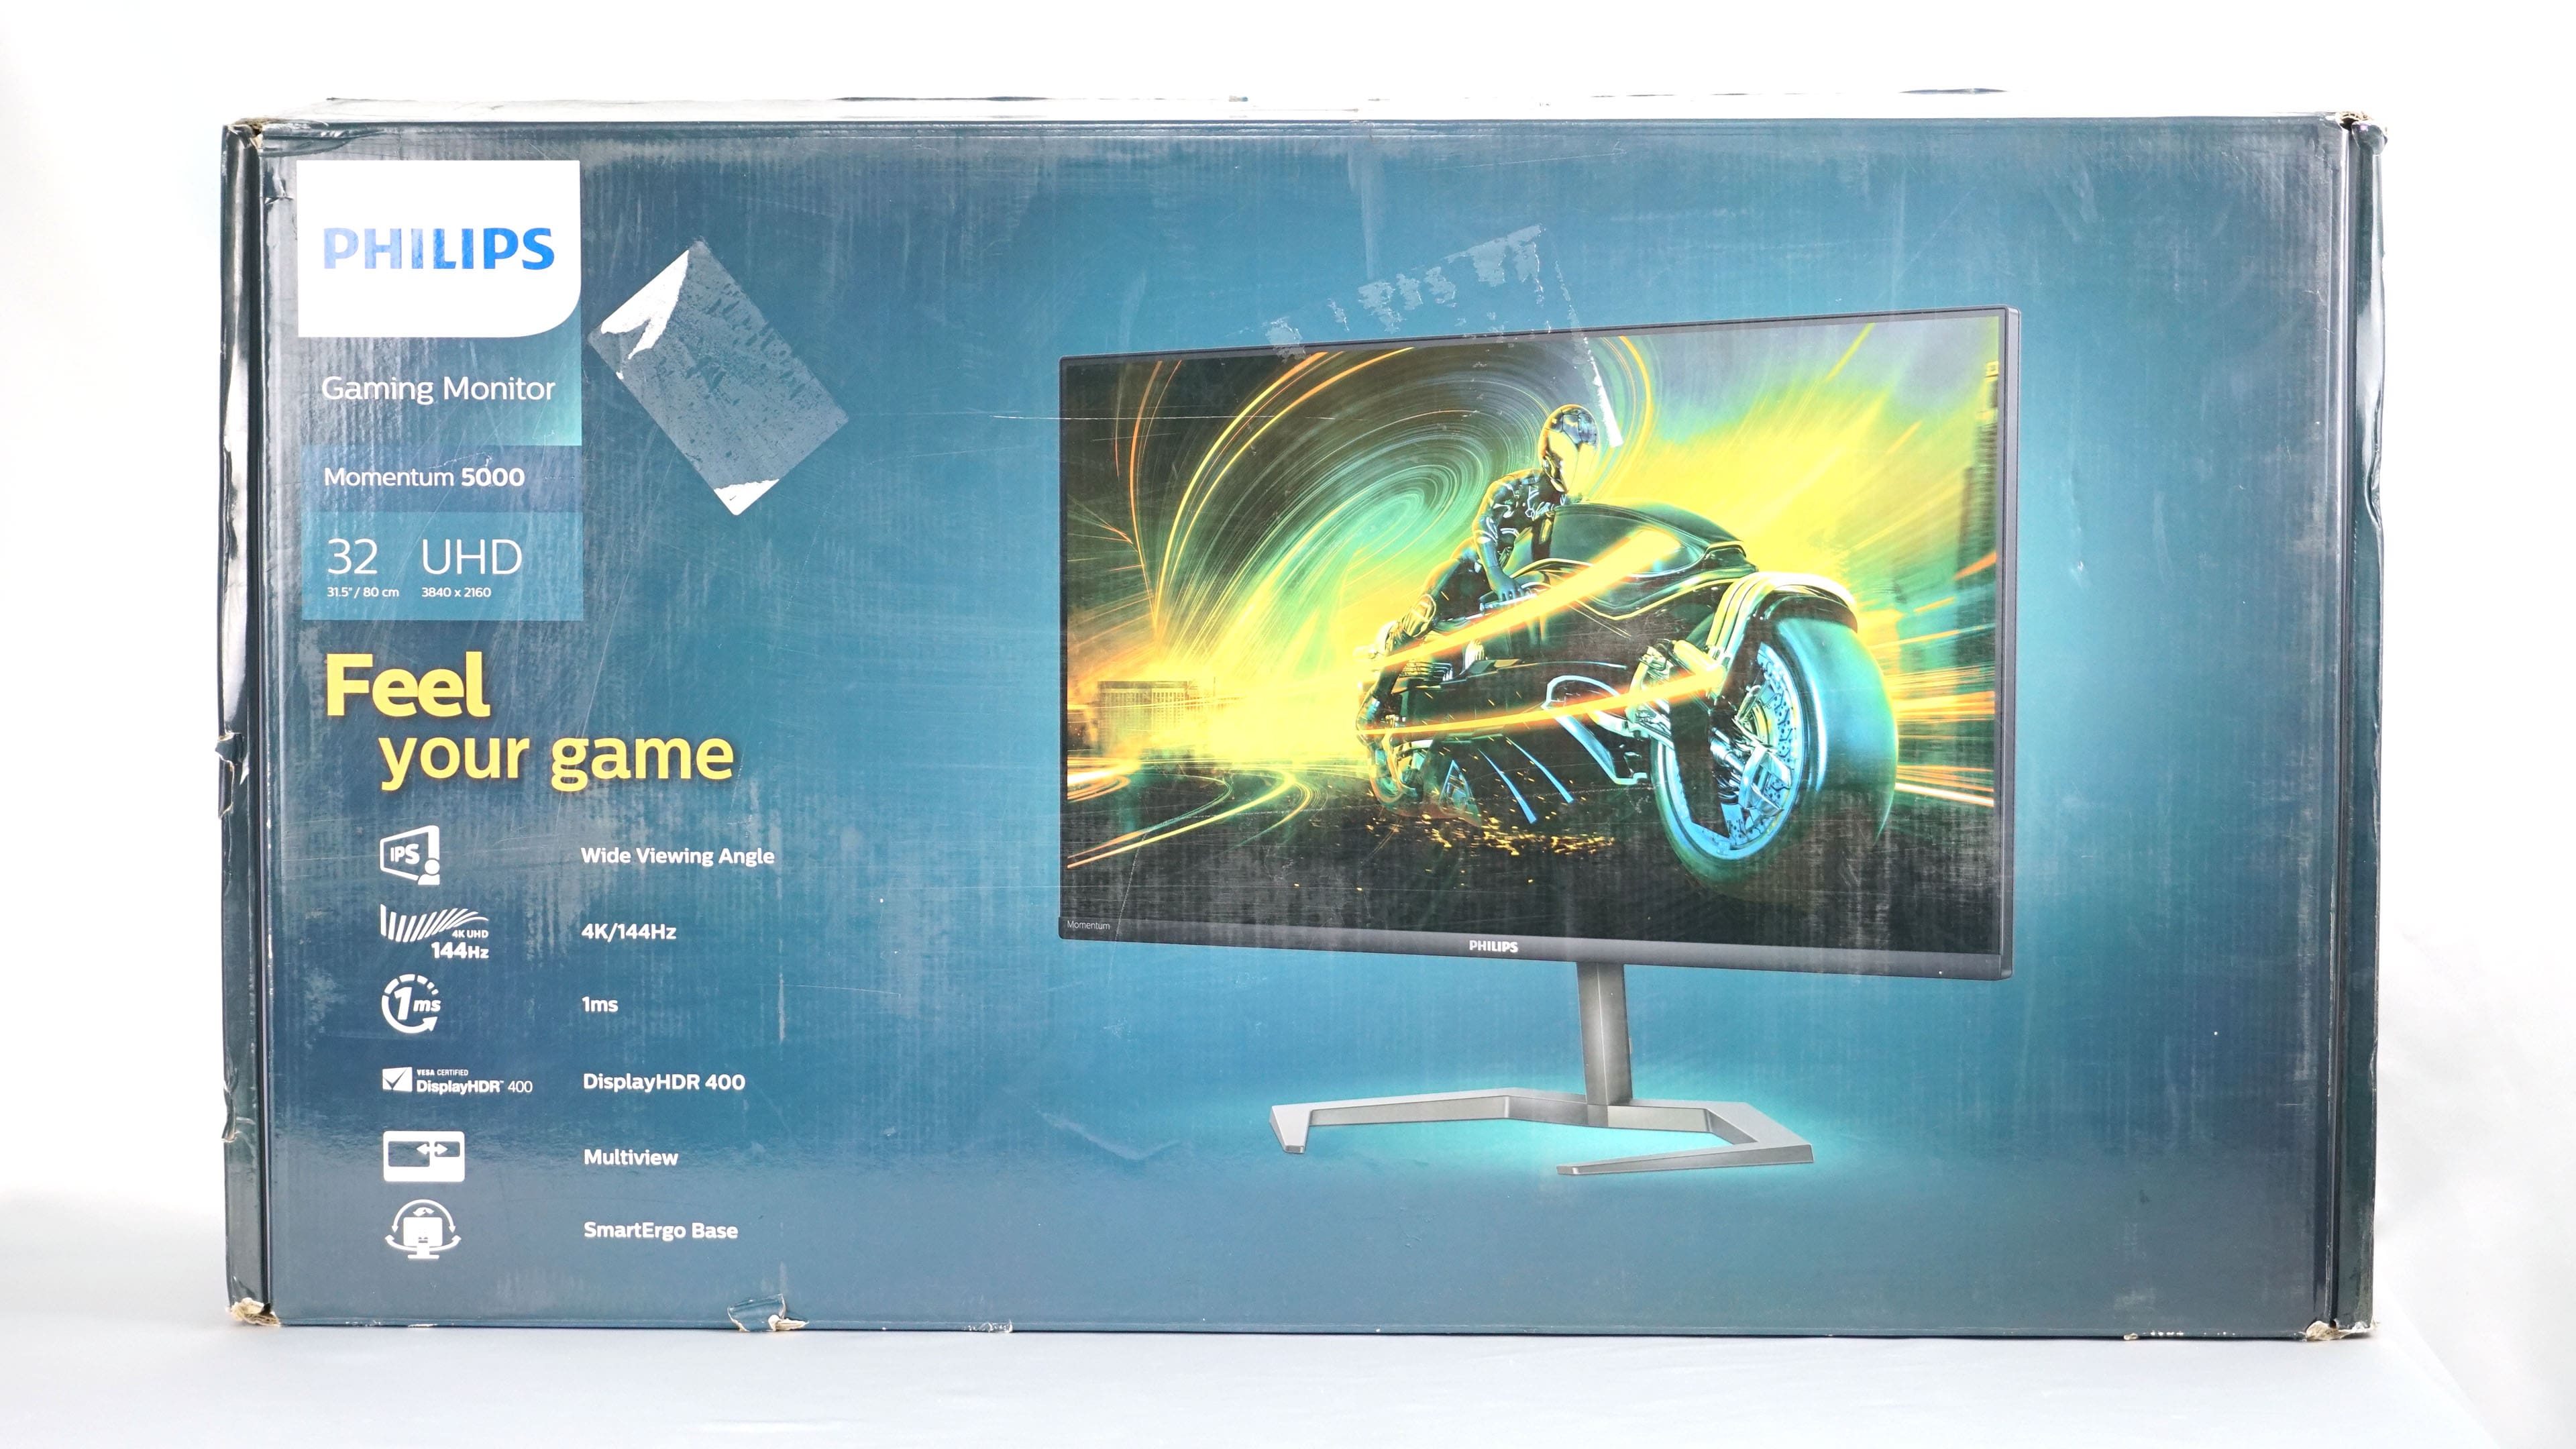
Packaging and accessories
The colorful packaging of the 32M1N5800 looks like that of the 329M1RV. So once again we see a depiction of the monitor and a few basic parameters such as 4K resolution with 144 Hz, IPS panel, DisplayHDR 400 certification or options for positioning and displaying multiple inputs at the same time.
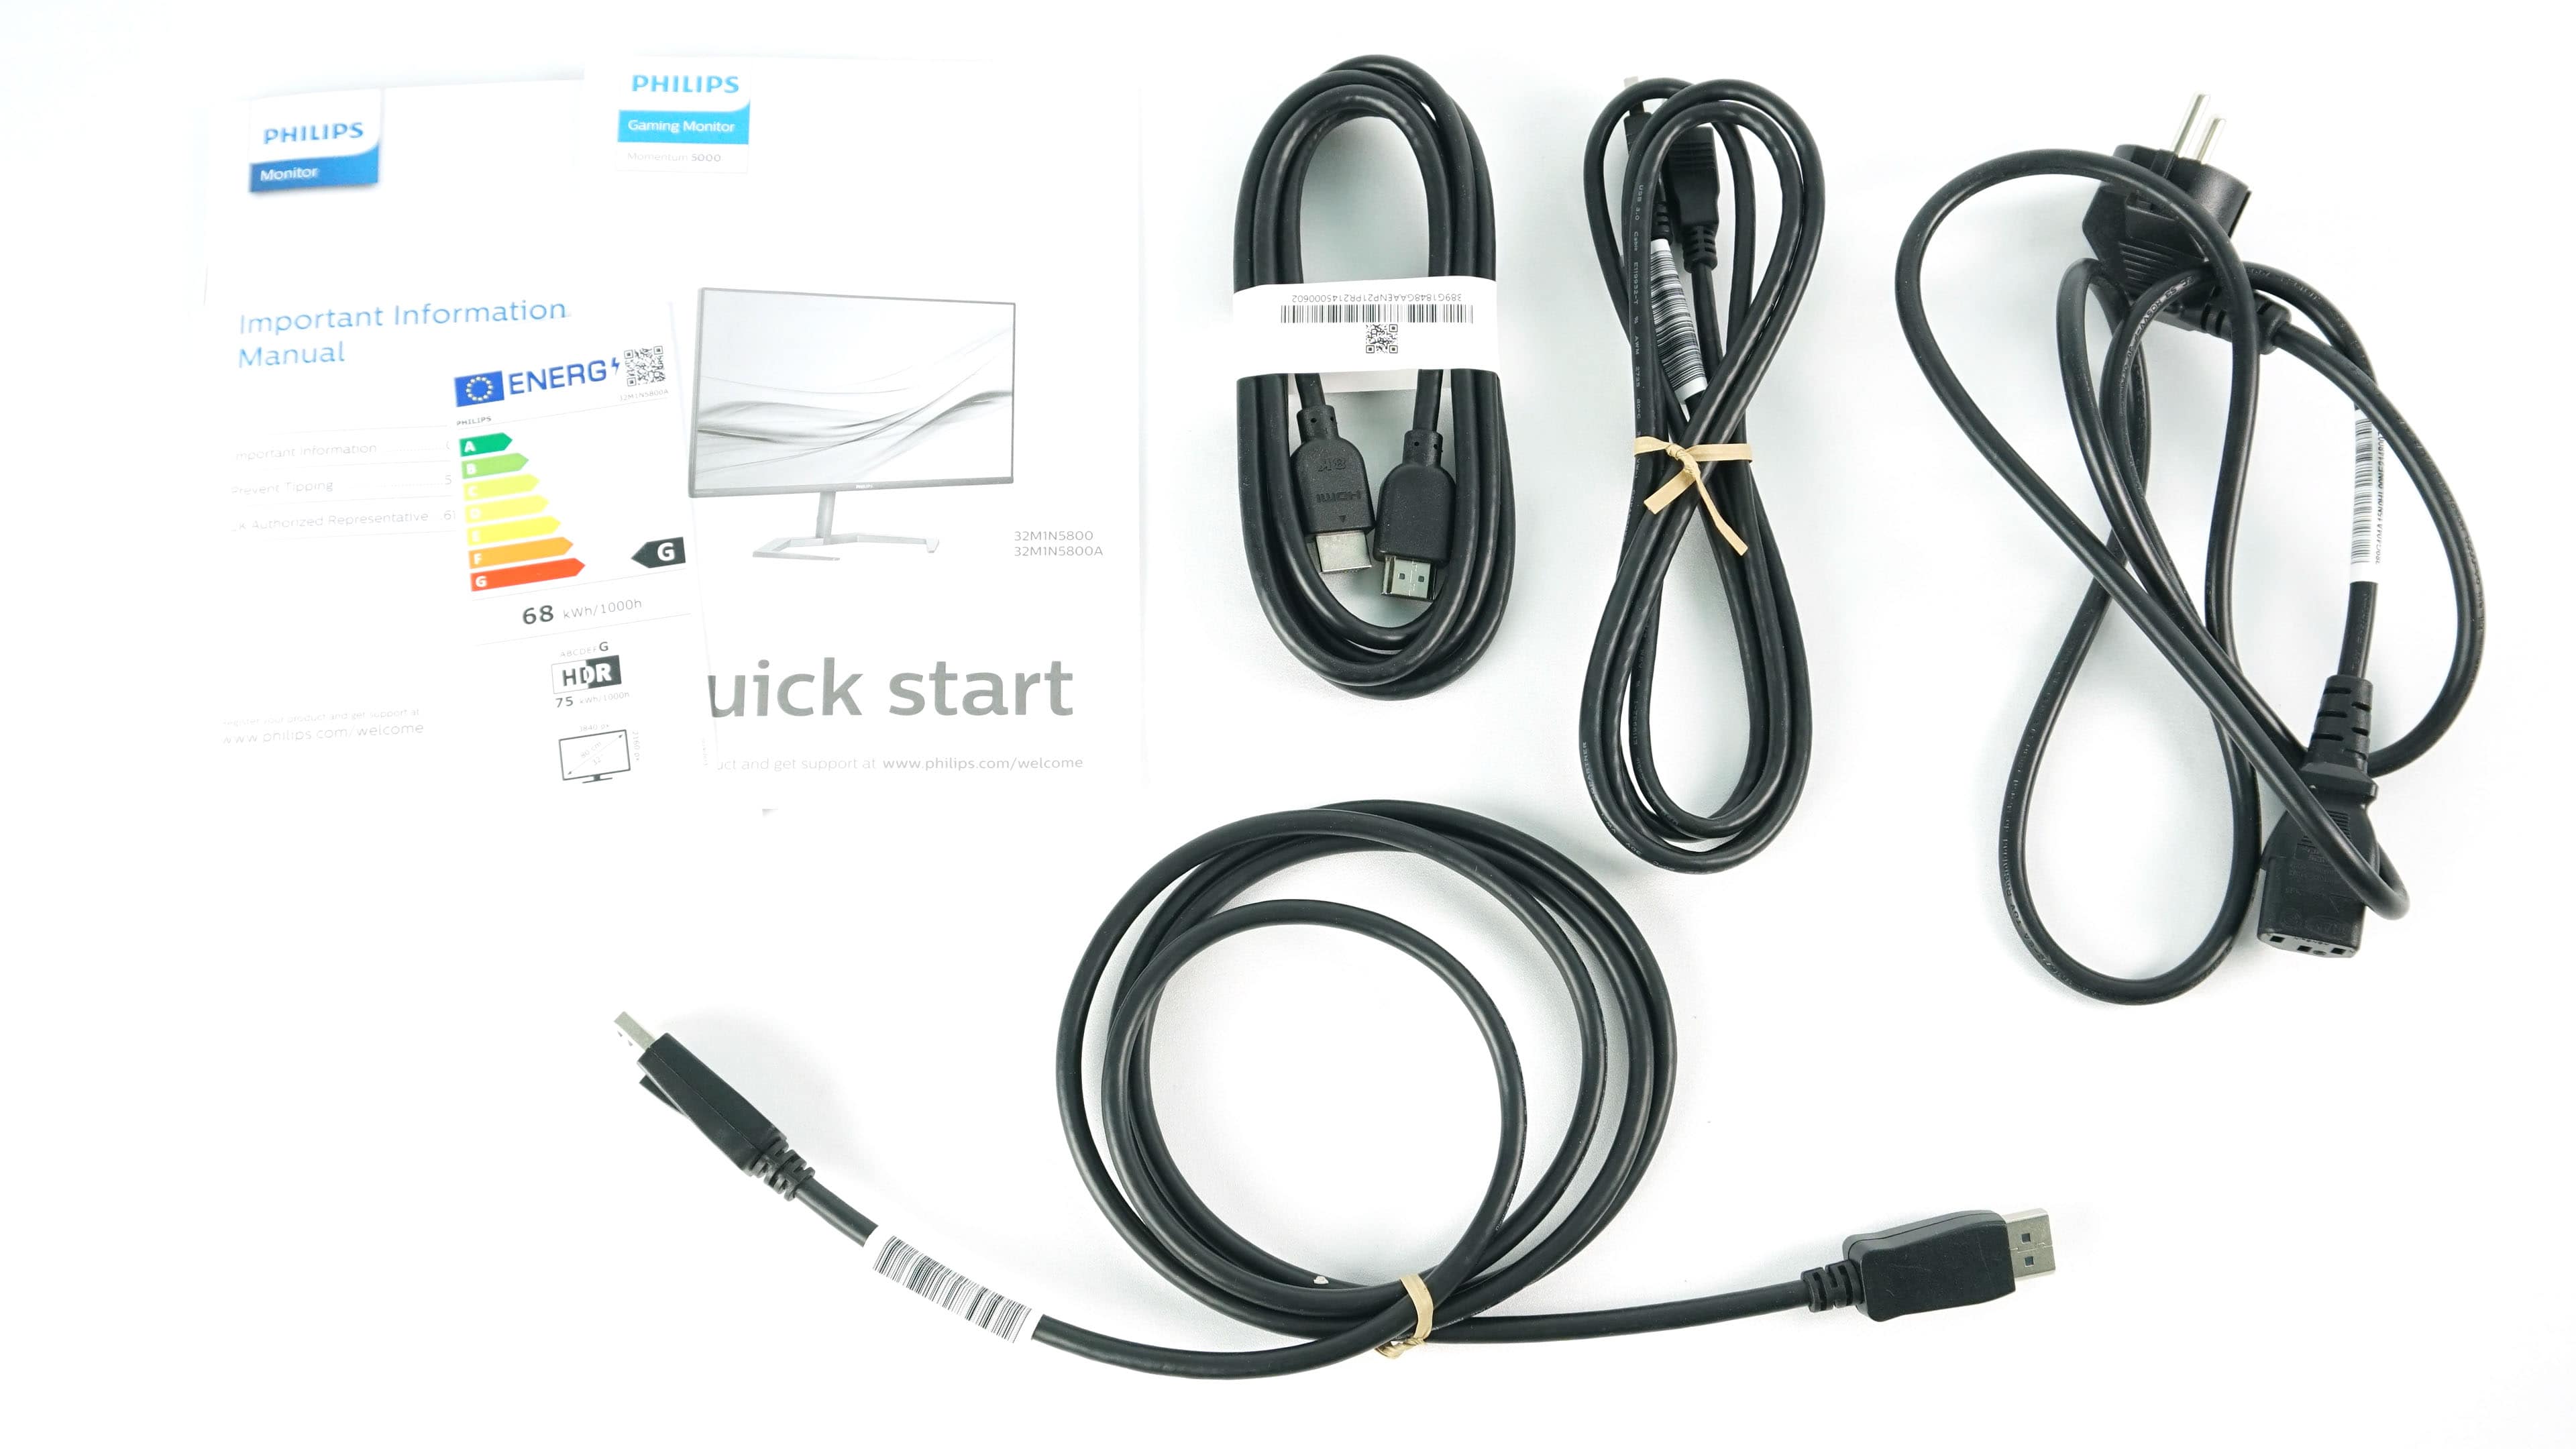
The package comes with everything you need to get it working, such as a power cord, HDMI and DisplayPort cables, and technical documentation. However, unlike the 329M1RV, the USB-C cable is missing and has been replaced with a USB Type-B cable. Once again, i’m praising paper cable ties, which replaced plastic pull-tabs.
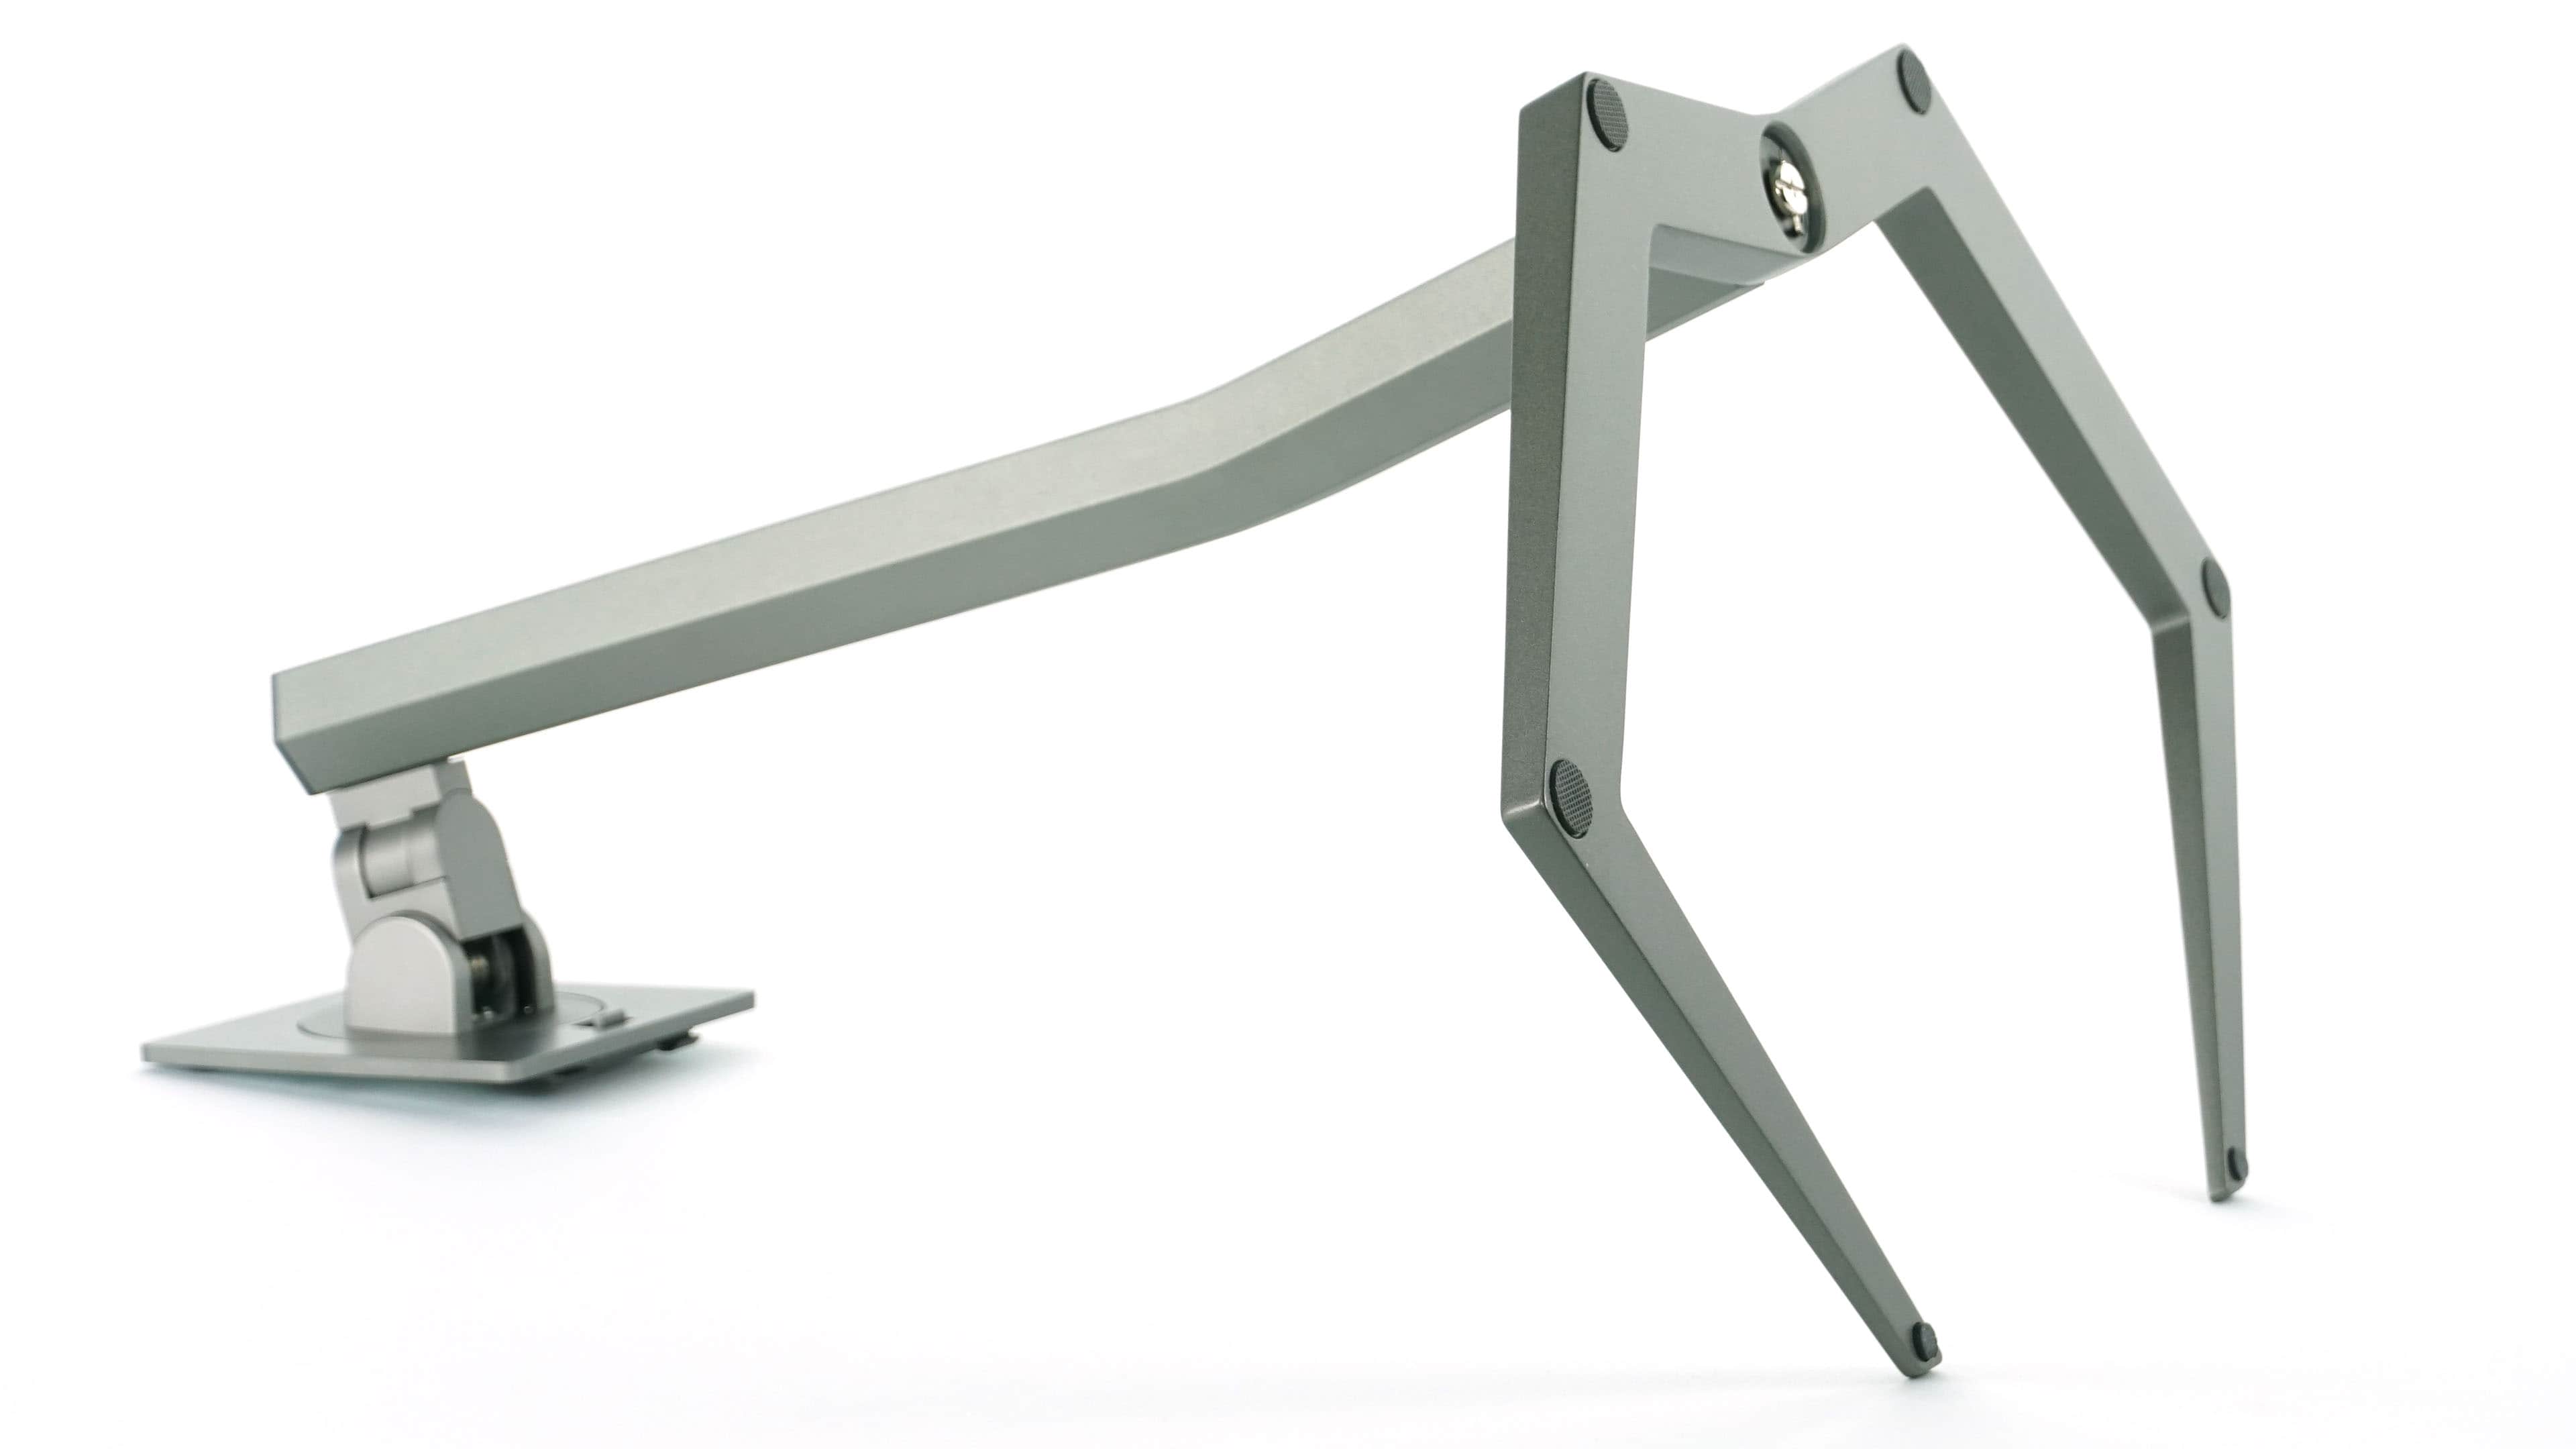
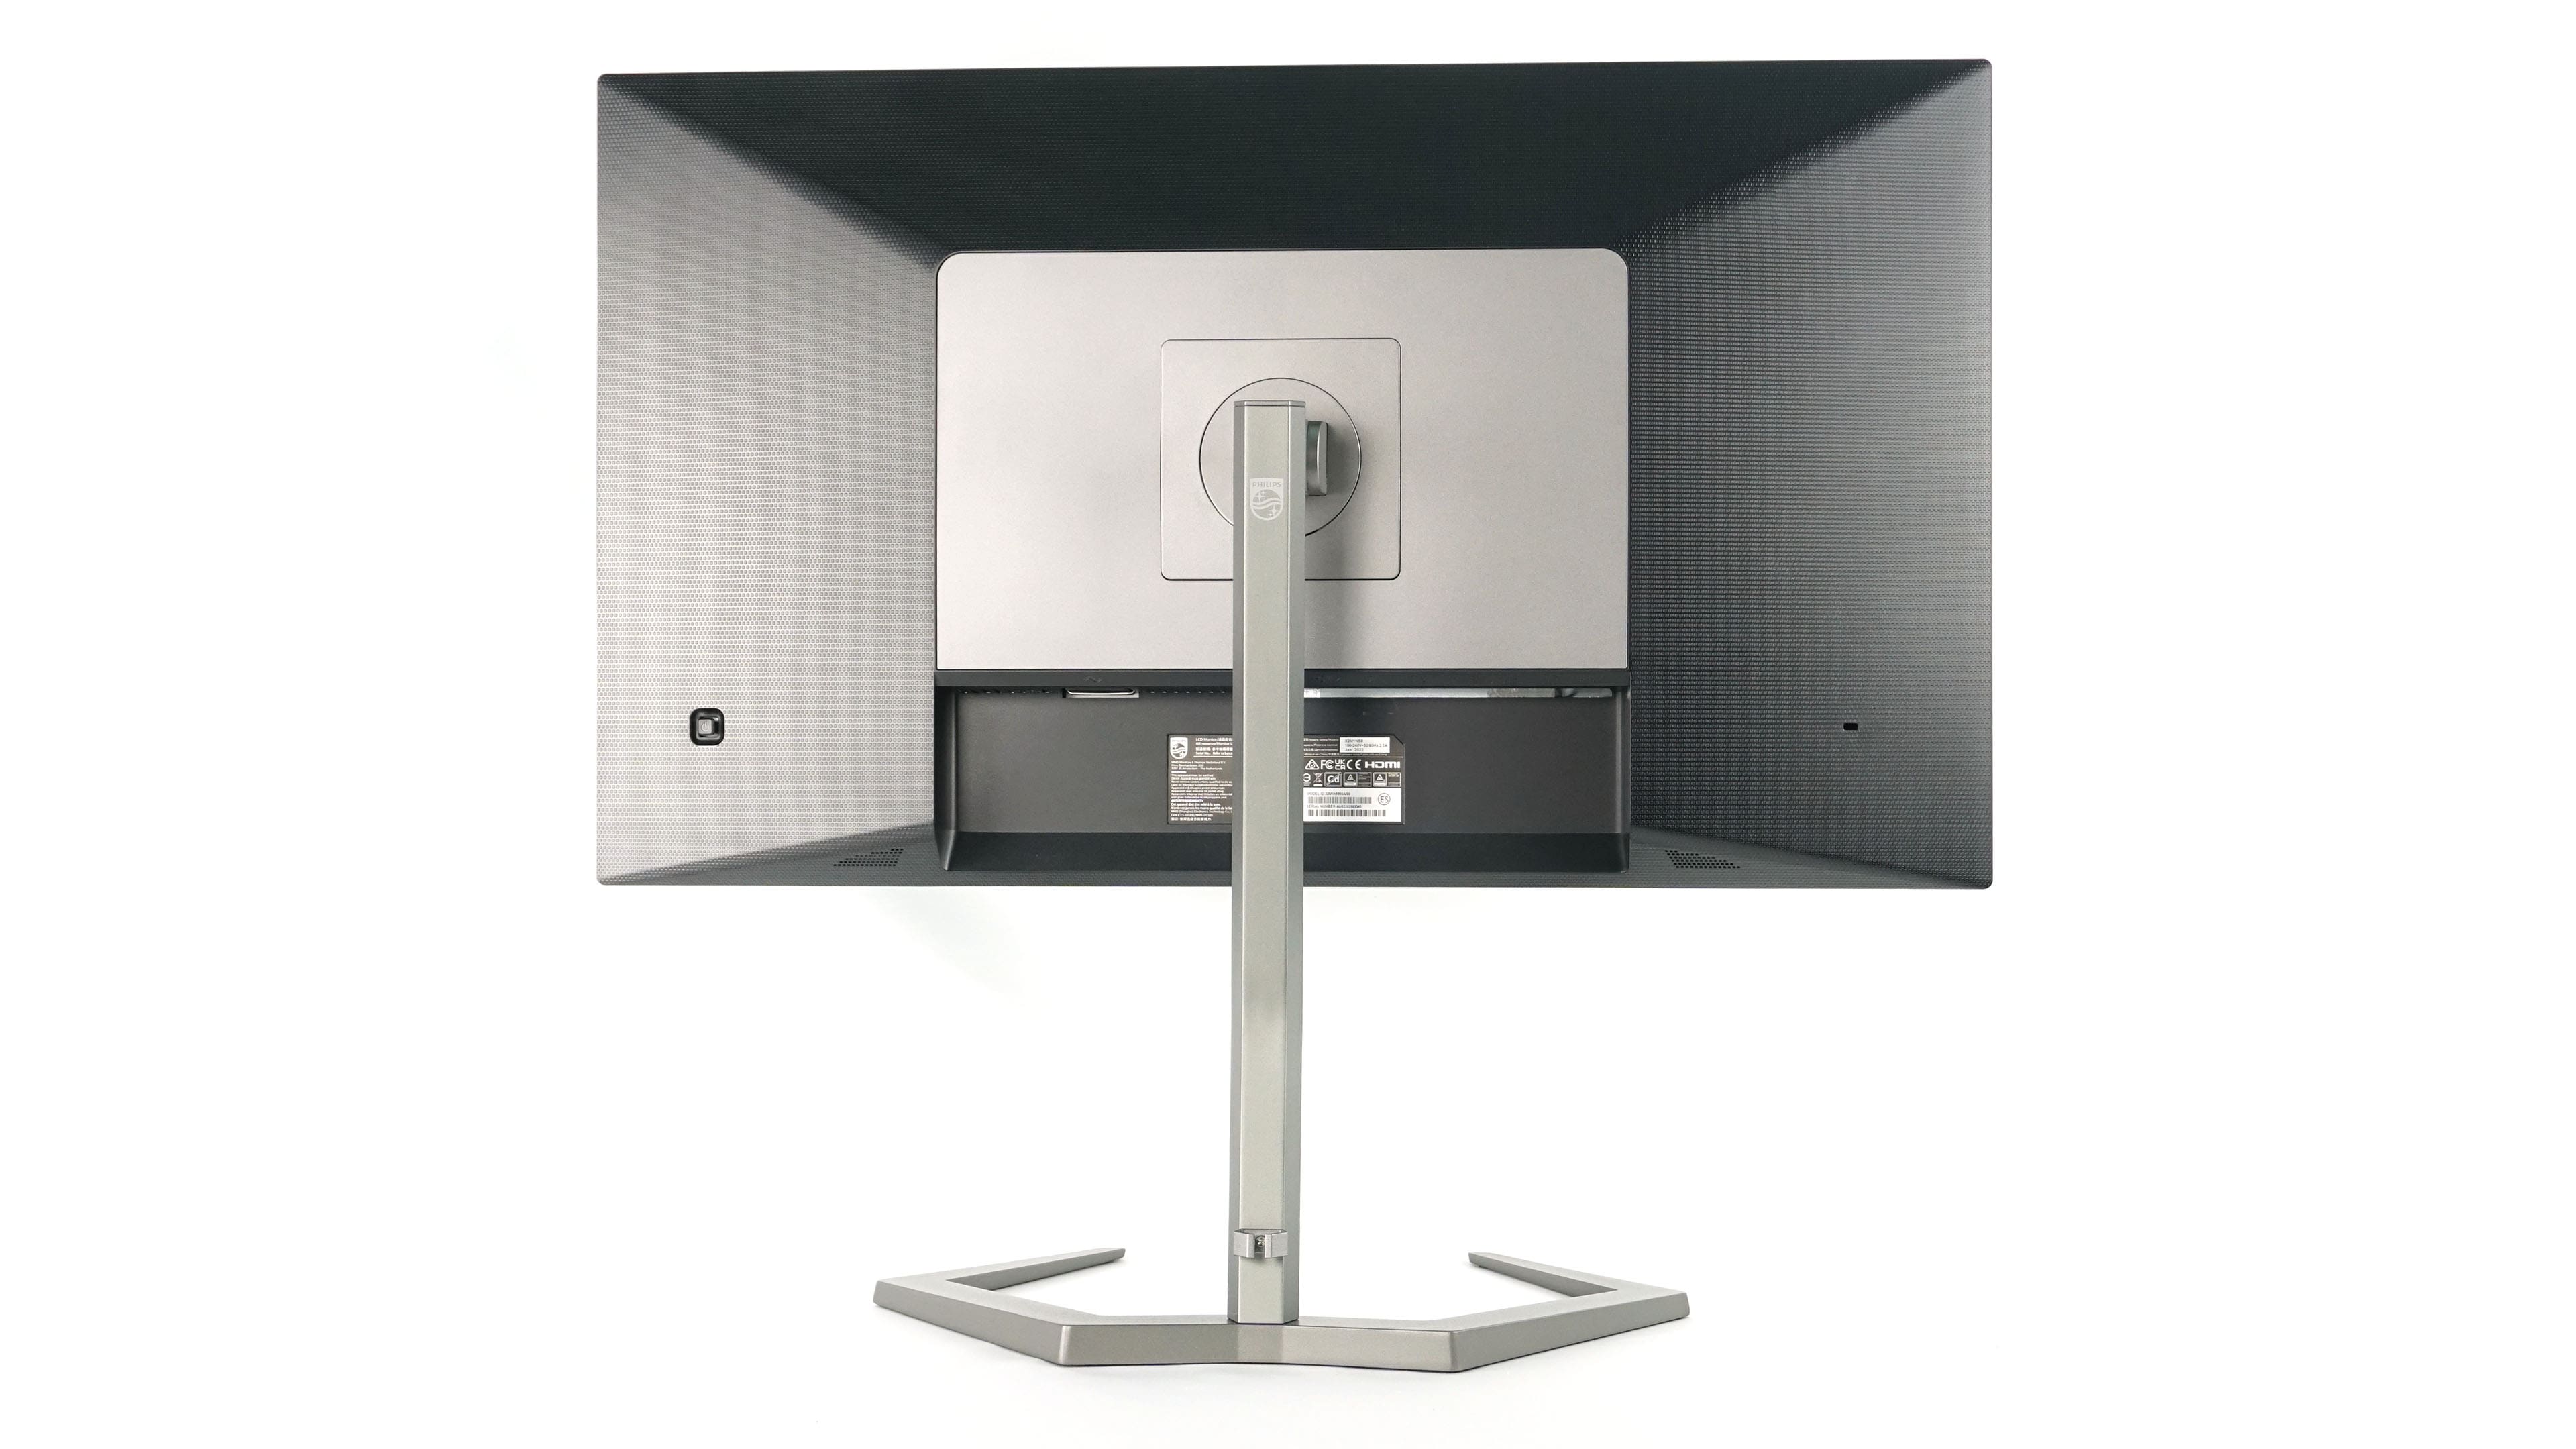
One of the main differences between the siblings is the design of the stand. This test piece features a C-shaped base as opposed to the T we saw in the 329M1RV test.
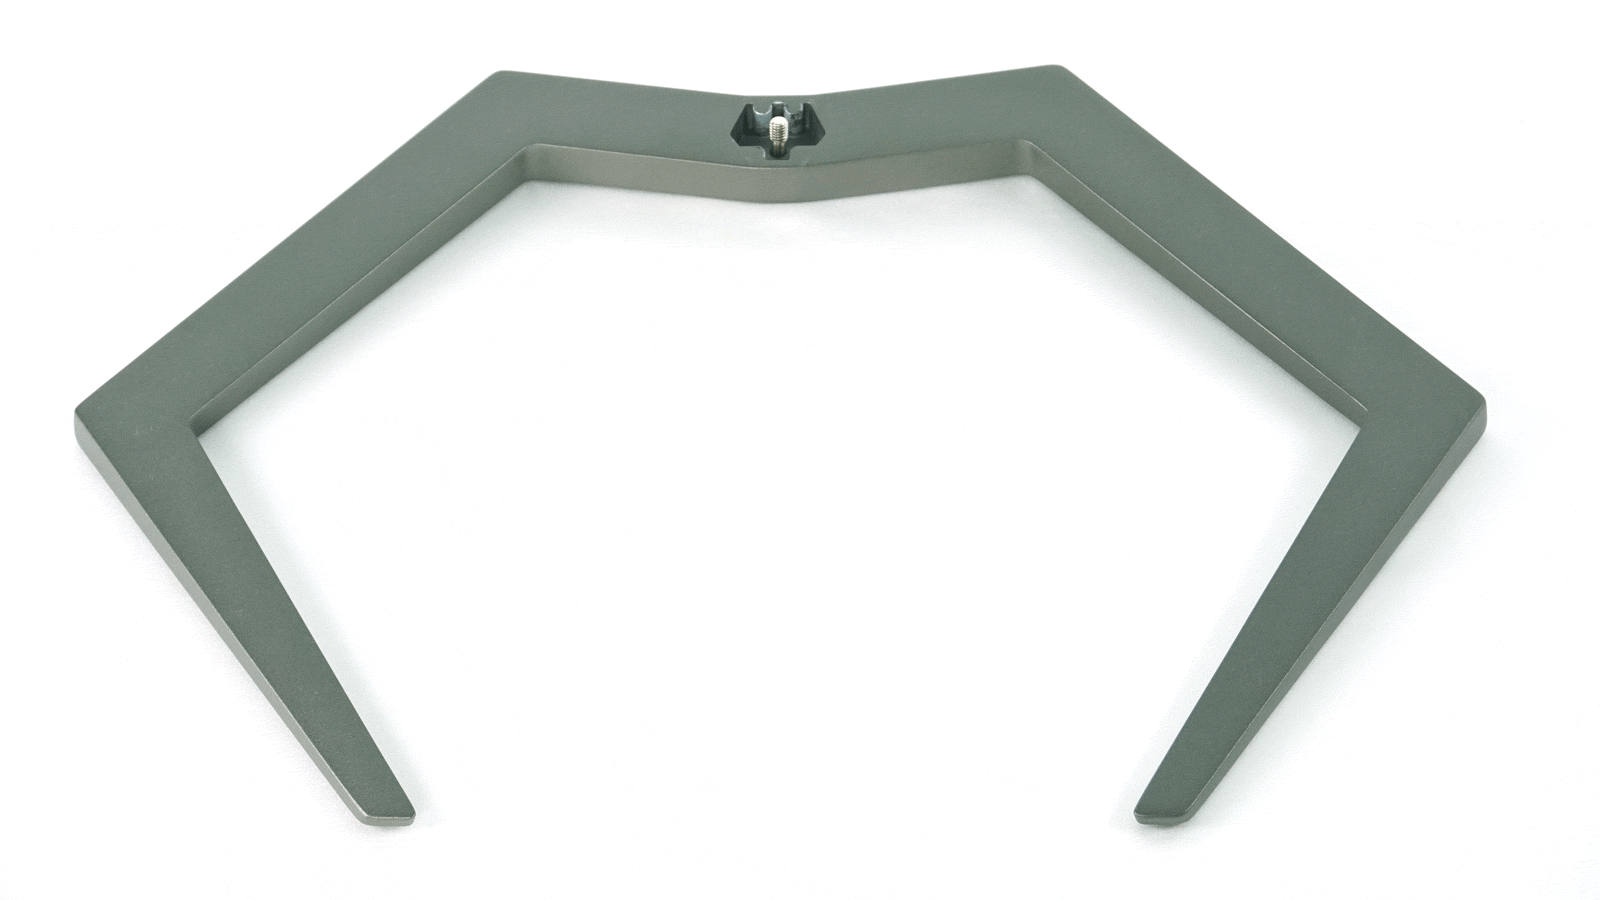
The second part of the stand is also different, which is slightly curved and significantly thinner. There is no lack of cable organizer here either. This has proven useful for tidying up cables behind the monitor.
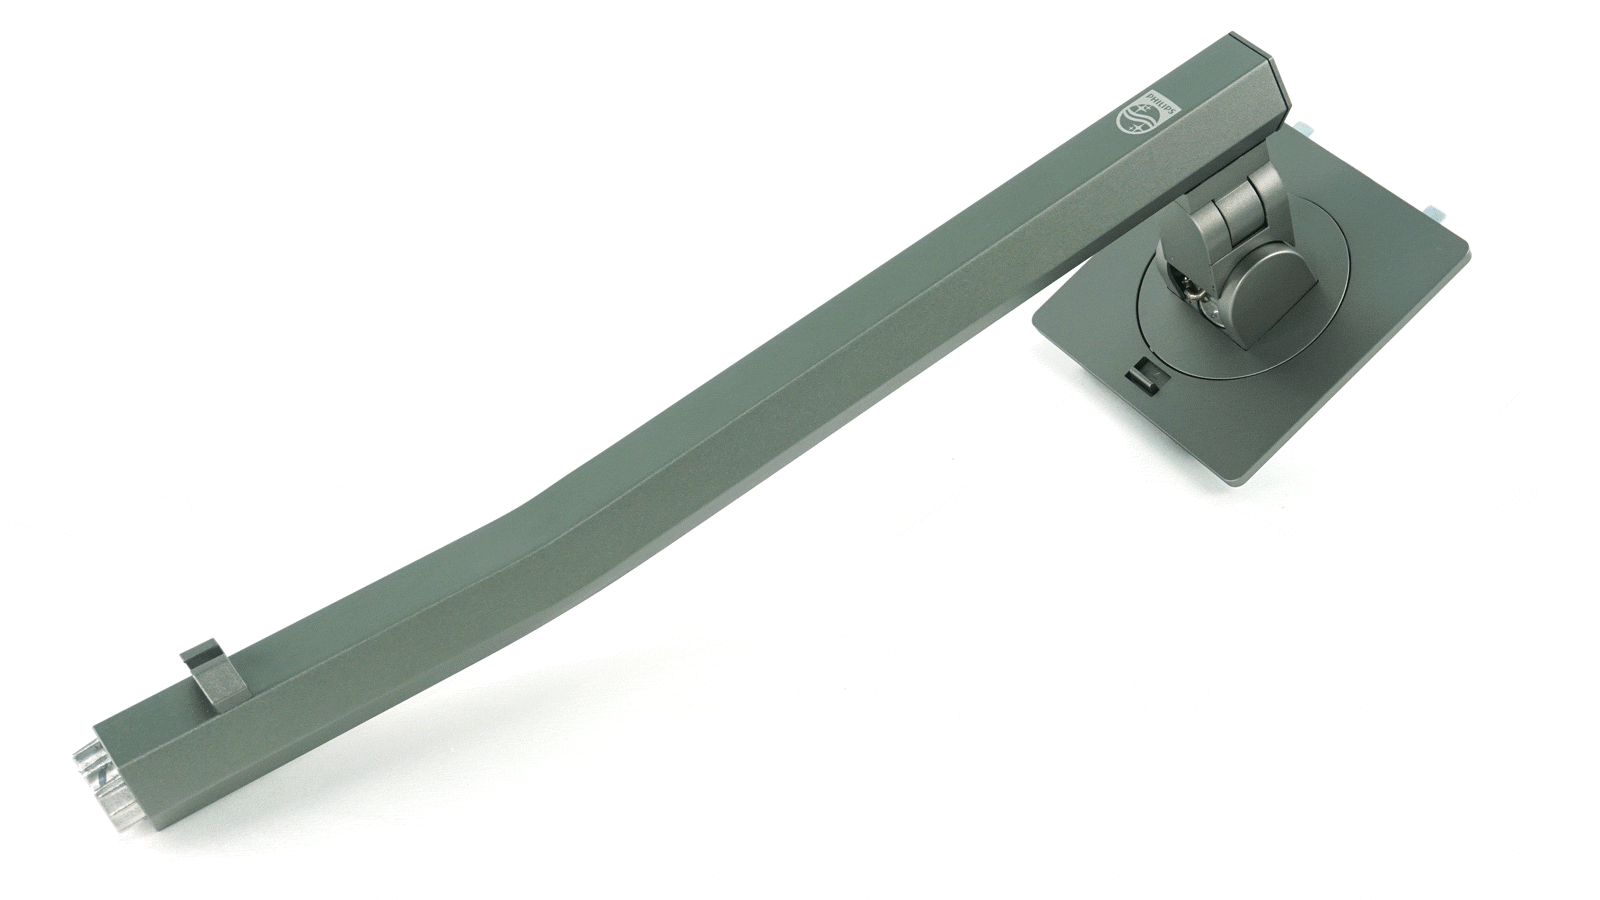
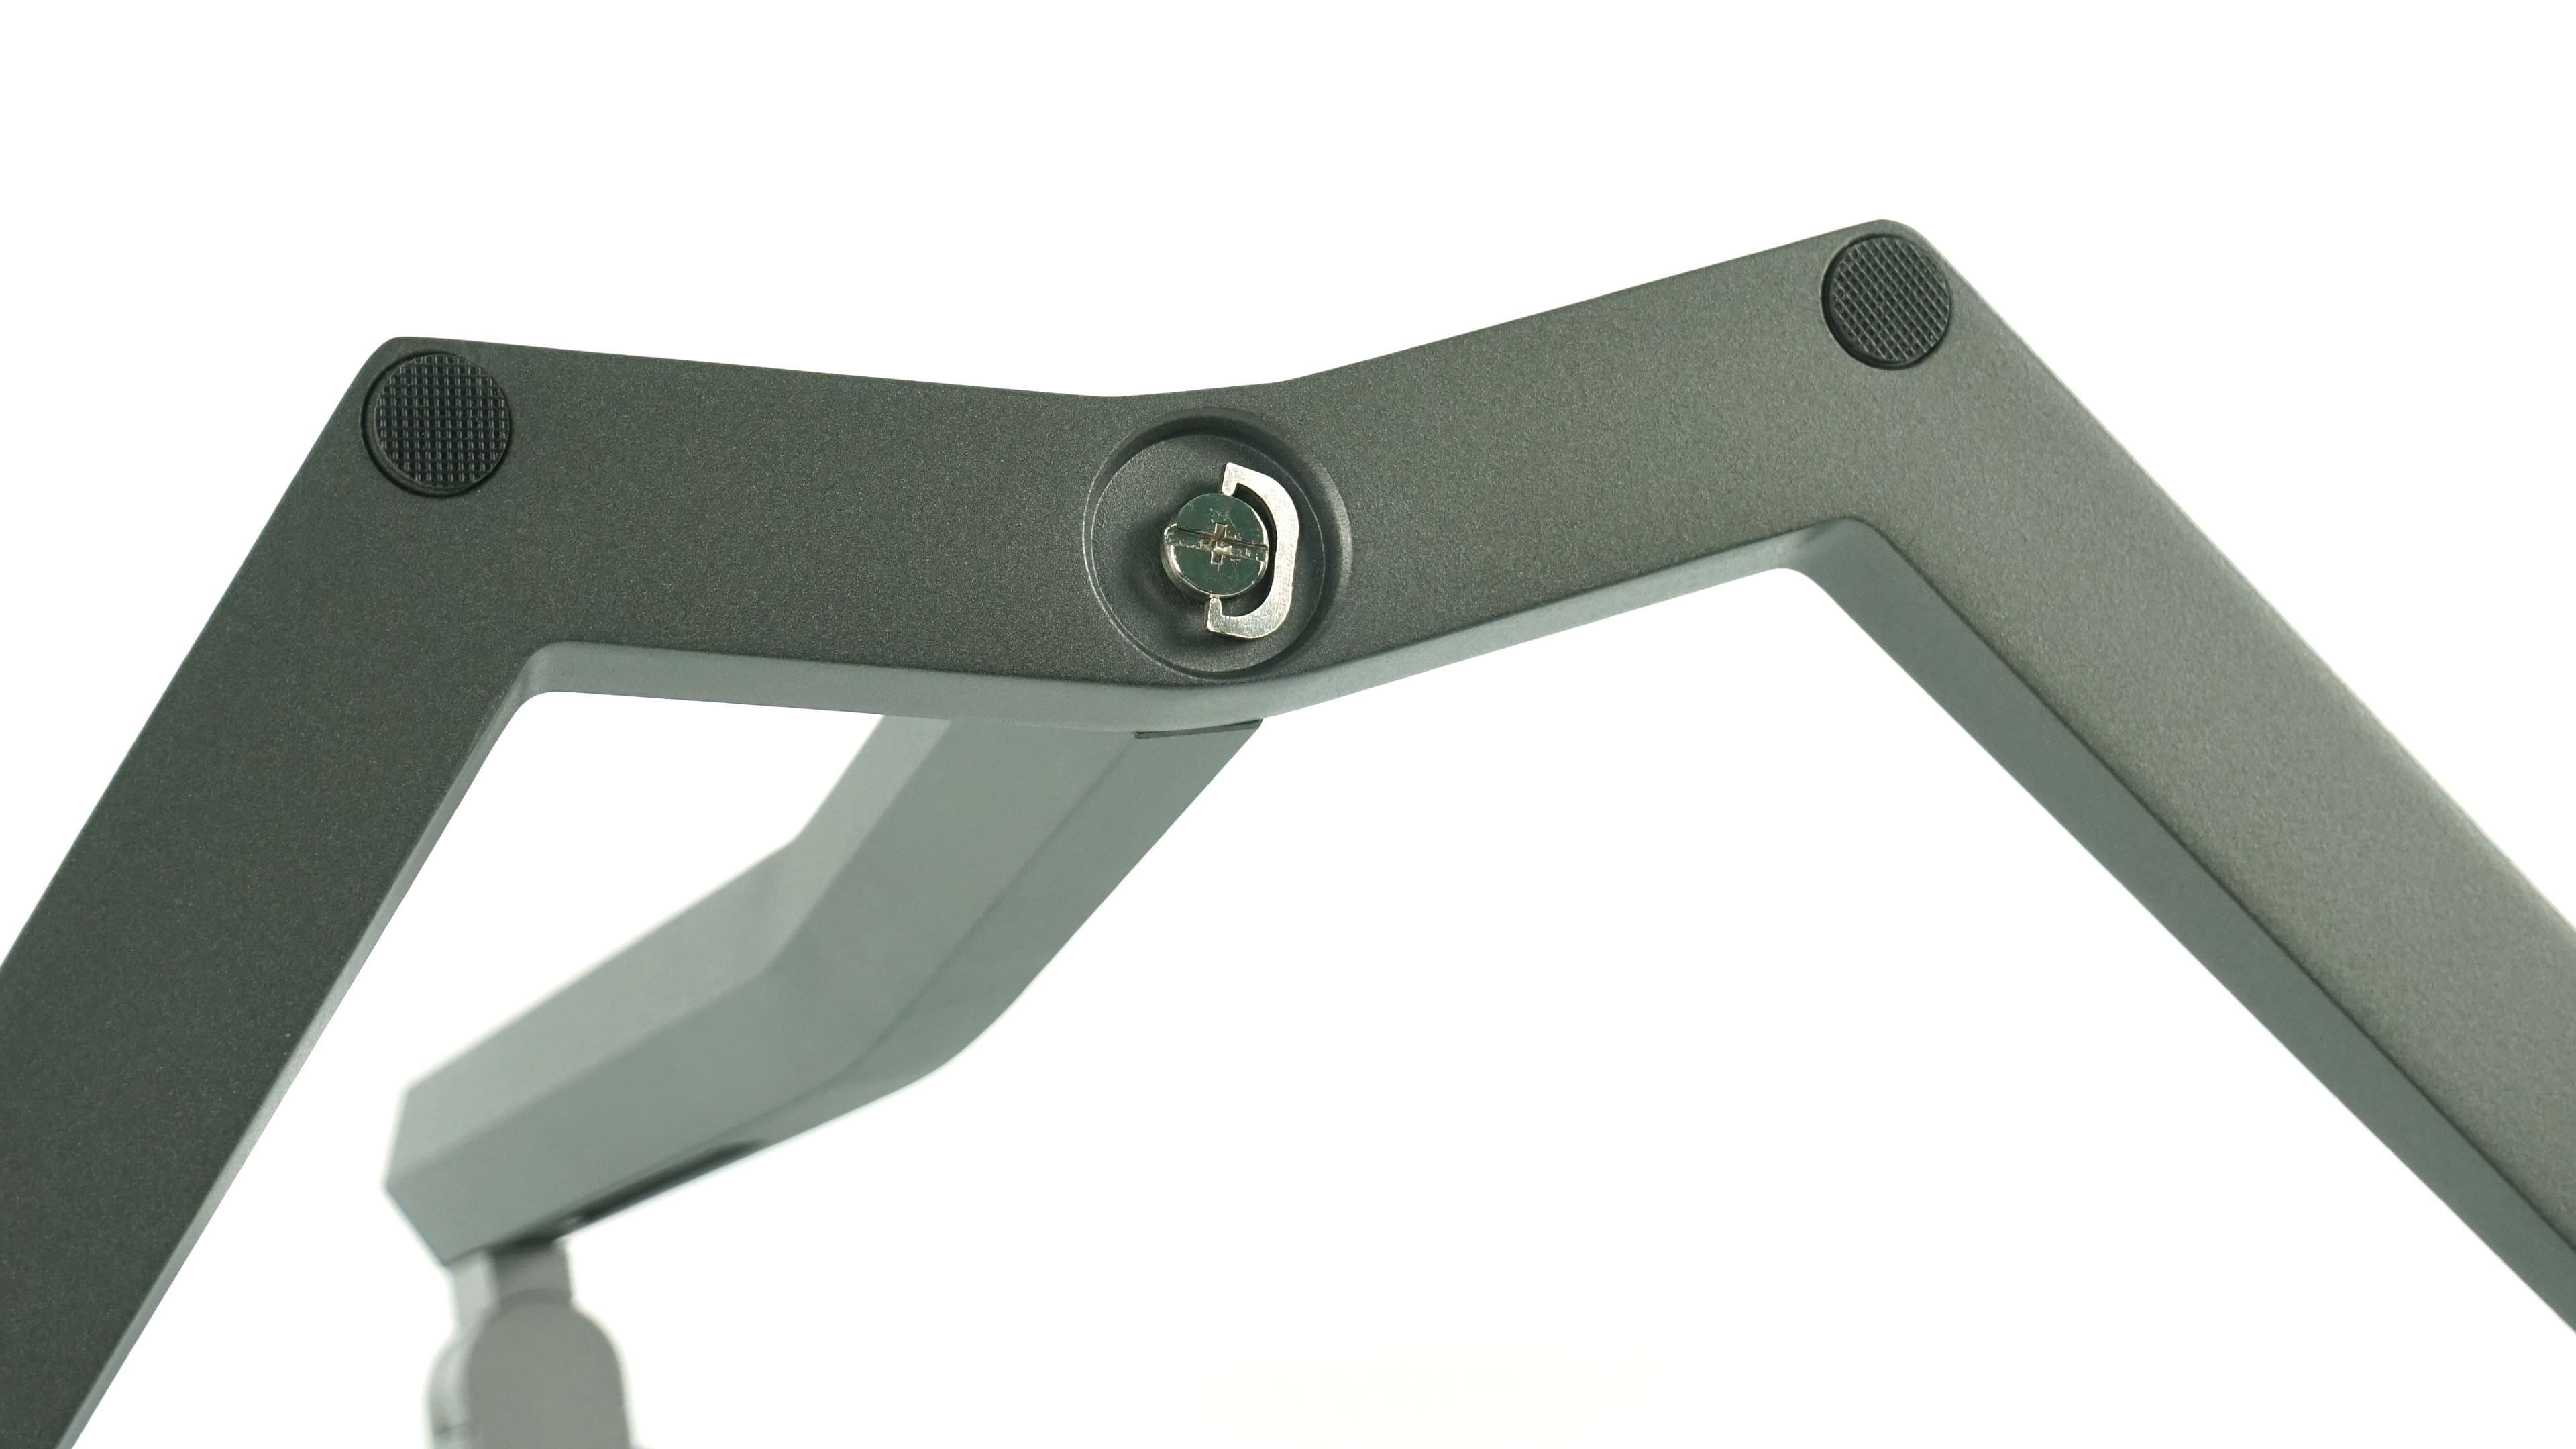
Connecting the two parts of the stand is quick and easy, as you just push the two parts of the stand together and tighten the screw with your fingers, without the need for a screwdriver.
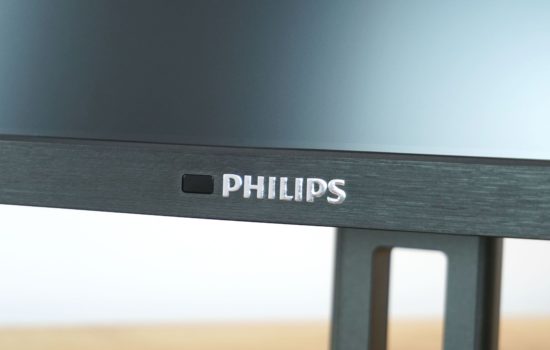
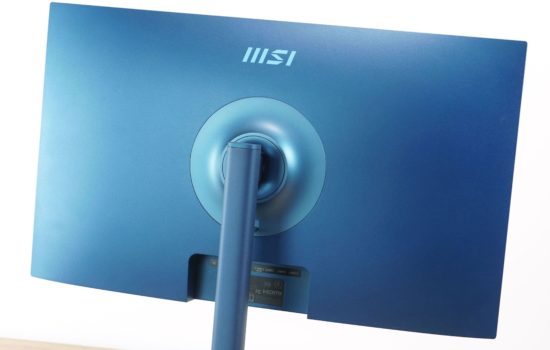
Another significant change is the design of the back, which offers a two-tone grey and textured black finish. Unlike the 329M1RV, however, there are no LEDs, so the 32M1N5800 does not offer Ambiglow backlighting. There is, however, a VESA 100×100 mount, which is used to mount the stand to the monitor body. The back, according to the manufacturer’s site, offers an antibacterial treatment with ionized silver to prevent bacteria from trapping and growing on touch points, which will be especially around the joystick.

Just slide the stand into the pair of holes and click the bottom part. The speed and ease of assembly here is top-notch, but it’s nothing exceptional. The same solution is offered by most of the competition. As soon as some tools need to be used or the procedure requires several steps, it would certainly be a target of my criticism, but nothing like that is the case here.

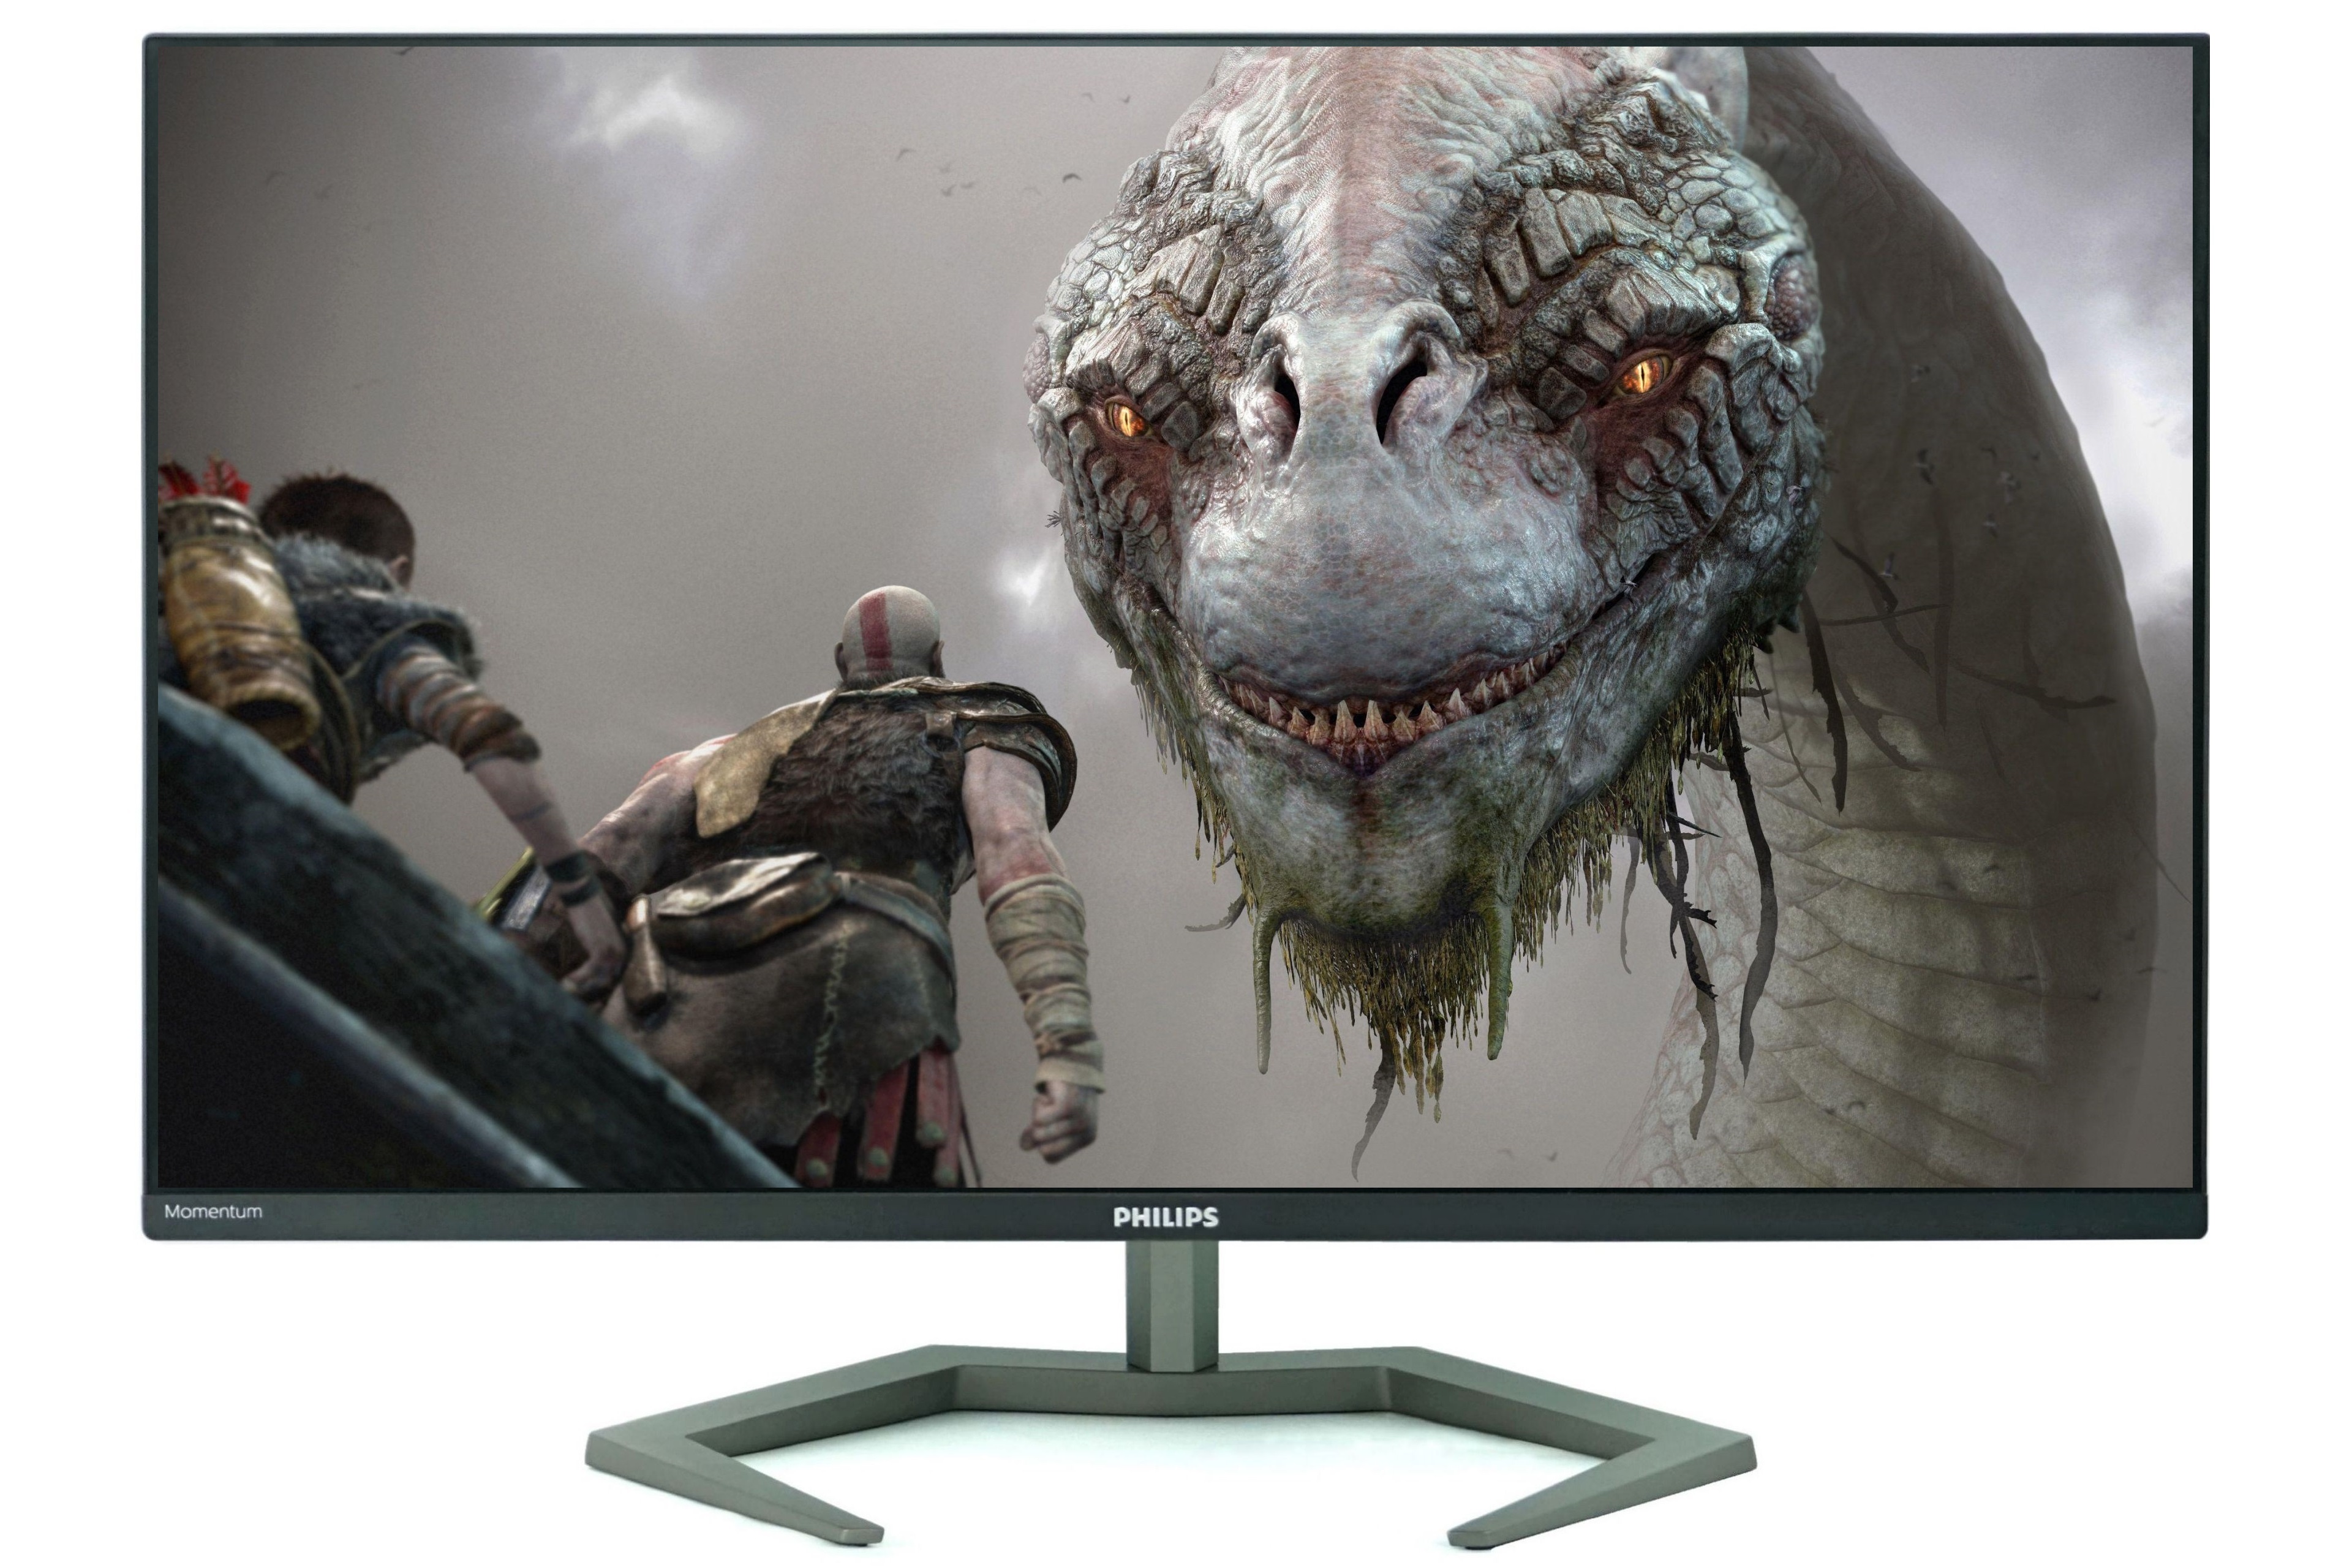
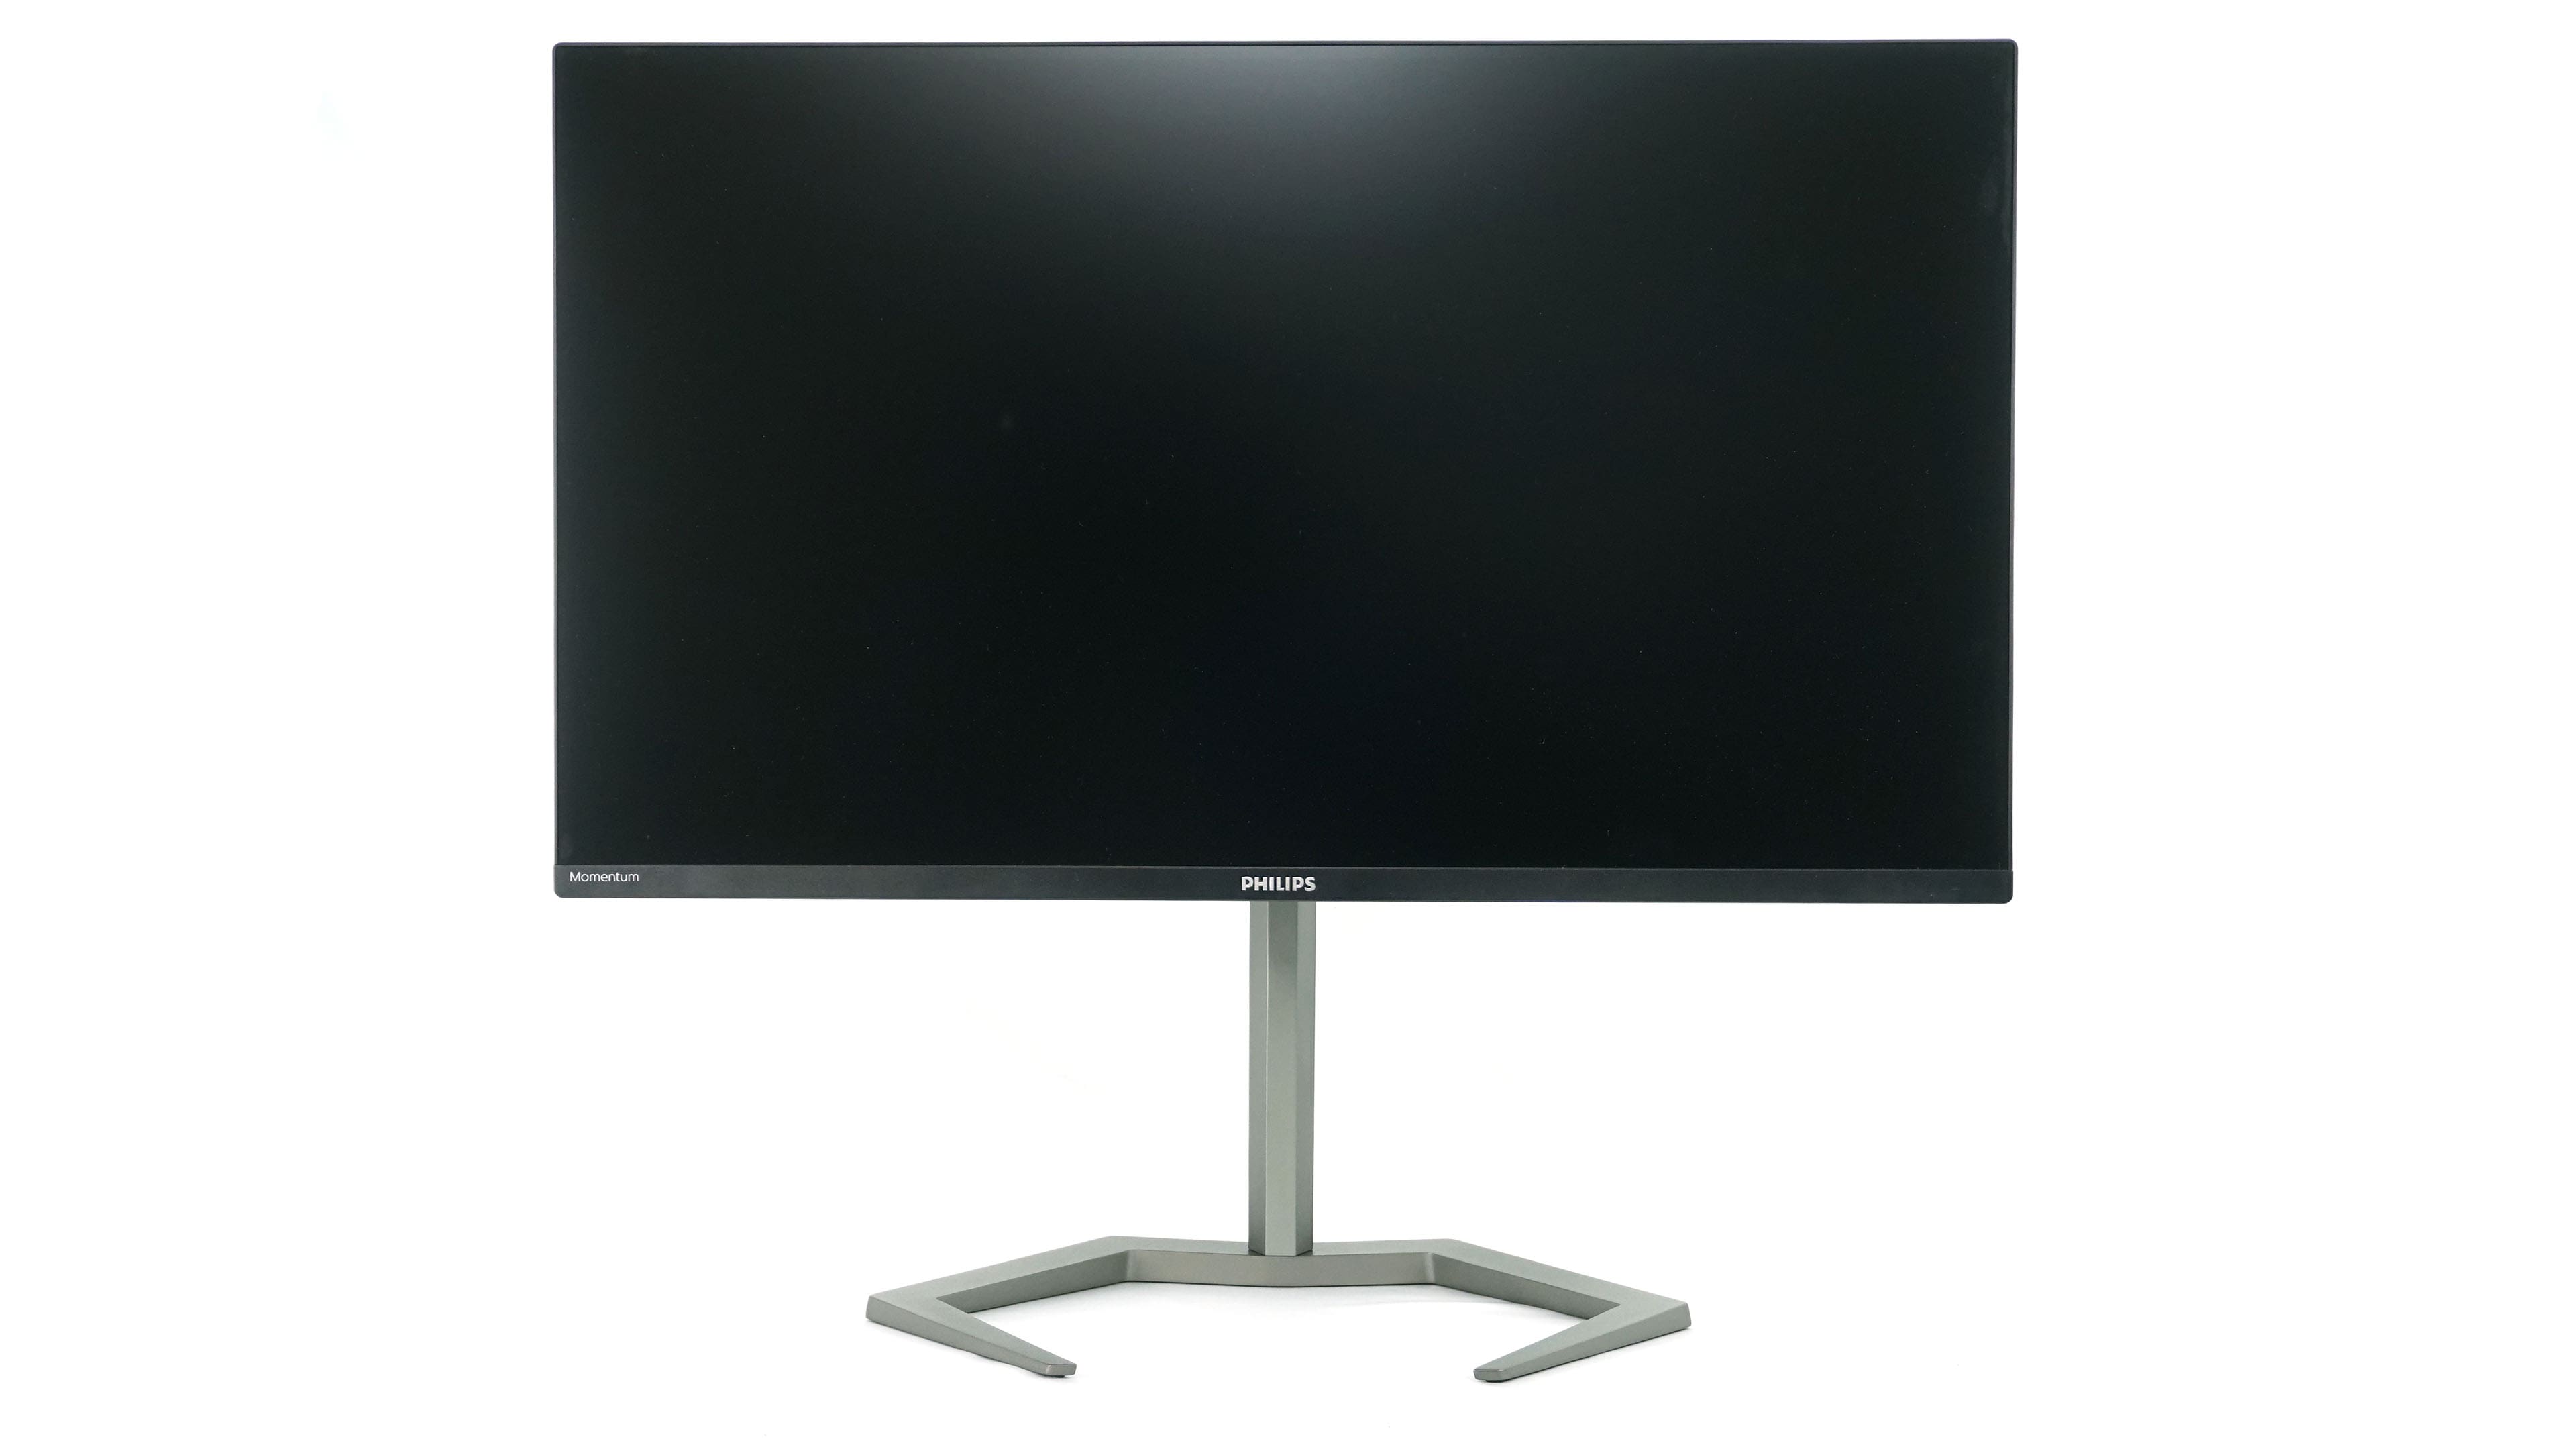
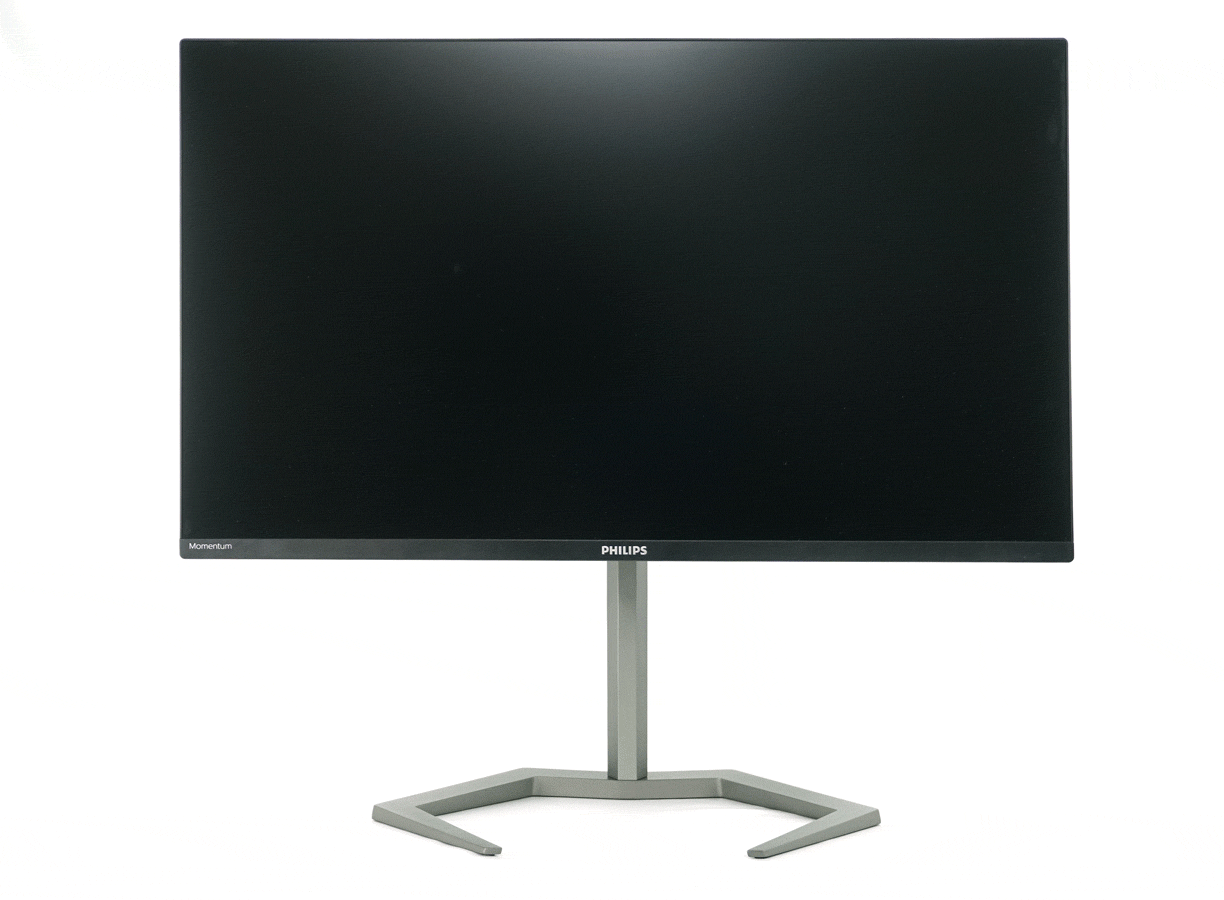
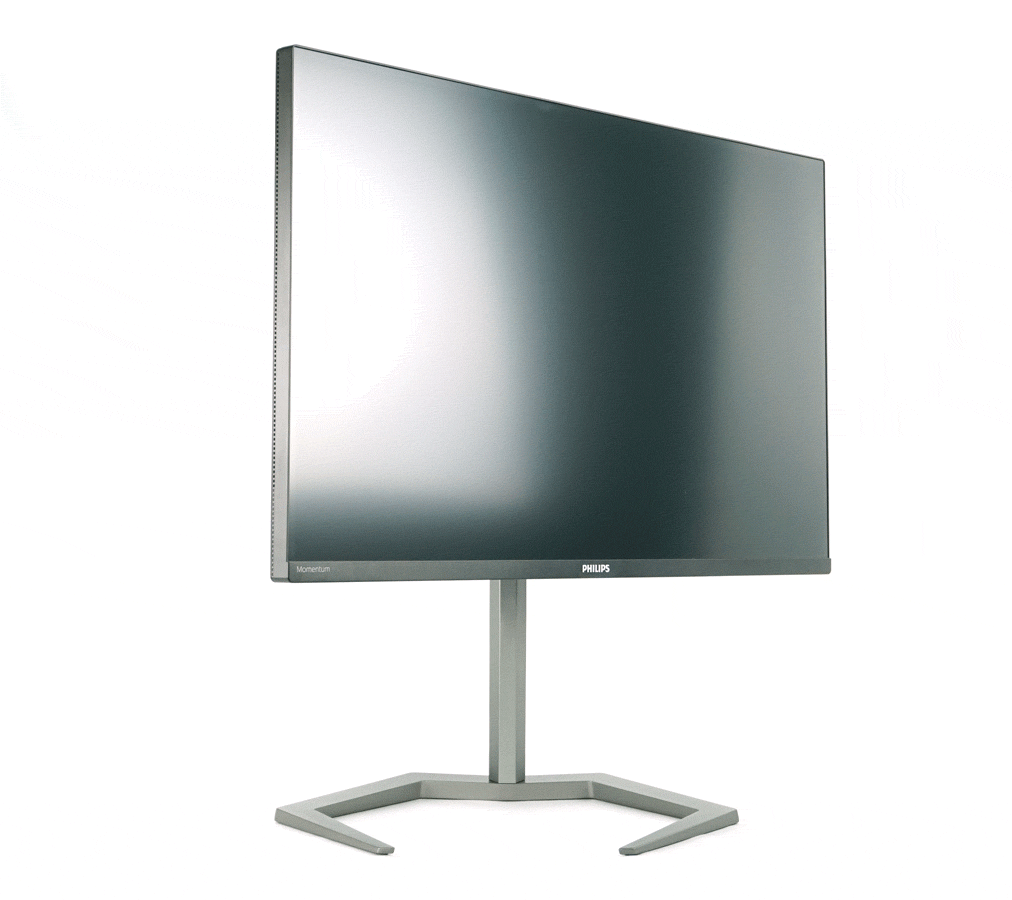
After assembly, we can take a look at the front side. This is dominated by the display with a bezel-less design on three sides. The bottom chin is slightly thinner than the 329M1RV, which I commend.
We have already described the back side above, after installing the stand you can better see the contrast between the grey and black part as well as the texture on the black part.
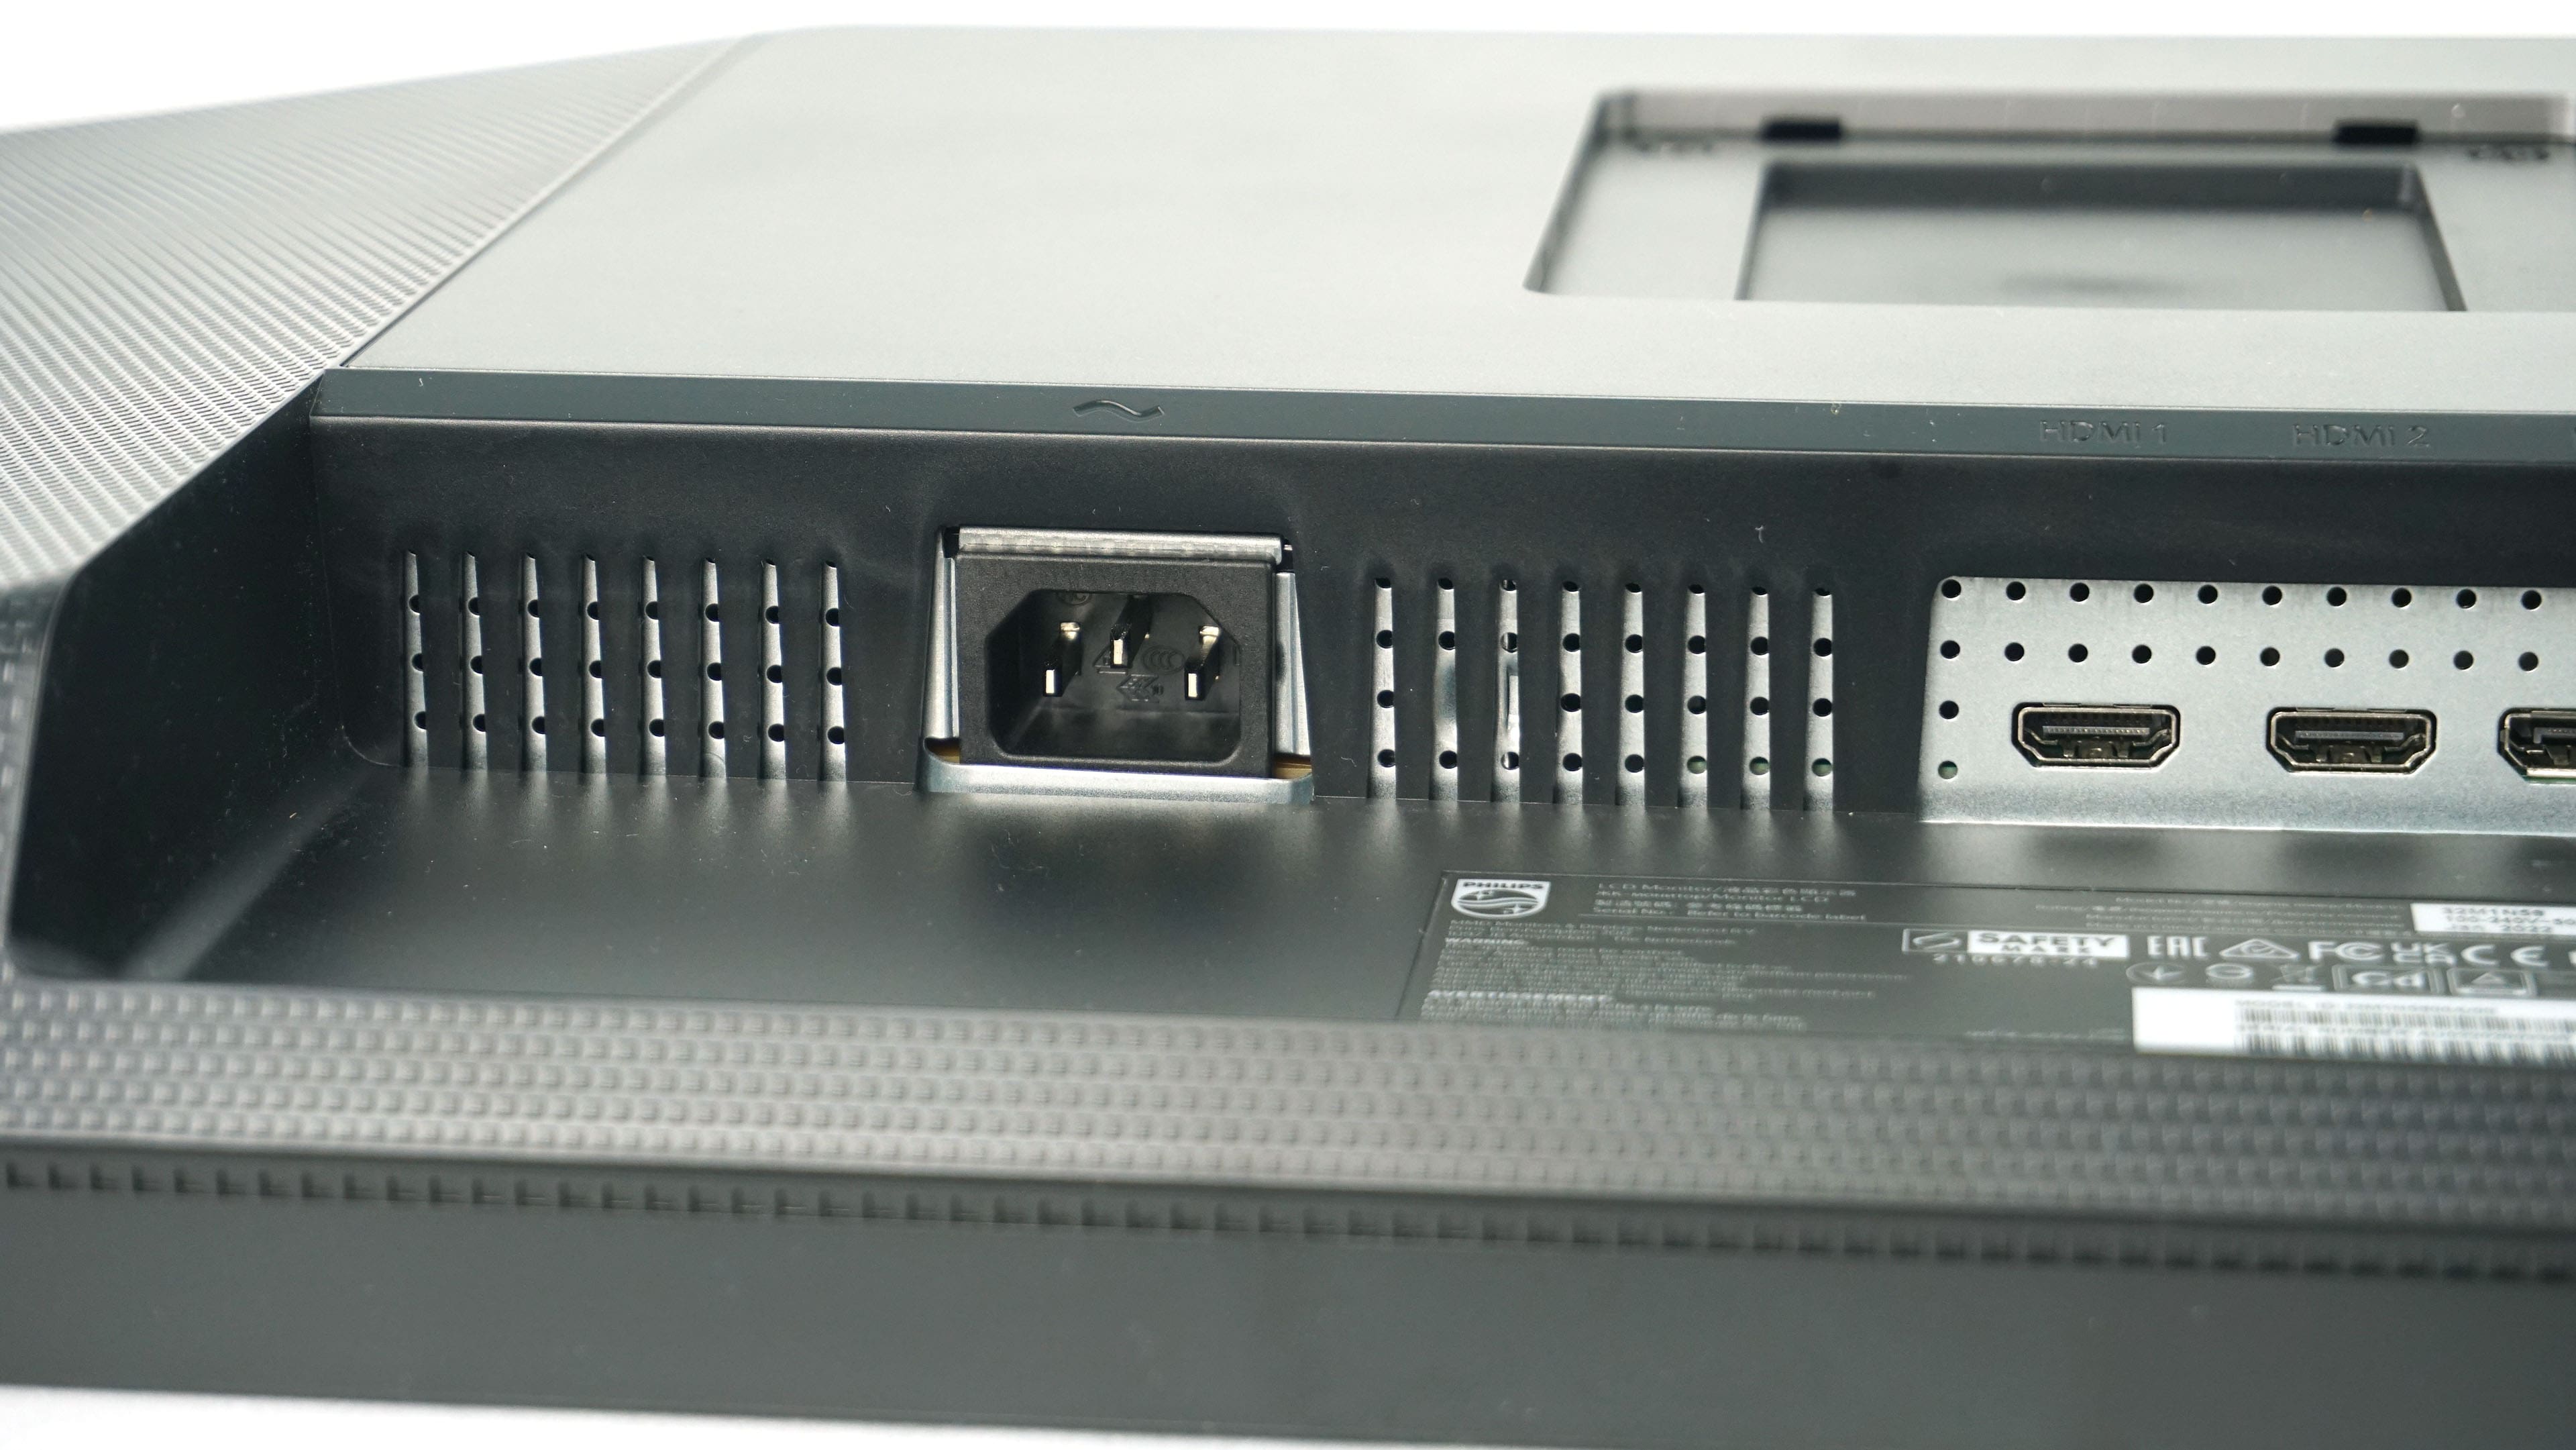
Let’s move on to connectivity, which is located on the bottom side. The difference from its sibling is the reduction of the number of HDMI ports from three to two and, conversely, the addition of one DisplayPort. Again, these are HDMI 2.1 and DisplayPort 1.4, both of which support 4K 120/144 Hz and are thus suitable for connecting both PCs and new gaming consoles. The audio jack has been retained, as well as a quartet of USB ports for connecting accessories, two of which are also used for charging.
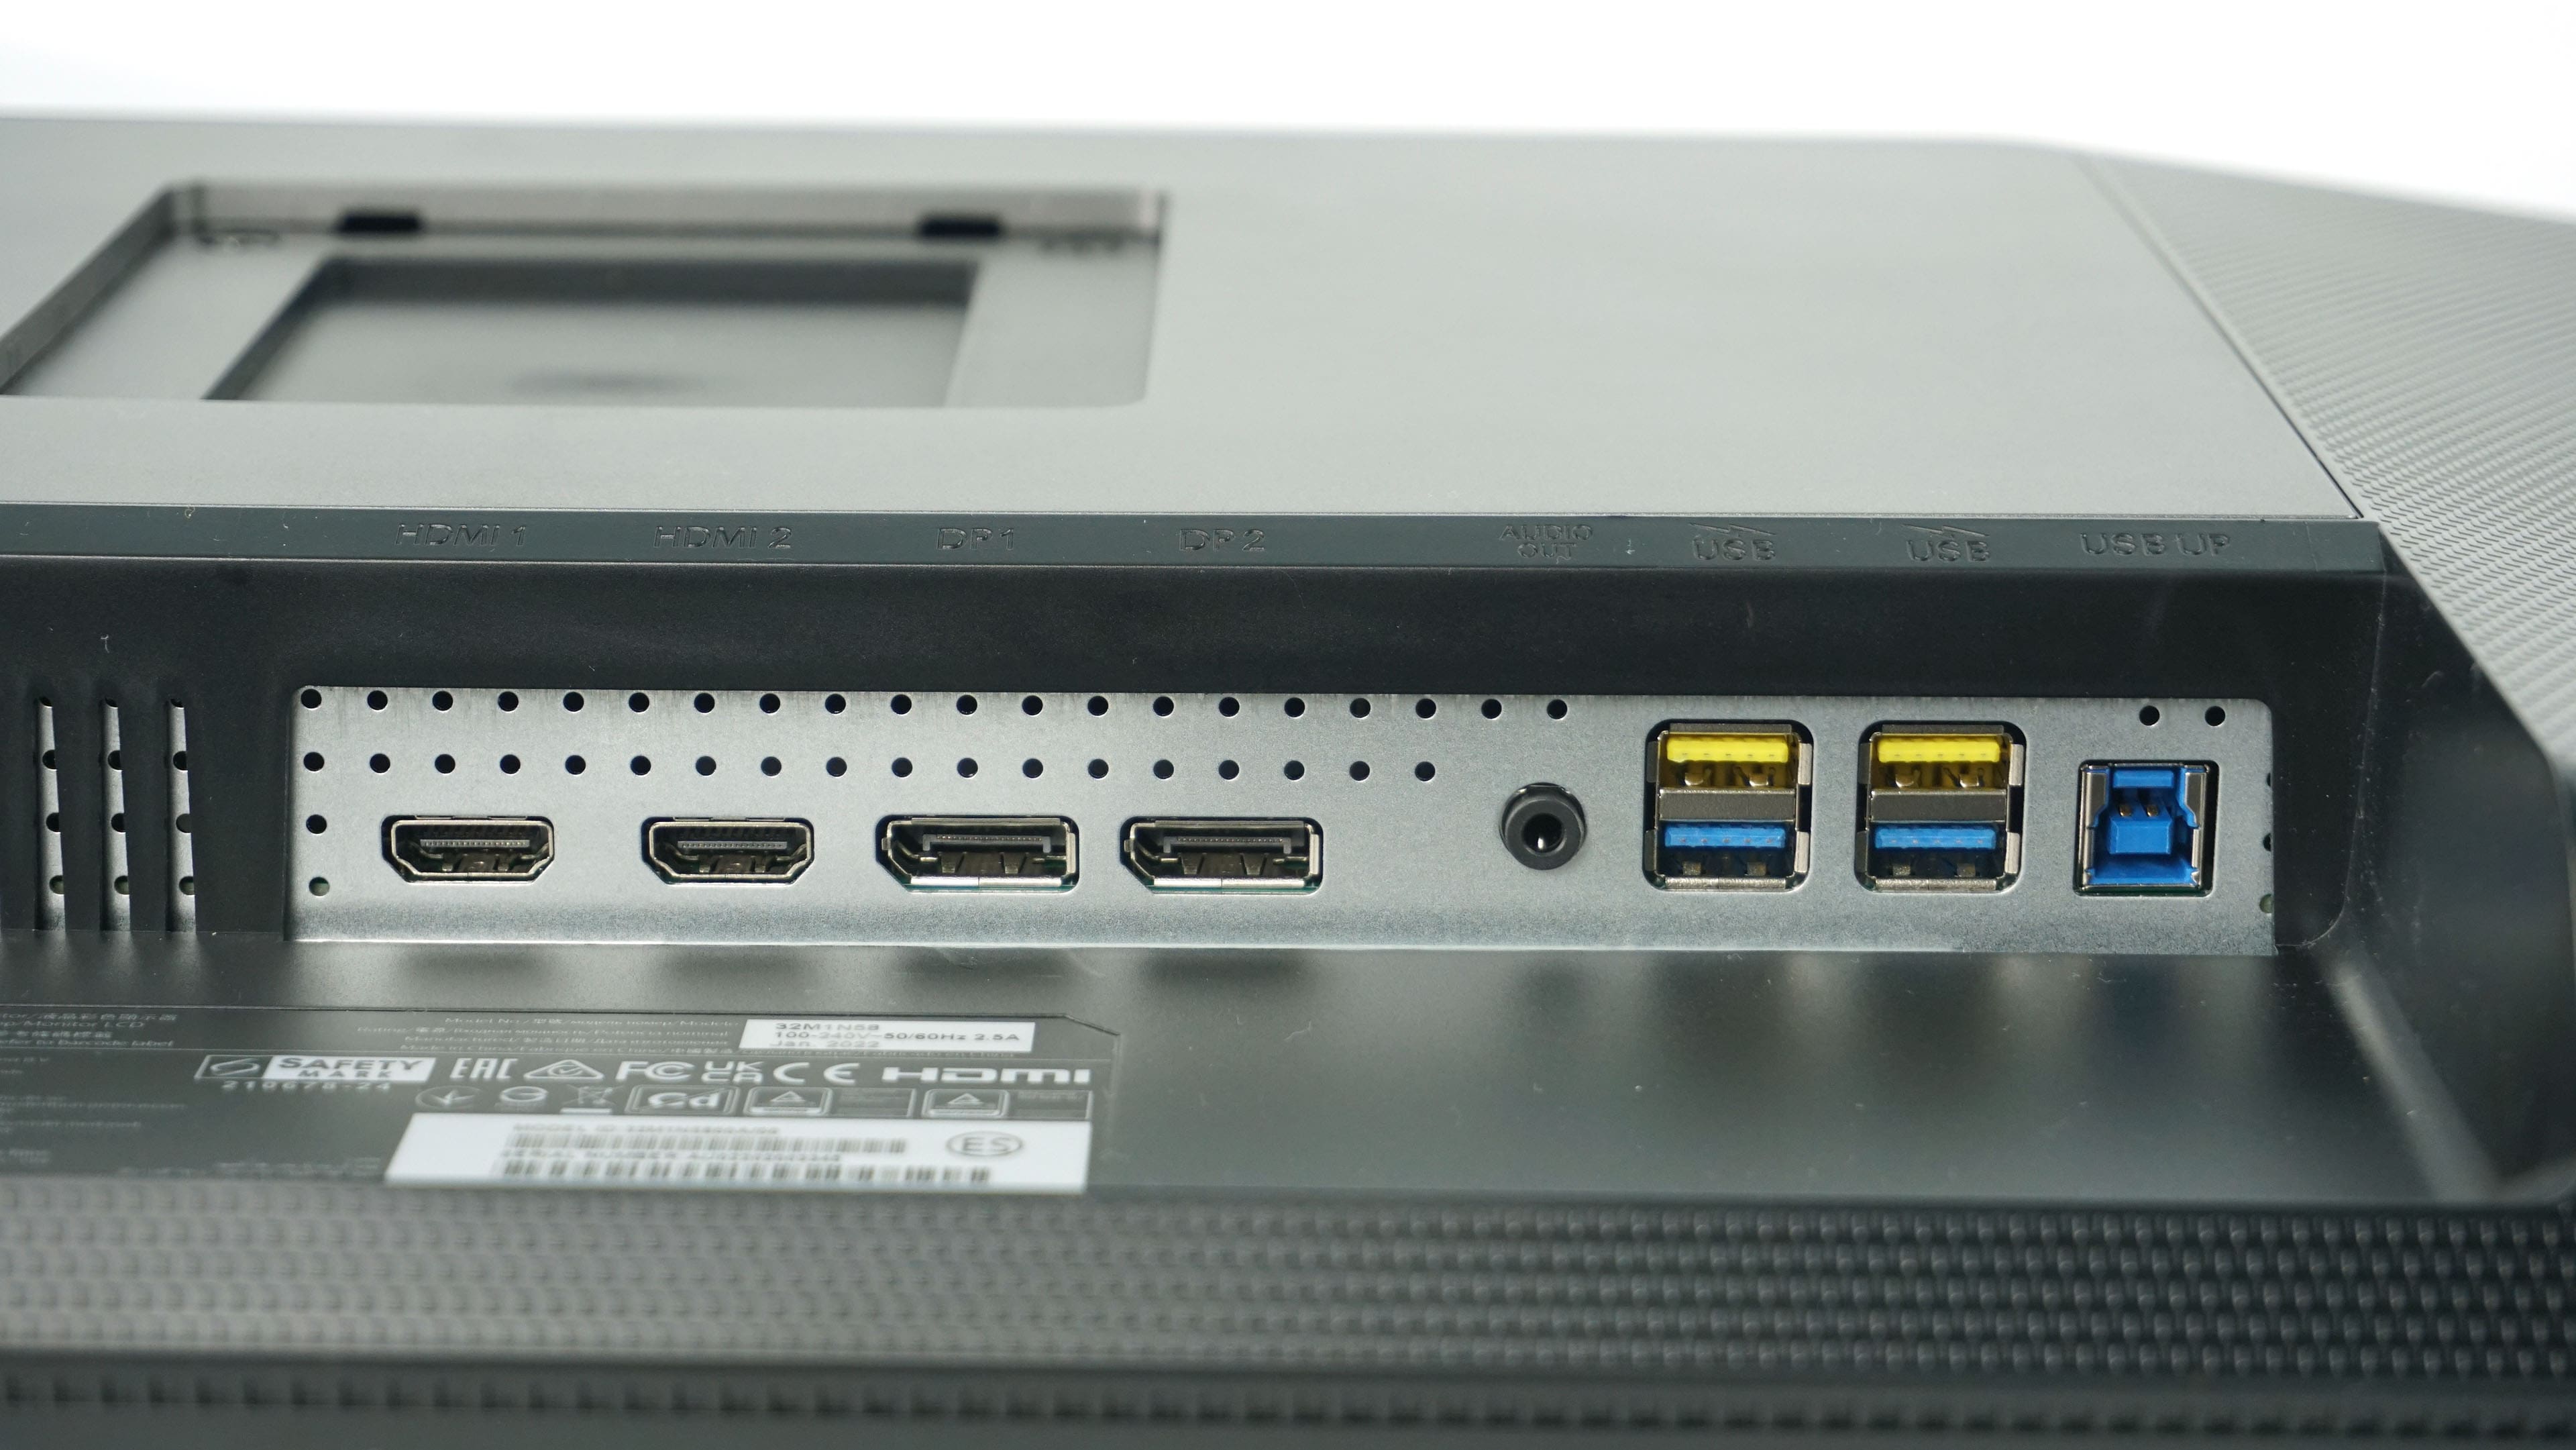
Perhaps the most dramatic difference from the 329M1RV is the lack of a USB-C port and thus the KVM switch function to easily use one accessory for two computers. It is also no longer possible to connect to a laptop using a single cable, which is used for video, data and charging. The last connector in the equipment is the power one, and again it is worth mentioning that the monitor has an integrated power supply, thanks to which you only need to connect the cable without the usual “brick”, which other monitors tend to have.
Once you turn the monitor on to see the “bezel-less” design in action, the 329M1RV offers what most monitors on the market do in this area, and it’s more the stand that adds a few points in the elegance department.
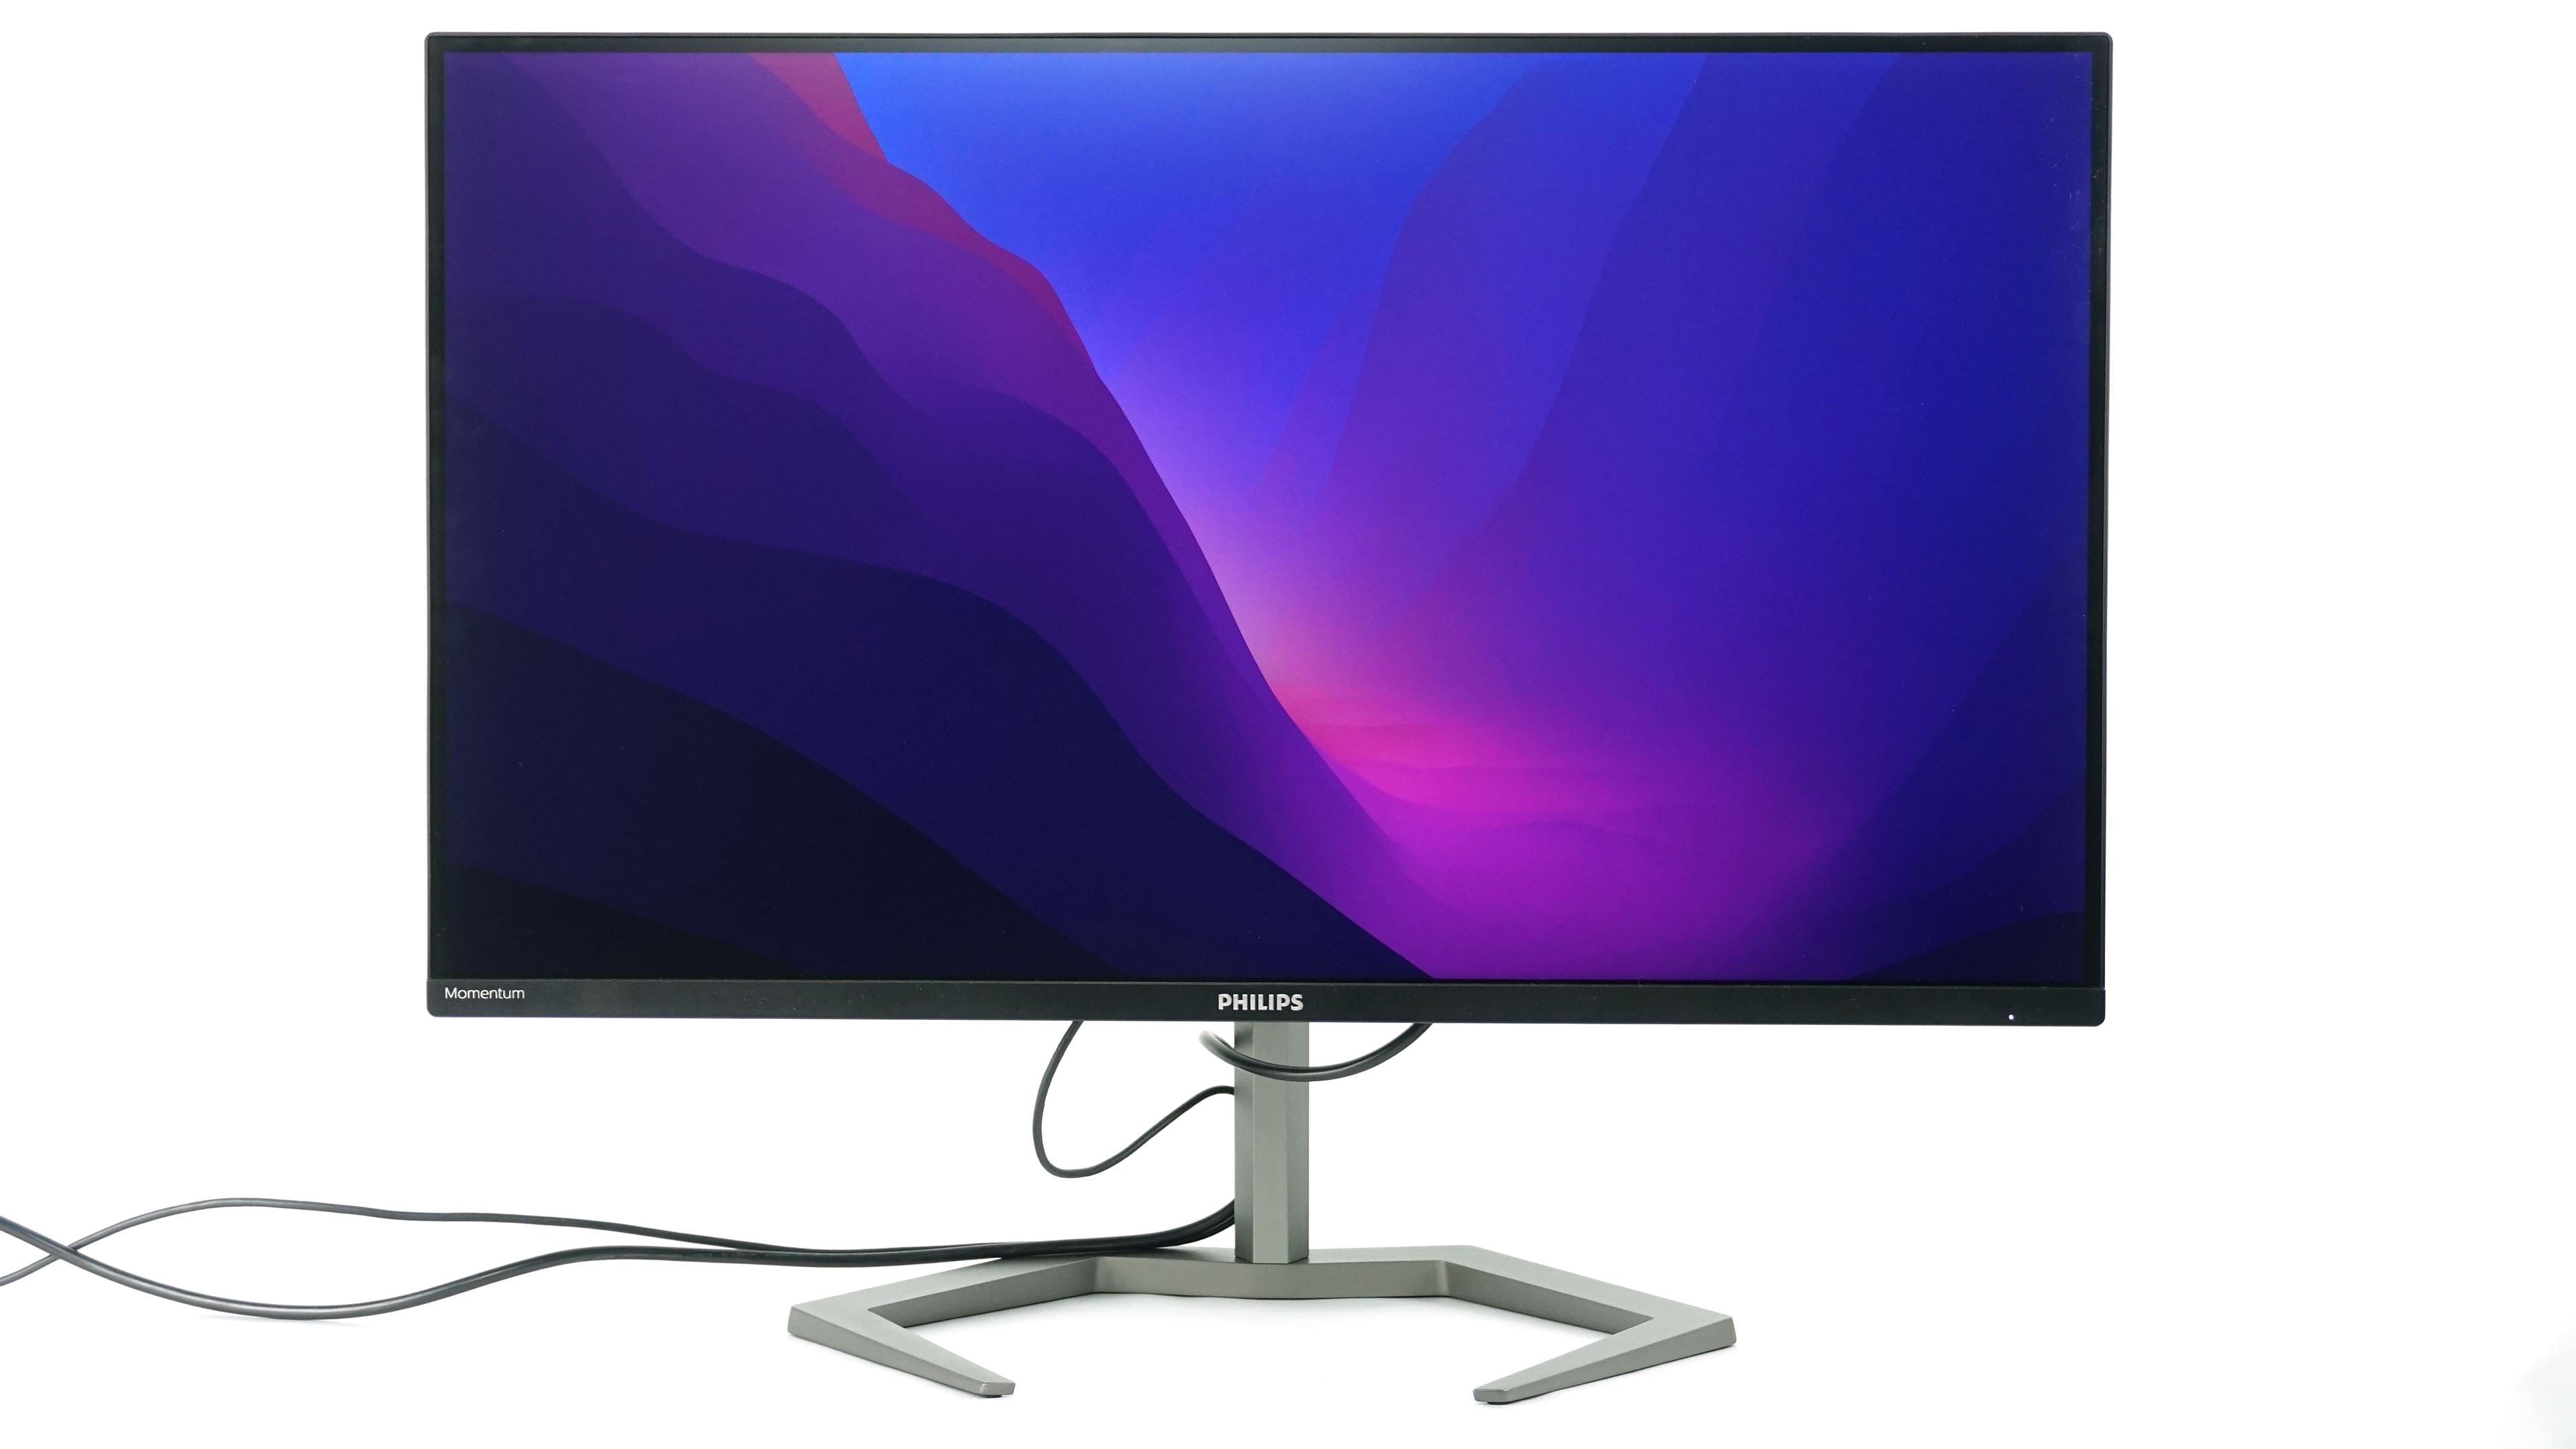
Compared to its sibling, the 329M1RV, it has a slight aesthetic advantage thanks to a thinner and more interesting stand and a thinner bottom chin.
The monitor offers multiple positioning options, including 130 mm height adjustment. At the lowest point, it is 85 mm from the pad with the bottom edge and 505 mm with the top edge. At its highest position it is 215 mm high and 635 mm for the top of the display. Again for comparison, 329M1RV was able to go significantly lower, at only 40 mm from the pad, by contrast at its maximum height it had the bottom edge at only 165 mm. So the 32M1N5800 tested can’t go that low, but on the contrary you can raise it higher. And one more interesting thing, the panel height is 420 mm for the 32M1N5800 and 425 mm for the 329M1RV. This 5 mm difference is in the bottom chin mentioned above.
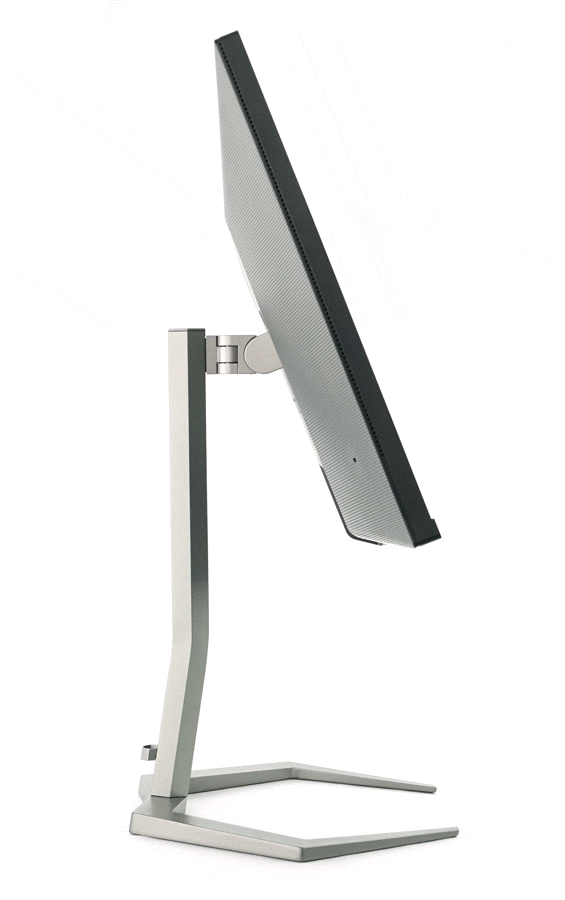
You can also tilt the display from -5 to +20 degrees. The positive value is higher than 15 degrees for the sibling.
In addition, the monitor also offers the ability to rotate sideways 45 degrees in either direction, which is again more than the 20 degrees offered by the 329M1RV.
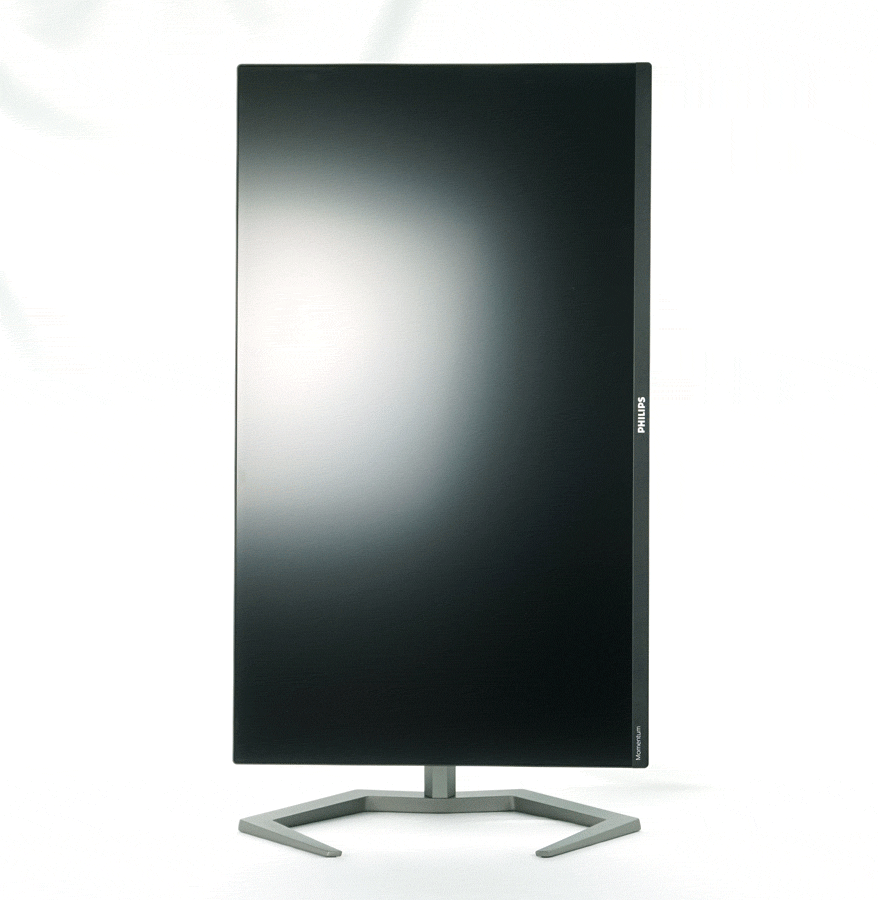
Unlike the 329M1RV, the stand here also supports pivot, i.e. changing the orientation to portrait and even in both directions, which is really unusual.
The backlight bleed of the test piece is better than what you saw with the 329M1RV. Small deviations can be seen at the edges of the display and especially in the upper right corner, but it is definitely a significantly better result than what we have seen with its sibling. Of course, as always, every panel is different and your piece can be better or worse. We will also measure uniformity with a colorimetric probe in the next chapter.

Hi, thanks for the great test. Did you notice any color banding? I got the same one and see color banding for example on the solidjs homepage or eizo monitor test homepage. Thanks
Hi Rene, I haven’t seen such issue with the testing sample, it might be good idea to take it for warranty service…