





The impeller is oriented so that, in the installed position, nothing visually obstructs the view. This refers to the stator struts, which can otherwise “spoil” the appearance. But this is not just about looks—it is about combining them with the efficient geometry of the proven five-blade design with a stabilizing ring (familiar from the P12 A-RGB). It is not exactly the same design, though, if only because what used to be behind the impeller is now in front of it.
Initial warm-up…
Before we even start measuring anything, we let the fans run “idle” for a few minutes after plugging them in. This is because immediately after a cold start the fans reach different parameters than after a certain amount of short-term operation.
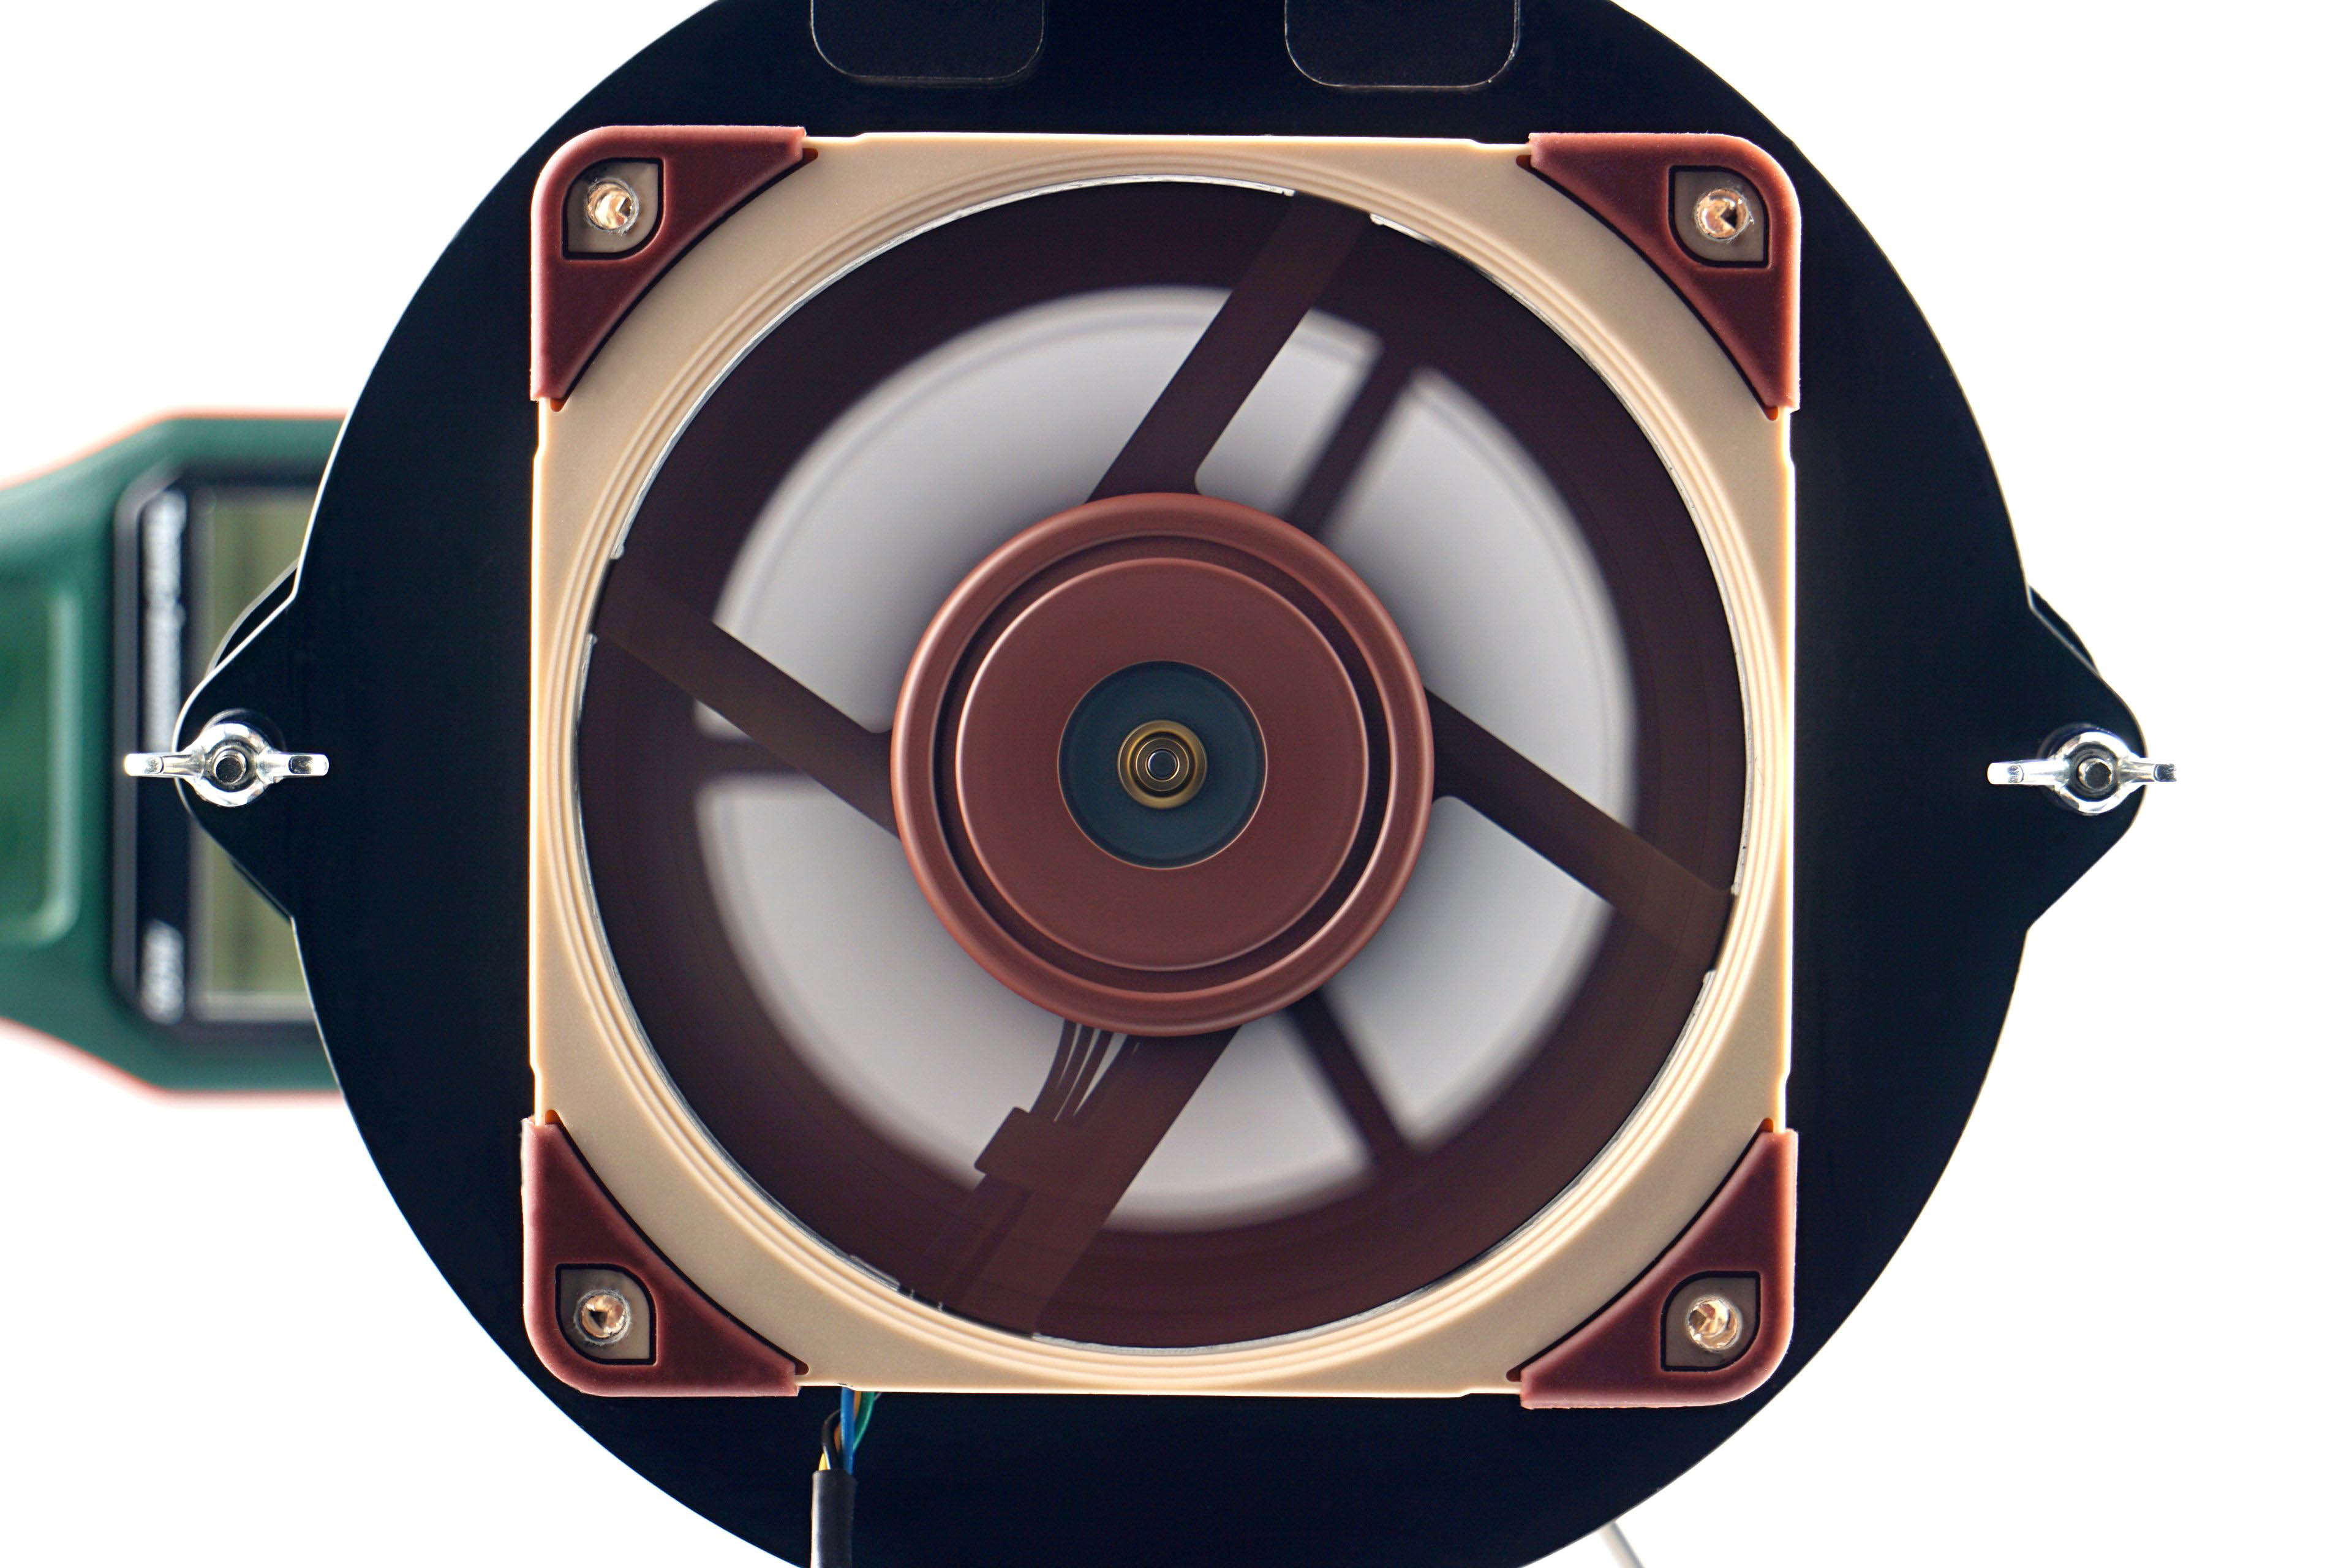
Until the operating temperature of the lubricant is stabilized, a typically lower maximum performance is achieved. This is because at lower temperatures the lubricant is denser, which is associated with higher friction. Therefore, the fans do not reach maximum speed immediately, but only after the first few seconds. Before the first measurements, we therefore leave the fans running for at least 300 seconds at 12 V, or 100 % PWM duty cycle.
… and speed recording
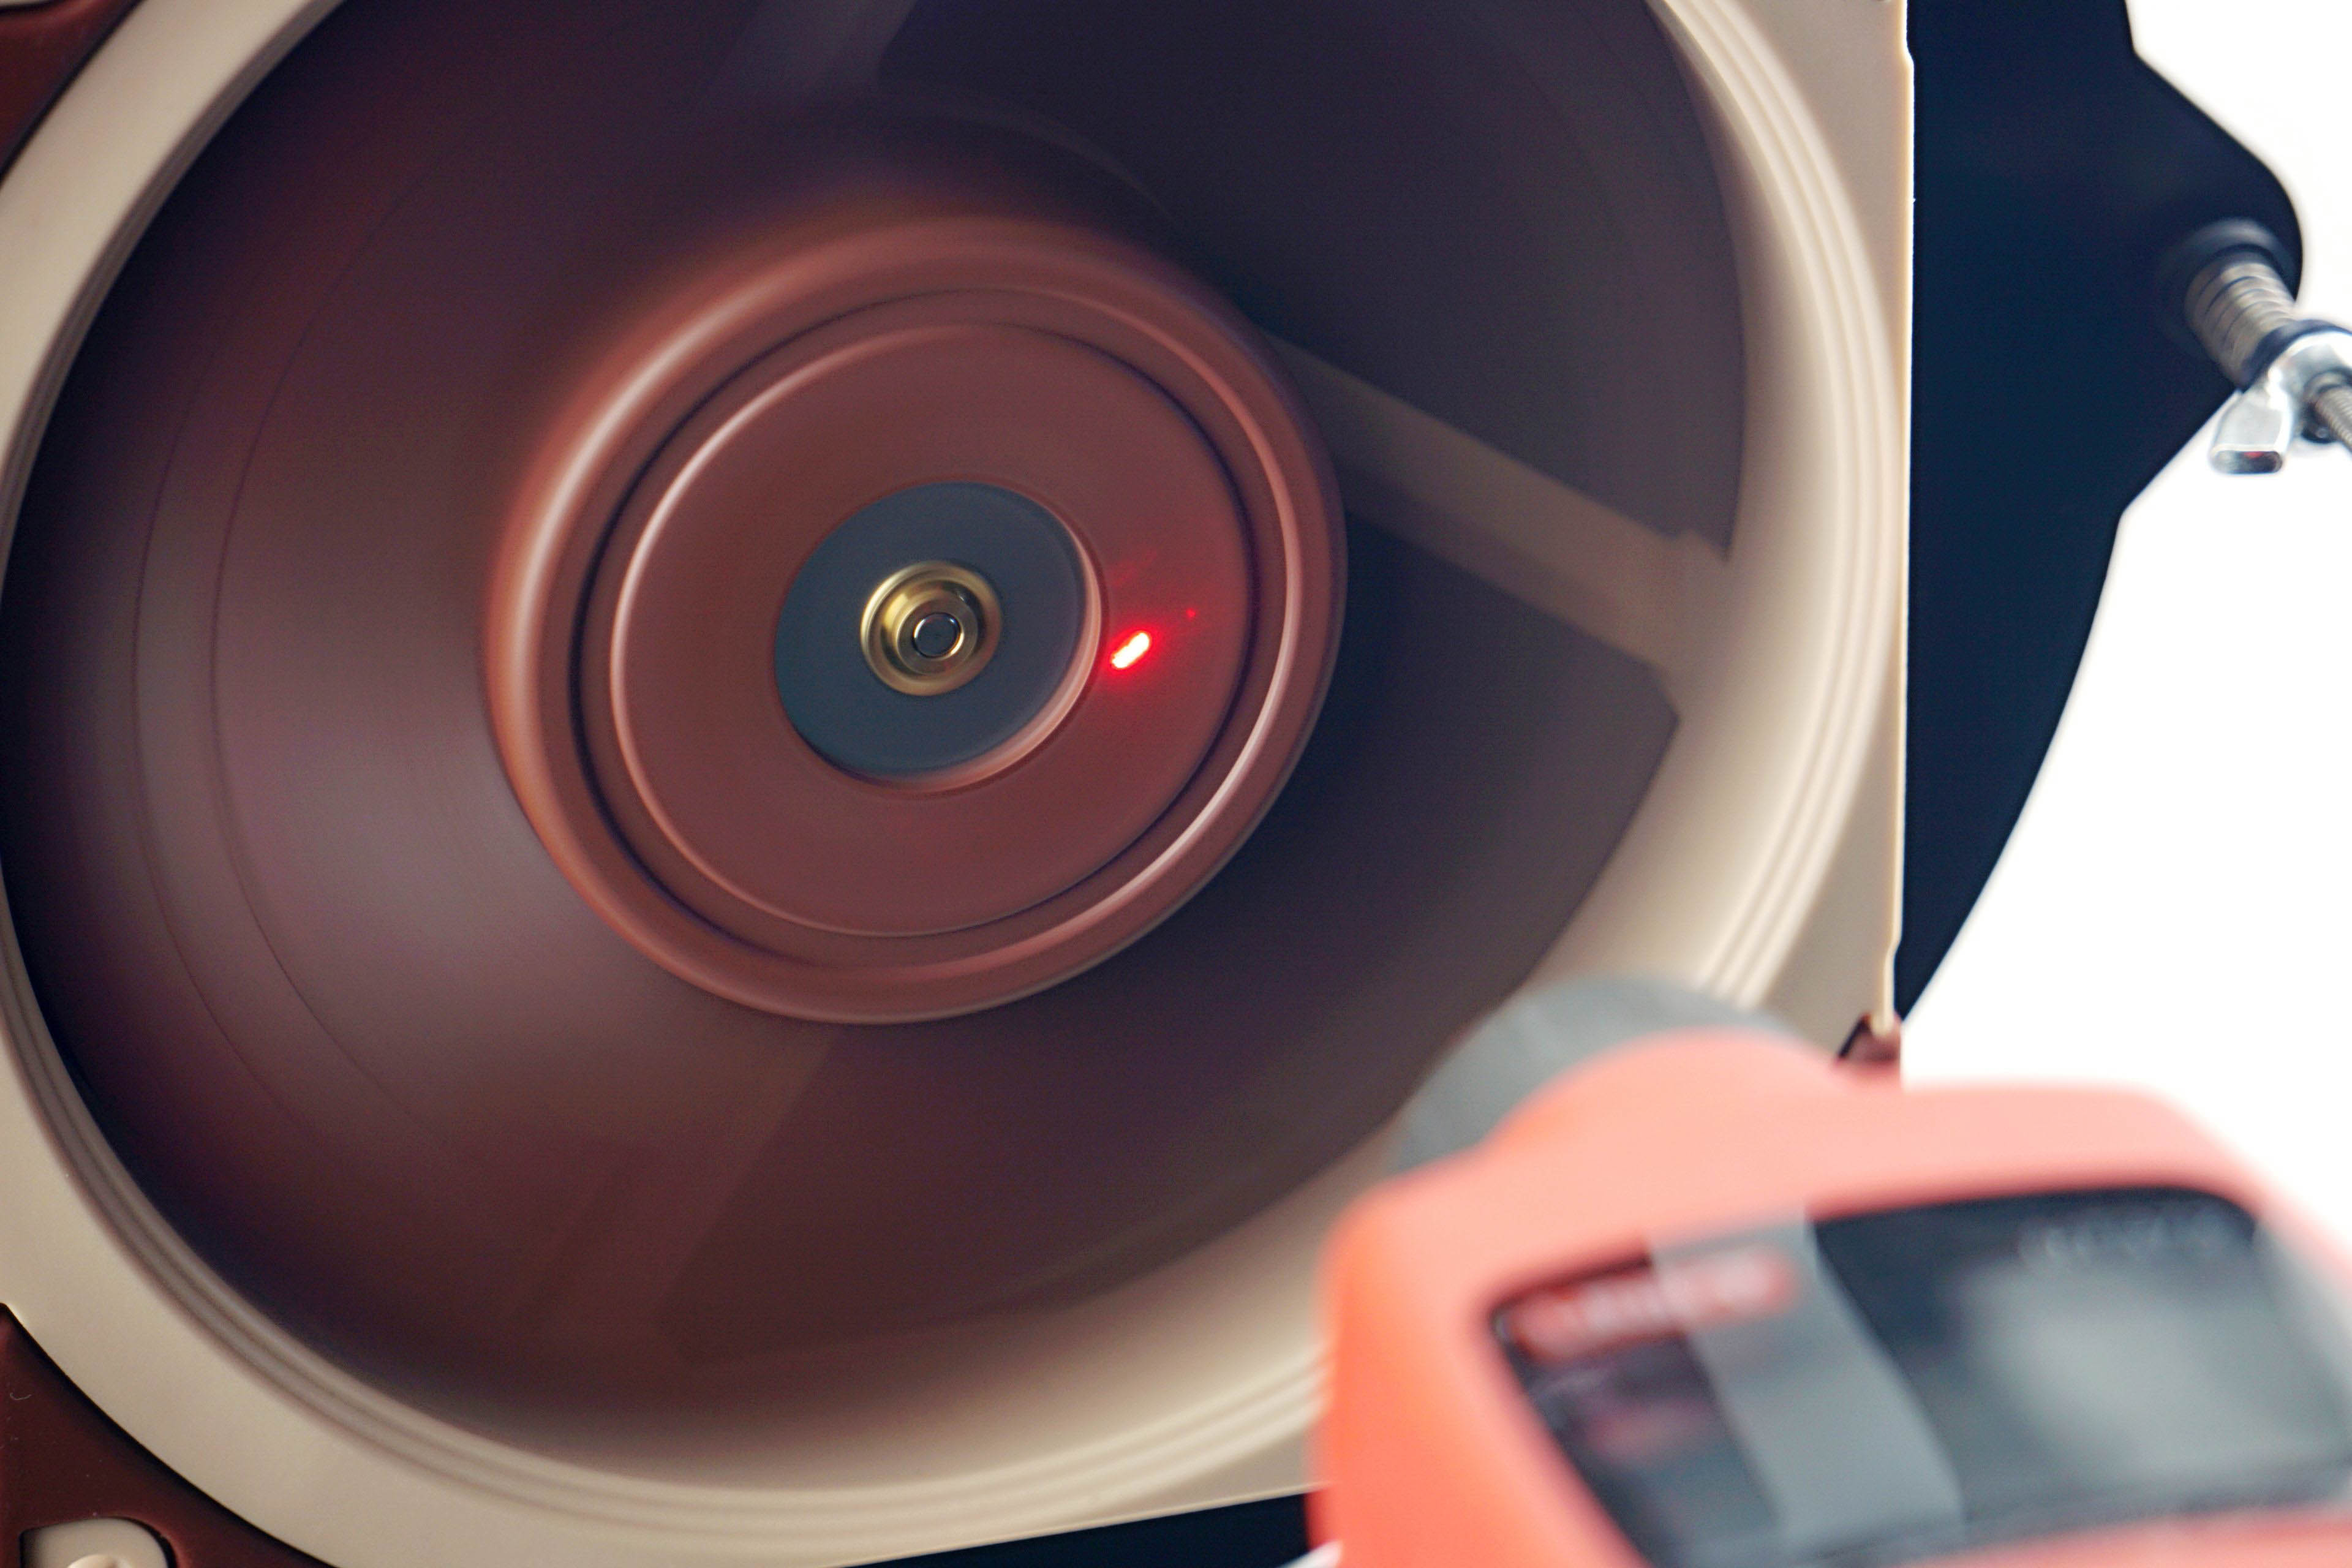
The speed of the fans is monitored using a laser tachometer, which reads the number of revolutions from a reflective sticker on the impeller. For this purpose, we use the UNI-T UT372 device, which also allows real-time averaging of samples. Thus, we do not record the peak value in the graphs, but the average speed value from a 30-second time period.
However, the speed itself is a relatively unimportant parameter that is often given more attention than is appropriate. This is the case even in many fan or cooler tests, where speed is used to normalize the different modes in which other variables are measured.
However, hyper-focusing on a specific speed is a rather unfortunate decision if only because the fans don’t gain any commonality. At the same speed all other variables are different, there is no intersection. It can be noted that a better normalization would have been by any other variable, whether it be static pressure, flow or noise level, which wins in our case. But more on that in the next chapter.
We only measure the speed so that you can associate a particular parameter (such as the amount of static pressure or some noise level) with something according to which you can adjust the fan yourself. Perhaps for that alone, the information about the achieved speed is useful. As part of the fan analysis, we will also indicate what the fans’ starting and minimum speeds are. Start-up speeds tend to be higher than minimum speeds because more force is required to get the impeller moving than once the fan impeller is spinning, and a minimum power intensity is sought at which the fan does not stall.




Hmm, the 100th fan in the database—counting 140 mm models as well. On Thursday, we’ll do a kind of recap or summary, where all fans tested so far will appear together in the charts. 🙂
After reading the methodology section I’m still uncertain about when the tests were performed with the obstacles infront or behind the fan. Could you please clarify that?
Scenario by scenario, it varies. The radiators (both thinner and thicker ones) are behind the fans, as they are more commonly used in practice, while the dust filters (both nylon and plastic) are in front of them, i.e. in front of the impeller. That also makes more sense.
There is also a hexagonal grille in front of the fan, on the intake side, although in PC cases (for example, on the exhaust) it is often located behind it. We chose this placement because having it behind the impeller doesn’t change the acoustic profile very much, whereas with the opposite orientation, the difference can sometimes be quite significant, especially when it comes to tonal peaks. 🙂
Thanks for the clarification!
Your setup is what I was hoping for, for the reasons you already stated yourself. And just to make sure I’m not misunderstanding a fine detail: Whether **reverse blade fan or regular fan**, your dust filter test setup (both nylon an plastic) will always reflect typical real world usage, i.e. air will be “pulled” through the filter instead of being “pushed” through it. Right? Thanks in advance!
Yes, the dust filters are always on the intake side of the fans. 🙂
For the most accurate comparison possible, reverse fans are also positioned in the same relationship to the anemometer (in pull). That’s a more complicated discussion, but this is always the case regardless of the fan. If we did it the opposite way, in push, the area where we measure the wind/air speed—which is subsequently used to calculate the airflow in cubic units—would be too turbulent, and the results would therefore be distorted. 🙂